When you click on links to various merchants on this site and make a purchase, this can result in this site earning a commission. Affiliate programs and affiliations include, but are not limited to, the eBay Partner Network.
I got a 1991 S4 ROW I was looking to fix my head light and found the parts number 30 on your diagram which got a electric with 3 connectors. The little motor keep cycling constentely. Do I mist something? Thanks in advance.
Bodged mine to stay fixed at the highest position today , removed light from yoke and drilled a small hole and put in a screw while holding the adjusted in the extended position.
I was trying to better understand how this whole headlight adjustment system works, this post is awesome !!
Just one question : I see that the initial post is from 2013, does the repair still work today? I see some people were a bit perplex as to the time the repair would last. It would be great if we could have a small return on experience about this.
just wondered if you got an answer as to whether it continues to work to this day ??? I�m looking at mine thinking i have the same problem on my 87 S4. They go up and down OK using the adjuster but they are either low or or extremely low depending on setting. They clearly are holding pressure, just not enough of it. Worth fixing using this method or do I fix them in place ???
this may be a really dumb question but why wouldn�t you test the lines for leaks using a vacuum tool? Like unplug at the light and see if it holds vaccuum?
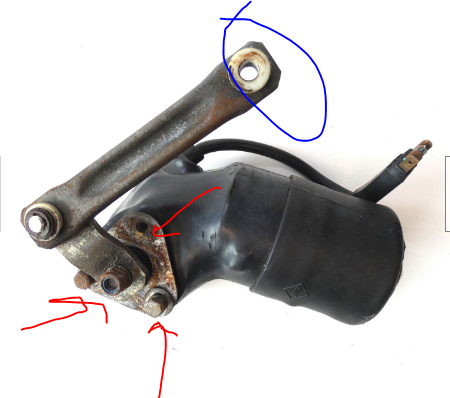
Can anyone help with out to remove a head light motor?
I had help before but now can't find the page.
I think it was Alan who said:
1. mark the arms
2. remove the blue nut
3. remove the motor
4. remove the three red nuts to clean the motor.
But i'm having trouble taking off the nut located in the blue circle. What tool do i use? a short stubby rachet wrench with a flexible head? a socket won't get in there as my headlights are locked down. Any advice much appreciated. .
Take the rubber boot off the motor end and rotate the headlights up by hand using the **** - get it to a point where you have better access to start loosening it - but again figure out a reference point (marking) for all the reassembly - readjust by hand. BTW pull the HL motor fuse (fuse #19 on an '80) before you start anything - you don't want the motor running while you work.
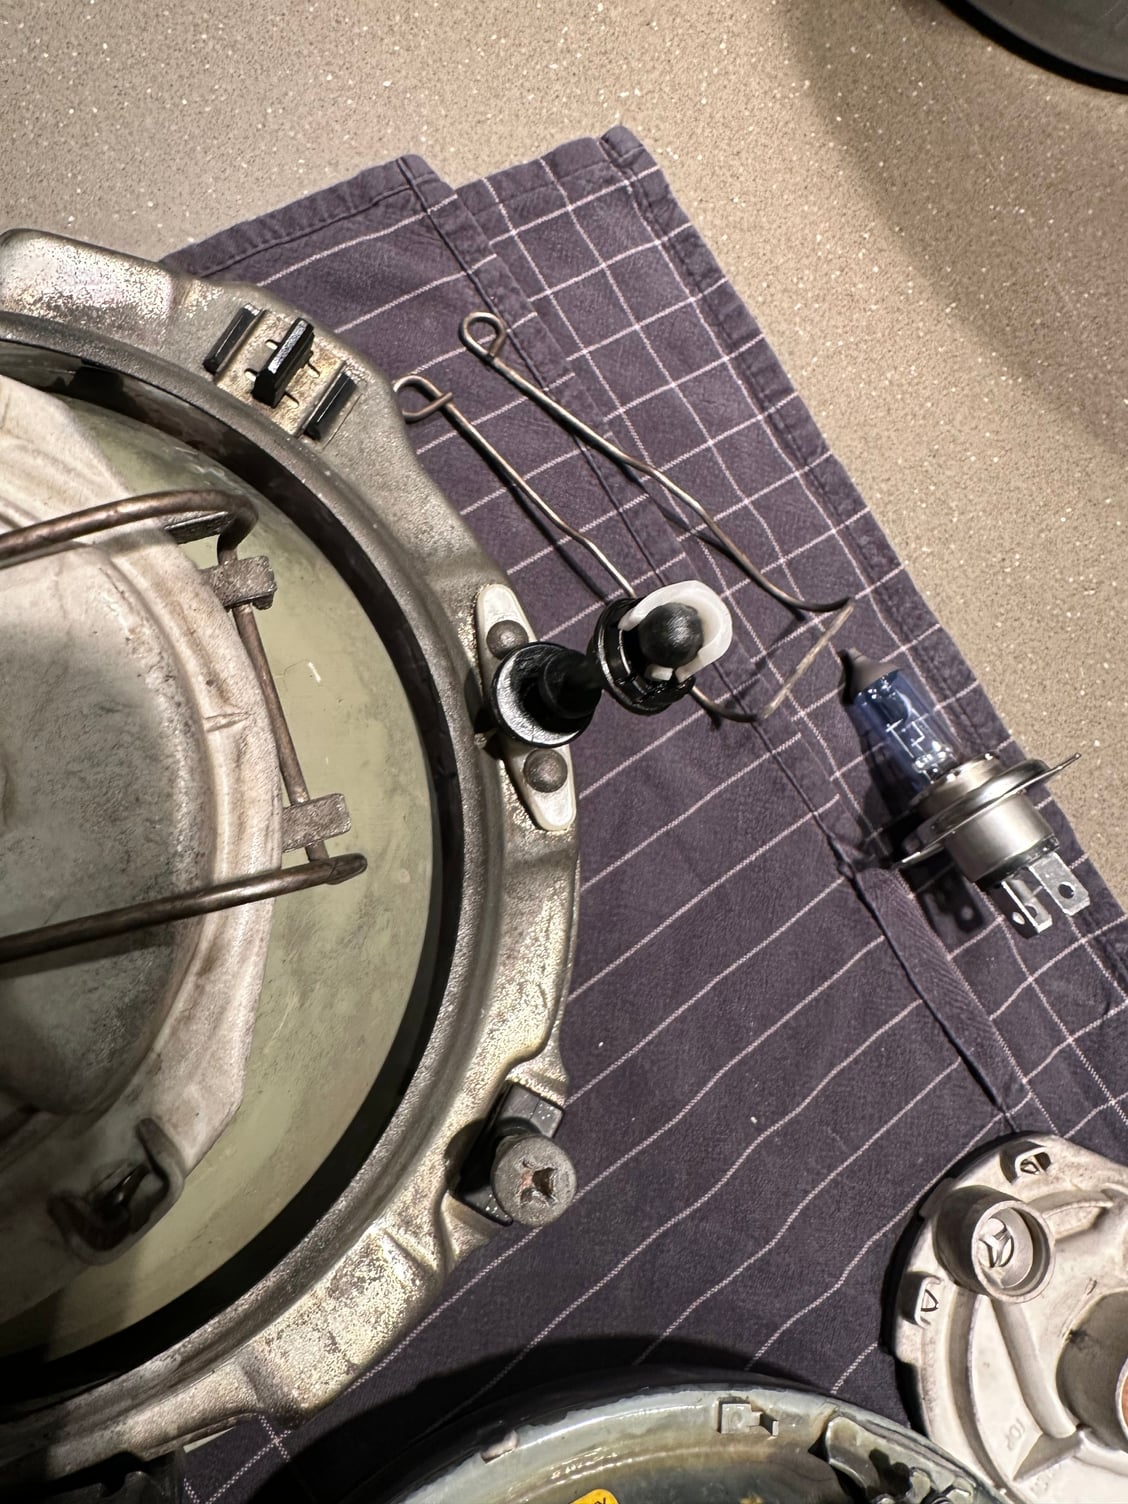
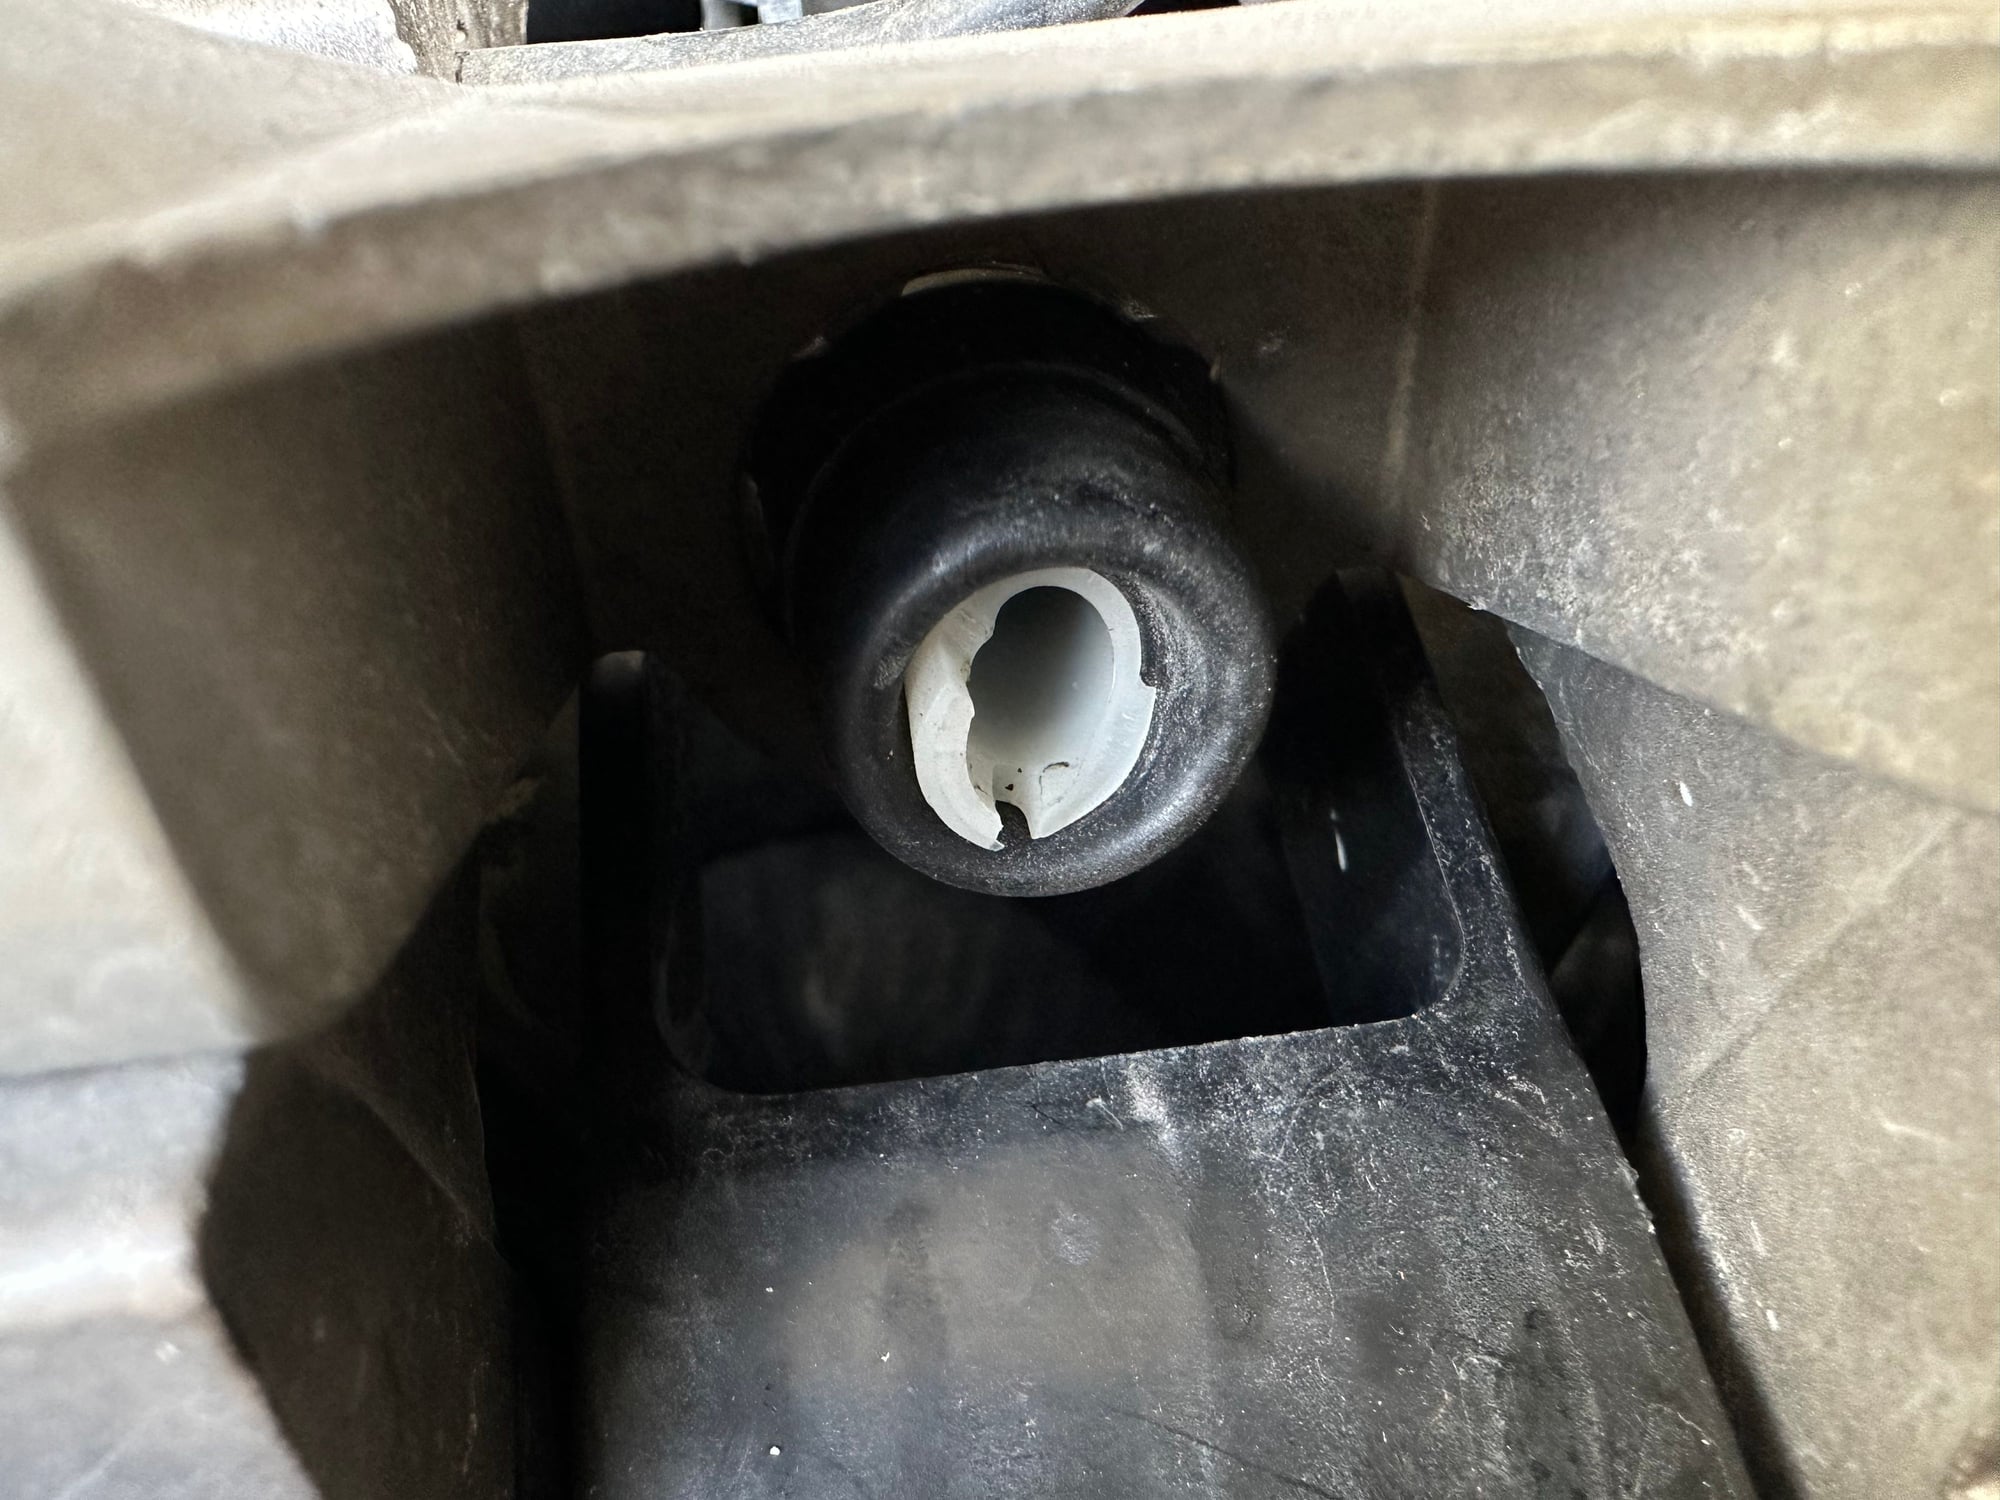
Damn, I just broke the little cup where the ball inserts into the actuator on the car. The little shaft with the two ***** is still attached to my headlight that I just removed.
If I look at PET, the whole assembly is 1 part number, including both actuators, the lines and the **** in the car.
Is there any way I could just replace the broken part (the cup on the actuator)? Or do I need a complete new assembly?
I still have to put the headlight back on the car, maybe it will work as it is. But I'm afraid it won't, half of the cup broke off..
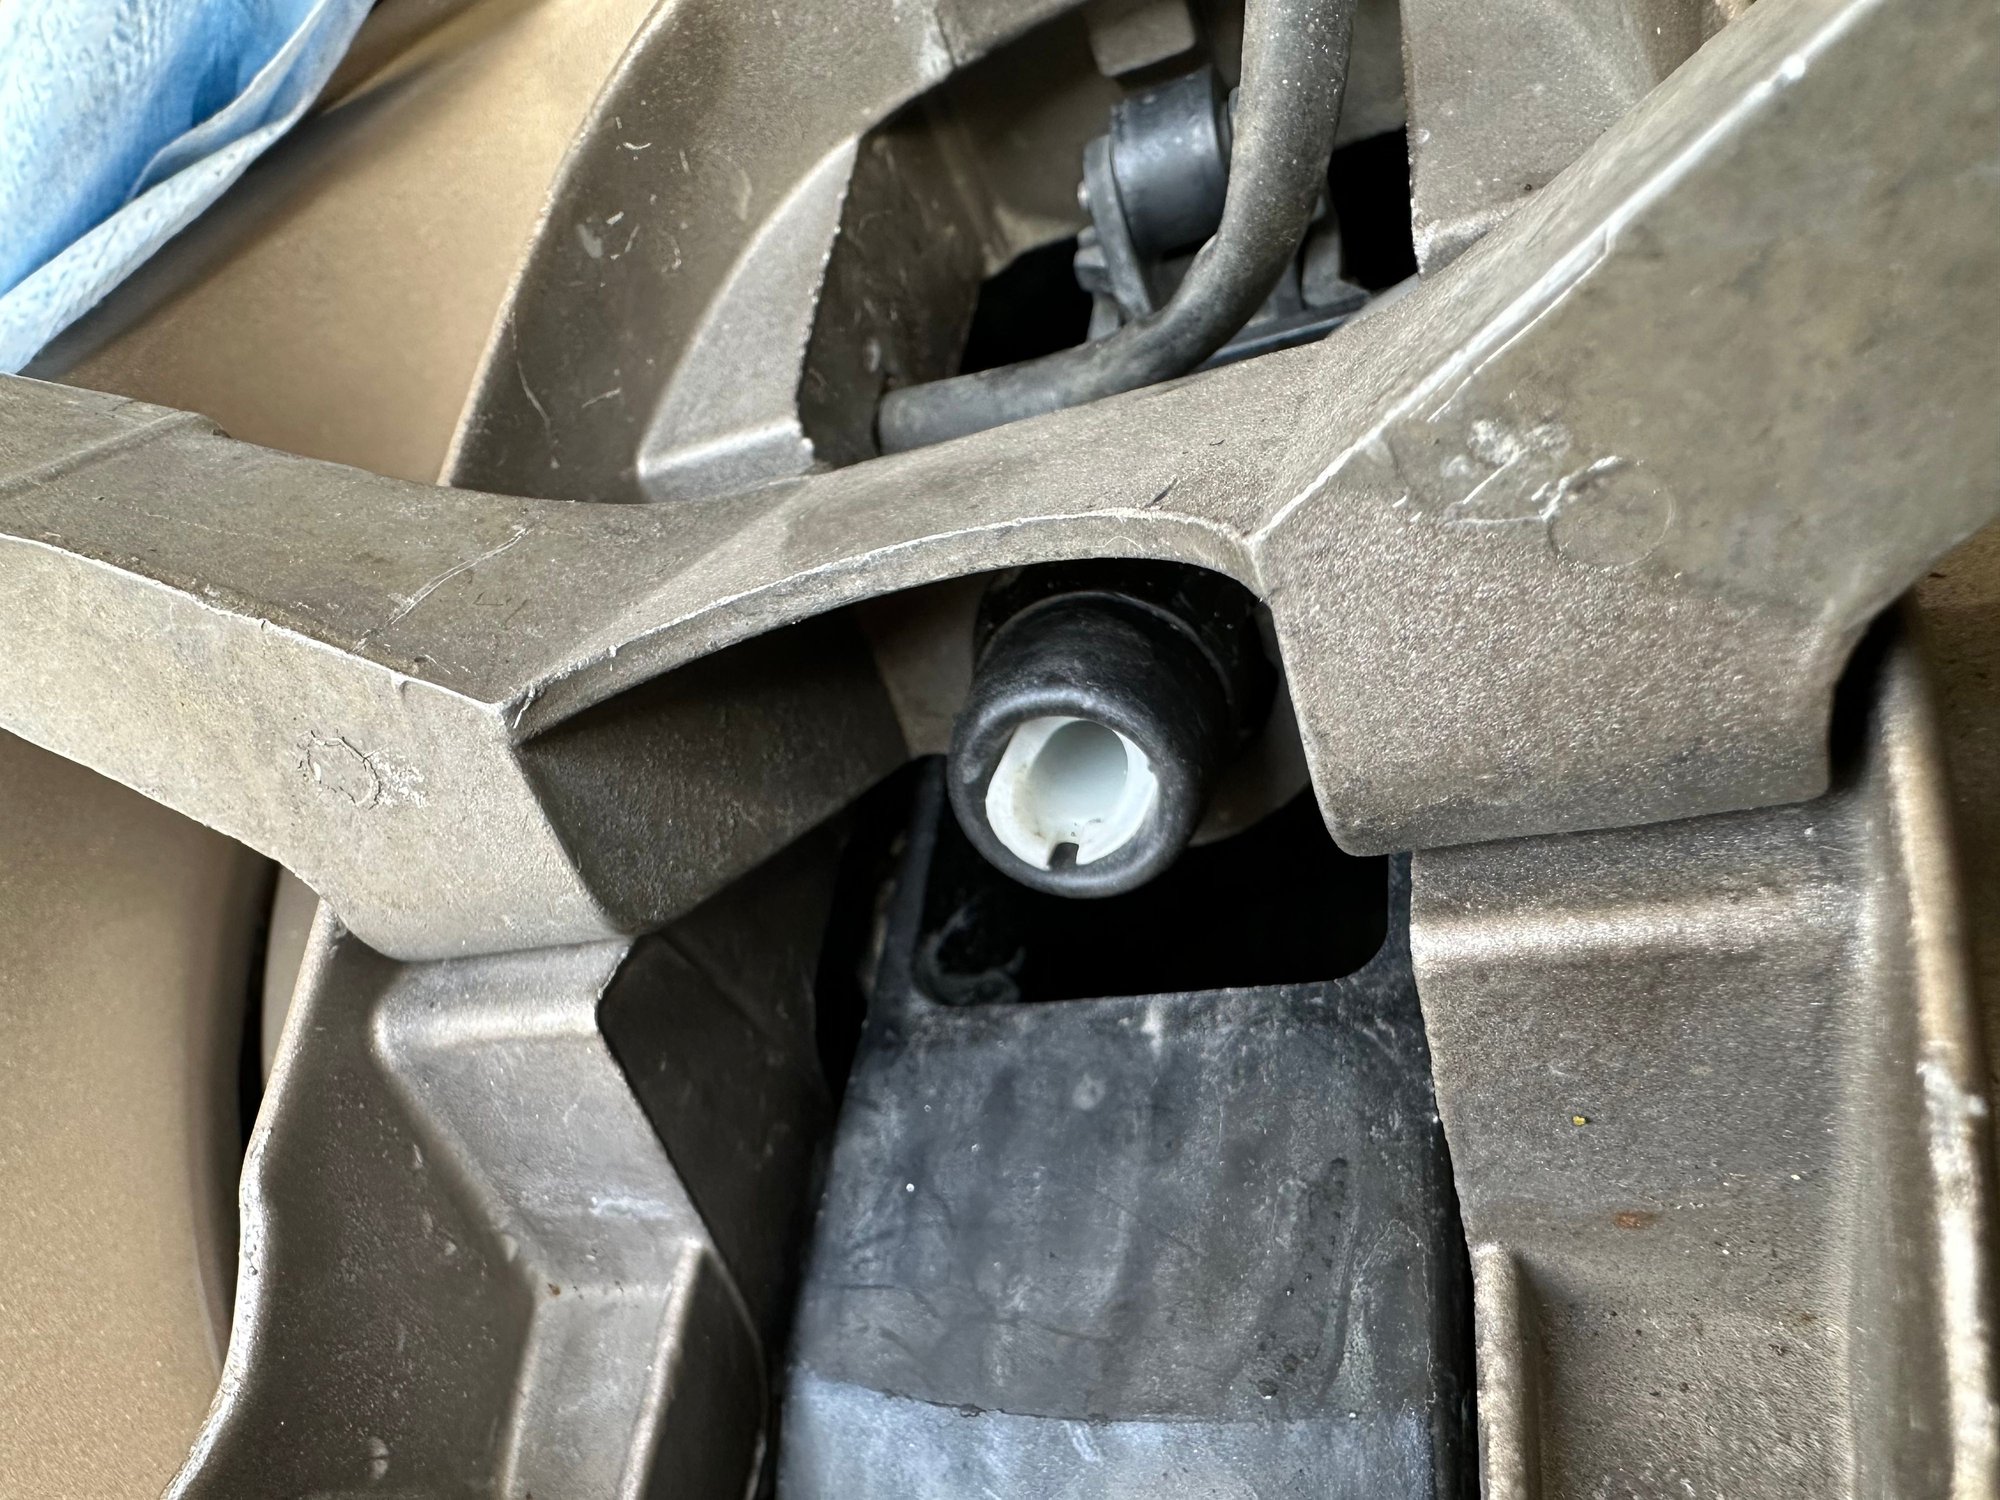
My other light had a new cup on the headlight mounted, without the ring to keep it locked in, and the shaft just pulls out.
This is why I simply pulled on the light on the other side, and broke the damn thing. How stupid of me.
Yes I recall there was at least discussion of a 3D printed generic part. I do think that a redesigned part could actually be quite a bit better - the sizing & lock mechanism of the stock part is not the best - and then the materials get brittle over time. Something a bit more substantial with a better clip (maybe a screw on clip) using better materials & mechanism for flexure (a longer flexible section to have less localized stress points).
The worst part of the story is that the whole hydraulic assembly was replaced with a new one only 2 years back.
I can imagine that the thing will work perfectly with the shaft ball superglued to the actuator in the car. It moves linearly, so not really necessary to have two ball-joints.
I will see what I can do in the car later this week.
(Had the lights out because there was condensation in one unit. I did the rice and alcohol clean.)
I had the same issue. I had bought a complete new system ( around 300$ 6 years ago)
The first year 1 of the 3 plastic taps holding the ball broke. My solution was a MacGyver solution: I put a piece of ductape around it and it still holds.
If you glue it, the risk will be that it breaks somewhere else because you restrict the smooth movement
You can also use rubber roof repairtape. It sticks excellent , is weather proof and remains flexible.
It'd definitely not going to work as it is now. The ball has not enough left to keep it inside the actuator.
I'm afraid tape alone will not be sufficient either. Can I get the actuator out of the car, or is it a no-go to disconnect the hydraulic tube from the actuator?
Based on PET, the whole assembly is one part, and you can buy it like this from the regular suppliers.

 02-22-2019, 08:38 PM