When you click on links to various merchants on this site and make a purchase, this can result in this site earning a commission. Affiliate programs and affiliations include, but are not limited to, the eBay Partner Network.
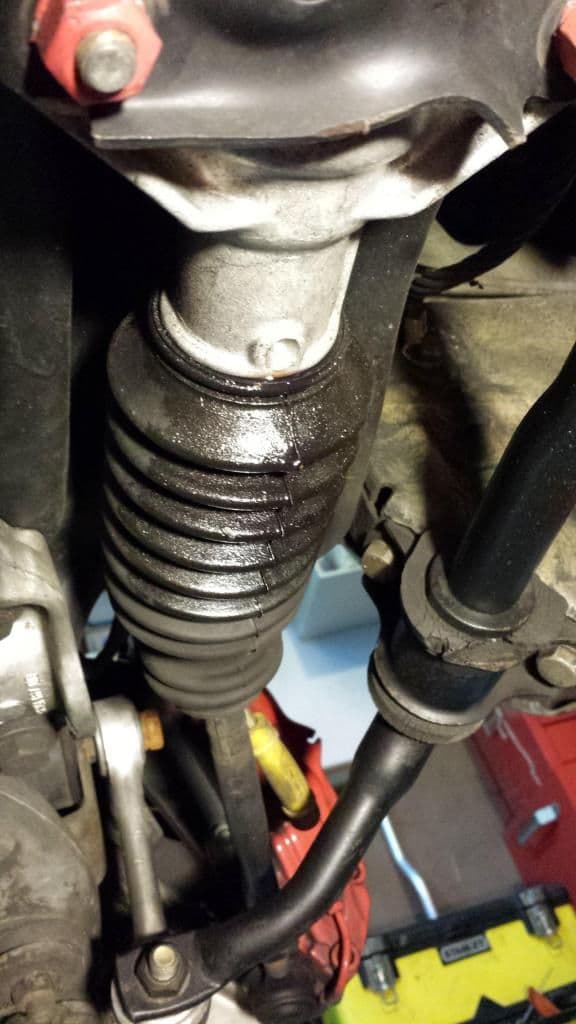
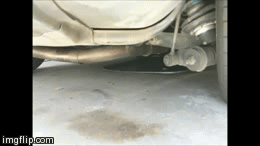
Tackled a steering rack replacement and shock/spring upgrade over labor day. Main driver was a weeping steering rack that dumped fluid on me every time I wiggled the boot:
I also had some Delrin bushings around that I had been meaning to install and some Eibach springs sitting lonely in the corner, so I figured I'd knock it all out over the three day weekend. It ended up taking two weekends.
I also wanted to do the PS hoses too, as I was unsure of their age.
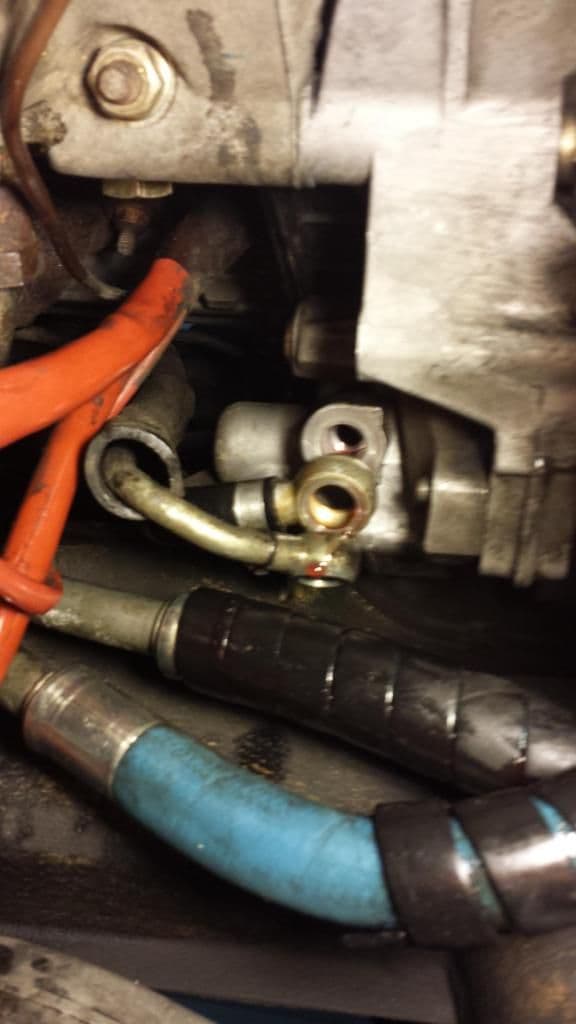
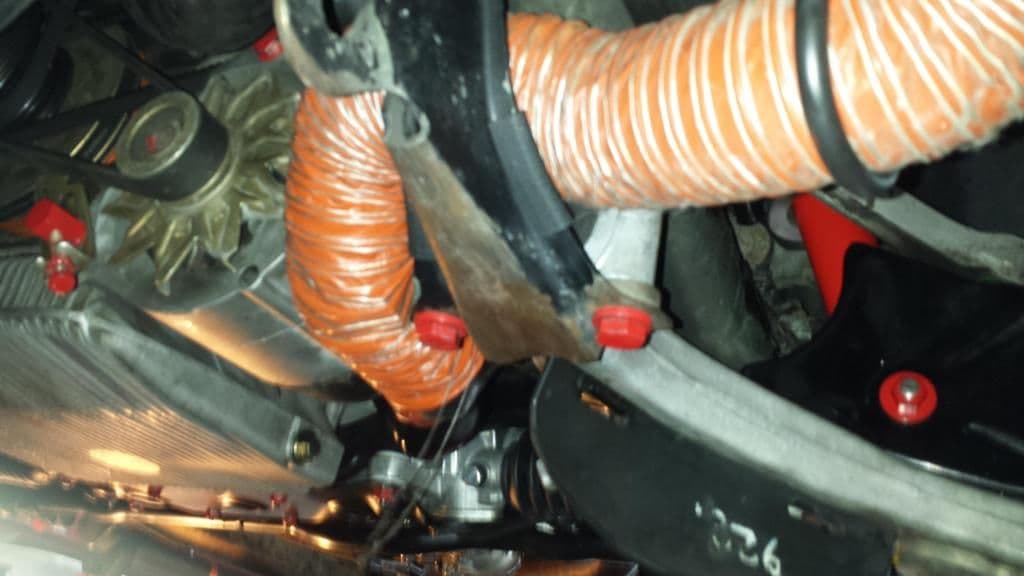
Dropped the alternator to get to the PS pump and disconnected the hoses and pulled the reservoir
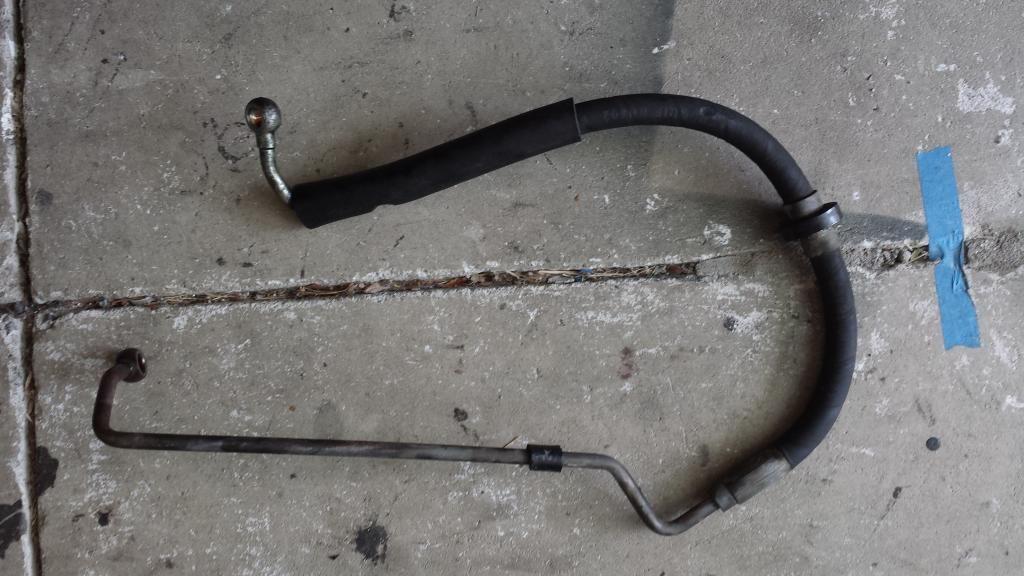
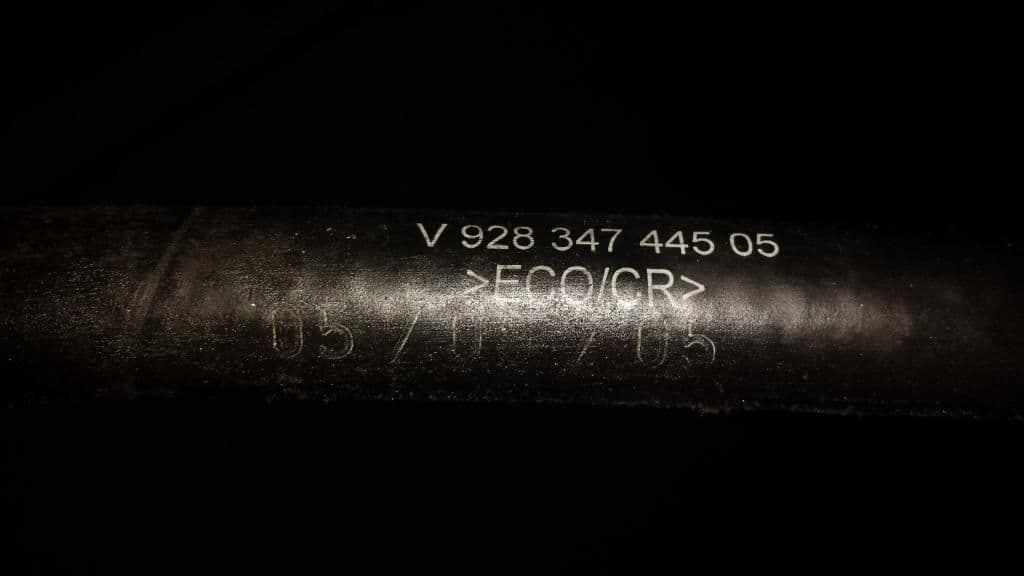
Based on the date stamp from one of the hoses, it looks like they may have been done in 2005, so they may not have been too old ( If all the hoses were done at the same time):
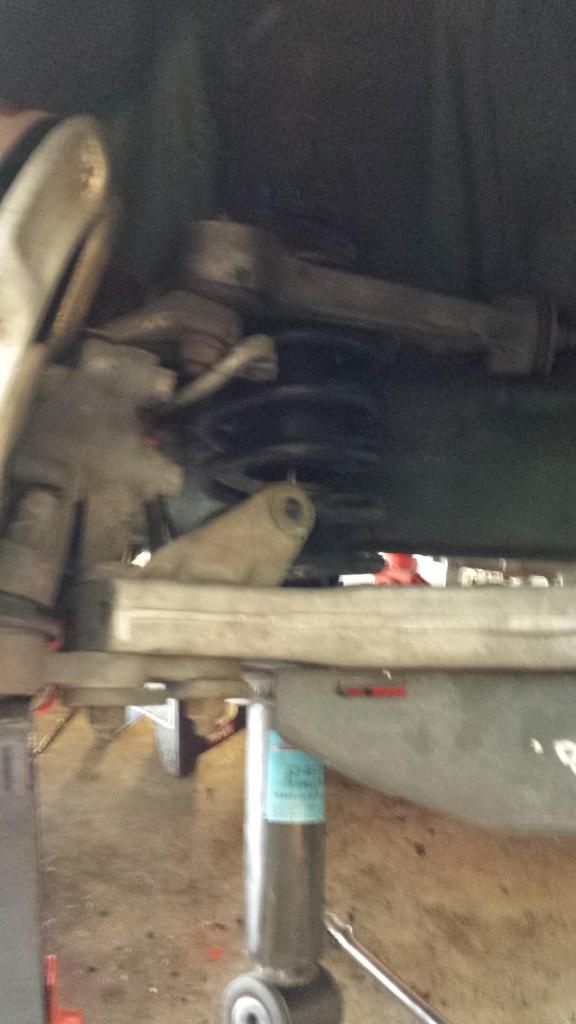
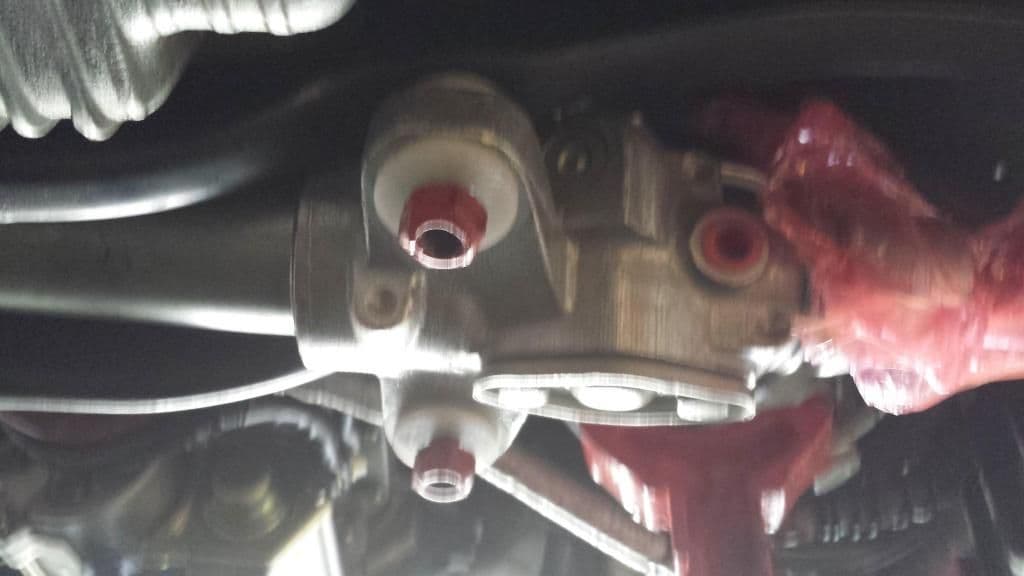
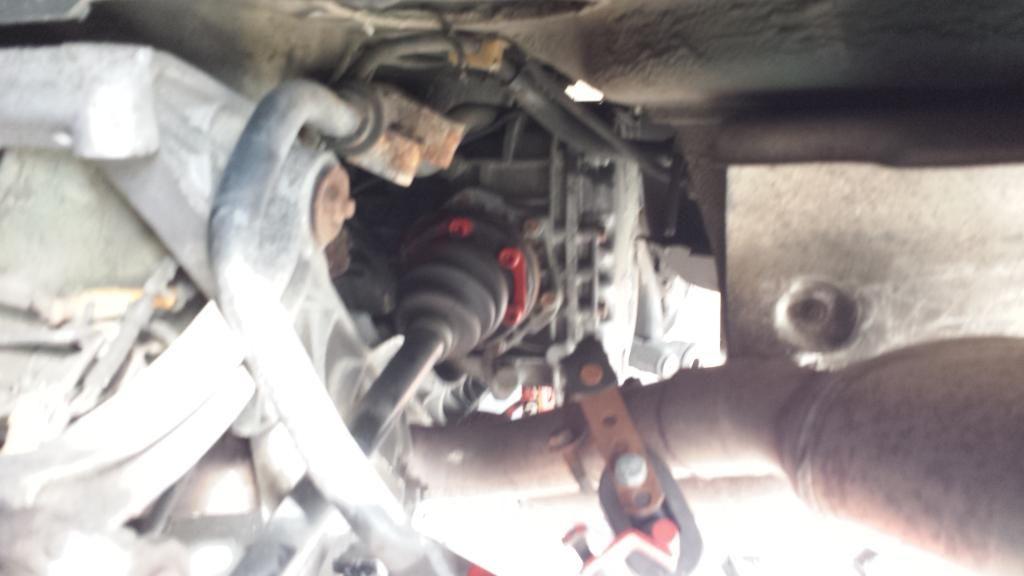
Then I removed the rack and started on the shocks/springs. As usual, getting them out thought the upper arm requires just the right angle and some clever wiggling :
I'm normally a big fan of powdercoating, but due to the rubber bits and some time constraints, just painted the upper and lower bits:
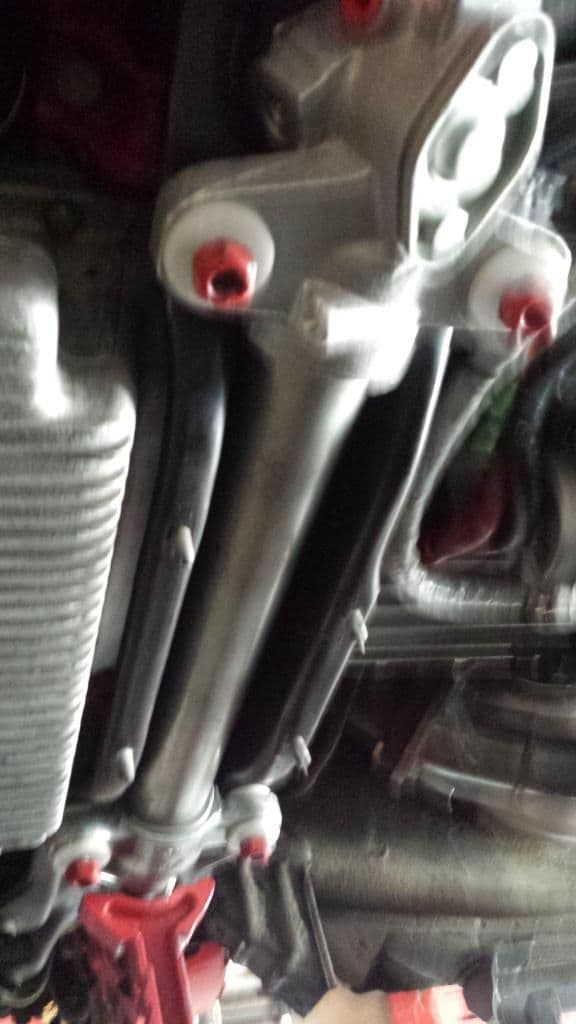
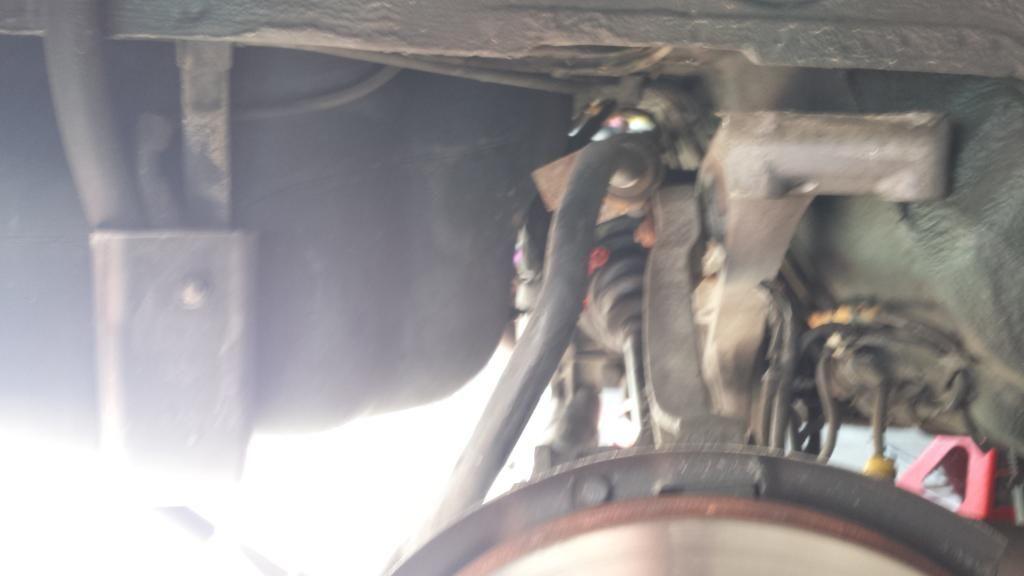
I then temp-mounted the rack without the reinforcing plate to get the Delrin bushings seated ( Note: rebuilt rack came with new OE rubber bushings, and in broke my heart to press them out) and to get U-Joint aligned in in place:
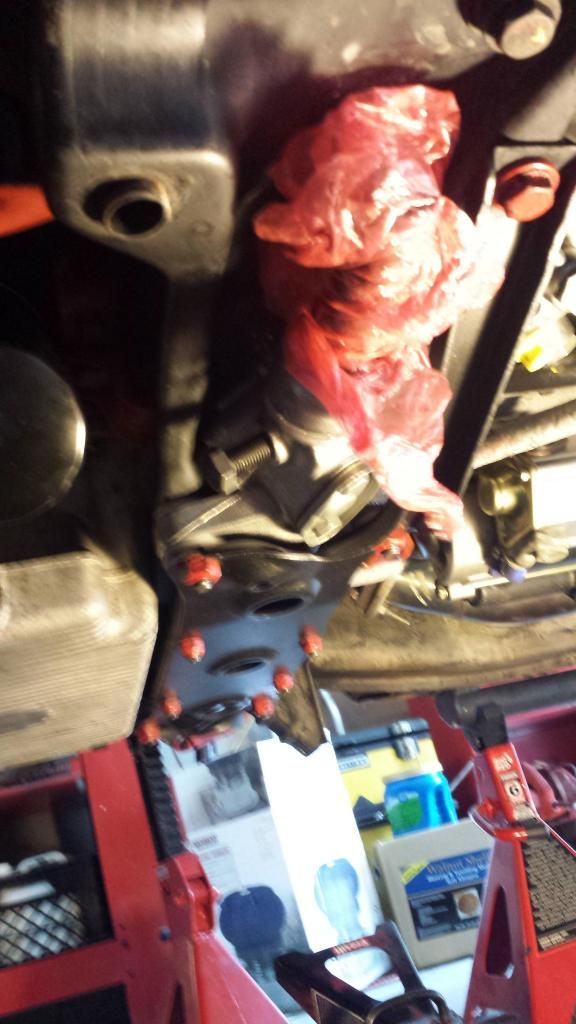
Then installed the new hoses. The pressure hose was rebuilt, and the other rubber was replaced with new rubber on the return lines:
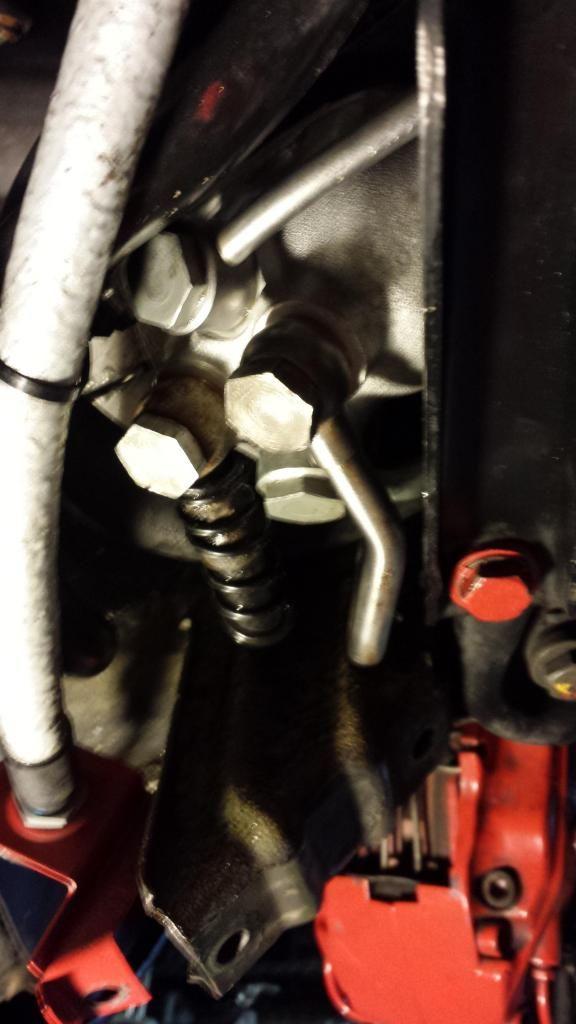
I don't have a picture, but the pump end of the pressure line is a REAL PITA to get the banjo bolt aligned and started. It is tough angle and a tight space.
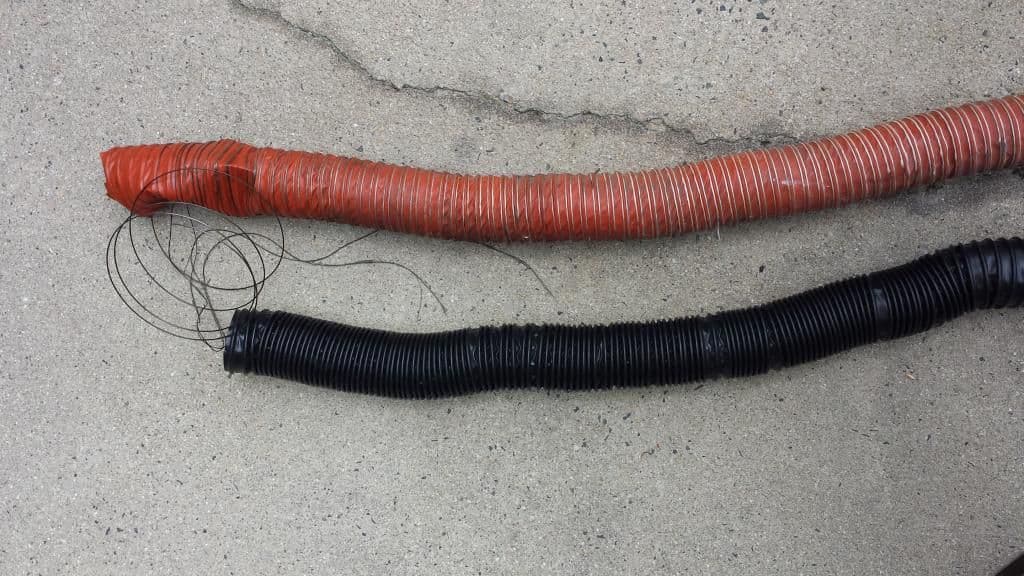
While re-installing the alternator, the already frazzled cooling hose more or less self-destructed. String and spring going everywhere, so that became a WYAIT, And just to vent, getting the long alternator pivot bolt back in place without removing the lower radiator hose was a _challenge_ ( No pics of that):
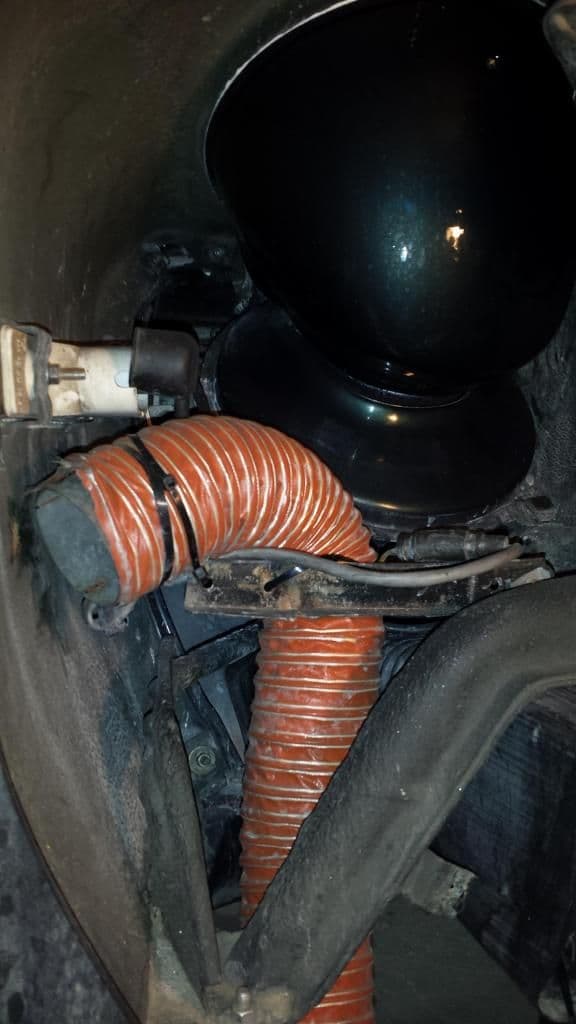
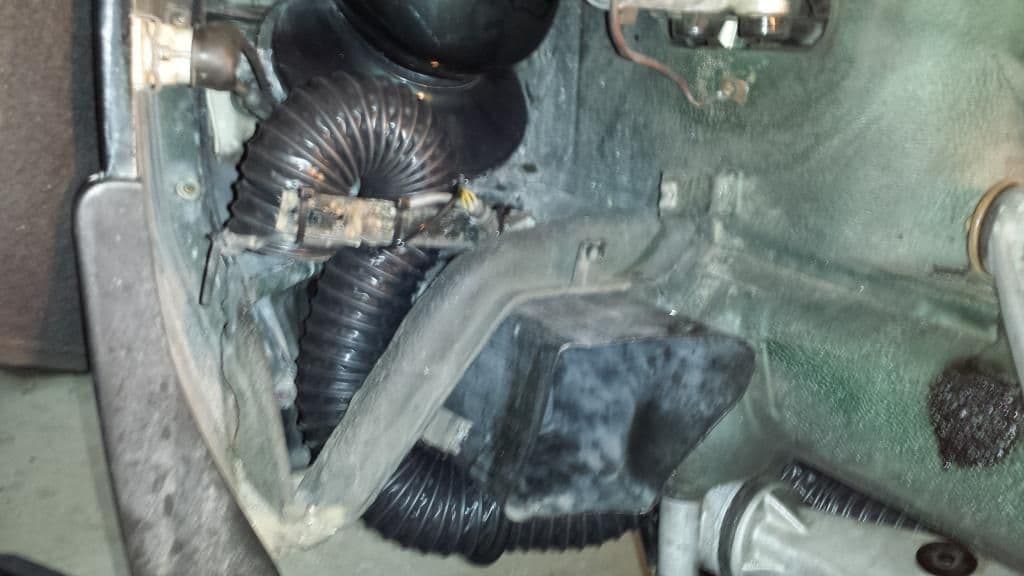
I found a local source for the 2.5" Gates hose. More $$ than Roger, but available immediately:
My install was not perfect, as I need to replace my wheel well splash guard and the hose bracket, but those parts are _not_ available locally. It will do for now:
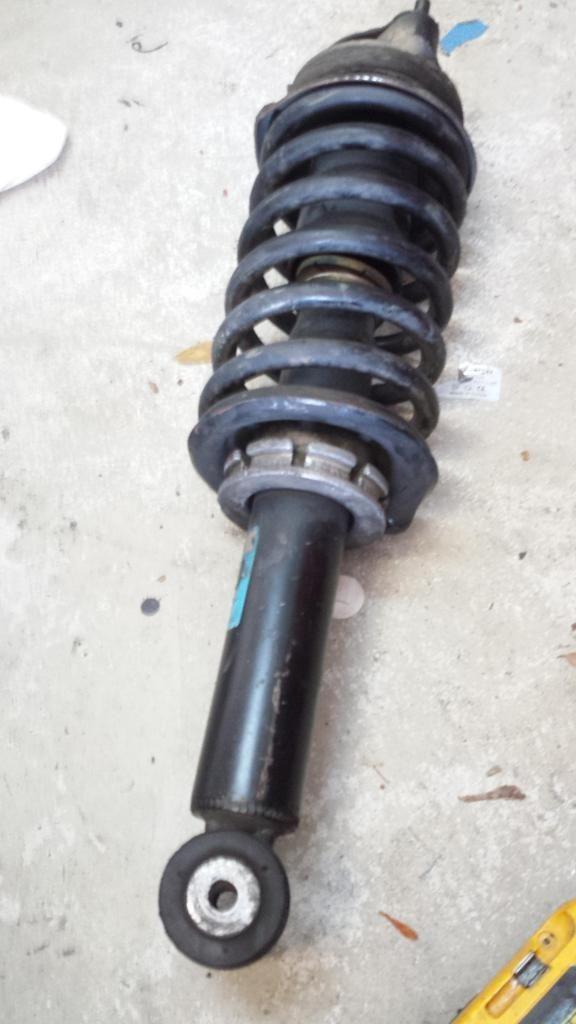
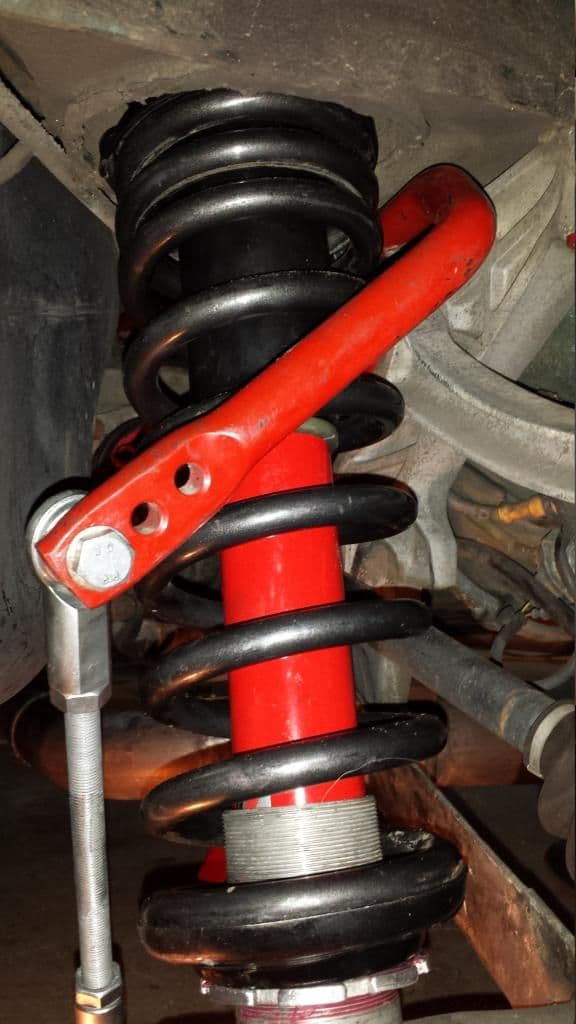
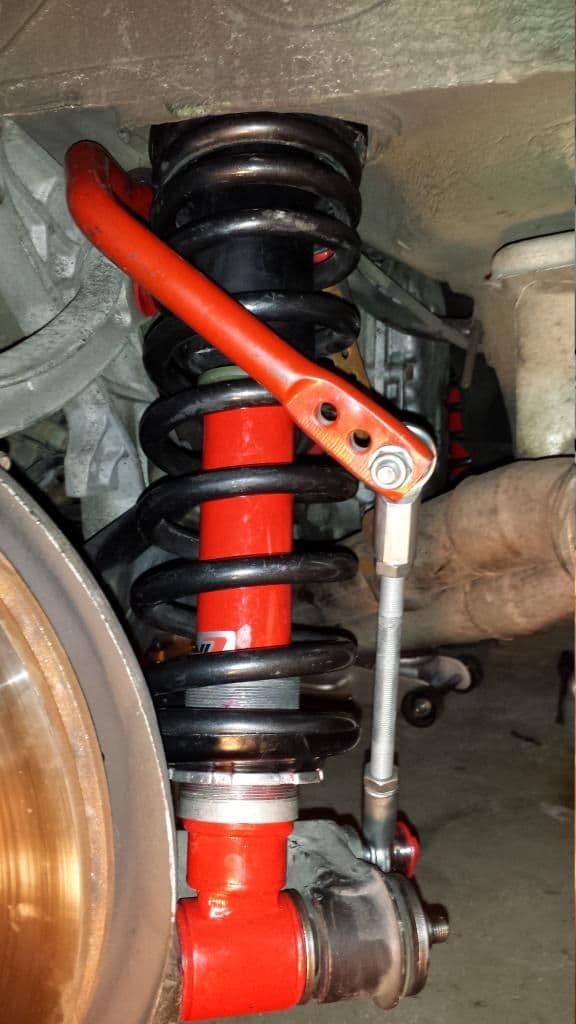
Installed rear Eibach/Koni's and 928 Specialists adjustable rear sway bar and drop links over the weekend.
Eibach's and Sway Bar courtesy of other Rennlisters.
Koni's from Roger.
Some notes:
- Transmission is not all that hard to drop the ~2 inches required to remove the sway bar.
- The sway bar actually can be wiggled out. I was dubious at first, but once loose, took less than a minute to get it out the drivers side. "New" bar only slightly longer to get back in.
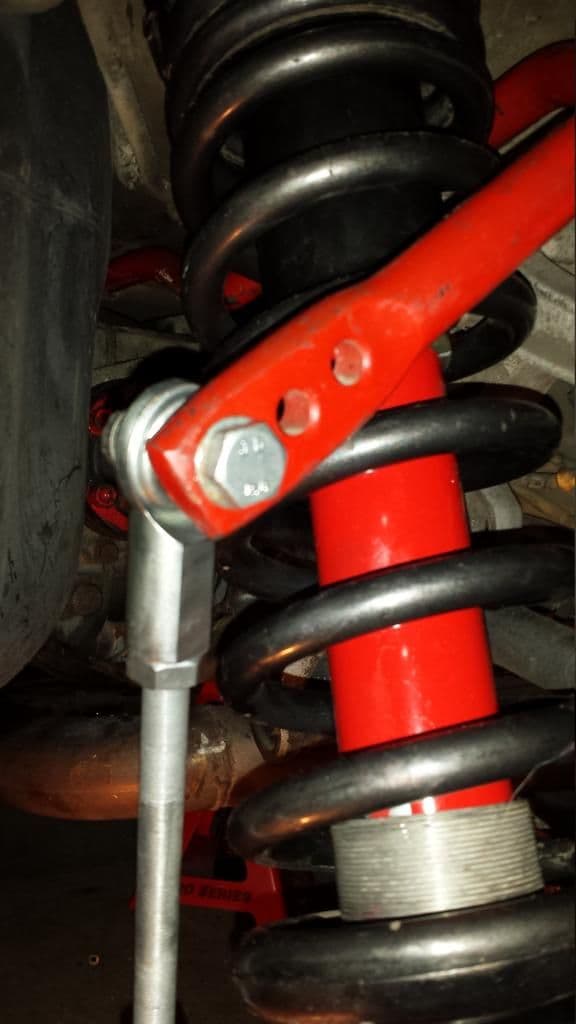
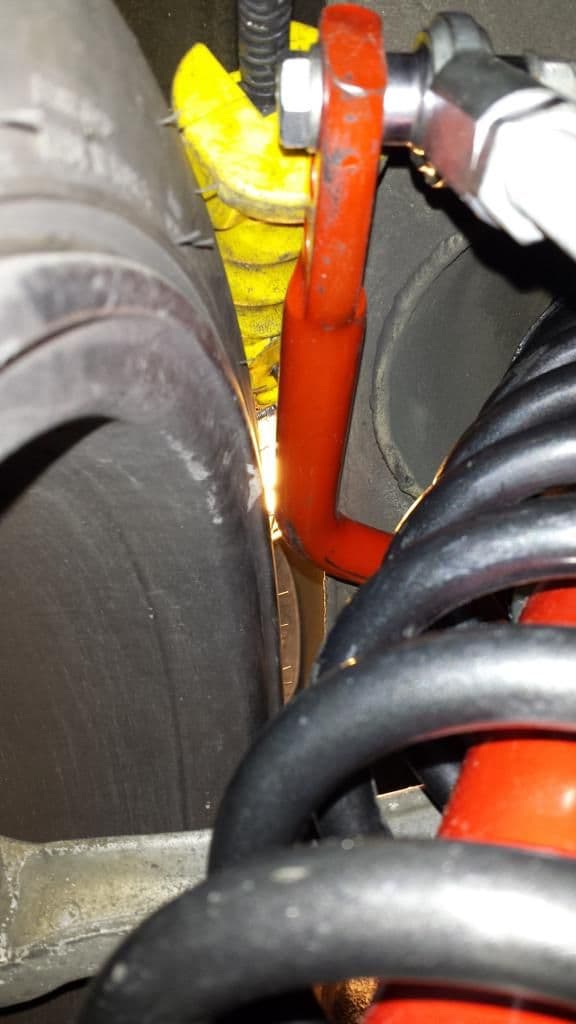
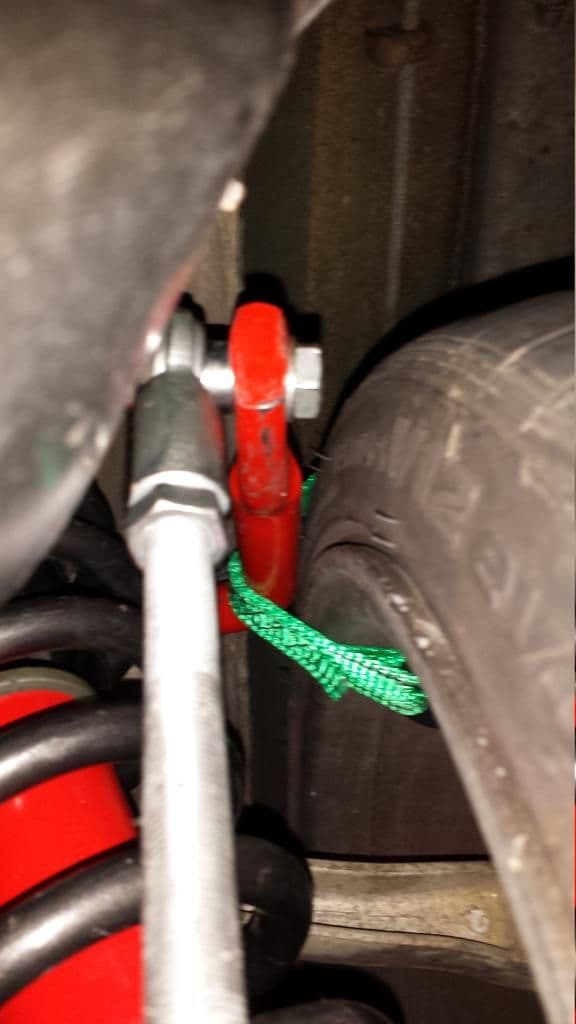
- New sway bar clearance is tight, especially with 295's on 11" rims. See pics. You will need to carefully center the bar. I used a ratchet strap around the wheel to slowly drag the bar to the correct center location. This is at full suspension drop of course. Much less of an issue under load.
- Drop link to spring clearance will be tight on stiffer settings.
Pics:
Clearance:
Adjusting centering for clearance purposes. Basically you loosen the collars on the bar itself, move them to where you want them and drag the bar over with the ratchet strap around the wheel
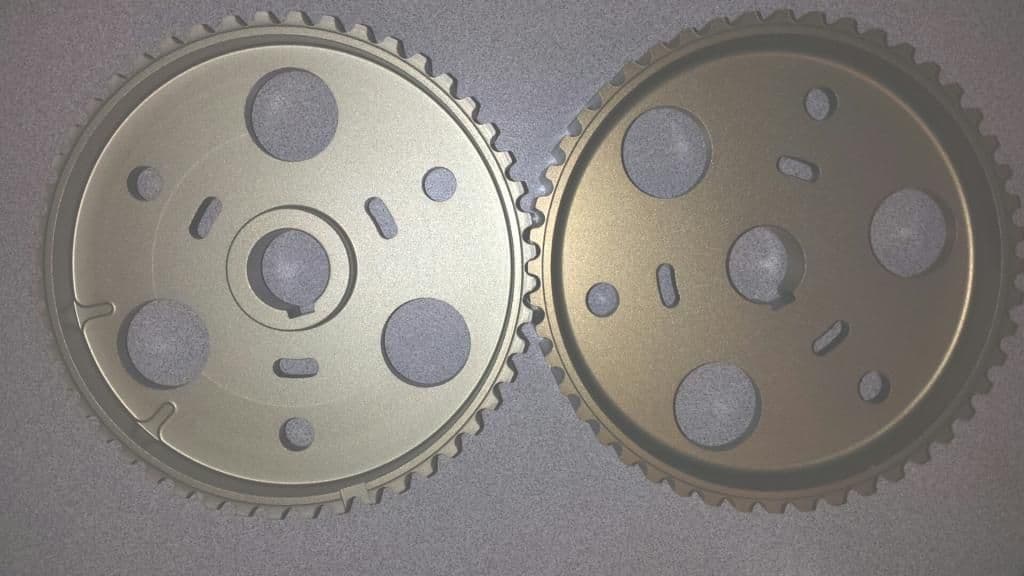
Busy Couple weeks. Figured it was about time for a Timing Belt/Water Pump job with the abuse my car takes plus some WYAIT. About that time Roger sent out a note about his replacement Cam gears. They are gorgeous.


 09-08-2014, 02:10 PM