
First start after 15 years parked - Intake Restored


 02-23-2012, 09:18 AM
#93
Instructor
Thread Starter

wow thats a great job your doing there the intake looks great as does the painted car.
I am doing a line swap out like what you have done,
the only lines i dont see in your picture are the two fuel lines by the right hand cylinder head,
I would suggest to swap those out as well if you have not done so.
Goodluck on your project
I am doing a line swap out like what you have done,
the only lines i dont see in your picture are the two fuel lines by the right hand cylinder head,
I would suggest to swap those out as well if you have not done so.
Goodluck on your project
Great job ... I've added a pic of the fuel lines MrMerlin is referring to, that you should replace.
If you haven't already replaced them they'll be hard and cracked like these ones were on my 82. Mine is RHD of course but the lines are the same ... a bit difficult to get to with the engine in.
If you haven't already replaced them they'll be hard and cracked like these ones were on my 82. Mine is RHD of course but the lines are the same ... a bit difficult to get to with the engine in.
It's really cheap, I spend about 100.00 on all hoses including the fuel ones, but it's a lot of work... no scuses for vacuun leak anymore.
After the car finished, I'll detail the engine bay. I'm speding a lot of money and I'm very anxious to ride it. Now I'll just invest on essentials.
05-16-2012, 04:04 PM
#94
Instructor
Thread Starter
1 Year !!!!!!
More pics to come this weekend ! We finished painting and now we are polishing and interior assembling.
Hundreds of missing parts !!!! It's a good opportunity to change bolts, screws and nuts to stainless steel when possible, revert some improvised and glued parts to OEM spec with original parts and of course... have fun !
05-20-2012, 11:10 AM
#97
Instructor
Thread Starter
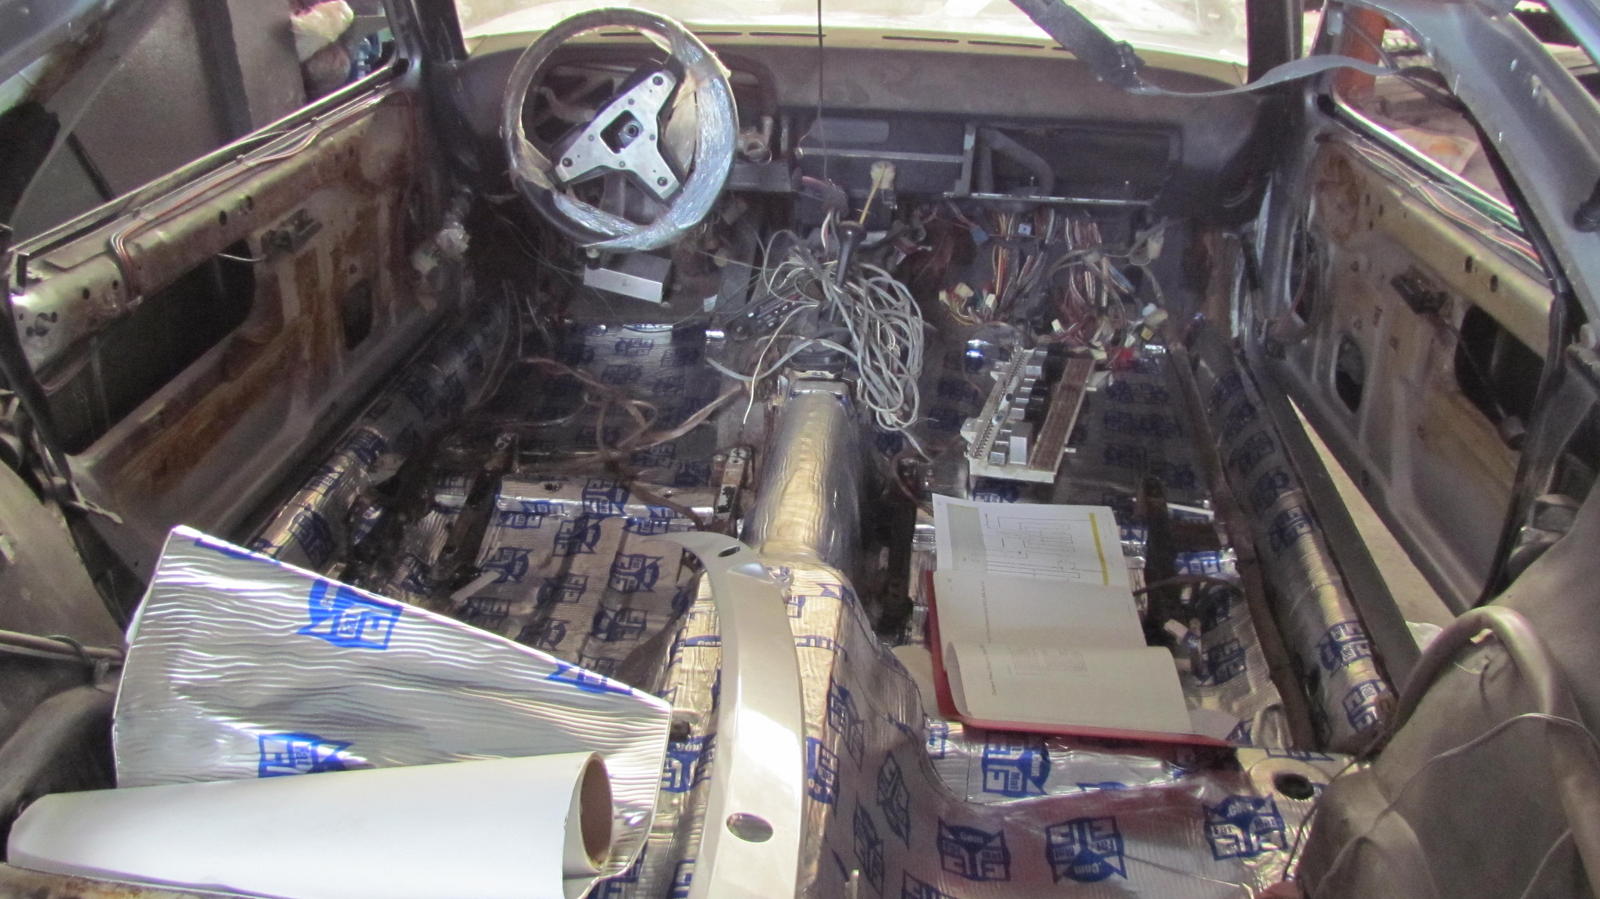
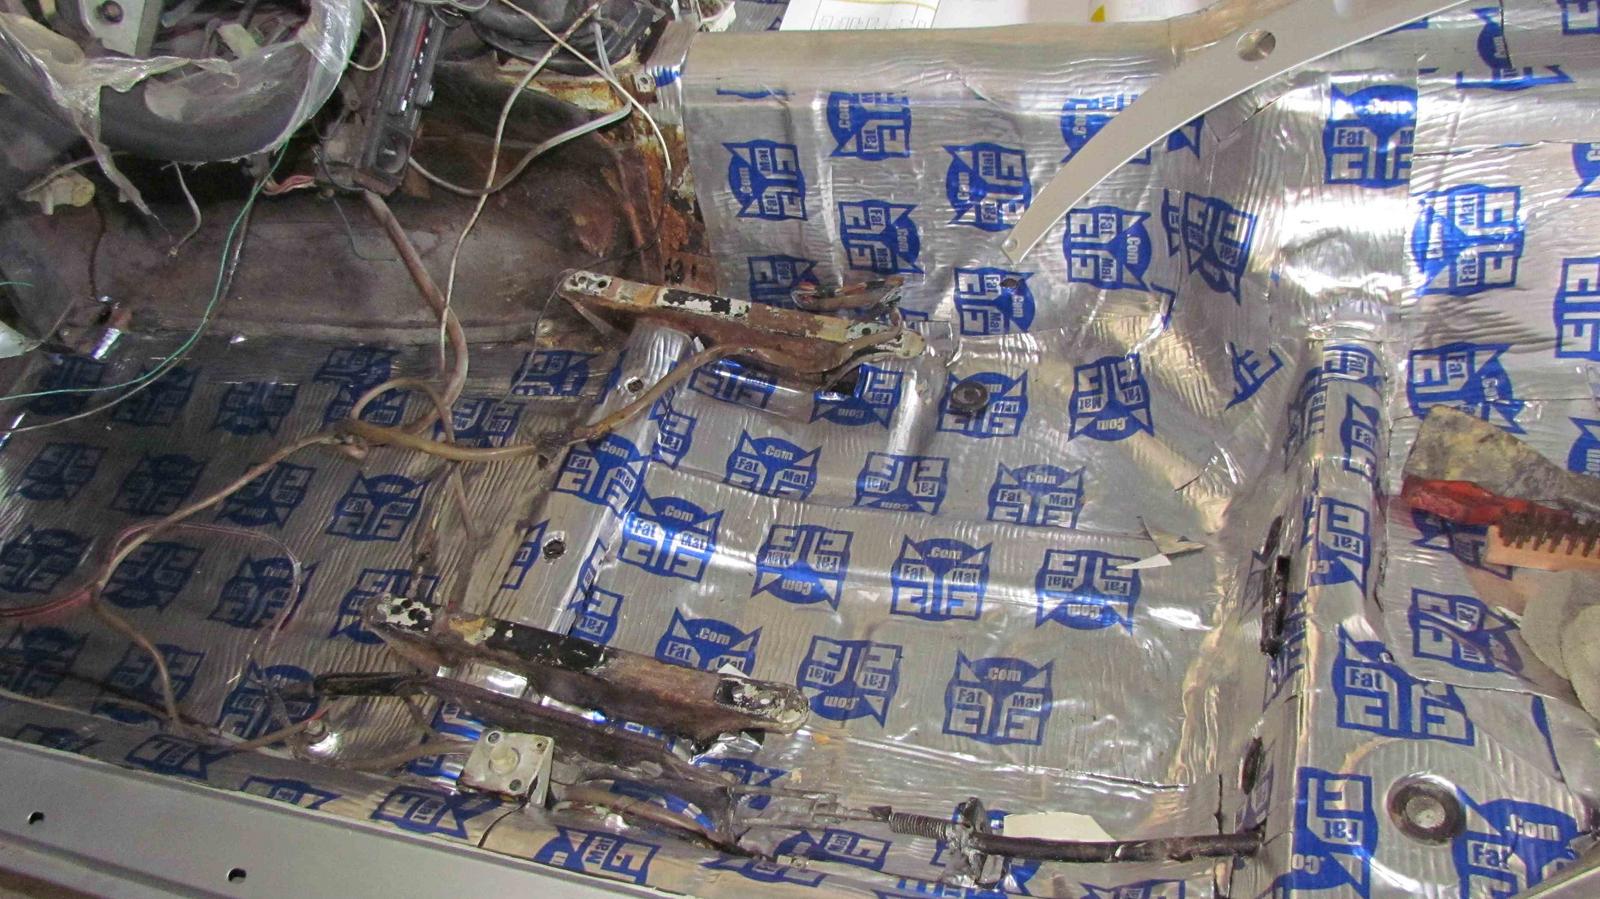
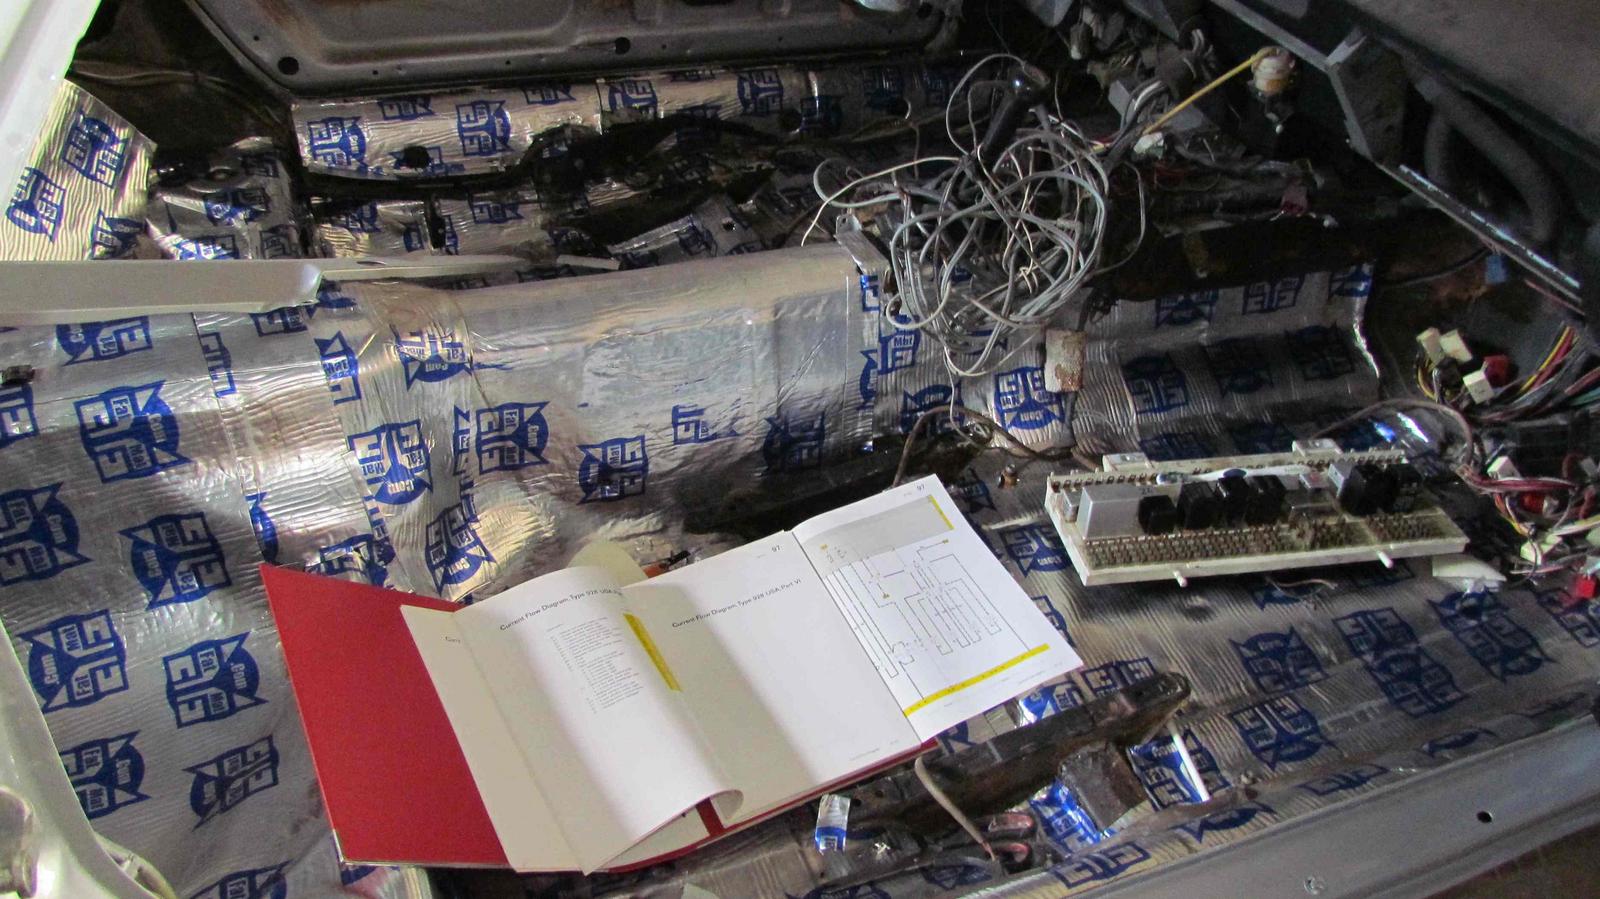
We finished the repaint and before buffing and polishing I'll assemble the interior, because in case of some scratch on paint during the job, will be much easer to fix.
Once my original foam is in a very bad situation smelling so bad and very dirty (including rodent urine), I decide to remove all old material and replace with modern ones.
First a layer of sound absorber and next a layer of closed cell foam (not shown yet) of 1/2 thick.
Here some pics.
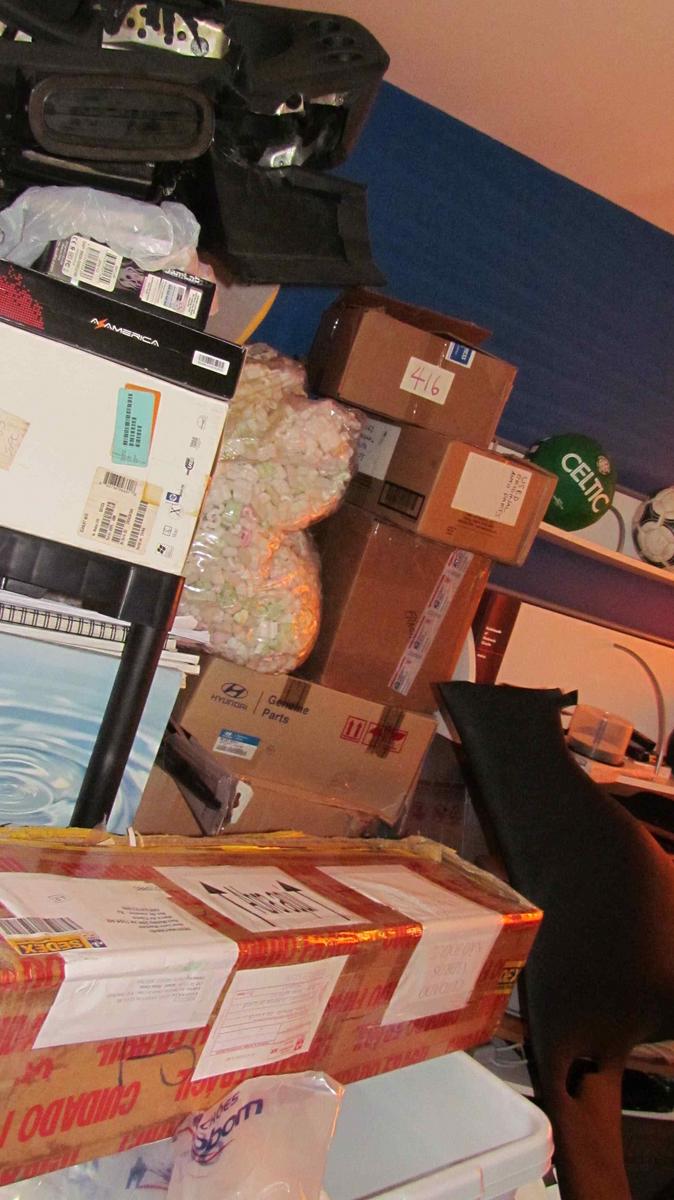
Here a picture of a room used to store my car's parts waiting to be installed.
Once my original foam is in a very bad situation smelling so bad and very dirty (including rodent urine), I decide to remove all old material and replace with modern ones.
First a layer of sound absorber and next a layer of closed cell foam (not shown yet) of 1/2 thick.
Here some pics.
Here a picture of a room used to store my car's parts waiting to be installed.
08-06-2012, 07:04 PM
#101
Instructor
Thread Starter
Facing some electrical issues... Starter, Fuel Pump, Head Light, Instrument Panel, Turn Indicator, etc
It's very frustrating. I have just 5-6 hours per week to work in my car and electrical troubleshooting is very time consuming task.
The car is painted, interior almost done...
It's very frustrating. I have just 5-6 hours per week to work in my car and electrical troubleshooting is very time consuming task.
The car is painted, interior almost done...
08-10-2012, 01:08 PM
#102
Instructor
Thread Starter
I decided to try rebuild my starter motor by my self, after someone asked me about $350.00 to that ! Buy a refurbished one in USA will cost me $450-$500 (including shipping and taxes) and will take 40 days to delivery.
This was the first time I attempt to work with starter motors, and I decide to study its operation, schematics and pinout.
The basic operation... The solenoid has the pin #50 that in conjunction with battery positive and starter grounded, should move the drive fork and initiate the field coils movement. Mine was dead... Bought a new solenoid for around $50.
Here the result:
Round 1 - Disassembly - Easy part of the job...
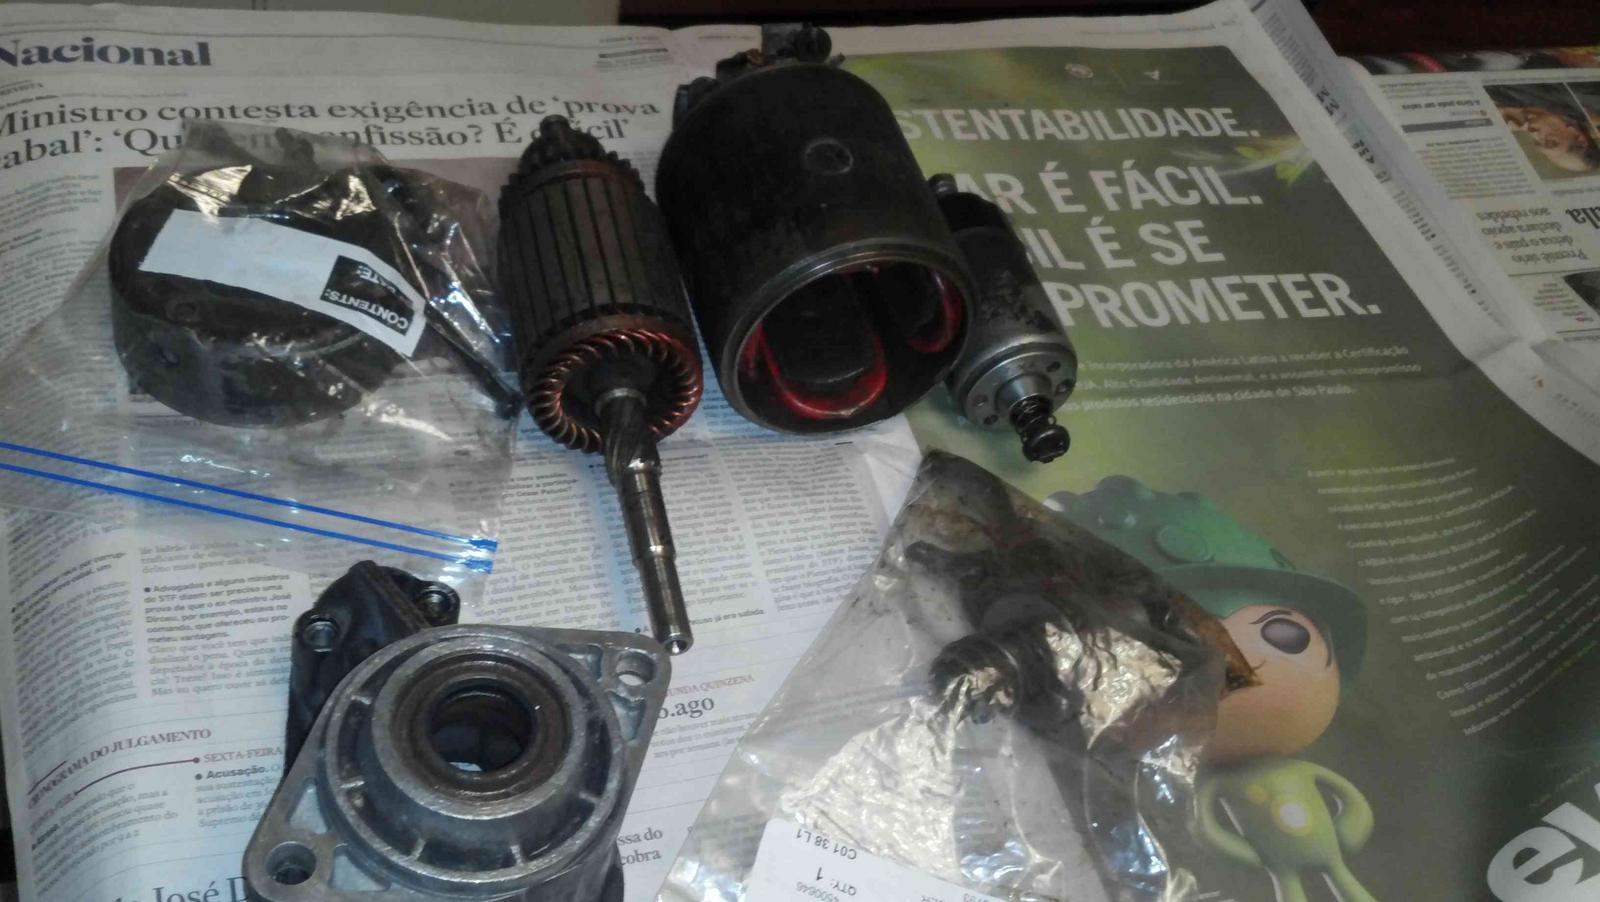
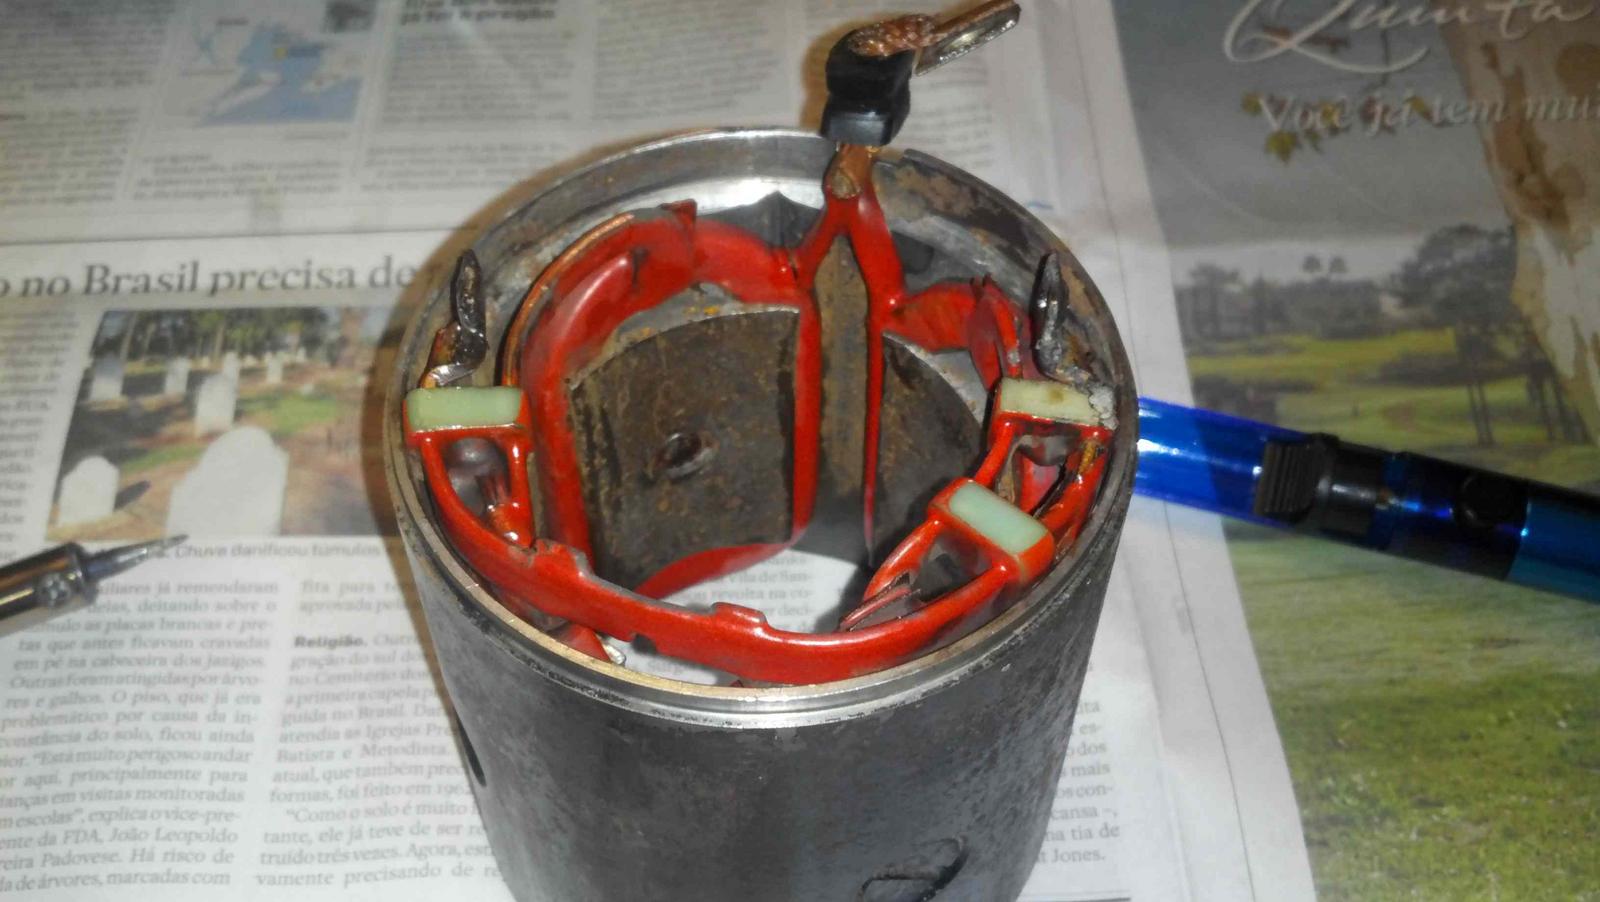
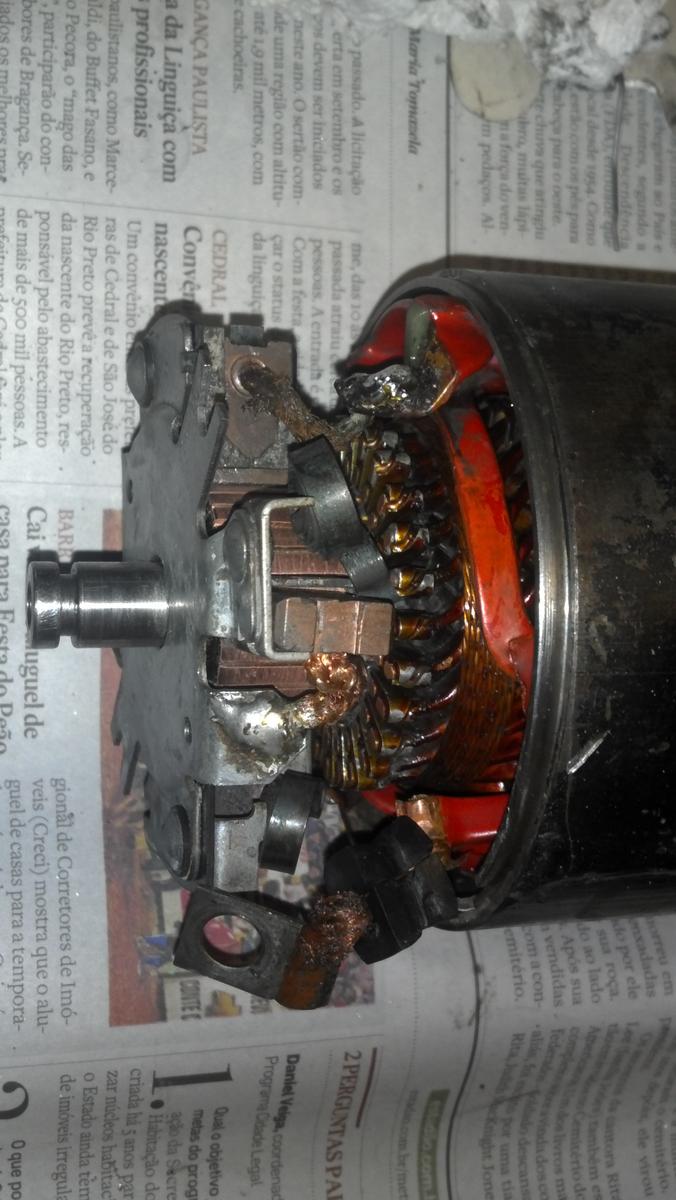
Round 2 - Cleaning
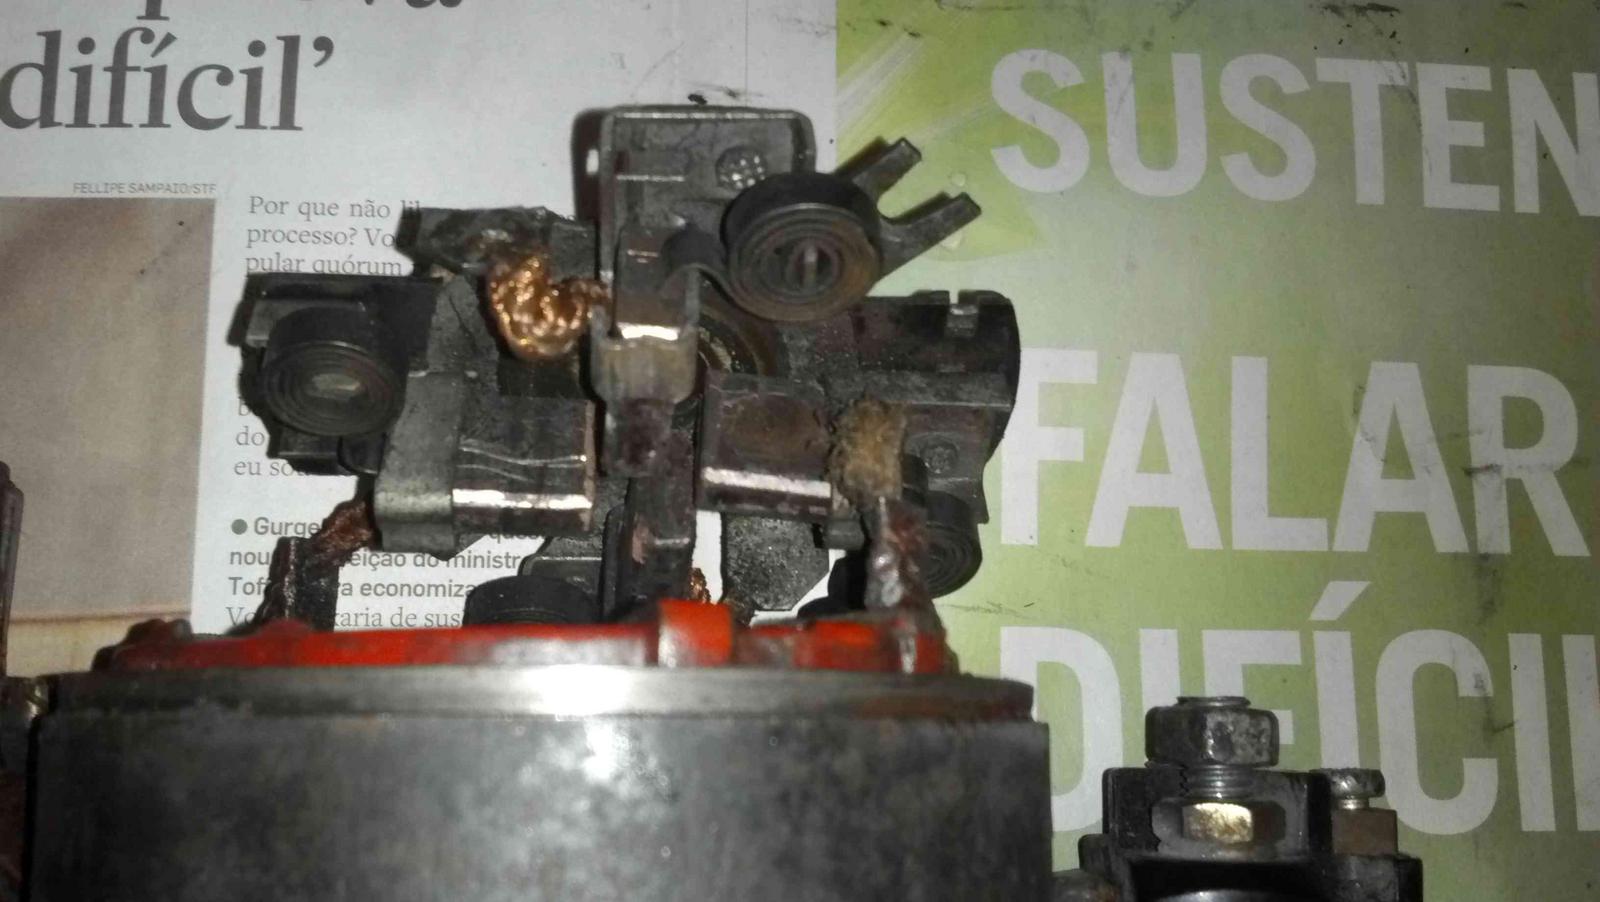
I used Simple Green and a old tooth brush and carefully brushed the inside of starter, brushes, coils and armature.
Before...
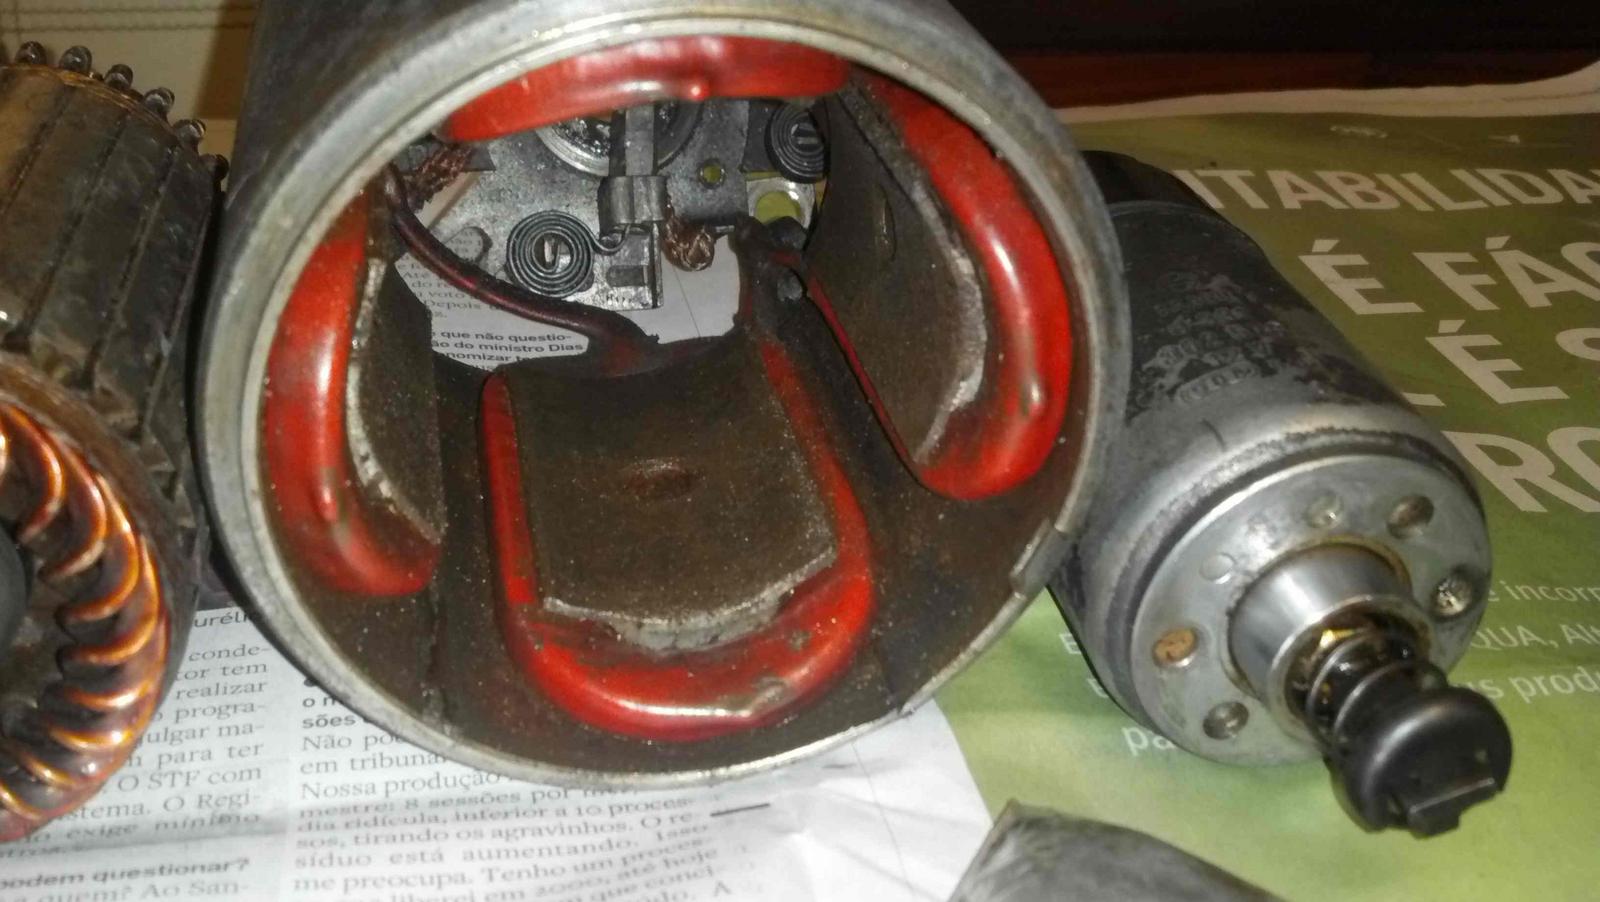
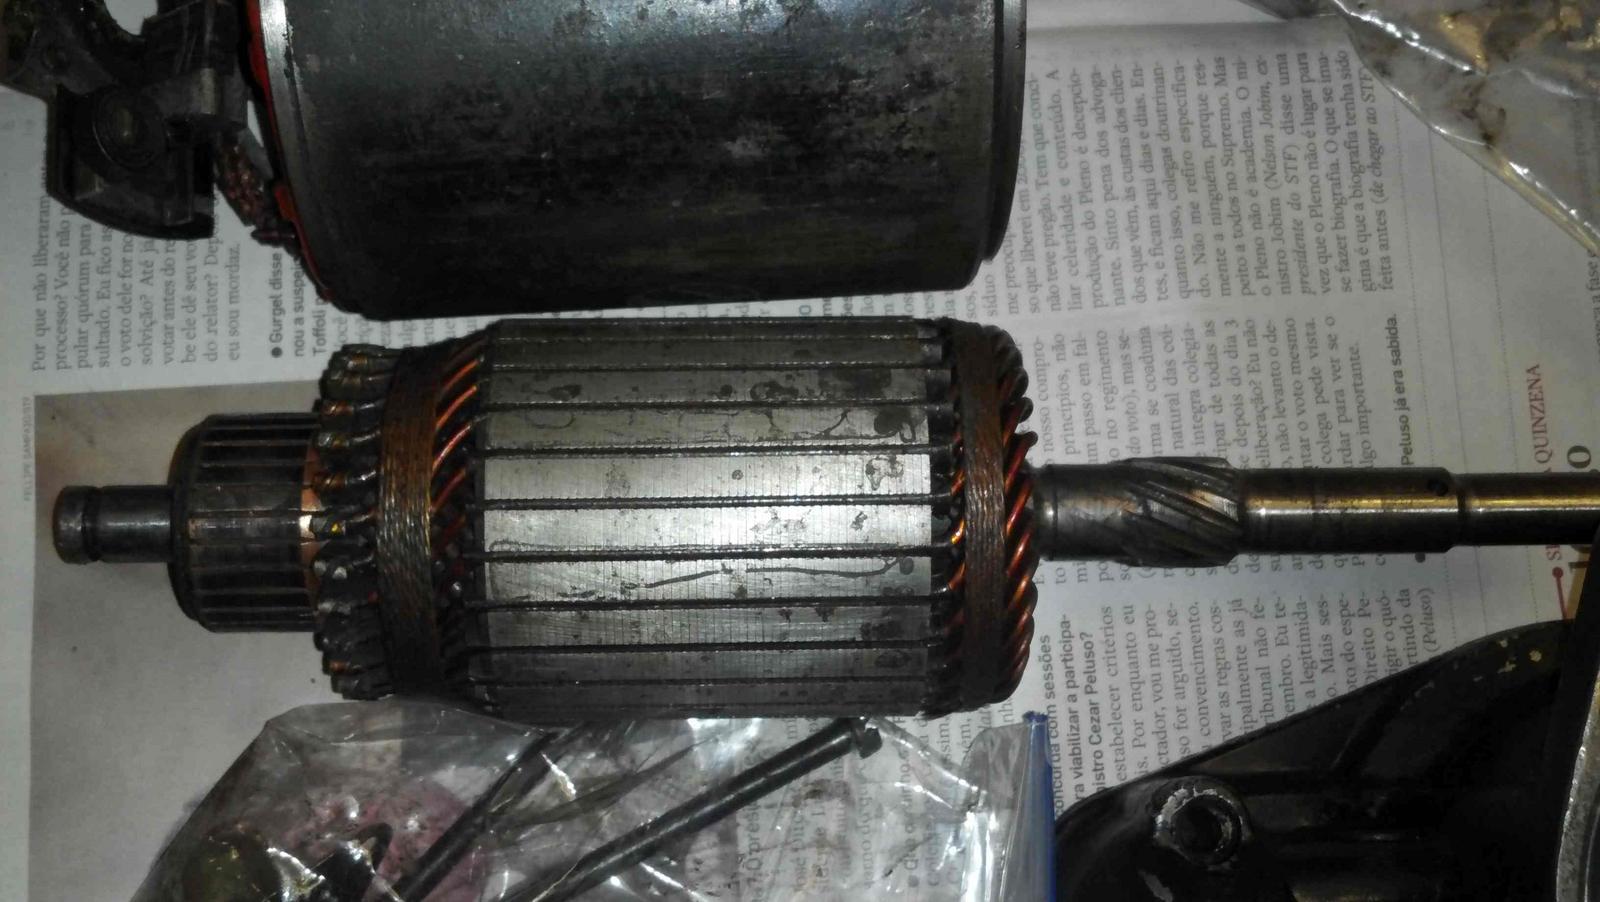
After...
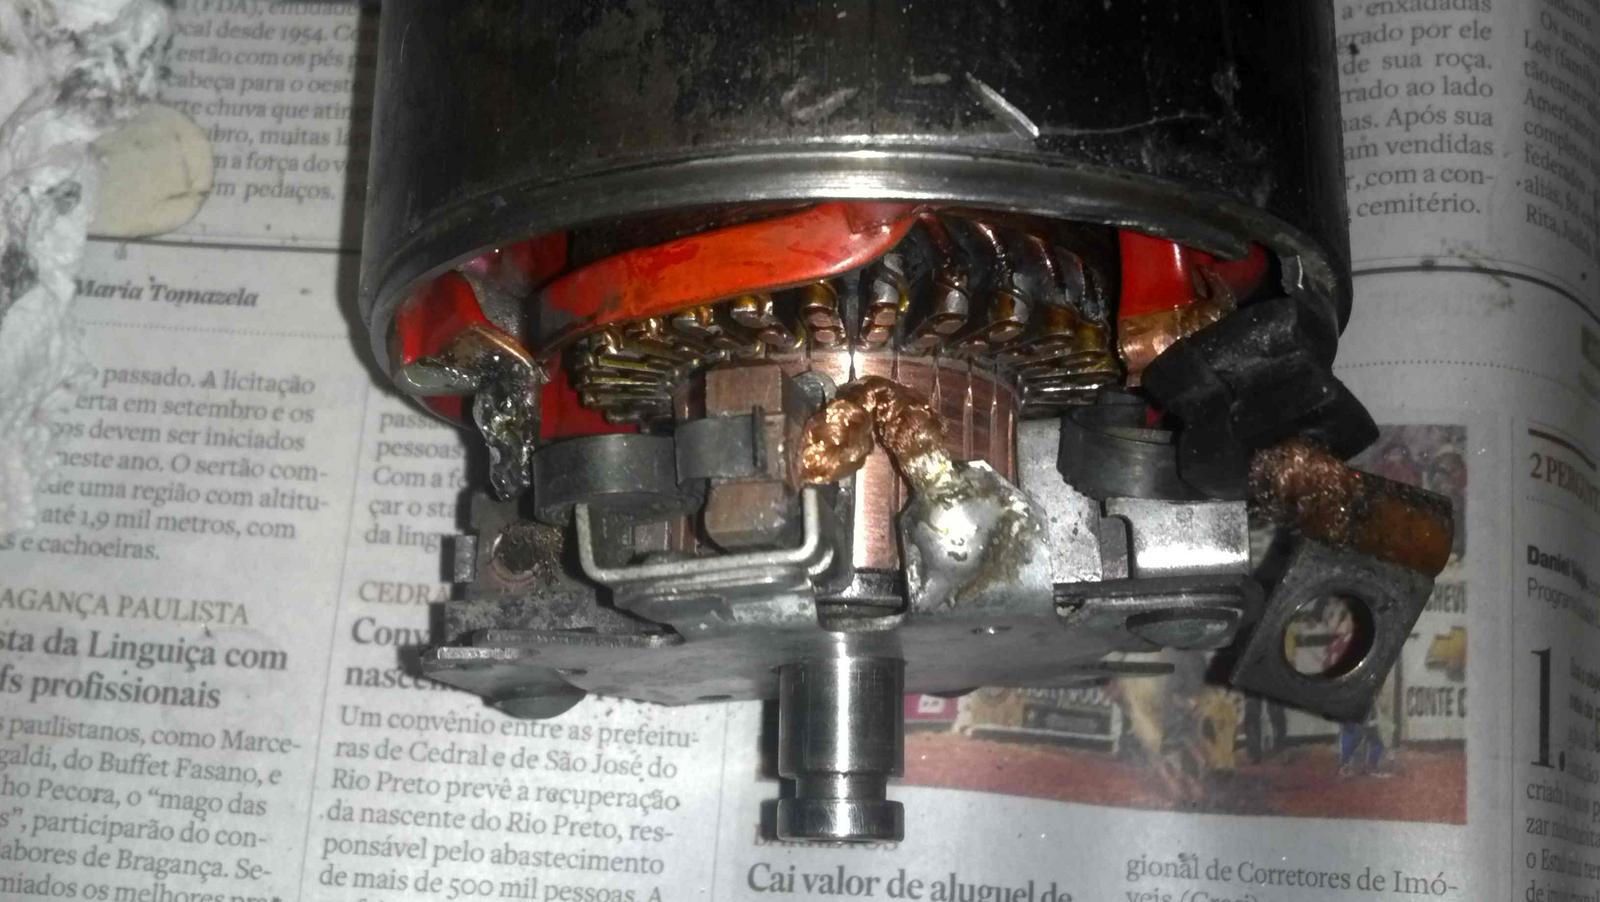
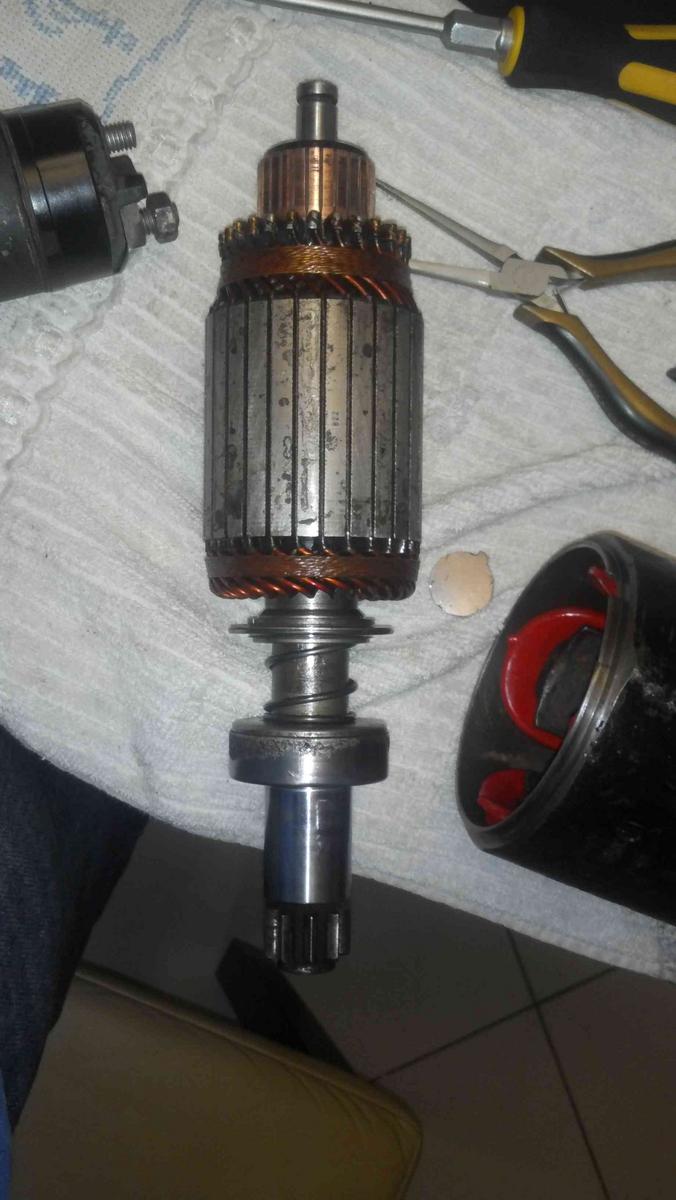
Round 3 - Assembly
The hard part was the drive gear assembly... I forgot the initial position and spent 4 hours to reassemble.
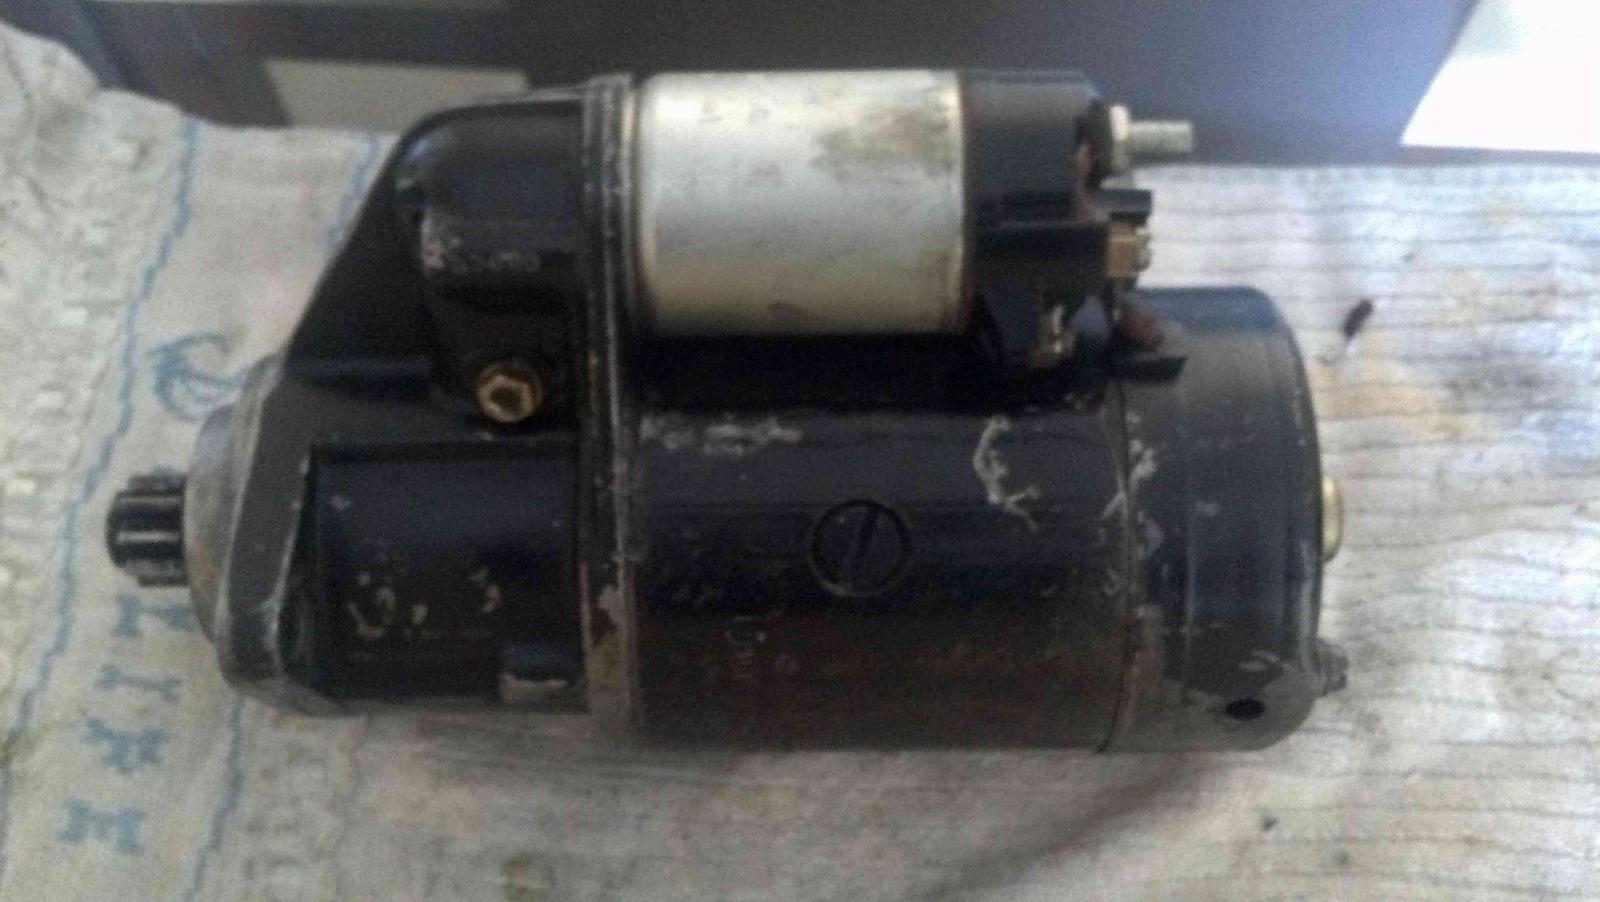
Round 4 - Test
After a bench test, put in the car and worked great !
Now I have starter motor and fuel pump working !
This was the first time I attempt to work with starter motors, and I decide to study its operation, schematics and pinout.
The basic operation... The solenoid has the pin #50 that in conjunction with battery positive and starter grounded, should move the drive fork and initiate the field coils movement. Mine was dead... Bought a new solenoid for around $50.
Here the result:
Round 1 - Disassembly - Easy part of the job...
Round 2 - Cleaning
I used Simple Green and a old tooth brush and carefully brushed the inside of starter, brushes, coils and armature.
Before...
After...
Round 3 - Assembly
The hard part was the drive gear assembly... I forgot the initial position and spent 4 hours to reassemble.
Round 4 - Test
After a bench test, put in the car and worked great !
Now I have starter motor and fuel pump working !
08-20-2012, 03:03 PM
#103
Instructor
Thread Starter
I think I have a big problem...
This weekend I got the engine working, it was rough with some missfires, but with some erratic idle and worked for a couple minutes. Not problem so far...
I removed the fuel distributor for cleaning and one mechanic at shop that is helping me on the task lost the fuel distributor cap... Not a big problem...
But... This morning I found very big amount of coolant underside the car just below the rear muffer...
Removed all spark plugs, fuel pump relay and started the car, immediately water was squirted from 1st cilinder
I really want to cry...
With lucky I have a leaking gasket... The car was almost done
More several months of work.
08-20-2012, 09:43 PM
#104
Rennlist Member
You are doing such a fantastic job, and the repairs you are doing on things like your starter motor are inspiring.
I'm sorry to hear about you latest problem .... I know everyone here will help you get it right.
I'm sorry to hear about you latest problem .... I know everyone here will help you get it right.

