
Yet another top-end refresh (WAS: Trying to fix irregular/poor idle ...)
 09-20-2010, 12:03 PM
#61
Addict
Rennlist Member
Rennlist Member
Thread Starter
worf928 (Dave C.) also mentioned (reference 1, reference 2, reference 3) resealing the GTS filler neck with black RTV; I'll be doing that, too.

 09-20-2010, 09:02 PM
#62
Addict
Rennlist Member
Rennlist Member
Thread Starter
For the record, the "928INTL block off plate" that Stan (Mrmerlin) mentioned is 928 107 707 05 at 928 International, pictured below. One is on its way.
Once again, thanks for the timely tip, Stan.

Once again, thanks for the timely tip, Stan.
09-20-2010, 09:10 PM
#63
Team Owner
I would use the HB4 instead of the RTV it resists oil better than the RTV does and use a bead of it on both side of the plate and on the O ring on the fill tube ge generous The DRI could also be a substitute for the HB4
09-21-2010, 12:06 AM
#64
Addict
Rennlist Member
Rennlist Member
Thread Starter
A few posts back, I mentioned:
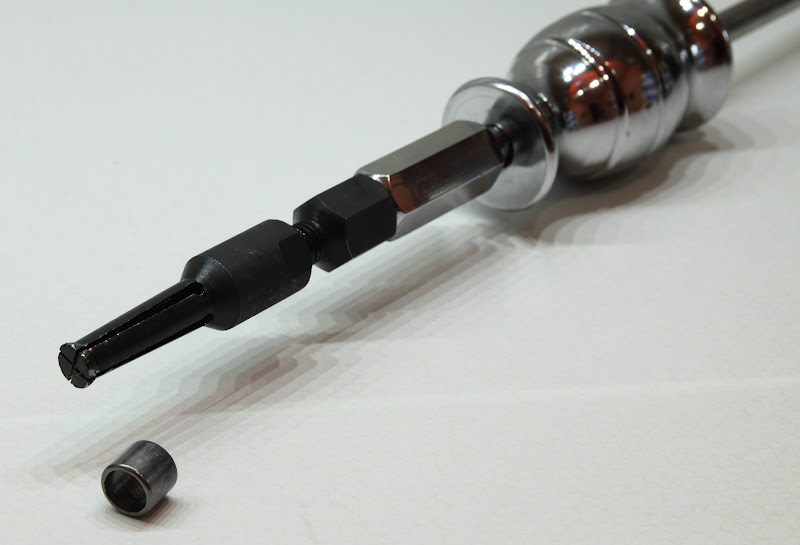
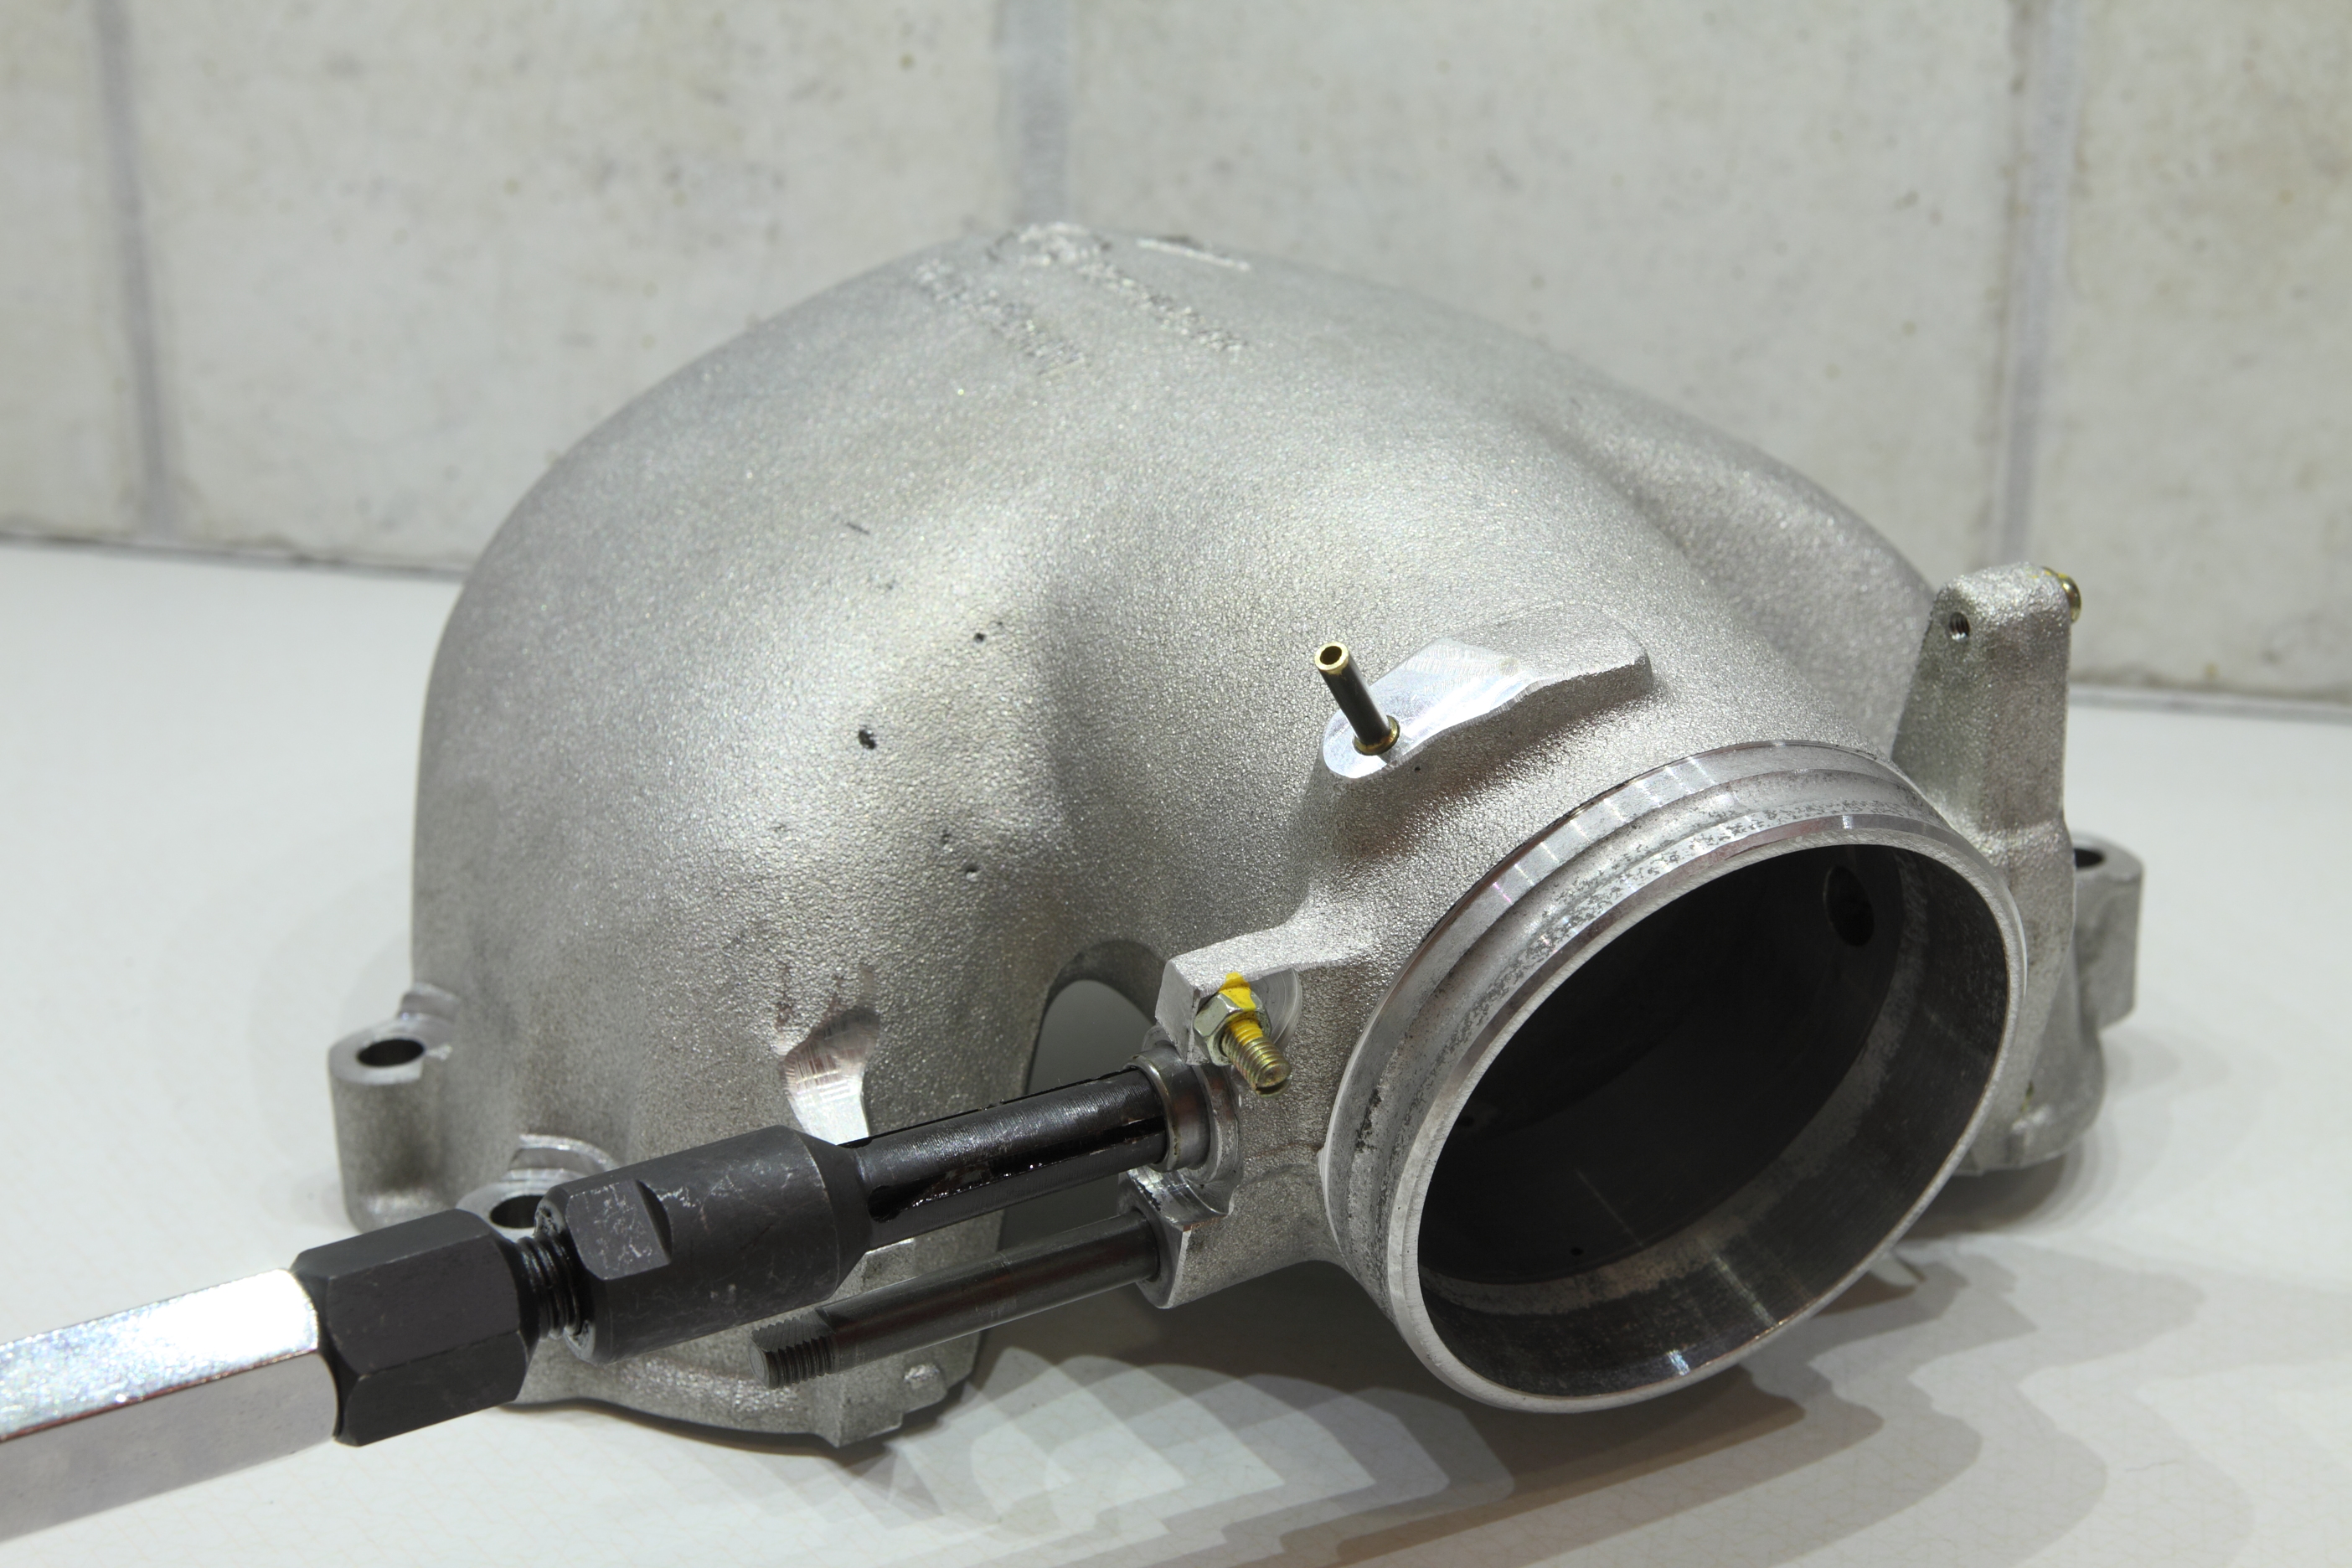
Well, the "blind hole bearing puller" that I ordered from T-Vac Tools last week, did, in fact arrive today and it works! 
You still need to pry the needle bearing cage and pins out (5 minutes max), and then use the bearing puller: it will catch the outside lip of the remaining outer ring. Pop the slide hammer a few times and out it comes in mere seconds.
No Dremeling!
First couple photos show the outer ring in "half extracted" state.


Last edited by Ed Scherer; 05-10-2011 at 12:00 AM.
09-22-2010, 02:58 AM
#65
Addict
Rennlist Member
Rennlist Member
Thread Starter
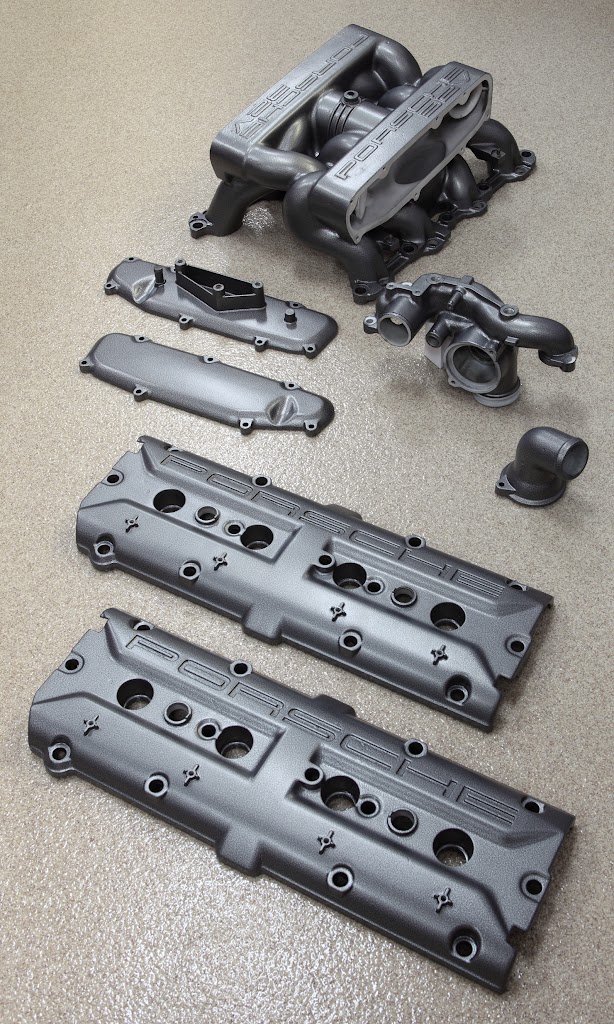
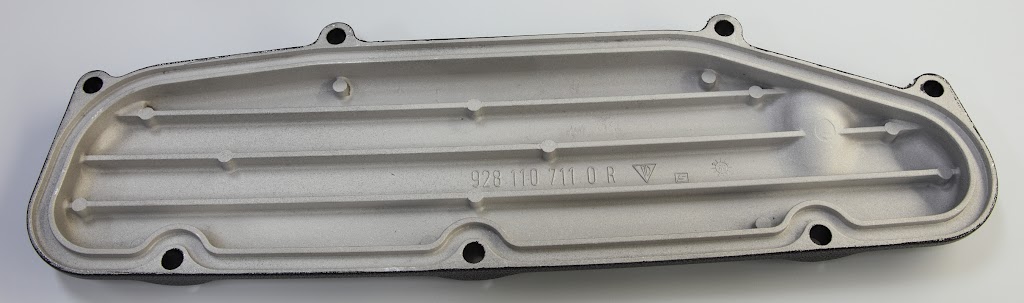
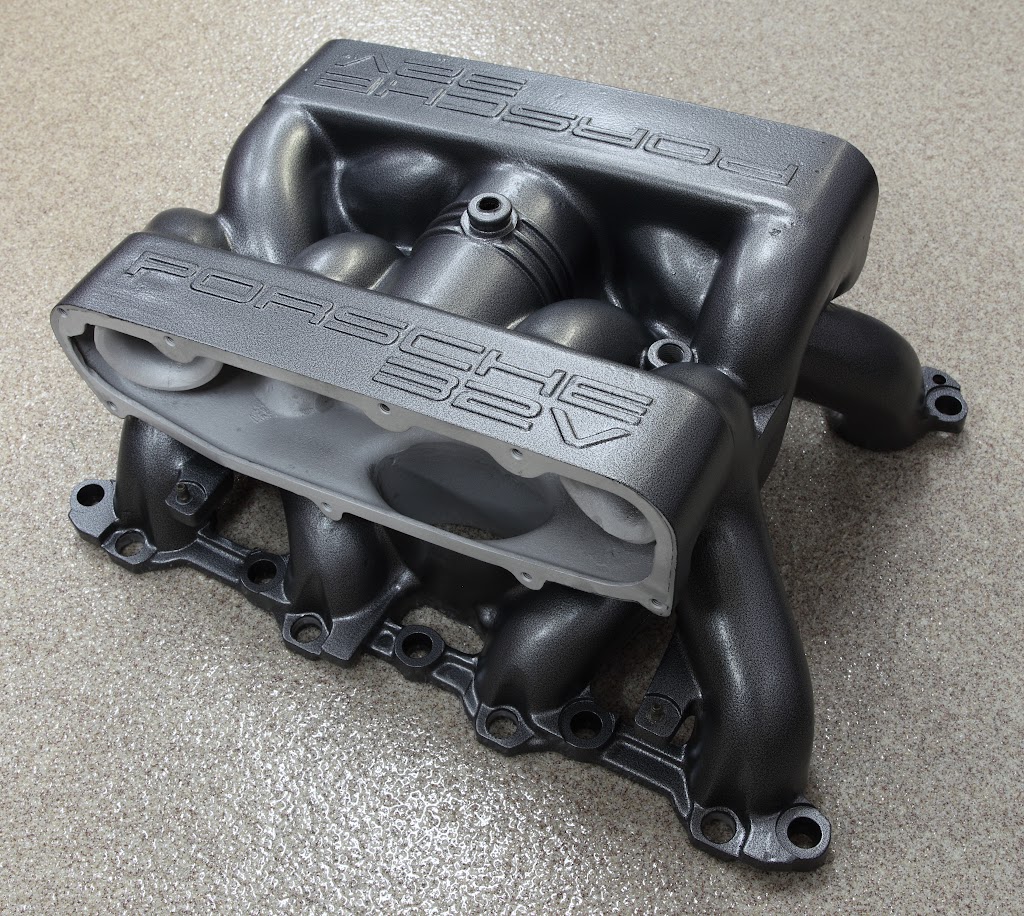
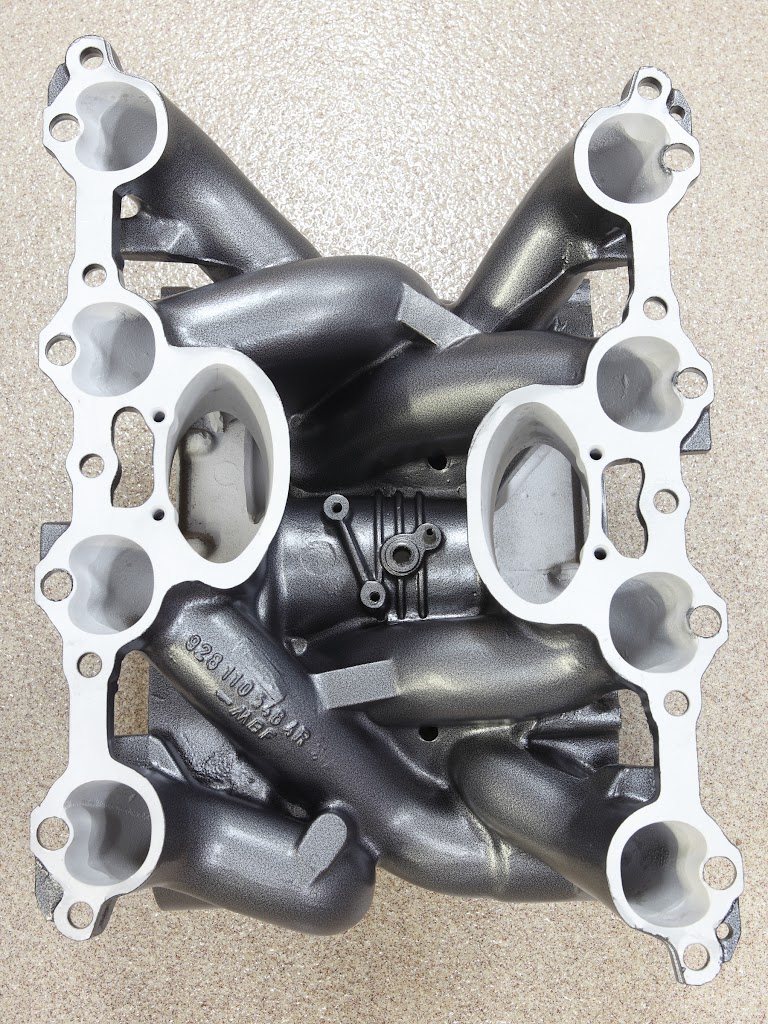
Got my stuff back from Industrial Coatings in Kansas City, KS today (well, yesterday, actually; it's after midnight now. ). Powder coater guy said that the prep was quite a bit of work; not too surprising. I provided him with a 12-page document describing recommended masking and plugging of all the parts, which he seemed to follow pretty closely.
Anyway, I'm happy with the results. Hope to have all this stuff back on the car within a week or two. I still have a bunch of stuff to do before I'm ready to put everything back together, and I'm not able to work on it as much as I'd like.
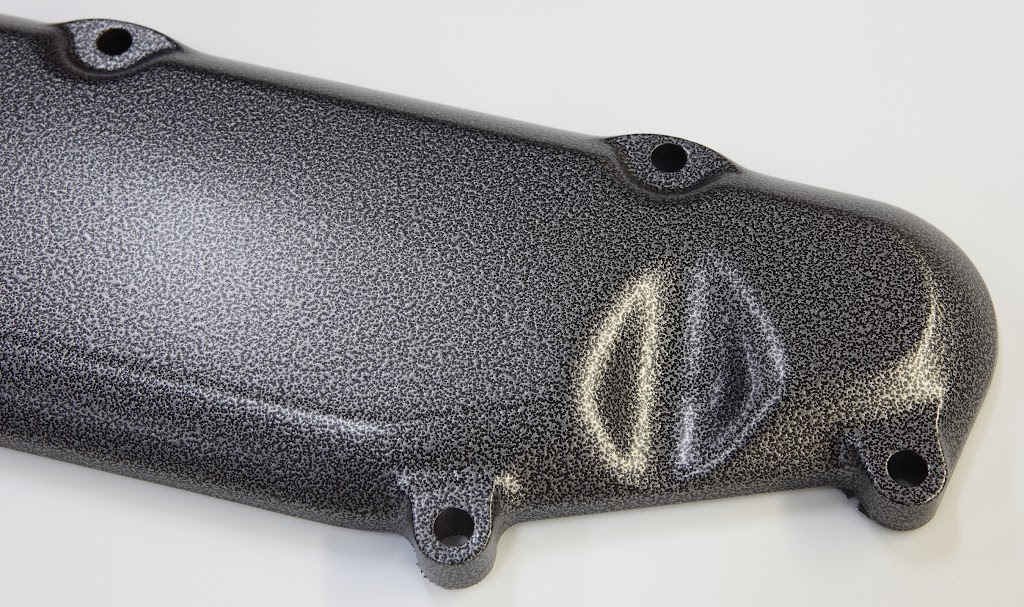
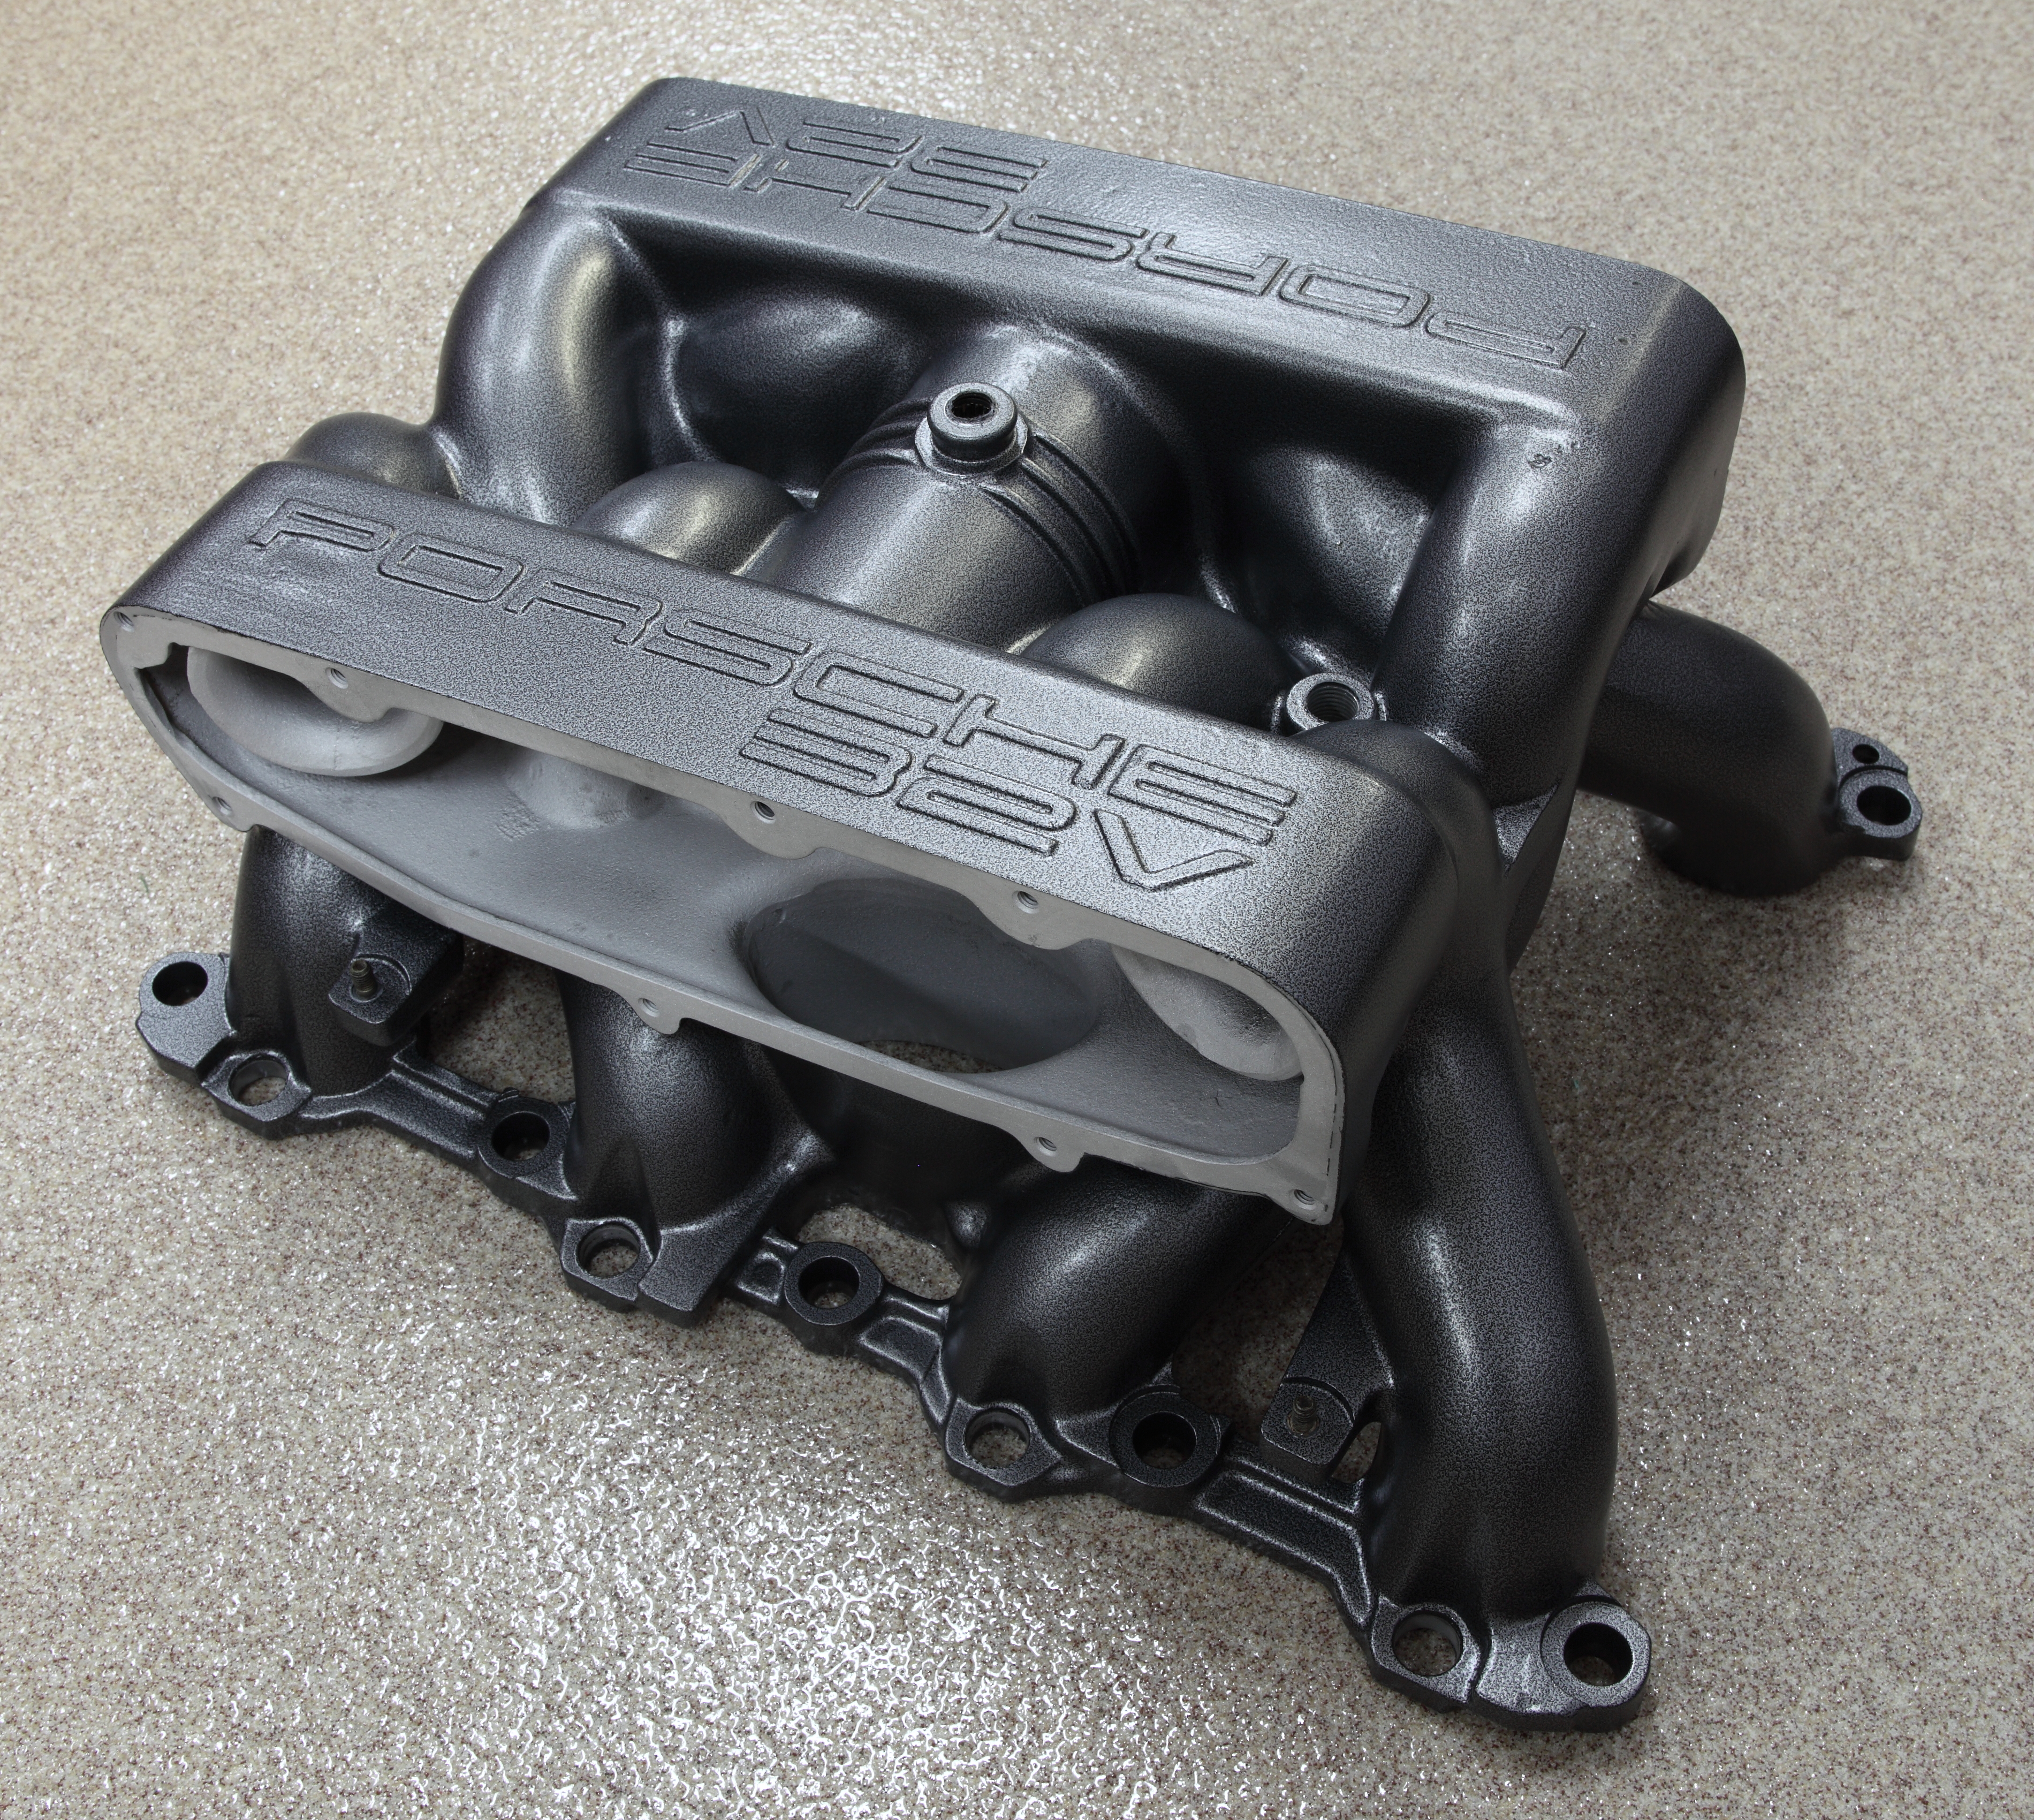
Powder was from TIGER Drylac. Base coat was Silver Hybrid 09/90190. Top coat was satin clear. I'll be adding colored lettering (the "red/black" kit) from Nicole (Hooked on Cars) on the cam covers and intake before I put them back on the car.
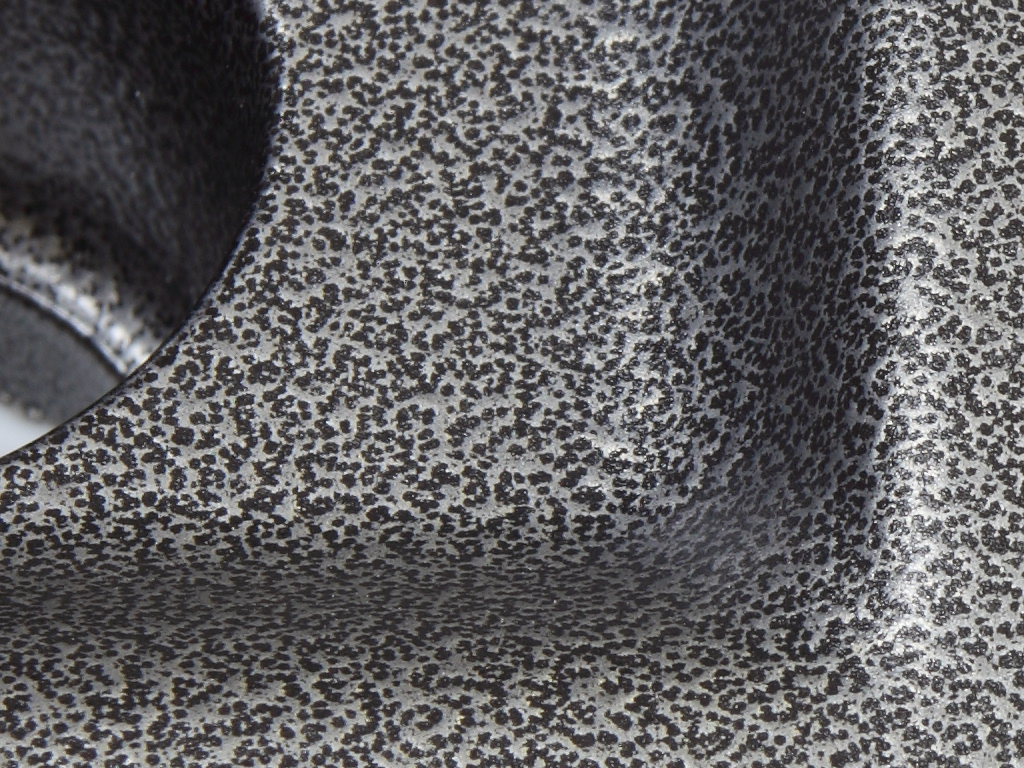
I probably could have done some prep work myself for slightly better results. You'll notice some pits here and there due to imperfections in the original castings. I knew that would happen and it's one of the reasons I went with a slightly textured finish.
Photos aren't that great. I just took them a couple of hours ago in the garage with some mixed color-temperature lighting; you might notice some of the strange color transitions on some of the photos.


A couple of 100% (1:1) crops from the previous photo (shows you what this finish looks like really close-up):

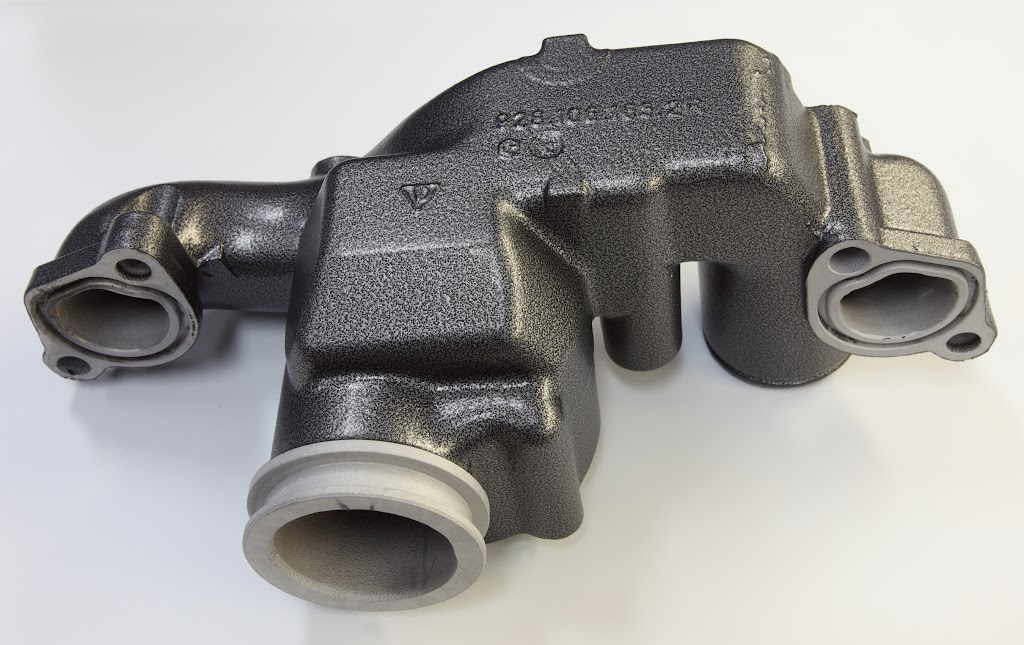
I had them leave the inside surfaces bare metal, with the intention of never having to worry about any finish flaking off and being ingested into the engine.
). Powder coater guy said that the prep was quite a bit of work; not too surprising. I provided him with a 12-page document describing recommended masking and plugging of all the parts, which he seemed to follow pretty closely.Anyway, I'm happy with the results. Hope to have all this stuff back on the car within a week or two. I still have a bunch of stuff to do before I'm ready to put everything back together, and I'm not able to work on it as much as I'd like.
Powder was from TIGER Drylac. Base coat was Silver Hybrid 09/90190. Top coat was satin clear. I'll be adding colored lettering (the "red/black" kit) from Nicole (Hooked on Cars) on the cam covers and intake before I put them back on the car.
I probably could have done some prep work myself for slightly better results. You'll notice some pits here and there due to imperfections in the original castings. I knew that would happen and it's one of the reasons I went with a slightly textured finish.
Photos aren't that great. I just took them a couple of hours ago in the garage with some mixed color-temperature lighting; you might notice some of the strange color transitions on some of the photos.


A couple of 100% (1:1) crops from the previous photo (shows you what this finish looks like really close-up):


I had them leave the inside surfaces bare metal, with the intention of never having to worry about any finish flaking off and being ingested into the engine.


Last edited by Ed Scherer; 05-10-2011 at 12:00 AM.
09-22-2010, 12:05 PM
#69
Addict
Rennlist Member
Rennlist Member
Thread Starter
Thanks!
Yes... I planned on doing that anyway. See "Powder coating intake/cam covers/etc. best practices"; I'll be updating post #1 in that thread and including a link to an updated version of that document within the next week when I have time.
Andrew, I've been thinking about that... especially after re-reading "How can this be? No compression in all 8 cyls ?". (Summary for those who didn't follow that saga: engine destroyed by left over glass bead blast media left in intake  ) Then there's the thread "Intake Refresh 1990 - I'm beginning to suspect", which in post #7 includes this notable quote: "Blackshark inadvertantly fed his engine what we believe to be a somewhat small amount of soda blasting media. To say the results were not pretty would be an understatement. The engine ran less than 30 minutes and completely destroyed all the brand new rod bearings, cylinder walls, rings, etc. Basically everything that moves within the engine is now toast. Please clean that intake until everything that comes out is totally clean."
Anyway, they used aluminum oxide media for blasting my parts. I haven't seen any trace of it anywhere, but I'm not sure exactly what I'm looking for (I'm guessing something that's about the size of a fine sand?) I've heard of media being embedded in the intake, too, which seems quite possible given how rough some of that surface is after blasting.
So... just to make damn sure any blast media residue (and any other loose stuff?) is out of there, is it good enough to just hose everything out? I'm not especially wanting to use a pressure washer, for fear of messing up the nice finish.
Yes... I planned on doing that anyway. See "Powder coating intake/cam covers/etc. best practices"; I'll be updating post #1 in that thread and including a link to an updated version of that document within the next week when I have time.
) Then there's the thread "Intake Refresh 1990 - I'm beginning to suspect", which in post #7 includes this notable quote: "Blackshark inadvertantly fed his engine what we believe to be a somewhat small amount of soda blasting media. To say the results were not pretty would be an understatement. The engine ran less than 30 minutes and completely destroyed all the brand new rod bearings, cylinder walls, rings, etc. Basically everything that moves within the engine is now toast. Please clean that intake until everything that comes out is totally clean."Anyway, they used aluminum oxide media for blasting my parts. I haven't seen any trace of it anywhere, but I'm not sure exactly what I'm looking for (I'm guessing something that's about the size of a fine sand?) I've heard of media being embedded in the intake, too, which seems quite possible given how rough some of that surface is after blasting.
So... just to make damn sure any blast media residue (and any other loose stuff?) is out of there, is it good enough to just hose everything out? I'm not especially wanting to use a pressure washer, for fear of messing up the nice finish.
Last edited by Ed Scherer; 09-22-2010 at 02:11 PM.
09-22-2010, 01:07 PM
#71
Addict
Rennlist Member
Rennlist Member
Thread Starter
I'll get photos.
Thanks!
09-22-2010, 01:09 PM
#72

Ed, those look fantastic. Well done.
09-22-2010, 02:16 PM
#74
Supercharged
Rennlist Member
Rennlist Member
Join Date: May 2002
Location: Back in Michigan - Full time!
Posts: 18,925
Likes: 0
Received 59 Likes
on
33 Posts
Helen will be happy about that. Like the time I baked the brake rotors in the kitchen oven.
I'll get photos.
Thanks!
I'll get photos.
Thanks!