
TB/WP R&R, Intake & Cam cover refurb, and Murf Stage One installed (Pictures & Video)

 04-22-2010, 10:43 AM
#18
Drifting
Thread Starter
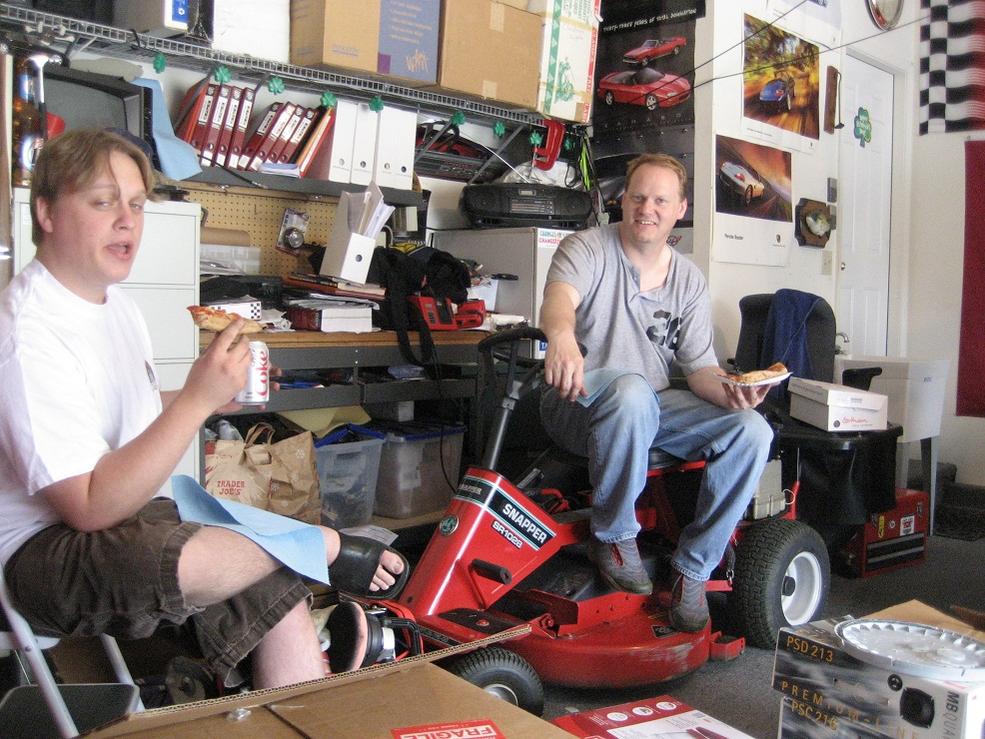
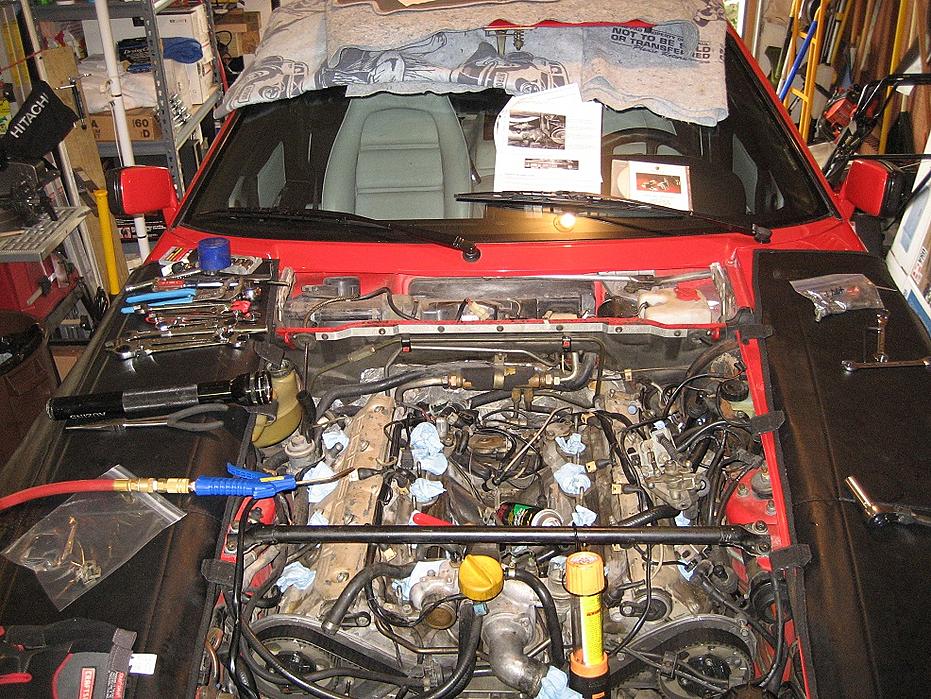
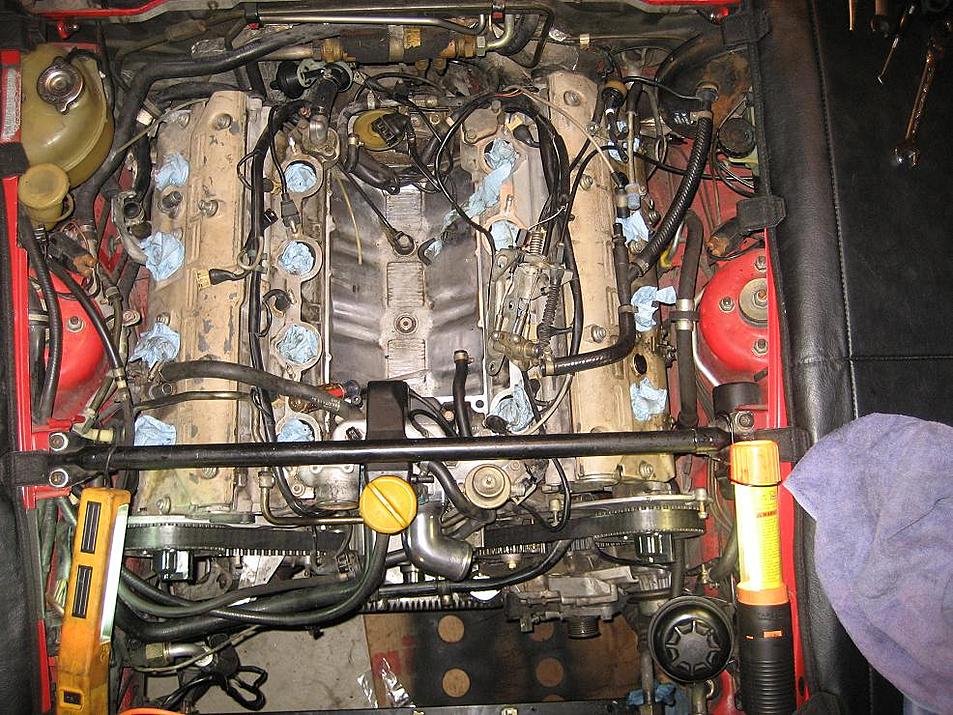
Ended up mowing the yard last night, so not much progress other than plugging the holes and taking a few more pictures… wanted to make sure I know where everything goes when it comes time for reassembly and maximize weekend free time.
04-22-2010, 10:45 AM
#19
Drifting
Thread Starter
I’m sorry to say I have yet to document a Gantt or pert chart, but they are all in my head somewhere.
I did conduct an informal time study and decided the tools needed to be closer (including the fire extinguisher). However, now I know to bleed down the fuel system before disconnecting anything (pull relay and crank).
I learned that lesson the old fashion way when I gave my eyes and an incandescent trouble light a little squirt… luckily nothing caught fire!
04-25-2010, 11:43 AM
#20
Drifting
Thread Starter
Thanks to a lot of help from Hans and Brett, we made some decent headway yesterday.
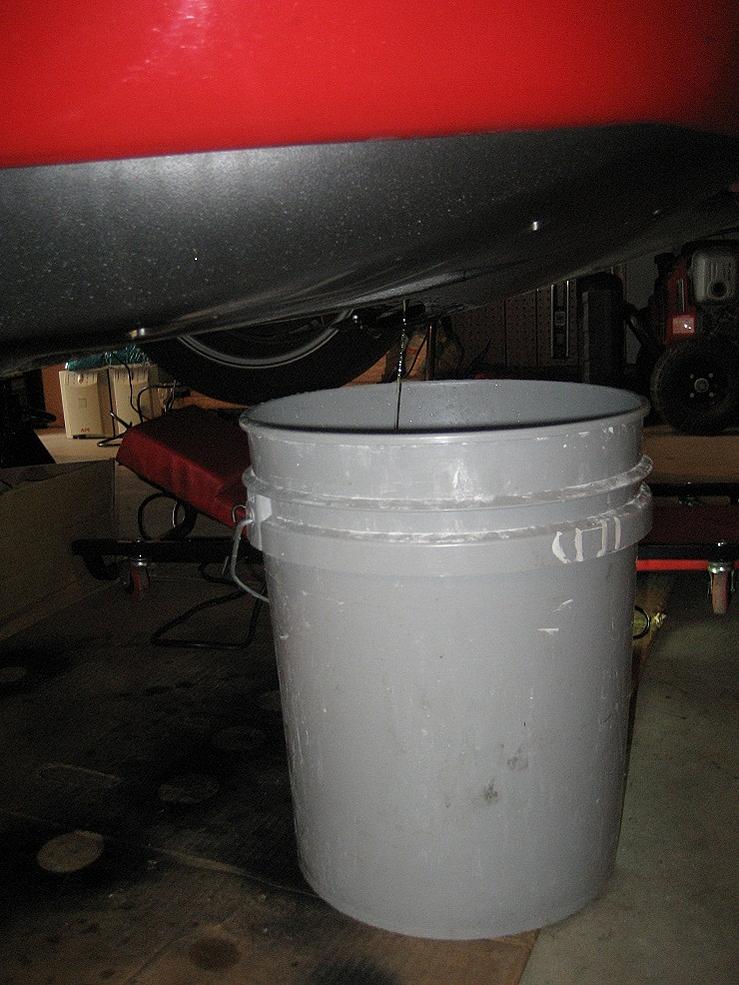
She's peeing:
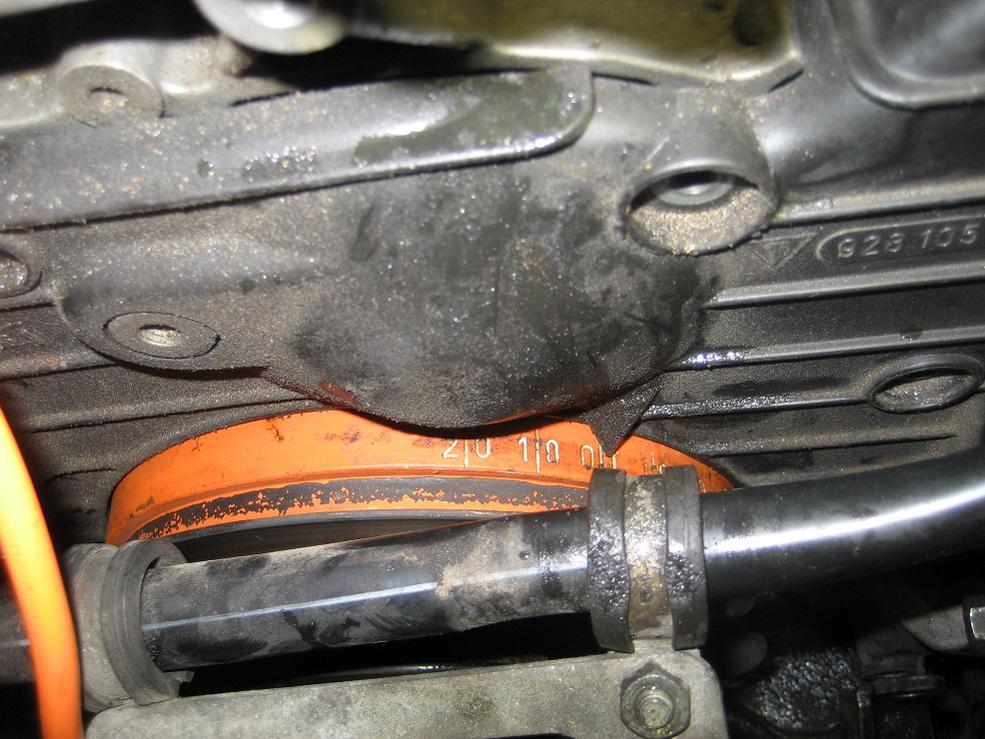
Top Dead center... due camera angle, it doesn't look right:
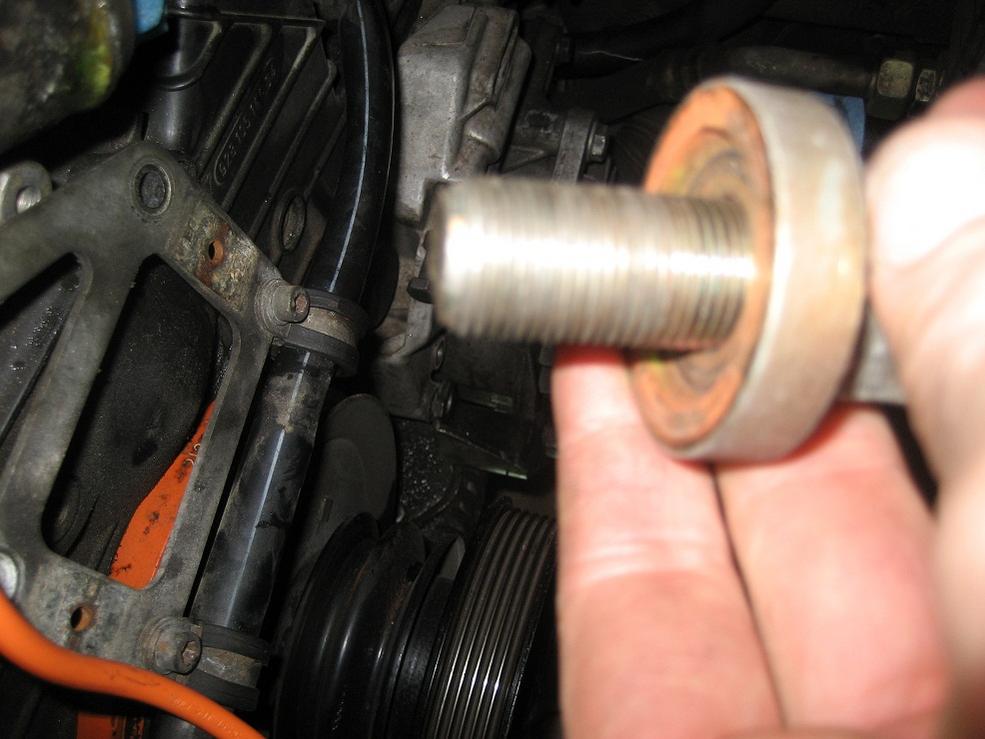
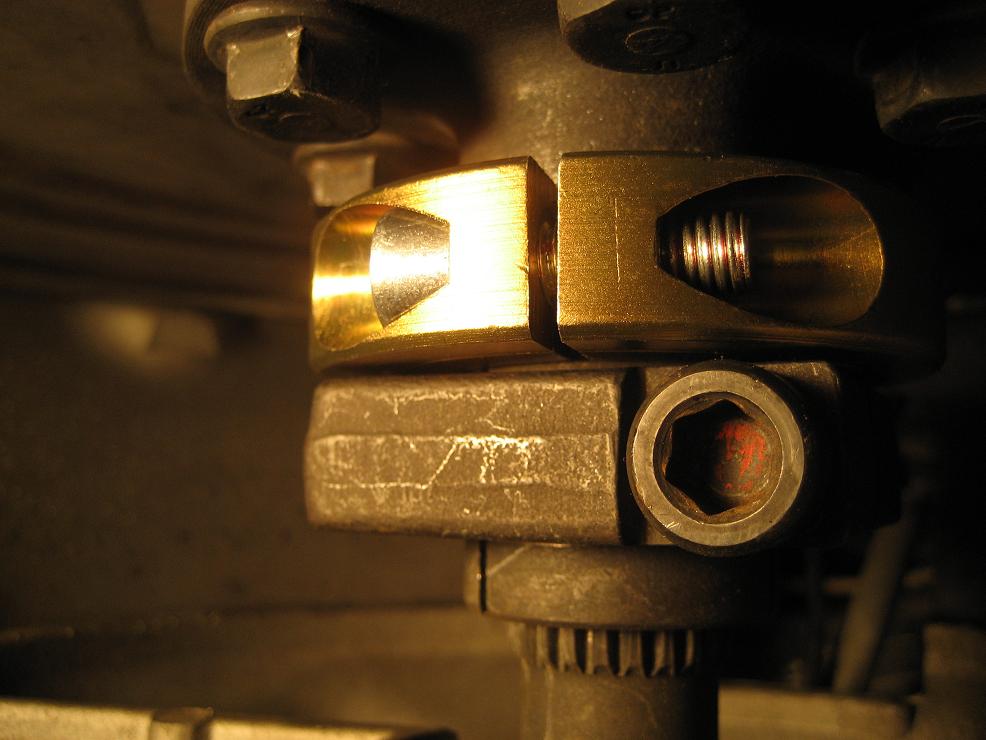
Crank bolt, notice washer is cupped on one side:
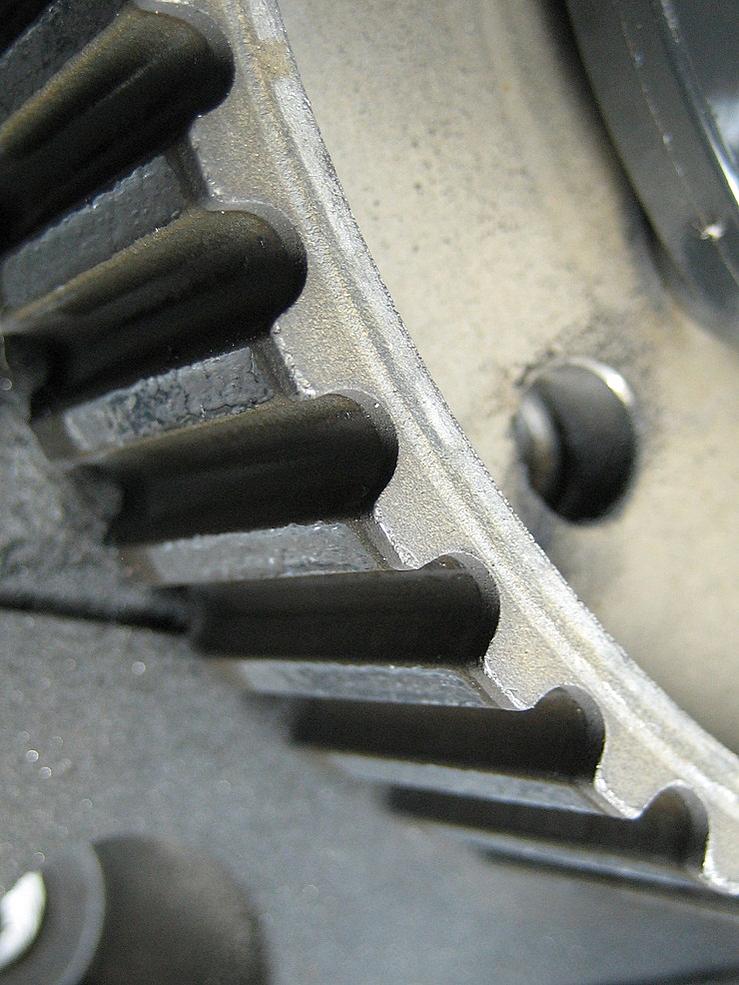
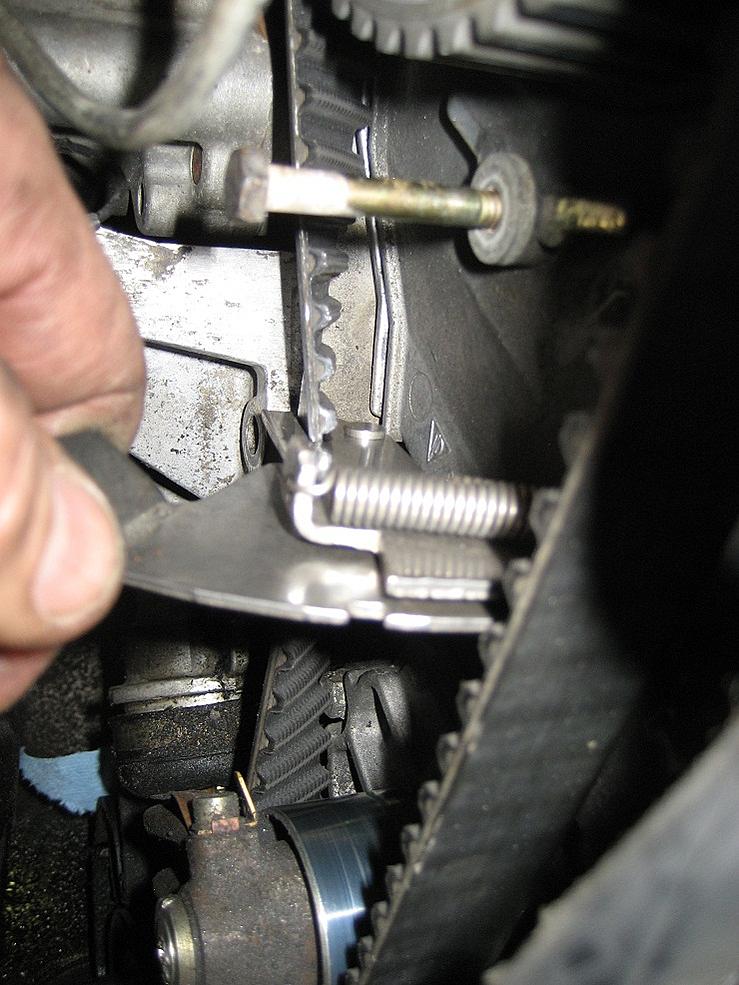
Timing Marks:
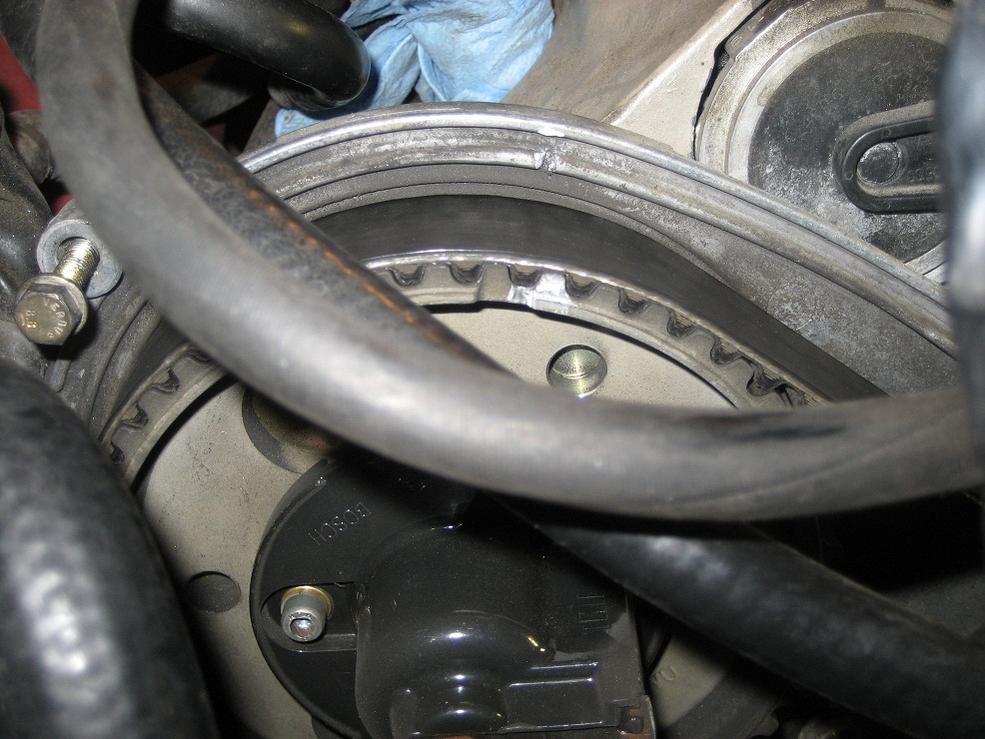
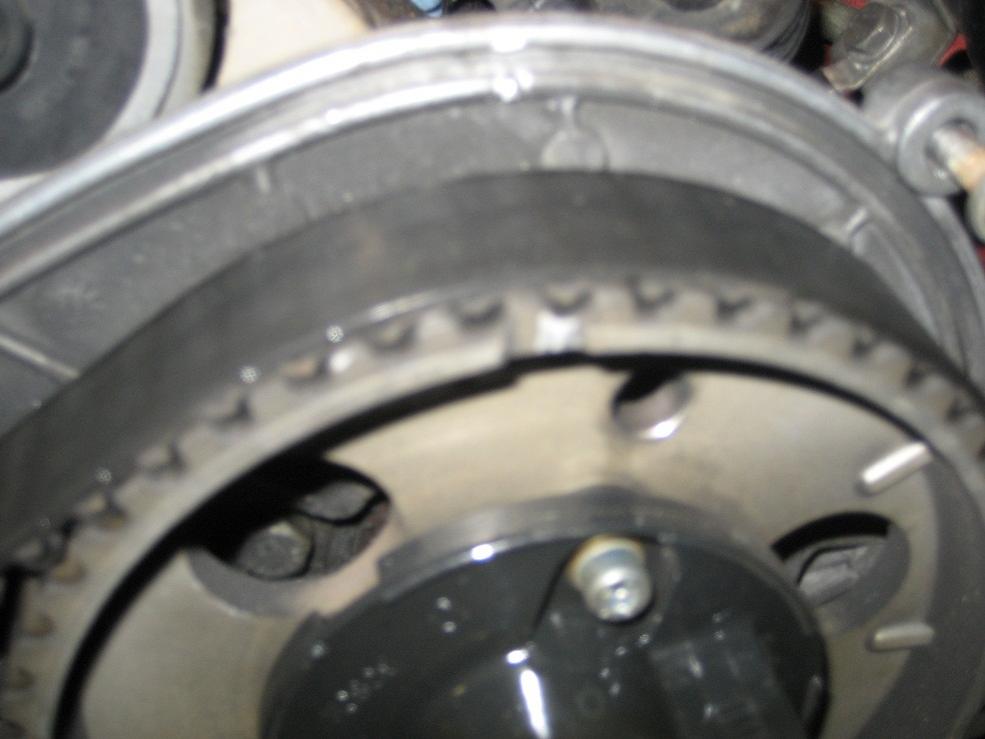
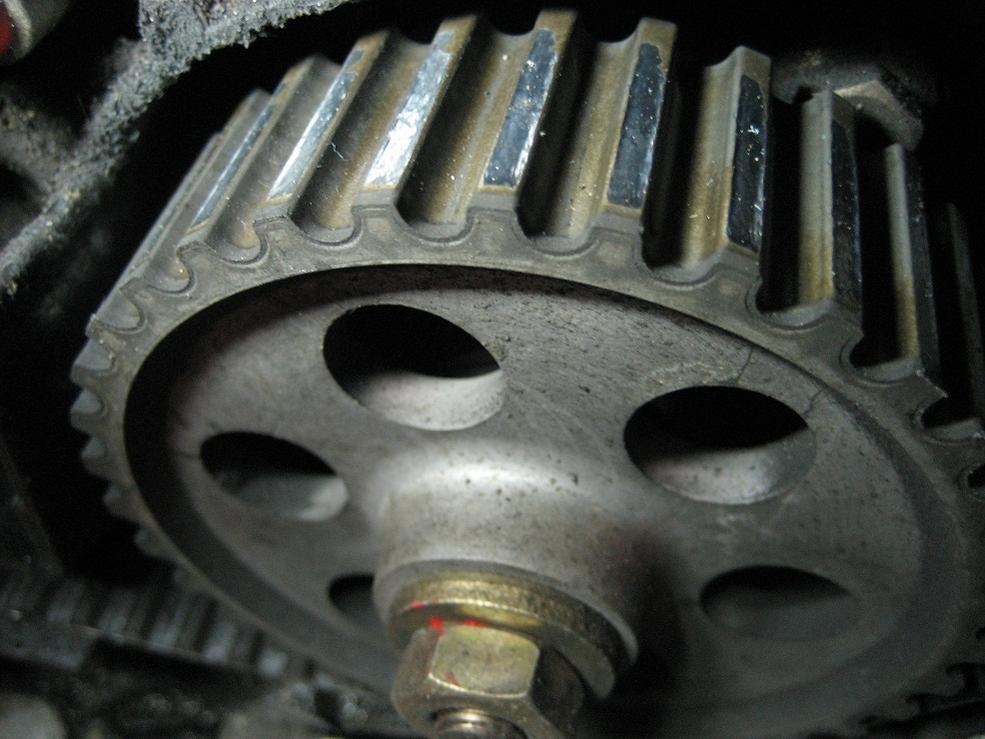
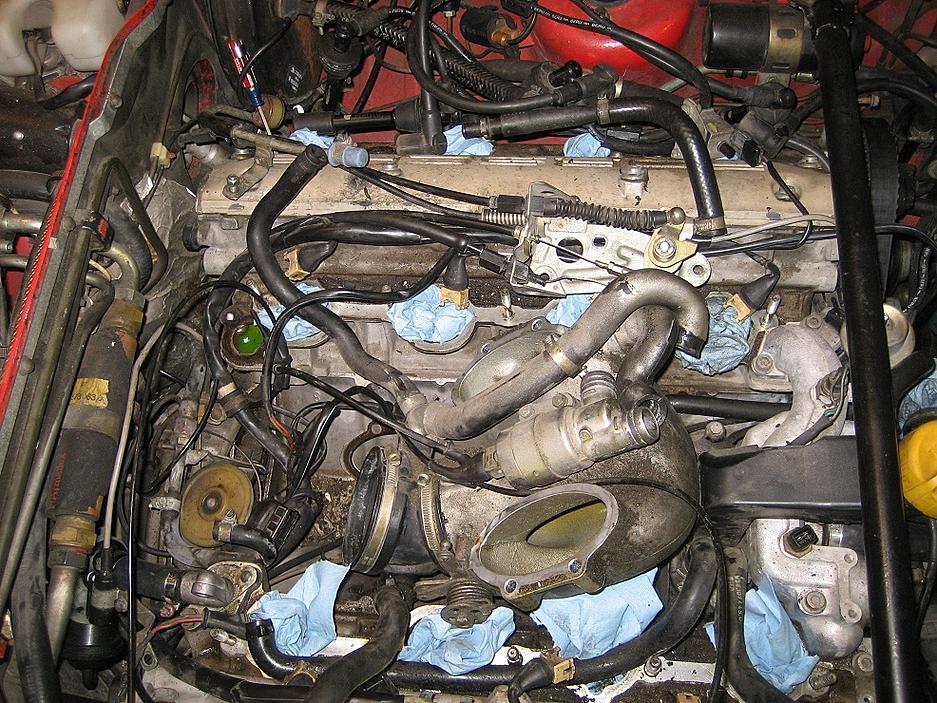
The Cam and oil pump gears looked worn, so these will be replaced. The belt looked great and the tension was just inside the ‘window’. This project is on hold until the rest of the parts arrive.
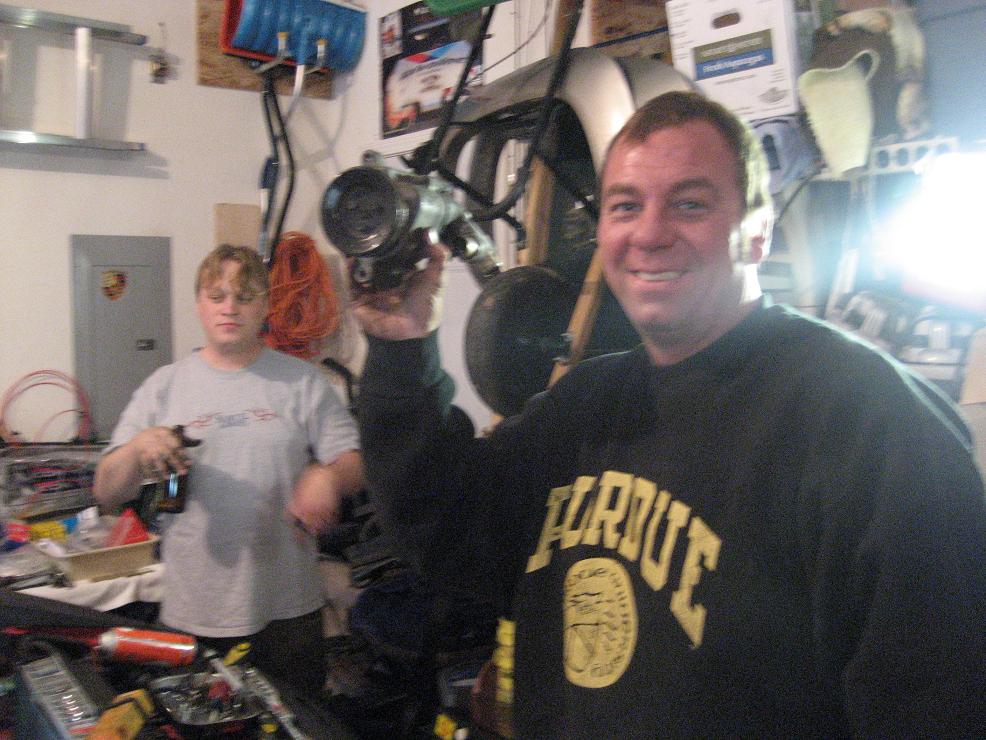
Lunch time (sorry Hans, not the best picture of you):
The intake is much more difficult to get out than I was anticipating. Problems incurred… lost a washer into one of the intakes (number 7, valves were closed and retrieved it with magnet). Still missing one injector clip, could be anywhere.
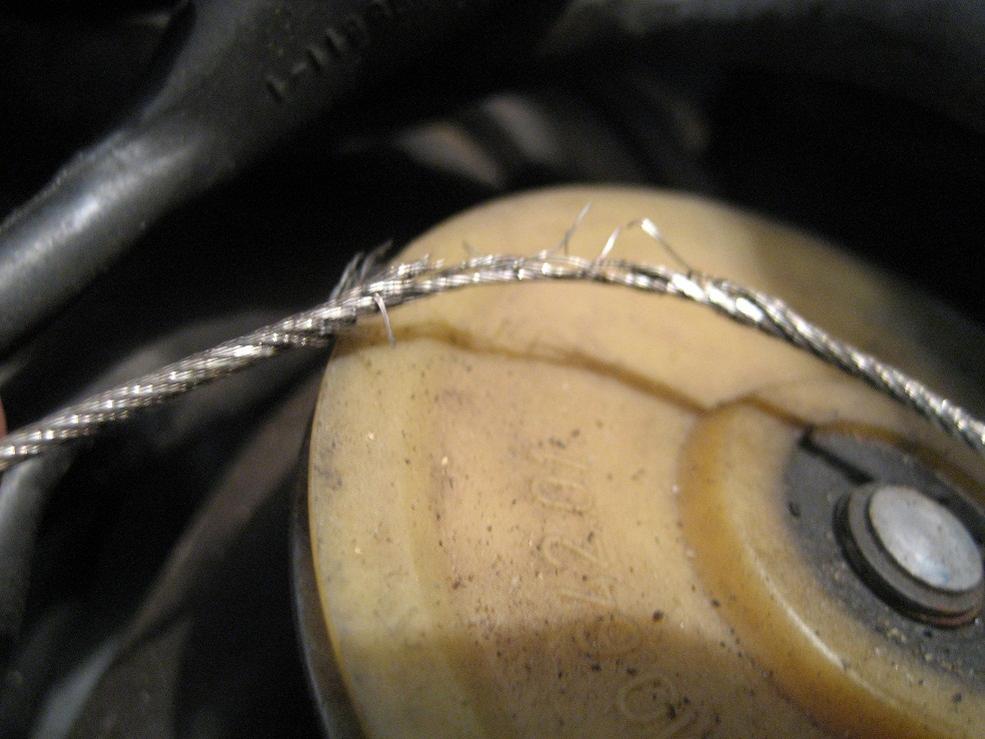
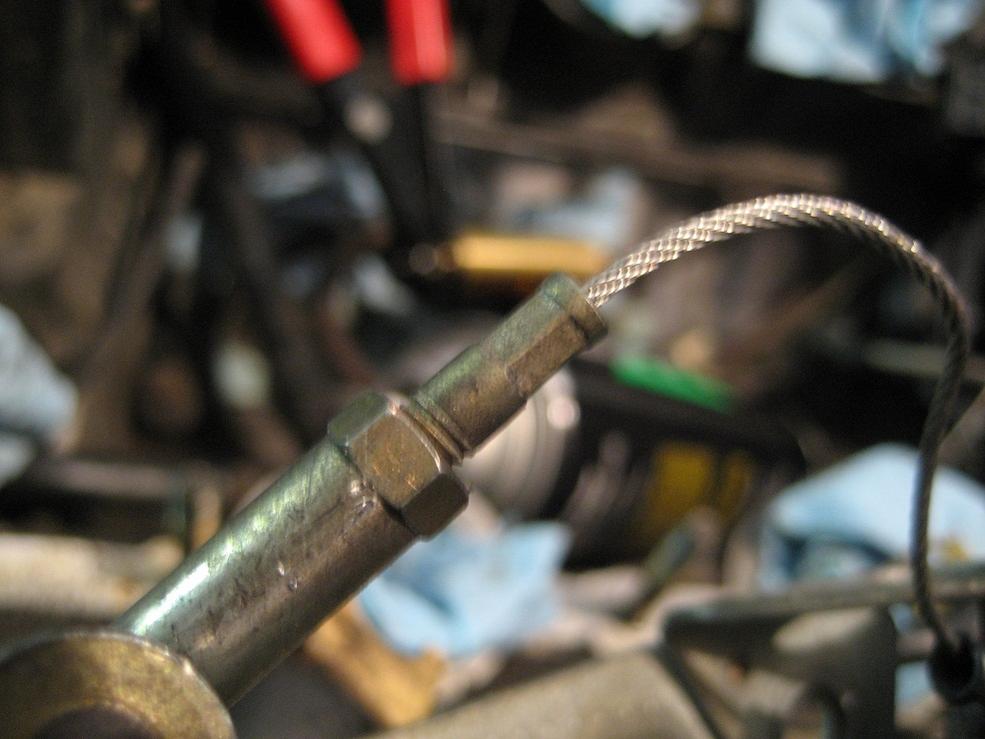
The throttle cable from the quad to the intake was badly frayed. Can this be repaired (as in threading new cable) or just replaced. I can’t tell how the ends are attached. Is it some sort of compression fitting?
My flappy is crappy. I was always suspect and sure enough it was stuck. Now I can get the actuator to move it but it’s still sticking. What does this involve? (lube, bearing replacement, etc.)?
Today we sill be dropping the exhaust and installing a PKlamp and lots of cleaning. May crack open the Cam covers too.
She's peeing:
Top Dead center... due camera angle, it doesn't look right:
Crank bolt, notice washer is cupped on one side:
Timing Marks:
The Cam and oil pump gears looked worn, so these will be replaced. The belt looked great and the tension was just inside the ‘window’. This project is on hold until the rest of the parts arrive.
Lunch time (sorry Hans, not the best picture of you):
The intake is much more difficult to get out than I was anticipating. Problems incurred… lost a washer into one of the intakes (number 7, valves were closed and retrieved it with magnet). Still missing one injector clip, could be anywhere.
The throttle cable from the quad to the intake was badly frayed. Can this be repaired (as in threading new cable) or just replaced. I can’t tell how the ends are attached. Is it some sort of compression fitting?
My flappy is crappy. I was always suspect and sure enough it was stuck. Now I can get the actuator to move it but it’s still sticking. What does this involve? (lube, bearing replacement, etc.)?
Today we sill be dropping the exhaust and installing a PKlamp and lots of cleaning. May crack open the Cam covers too.
04-25-2010, 01:00 PM
#21
Drifting
Thread Starter
The cam covers will be powder coated, but on the intake I’m hoping rattle can will do. Any suggestions on type of paint or prep to get best results? One of the previous owners painted it in place with not the greatest of results.
04-25-2010, 01:59 PM
#22
Under the Lift
Lifetime Rennlist
Member
Lifetime Rennlist
Member
Lost injector clip/bale... Just hope it didn't go down into one of the cylinders. Did you discover it was missing before or after you lifted the intake and exposed the head? Most likely it's in the valley but they can "shoot" off anywhere. I used a boroscope to look inside the cylinders when I lost one after the intake was lifted. Also, carefully look over all the remaining wire clips and make sure they are still "staked" by that bit of plastic that retains them on the plug. I usually find half of them are not. You can use a soldering iron to melt and push a little adjacent plastic back over the clip. IIRC, these are the only AMP plugs on the car which do not have little "hands" on the end of the clip arms to keep them from falling off. You can buy replacement plugs at some parts stores. They all come with the better clip. Then just move that clip over to the existing plug.
Replace the throttle cable. It's not expensive. I would doubt it frayed on that plastic wheel. Make sure that it isn't rubbing on something else in that area, most likely the MAF boot upper clamp screw. That can end up rubbing the wire if not positioned otherwise.
If the cam covers have never been off, then this is the ideal time to do it and check out the condition of the rear journal feed plugs and cam chain plastic guides, as well as refresh the seals. Also, if you are painting the intake, the cam covers will look ratty in comparison if you don't do them. I don't think it matters too much what paint you use. These parts never get terribly hot. Prepping is the problem. Bead blasting is most efficient, followed by baking the part to drive out oil. Filling casting defects with aluminum filler makes a huge difference in the final result. But if you are just going for a refresh and not trying to win awards, you can degrease the parts, use paint stripper to get off as much as you can, sand them to feather any edges and shoot with almost anything you like. I've seen rattle can jobs that came out OK, but they spent so much time on prep, they might as well had a professional prep and powder coat. Oh, and if you have them media blasted, it is ESSENTIAL that you pressure wash the parts 3 or 4 times to get all the media residue out, even if they have been powder coated. The residue is tenacious and has been known to do immediate harm to the motor.
04-25-2010, 02:46 PM
#23
Rennlist Member
I have seen a powder coated finish on the inletmanifold but remain unimpressed by it. I had my inlet and cam covers grit blasted but the media was a bit harsh for the somewhat soft magesium alloy and left a sort of peened finish which purely by chance looks rather neat in my opinion. I painted my parts with stock Porsche silver cellulose paint but the trick is make sure the undercoat/seal is applied within 1 hour of blasting as this alloy oxidises very rapidly. My paint has been on for two years now and still looks like new.
If your flappy is sticking it is probably caused by sloppy painting fouling on the flappy bearing surface assembly.
As you have unfortunately learnt the hard way, it is important to check that every FI clip is present before disassembly commences otherwise you may be looking for something that was not there to start with. In that regard you have my sympathy- I hope you find it. In that respect it is wise to fit cloth stoppers into the inlet tracts as soon as the manifold can be partially lifted. Hopefully you will find the missing bit but it will be a worry until you do.
Best wishes
Fred R
04-25-2010, 04:59 PM
#24
Three Wheelin'
Kurt,
Great project and documentation so far. But dude, get some new wheels on that Snapper. I know you have an extra set of V-Dubs that would bolt right up.
Seriously, I wish I was closer to see this first hand. Good luck.
Great project and documentation so far. But dude, get some new wheels on that Snapper. I know you have an extra set of V-Dubs that would bolt right up.
Seriously, I wish I was closer to see this first hand. Good luck.
04-25-2010, 05:16 PM
#25
Nordschleife Master
Great project! And another boosted '87! It's the best model year for boosting by my reckoning, with the lower compression, thicker top piston, possibly oil squirters, etc. Although I drank the turbo coolaid long time ago, I think that s4 with stock cams is a really nice fit with a centrifugal supercharger. The stock s4 falls off the cliff after 5500 rpm and can take a lot more boost up there! You'll make a ton of power.
By the way, has anyone tried vacuuming the combustion chambers in the case of dropping something nonmagnetic in there? Just a crazy idea.
By the way, has anyone tried vacuuming the combustion chambers in the case of dropping something nonmagnetic in there? Just a crazy idea.
04-25-2010, 06:26 PM
#26
Captain Obvious
Super User
Super User
The cam/oil pump pullies don't look that bad. Why not keep them untill the next TB/WP change and then change everything at once.
04-25-2010, 07:50 PM
#27
Nordschleife Master
No progress pics of the fridge? I saw a Newcastle brown in one shot.. tell me thats not the only beer consumed during this project so far!
Once you pull the rest of the intake off (throttle body etc.) you may well find the missing injector clip in the valley. I was missing one on my '87 which turned up down there in the muck.. it must have fallen off years ago judging by the crud covering it.
Replace the flappy bearings - they need new O-rings and if they're sticking then they've already been invaded with dirt.
For the throttle body armature, the bearings are the same as the ones from the flappy. However, next time I do an intake job, I'll probably just replace the o-rings on the throttle plate bearings, as the bearing shells are harder to remove than the flappy ones.
04-25-2010, 08:38 PM
#28
Drifting
Thread Starter
Thanks guys for all the feedback. Started today with a through search of the engine, I didn’t find the injector clip, but instead a washer that I ‘thought’ had already been accounted for. I visually inspect each intake port. Used vacuum and air gun to suck an blow the little bit of crude that fell in a couple. I’ll repeat that process just before intake is reinstalled.
A spare set of cam covers are at the powder coater and should be done next week or early the following. I’m not taking the covers off until the new ones are ready. I did successfully crack all 52 cam bolts and plan on doing some more cleaning. If I had to do this over, I would highly recommend cleaning the engine first. I originally planned on power washing it first.
The intake I plan on prepping as best I can and rattle can with some high grade paint. I’m hoping I can free up the flappy without too much work… maybe the PO paint job junked it up. How important is this function with forced induction?
Still trying to figure out what the cable was rubbing against. The nylon pulley had a little bit or resistance, but that quickly disappered with a little Kroil.
I did find the missing clip underneath the water bridge. Decided not to remove the bridge since one of the Allen bolts was already rounded out, thanks PO. Nothing is leaking so no need to get serious. Did swap out the thermostat and seals… pluss I buffed out the elbow a little.
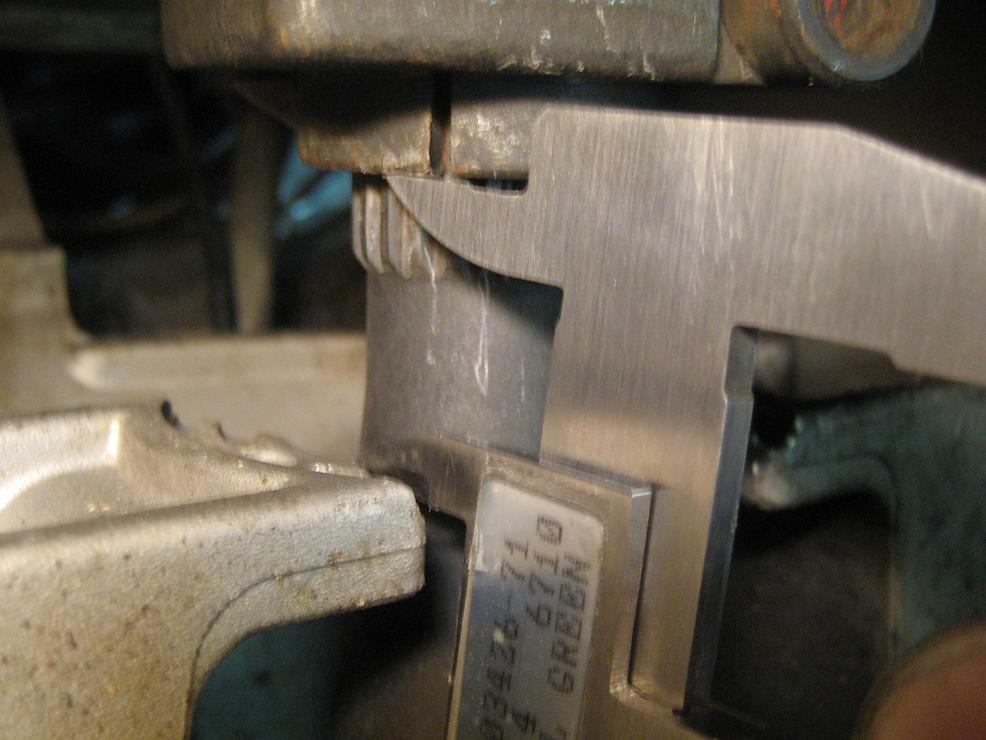
Troy came over and dropped the bell housing in record time. We measure the migration and installed a PKlamp. With my bad eyes, I couldn't read the calipers under the car and think something got buggered because the difference was .865 in. Visually, I think it only migrated a few millimeters a quarter inch tops. Tried to check the end play, but it was virtually zero and I was having much luck finding a good place to measure. I’ll check it again when I get to an exhaust upgrade… my cats are looking a little thin in spots.
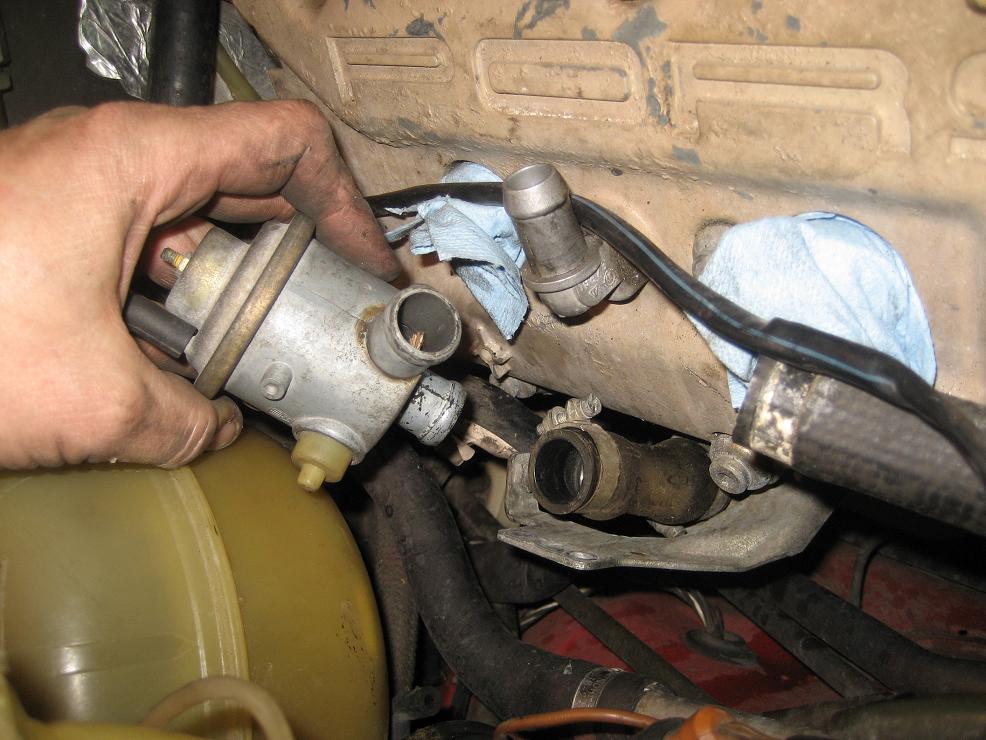
The air pump really didn't want to come out without giving a fight, but Troy and Hans made easy work of it. Once again, Hans didn't take the best photo (sorry)... it was a triumphant moment.
With the smog pump delete, can this part be deleted too?
This is an early 87 with piston squirters and flip up wing. I didn’t realize it started with lower compression… Bonus!
Lots of little jobs to keep me busy while I wait for a few more parts to arrive.
A spare set of cam covers are at the powder coater and should be done next week or early the following. I’m not taking the covers off until the new ones are ready. I did successfully crack all 52 cam bolts and plan on doing some more cleaning. If I had to do this over, I would highly recommend cleaning the engine first. I originally planned on power washing it first.
The intake I plan on prepping as best I can and rattle can with some high grade paint. I’m hoping I can free up the flappy without too much work… maybe the PO paint job junked it up. How important is this function with forced induction?
Still trying to figure out what the cable was rubbing against. The nylon pulley had a little bit or resistance, but that quickly disappered with a little Kroil.
I did find the missing clip underneath the water bridge. Decided not to remove the bridge since one of the Allen bolts was already rounded out, thanks PO. Nothing is leaking so no need to get serious. Did swap out the thermostat and seals… pluss I buffed out the elbow a little.
Troy came over and dropped the bell housing in record time. We measure the migration and installed a PKlamp. With my bad eyes, I couldn't read the calipers under the car and think something got buggered because the difference was .865 in. Visually, I think it only migrated a few millimeters a quarter inch tops. Tried to check the end play, but it was virtually zero and I was having much luck finding a good place to measure. I’ll check it again when I get to an exhaust upgrade… my cats are looking a little thin in spots.
The air pump really didn't want to come out without giving a fight, but Troy and Hans made easy work of it. Once again, Hans didn't take the best photo (sorry)... it was a triumphant moment.
With the smog pump delete, can this part be deleted too?
This is an early 87 with piston squirters and flip up wing. I didn’t realize it started with lower compression… Bonus!
Lots of little jobs to keep me busy while I wait for a few more parts to arrive.
Last edited by auzivision; 04-26-2010 at 11:49 AM.
04-25-2010, 10:13 PM
#30
Drifting
Thread Starter
So my flappy isn’t crappy after all. Took off the actuator and it started working fine. Then I checked the actuator and it’s fine too (replacing anyhow). Ends up if you flip the intake like a turtle the flappy cap hits the floor first and binds... works as it should when testing while on it’s side.
That was a nice finish to a busy day!
That was a nice finish to a busy day!

