When you click on links to various merchants on this site and make a purchase, this can result in this site earning a commission. Affiliate programs and affiliations include, but are not limited to, the eBay Partner Network.
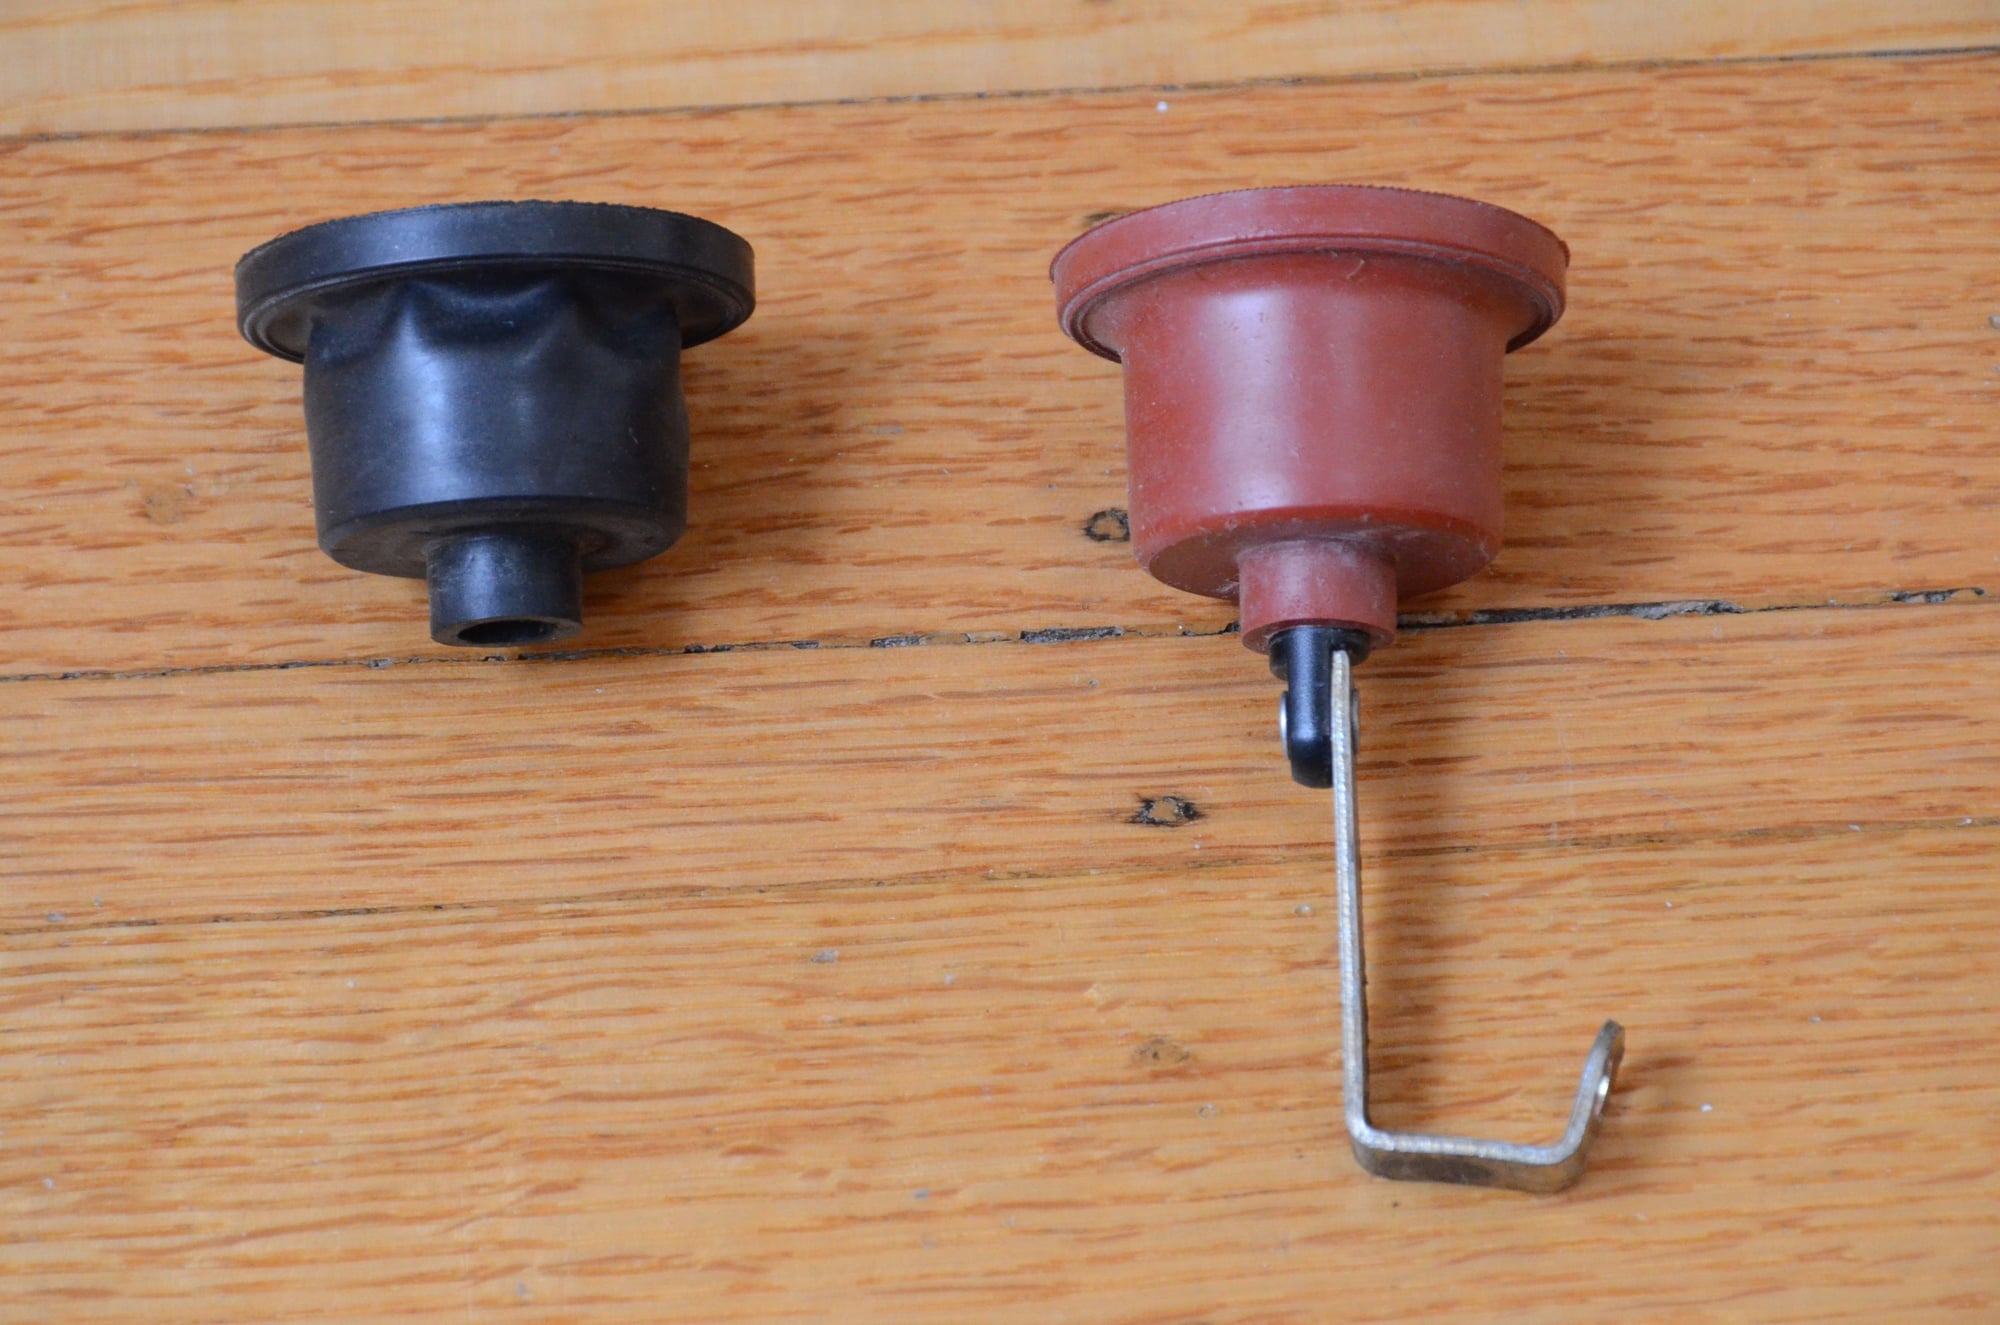
Thanks a million to Dwayne again for this pictorial. I did the comb flap and footwell actuator diaphragms this weekend. Boy, the diaphragms are super expensive. They are the most expensive rubbers that I have ever bought!
I have a few suggestions after doing the repair.
1. while the console is out, make sure to change out the center vent foam gasket. They are available at your local ACE Hardware.
2. For the footwell actuator arm, one only needs to bend the farthest end outward a tiny bit to be removed from the actuator.
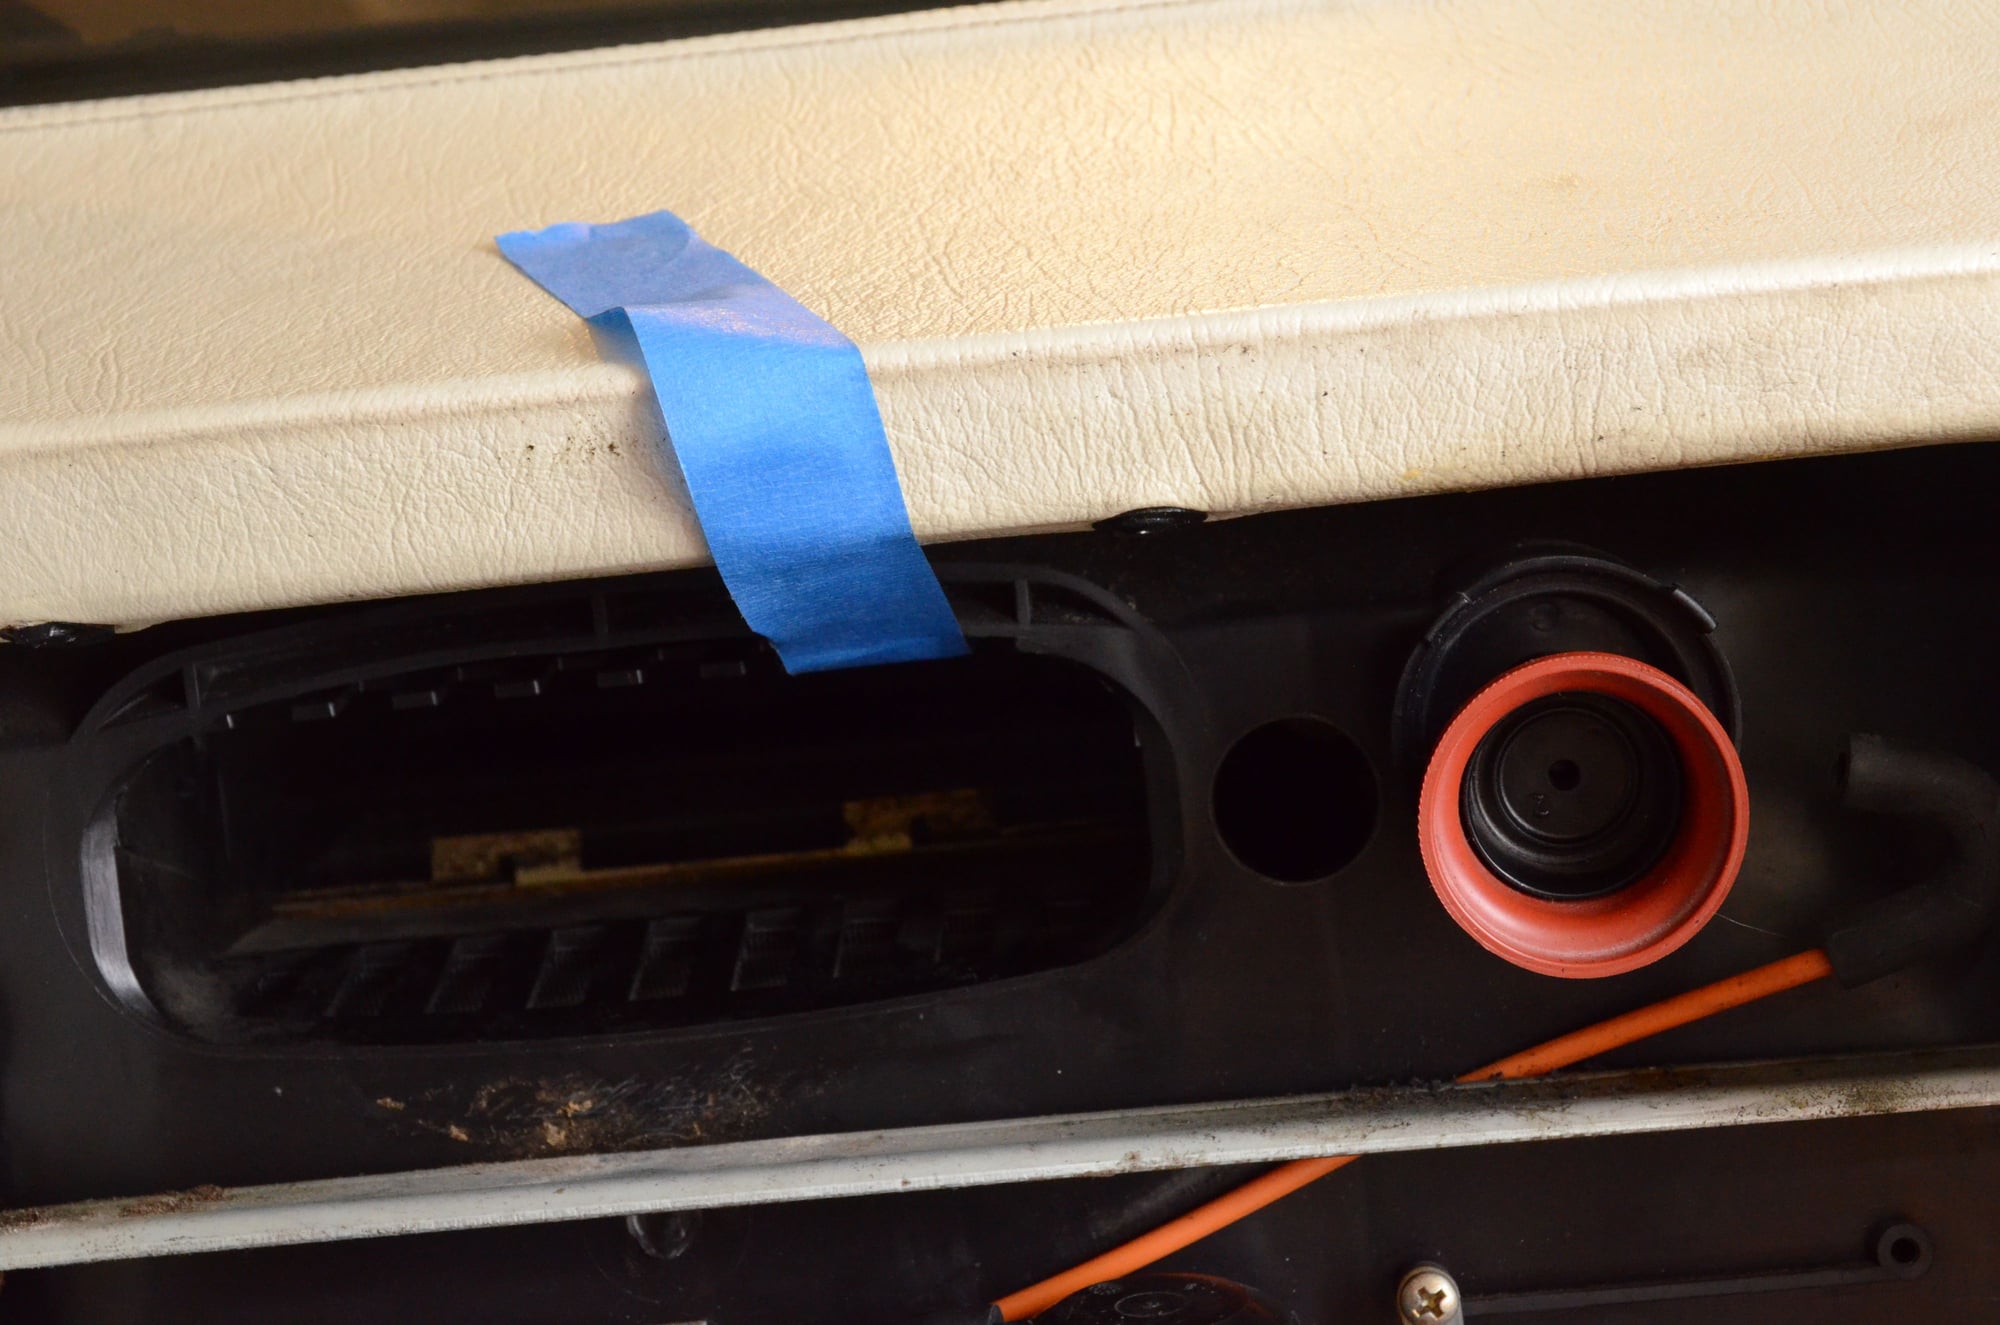
3. For the comb flap diaphragm, drilling a 1" hole will allow easy access of one's finger to reattach the metal arm to the flap. Dwayne drilled a 3/4" hole and he had to take out the glove box and air duct to stick a screw driver to reattach the arm. With the 1" hole, there is no need to do the glove box removal.
4. During the reattachment of the arm to the comb flap, one should tape or prop the comb flap wide open. This will allow the tap to be closest to the drilled hole so a finger can easily push the metal arm back onto the flap tab.
While the console was out, I took out all 4 switches and did the prophylactic repairs by trimming the plastic parts and then Deoxited all contacts.
Well, I bought the defroster actuator and the recirculating diaphragm. I don't think I would tackle those jobs any time soon.
I have been wondering. Do I actually like the 928 or I just like that "nailed it" feeling when I FIXED something? There are just so many things that I have "nailed" so far.
Steve
I love Dwayne's detailed writeups and pictures so much, they make these projects manageable. I completed the comb flap and footwell diaphragm replacements today. A tip I have for the comb flap actuator arm reattachment task:
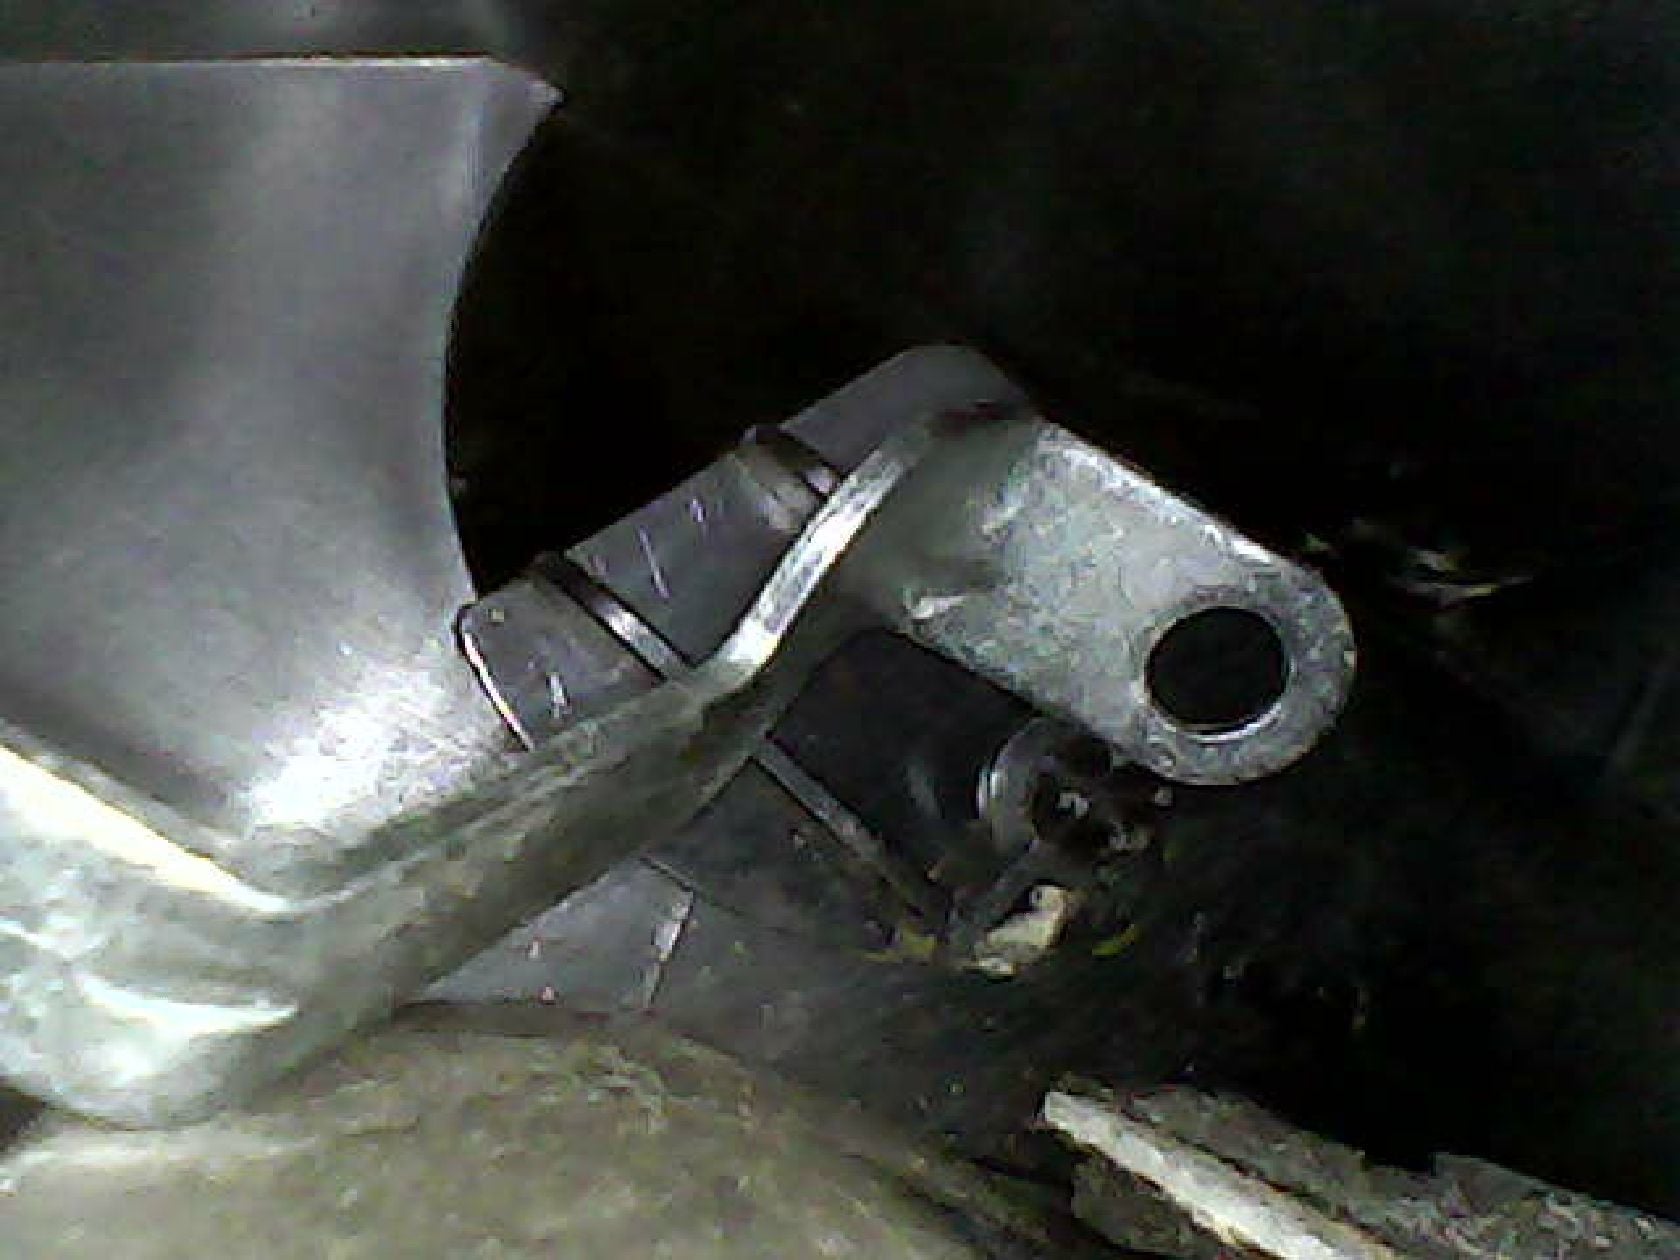
Buy a ~$60 Home Depot borescope that attaches to your phone for the image. I fished the lighted borescope into the inner glove box vent hole. It was then much easier to line up the arm to the locating pin and make small adjustments until just right.
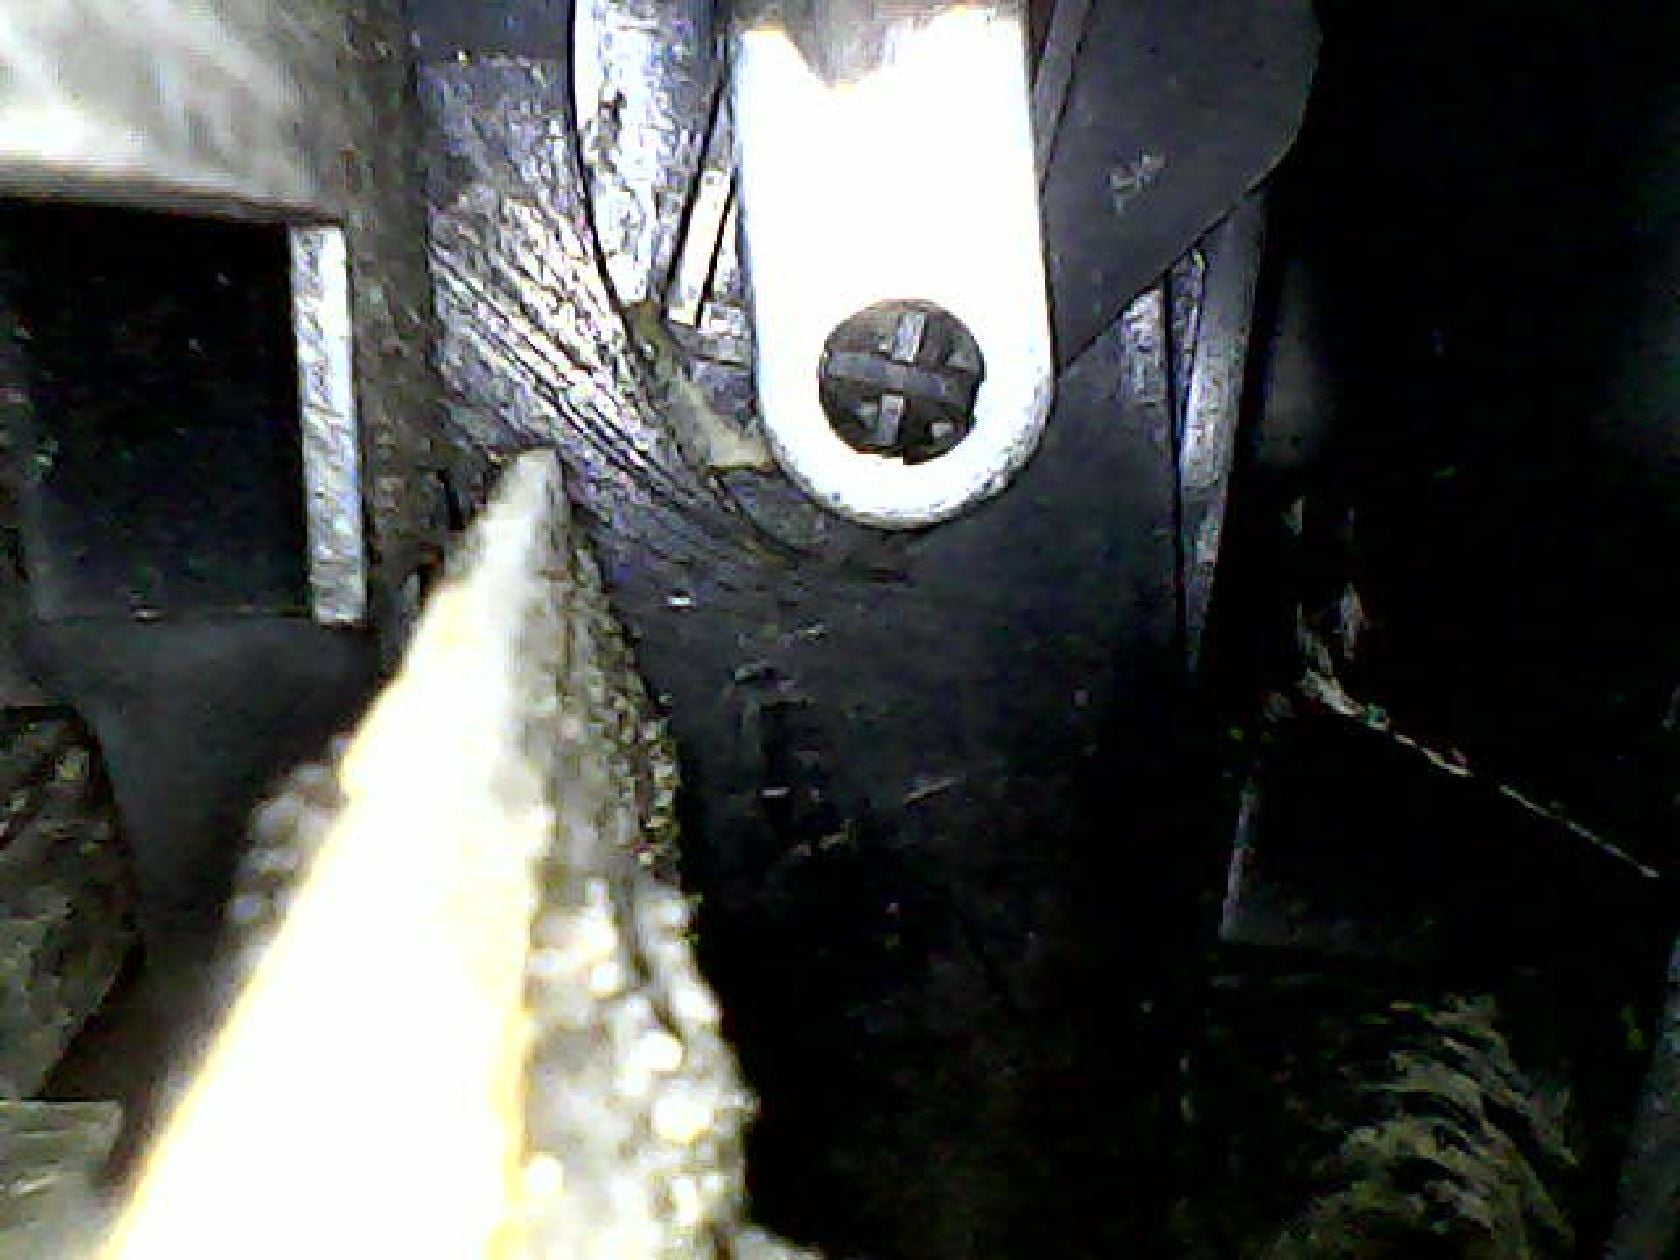
I still needed to use an extra long flat screwdriver in the glove box hole to pop the arm onto the pin. But watching the alignment in real time on the screen was much easier than the mirror-on-a-stick or drilling into the air box methods I've seen others use. Plus I was able to take some good pics in progress! Hopefully this is helpful.
Fishing the arm into place to get to the locator pin. Lined up and given a good poke with the screwdriver until it popped into place, success!

 05-26-2015, 02:15 AM