When you click on links to various merchants on this site and make a purchase, this can result in this site earning a commission. Affiliate programs and affiliations include, but are not limited to, the eBay Partner Network.
After reading and re-reading Scott Yoo's most excelent review of the S3 intake refresh procedure, I'm left without a clue about the intake runner gaskets I hope someone here can help with. Should they be prepared with DC-111, Drie Bond or left dry?
The "trick" is to make sure the runners are flat. Runners that originally had the thick paper gaskets tend to "pull down" where the bolts go and almost always need to be resurfaced. Runners which originally had the superceeded metal gaskets with the internal "O"-Ring (the best, by far, gasket to use when redoing the intake system) did not distort on the flanges, very much.
Semi-retired, as of Feb 1, 2023.
The days of free technical advice are over.
Free consultations will no longer be available.
Will still be in the shop, isolated and exclusively working on project cars, developmental work and products, engines and transmissions.
Have fun with your 928's people!
The "trick" is to make sure the runners are flat. Runners that originally had the thick paper gaskets tend to "pull down" where the bolts go and almost always need to be resurfaced. Runners which originally had the superceeded metal gaskets with the internal "O"-Ring (the best, by far, gasket to use when redoing the intake system) did not distort on the flanges, very much.
Thanks Greg.
I'm using the stock gaskets courtesy of Roger. I still have the opportunity to put the runners themselves on wet/dry P320 gritt paper to even out the surface of them, but can't do that with the block side of the surface; I'd need to pull the block and have it machined. I can't imagine that's standard practice?
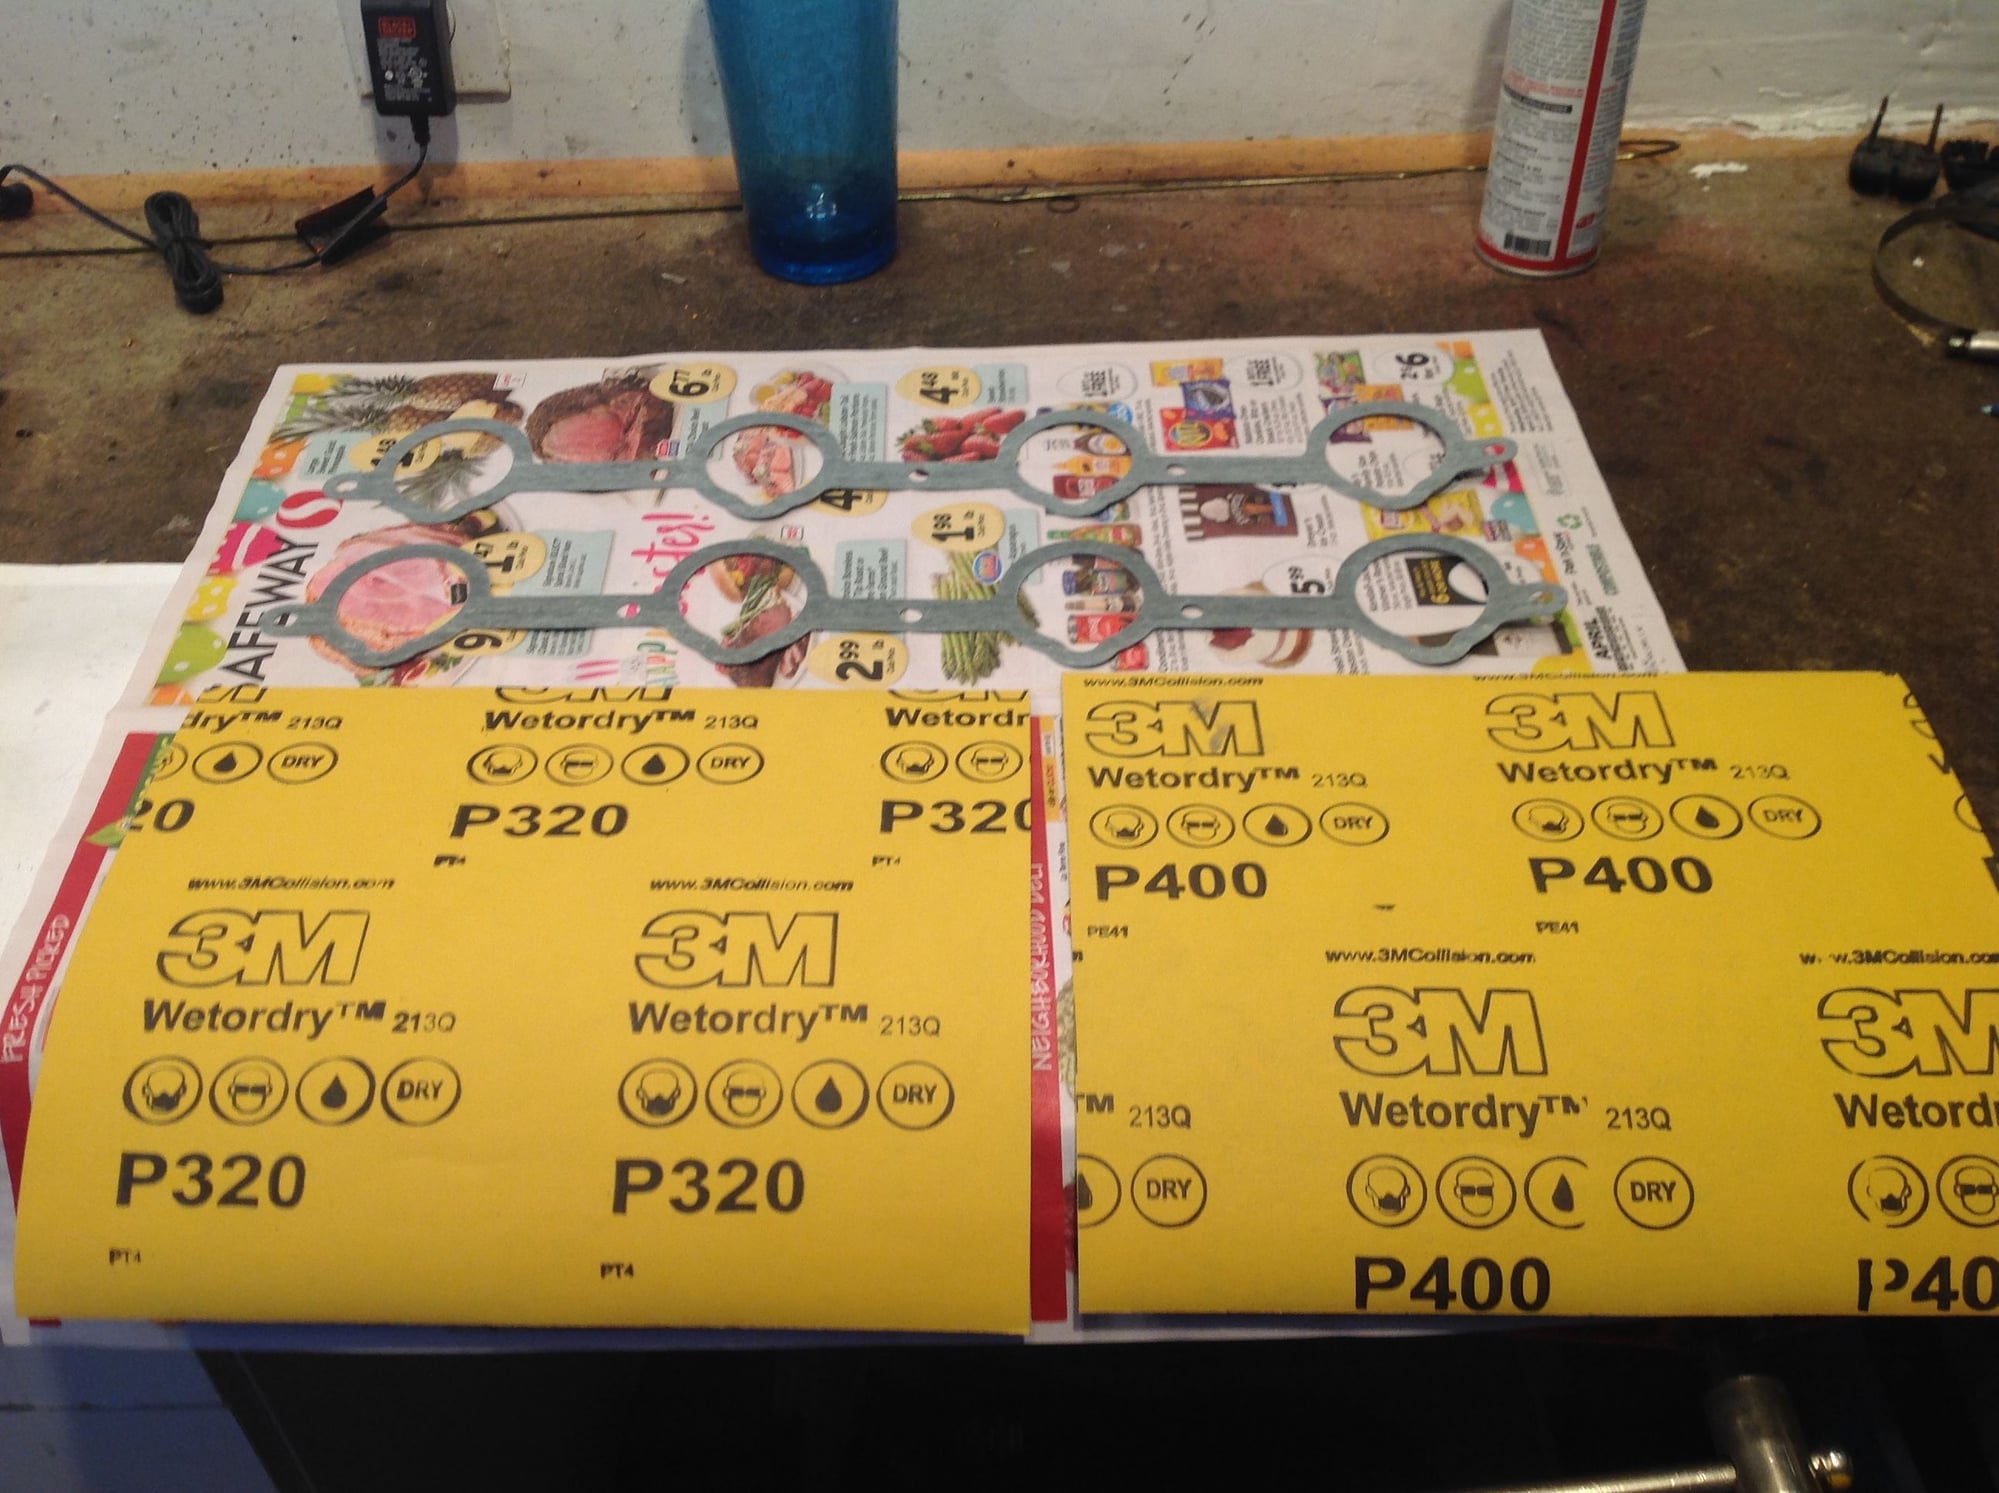
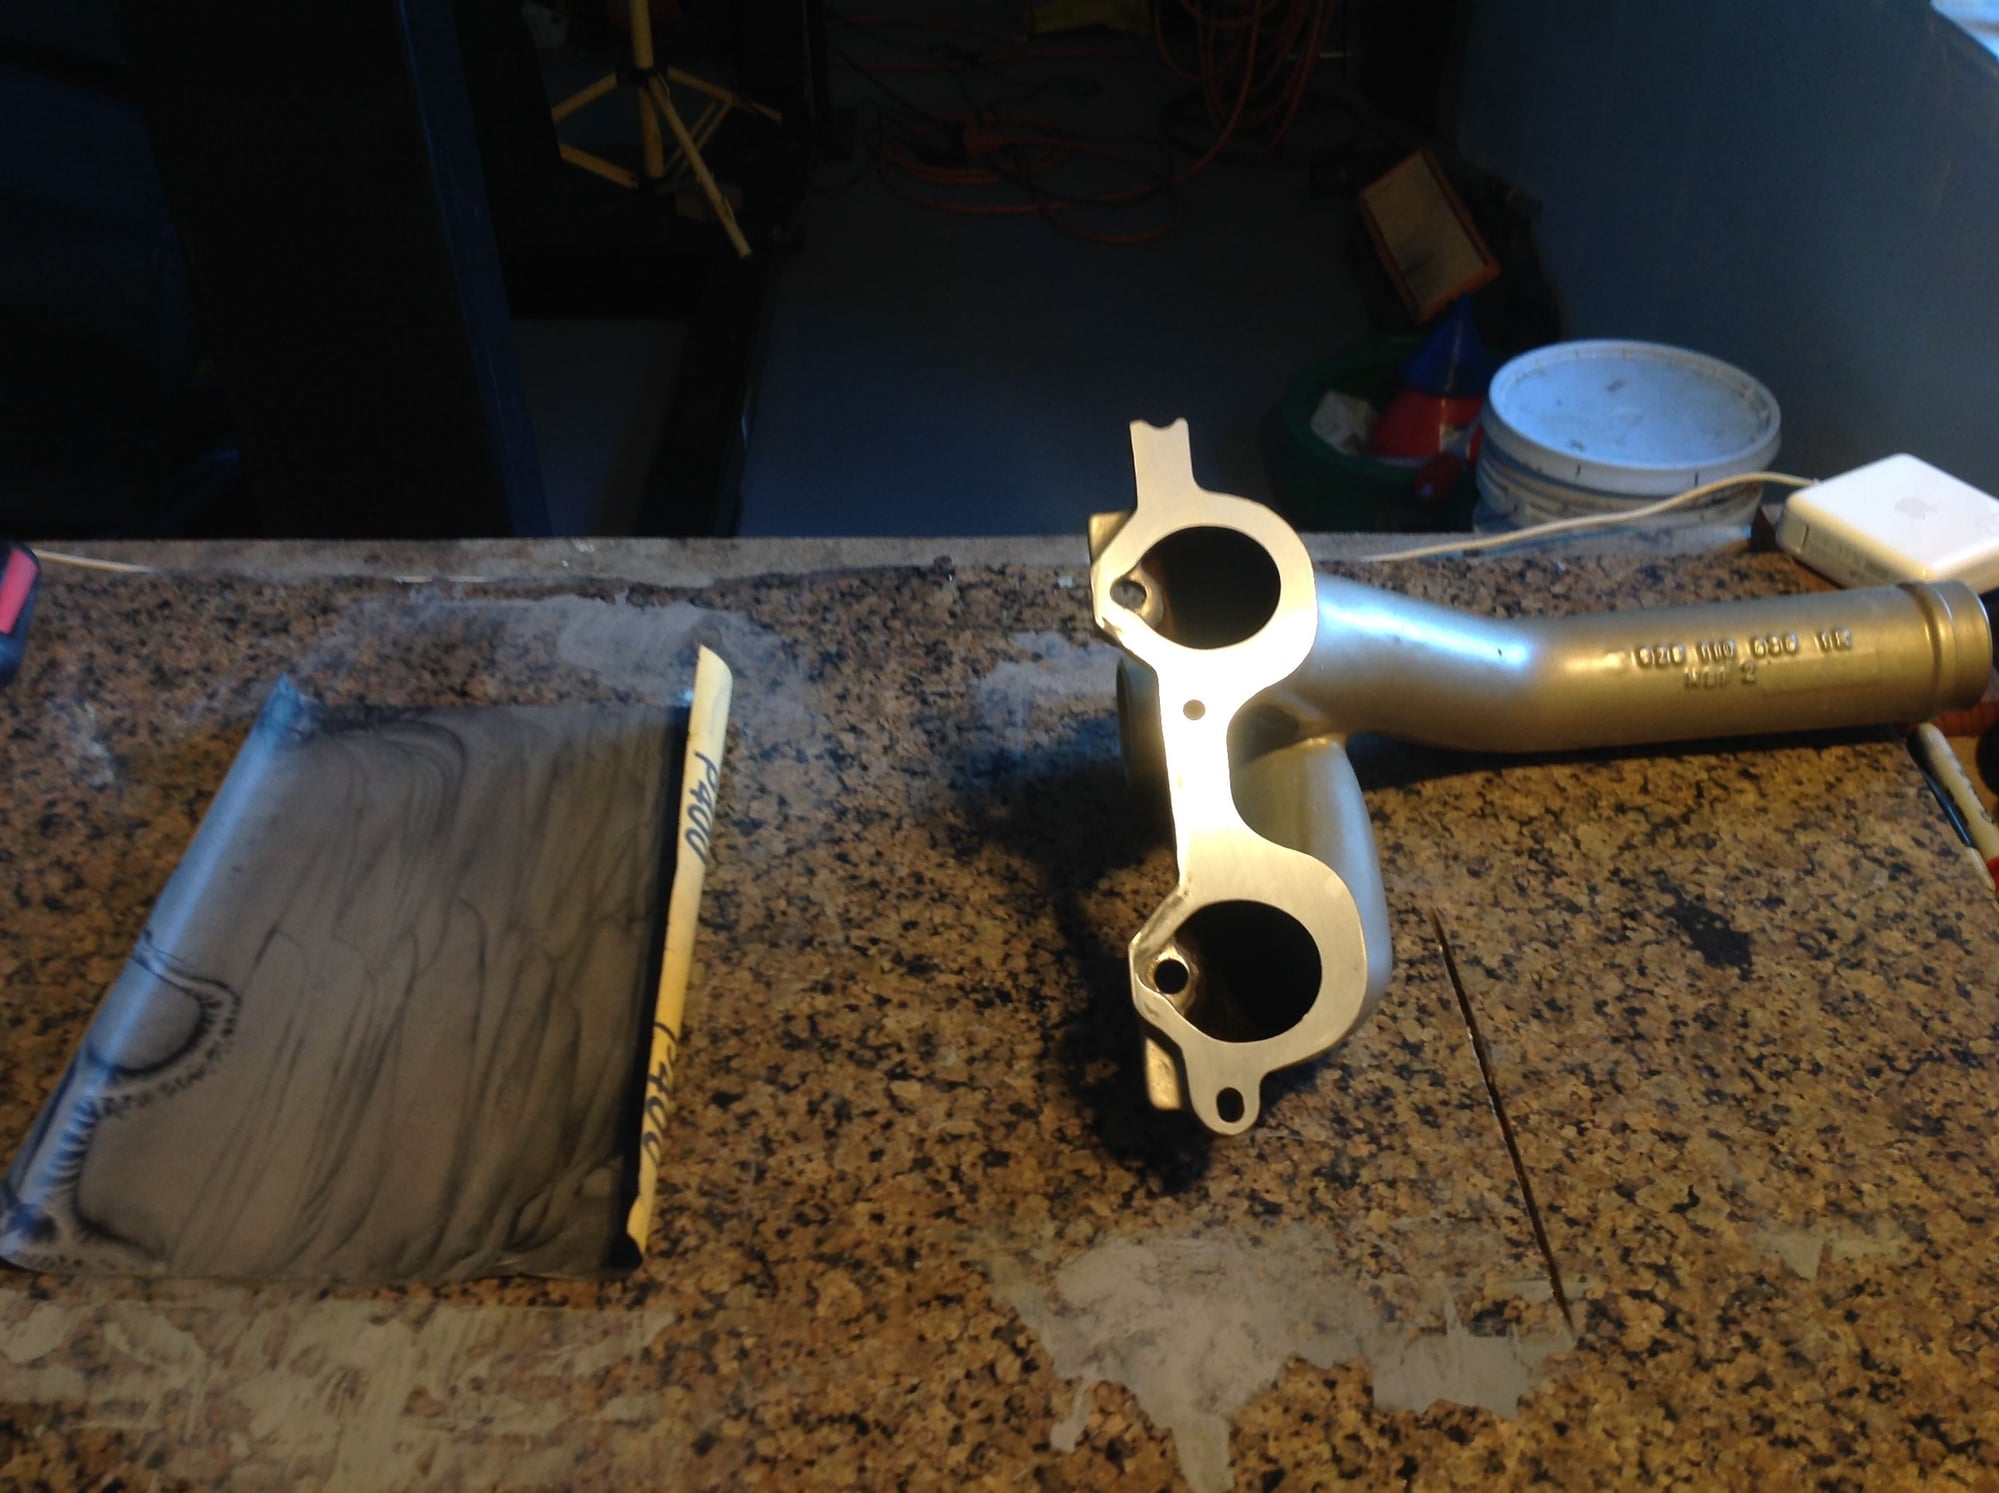
This is the setup I used to resurface the intake runners. First I used 3M P320 wet/dry paper set on a machined and polished granite slab I have on my benchtop, a remenant from a kitchen remodel 20 years ago. After the 320 I moved to P400, and in retrospect should have spent more time using the 320, the 400 is very slow but puts a fine polish on the runners. I've added some pitctures for clarity.
You can still see imperfections in the orriginal casting I can't take out without removing more material than I'm comfortable with a using a completely manual lashup like this, but the runners are flat to the granite and so I thiink they'll be OK.
Regards,
Scott.
That looks fine! You can use 220 and be "done".....a little bit of "tooth" on the manifolds gives the gaskets something to "bite" into.
The head surface will not be an issue. Avoid the temptation to pull the intake manifold bolts to 18+ ft. lbs.
14 ft. lbs is plenty and will not "pull down" the corners into that paper gasket, distorting the magnesium.
Install those gaskets dry. They actually have some internal "sticky" glue stuff, which keeps them in place.
Got it. thanks for the tip on 220. I have some 220 sheets arriving tomorrow afternoon courtesy of my wife . I'll go ahead and texture the runners with 220 before installation.
One more question; should the water bridge and oil filler also be installed at the reduced 14lbs of torque to avoid distortion?
If you are running the paper gaskets under the water bridge, use anti-sieze on the threads (not on the bolts, but use a small screwdriver to smear it around, inside the threads in the head). Torque to 14.ft. lbs.
The oil filler should require 6mm hardware. Make sure the filler neck is flat, also. I use a very thin layer of Drei Bond on both sides of that gasket, tighten the hardware to 72 inch lbs. (dry) and then go around the filler neck with my finger, to thin out and smear the Drei Bond that squeezes out around the seam.
Thank you again. I am using drie bond one the filler neck and used the same procedure with the wet/dry paper to clean it up and flatten it before installation, though I did polish it to 400 grit so I may need to remove it and texture with 220 before closing it up? I haven't begun reinstalling the intake so it's not much trouble, but getting the new rubber gasket to seat on the neck was sort of a crap shoot I'd rather not repeat . How anyone could be sure that gasket actually went into the groove on the oil baffle is completely beyond me. Nothing stuck out around the edges so I figured that was the best I could do.
I did did use DC 1-11 per Stan's recommendation on the oil filler gasket, then coated both sides of the oil filler with Drie Bond during the install. I haven't yet checked the torque but can still do that easily and I appreciate the suggestion. I'll go with 72 inch/lbs. I did use anti-seize as you suggest, but put it on the bolts, not the threads?
And for anyone considering this operation, I did find and hopefully fix, the source of my coolant leak, which was in fact the O ring seal connecting the bridge to the block; it was decrepit. Cracked and hardened beyond any reasonable expectation of use.
And for anyone considering this operation, I did find and hopefully fix, the source of my coolant leak, which was in fact the O ring seal connecting the bridge to the block; it was decrepit. Cracked and hardened beyond any reasonable expectation of use.
i think it was a $2 part. Leaked like sieve.
Many people forget about that seal. The water bridge on all our cars at this point need to be serviced at minimum. Those seals have had it. The same goes for head gaskets at this point unfortunately.

 05-30-2019, 06:36 PM


 . I'll go ahead and texture the runners with 220 before installation.
 . How anyone could be sure that gasket actually went into the groove on the oil baffle is completely beyond me. Nothing stuck out around the edges so I figured that was the best I could do.