When you click on links to various merchants on this site and make a purchase, this can result in this site earning a commission. Affiliate programs and affiliations include, but are not limited to, the eBay Partner Network.
So it started off as a simple project....let's rebuild the power steering to pump to stop that pesky leak...
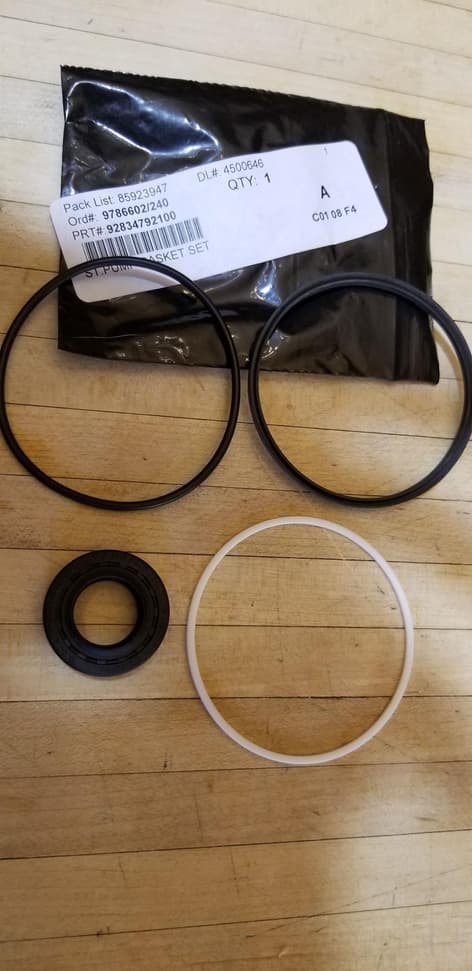
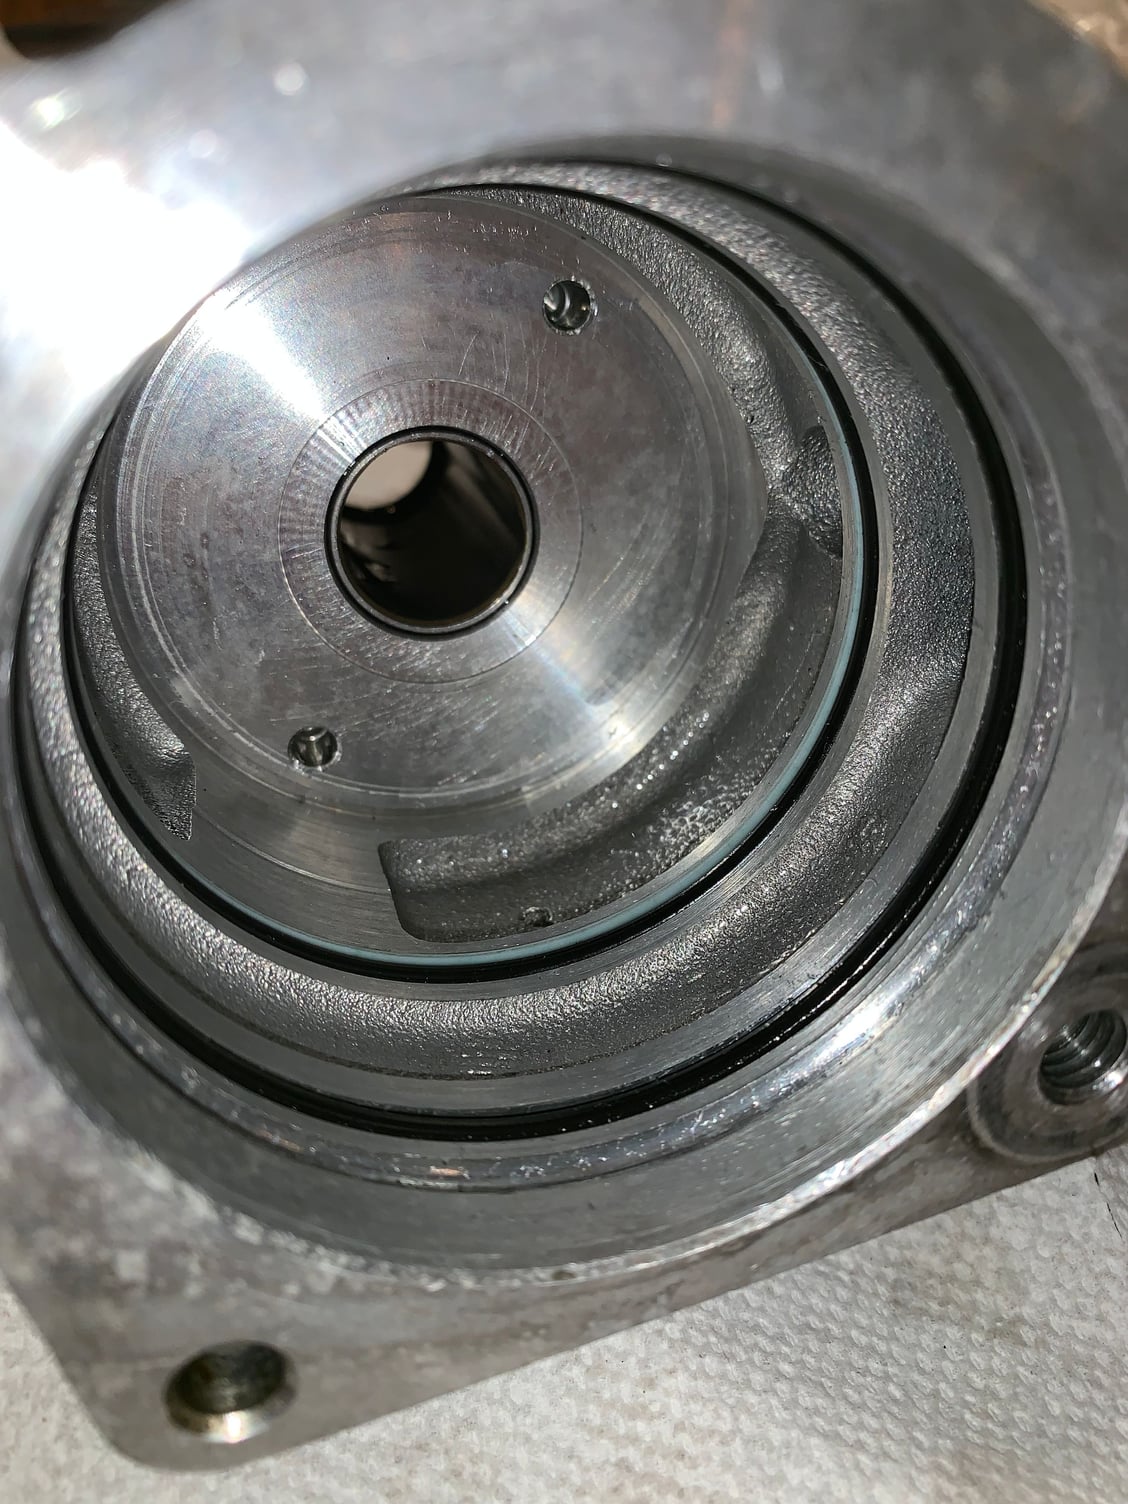
I ordered the rebuild kit from roger and and then started tearing into the rebuild. The primary leak was coming from the shaft seal but obviously want to replace everything at this point. Now here's the rub, there is 'lipped seal' in the kit as indicated by the pictures but I didn't REMOVE any lipped seals in the pump. (As shown in the pictures) What i pulled from inside of the pump were a white, plastic oring and two large black orings. So what am I doing wrong? The original o-ring seems to be in very good shape. Should I just reuse it? Help!
Thanks for chiming in --- Nothing wrong with the pump other than a small leak in the shaft seal -- In hindsight--- I should have just left this alone....nobody can seem to solve this one...
Is the chevron seal the same size as the o-ring you removed? If so I would think it would go in place of the inner o-ring with the open side of the chevron facing the high pressurized side. the plastic ring is a backup ring and is used to support the seal, and is typically installed on the side of the seal away from the fluid trying to be contained. .
The picture of the pump above is what it looked like BEFORE i pulled anything out. Remember, I had no leaks in the rear. I'm not sure what seal you are referring to when you say 'chevron' seal.
Here's what I pulled out in order:
- Snap Ring
- Rear Pump Cover
- Round Black O-ring #1 (Larger)
- Round Black O-Ring #1 (Smaller)
- Round White Plastic O-ring.
That's it.
The rebuild kit includes one large 'lipped' seal that doesn't seem to fit anywhere and one was not removed. I think my only option is to is to find and measure the existing o-ring and buy one separately....
I was referring to the "lip seal" as a chevron seal. the chevron shape is designed to improve sealing. when installed with the open part to the "V" cross section facing the fluid, the lips of the seal are forced out against the sealing faces of the body/shaft, where the sealing force is increased as the fluid pressure is increased. If the lip seal is the same size as the larger o-ring, I would install it in that position. I would assume that the it is likely that the seal kit was changed over the years to improve reliability, and that is why the o-ring was exchanged for the lip seal.
I got an answer back from Porsche and they upgraded the seal to a chevron (lip) seal.
Will it fit?
__________________
Does it have the "Do It Yourself" manual transmission, or the superior "Fully Equipped by Porsche" Automatic Transmission? George Layton March 2014
928 Owners are ".....a secret sect of quietly assured Porsche pragmatists who in near anonymity appreciate the prodigious, easy going prowess of the 928."
Thanks Roger for confirming the Chevron seal. It does fit but it takes a lot of patience because it really feels like it WON'T fit. Once it's seated it fits just right. It does make putting the rear cover on a small nightmare because of the super tight fit.
For installation purposes, the seal goes in as formed with the bottom of 'V" facing toward the pump.
For installation purposes, the seal goes in as formed with the bottom of 'V" facing toward the pump.
the open side of the "V" should face the fluid side. the bottom of the "V" should face the outside world. with the Chevron seal in the rear most position in the housing the open side of the "V" should face forward (relative to the car, open side towards the pulley) and the base of the "V" should face towards the rear (towards the C-clip) of the pump. this will allow the fluid pressure to help seal the lips against the housing. If you have it facing the other way you need to remove it, reverse its direction and reinstall it.
So .... I was really close but in the process of pressing the cover over the seal and in preparation of putting snap ring back on, the cover plate went off plane and virtually got stuck. I had to back the cover off and basically destroyed the seal....
So my new plan is use to a 50mm socket, which fits perfectly over the edges of the cover, and then use a C clamp to press down the middle...any thoughts? different ideas? The struggle of using two clamps is that have be in sync and space is tight on the rear cover and....
1) Seal - When looking at a cross section of the seal (the seal being vertical in your hand), one end of the seal flares out. That's the side that goes toward the pump when installing.
2) A 50mm socket and a shop press did a nice job of evenly pressing the rear cover over the seal in a controlled fashion. (You don't have to worry about the lock ring while pressing down because the rear pump cover will stay put) Once you remove the socket, just simply install the lock ring.
3) The WSM has very detailed instructions with good pictures. Just follow-it.

 04-30-2019, 04:28 PM


 George Layton March 2014


