When you click on links to various merchants on this site and make a purchase, this can result in this site earning a commission. Affiliate programs and affiliations include, but are not limited to, the eBay Partner Network.
If you haven't yet, you should pull the tensioner arm and and verify that the shoulder bolt is perfectly straight and inspect and likely replace the plastic bushings in the tensioner arm. The alignment of the tensioner arm is critical to these items, and from your original photos of the belt migrating forward on the tensioner roller I would be highly suspect of the alignment of the tensioner arm and roller.
I've had the tensioner arm on and off to get the belt in place, and the bolt is very picky about going in straight. I didn't see any plastic bushings on it, though. All I saw was a thick washer that goes up against the upper wheel, then the arm, then the bolt through both. There was some belt migration, but I suspect that's because there was simply so little tension on the belt that it was able to shift around and rub against the covers. At any rate, I'll keep a close eye on this alignment during reassembly. Thanks!
the bushings can be clearly seen int the pivot pin hole of the tensioner arm in this photo (from jenkens 928 tech tips page).
Oh, I see. I wiggled each wheel and the entire mess and it seems to be nice and stable, so I think I'm okay. I actually appreciate that pic, because now I can see what's going on with the contact for the tensioner monitor! The one here is completely broken, but now I can see how it needs to be fixed.
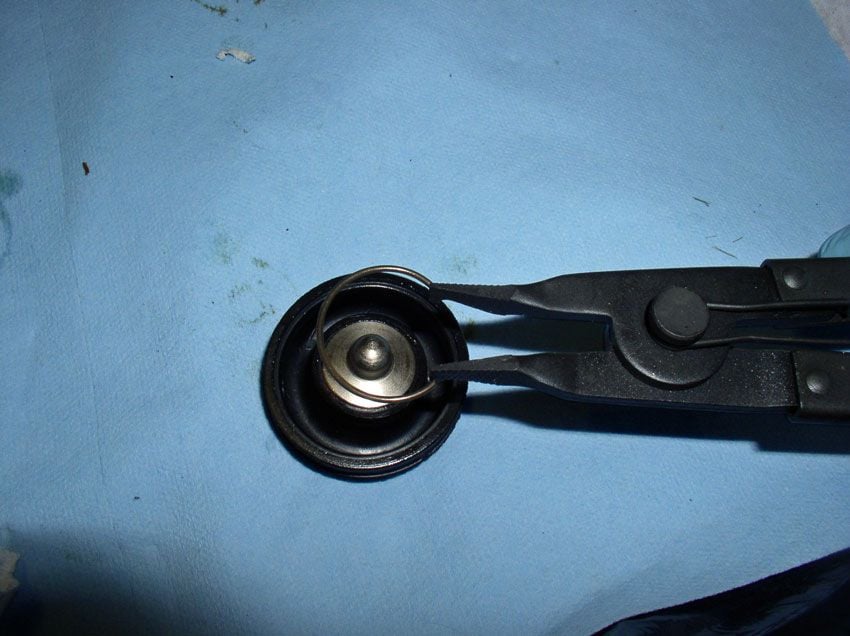
Okay, the tensioner is dismantled, cleaned, and reassembled. I just need some 90w for the cylinder, and to clean up the block where the gasket goes in place.
I also need this circlip, which wasn't installed when I took the tensioner apart. Roger didn't include it in the rebuild kit, so I assume it doesn't normally disappear. Does anyone know the specs?
I've decided to also tackle the cam cover gaskets. There's a lot of oil on the motor and my buddy thinks its coming from there. He already has the gaskets (he very helpfully included them when I borrowed the car).
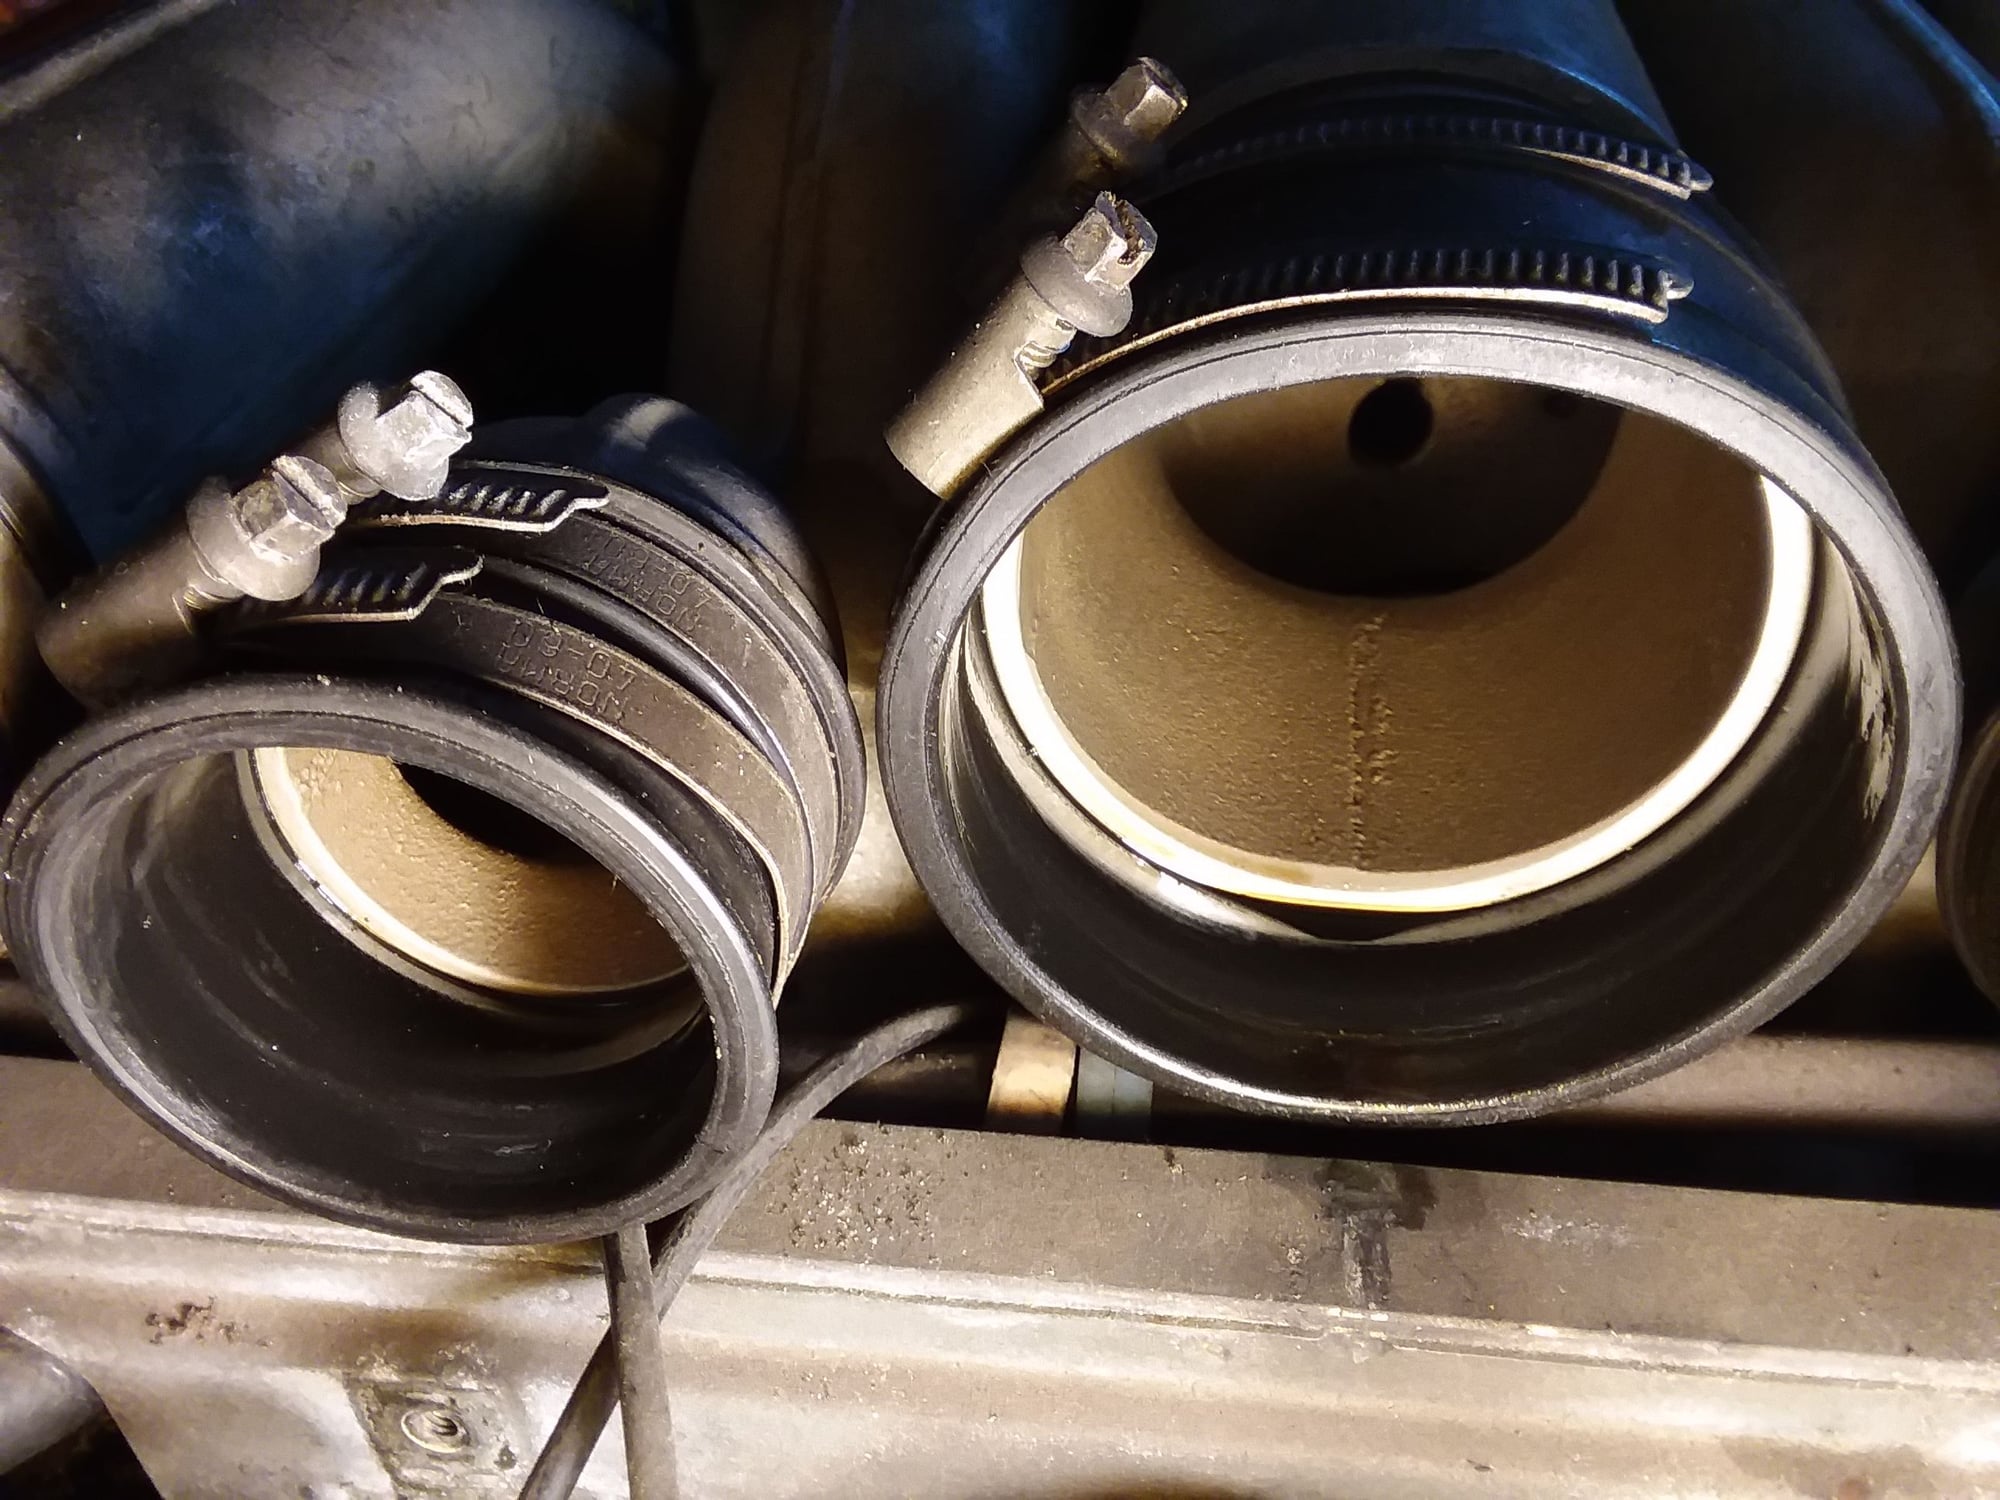
I pulled off the intake and the first thing I noticed was a fair amount of oil in the intake.
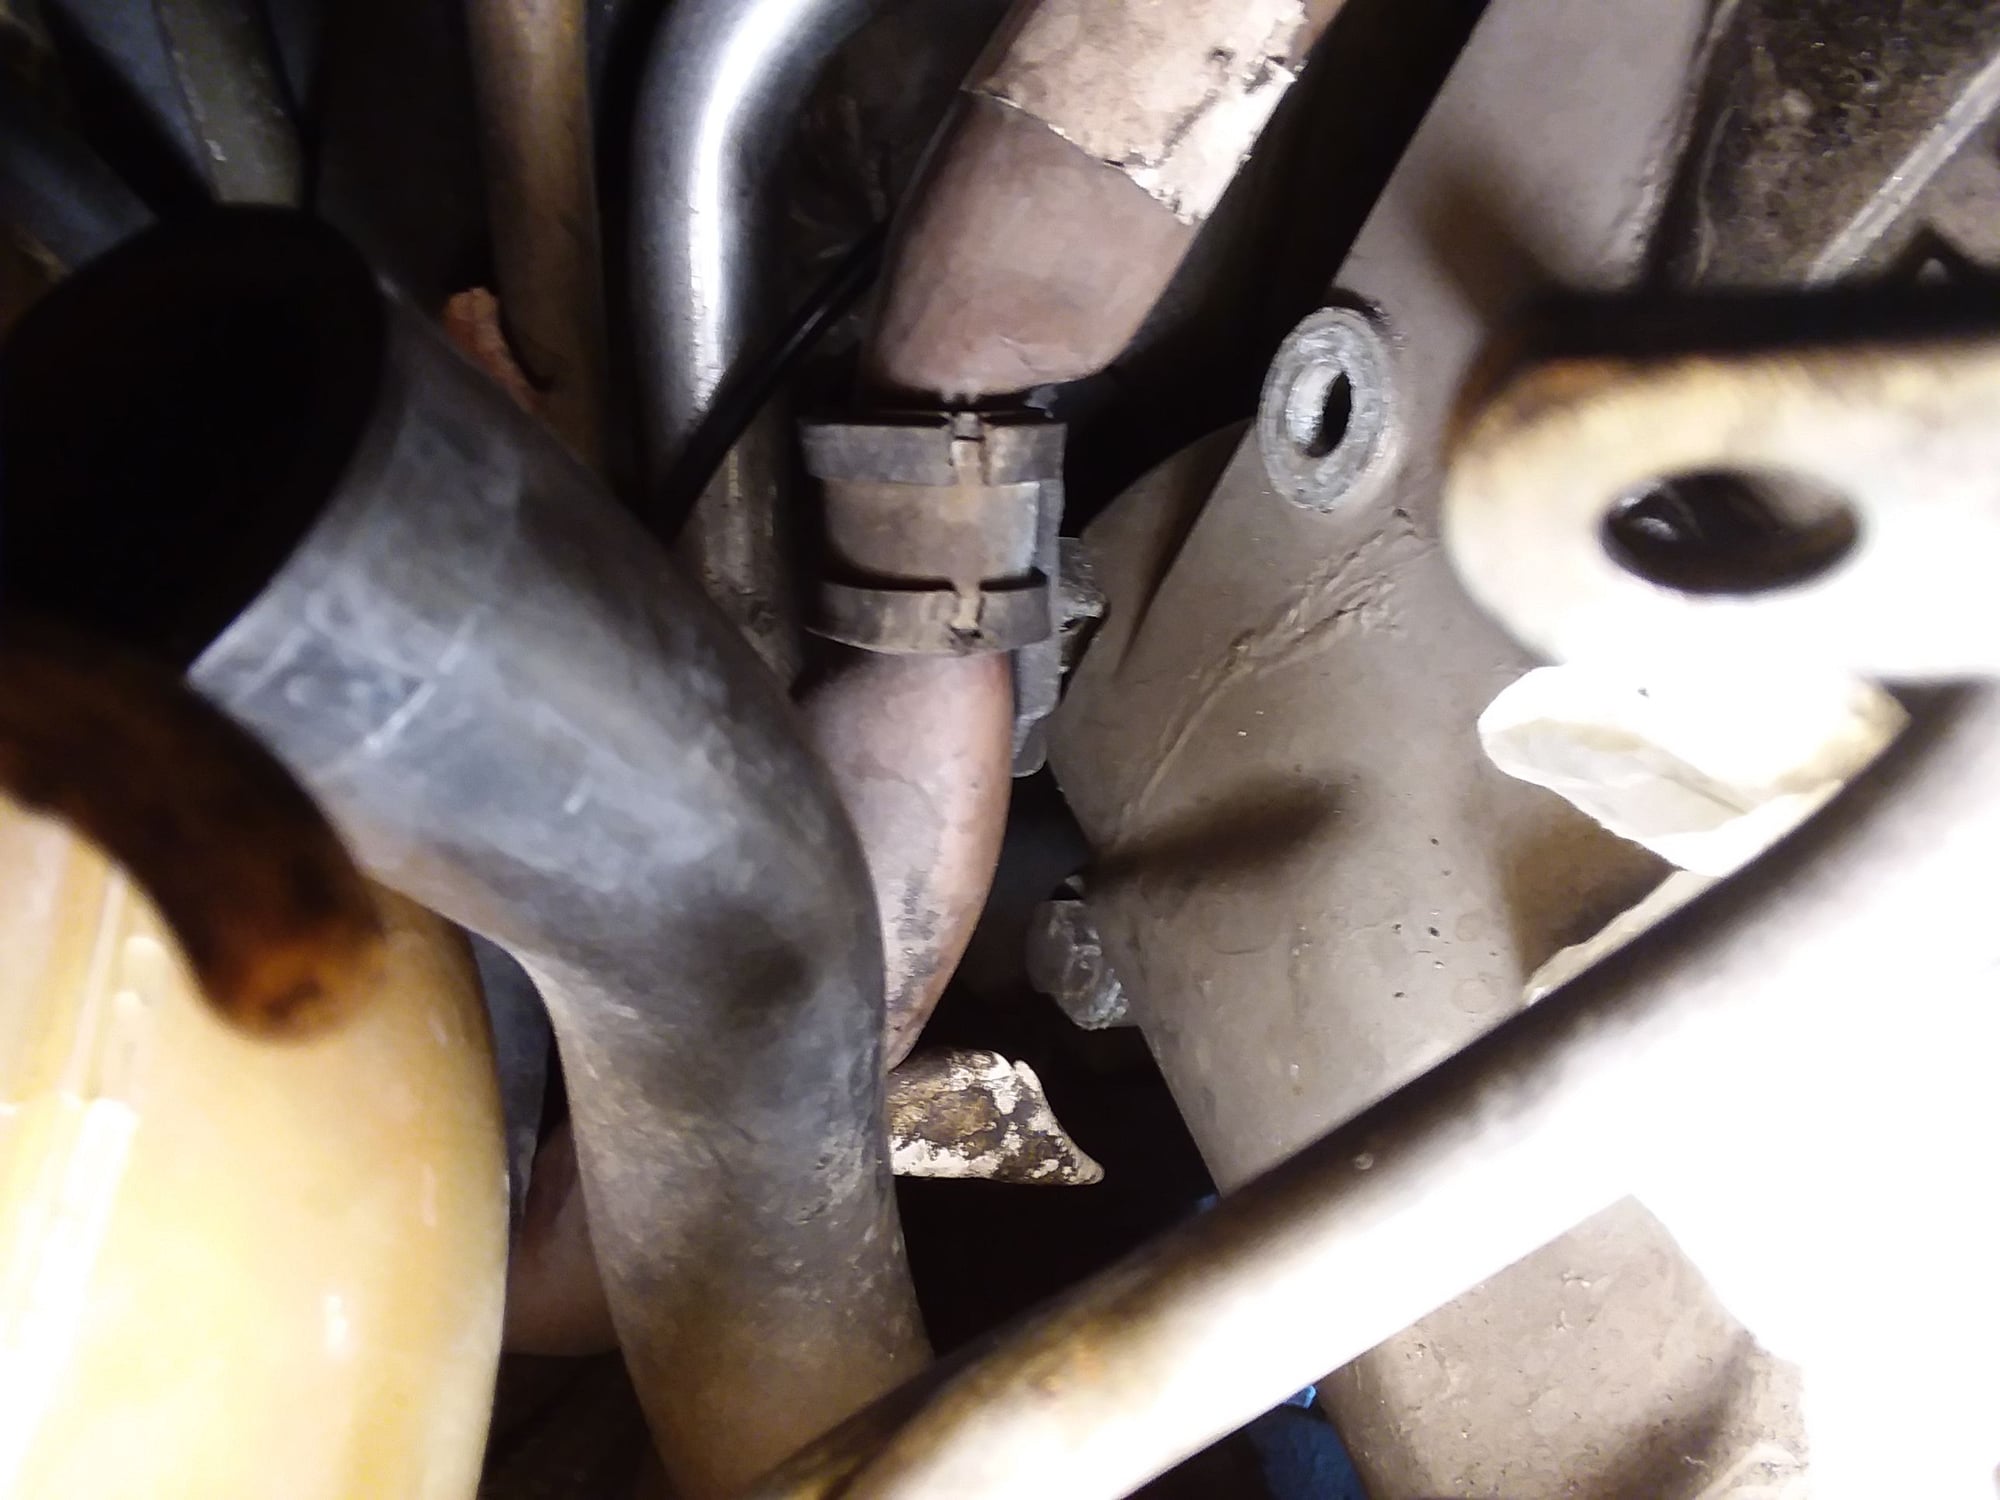
Once those were set aside, I pulled the vacuum lines and loosened a couple of clamps and the bolts came out easily enough. Except for this mother****er right here.
I can almost get a socket on it, but the AC hard line is keeping it from settle onto that bolt. I'm thinking either an offset box-end wrench or a 1/4" 13mm on a wiggle will get in there. I can get those locally at the HF. The other option might be a low-profile socket, but that's going to require ordering a set from Amazon.
Oh, I see. I wiggled each wheel and the entire mess and it seems to be nice and stable, so I think I'm okay. I actually appreciate that pic, because now I can see what's going on with the contact for the tensioner monitor! The one here is completely broken, but now I can see how it needs to be fixed.
There are 2 types of contact - the earlier one is just a flat copper bridge which breaks due to vibration stress over the years. The one pictured is a factory part which replaced it in later years and is an easy retro-fit for the earlier ones.
There's a really good 85/86 early-32V timing belt manual written by an old rennlister, John Kelly. Not sure whether its available in PDF form anywhere, but its comprehensive and includes pictures of each step plus torque values etc.
So, in the end I picked up a set of cheap offset box-end wrenches from HF and I was able to get at the bolt. I started to pull off the cover and I realized that the gasket I was seeing looked brand new, and that my memory of loosening the bolts was that they were too easy to turn. I set up a torque wrench with 7ft/lbs and gave a bolt on other side of the motor a try, and I got a full turn or more out of it before the wrench clicked. So, I decided to just retorque the cam cover bolts and call it a day.
I also had a conversation with Roger via email about the tensioner circlip in that picture above. Roger is sure that the 85 cars don't need that circlip, so I'm going to defer to him and rebuild without it.
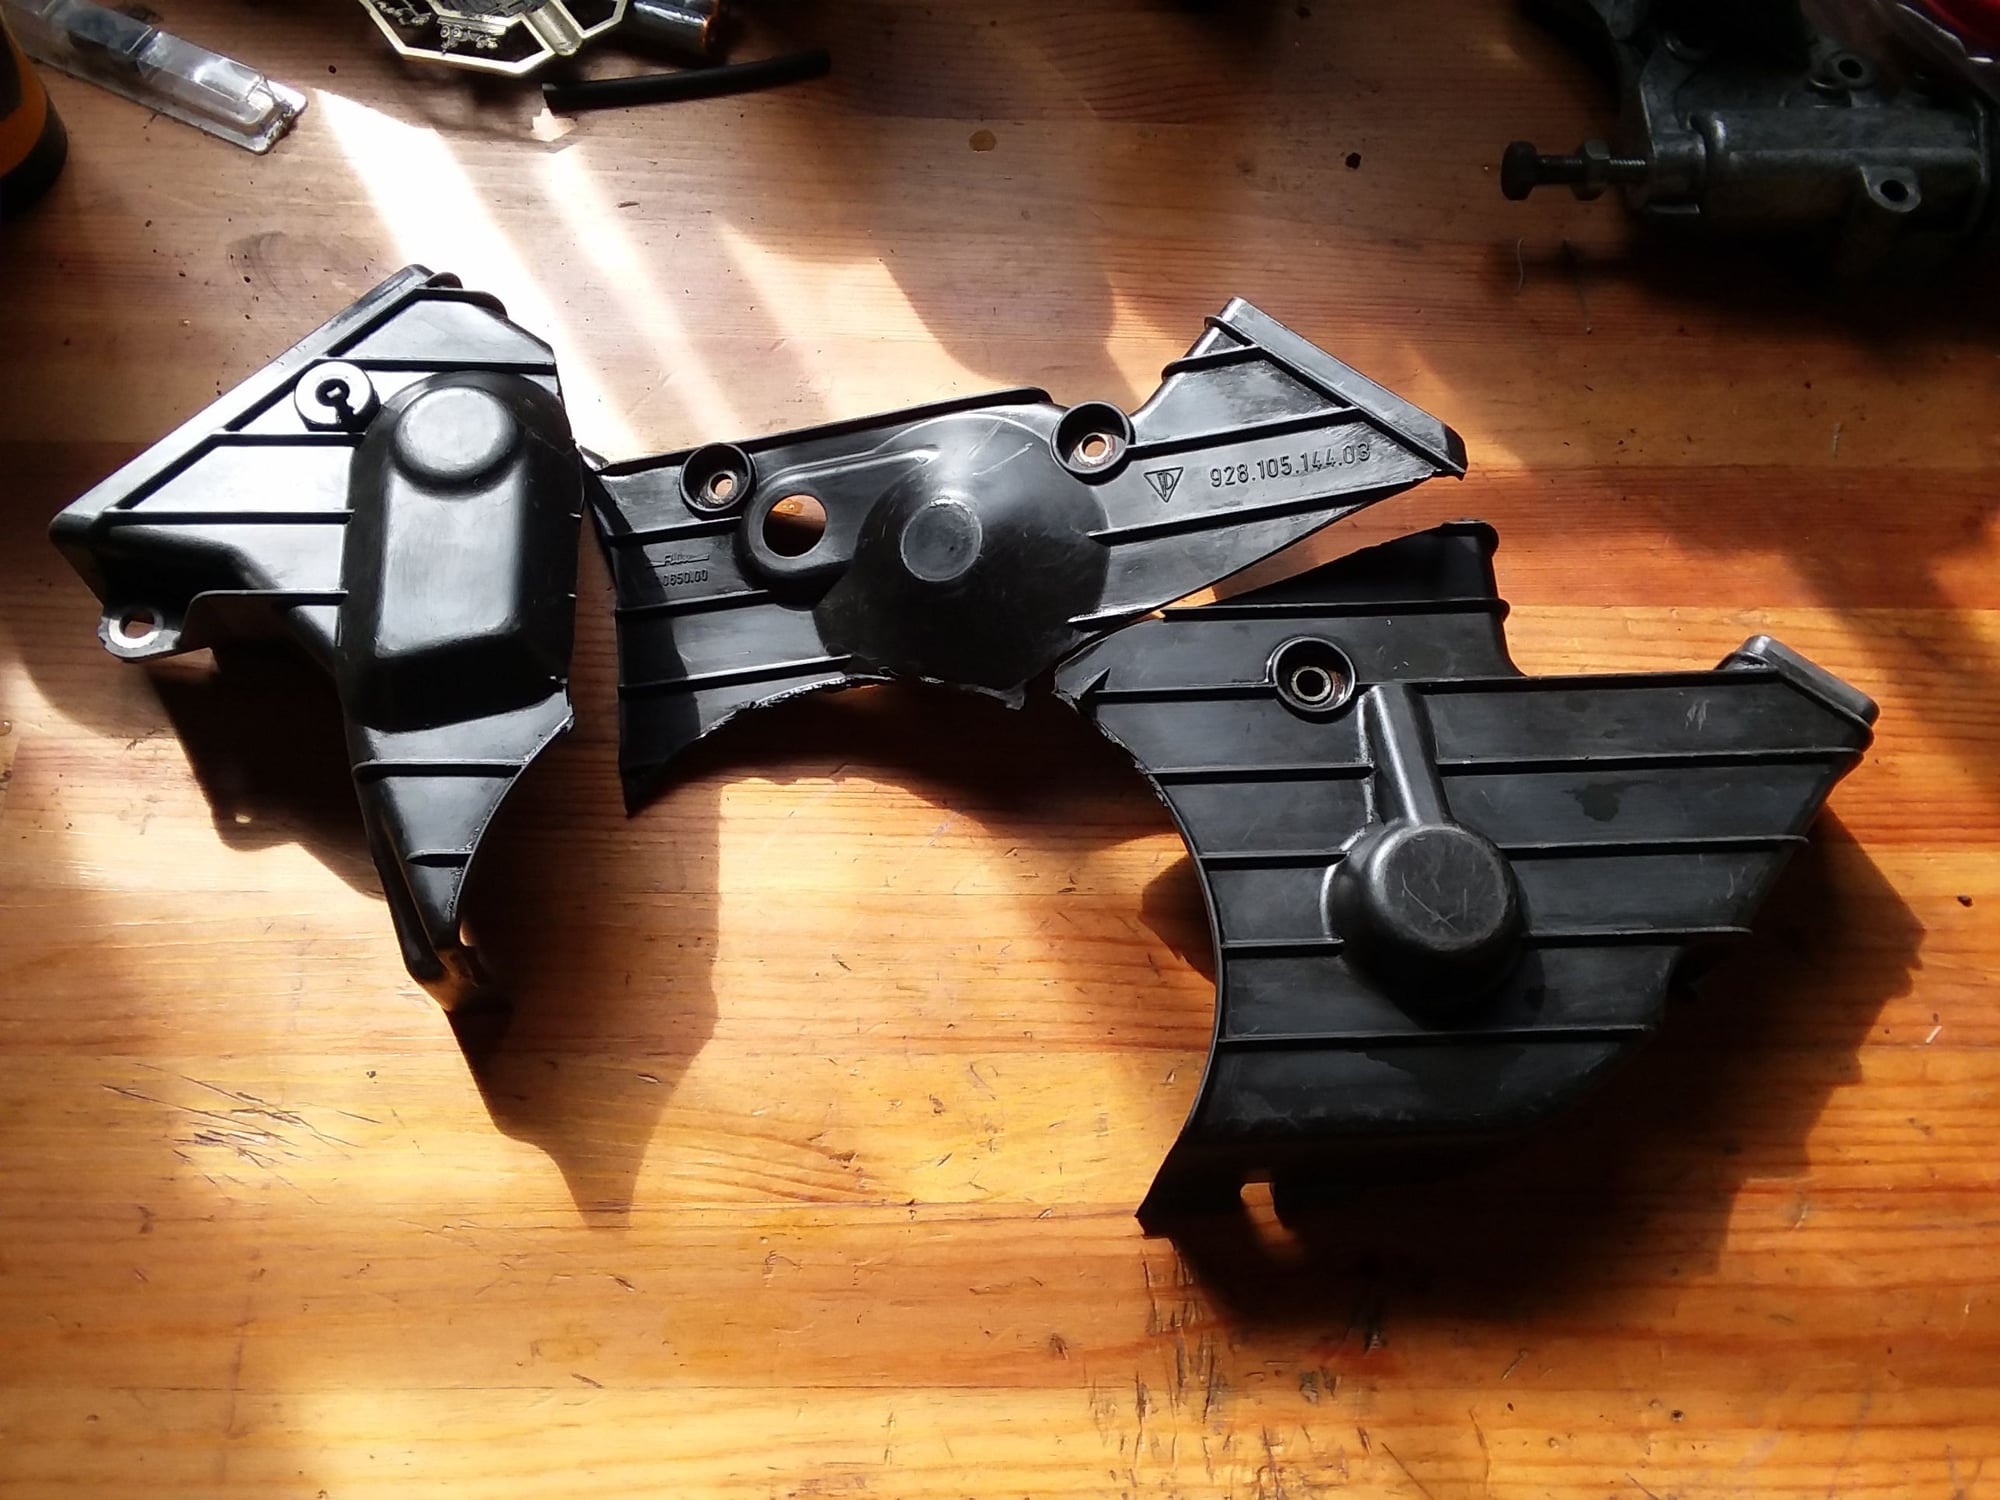
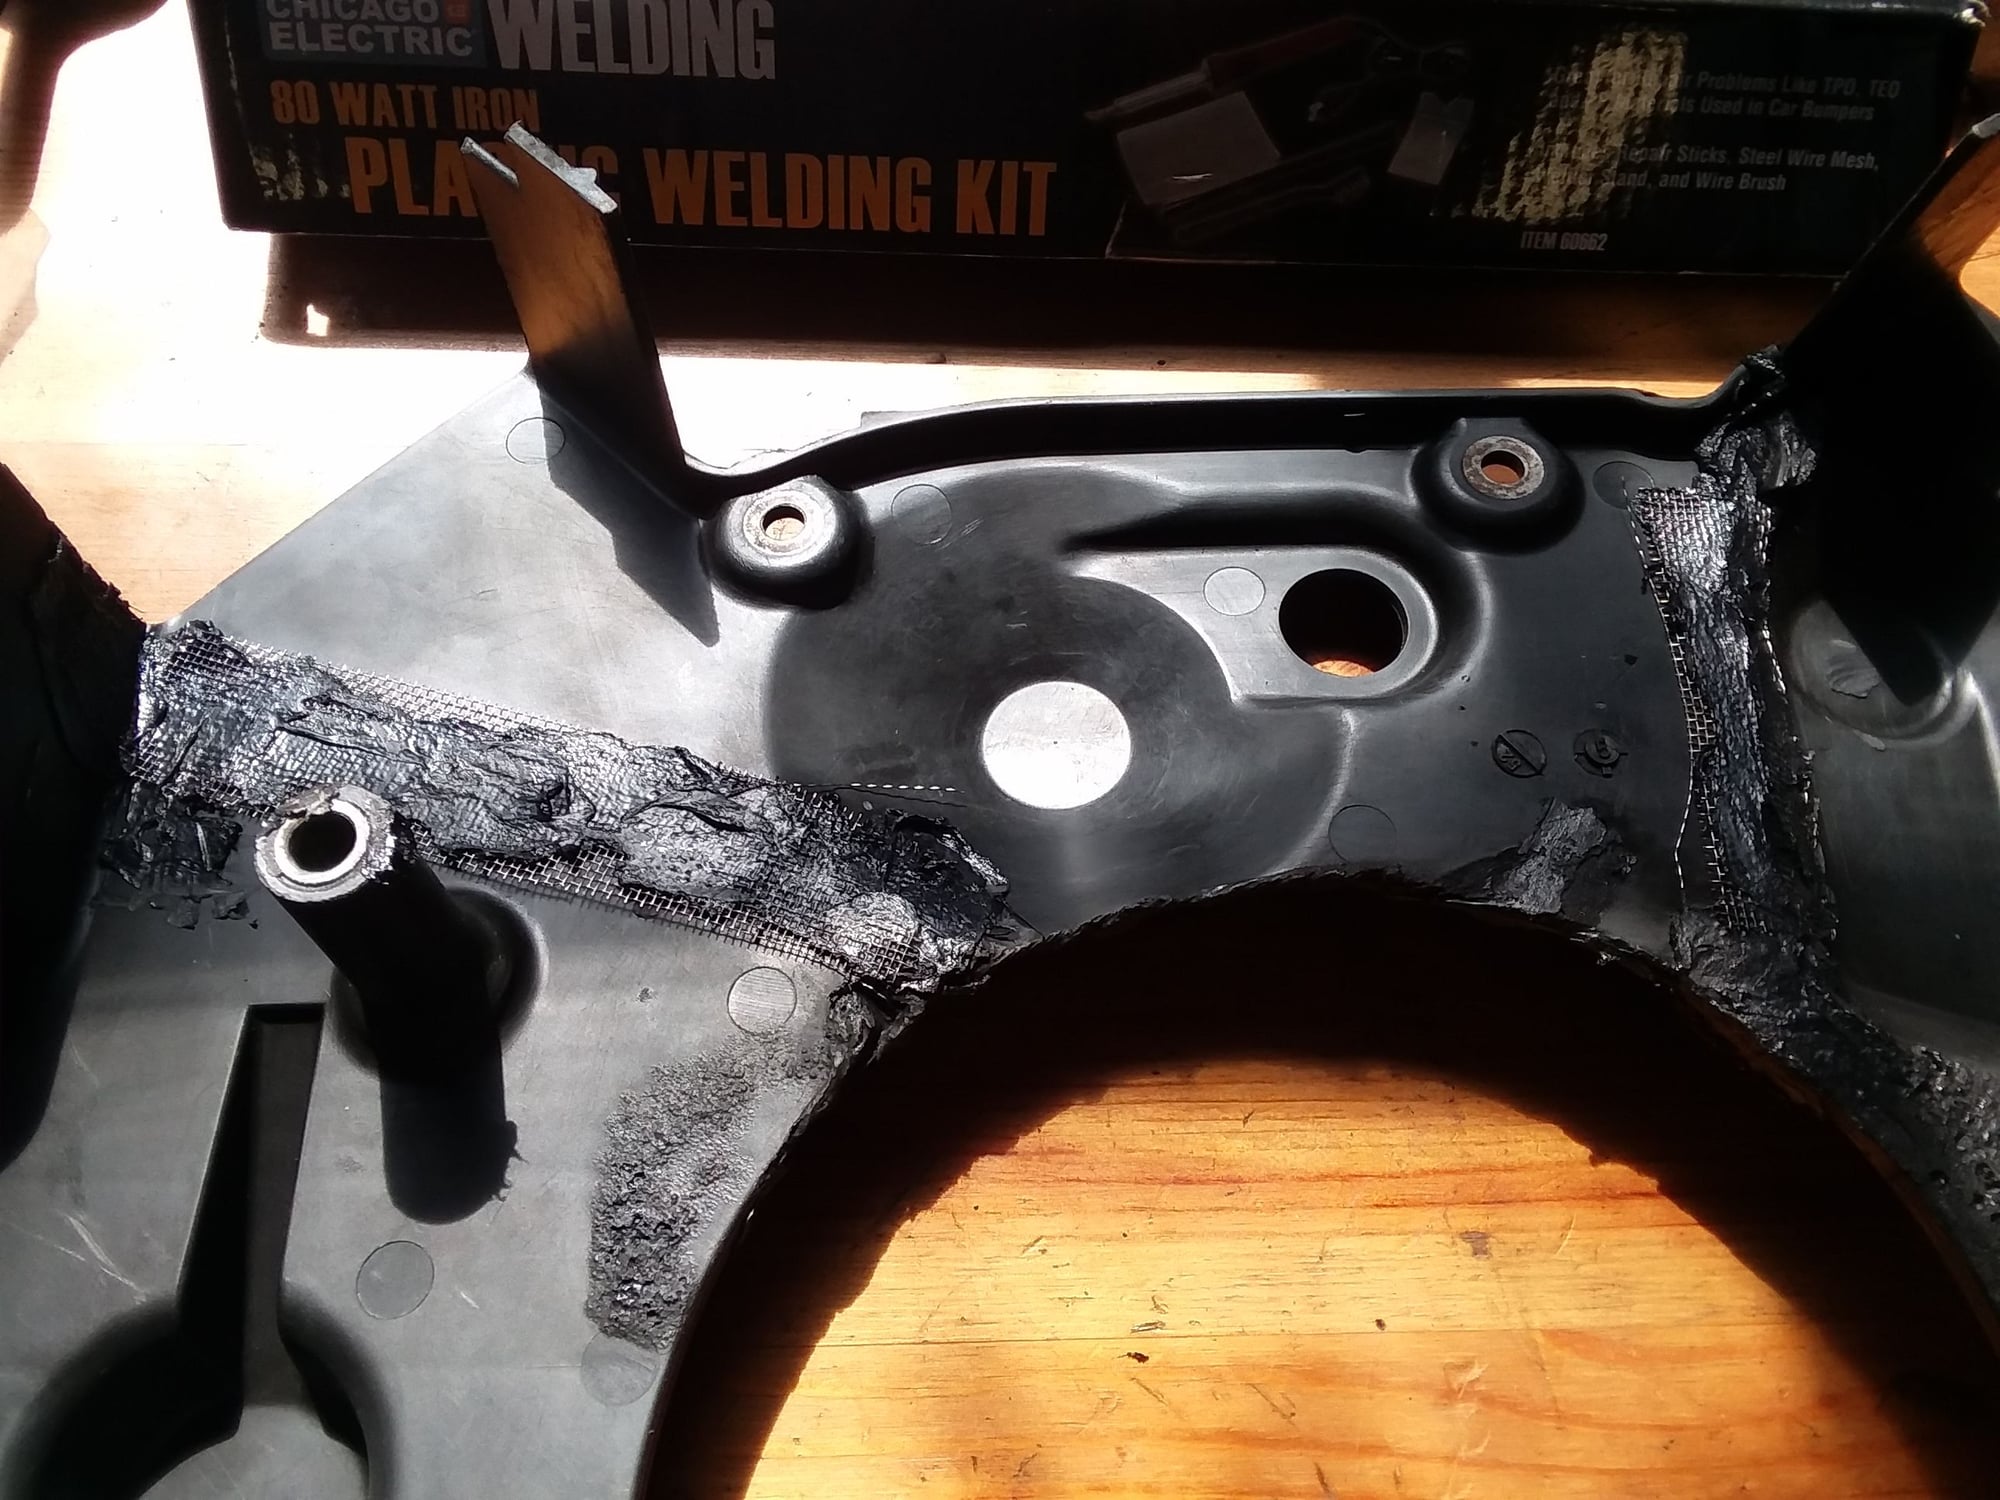
My goals today are to clean the old gasket from the block and get the tensioner remounted, and to get the intake reassembled. I'll also try to repair the lower TB cover, which is in three pieces. I still need to fully remove the compressor belt, since it's trapped by the compressor mounting bracket.
There are 2 types of contact - the earlier one is just a flat copper bridge which breaks due to vibration stress over the years. The one pictured is a factory part which replaced it in later years and is an easy retro-fit for the earlier ones.
I'm thinking I can make one with stuff I have in my garage. It's just a length of wire and a couple of connectors; how hard could it be?
The lower TB cover was in three pieces. I cleaned it and reassembled it with a HF plastic welder. I might sand the front to clean it up a little. Or I might not.
From all your tensioner pictures you are missing the washer that goes between the tensioning arm and the spring. You need that. I thought I had a few pictures of how it all goes together but can't find any. I'm sure someone will post it.

 04-22-2019, 02:18 PM