When you click on links to various merchants on this site and make a purchase, this can result in this site earning a commission. Affiliate programs and affiliations include, but are not limited to, the eBay Partner Network.
Hi Rick,
Nothing like a stripped threaded hole to slow your momentum. Indeed, Timeserts work great. In tight spaces, it's possible to do the pilot drilling, tapping and insert placement all by hand with a tap wrench. I have a ratcheting one that's especially handy. Use plenty of oil. It's good to keep some M6 and M8 Timeserts on hand just for these occasions.
Good luck,
Dave
Awesome!! I ordered an M8 kit last night (with inserts, tap and drills) and also a set of 14 mm inserts which are a few mm longer than what comes with the kit. Delivered this evening with Amazon Prime, gotta love it!
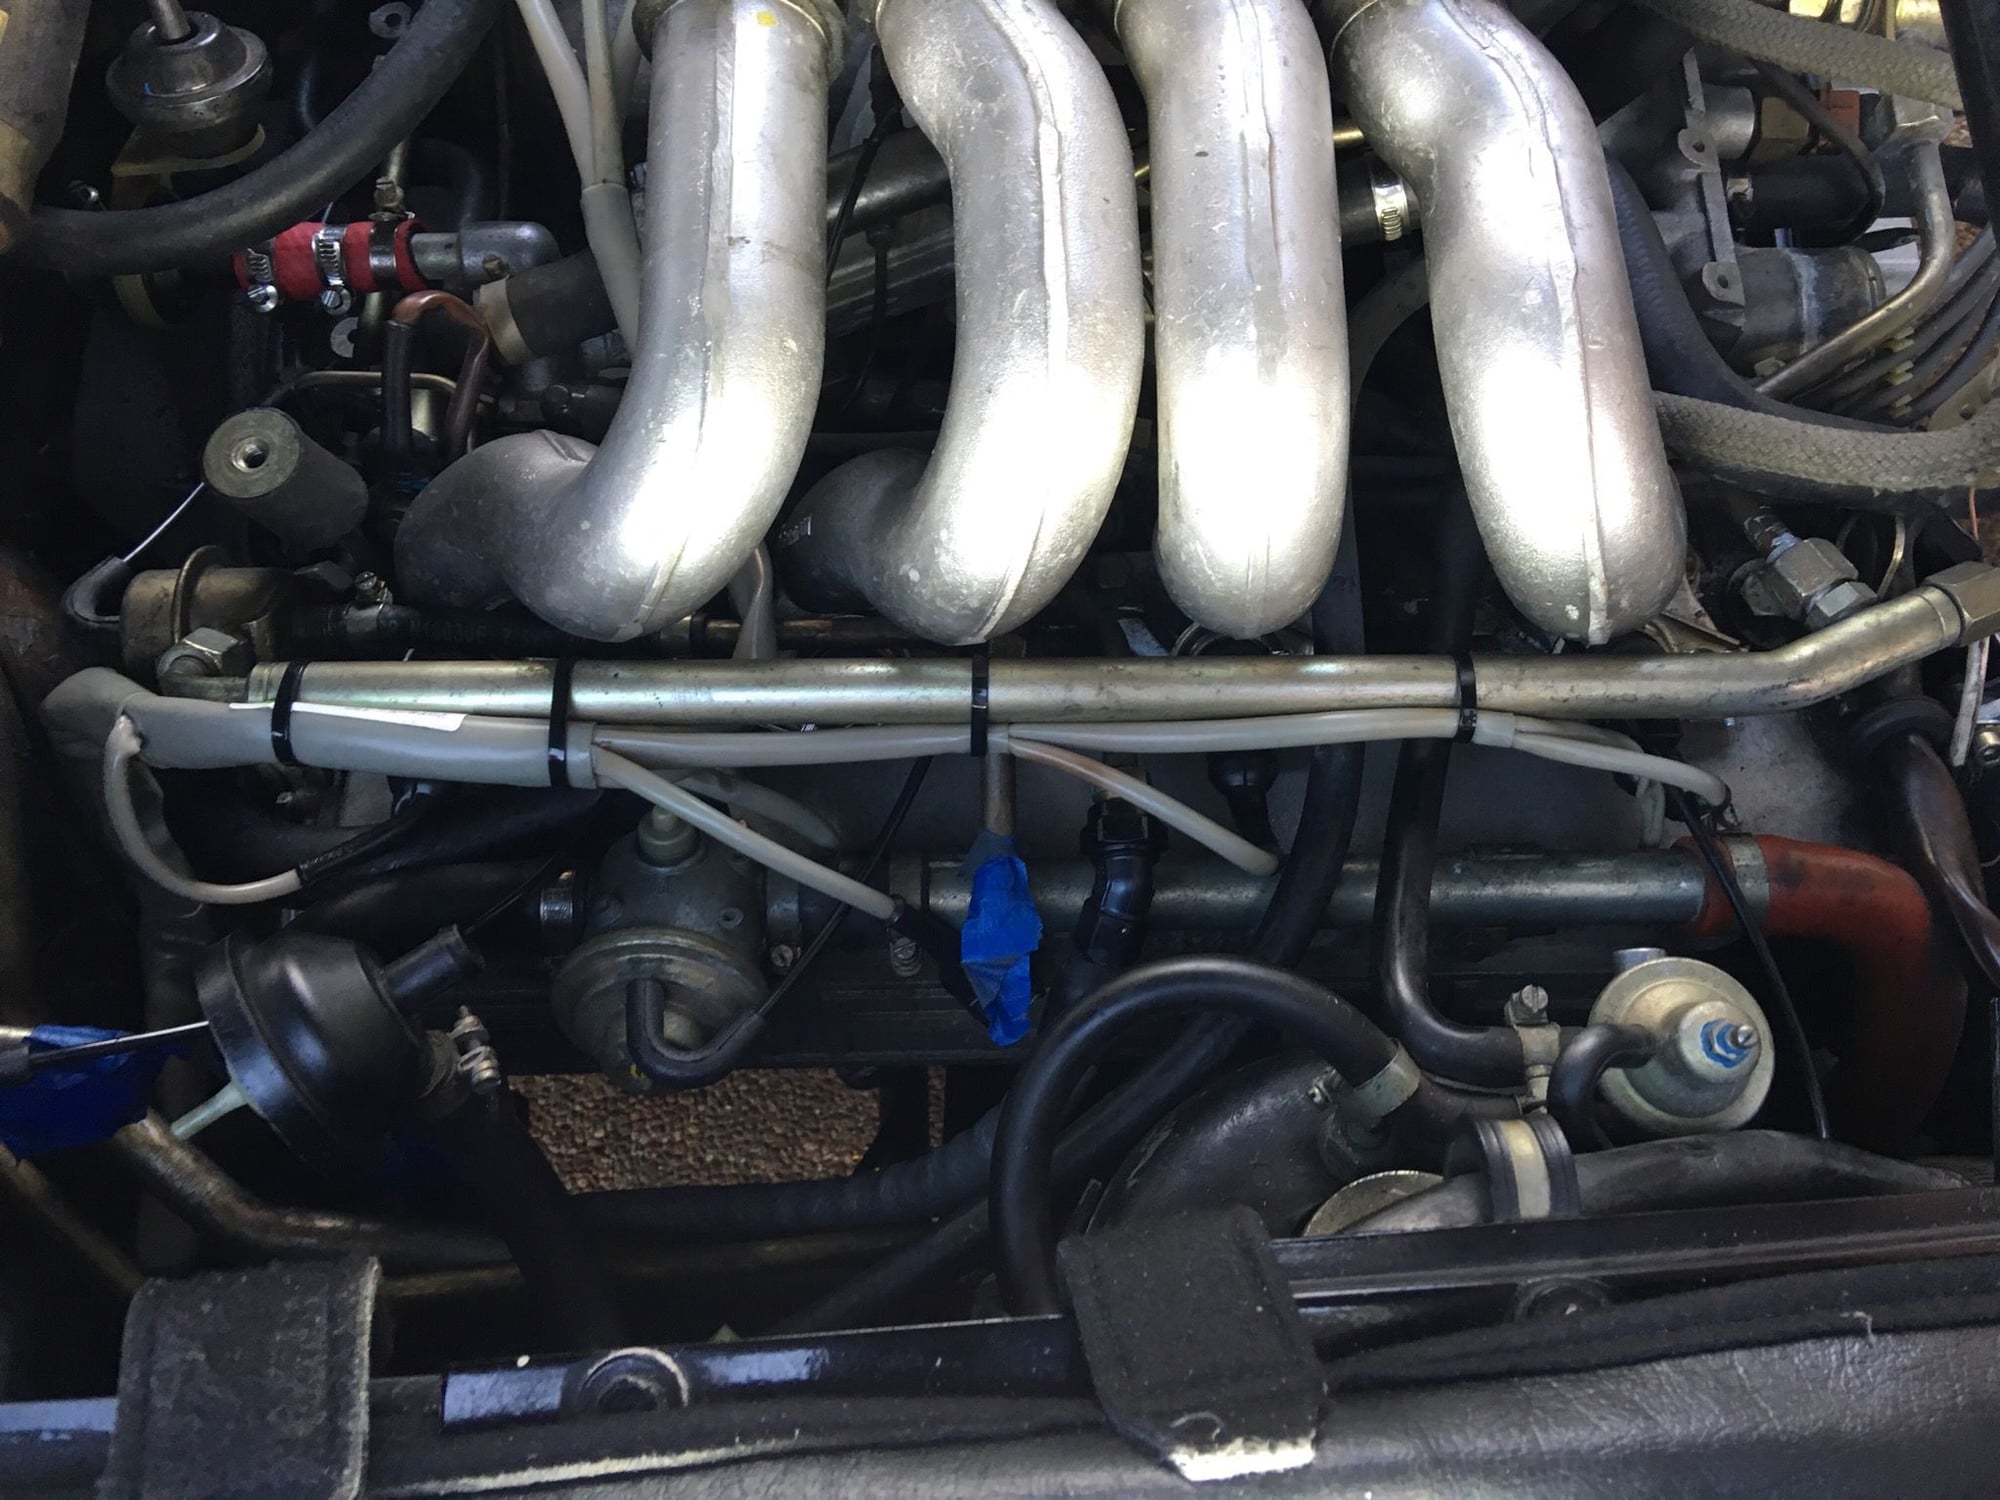
Got a lot done today while waiting for the Timeserts to be delivered! I decided to tackle the installation of my new injection wiring harness, and while I was at it I got the fuel rails back on with the newly refurbished injectors.
I wasn�t sure how big a project the harness would be. I started by removing the door over the central electric panel and unplugging the big injector harness, the pluggable module block of the harness from the lower portion of the panel and the O2 heater and sensor wires. I lubed the grommet on both sides with Molykote as well as I could. The rubber was still in very good shape, no tears and flexible. I then tried to push out the harness grommet from the inside of the firewall - no go. I finally grabbed the harness grommet on the firewall side and after finding that a healthy pull and trying to pry it out with a big screwdriver didn�t work, I finally gave it a HUGE pull - and the grommet came right out.
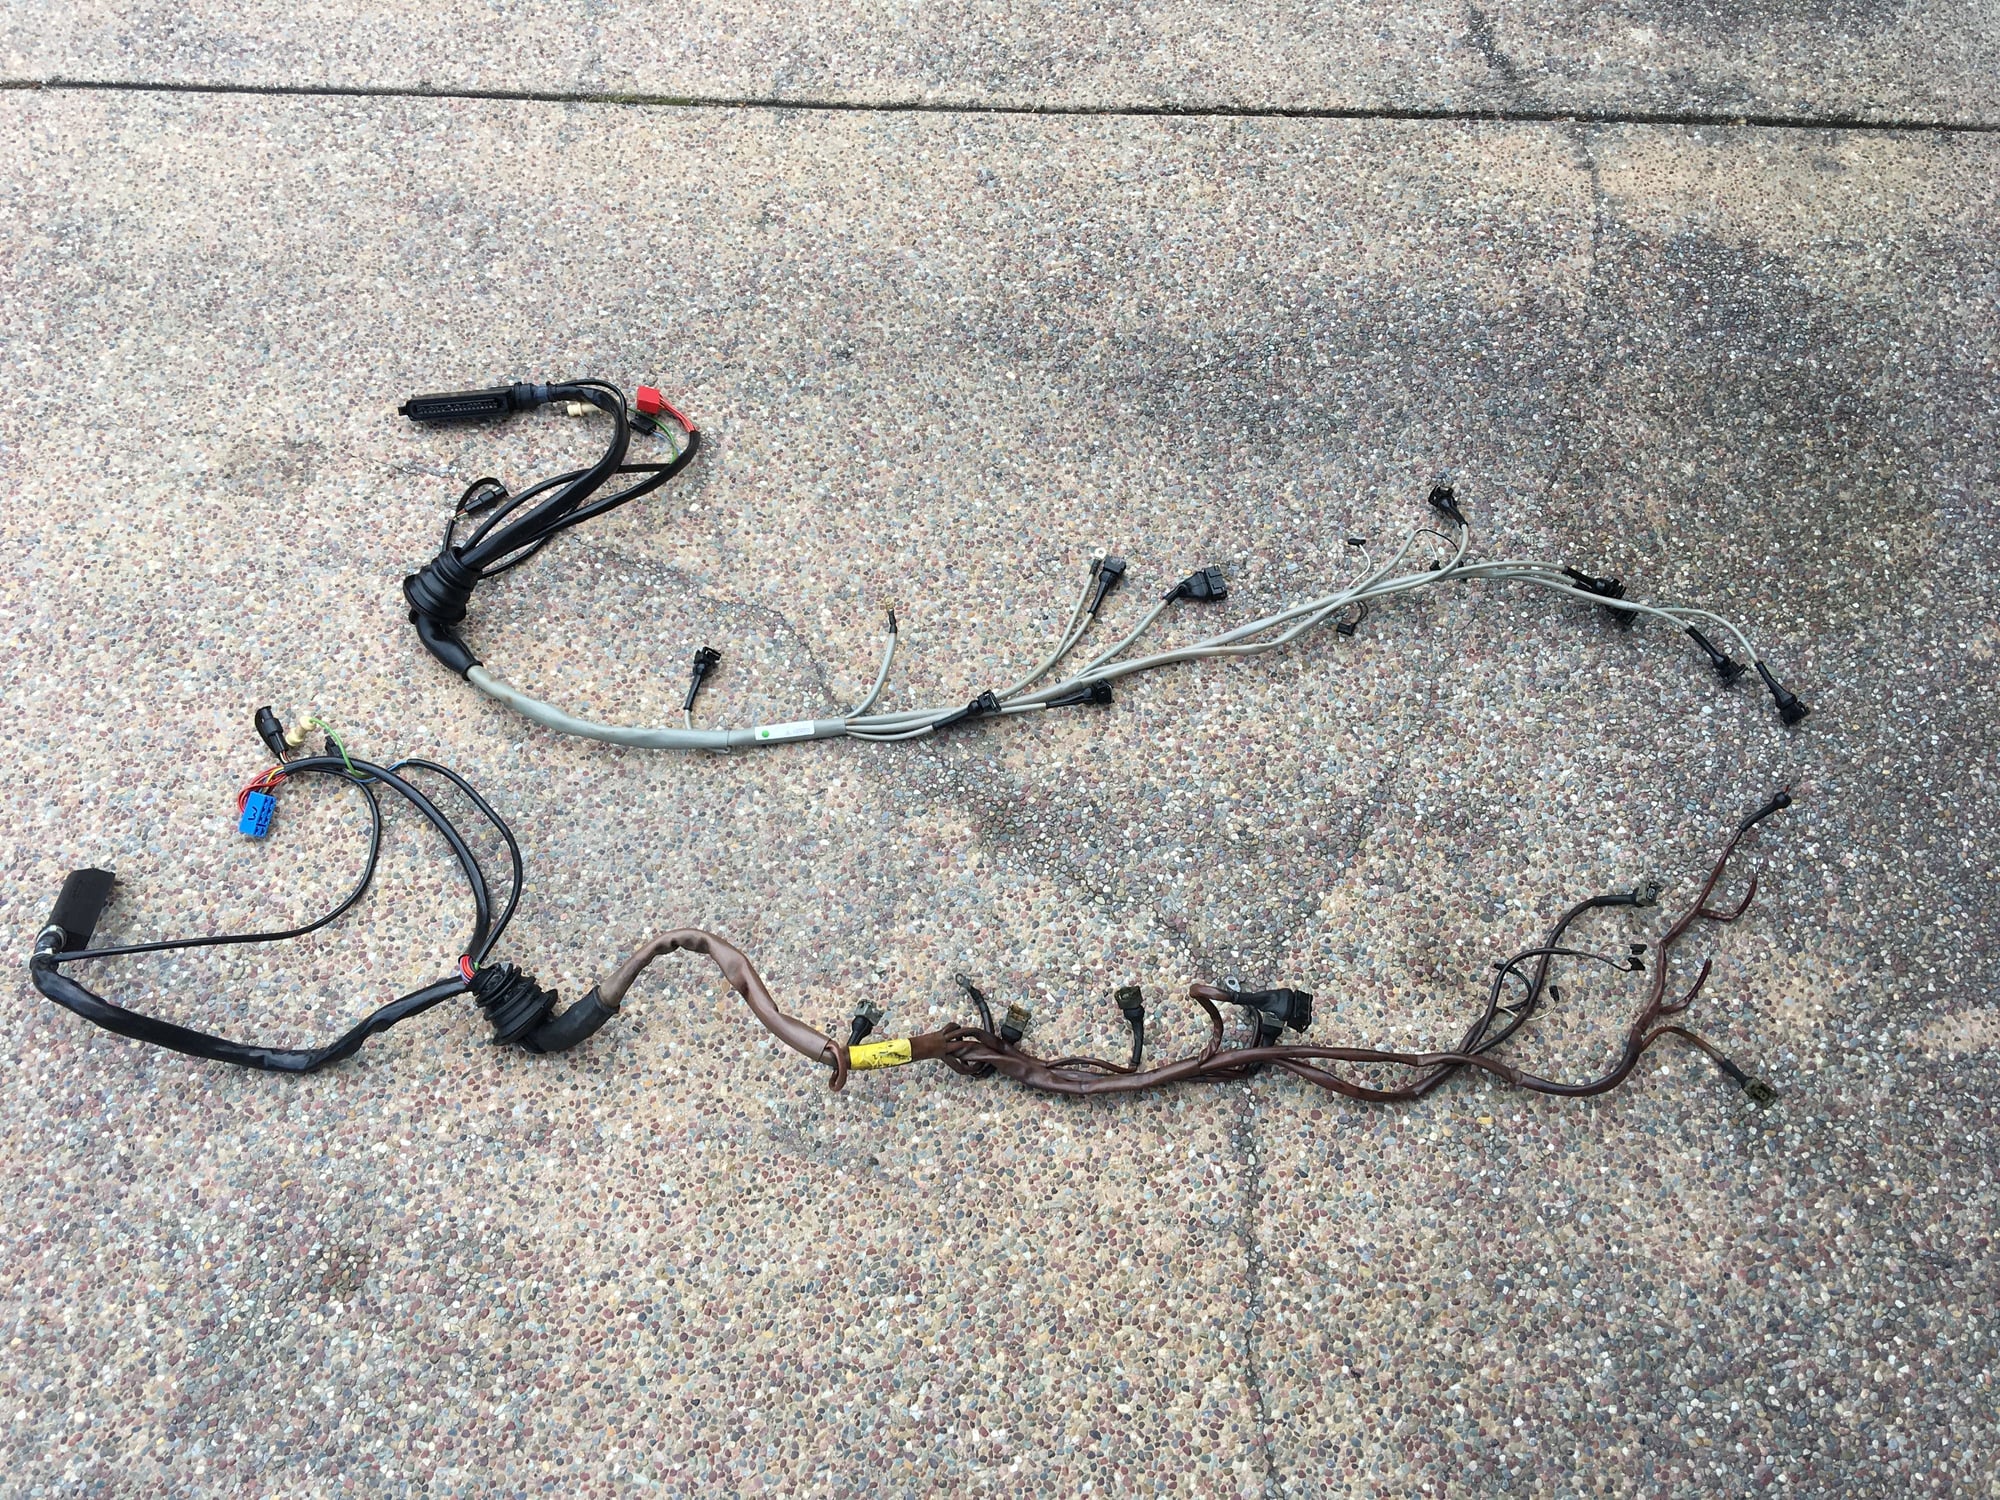
Firewall grommet Grommet loosened Threading wires out from the electrical panel Removing the tie wraps across the back of the intake Got it out! Original and replacement.
Installing the new L-jet harness was a piece of cake!! In wiring diagram terms, it's "Harness Number 13."
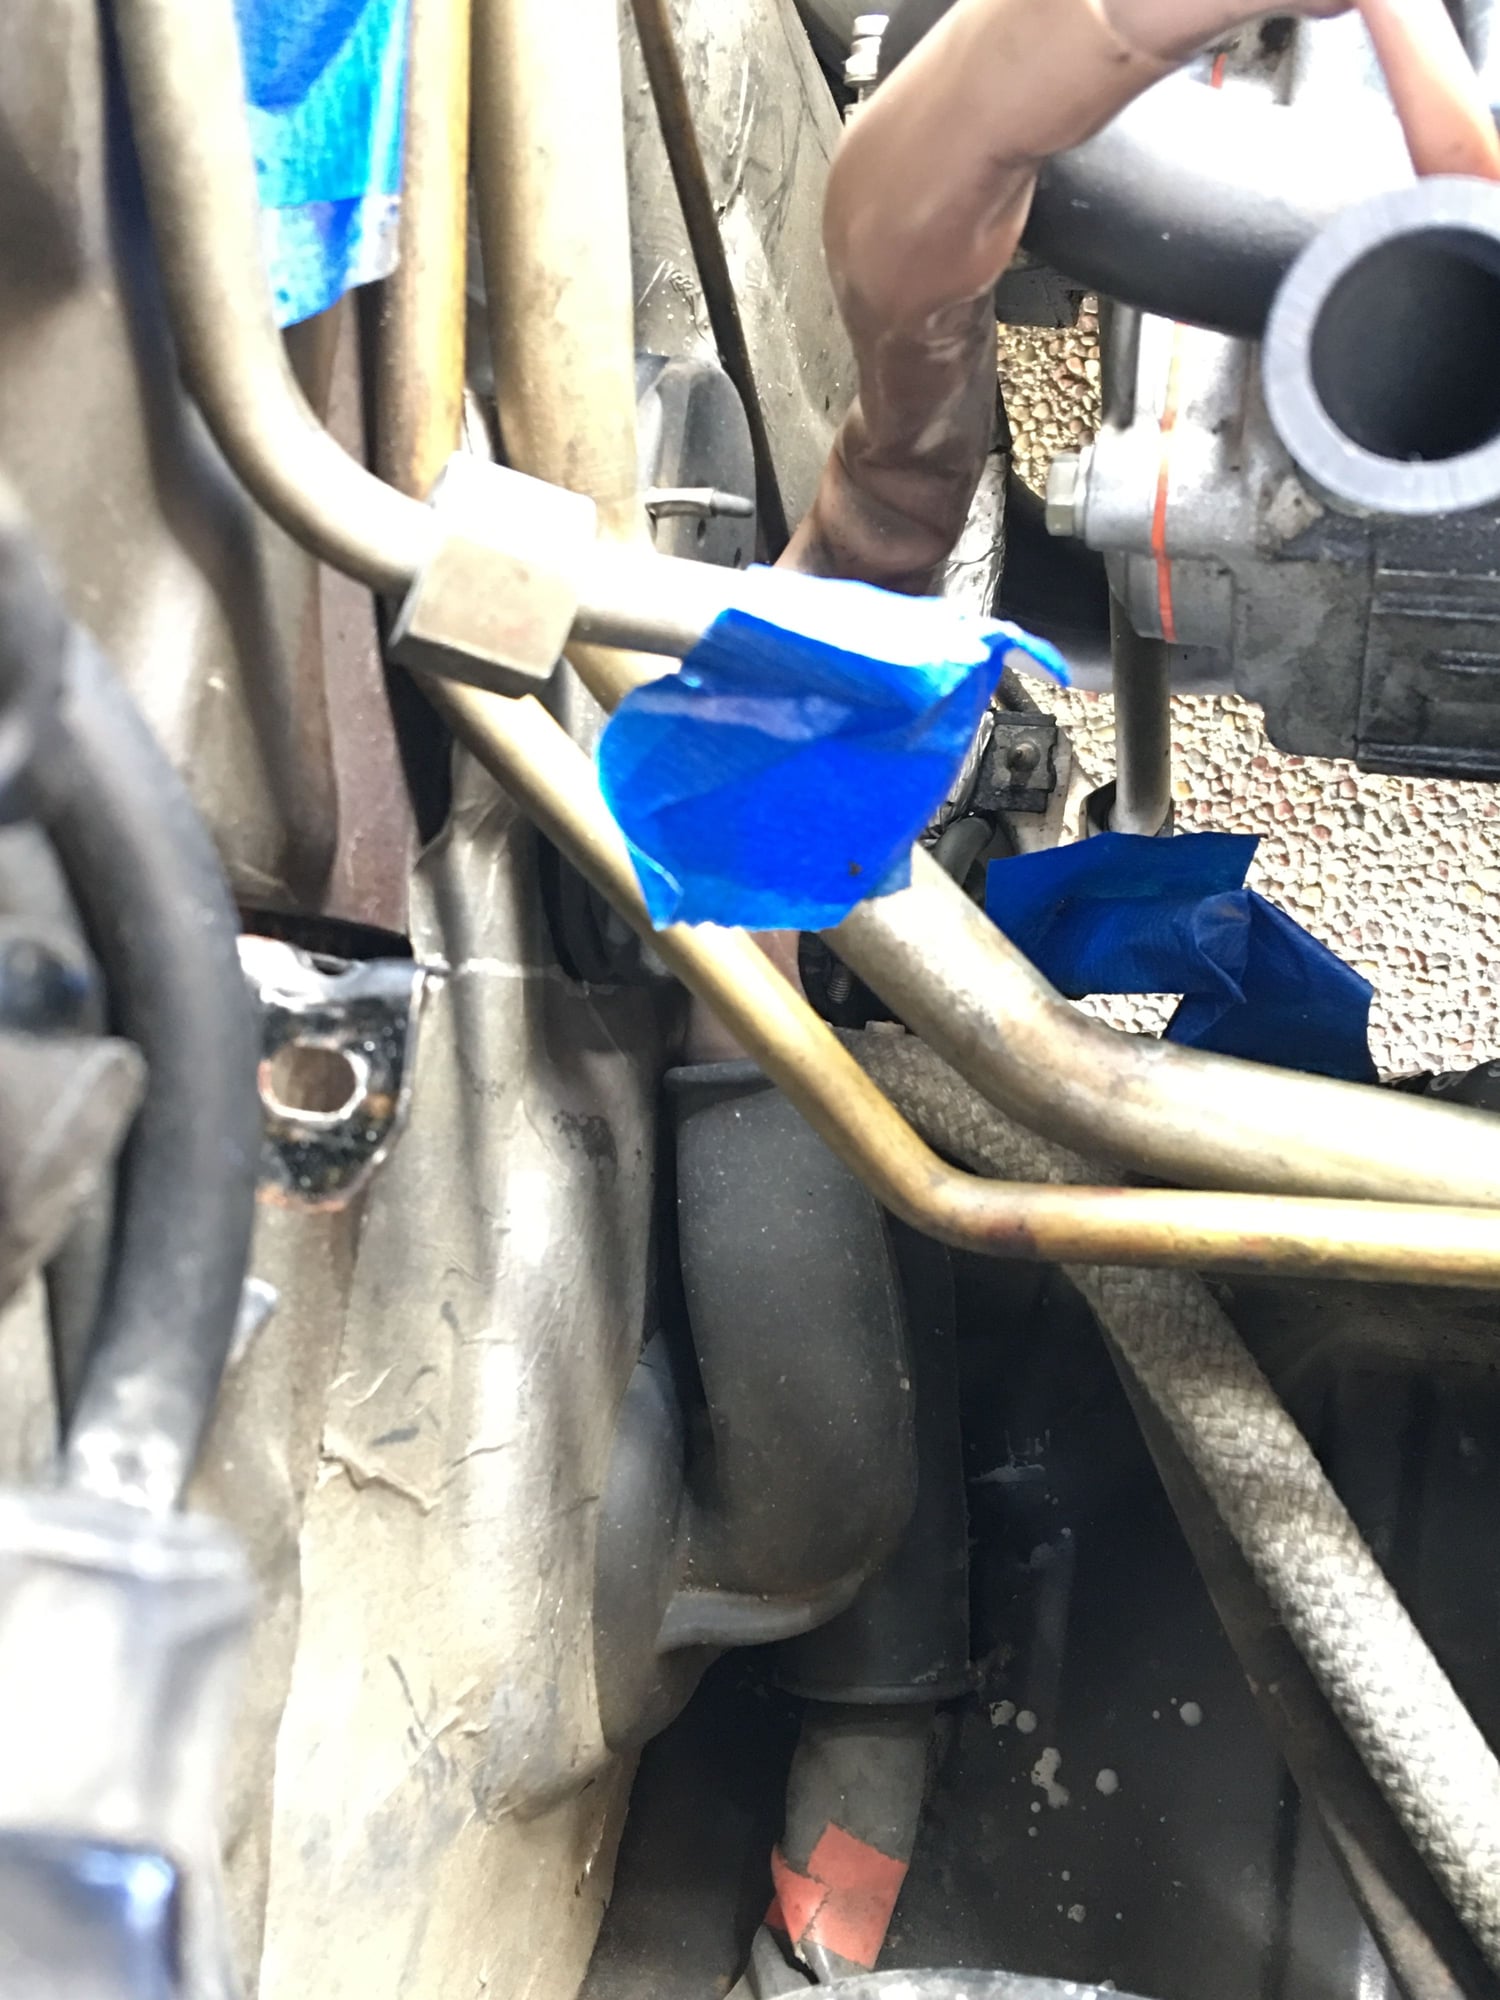
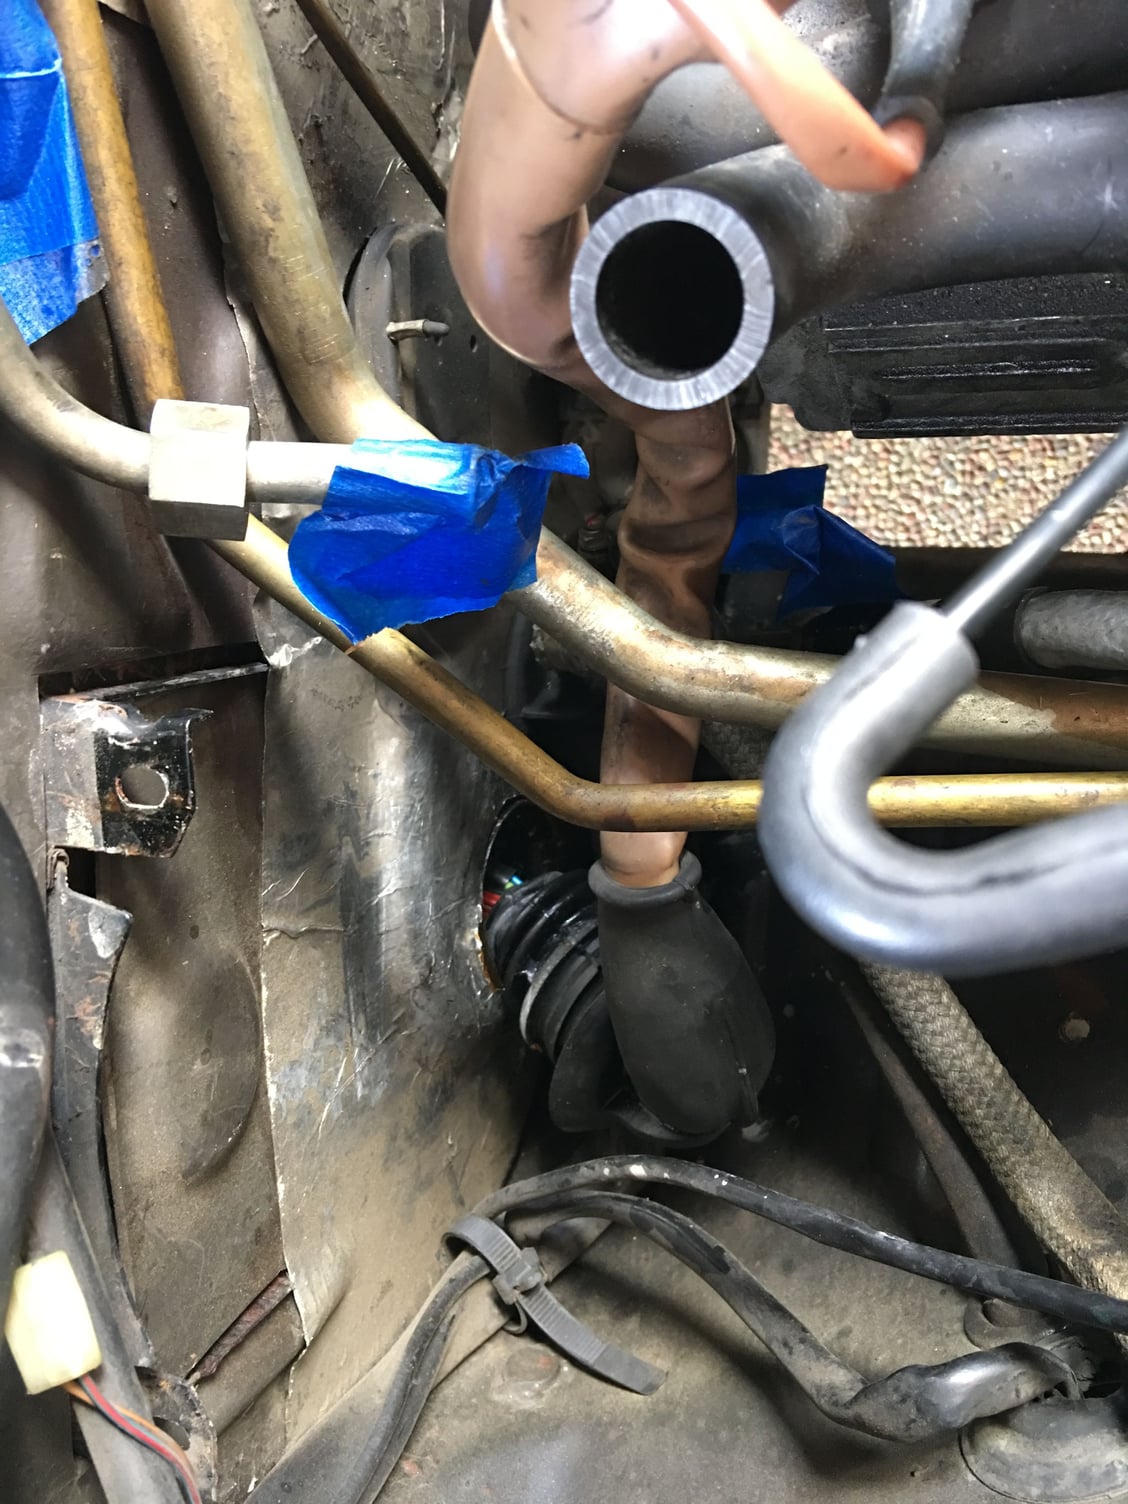
I fed the plugs that go inside the car underneath the hard AC lines at the firewall, then inserted them one by one through the firewall (the giant Ljet plug first, then O2 sensor and CE panel plugs), then fed the grommet itself under the hardlines. I made sure the harness fed through completely from the inside. I pushed in the grommet with a similar orientation as the original. I had already spread a thin coat of Molykote all over the grommet and it popped into place effortlessly, thank goodness, after the huge fight to get the original out. I gave it a pull to make sure it was seated.
After that it was a lot of trial fitting to see which way the harness wanted to best fit on and around the intake. I started with the passenger’s side, and after getting the harness plugs in approximate position I installed the fuel rail. I used some silver antiseize on all the fittings, and of course Molykote on all the O-rings.
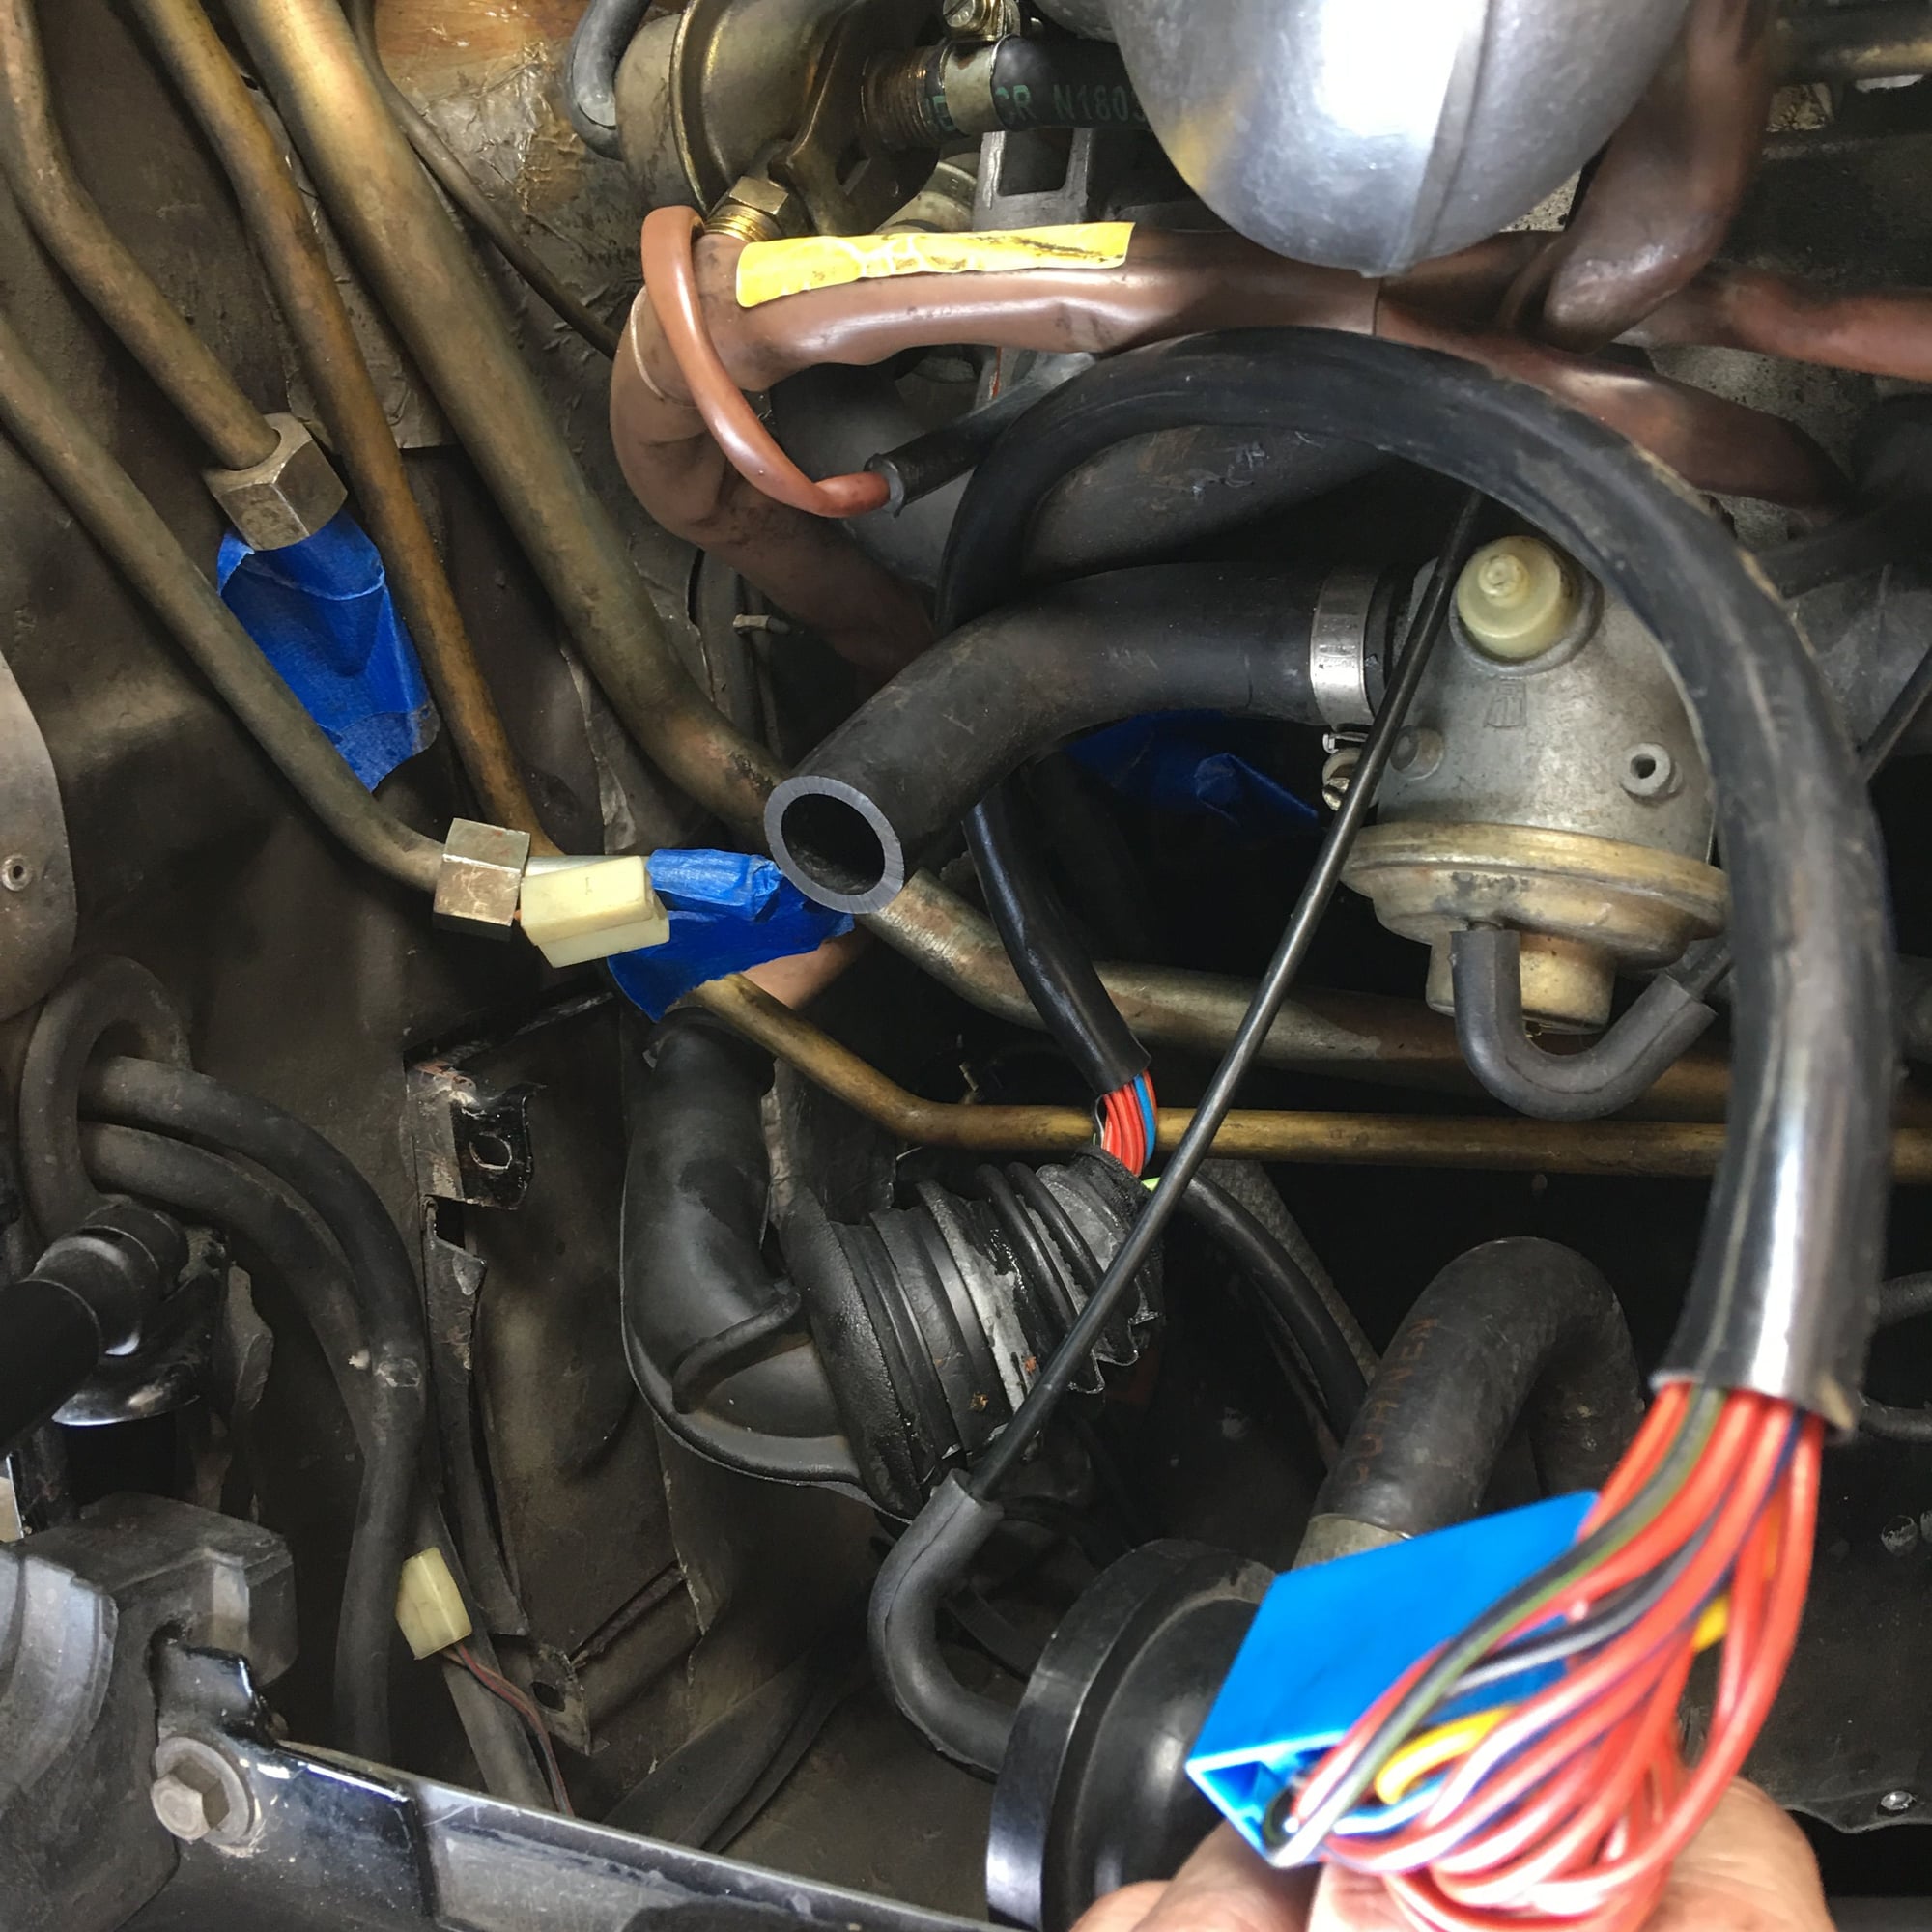
The injector at the firewall on the passenger’s side was the only tricky one - the small section of flex fuel line interfered with the injector hold-down plate and prevented that injector from seating properly. I finally removed the regulator end of the flex line, bent it out of the way, and was able to get that injector to seat properly.
I noticed that one of the two ground connectors on the driver’s side had a split in its shrink wrap connection. I put on new and slightly longer shrink wrap over the original just in case, and shrunk it with my heat gun. I fed tge ground connectors to their bolts on top of the cam cover (also holding down the metal air pipe).
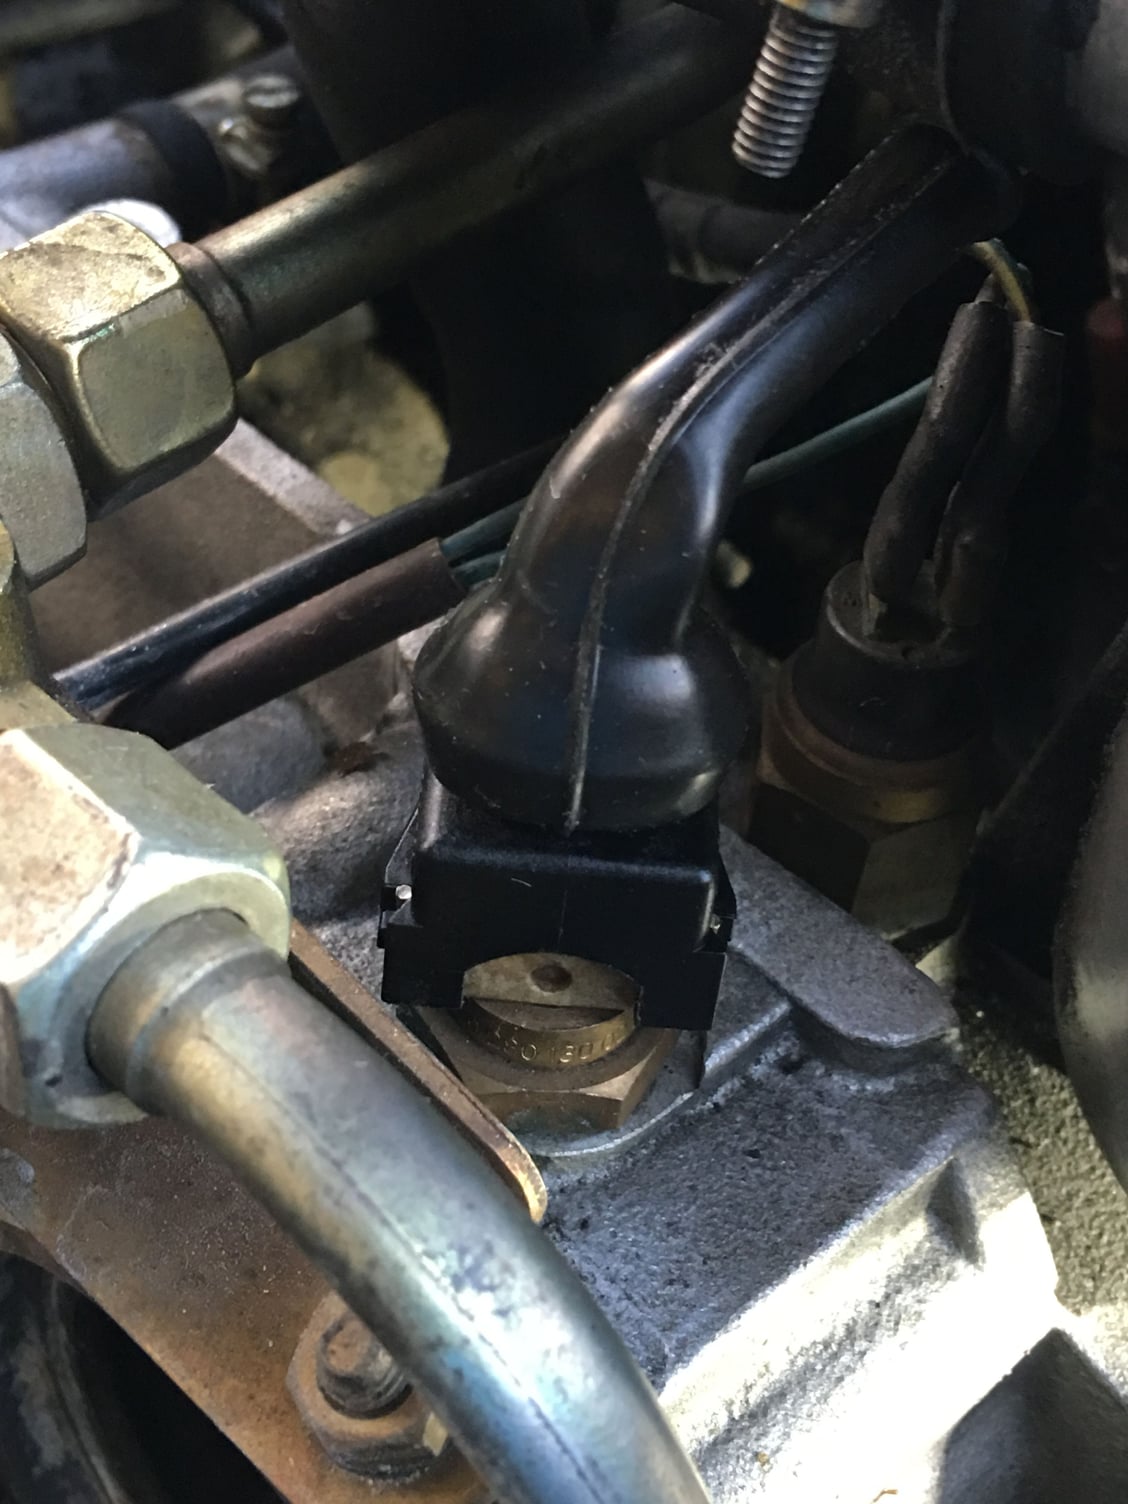
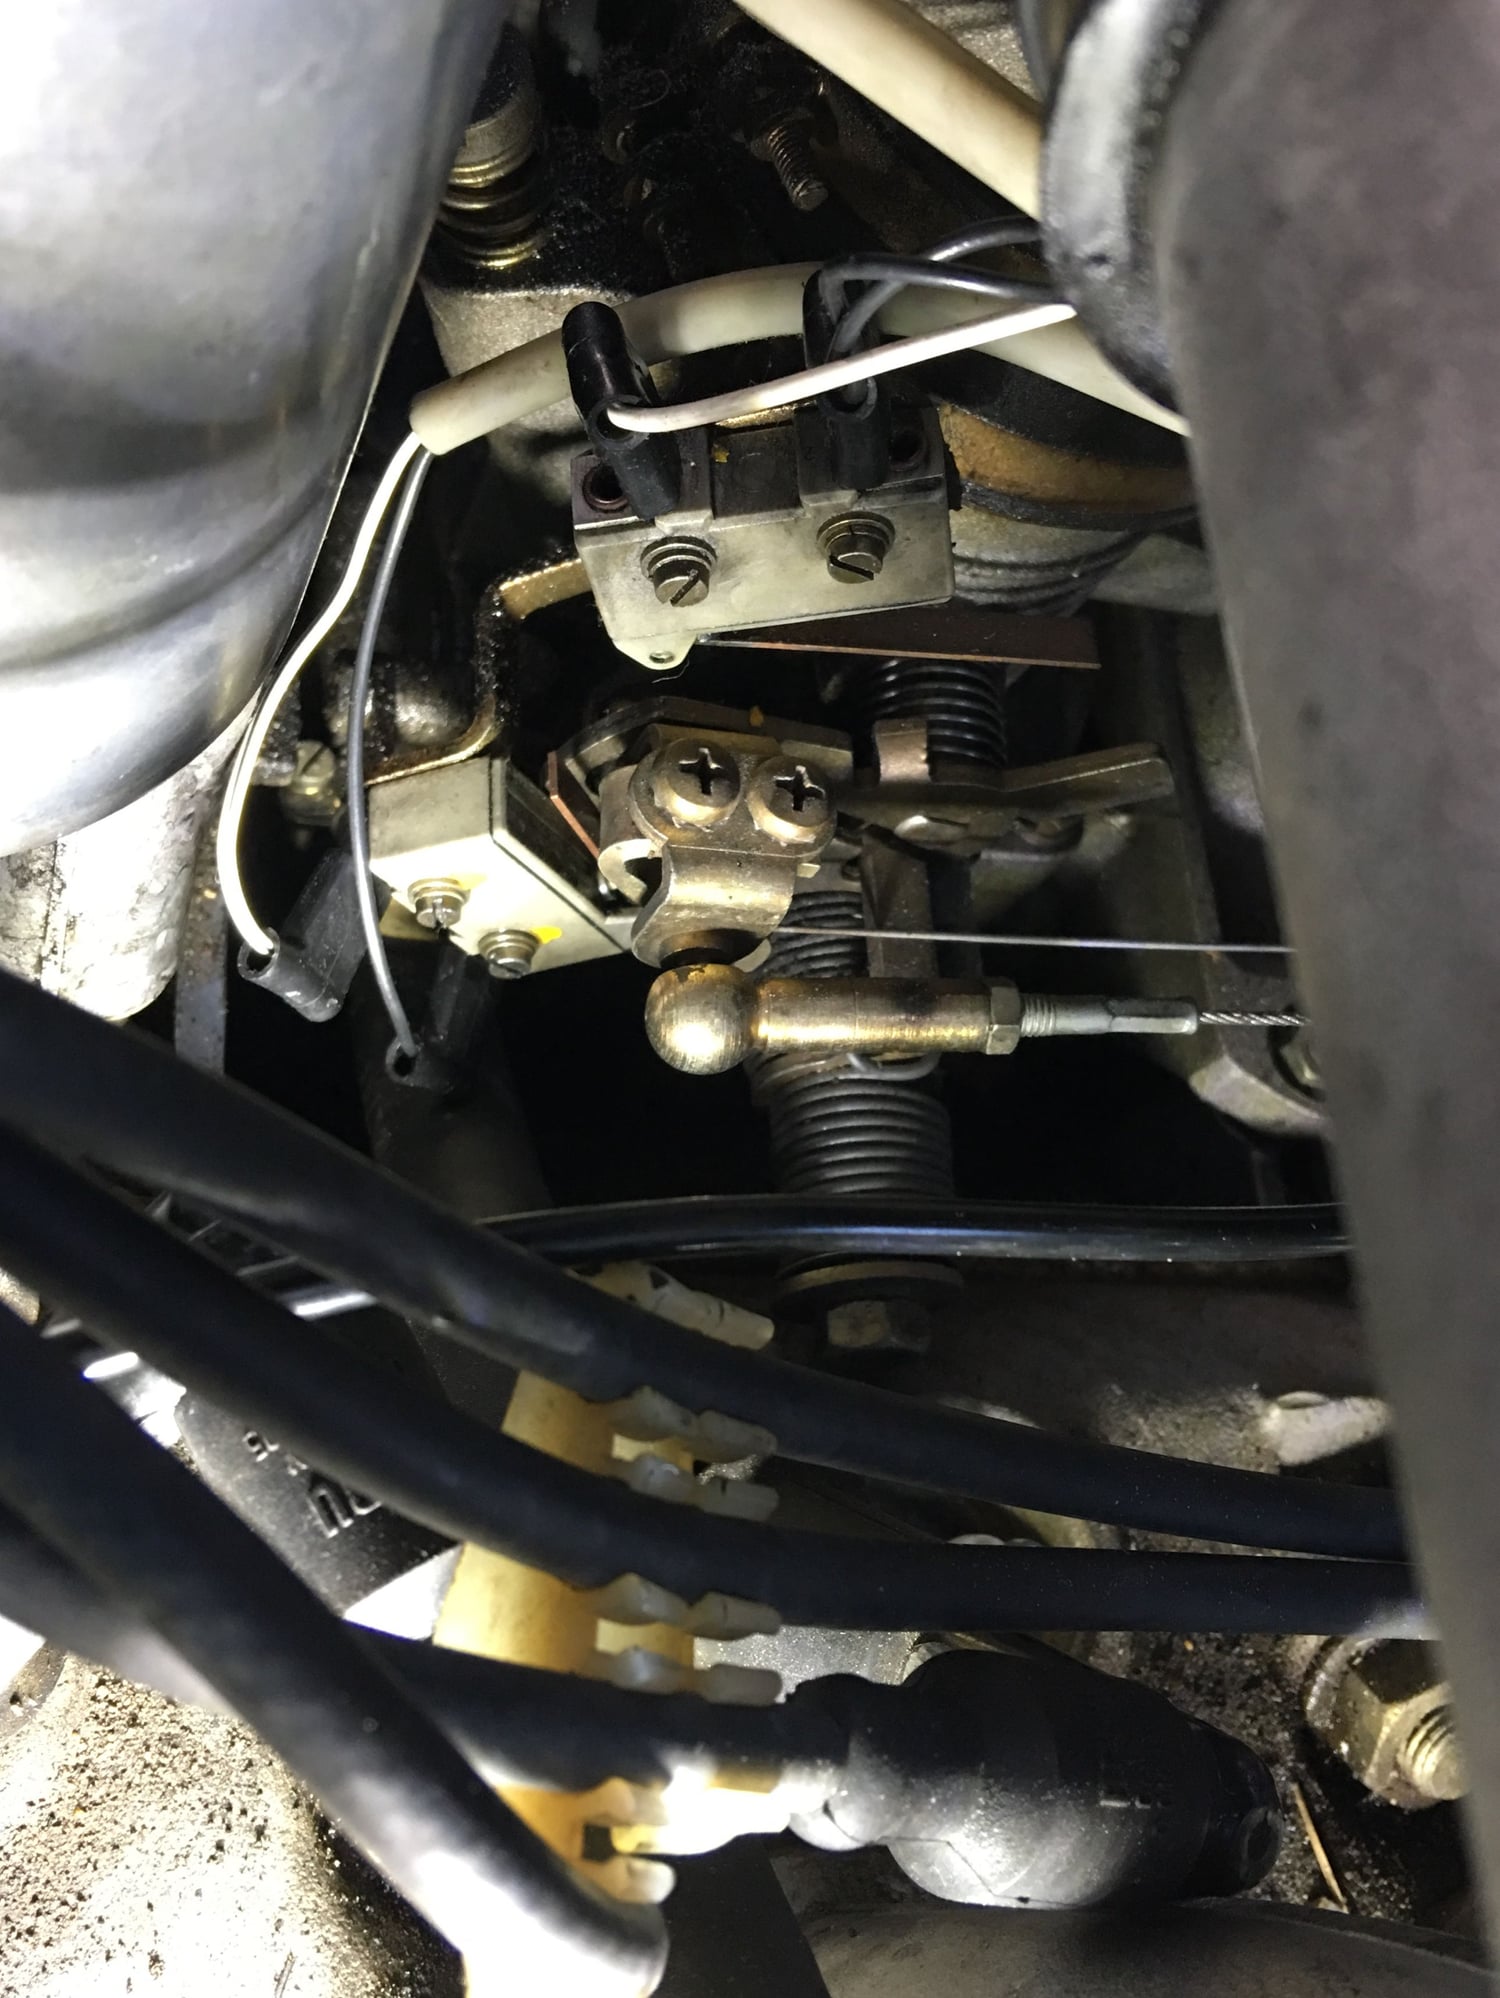
After that I fed the harness across to the driver’s side, attaching the small offshoot of the harness to the two microswitches and the temp sensor near the thermostat. Note that the harness feeds across from in between the rearmost two intake tubes.
After installing the driver’s side fuel rail, I experimented with having the harness loop behind the rearmost intake tube on that side versus having it emerge between the rearmost two intake tubes just like on the other side. The harness seemed to fit best the latter way.
Boy, Rick, it must be very rewarding to solve or prevent so many problems. You're going to have a very nice car when you're done.
Keep plugging away.
Thanks,
Dave
Thanks Dave! Yeah it feels GREAT to know that once I'm done and any bugs worked out that the car will be super solid. I'm already thinking about taking it out on a trip somewhere. It's actually been super nice to just accept that the car will be out of service for a while, allowing me the luxury of taking all the time on the project that it needs to do things "right". At this point I'm just dreading how many potential leak points I've touched (fuel, cooling, oil) and have also introduced another major variable by changing out a harness. I'll probably post some questions later about how to test fuel and coolant systems for leaks before I close everything up. After all this I just hope it STARTS when I'm all done lol!!!
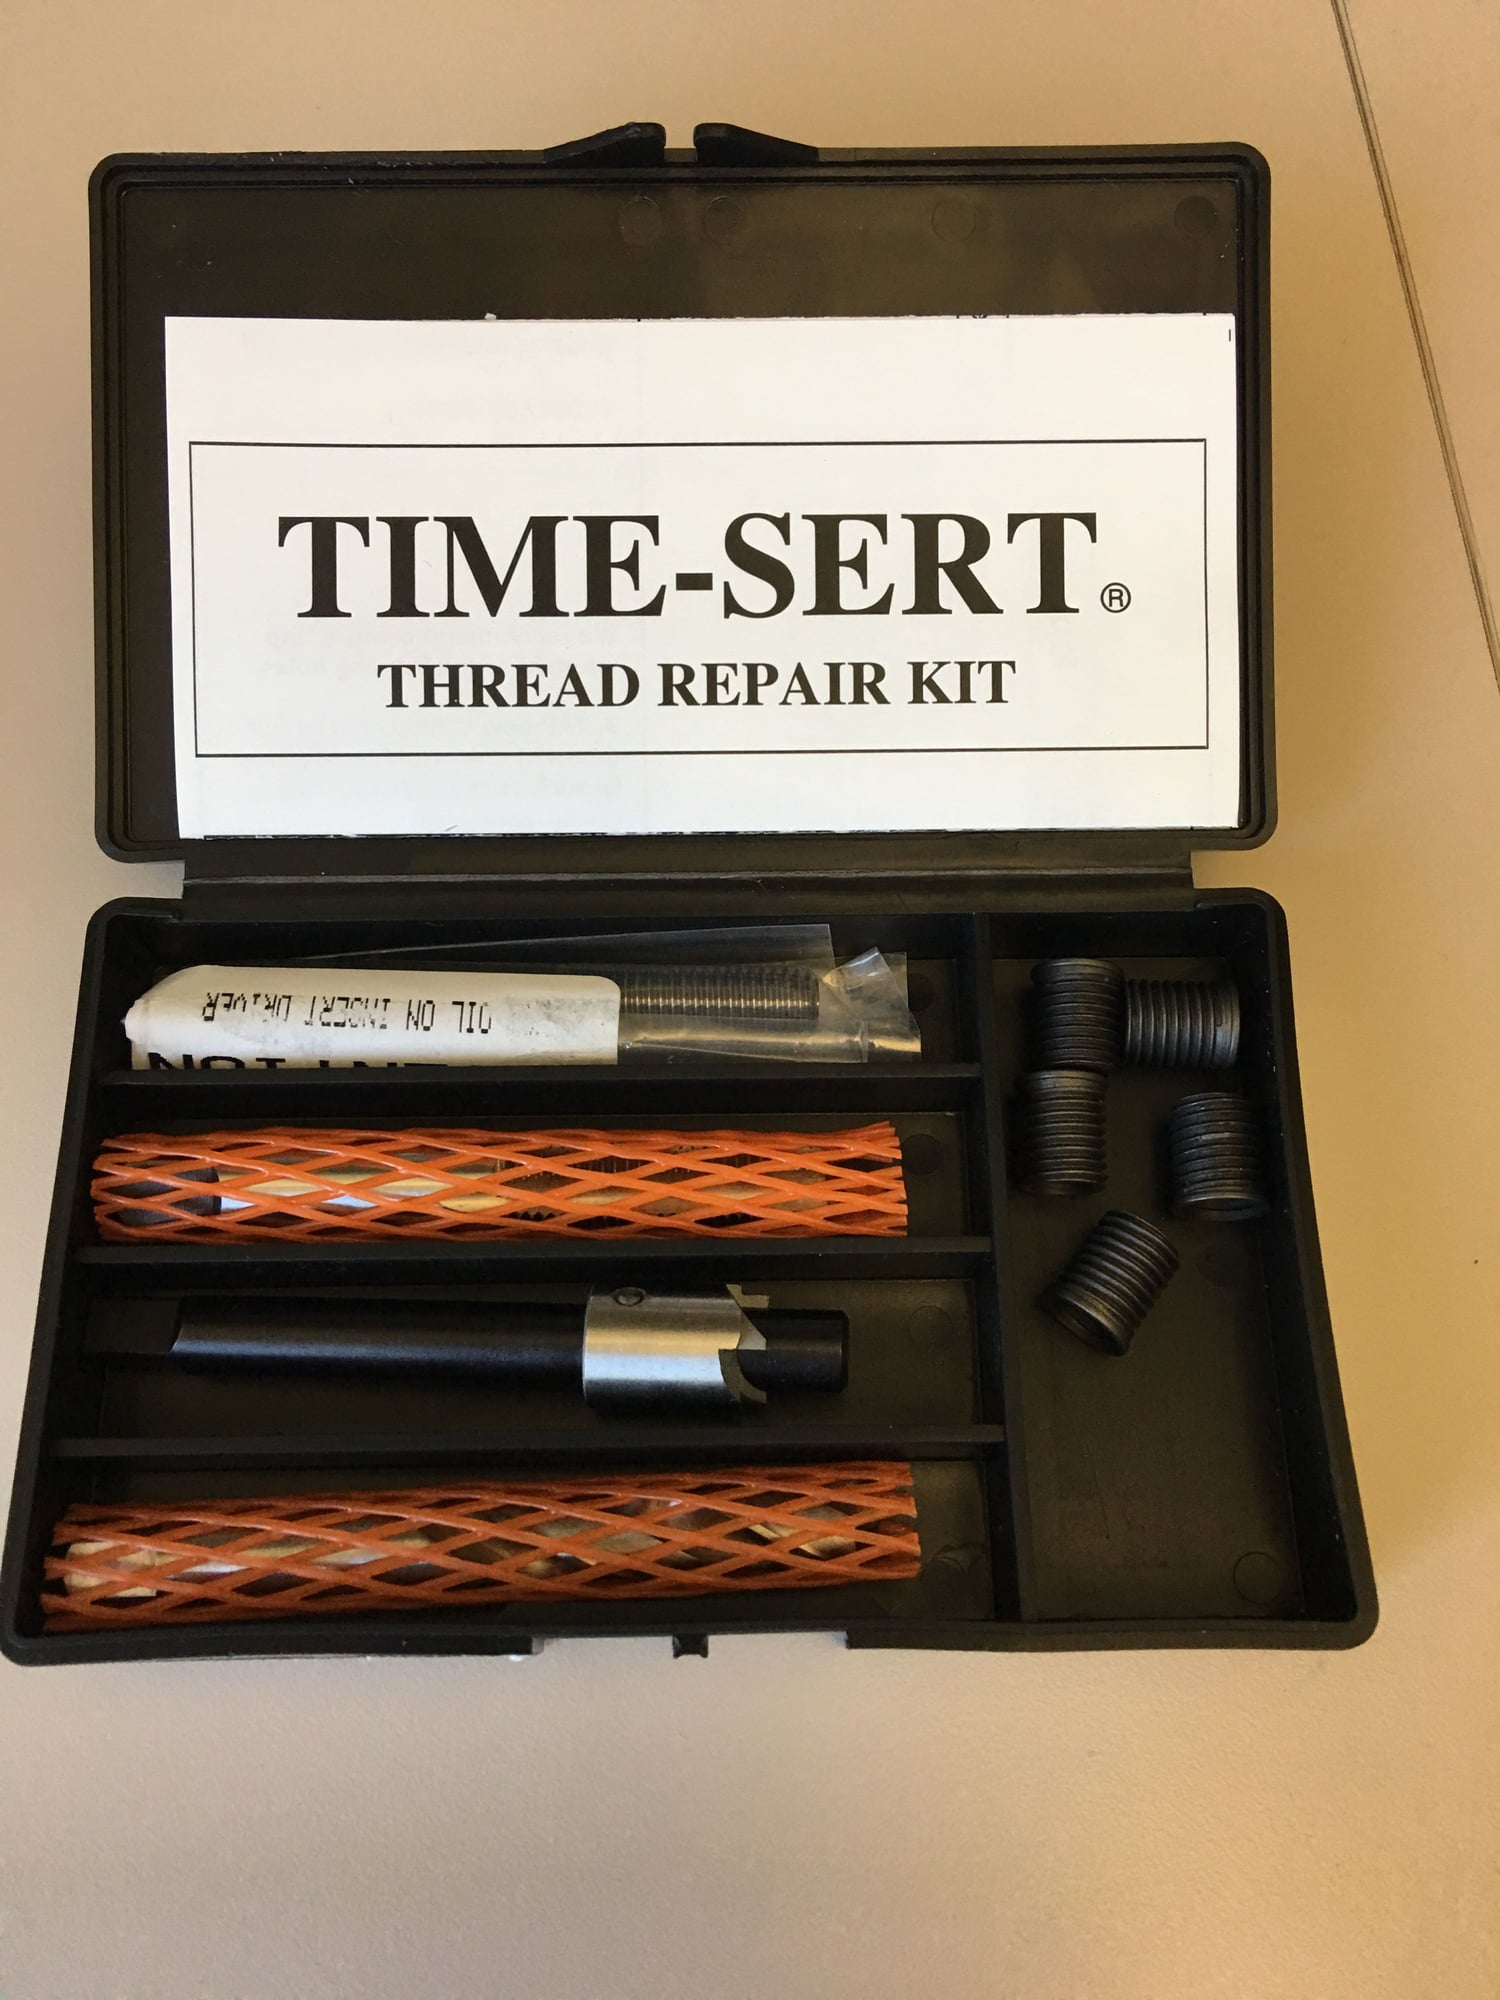
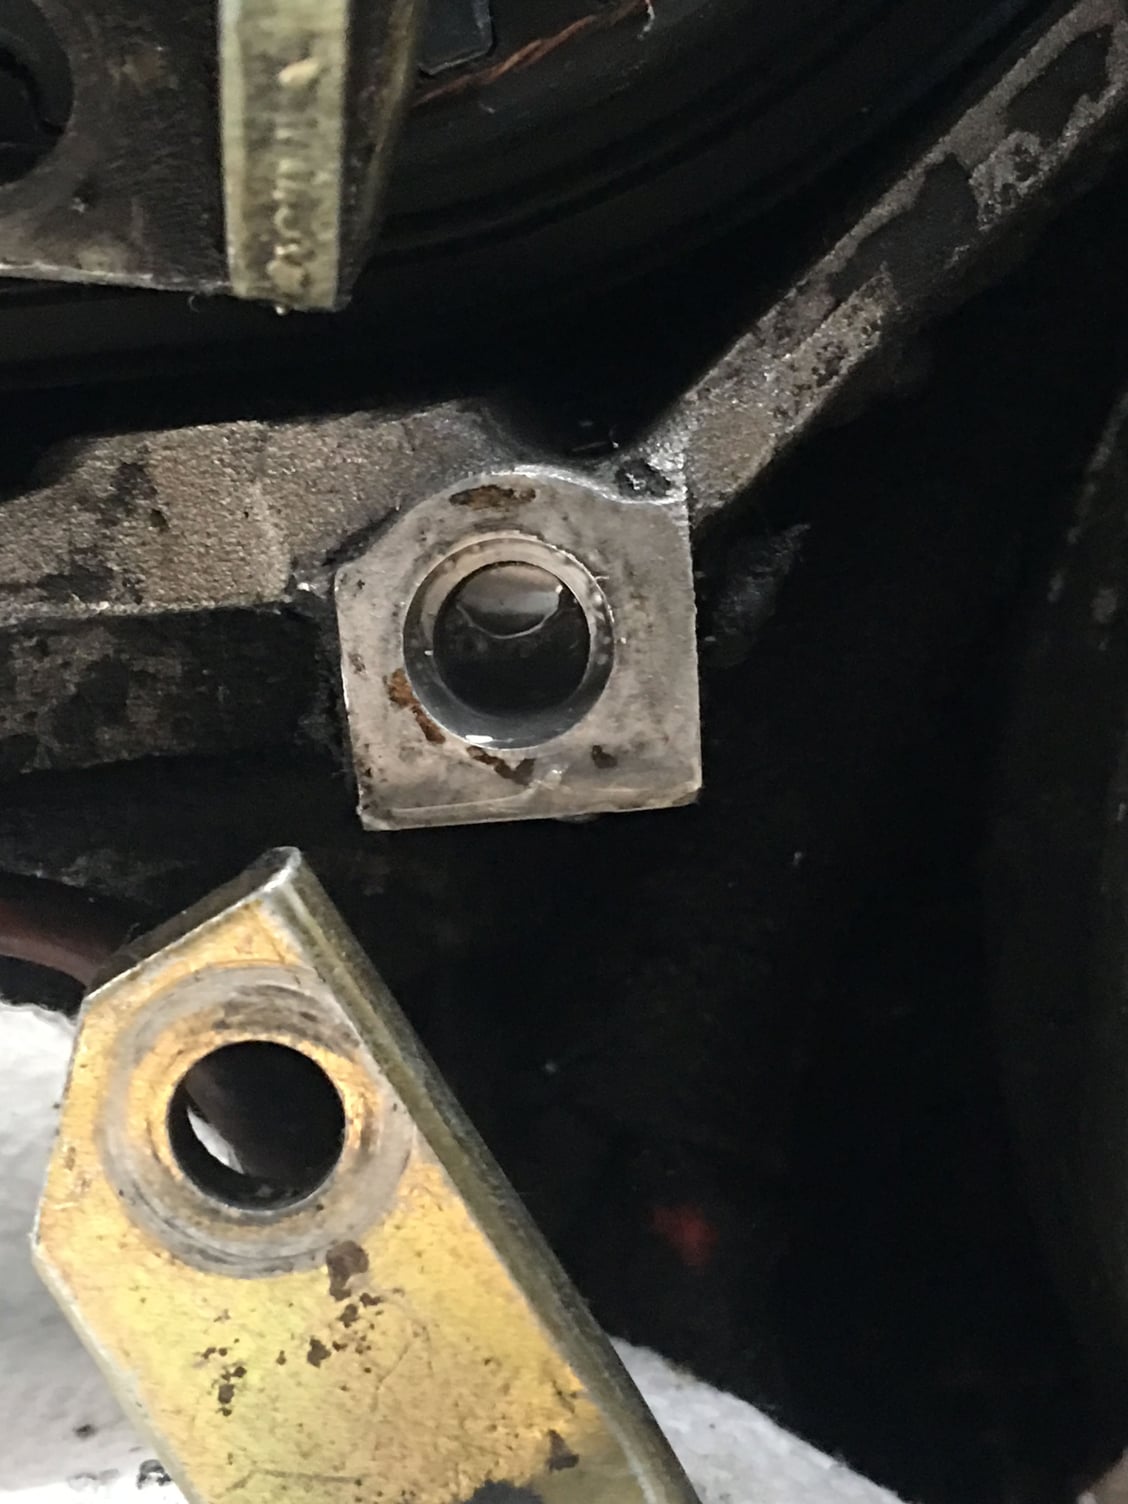
For those of you (like myself) unfamiliar with Time-Sert, I just received my M8 kit yesterday and here's what's included. I think the counterbore will set the flange of the insert too far in the hole (not flush), so I may initially try using the counterbore at about half depth to try to match the flange on the insert itself. I think I'll also JB weld in the insert itself, just to make it extra solid. I'm still mystified how the original threads were not just stripped but virtually erased on the alternator tension arm mount -- it's a smooth bore in the previously threaded hole now - and I don't want that to happen to the insert itself!
The kit comes in a nice box. From left and in order of use: Drill to enlarge the existing bolt hole for the new insert; Counterbore tool so that the hole accepts the flange of the insert; Tap for the insert; and driver tool to permanently install the insert by expanding the last few threads on the insert itself. Inserts included with the kit, about 12mm long.
I don't know if mine was a shallower counterbore, but when I used a Timesert to repair an engine mount on a friend's VW, they were difficult to get down flush with the surface, and (near?) impossible to extract if you don't get them set correctly the first time.
I would feel safer letting it sit below flush than to possibly have it proud of the surface and interfering with the mating surface being attached.
Hi Rick,
I agree with Josh. I would use the full depth counterbore. You will have plenty of thread engagement, and the last thing you want is the insert sitting even a little proud. Use plenty of oil.
Good luck,
Dave
That's great feedback! Now that I think about it, I can do a test first on a piece of scrap metal or wood and see how deep the flange goes. Agreed that I do NOT want proud. I'll post what I find. Thanks!
I don't know if it's "correct" but I used some high strength Loctite 277 to seal the repair insert in place, after cleaning the threads of any remaining cutting oil.
I didn't want the sleeve to back out if the bolt were to get corroded in place.
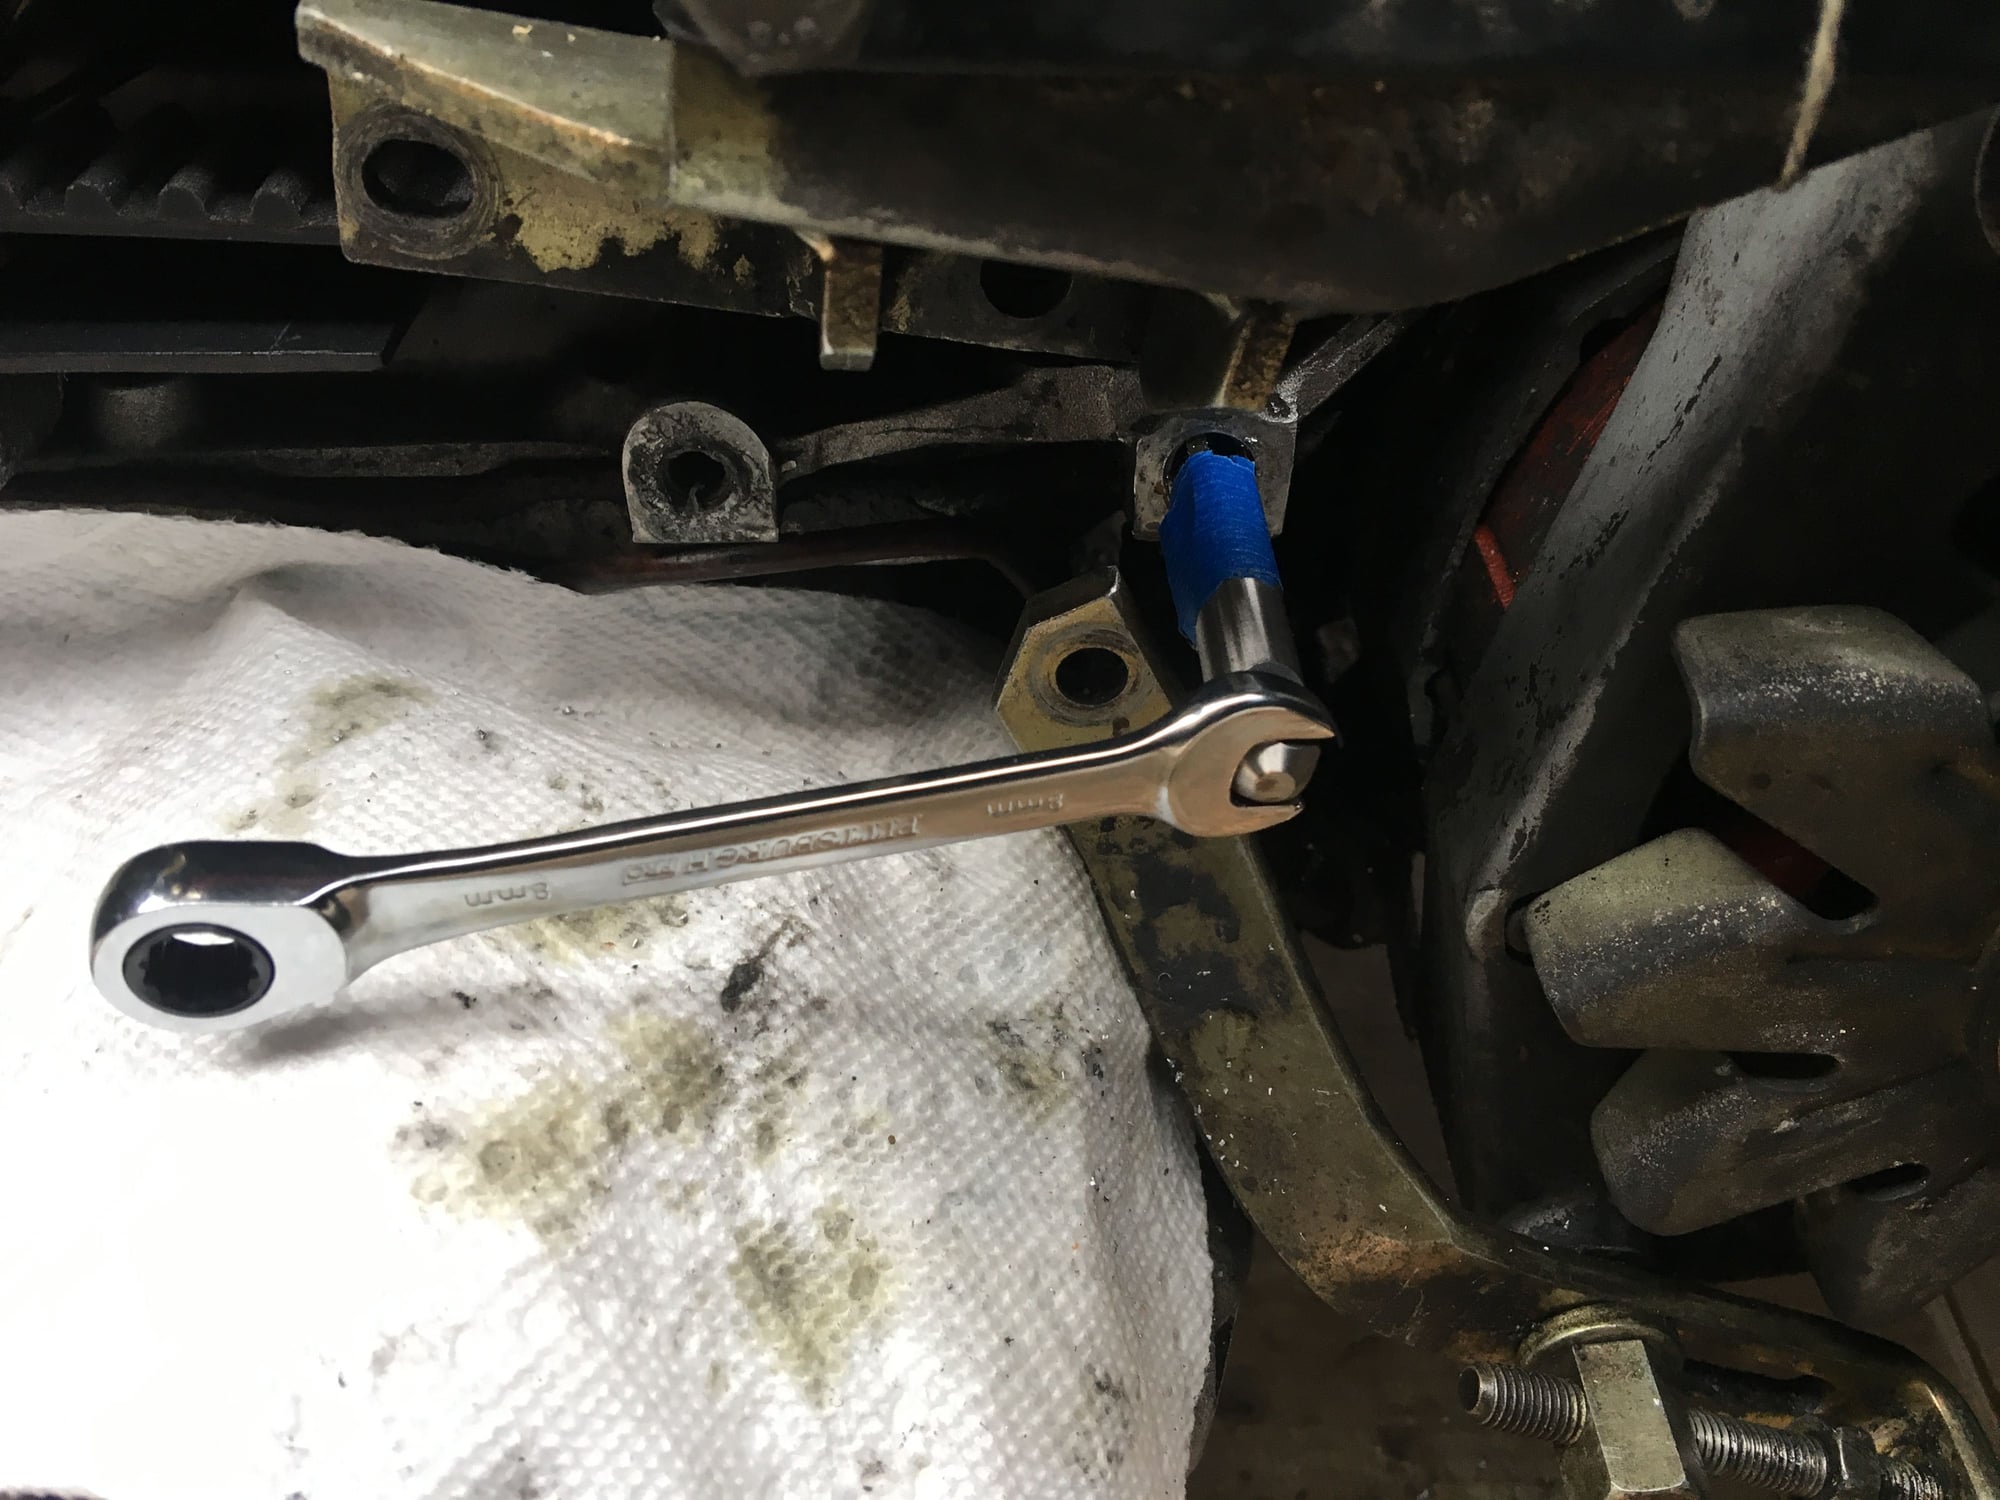
I installed the Time-Sert tonight and, after experimenting on a wood block, determined that full bore depth leaves the flange about 15 thousands (estimated) below flush which is ok with me so proceeded to install. Everything was super easy. The only variation I made from the instructions was to cement the insert in place with JB Weld. (I first cleaned out the hole with a squirt of brake cleaner, then with cotton swabs dipped in acetone until no chips or residue came out, and finally with a blast of compressed air). I have a bolt inserted in the hole now (with a few extra washers to approximate the thickness of the brackets) and mildly tightened the bolt. I’ll leave it this way until set, rotate the bolt to make sure it’s free, then leave to cure. Came out great!!!
Drilled and bored Tapping the hole Insert fully installed!
Nice job Rick.
FWIW somewhere I learned that the old 6.75 liter aluminum block V-8 used on Rolls Royce had threaded inserts in all their important threaded holes from the factory. Not sure the type Helicoil vs Timesert.
Good luck,
Dave

 03-17-2019, 01:17 AM