When you click on links to various merchants on this site and make a purchase, this can result in this site earning a commission. Affiliate programs and affiliations include, but are not limited to, the eBay Partner Network.
FYI - Bosch discontinued the 87 FPR in September 2017. They are getting harder to find. I am losing confidence in my ability to find one in the future if needed while simultaneously contemplating the ever growing pile of 928 parts in my garage.
Only reason I can come up with as to why some folks stick with the original single printle fuel injectors is because they wish to keep everything 100% OEM. But as I'm sure you know, injector technology has come a long way in 30+ years. Some of the YouTube videos I've seen of the difference in fuel atomization between the 4 hole and single printle are just amazing.
You can order the newer style 24# injectors thru Roger. I went thru FiveOMotorsports and got a matched balanced set of the 4 hole Gen III, with correct sized O-Rings, on sale. Been absolutely happy with them.
If you're not going to Porken chip straight away, then I'd recommend staying with the OEM WR7DC's. They're easy enough to change out to the WR5DC's when the time comes.
Some progress, sucked it up and drained coolant to remove water bridge. I can see that those bolts could be a problem but mine came out without trouble. I did give each a good smack first. For the record, draining the radiator does not lower the crankcase level enough to remove the water bridge without spillage.
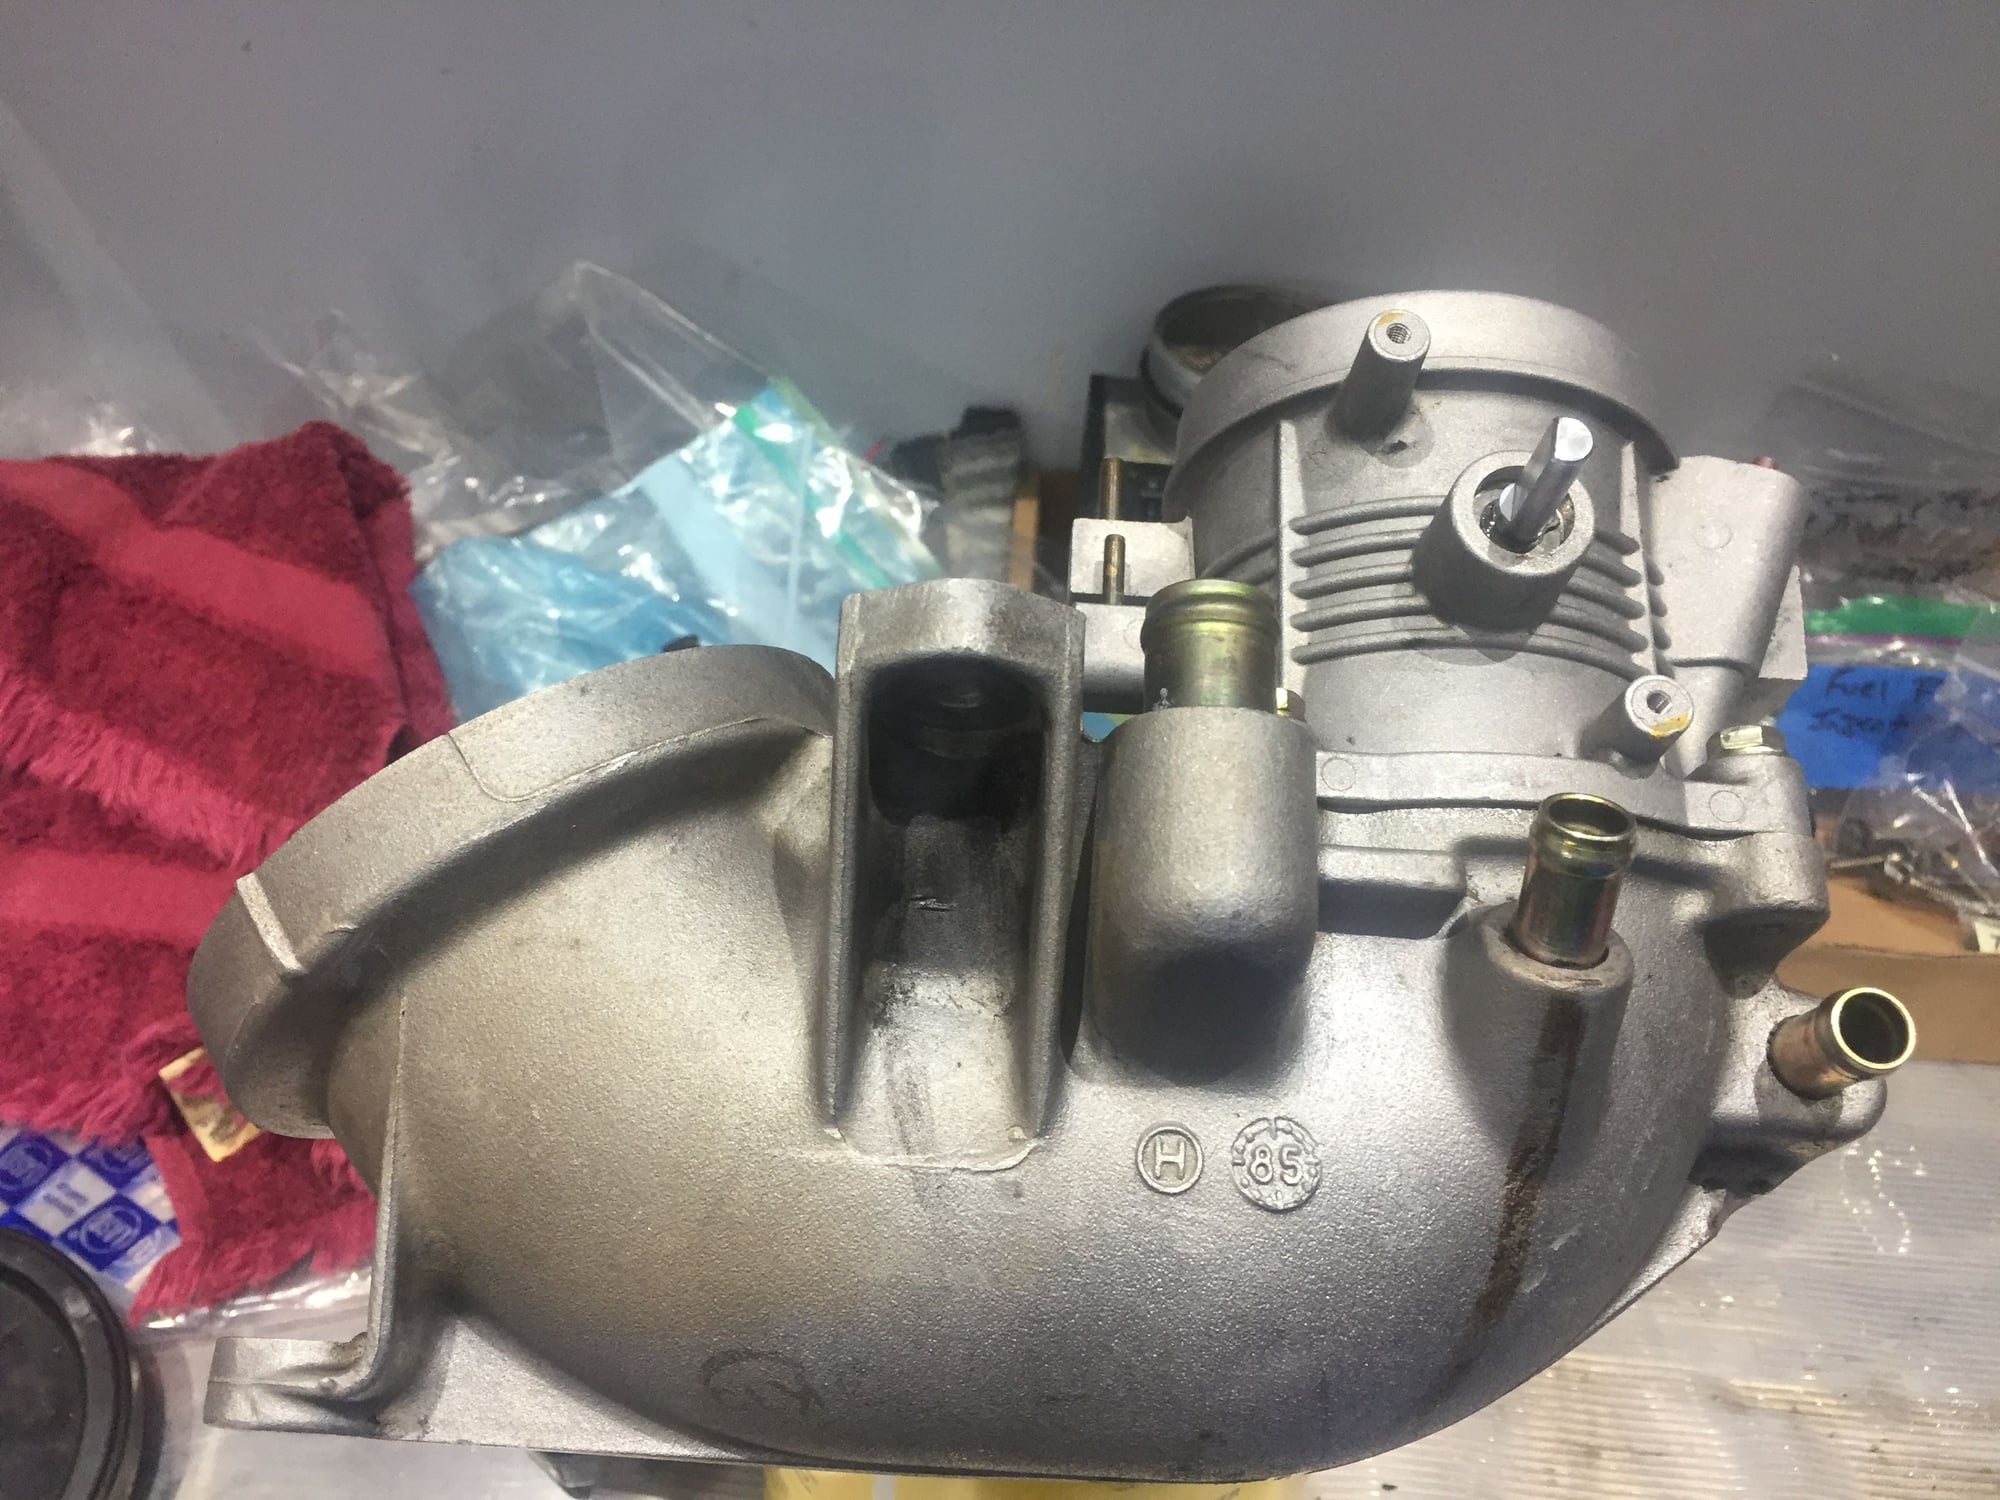
Also cleaned up the throttle body and valley.
Looking much better, when you do the Cam covers make sure you remove, clean and inspect the chain tensioners, place shop rags in the Oil returns in the heads before removing any bolts, else you will be removing the oil pan
Also I notice on your early pic that you left the upper fan shroud in place, only two 10mm bolts and its out of the way, that's one of the first thing I remove, opens up the work area
Dave K
just noticed my sig is gone, sub scrip must have run out
Also I notice on your early pic that you left the upper fan shroud in place, only two 10mm bolts and its out of the way, that's one of the first thing I remove, opens up the work area
Hadn't thought of that -thanks
Originally Posted by 928S MN
. . .got a matched balanced set of the 4 hole Gen III, with correct sized O-Rings, on sale. Been absolutely happy with them. If you're not going to Porken chip straight away, then I'd recommend staying with the OEM WR7DC's. They're easy enough to change out to the WR5DC's when the time comes.
Do you happen to have the model/parts # for what you bought ? These were plug/play correct ? On the plugs, Ok will stick to stock for now.
Originally Posted by 928S MN
Did you get the new oil baffle in?
On the parts list.
So, I washed/degreased the intake runners and throttle body with a DIY parts washer/agitator using 75%mix of hot water and purple power. The washer worked in the sense that it made the grease basically fall off the parts with a simple rag. A smaller one filled with brake fluid might work better but it is a definate improvement over using cleaner and elbow grease alone.
Unfortunately, the process discolored the runners. I may have to do some level of refinishing but I'm not going the powder coat route at this point. Looking at Eastwood and Duplicolor options.
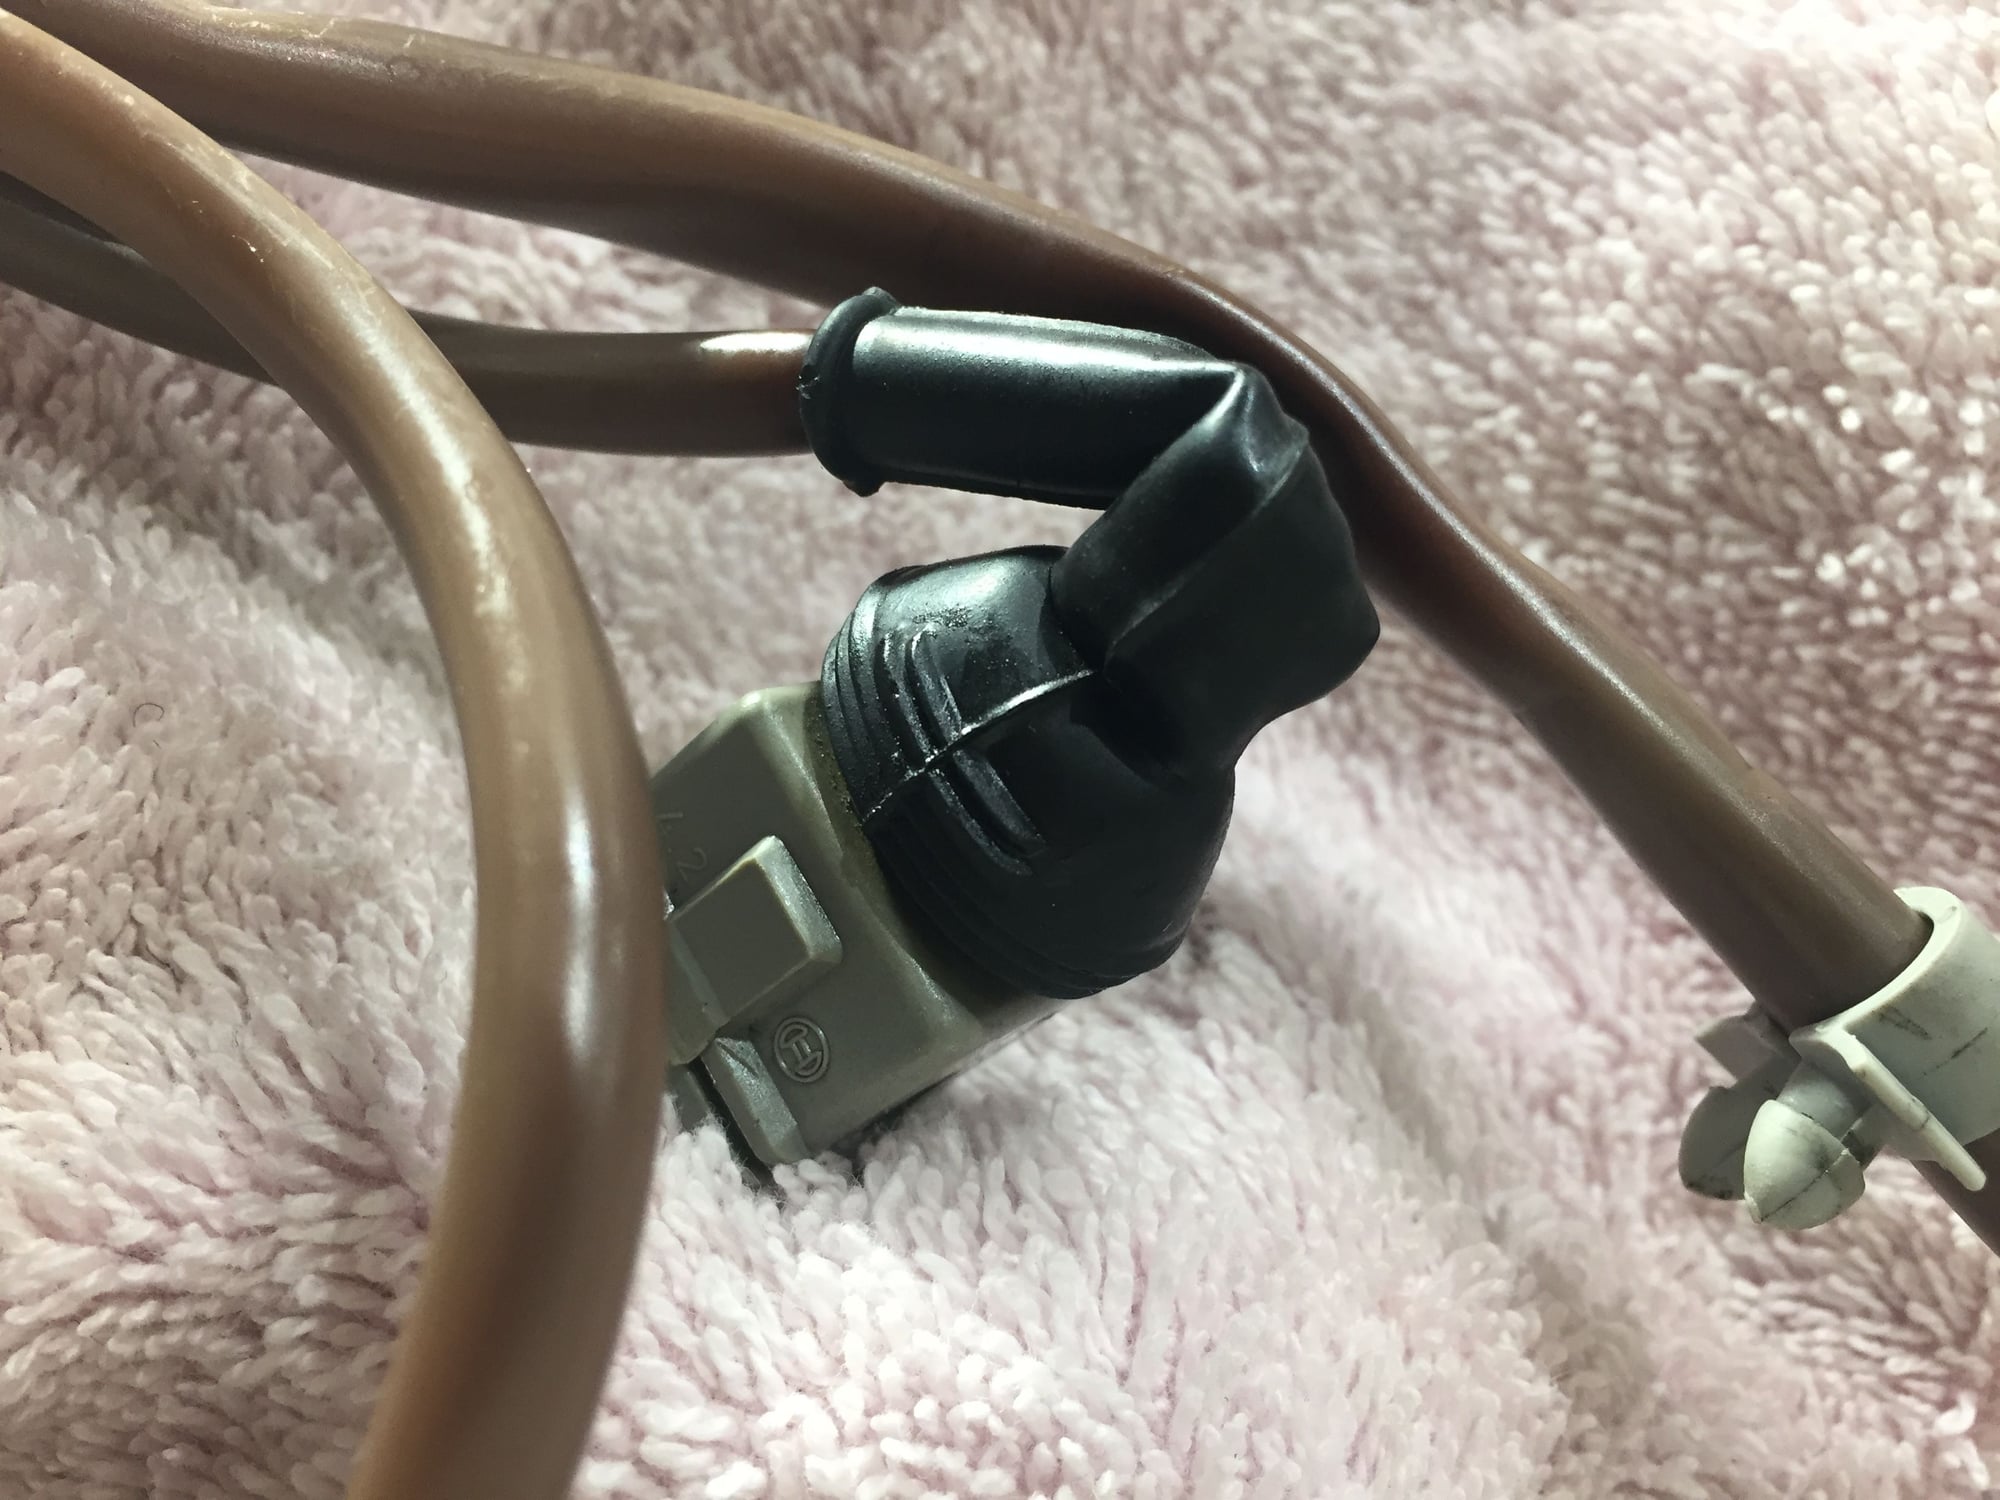
I cleaned up the wire harness. The driver side injector plugs are all bent over. I'm assuming this is how they were initially routed and is ok. Look at the Temp 2 plug - I don't think the wires are frayed but should I redo this connector ? What's involved with splicing a new plug on ?
Unfortunately I did not keep my invoice for those new injectors from FiveOMotorsports so can't help you with the part#. I did however call them up and they were very helpful.
I just finished up a job like this. I sold the car a couple weeks ago. I also done the Ford injectors, rebuilt maf via Rog, new plug leads, and Ken's chips. It was a fast car, but so driveable. You could motor along in 5th at 50kmh and stand on the throttle and there was no hiccup, no splutter, just smooth forward motion. Mine was a manual and first gear would fry the tyres. Stand on it second and it would also fight for traction. This was on 265 / 35 / 18 P Zero's. You'd be crazy not to do it. Use the 7DC plugs. They are a cooler. Plugs aren't just for spark. They also act as a heat sink. The larger the ceramic part the greater the heat absorption. If you PM me your email address I'll send you a first gear tyre frying video.
As for the valve covers....yes remove them and replace the tensioner pads. I avoided disaster on a low km 944S2 I just bought to rescue. I've done the pads on every S3 I've had just as a precaution. Catastrophic failure if these let go.
I wished I'd known you were going to use Purple Power. Do not use that on Magnesium!
Good to know - parts were only in the agitator for about an hour - but I had thought of soaking them.
Before I destroy the water bridge - this rubber seal seems to be deformed and is stuck to the bridge. It feels/looks like an internal metal ring of the seal rusted.
Any issue forcing it off ?
Any concern with the injector plugs being bent over like this ?
There should be no problem with that bent over injector harness as long as that boot is not cracked or separated like the other picture you posted. I had a few like that and gently straightened out that boot just to inspect inside the fold for any cracks or separation.
AFAIK there is no metal in those water bridge seals. I had to pry fairly hard to get mine out of the groove. That seal was pretty shot and very hard/brittle.
Scott, I'd love to see that tire frying video. PM with email address sent!
There should be no problem with that bent over injector harness as long as that boot is not cracked or separated like the other picture you posted. I had a few like that and gently straightened out that boot just to inspect inside the fold for any cracks or separation.
AFAIK there is no metal in those water bridge seals. I had to pry fairly hard to get mine out of the groove. That seal was pretty shot and very hard/brittle.
I'll give the injector harness a better look to be sure. Other than spraying deoxit on them, any other way to clean inside the plug ?
Looks like the seal in my water bridge had a metal ring at it's core. It was basically dead at 42k miles - although I'm not sure a 100% seal is required here.

 12-28-2018, 12:02 PM