Notices
928 Forum 1978-1995
Sponsored by:
Sponsored by: 928 Specialists

In process of changing timing belt, have questions

Old 04-28-2018, 04:59 PM
  #31  
captainOCD
Burning Brakes
Thread Starter
 
captainOCD's Avatar
 
Join Date: Mar 2018
Location: South Cackalacky - 86.5 928 5 speed, 86.5 auto project
Posts: 758
Received 60 Likes on 54 Posts
Default

Sadly it hasn't worked so far. The end of the shift cable is still stuck. Still letting it soak though. Maybe some more time will do it.
Old 04-29-2018, 02:40 AM
  #32  
jpitman2
Rennlist Member
 
jpitman2's Avatar
 
Join Date: Dec 2002
Location: Australia
Posts: 5,281
Received 48 Likes on 45 Posts
Default

Dont forget that one of the tensioner bolts goes in AFTER the centre cover is in place! Or at least, one of the plastic belt covers.
jp 83 Euro S AT 57k
Old 04-29-2018, 09:20 AM
  #33  
captainOCD
Burning Brakes
Thread Starter
 
captainOCD's Avatar
 
Join Date: Mar 2018
Location: South Cackalacky - 86.5 928 5 speed, 86.5 auto project
Posts: 758
Received 60 Likes on 54 Posts
Default

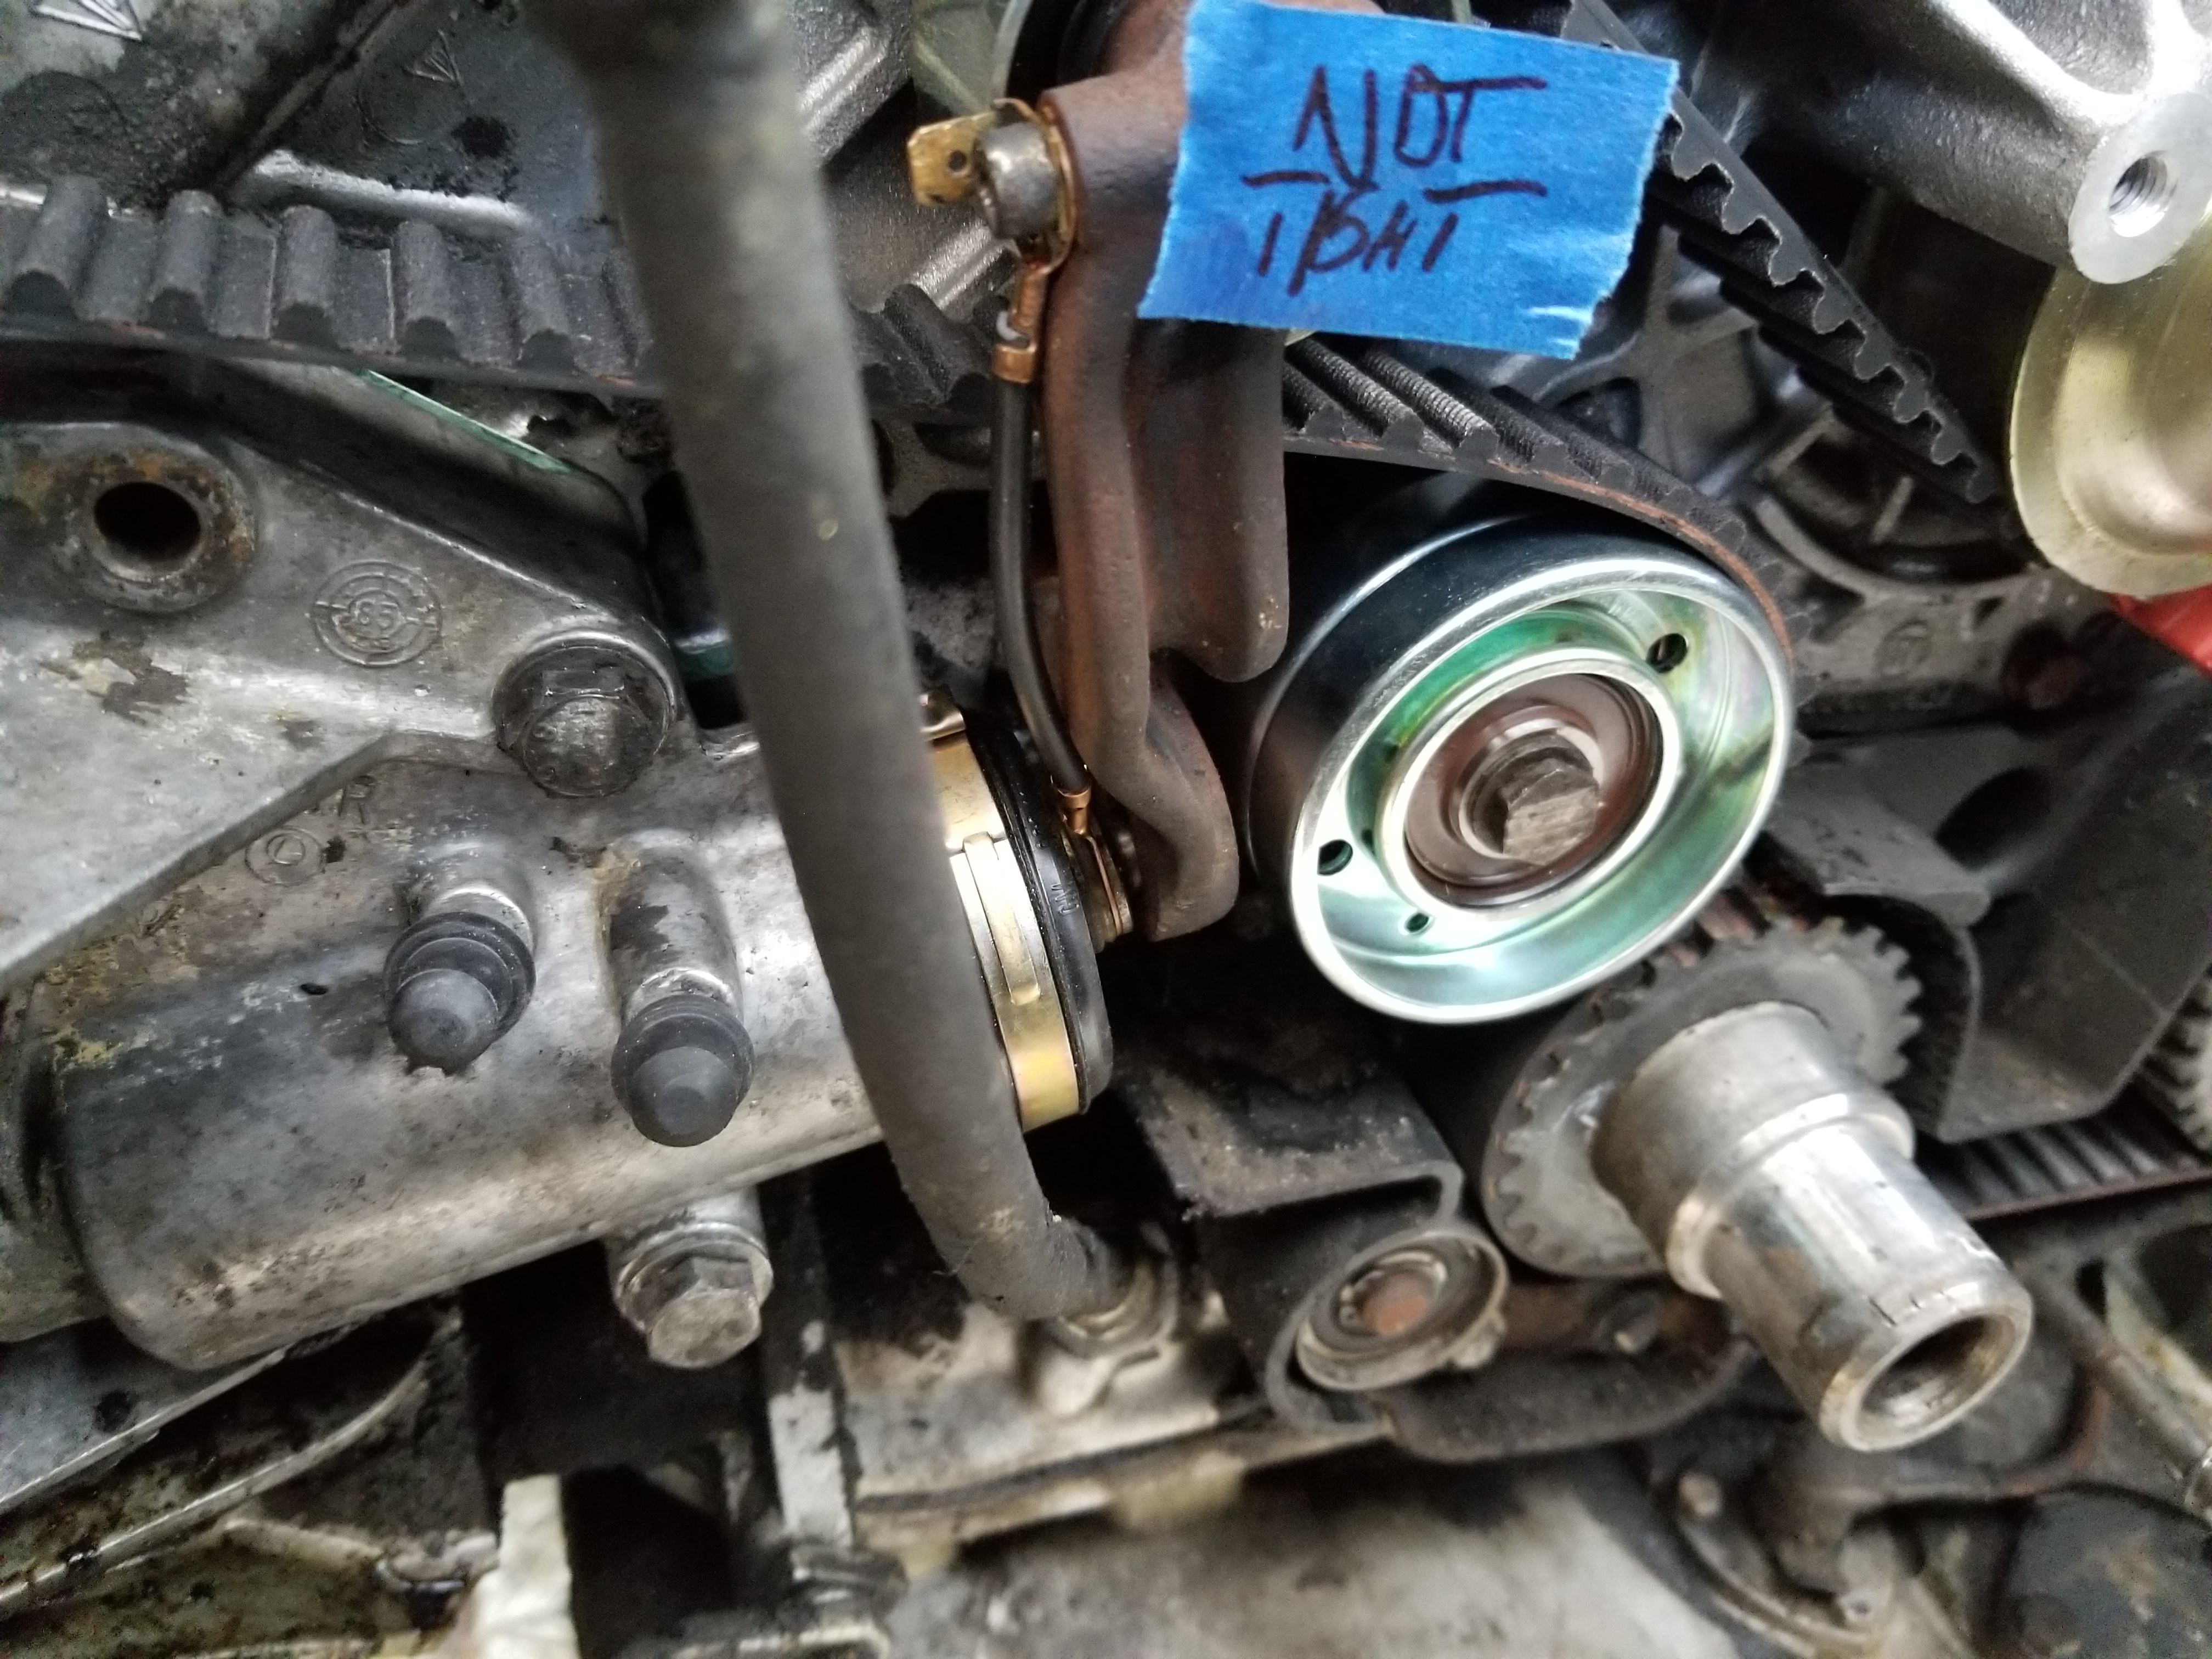
Yep, that's one of the two top ones on mine. The one I'm waiting for is the bottom one. I'm sure it wasn't doing the tensioner gasket any favors with sealing. Looking back at where the caked up grease was, I think that might have been in part from the tensioner gasket leaking.
Old 05-03-2018, 11:32 PM
  #34  
captainOCD
Burning Brakes
Thread Starter
 
captainOCD's Avatar
 
Join Date: Mar 2018
Location: South Cackalacky - 86.5 928 5 speed, 86.5 auto project
Posts: 758
Received 60 Likes on 54 Posts
Default

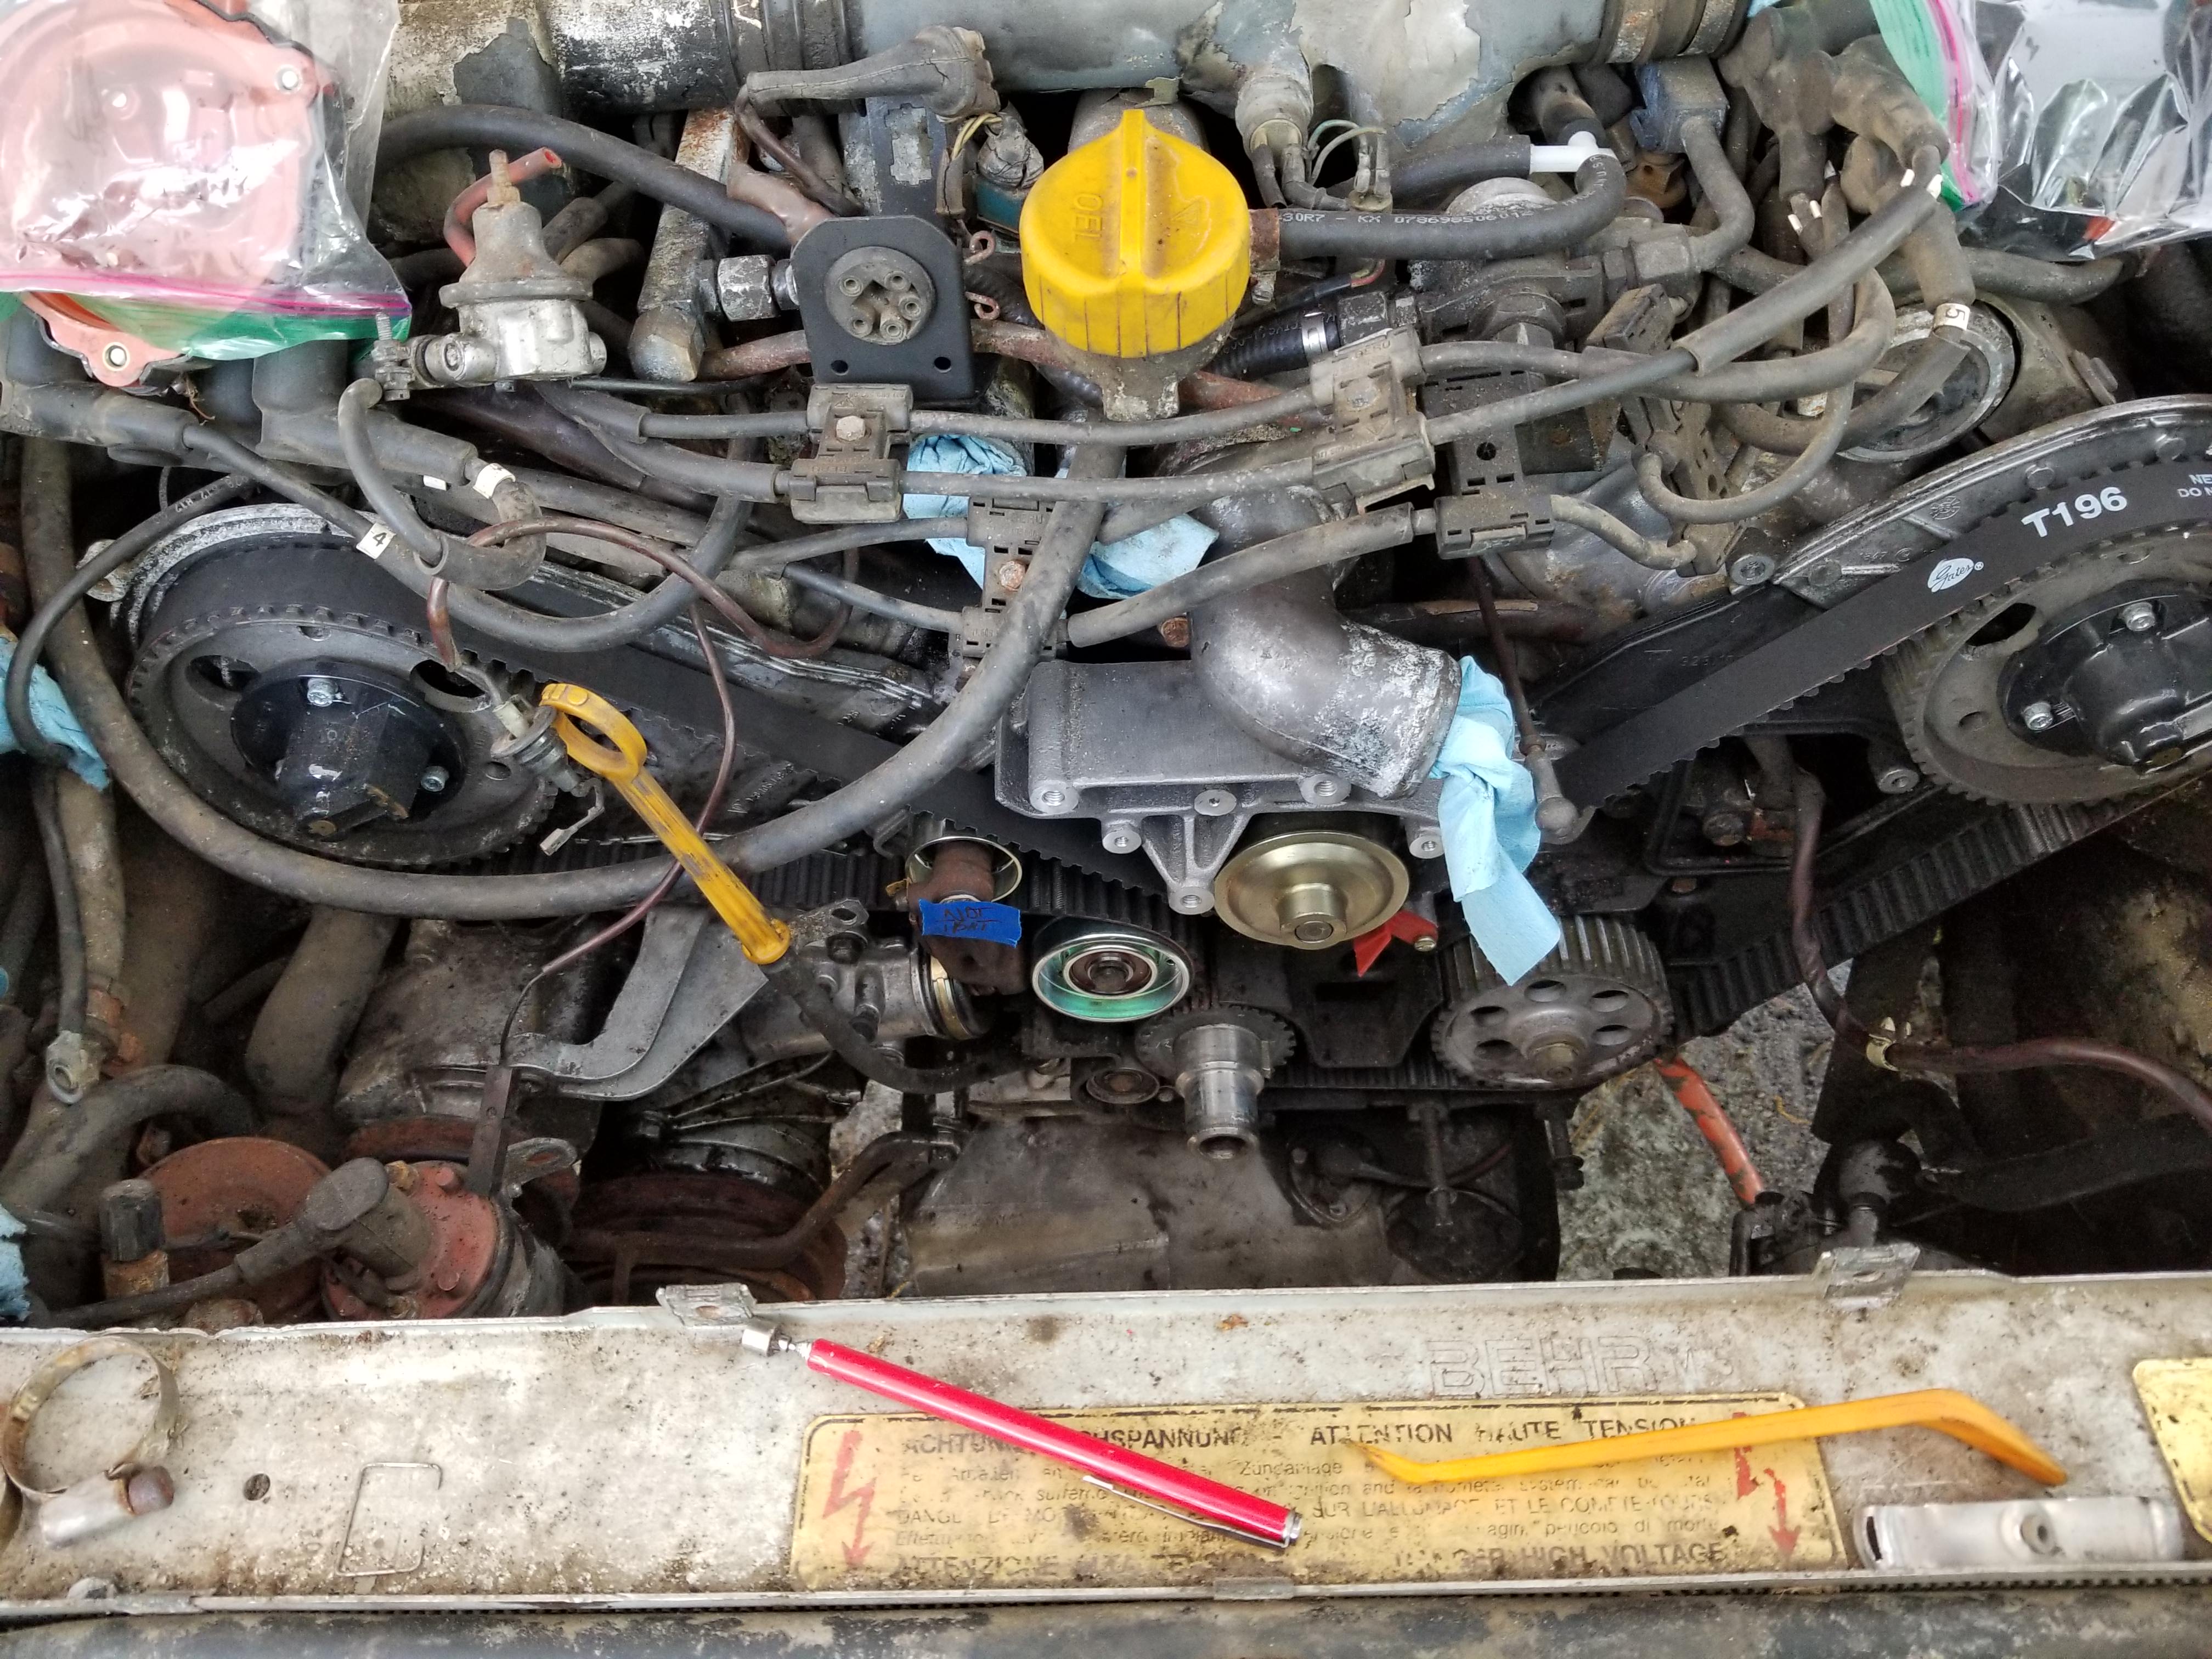
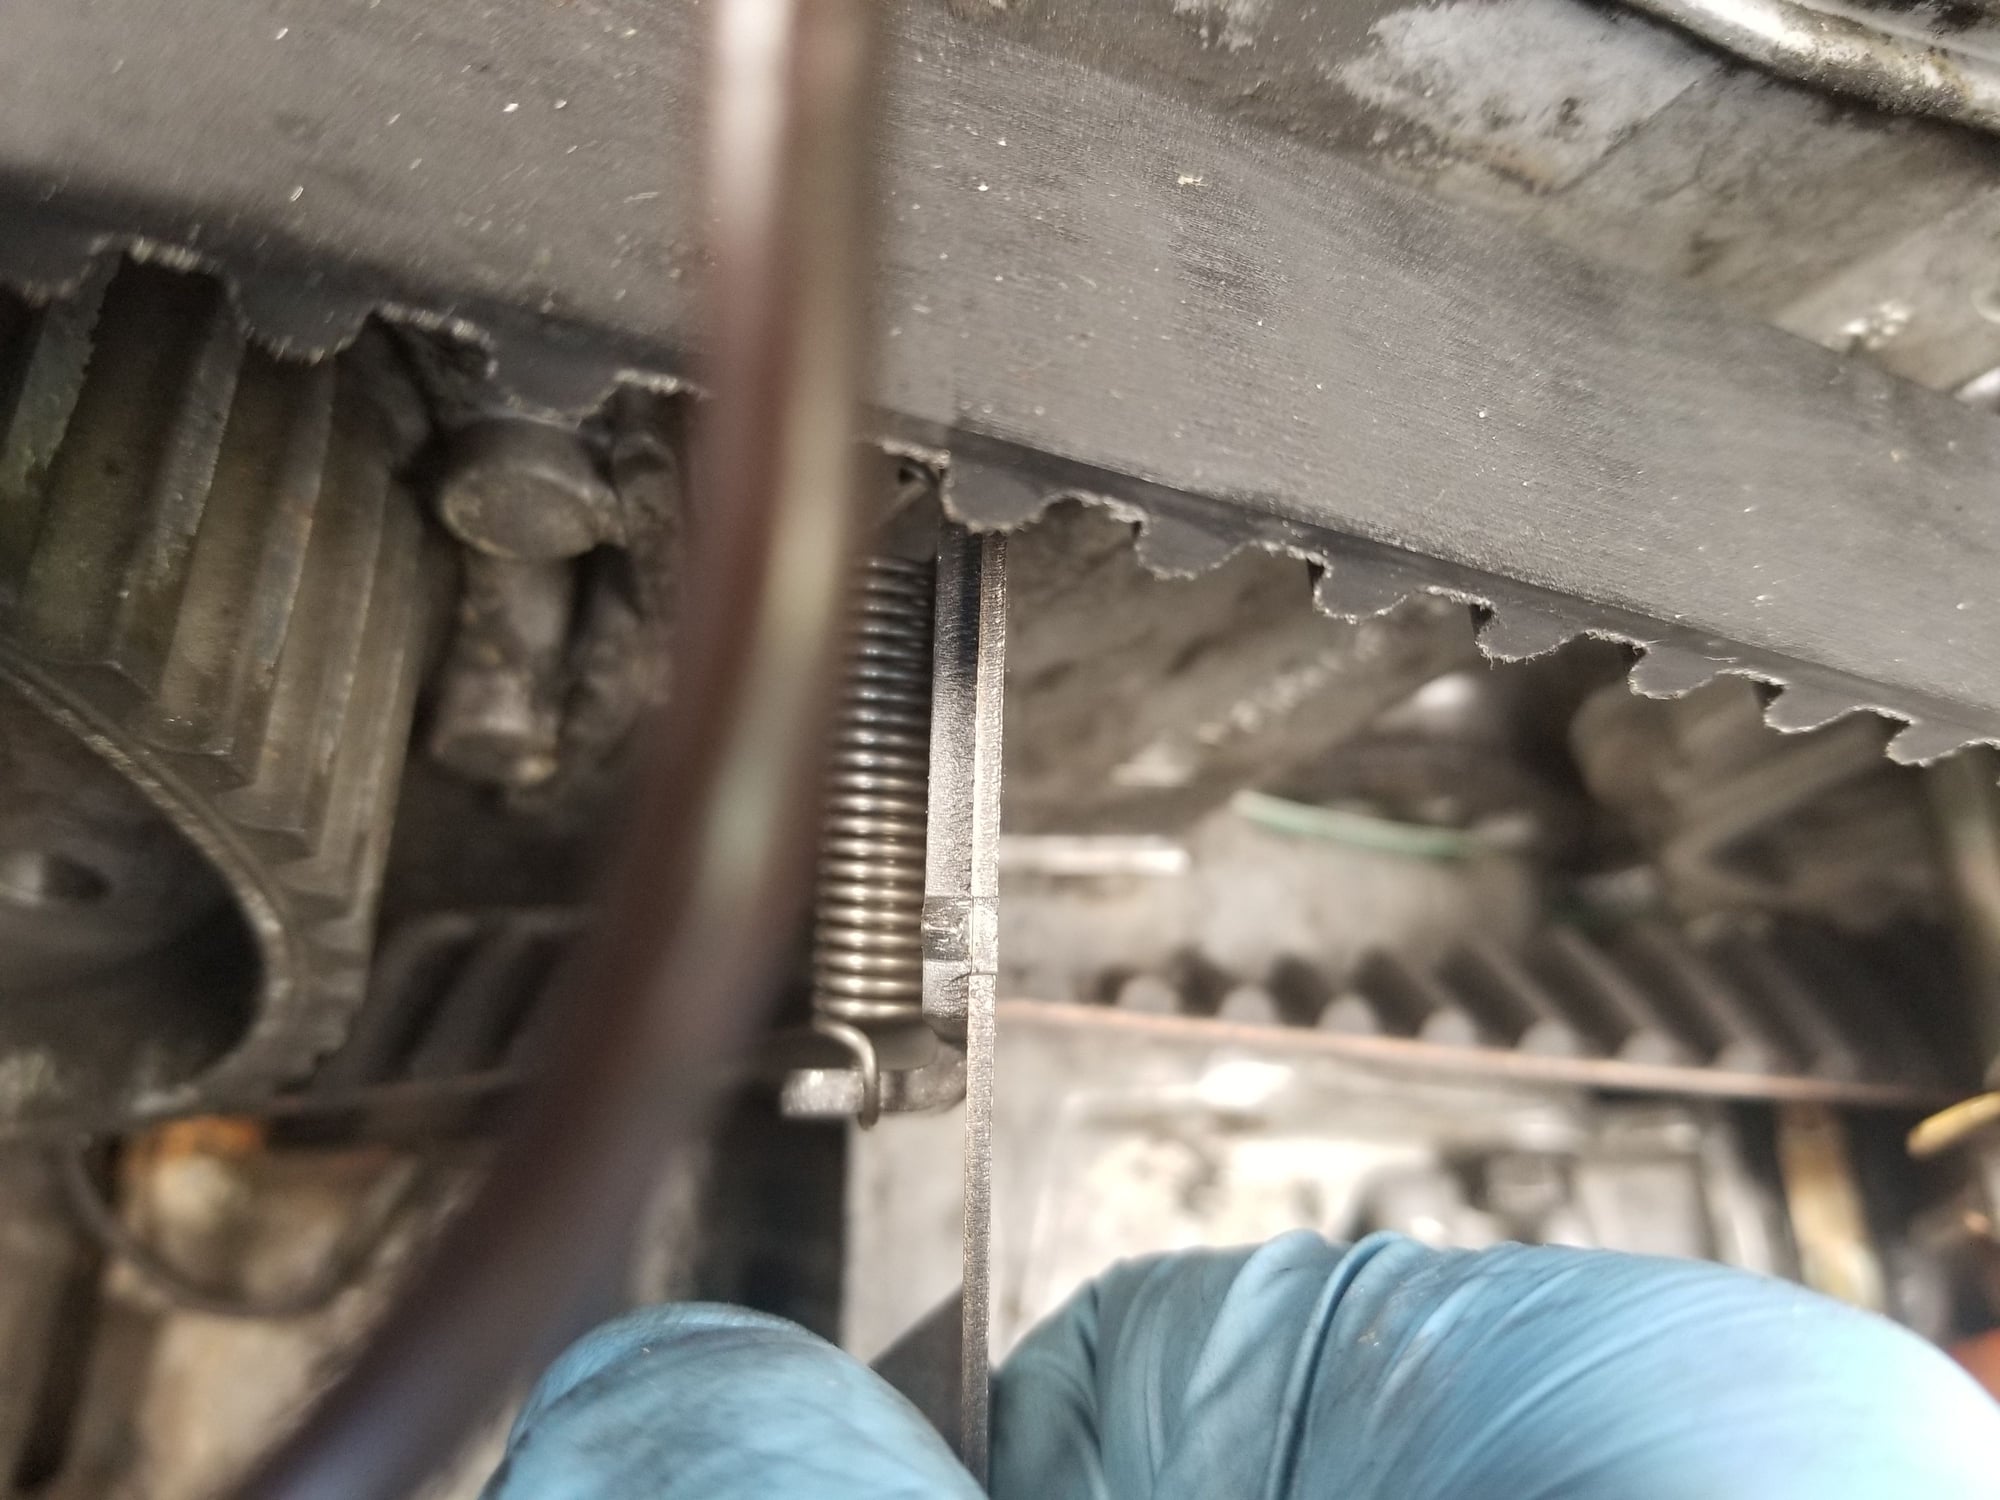
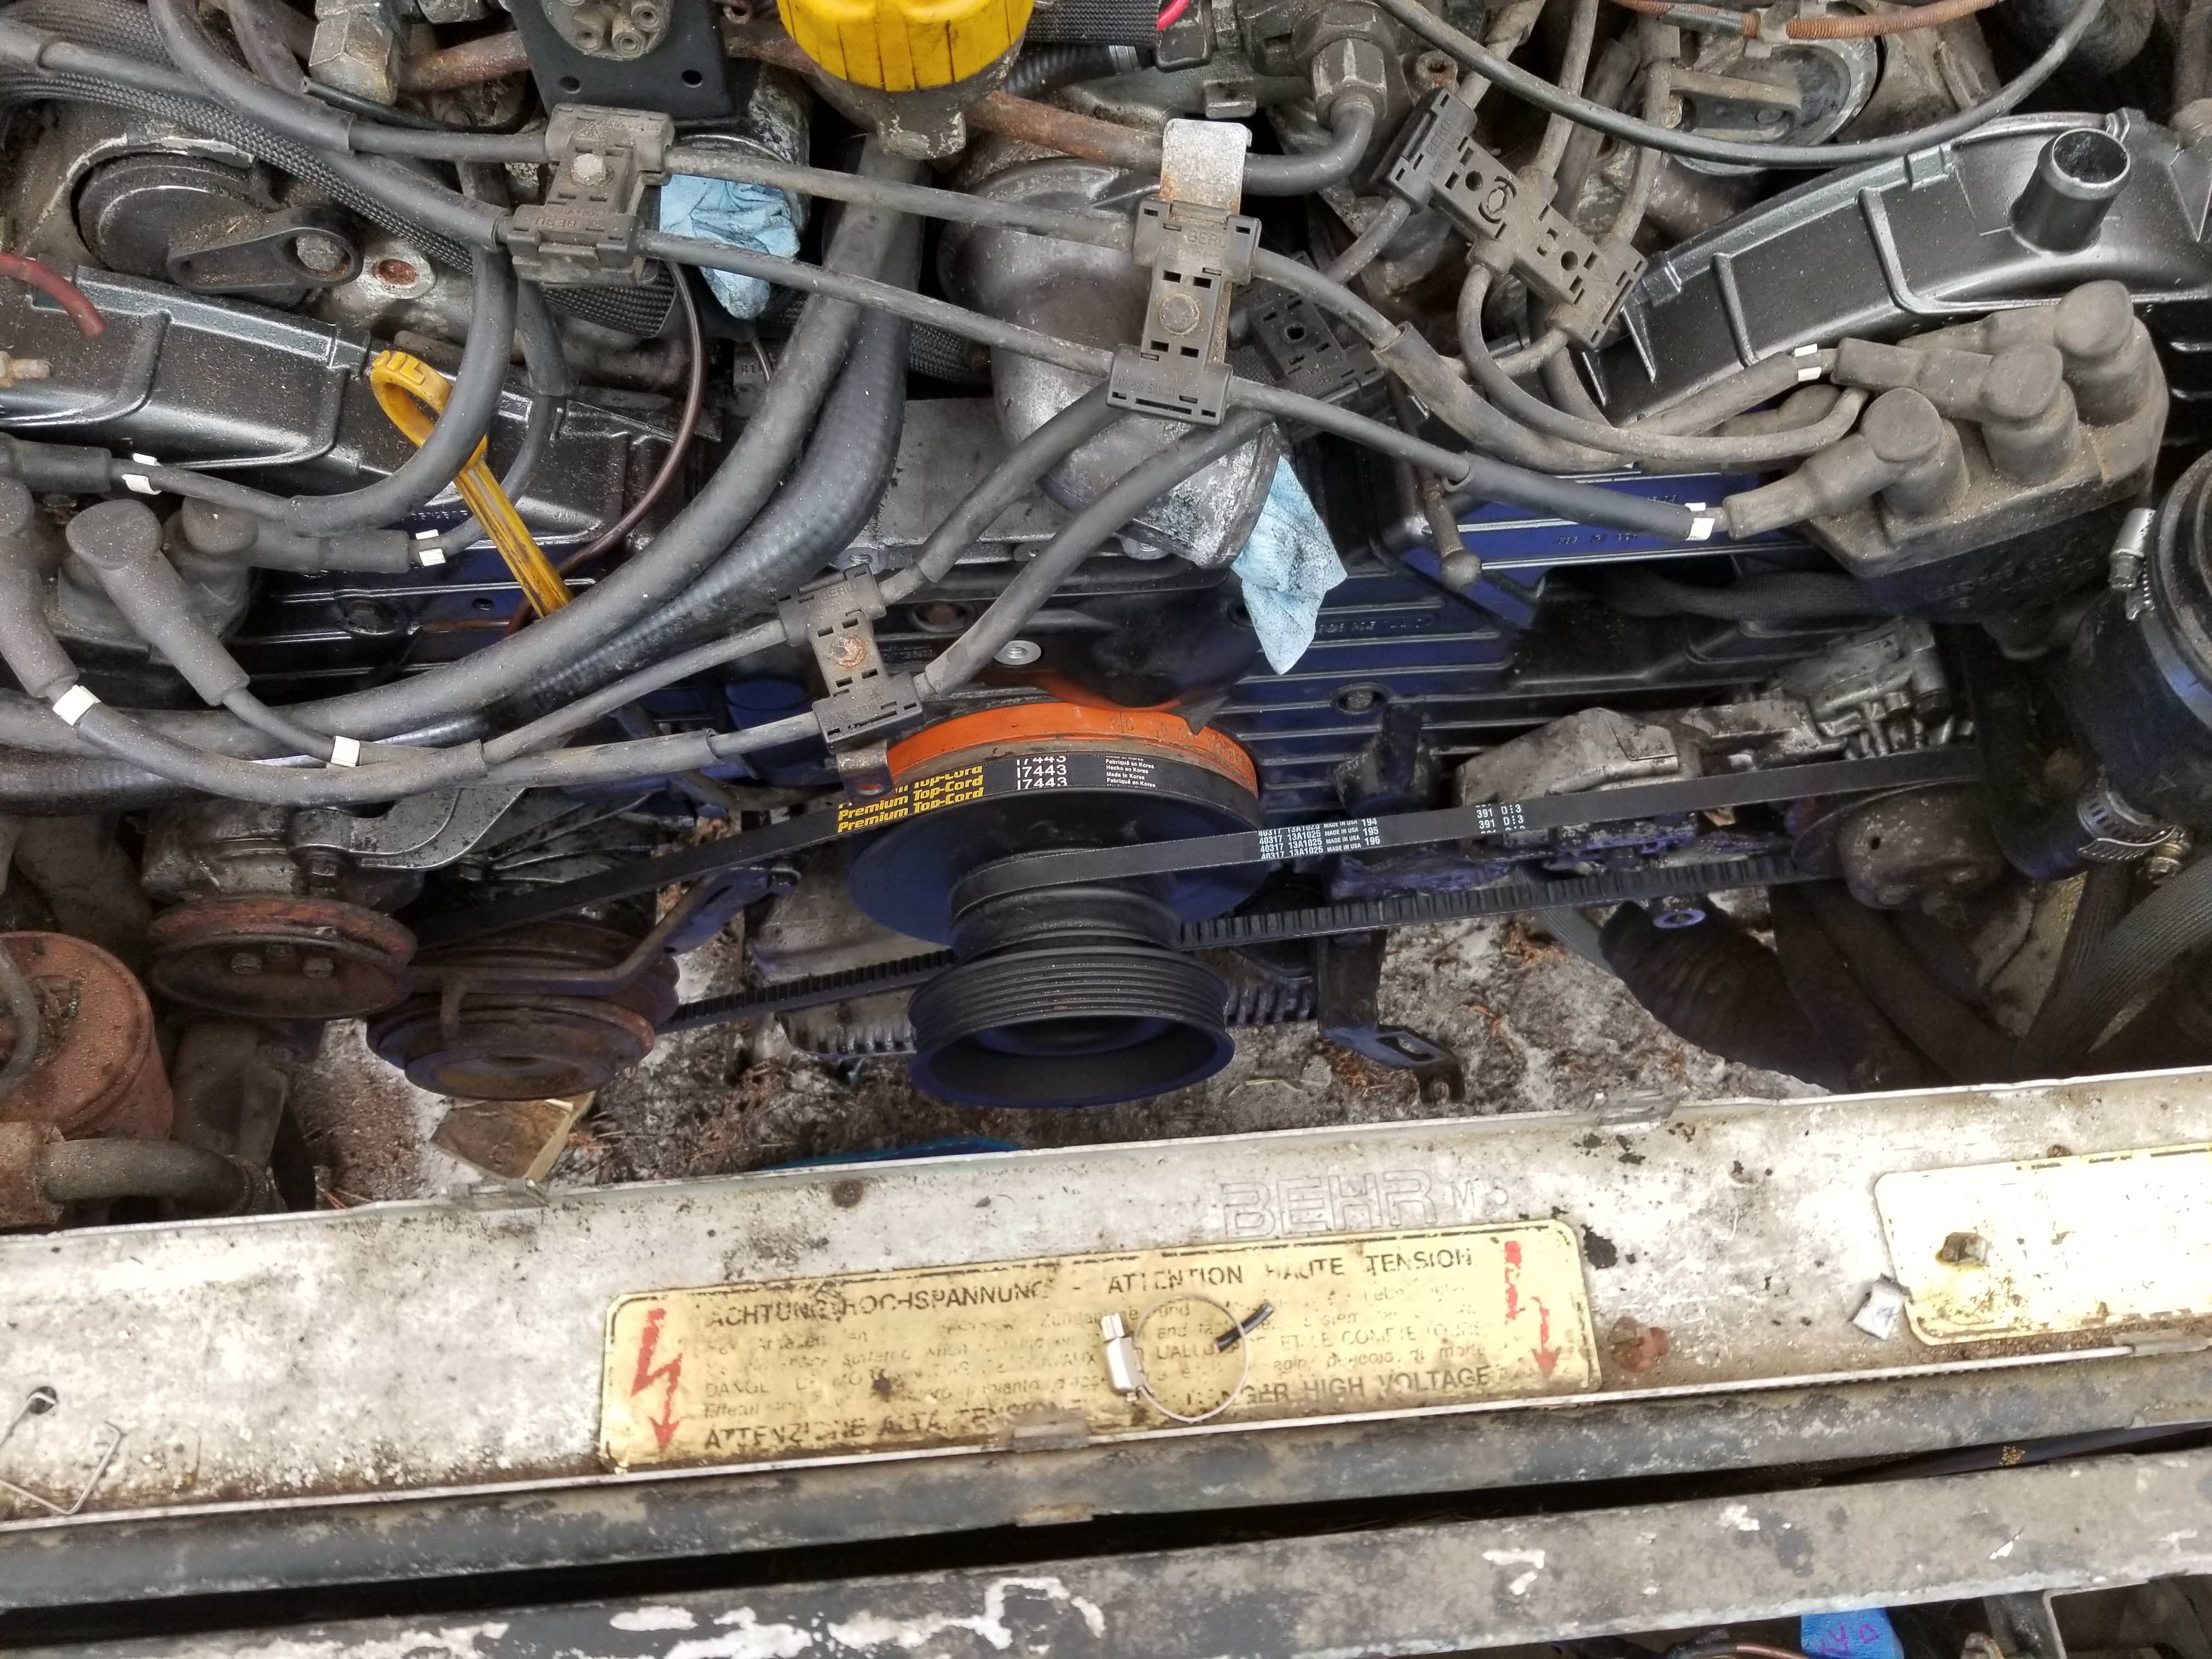
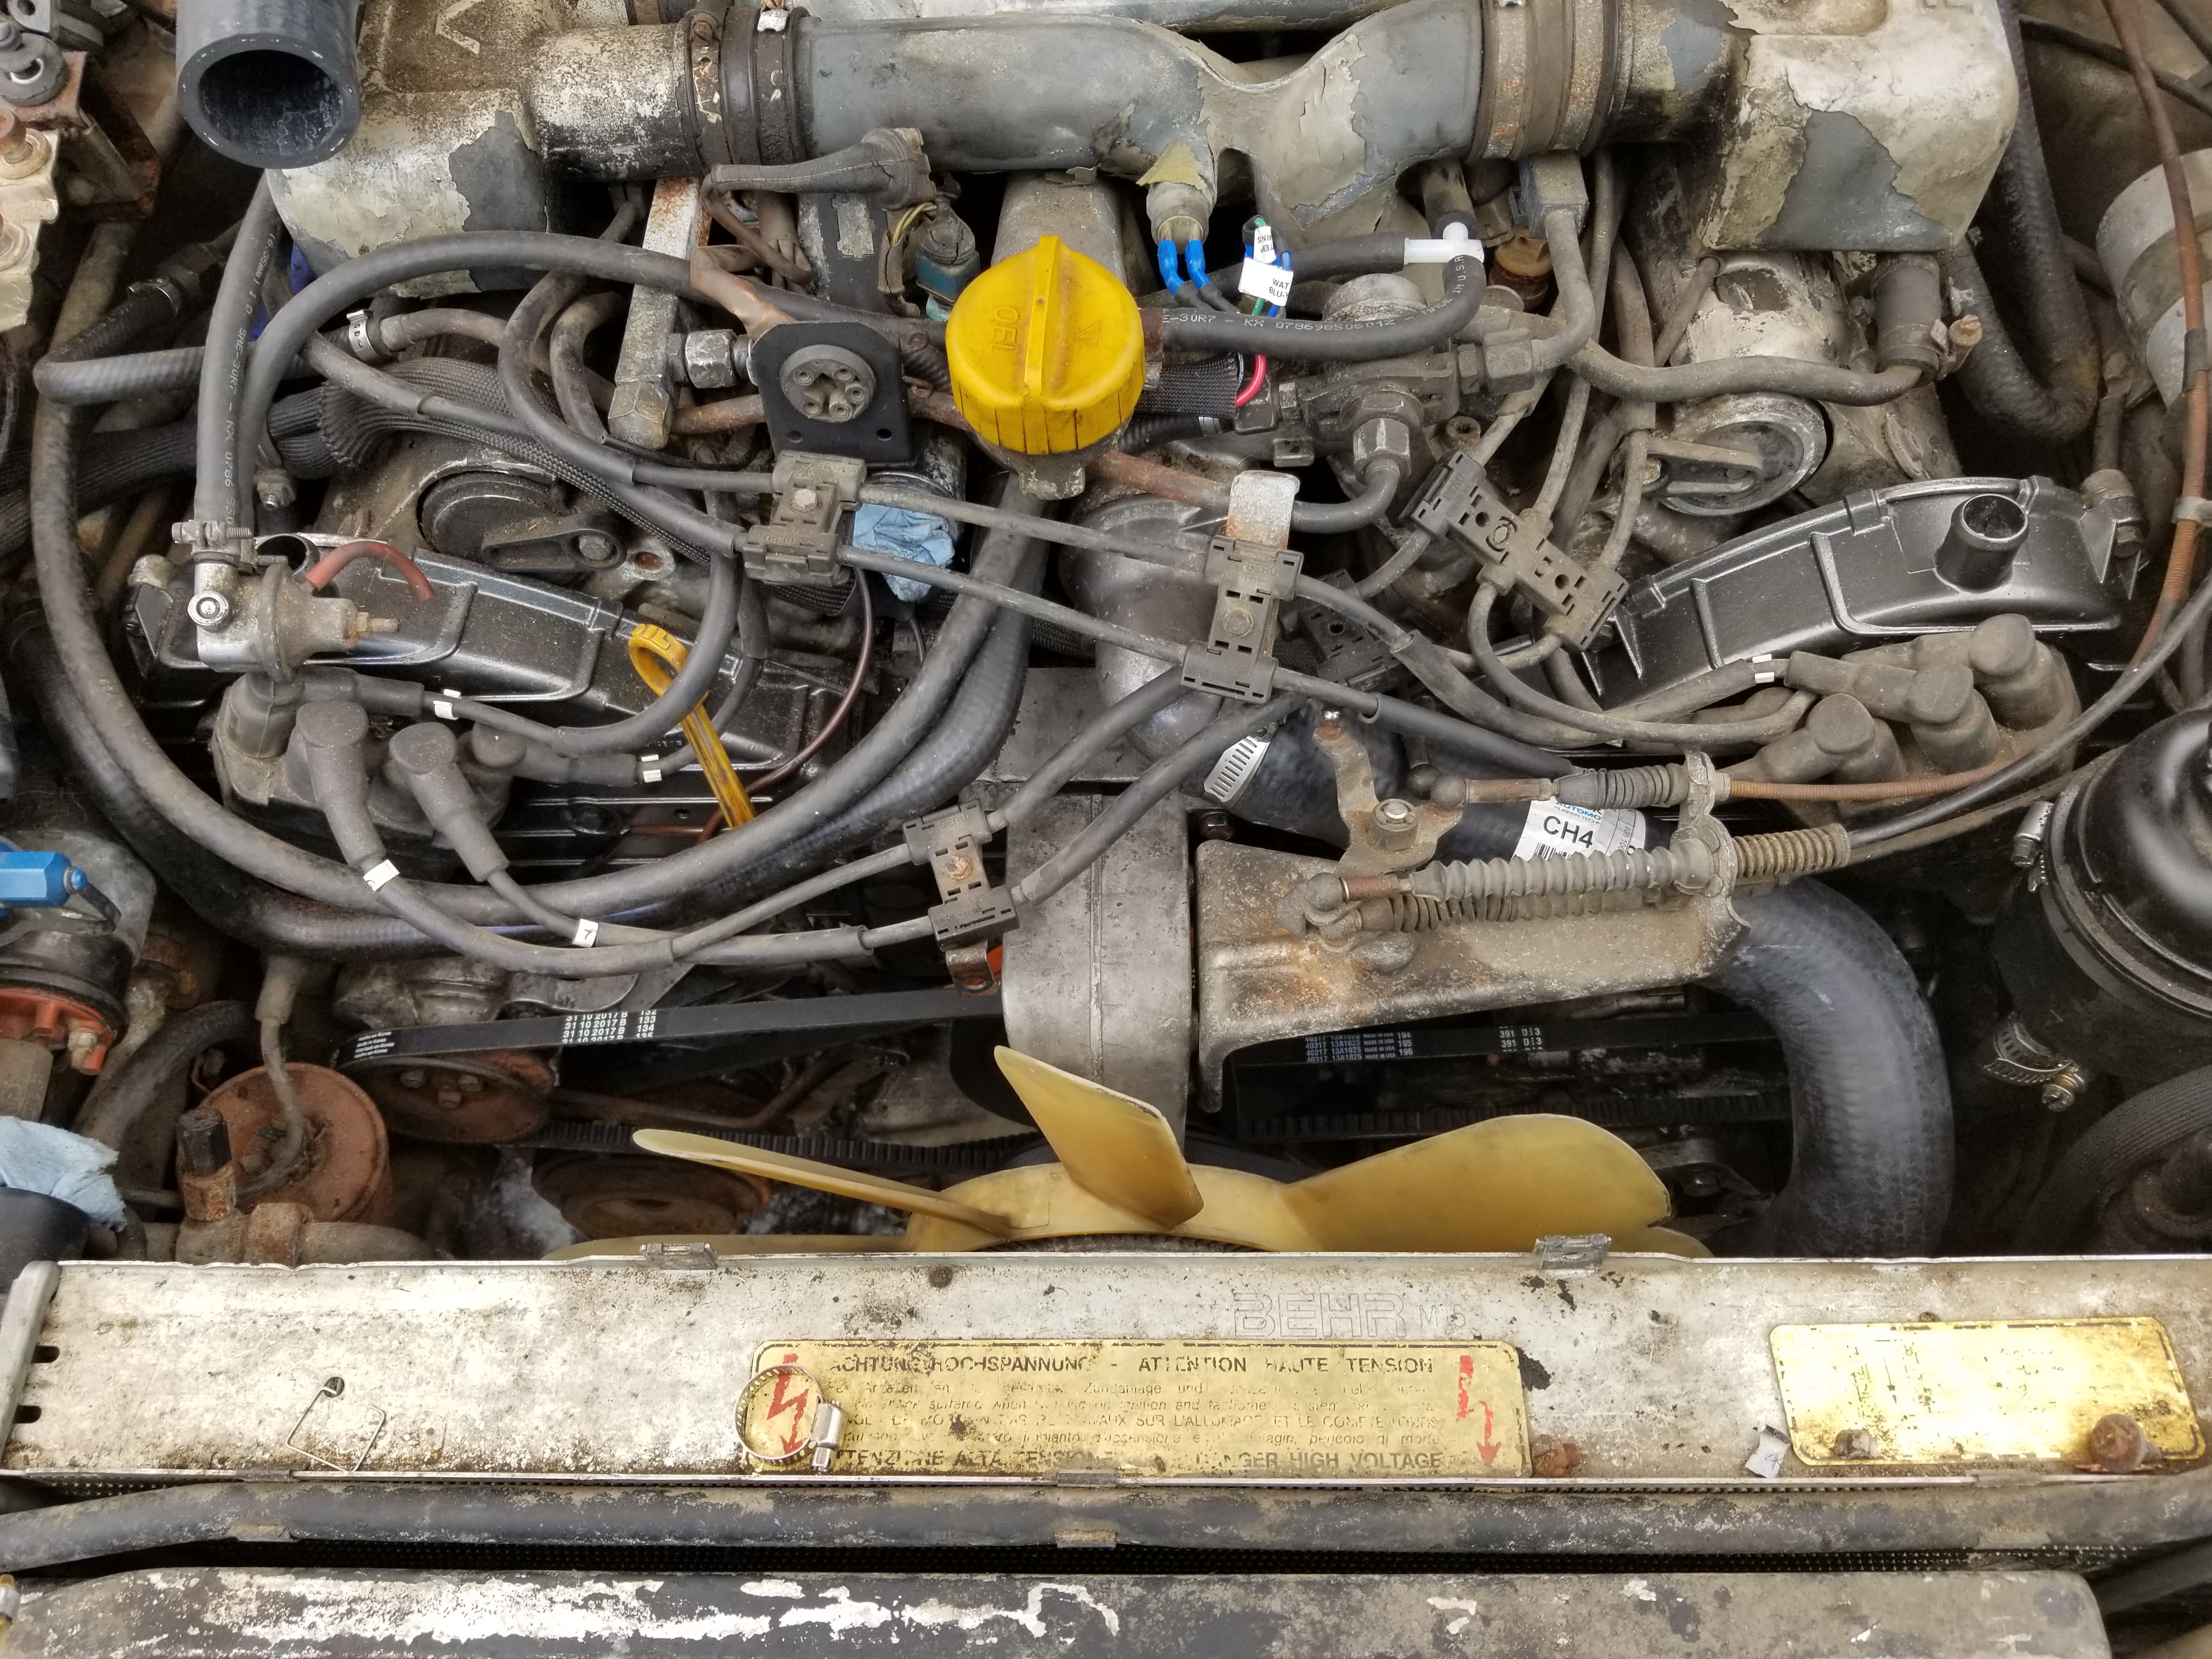
Some of my parts to finish the timing belt job showed up today. Got the tensioner bolt, tensioner wire, and some other things. Still waiting for the waterpump bolts and oil filter (want to change oil and prime pump), so I set the tensioner pulley and belt in place, but haven't tensioned the belt yet since it'll be easier to do both of those things with it off.

Name:  2acIf11.jpg
Views: 13
Size:  1.29 MB

Now with wire instead of metal strap.
Name:  kPSNm68.jpg
Views: 13
Size:  1.24 MB


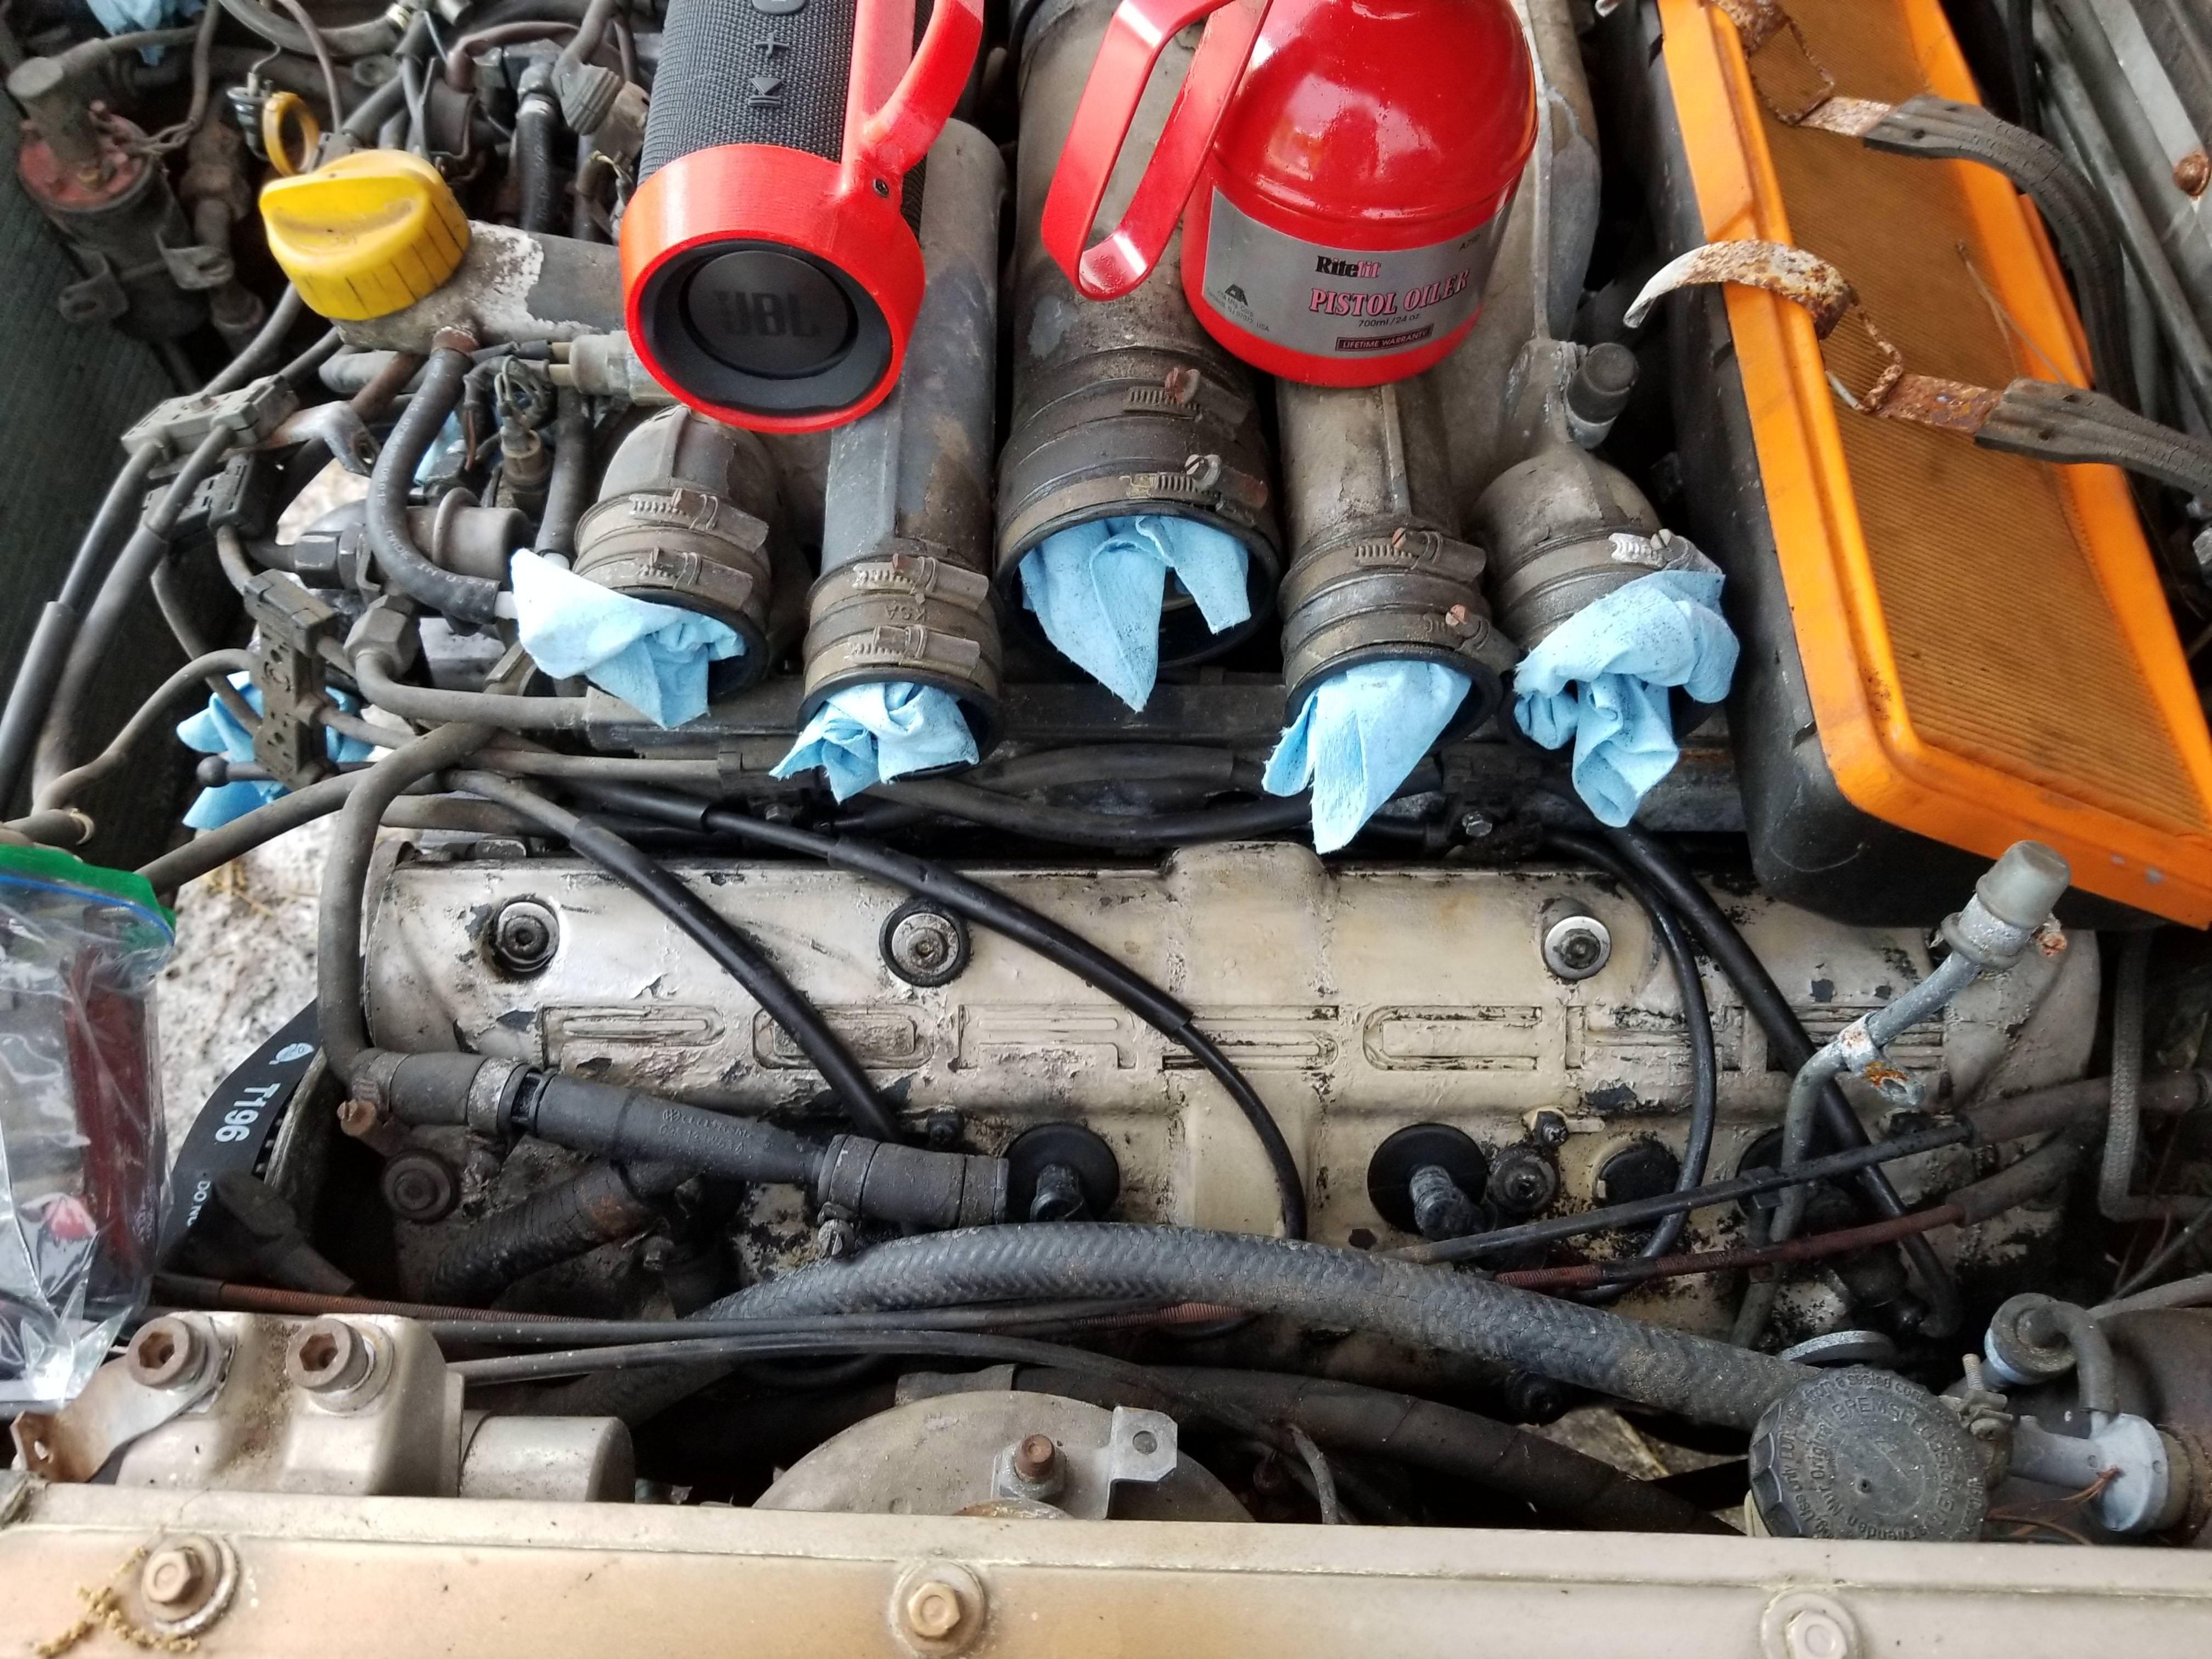
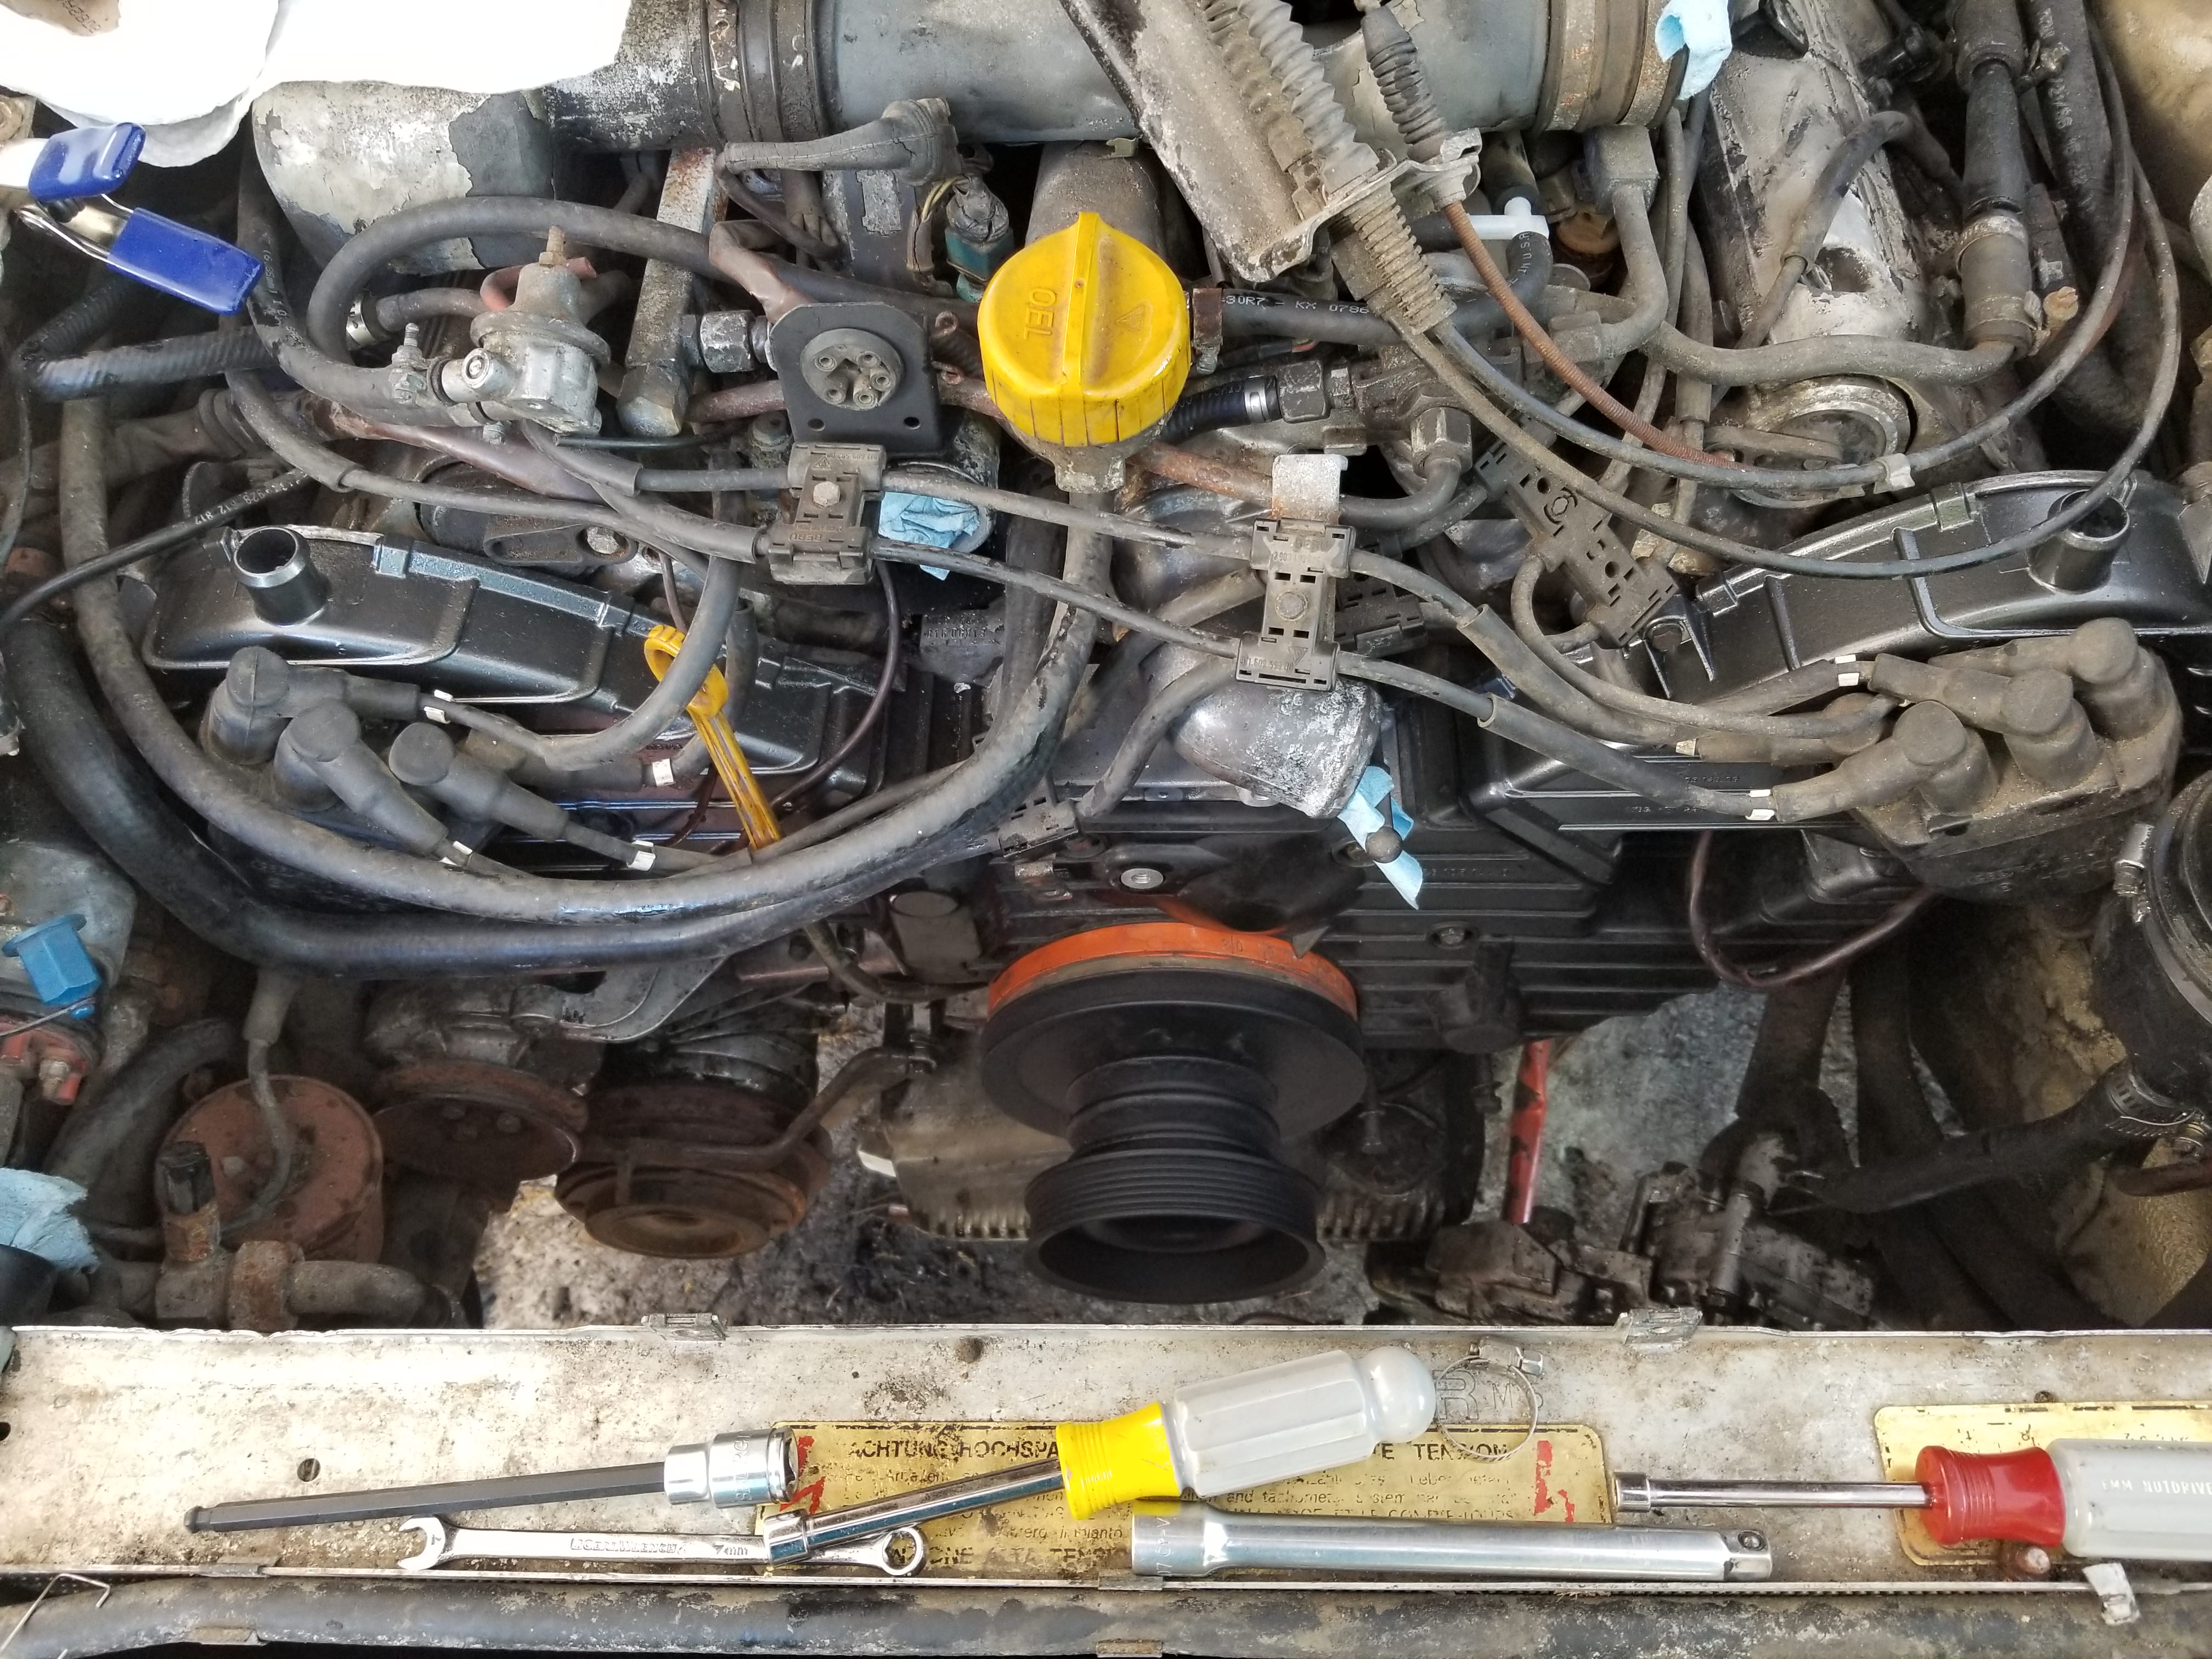
Also cleaned off the caked up crap off the driver's side valve cover while I was under there. I need to invest in CRC stock at this point.
Name:  x2UApf7.jpg
Views: 15
Size:  1.06 MB


So according to fedex I should have the waterpump bolts and oil filter tomorrow, so maybe this weekend I can see if this thing will start.
Old 05-06-2018, 10:03 AM
  #35  
captainOCD
Burning Brakes
Thread Starter
 
captainOCD's Avatar
 
Join Date: Mar 2018
Location: South Cackalacky - 86.5 928 5 speed, 86.5 auto project
Posts: 758
Received 60 Likes on 54 Posts
Default

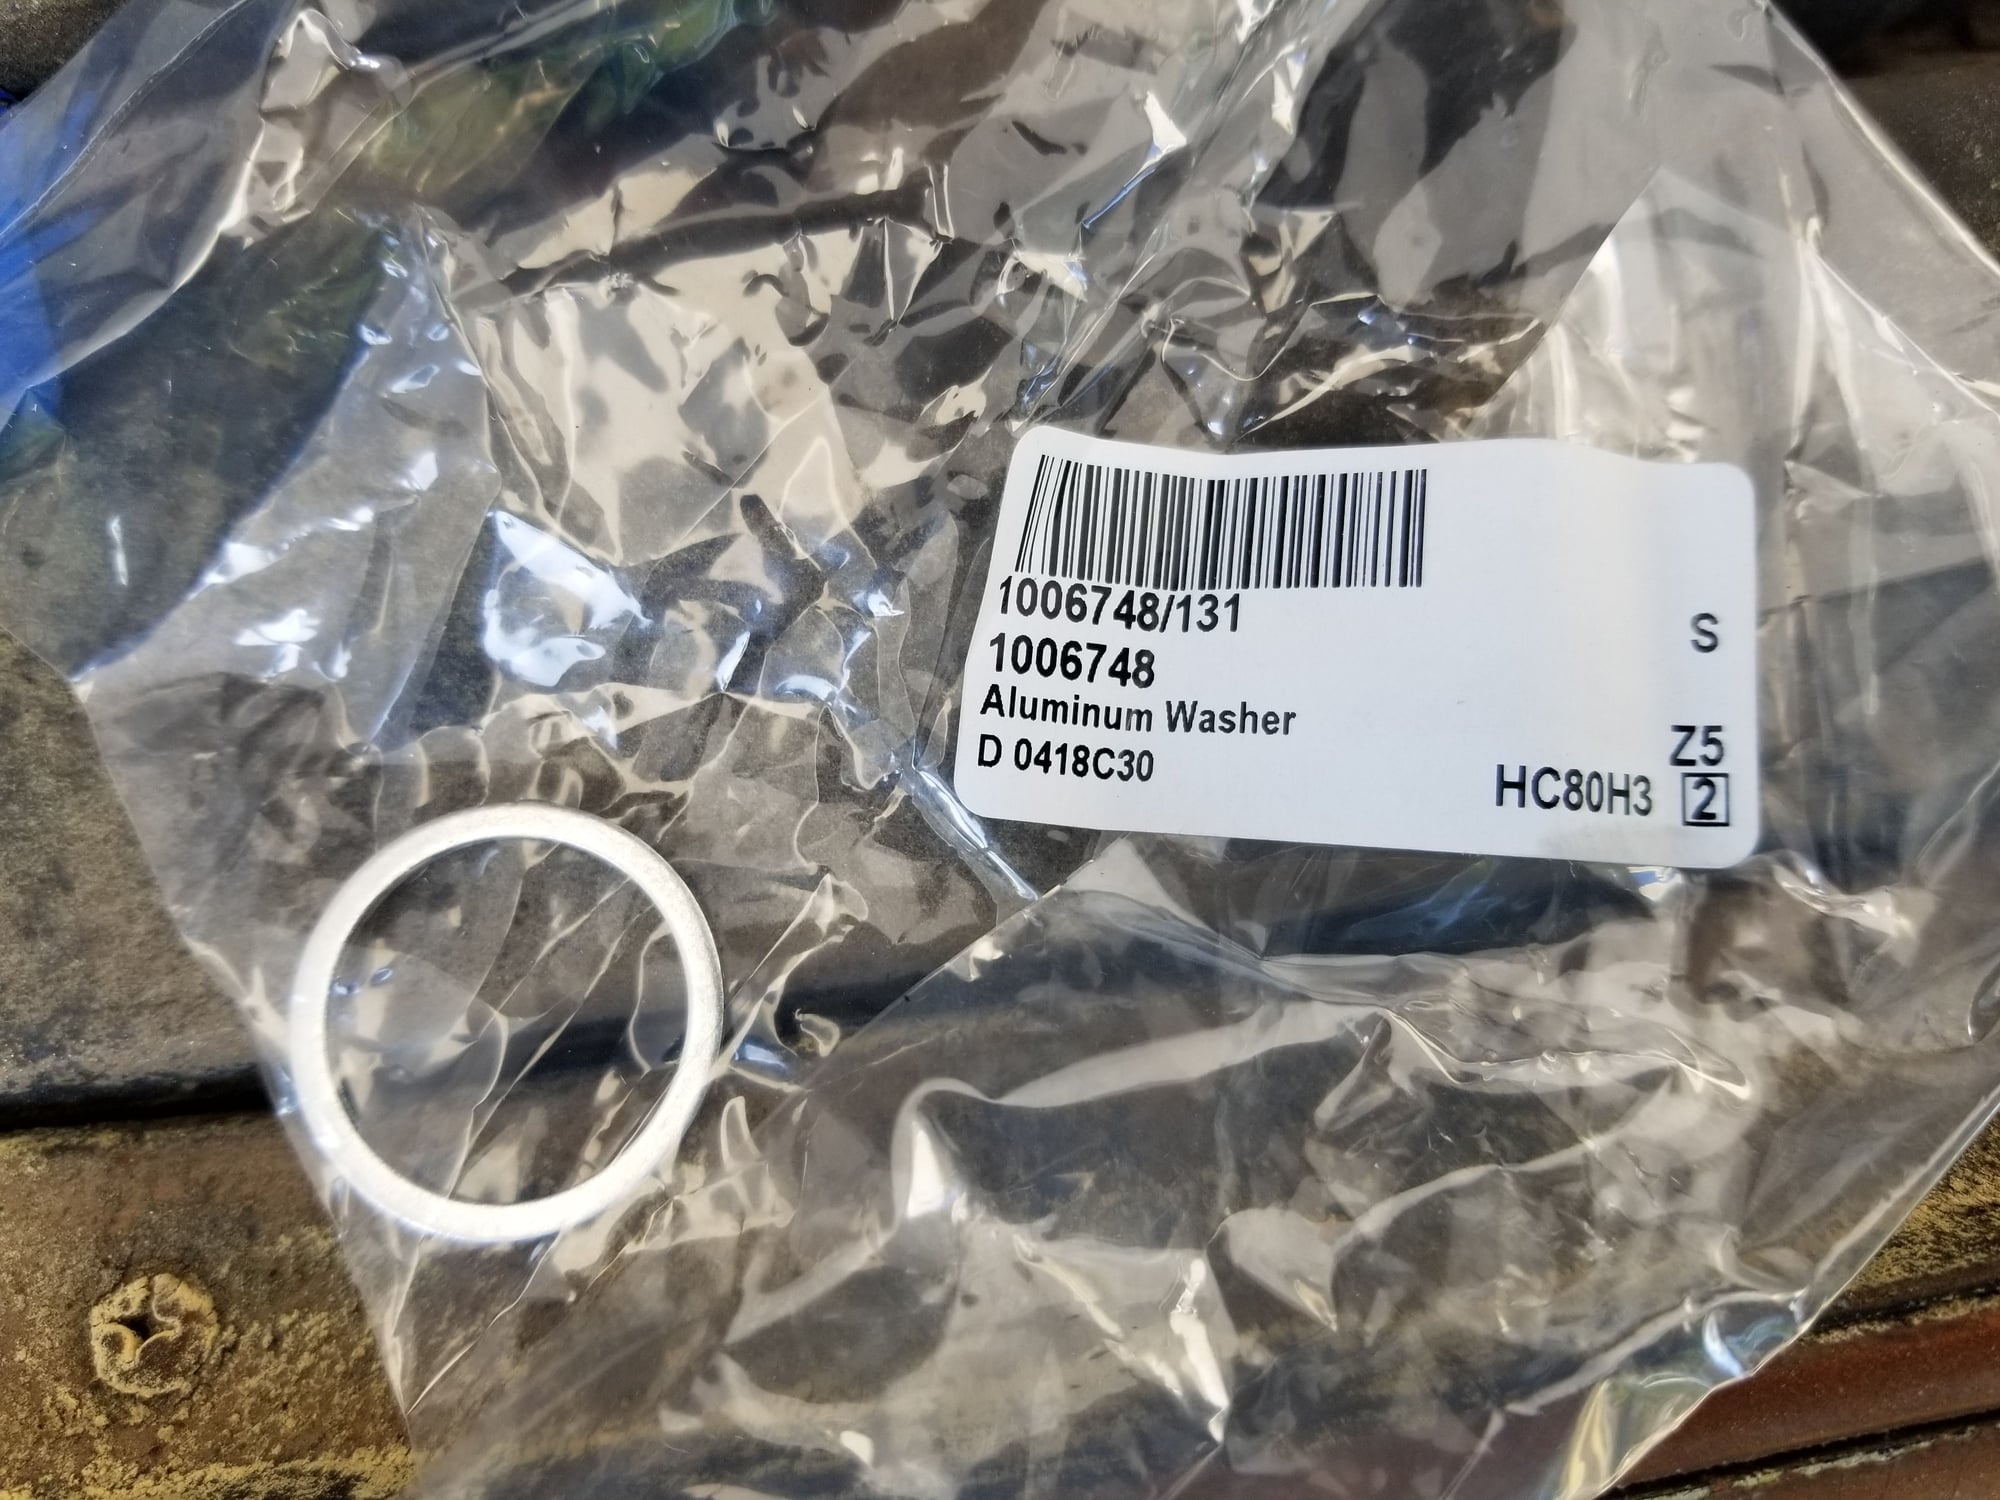
Just getting back to this today. I see in the waterpump bolt kit there was this aluminum washer. I don't remember seeing any washers like this. Any ideas what it's for?

Old 05-06-2018, 10:23 AM
  #36  
DR
Rennlist Sponsor
Rennlist
Site Sponsor

 
DR's Avatar
 
Join Date: Jun 2001
Location: Tampa, Florida
Posts: 4,306
Received 12 Likes on 8 Posts
Default

Hi Matt,

We always include a Oil Pan Drain Plug Seal with every Oil Filter Purchase.

Dave
__________________
David Roberts
2010 Jaguar XKR Coupe - 510HP Stock - Liquid Silver Metallic
928 Owners Club Co-Founder
Rennlist 928 Forum Main Sponsor
www.928gt.com

928 Specialists on Facebook - 928Specialists
Sharks in the Mountains on Facebook - 928SITM

Old 05-06-2018, 10:31 AM
  #37  
captainOCD
Burning Brakes
Thread Starter
 
captainOCD's Avatar
 
Join Date: Mar 2018
Location: South Cackalacky - 86.5 928 5 speed, 86.5 auto project
Posts: 758
Received 60 Likes on 54 Posts
Default

That makes sense. I just got confused since it was bagged up with the waterpump bolts. Thanks.
Old 05-06-2018, 02:39 PM
  #38  
captainOCD
Burning Brakes
Thread Starter
 
captainOCD's Avatar
 
Join Date: Mar 2018
Location: South Cackalacky - 86.5 928 5 speed, 86.5 auto project
Posts: 758
Received 60 Likes on 54 Posts
Default

So far oil is changed (mobil1 15w50), pump is primed, and belt tension is set.


Hopefully I can get most of the accessories back on tonight.
Old 05-06-2018, 03:06 PM
  #39  
FredR
Rennlist Member
 
FredR's Avatar
 
Join Date: Jun 2005
Location: Oman
Posts: 9,700
Received 664 Likes on 541 Posts
Default

Did you set the belt tension with No1 on TDC firing stroke? It is better to set the tension with the central cover in place to help identify the tooth to insert the tensioning tool on. You may well have it correct but no idea how you identified the correct tooth to insert the tool on.
Old 05-06-2018, 03:29 PM
  #40  
captainOCD
Burning Brakes
Thread Starter
 
captainOCD's Avatar
 
Join Date: Mar 2018
Location: South Cackalacky - 86.5 928 5 speed, 86.5 auto project
Posts: 758
Received 60 Likes on 54 Posts
Default

It was at tdc. Made adjustments, turned it over 720 degrees and checked again. I counted the teeth from the pulley in the tool instructions and other pictures on here. I checked adjacent teeth also and got the same measurement. I'll check it again with the cover back on. The cover was soaking in gunk to get some caked up crud off of it when I was checking it.
Old 05-06-2018, 03:40 PM
  #41  
FredR
Rennlist Member
 
FredR's Avatar
 
Join Date: Jun 2005
Location: Oman
Posts: 9,700
Received 664 Likes on 541 Posts
Default

Let's hope you get a good result!
Old 05-06-2018, 09:54 PM
  #42  
captainOCD
Burning Brakes
Thread Starter
 
captainOCD's Avatar
 
Join Date: Mar 2018
Location: South Cackalacky - 86.5 928 5 speed, 86.5 auto project
Posts: 758
Received 60 Likes on 54 Posts
Default

So I got the timing covers on and tensioner filled with oil (that took a long time).
Name:  C12cENT.jpg
Views: 10
Size:  1.59 MB


Found some more wiring to repair too.
Name:  kQ92aIn.jpg
Views: 10
Size:  721.4 KB


As an aside, the airpump does spin, but feels notchy. I'm thinking about not running it anymore. Any issues with doing that?
Old 05-07-2018, 06:50 AM
  #43  
FredR
Rennlist Member
 
FredR's Avatar
 
Join Date: Jun 2005
Location: Oman
Posts: 9,700
Received 664 Likes on 541 Posts
Default

Your engine wiring harness is shot or so it seems - quite typical sad to say.
Old 05-26-2018, 11:36 PM
  #44  
captainOCD
Burning Brakes
Thread Starter
 
captainOCD's Avatar
 
Join Date: Mar 2018
Location: South Cackalacky - 86.5 928 5 speed, 86.5 auto project
Posts: 758
Received 60 Likes on 54 Posts
Default

Finally made some progress on this. Got all the front accessories back on, just needs the fan shroud and upper rad hose put on (need to get clamps).

Name:  B4NuFeK.jpg
Views: 10
Size:  1.15 MB

The alternator was caked up with about an 1/8th of grime on the side next to the engine. Scraped of what I could and then gunked it.
Name:  gs2OvrJ.jpg
Views: 11
Size:  1.64 MB

Name:  zoRWpBj.jpg
Views: 11
Size:  1.55 MB

Name:  u41Lnak.jpg
Views: 10
Size:  1.45 MB


Now it's getting to be a race to see whether this car or the blue one will run first.
Old 05-27-2018, 02:20 AM
  #45  
soontobered84
Rennlist Member
 
soontobered84's Avatar
 
Join Date: Mar 2002
Location: Texas
Posts: 5,942
Received 264 Likes on 185 Posts
Default

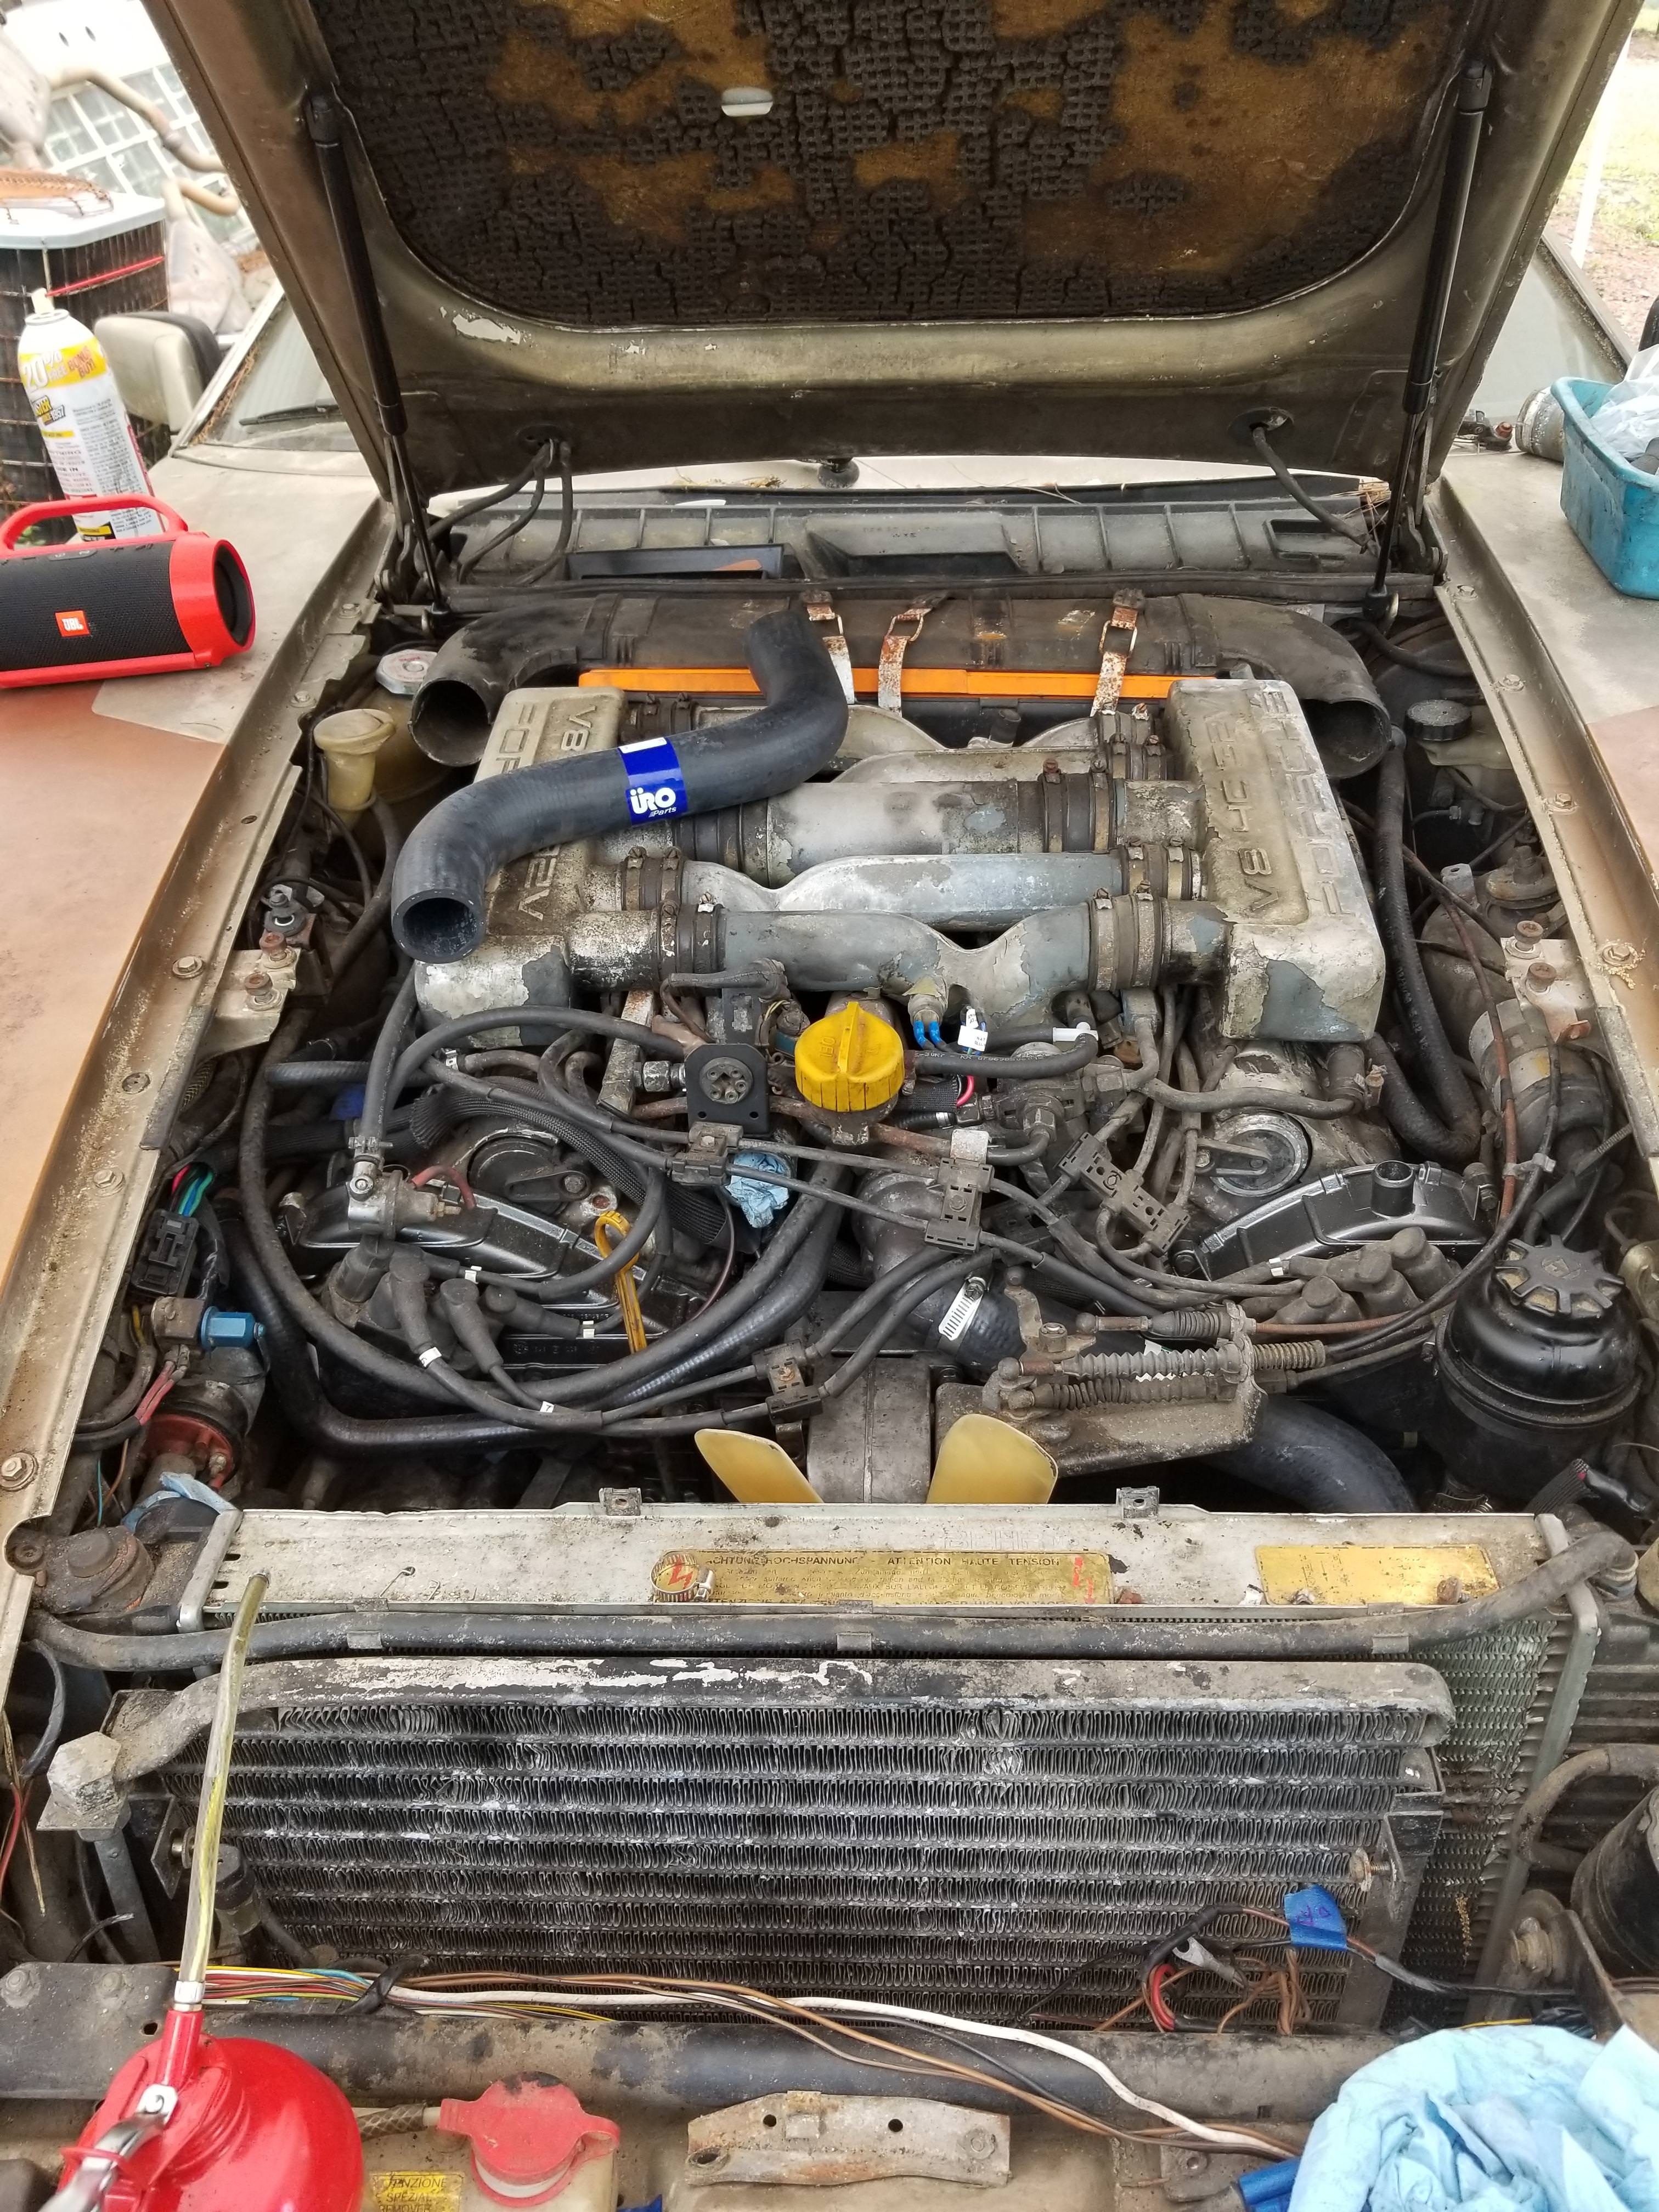
Post #34 3rd picture shows your air filter to be upside down. If it's new, just flip it over, if it's not new, just remember for next time that the "hump" of the filter itself goes up and away from the MAF.

Some air filters are marked on the orange edges with air direction arrows which are not in the correct direction.

Thread Tools
Search this Thread
Quick Reply: In process of changing timing belt, have questions


All times are GMT -3. The time now is 10:49 PM.