When you click on links to various merchants on this site and make a purchase, this can result in this site earning a commission. Affiliate programs and affiliations include, but are not limited to, the eBay Partner Network.
You guys are all missing the boat. I would use low temp aluminum solder,. Google Muggy Weld and check out his products. He has a very low temp (about 350 degrees F) that can be applied with a mapp gas torch.
i've tried that stuff multiple times on multiple different aluminum "things". They make it look so easy....but I've never been able to get it to work. Makes me feel more retarded than I really am.
I found Muggy Weld alloy 5 a little tricky to work with also, but finally got it figured out. However, my first sentence in my original post in this thread is more generic, and refers to aluminum solder more generally. Some time ago I saw a demonstration at Osh Kosh of low temp aluminum solder and bought some of it. The guy showing it could fill a nickle size hole in the bottom of a pop can with the solder, much like the guy filling the holes in the Muggy Weld video. I also found something similar at our farm and ranch store and bought some of that. It wasn't very expensive. I used one or the other of them to fill some rivet holes in the side of my airplane engine cover. They worked just fine and probably with just a propane torch, but it might have been Mapp Gas.
I found Muggy Weld alloy 5 a little tricky to work with also, but finally got it figured out. However, my first sentence in my original post in this thread is more generic, and refers to aluminum solder more generally. Some time ago I saw a demonstration at Osh Kosh of low temp aluminum solder and bought some of it. The guy showing it could fill a nickle size hole in the bottom of a pop can with the solder, much like the guy filling the holes in the Muggy Weld video. I also found something similar at our farm and ranch store and bought some of that. It wasn't very expensive. I used one or the other of them to fill some rivet holes in the side of my airplane engine cover. They worked just fine and probably with just a propane torch, but it might have been Mapp Gas.
Think this is the same product . A guy comes to the uk to sell it at auto jumbles fantastic stuff allways has a large amount of people watching his demonstration and gets an on looker to use it weld monkey metal he plugs a hole in a motor bike float chamber.
The aluminum epoxy is a good choice but remember it expands a bit with heat. Make sure you are not using it as �filler�.
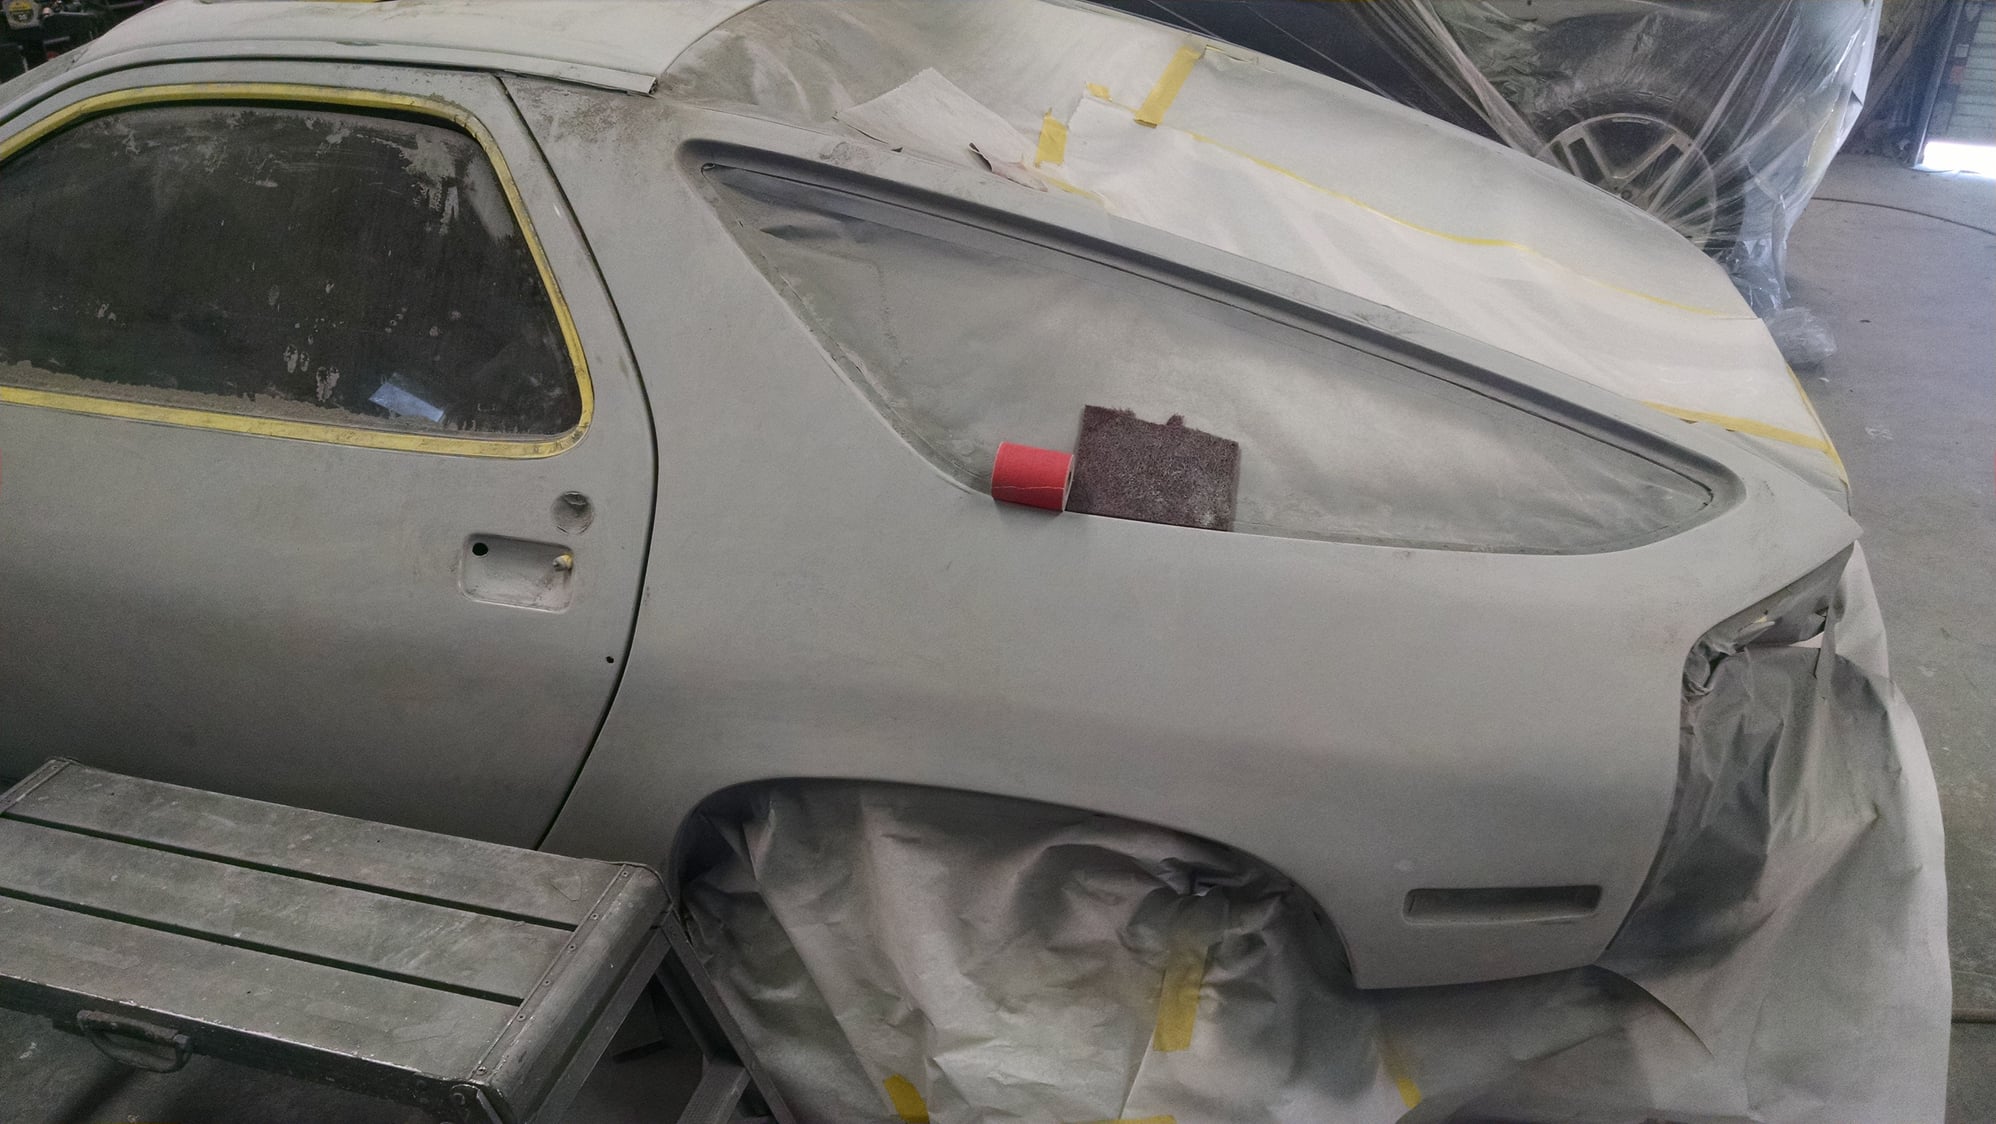
When you can�t weld the fender, or even if you do to the back you still need to pop the hole into a crater just a bit to take the fiber glass filler. I have done this twice and both time with proper wait times in the sun, you cannot see the filler in the finished paint.
nice....any prep to the back side of the panels? they were done ON the car like that.? cant wait until i get mine done and the car painted. did you ever consider filling the side marker lights?
nice....any prep to the back side of the panels? they were done ON the car like that.? cant wait until i get mine done and the car painted. did you ever consider filling the side marker lights?
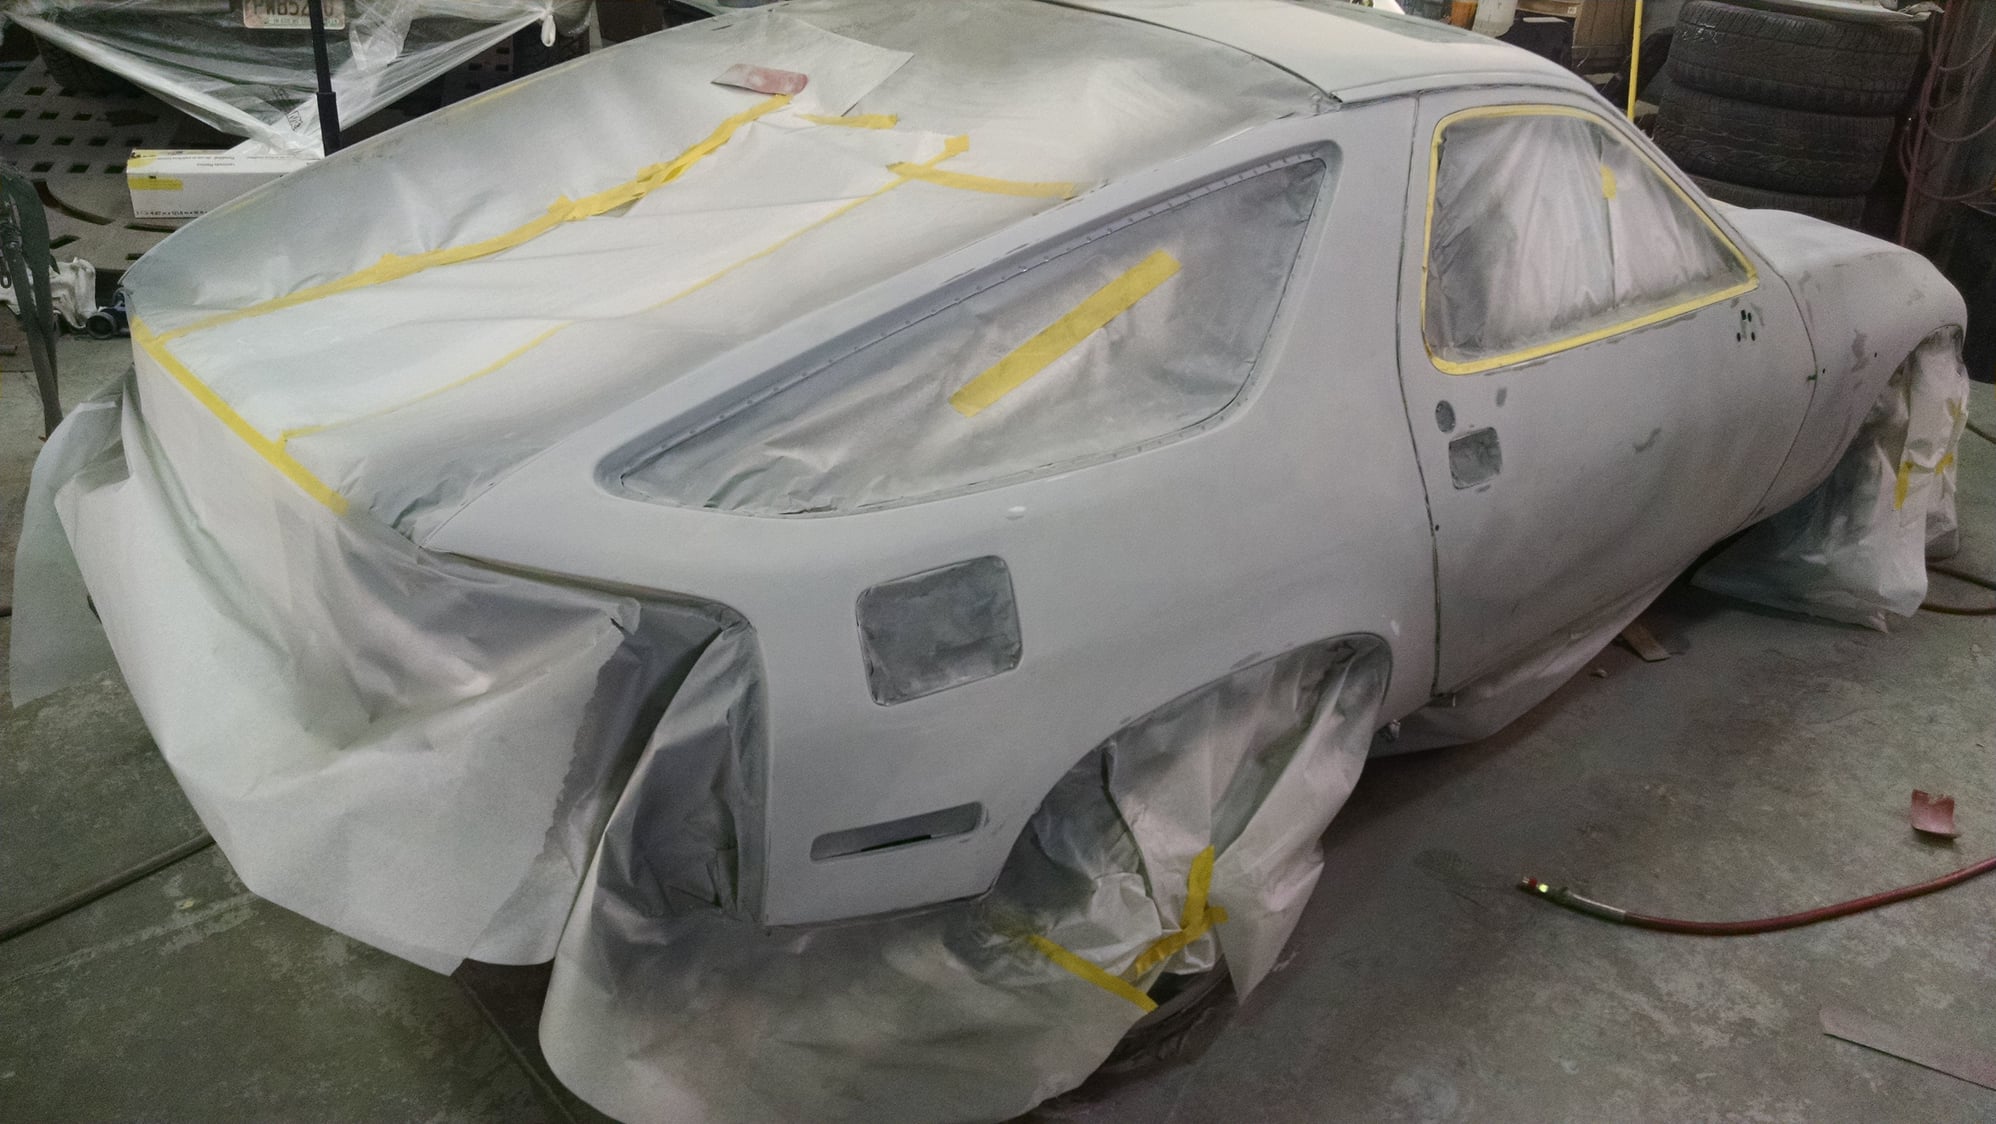
Not really sure - I was only there for the last two holes on the leading edge of the doors. There was talk of having to remove the doors because those holes are nearly impossible to reach from the inside.
I did think a short while about the side marker delete but wouldn't be right for this car. Perhaps the next. I am thinking about commissioning Hans to make a tool to create a hole for the euro style side marker light when I do that.
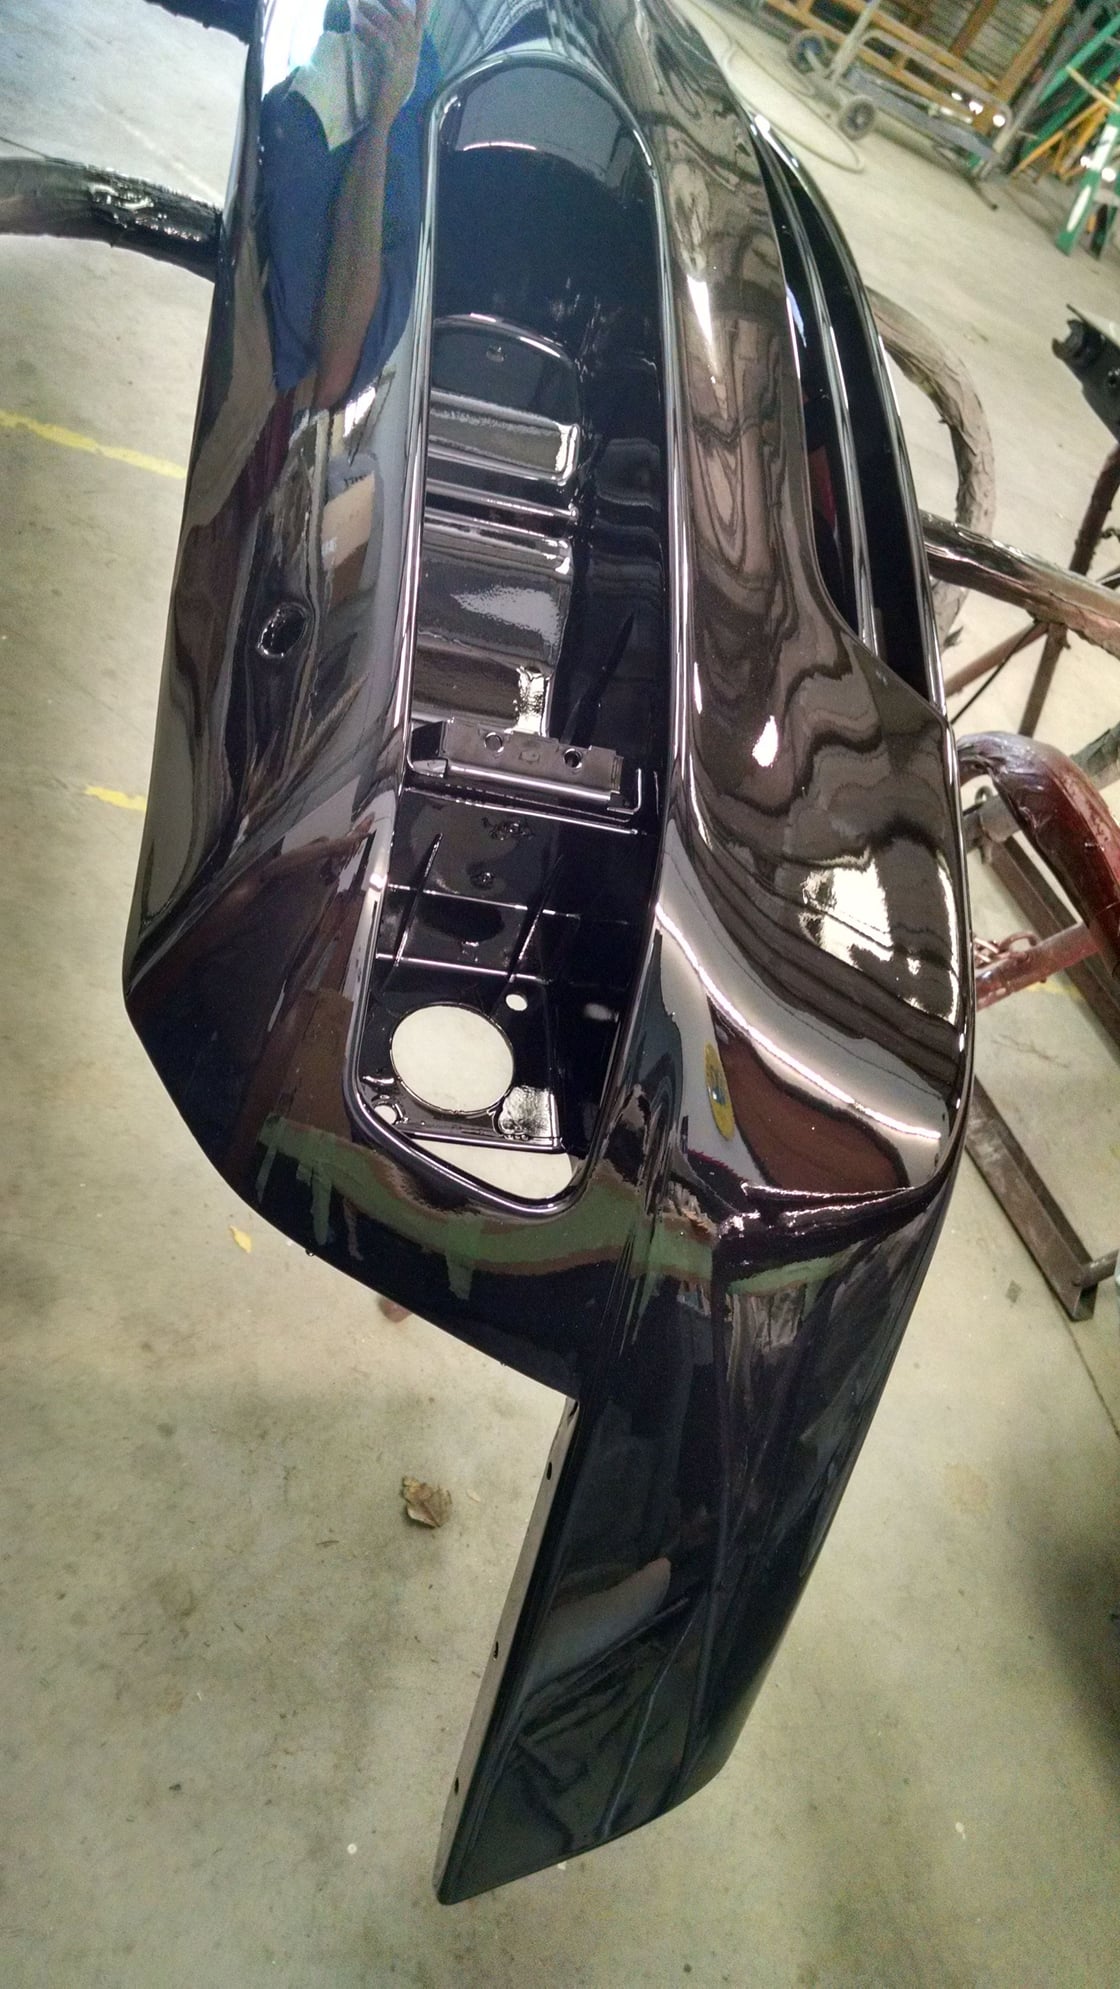
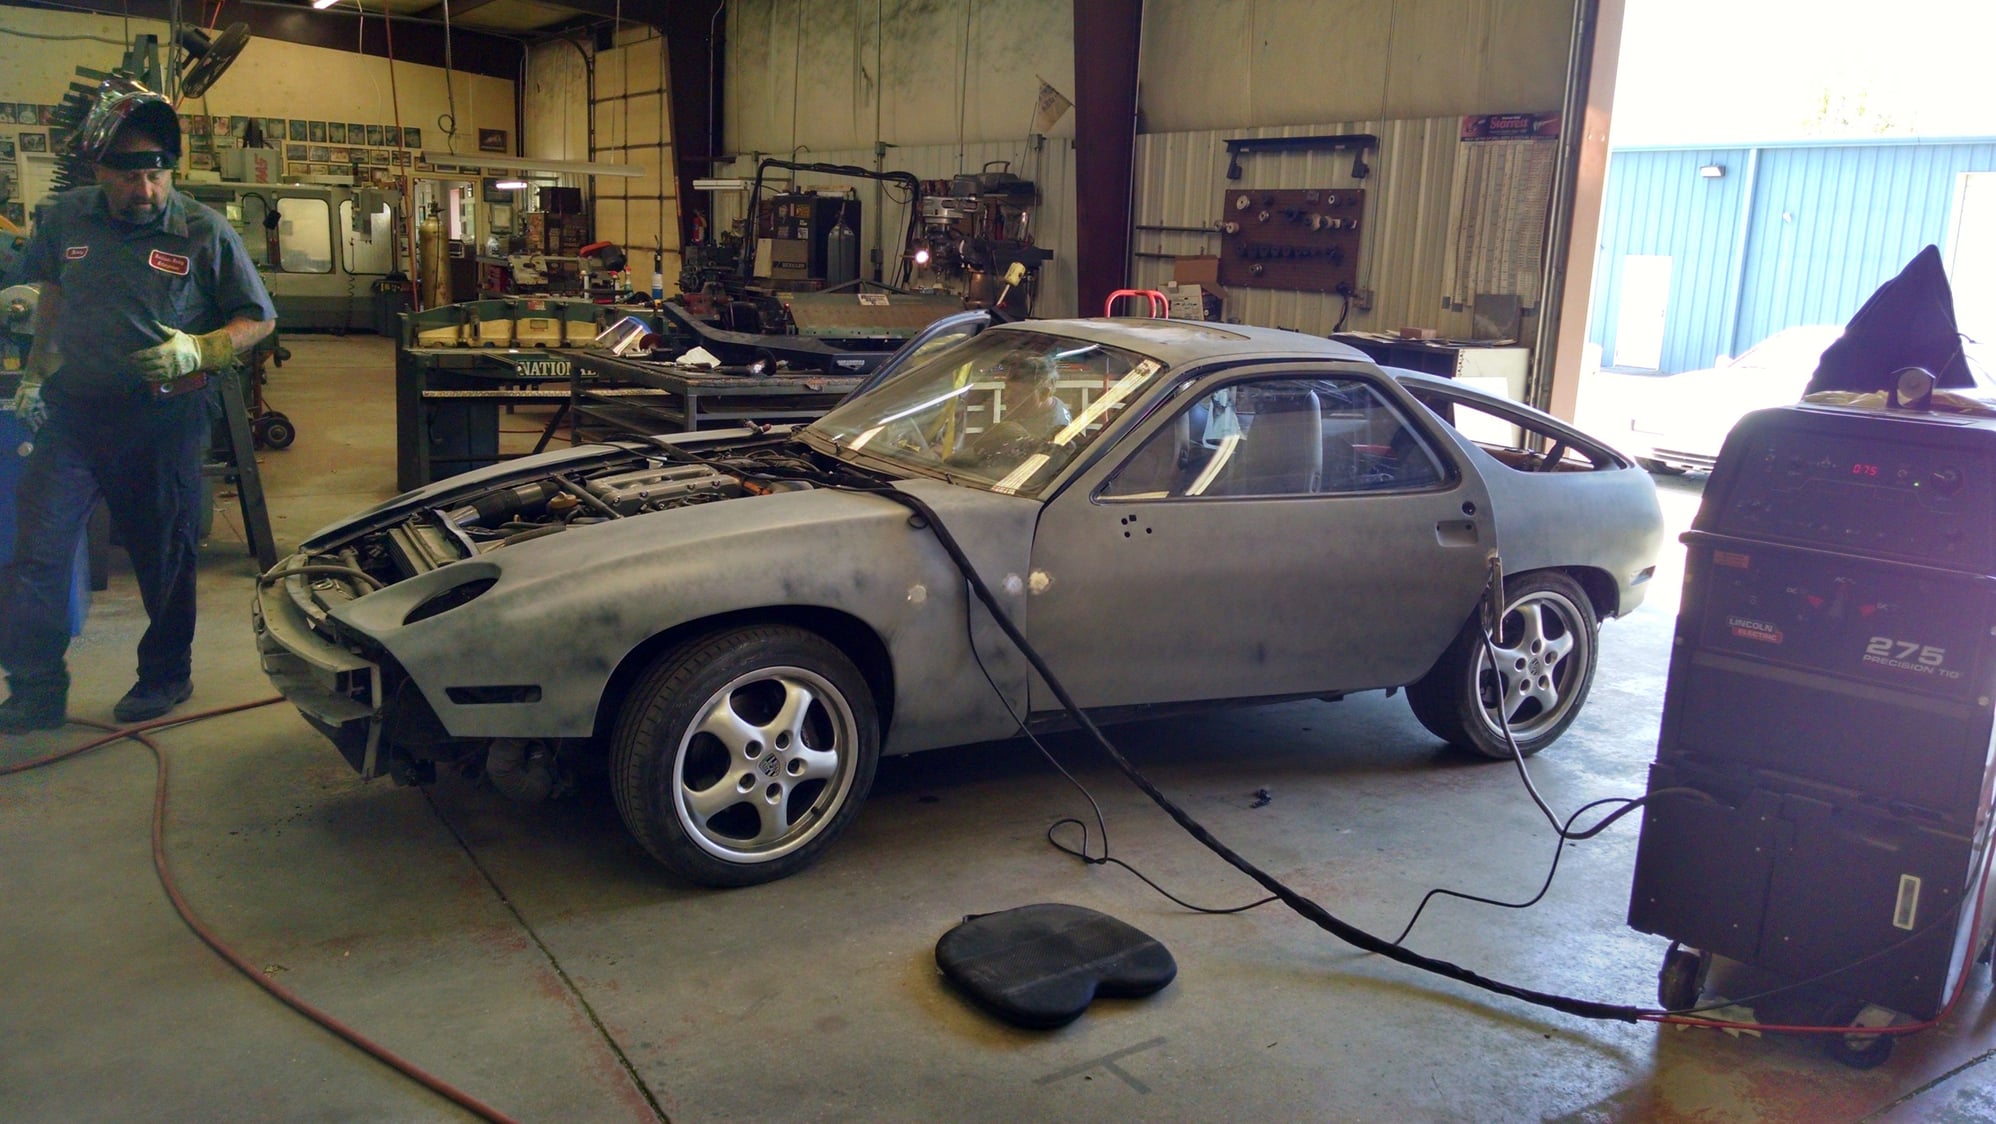
They used a piece of aluminum behind the the door to anchor the weld. Here' Ellis Edwards (eestunts.com) a professional stunt man, stunt coordinator and car fabricator doing the clean up on the last weld.
Great guy worked on lots of shows dating back to Baywatch. Had a couple stories about the late Paul Newman and his very brief NASCAR career. :-) Not everybody has a Huey helicopter parked next to their shop.
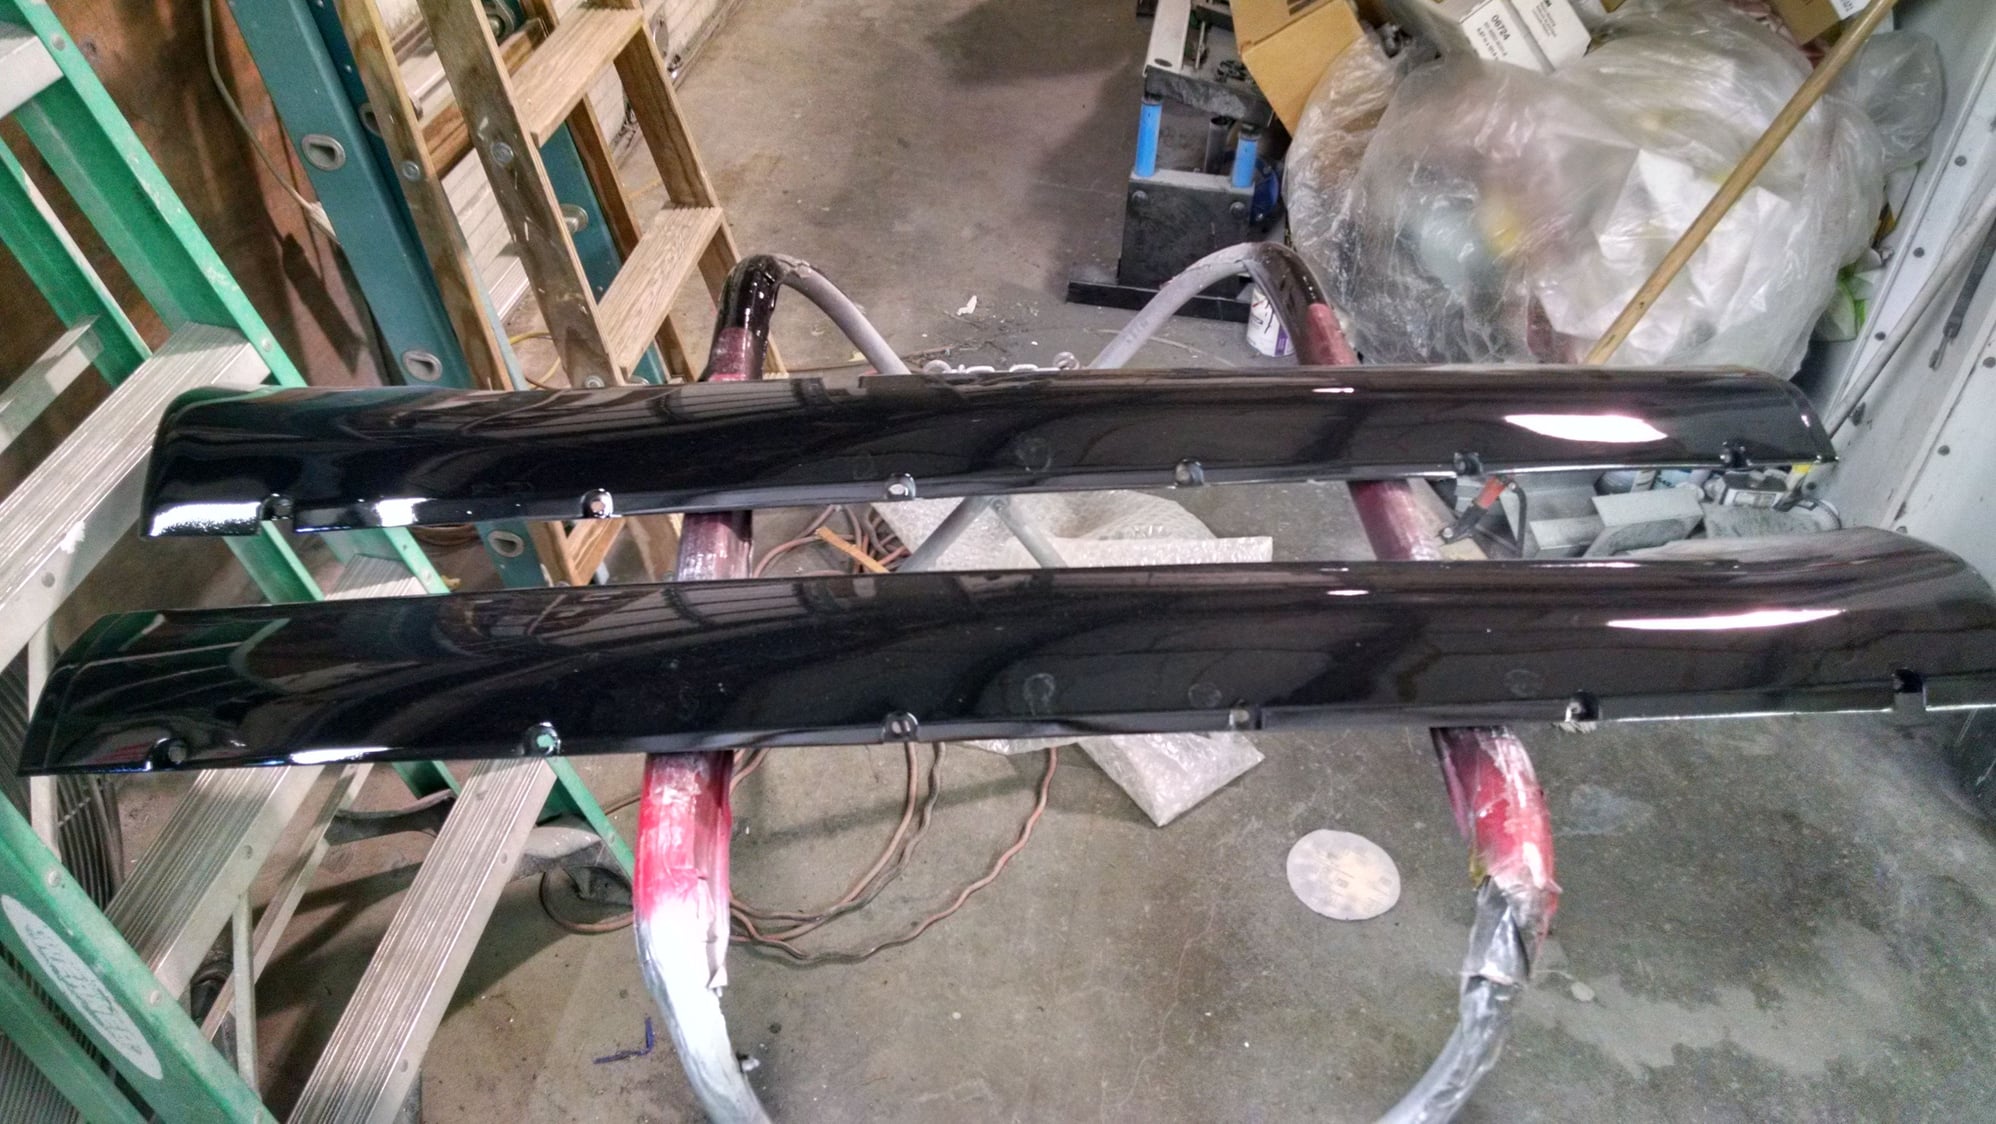
^^ That is looking great. I have to get rid of my rub strips by replacing the doors and fenders (all due to accident damage from a PO). So much bondo...... Also thinking about deleting the passenger mirror for a true OB look.
Anyways, I hope your paint job looks fantastic after all this effort

 04-14-2018, 02:13 AM