When you click on links to various merchants on this site and make a purchase, this can result in this site earning a commission. Affiliate programs and affiliations include, but are not limited to, the eBay Partner Network.
Depinning Bosch connectors, and a surprisingly effective el-cheapo tool...
Hello Gentlemen,
I just wanted to share a little info I figured out as I replaced all the Bosch connectors under the hood of the Red Witch. She is a 1986.5, but to my knowledge, this info will work for all 928's, 78-95.
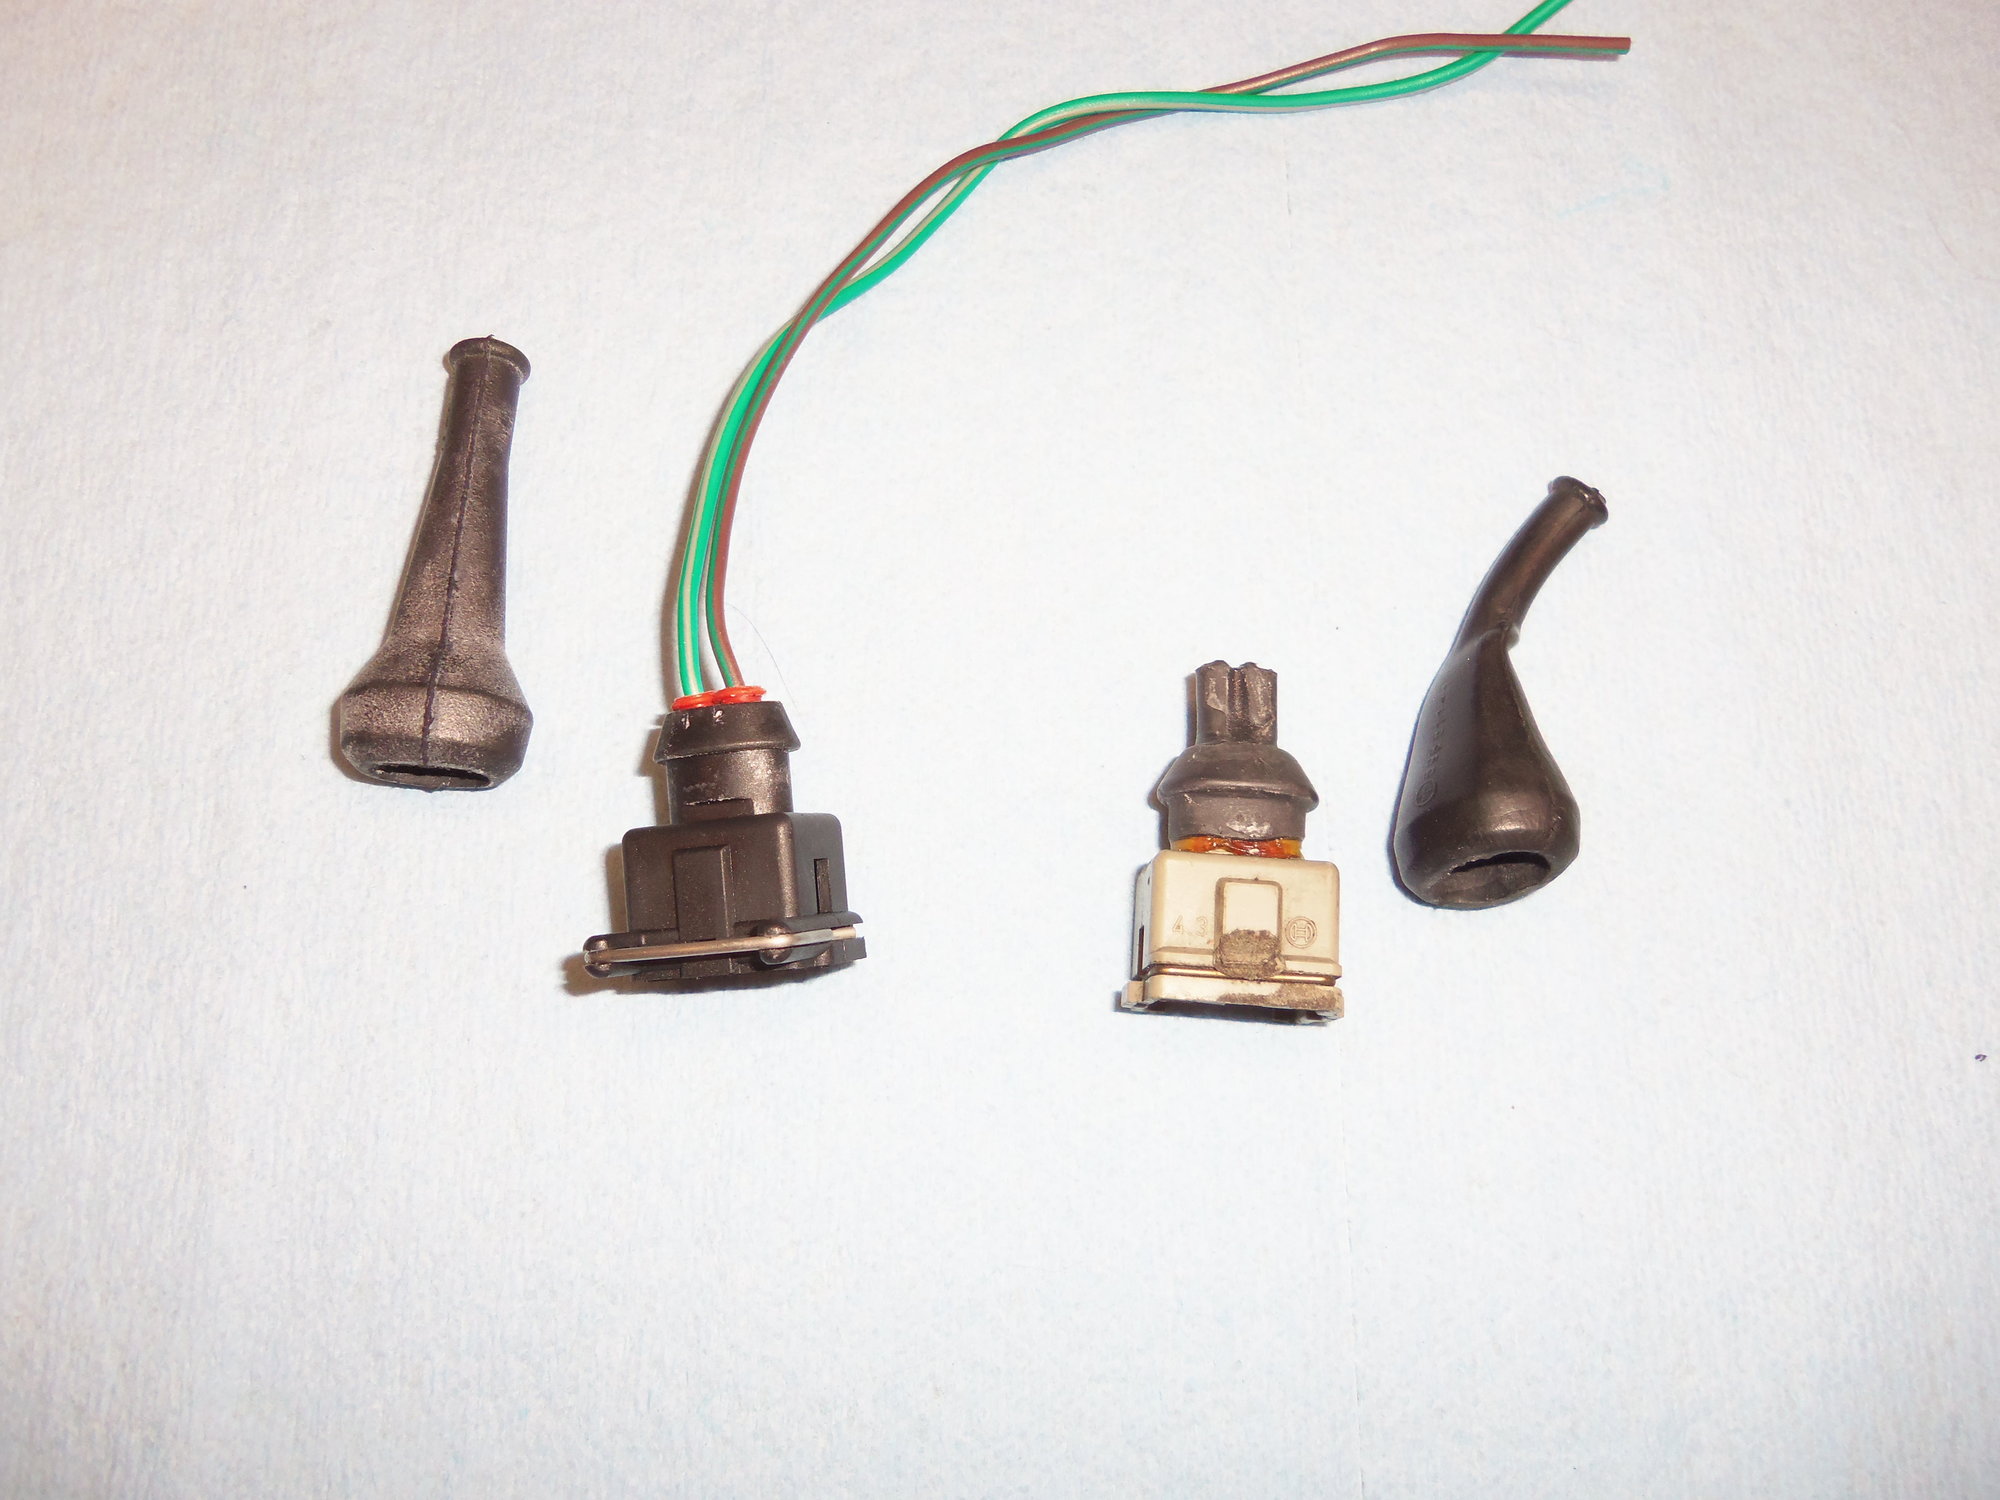
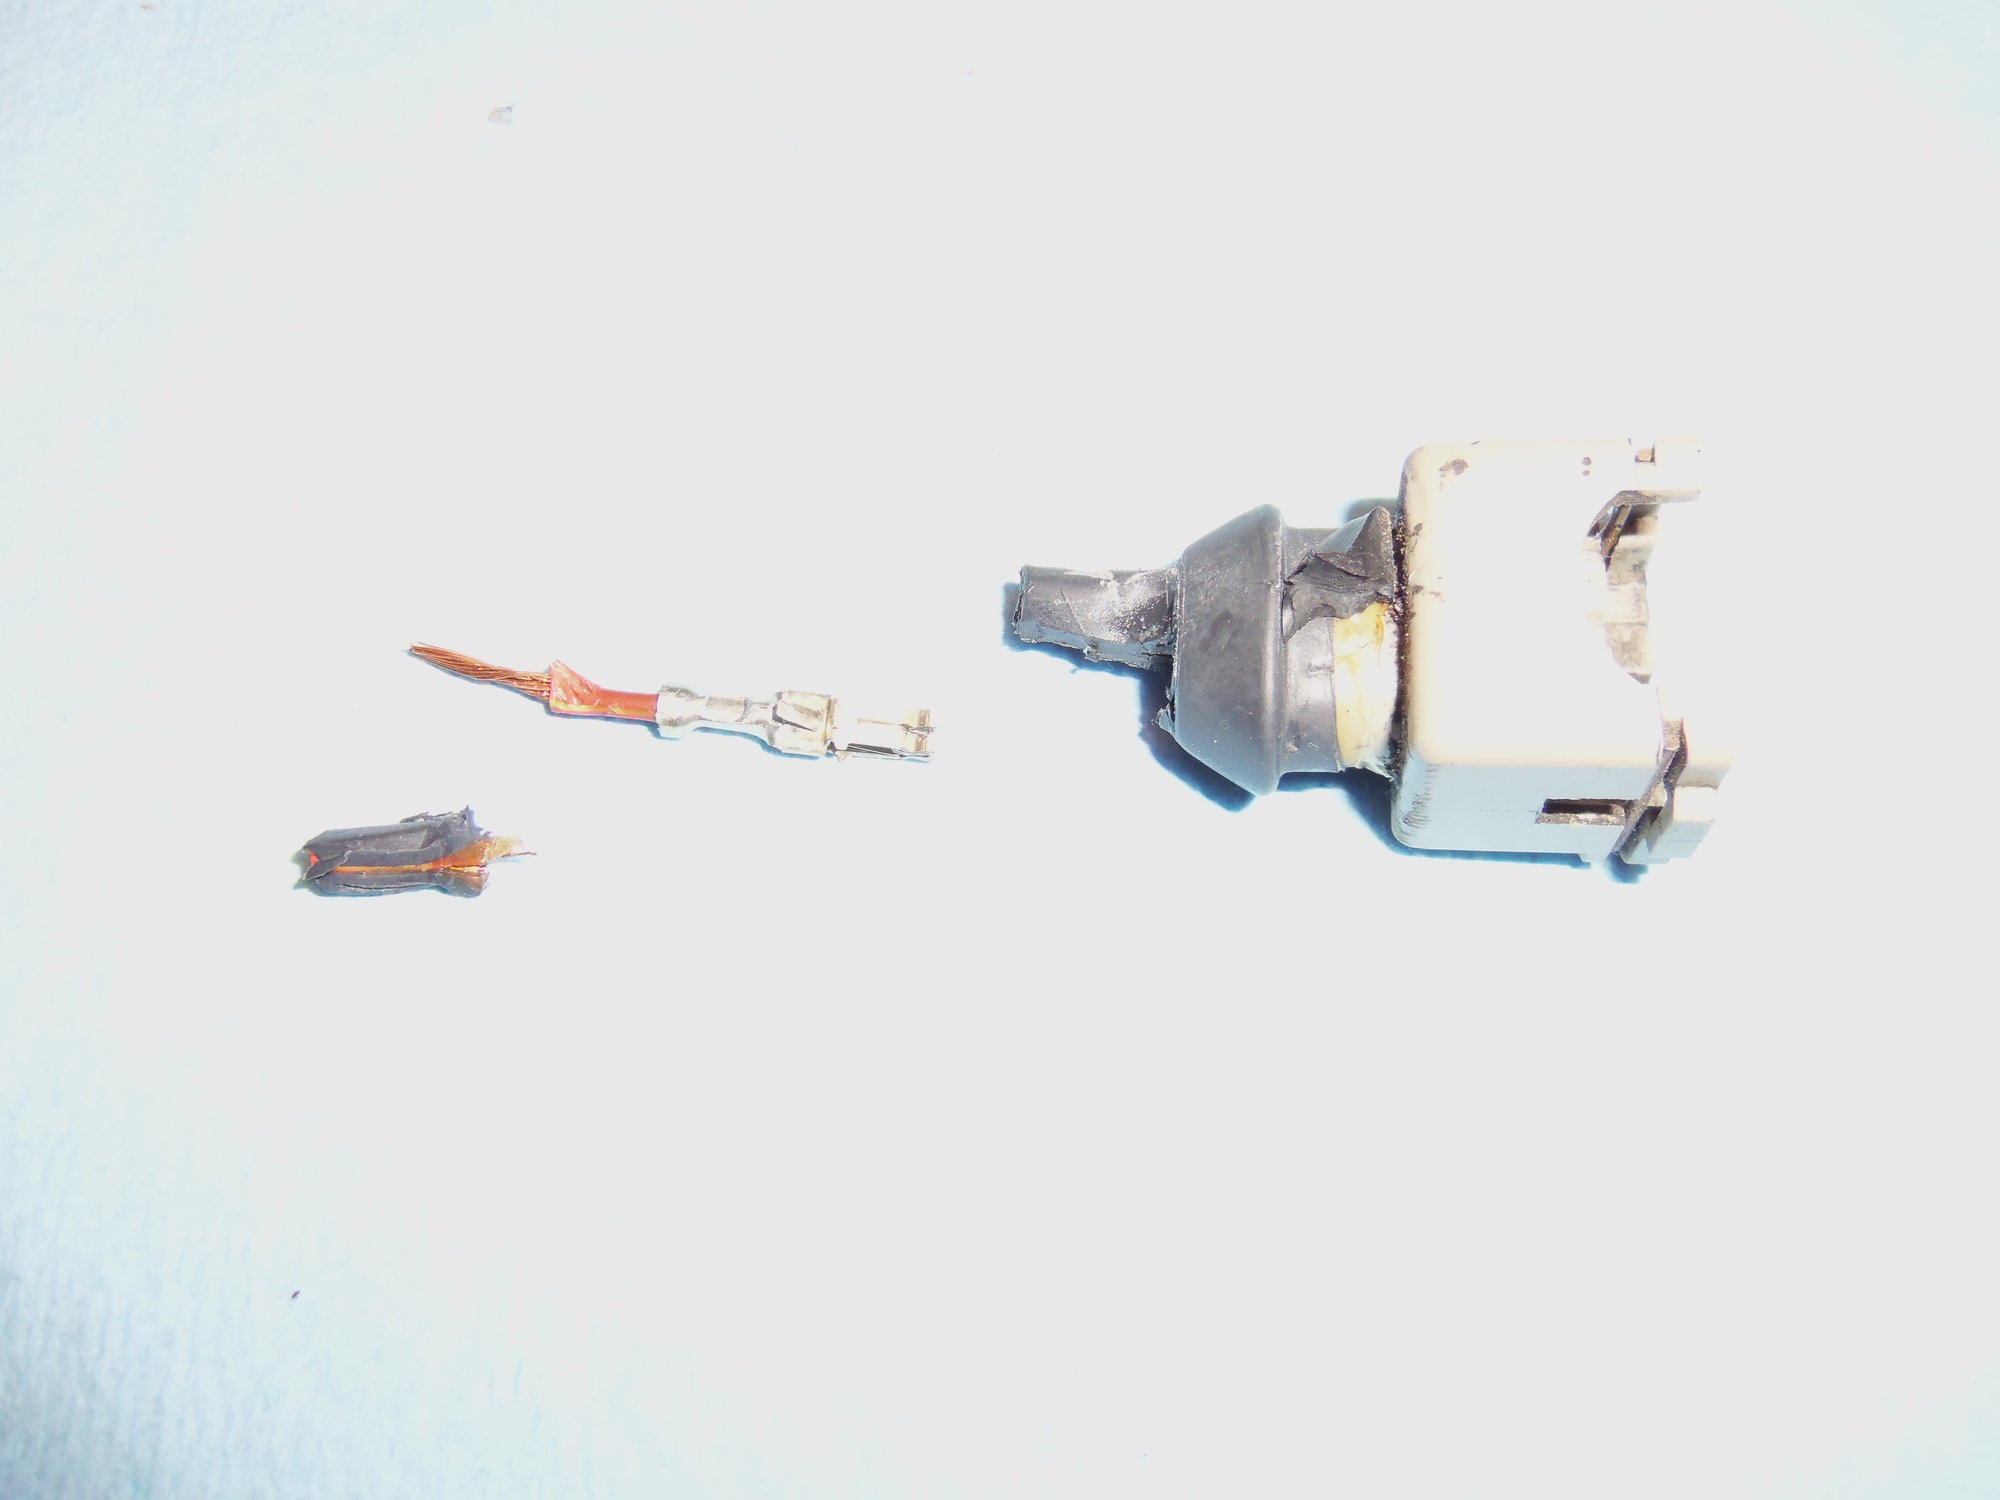
I will use a pair of fuel injector connectors to illustrate this. One was removed from my 928, the other is a new replacement with pigtail.
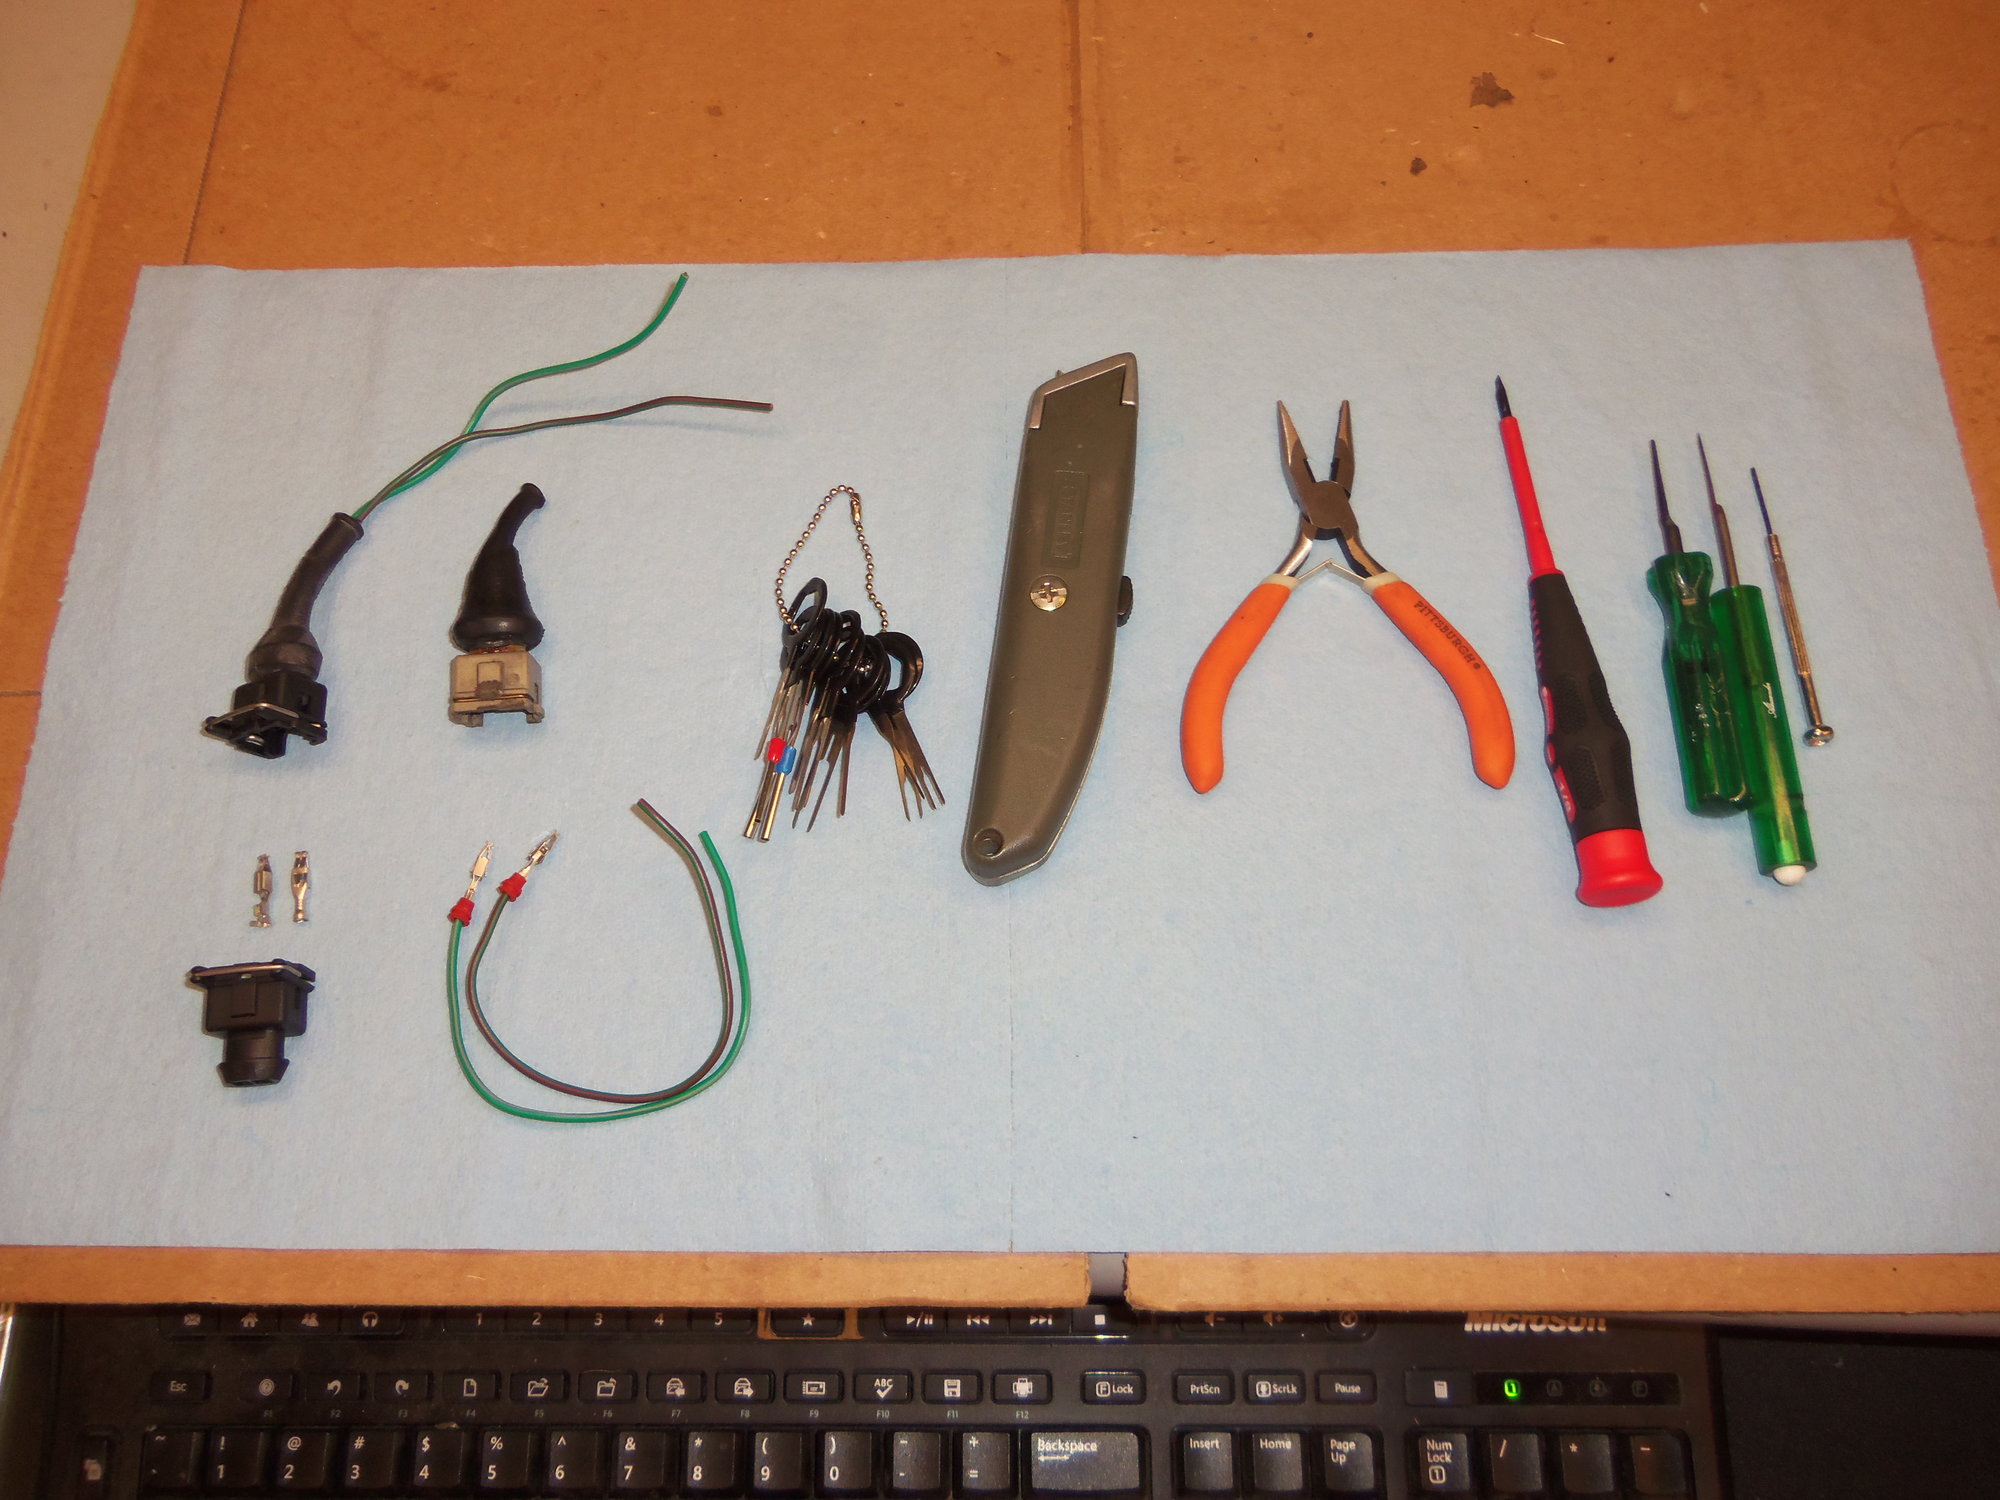
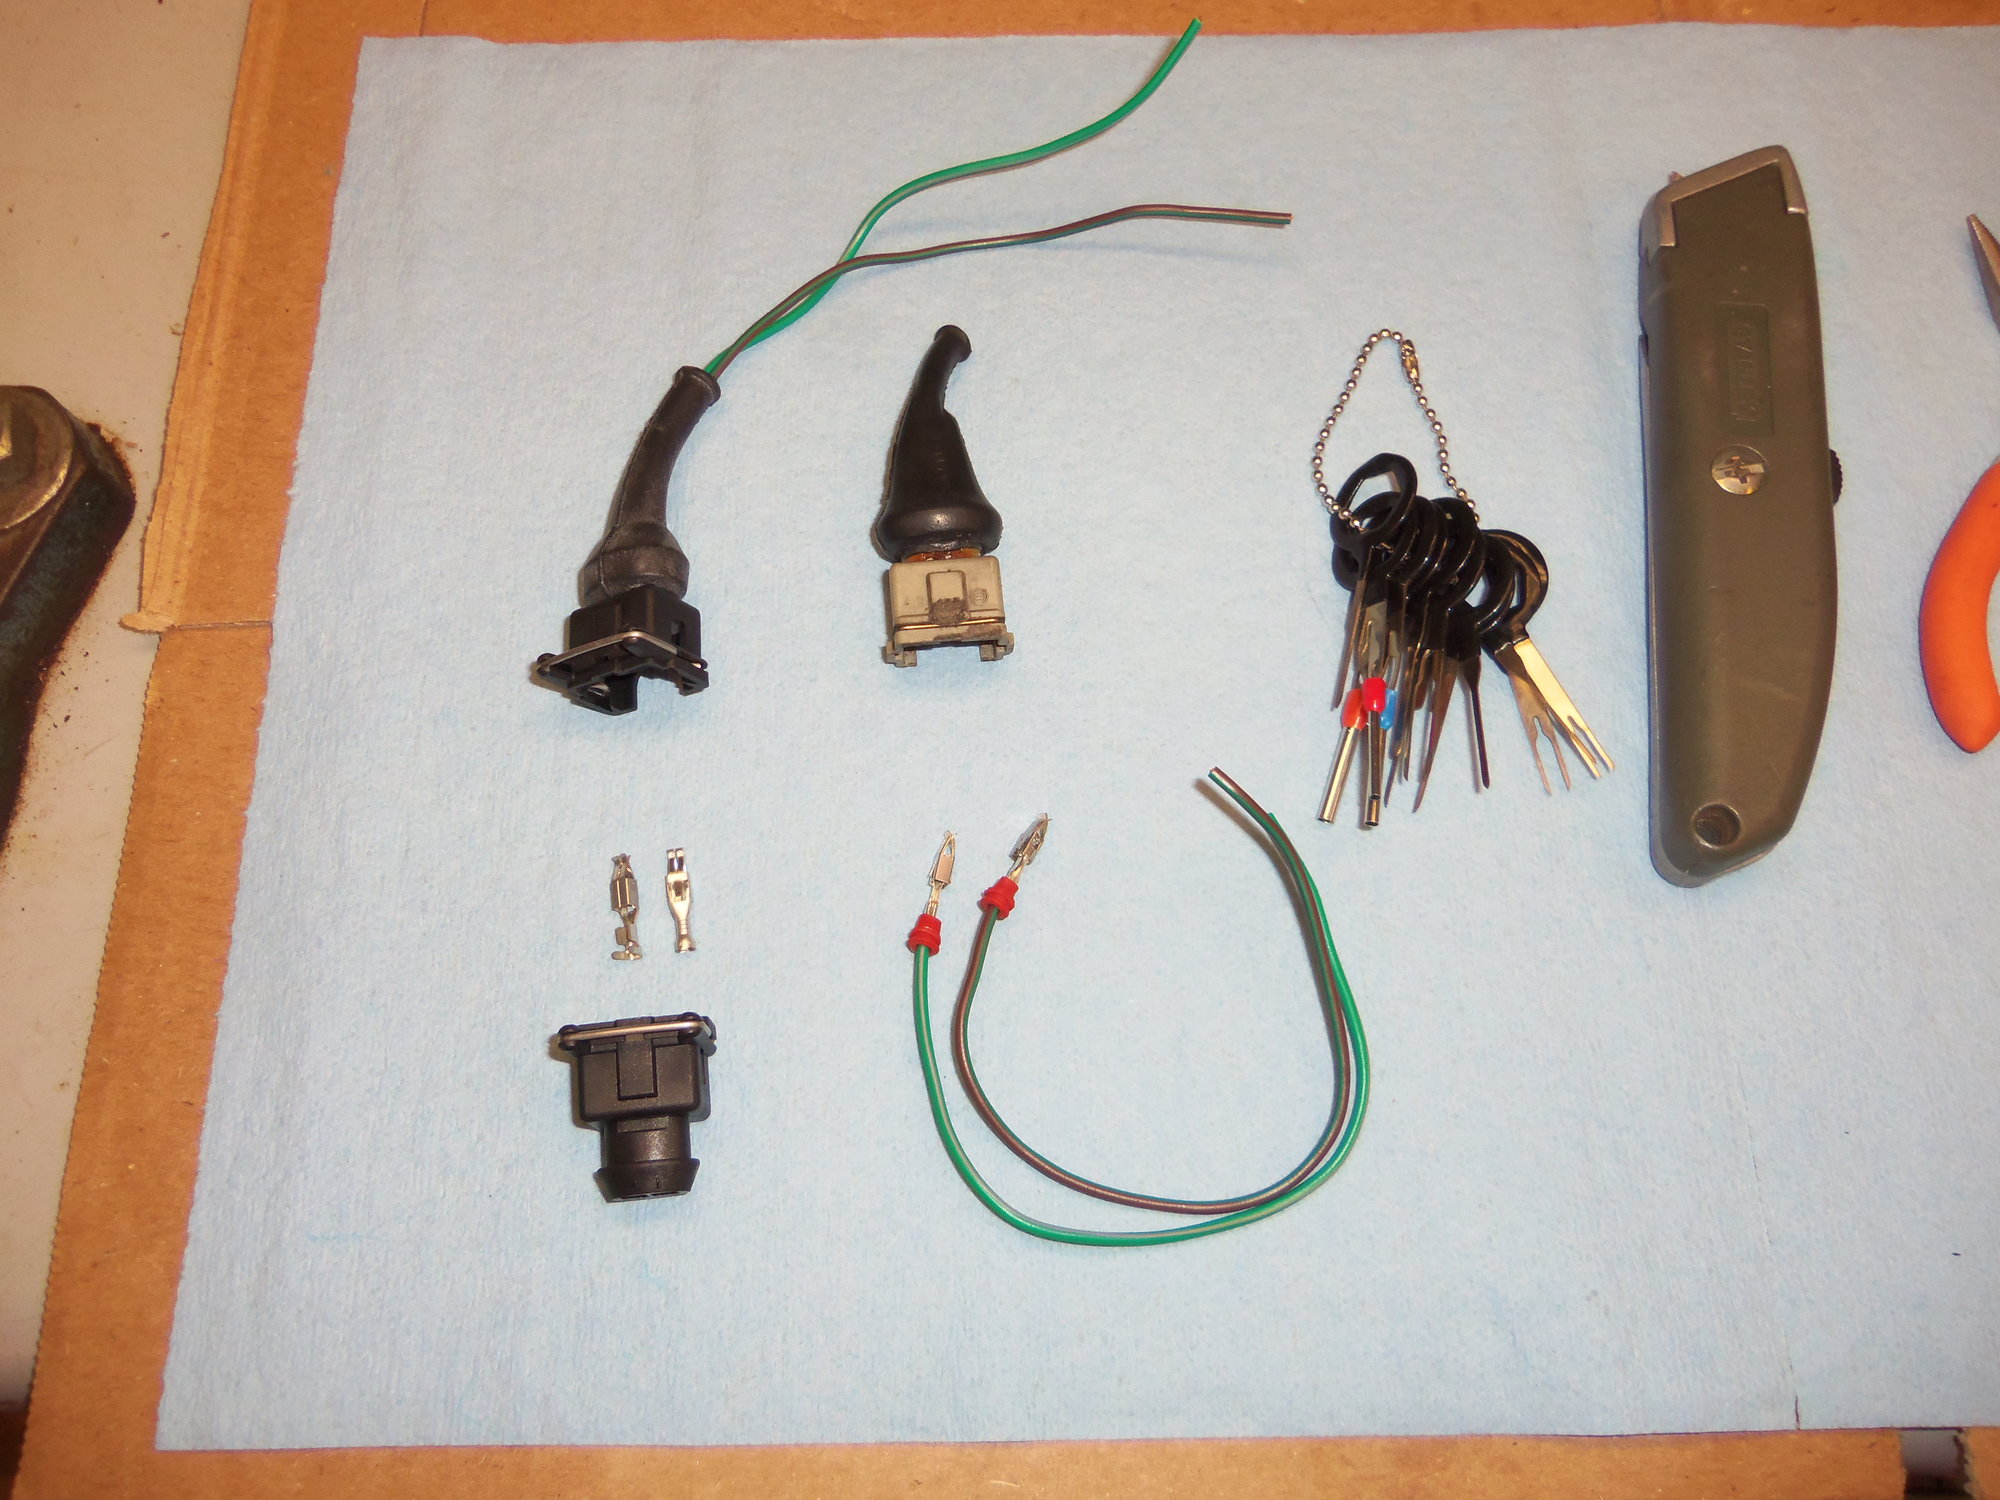
You see the connectors, extra pieces for illustration, el-cheapo terminal release set, razor knife, small pliers, small screwdrivers, and more conventional terminal release tools.
Tools and materials needed. This worked for me, you might have other/better ideas.
Background: I have a small degree in Industrial Electronics, and have been doing Industrial Repair for some time. I am competent with removing terminals from plugs, but by no means an expert. I am used to single blade type tools to release the locking pins on terminals. I used the three shown to some degree of success on the Red Witch. However, it was not smooth sailing. Especially for the new Bosch connectors with the double locks. I ruined one before I got any finesse with it.
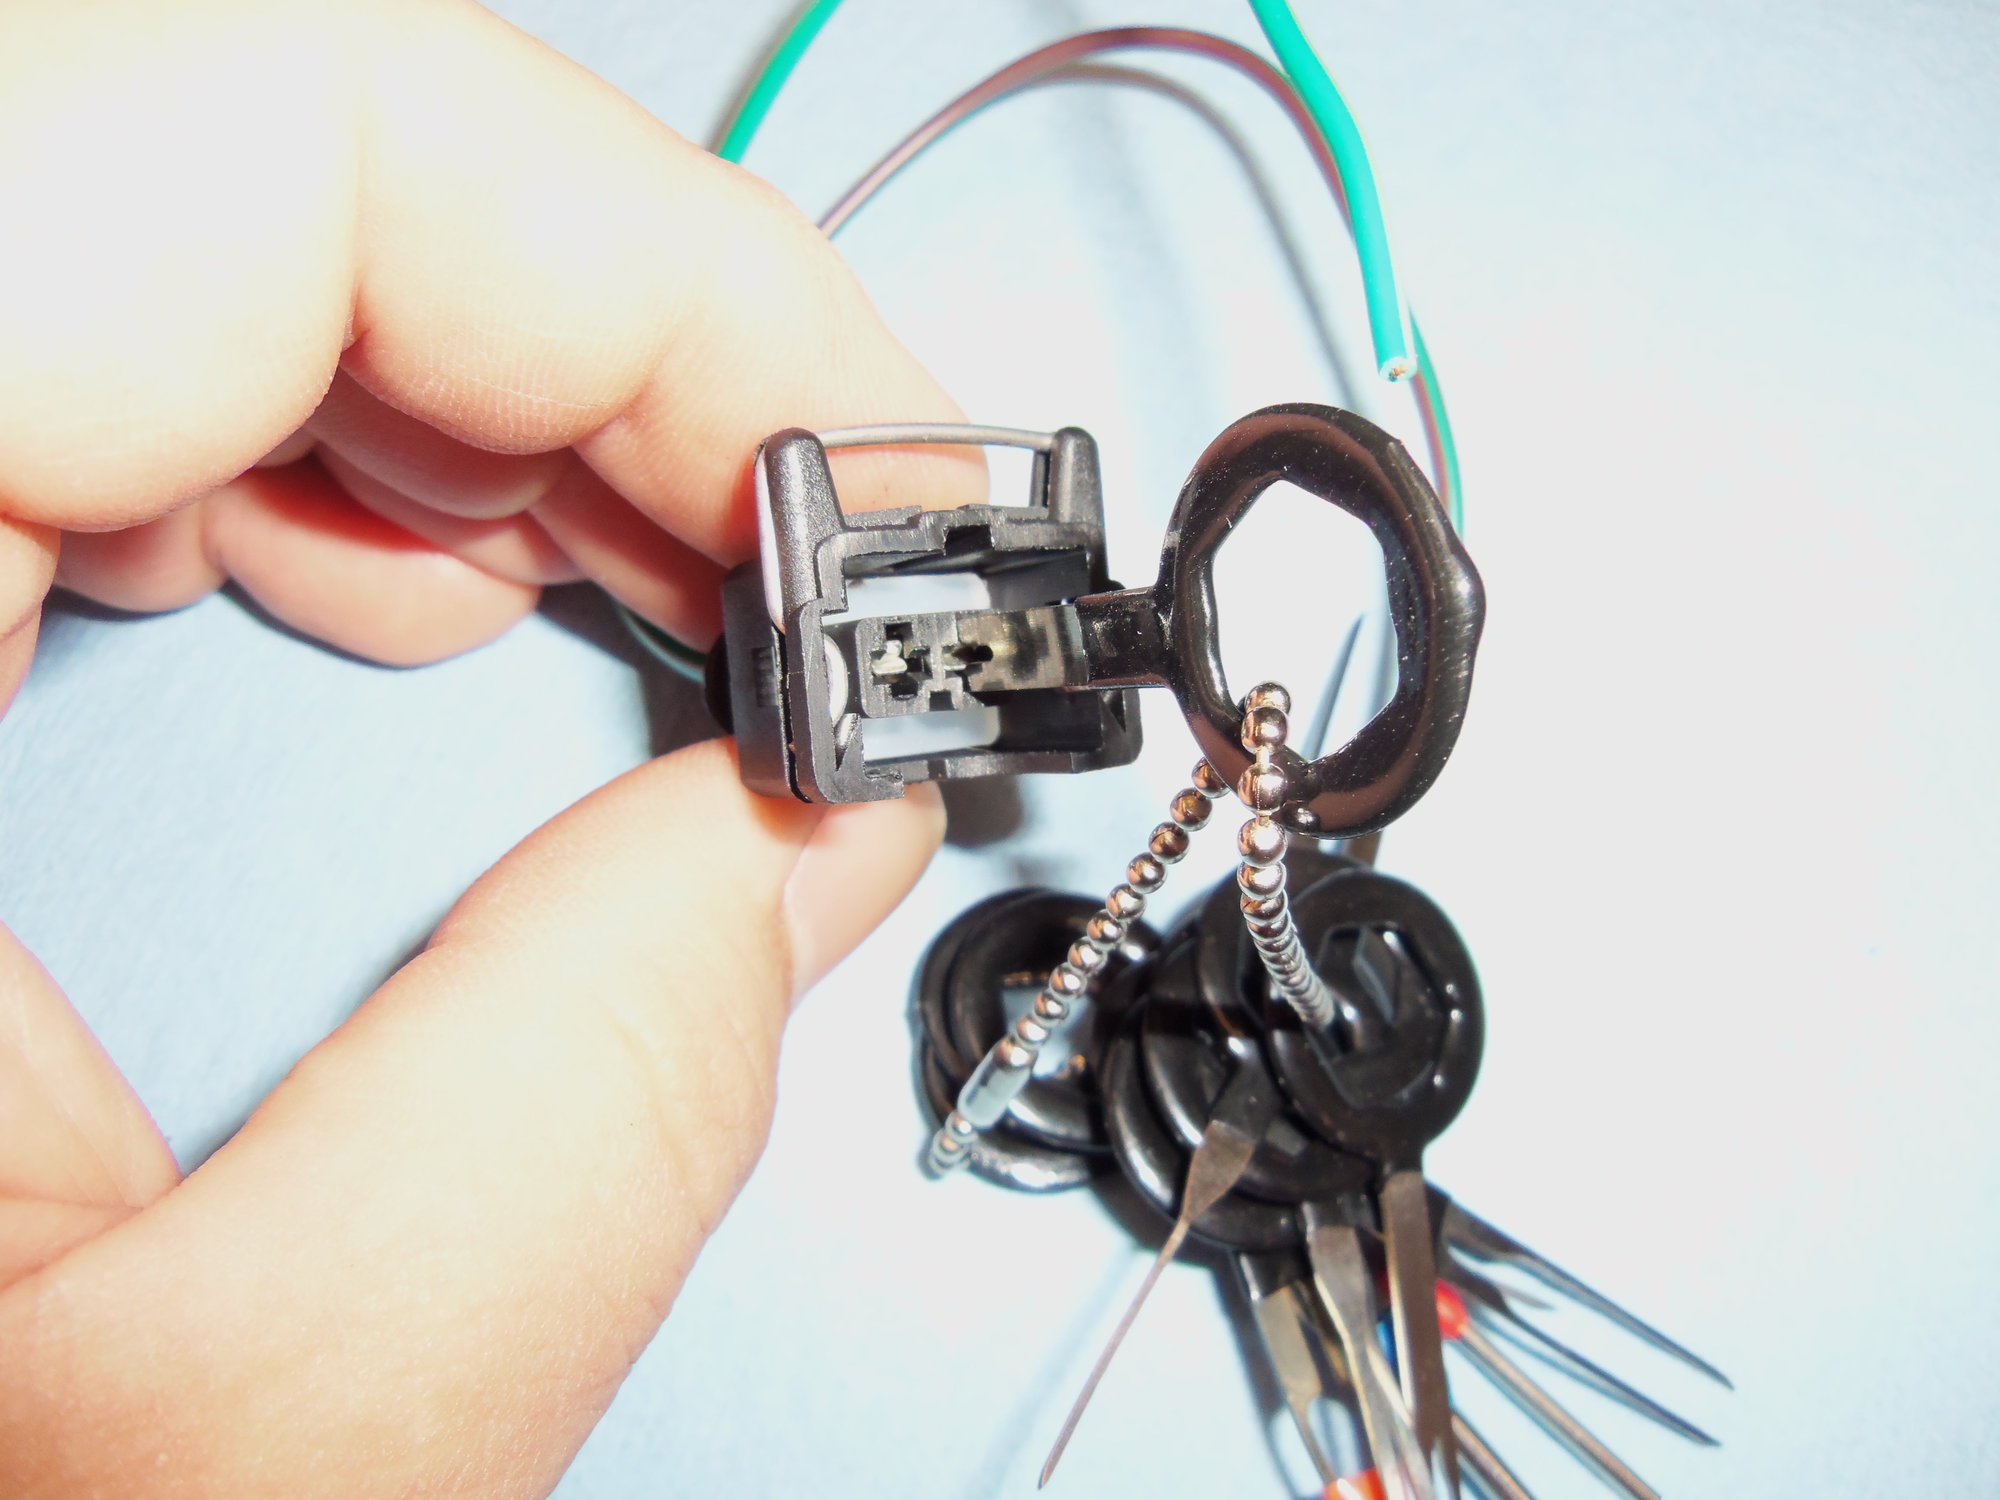
So, later, I tripped over this set of keys for releasing terminal locks. For less than $10, it was worth a shot. I am well aware that there are many reasonably priced, and many expensive tool sets for depinning connectors. I am working my way up to those. But, for now, I gave this set a shot.
To be honest, the keys looked cheap and flimsy. I didn't have high hopes, but I am gullible enough to try most anything at least once.
el-cheapo keys on the left, more conventional terminal lock releasing tools on the right.
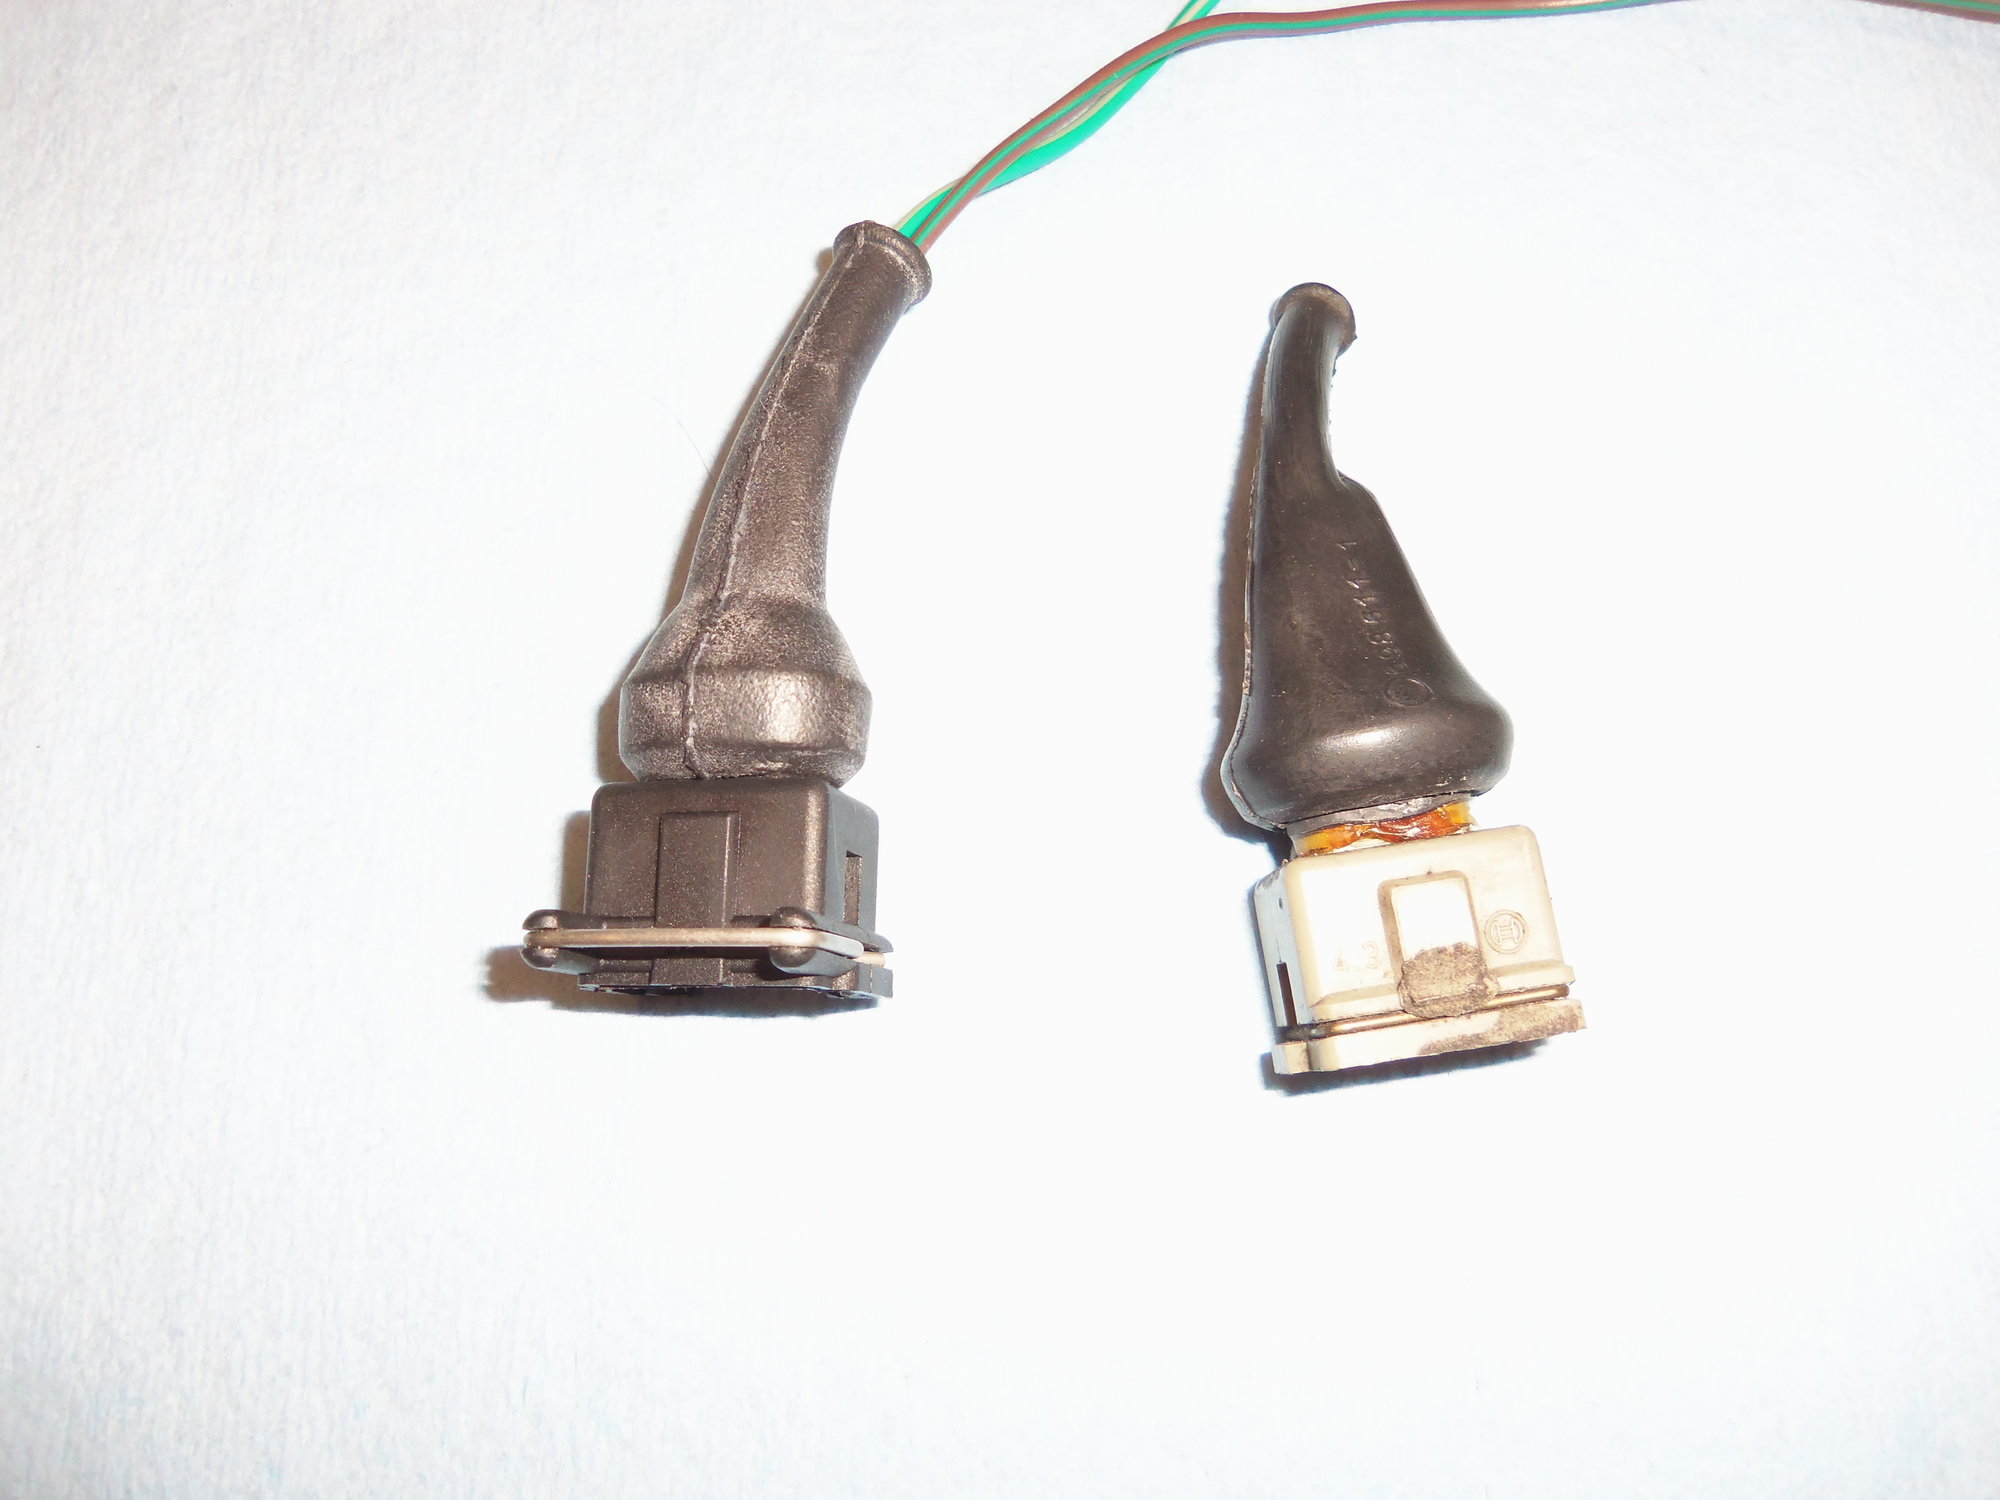
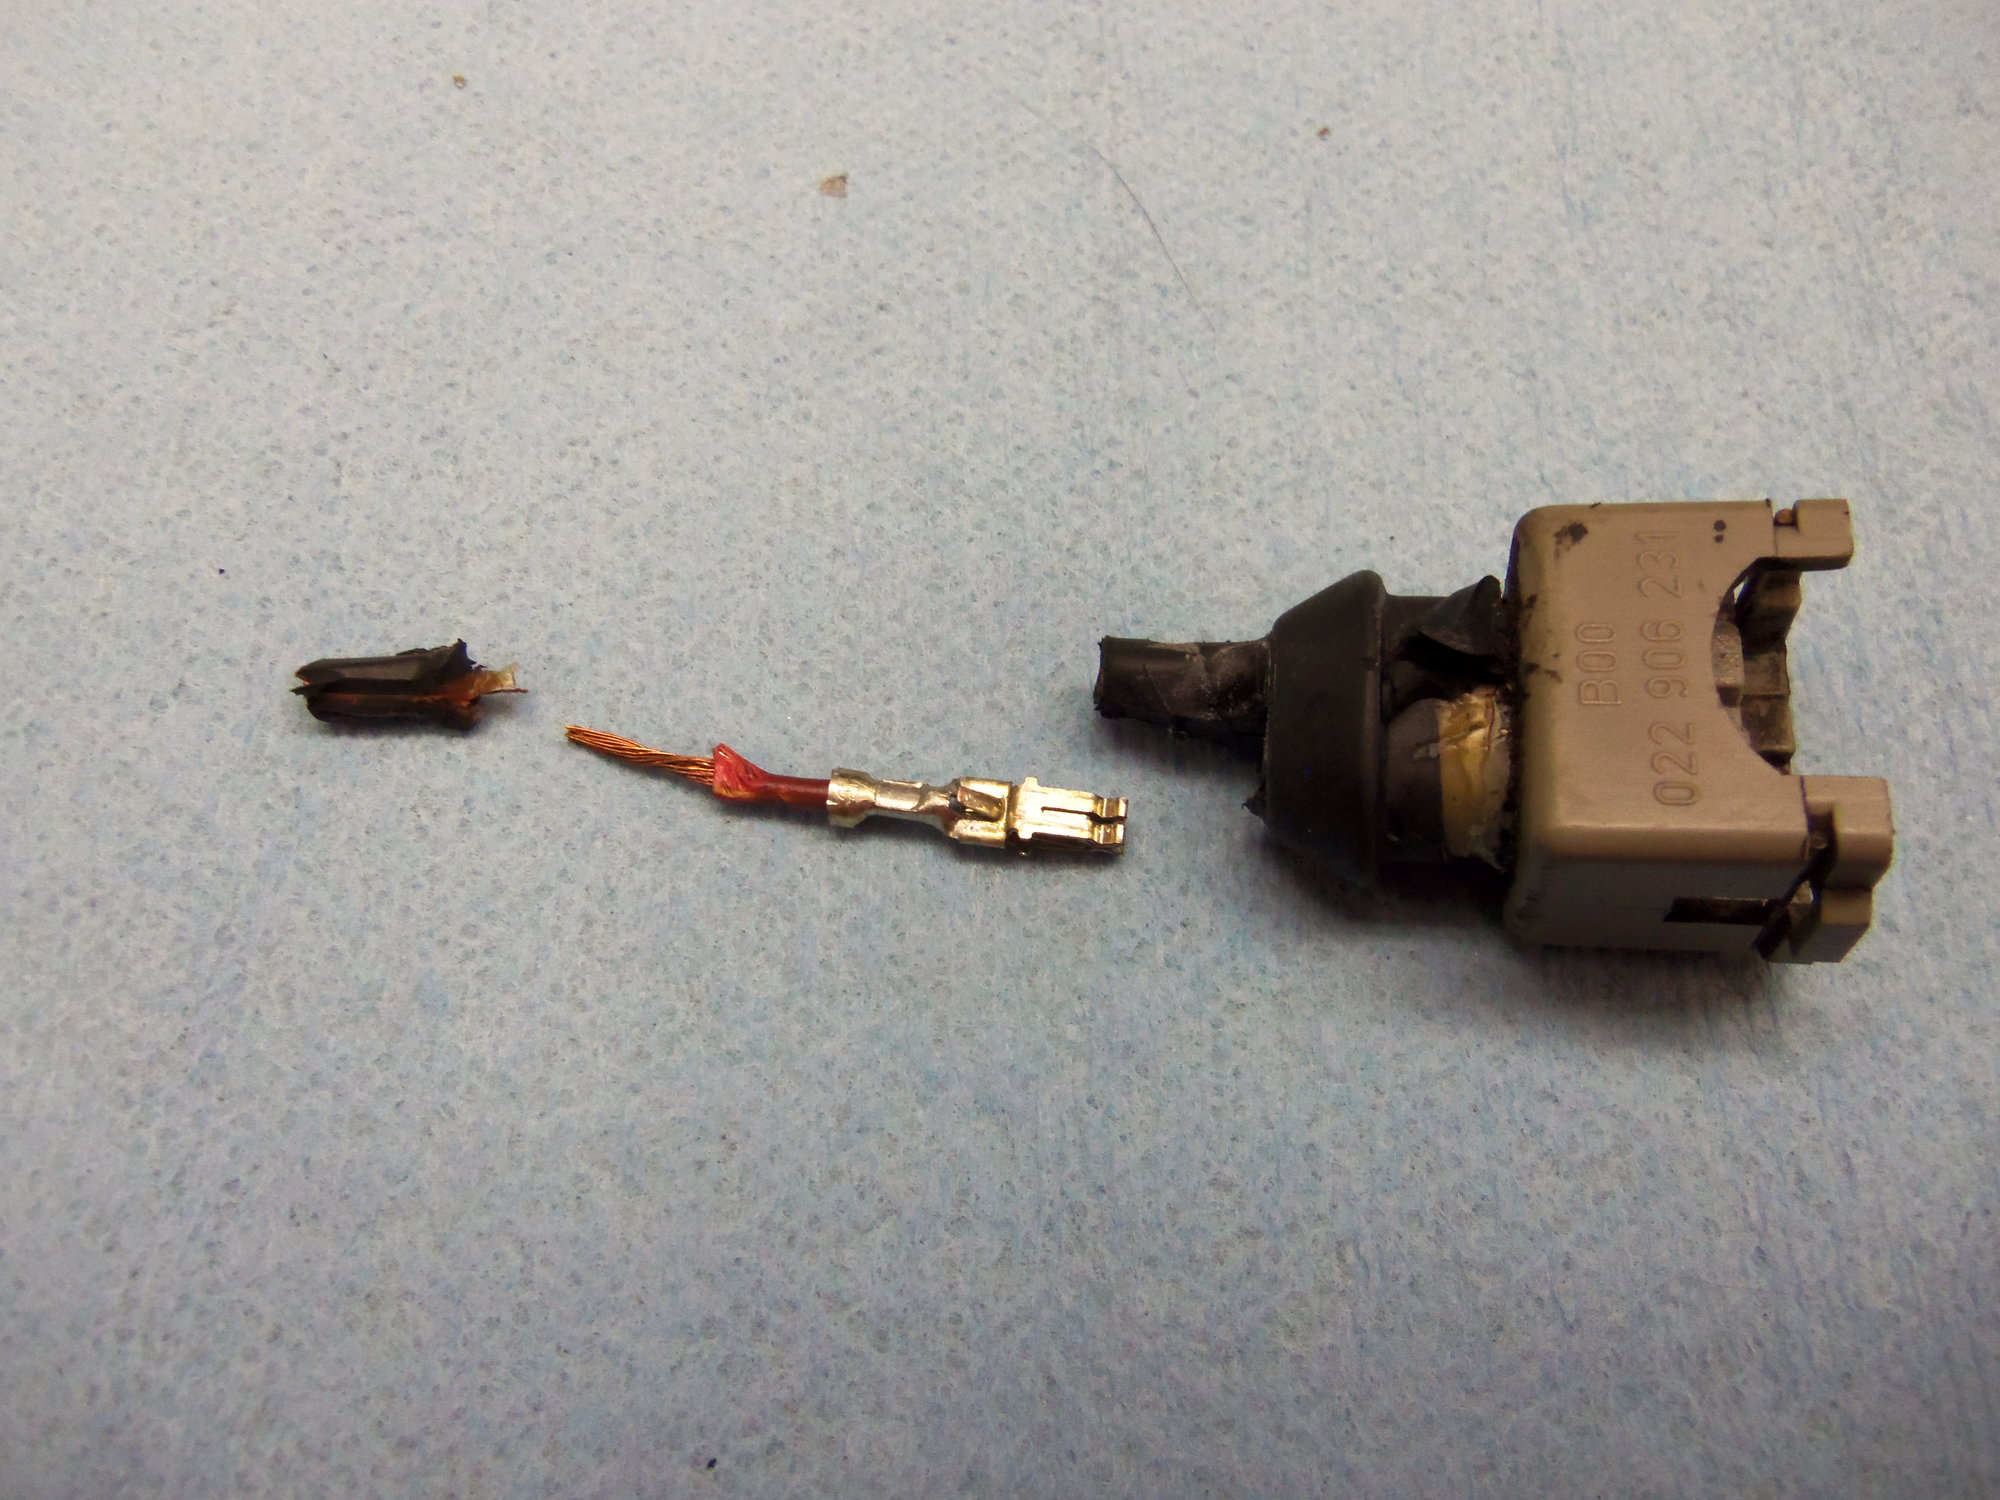
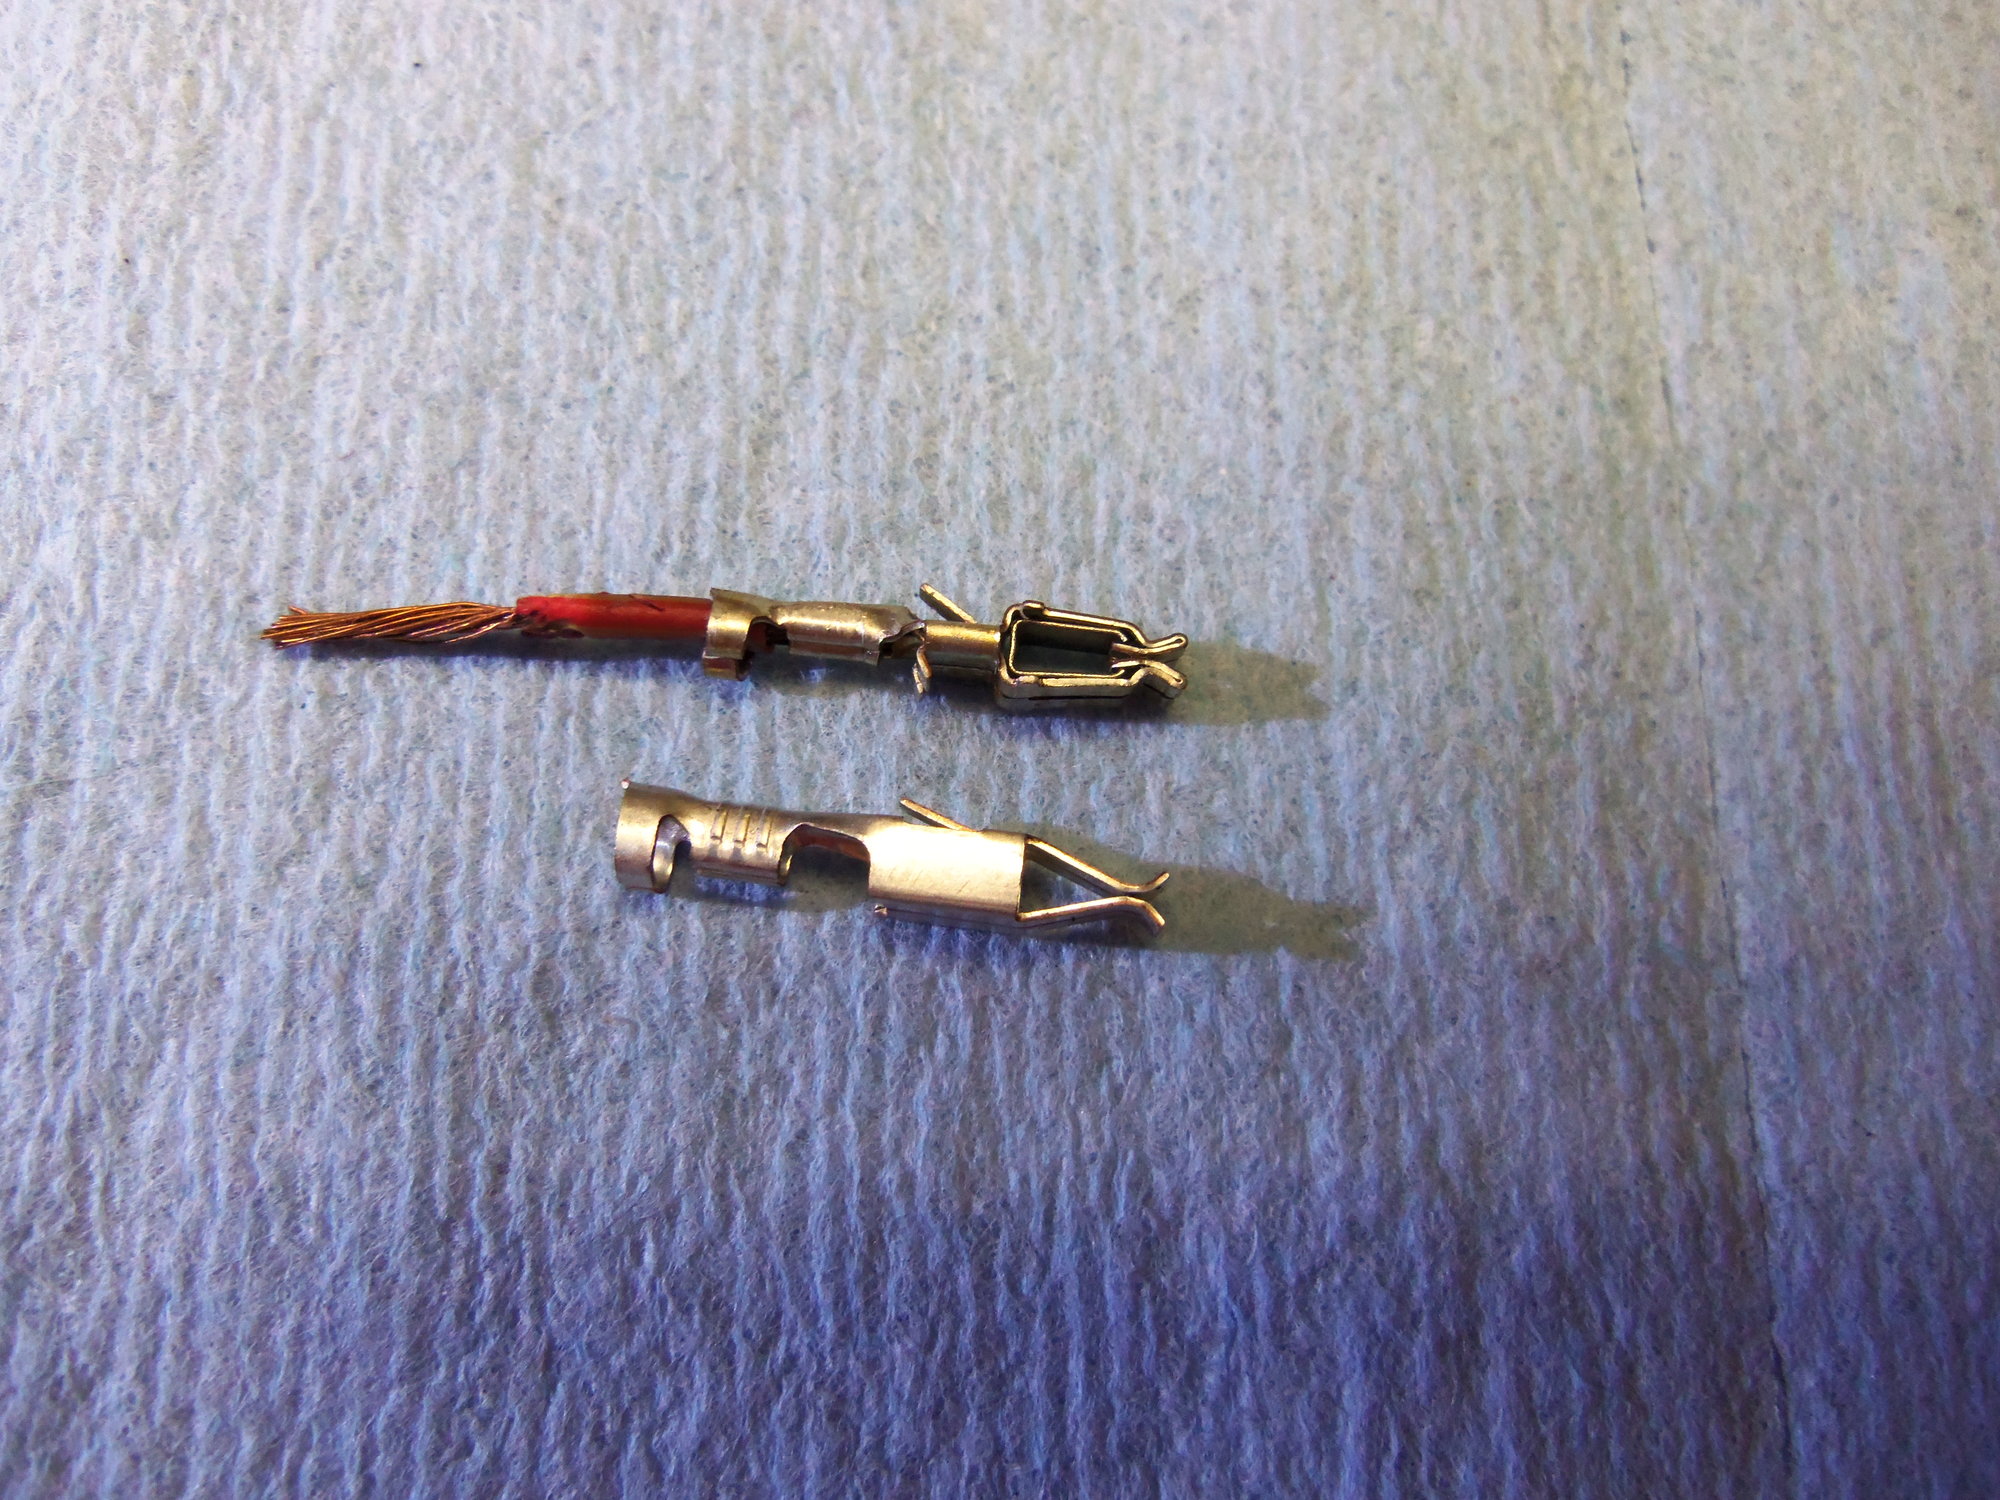
We will start with the old injector connector, but will compare the two first. Notice that the old connector only has one set of locking tabs per terminal, while the new one has double locks. With the boots removed, the wires on the old connector are covered in adhesive lined heat shrink tubing, while the new one has ribbed silicone seals.
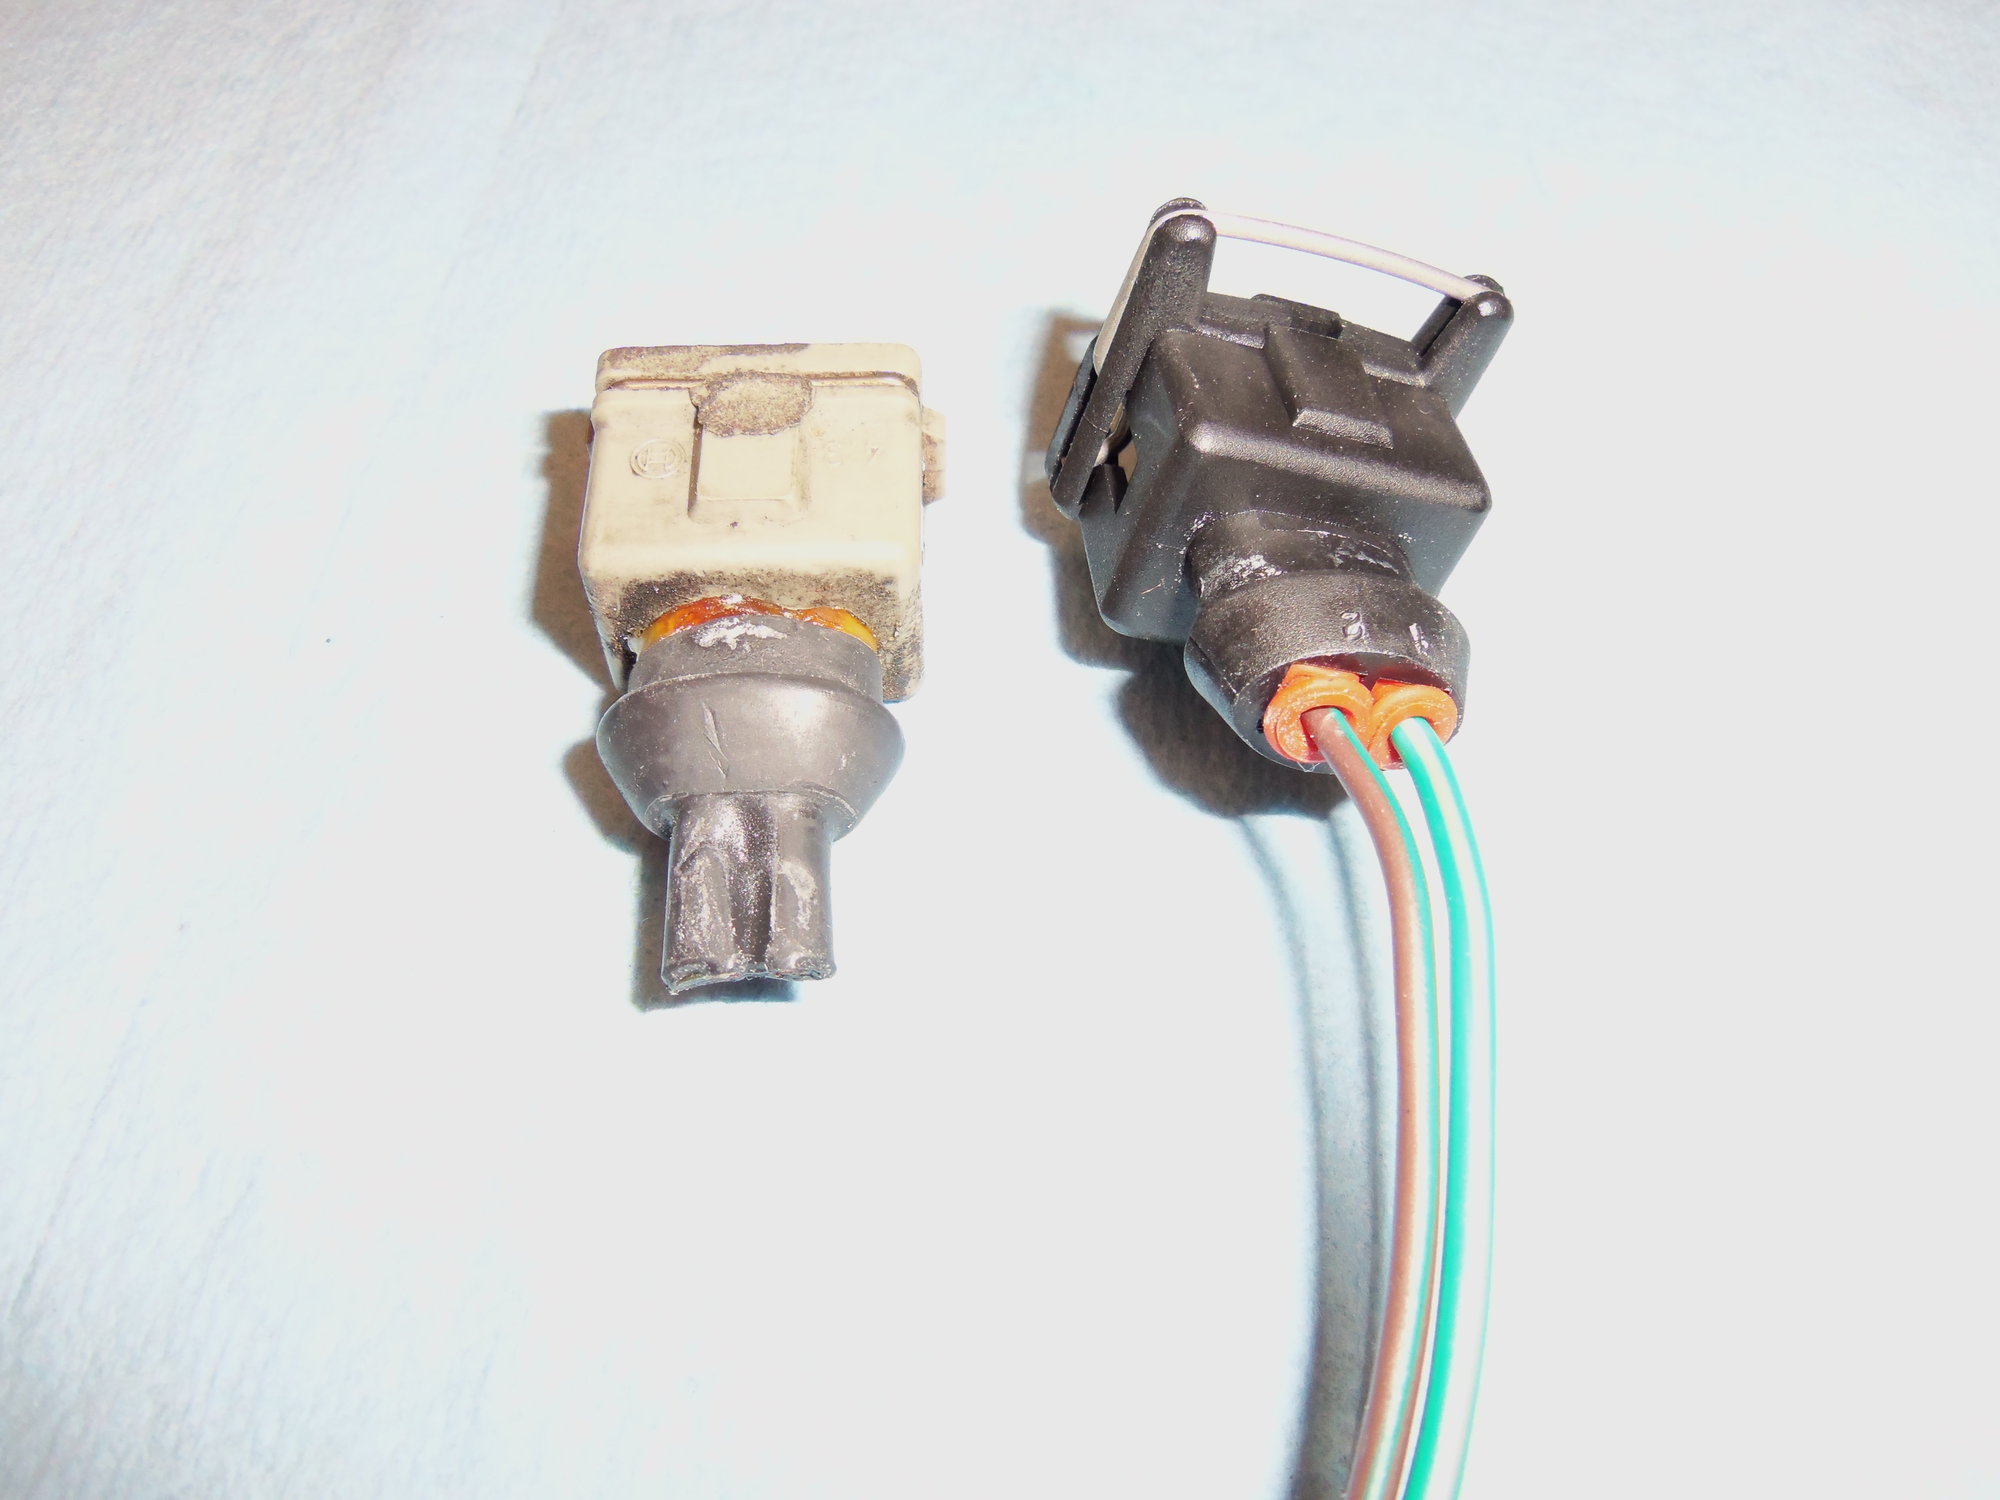
New connector on the left, old connector on the right.
Double locking tabs (note slots above and below the female terminal) on the new connector on the left, single locking tabs (note slots below the female terminal) on the old connector on the right. Also note the wire at the top of the new connector. Pushing that towards the body of the connector releases the locking tabs at the side of the connector, making it easier to remove from the fuel injector.
Boots removed from both connectors.
Adhesive lined heat shrink on the wires of the old connector at the left, silicone seals on the wires of the new connector at the right.
To remove the terminals from the old connector, you will need a sharp razor knife, and some patience. The heat shrink binds the individual wires and the connector to each other. This stuff is evil, probably left over from the Spanish Inquisition. There is no easy way through it. You have to cut, hack, gnaw, chew, whatever it takes. However, be careful not to damage the wire. Do not try to fully remove the heat shrink from the wire. All you want to do is free the wire from the body of the connector. I usually cut down between each wire, then around both wires. Finally, I take the tip of the blade and pierce the heat shrink over the hole for each wire in the back of the connector.
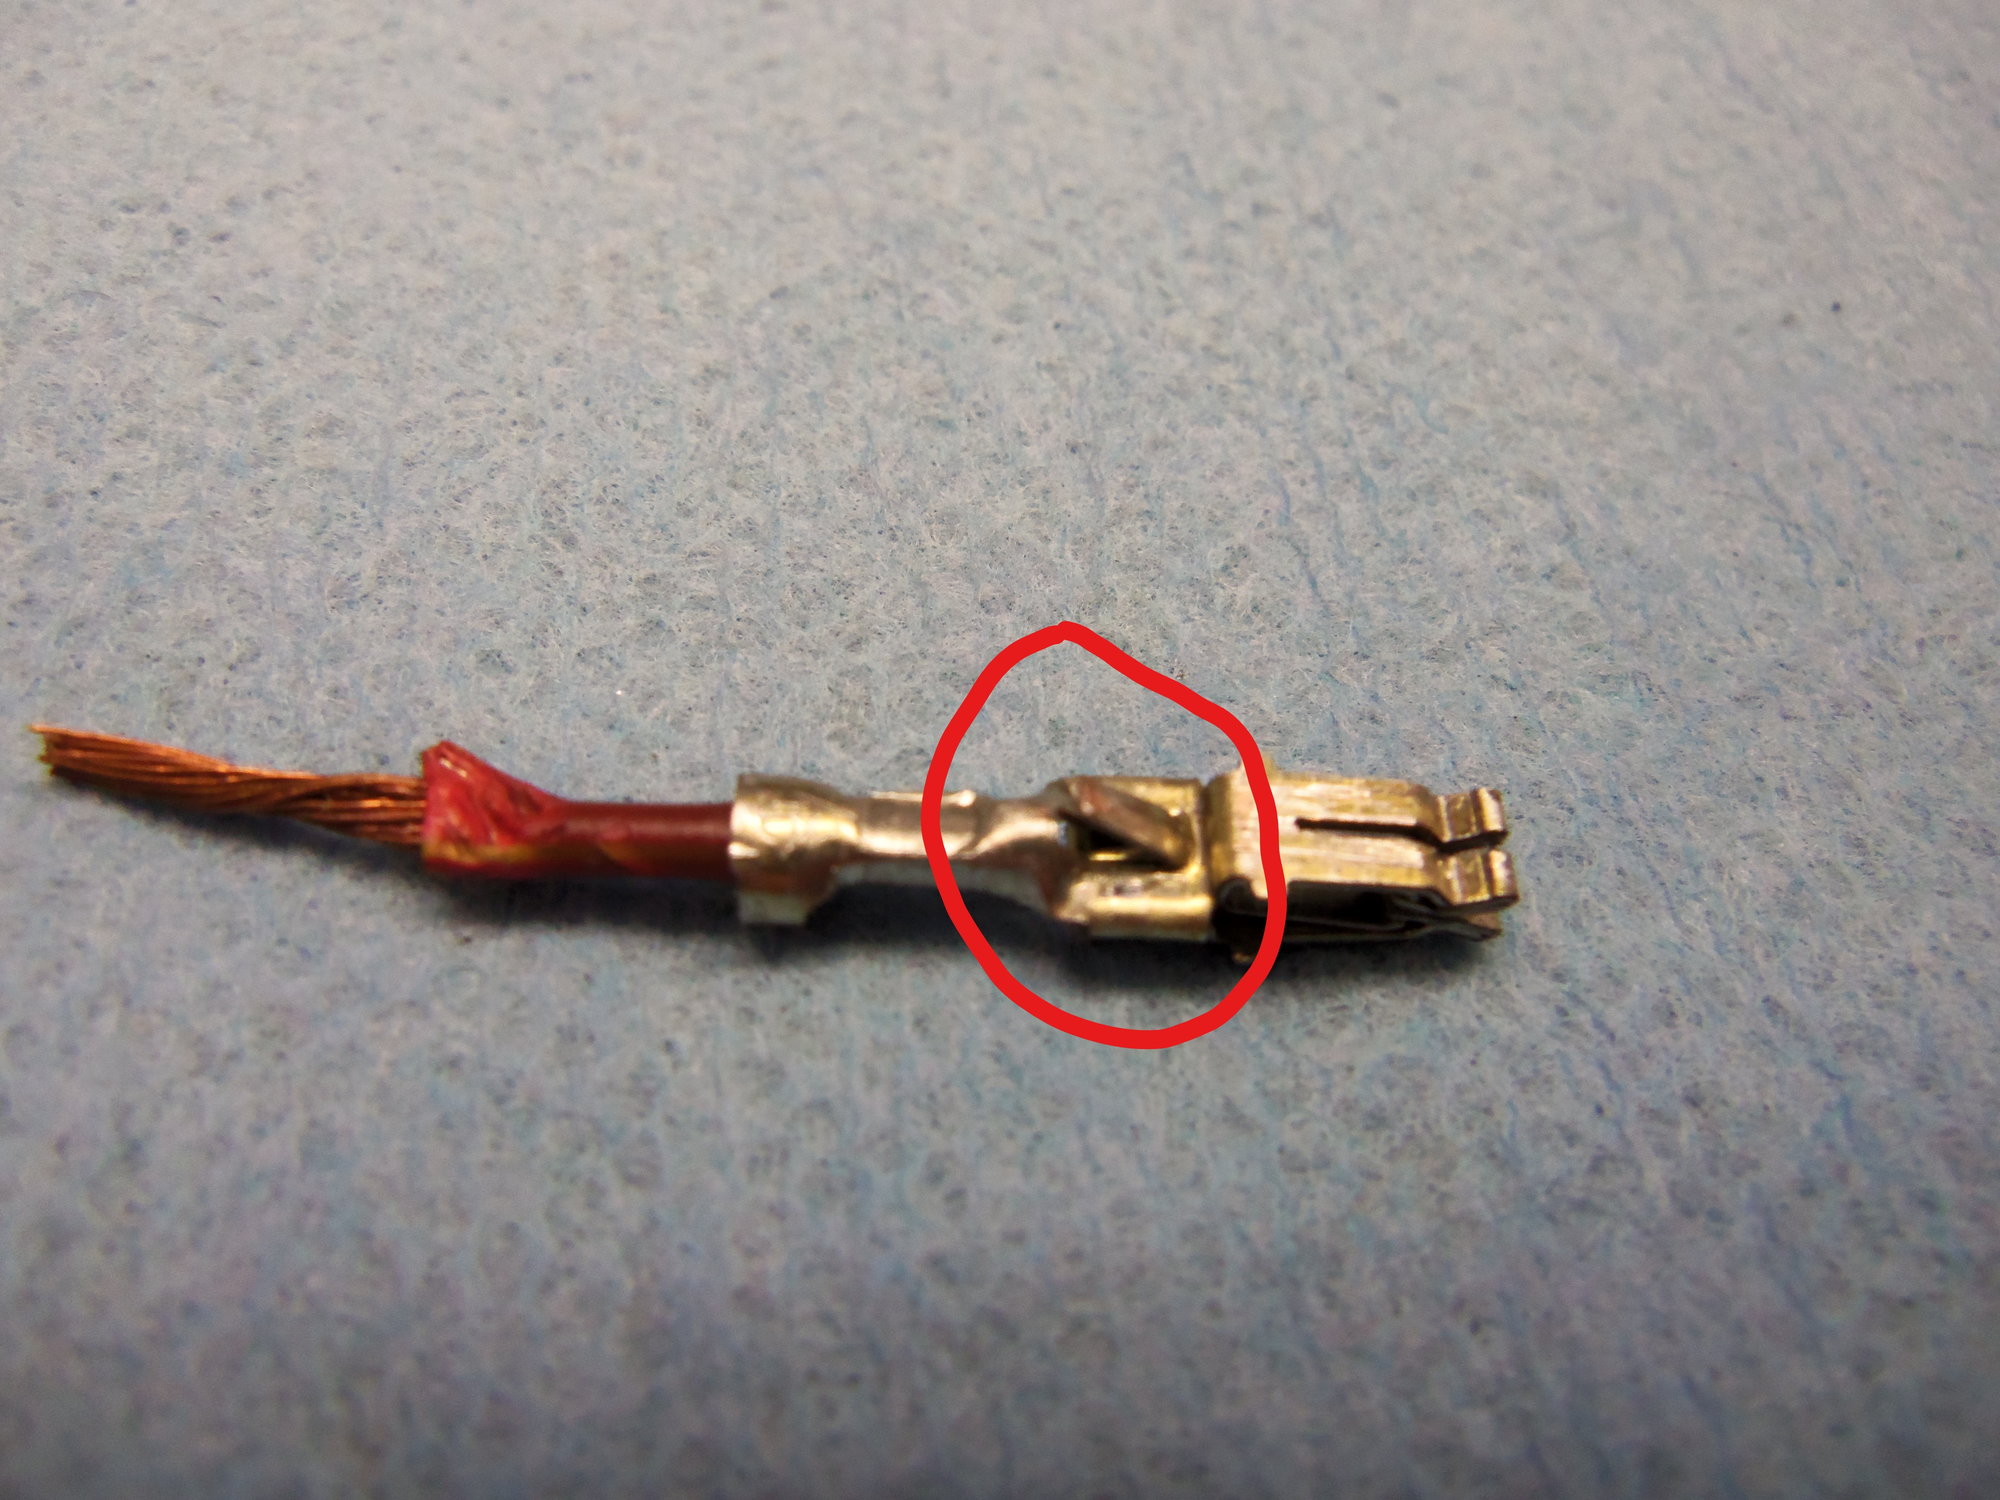
Once the wire is reasonably free from the connector body, you can start working on the lock. To free the terminal, you must flatten the locking tab so it will clear the little ledge inside the plastic connector body. Use caution and don't get Medieval on it. It is very possible to pull the terminal out of the connector, and bring part of the connector with it. Ask me how I know.
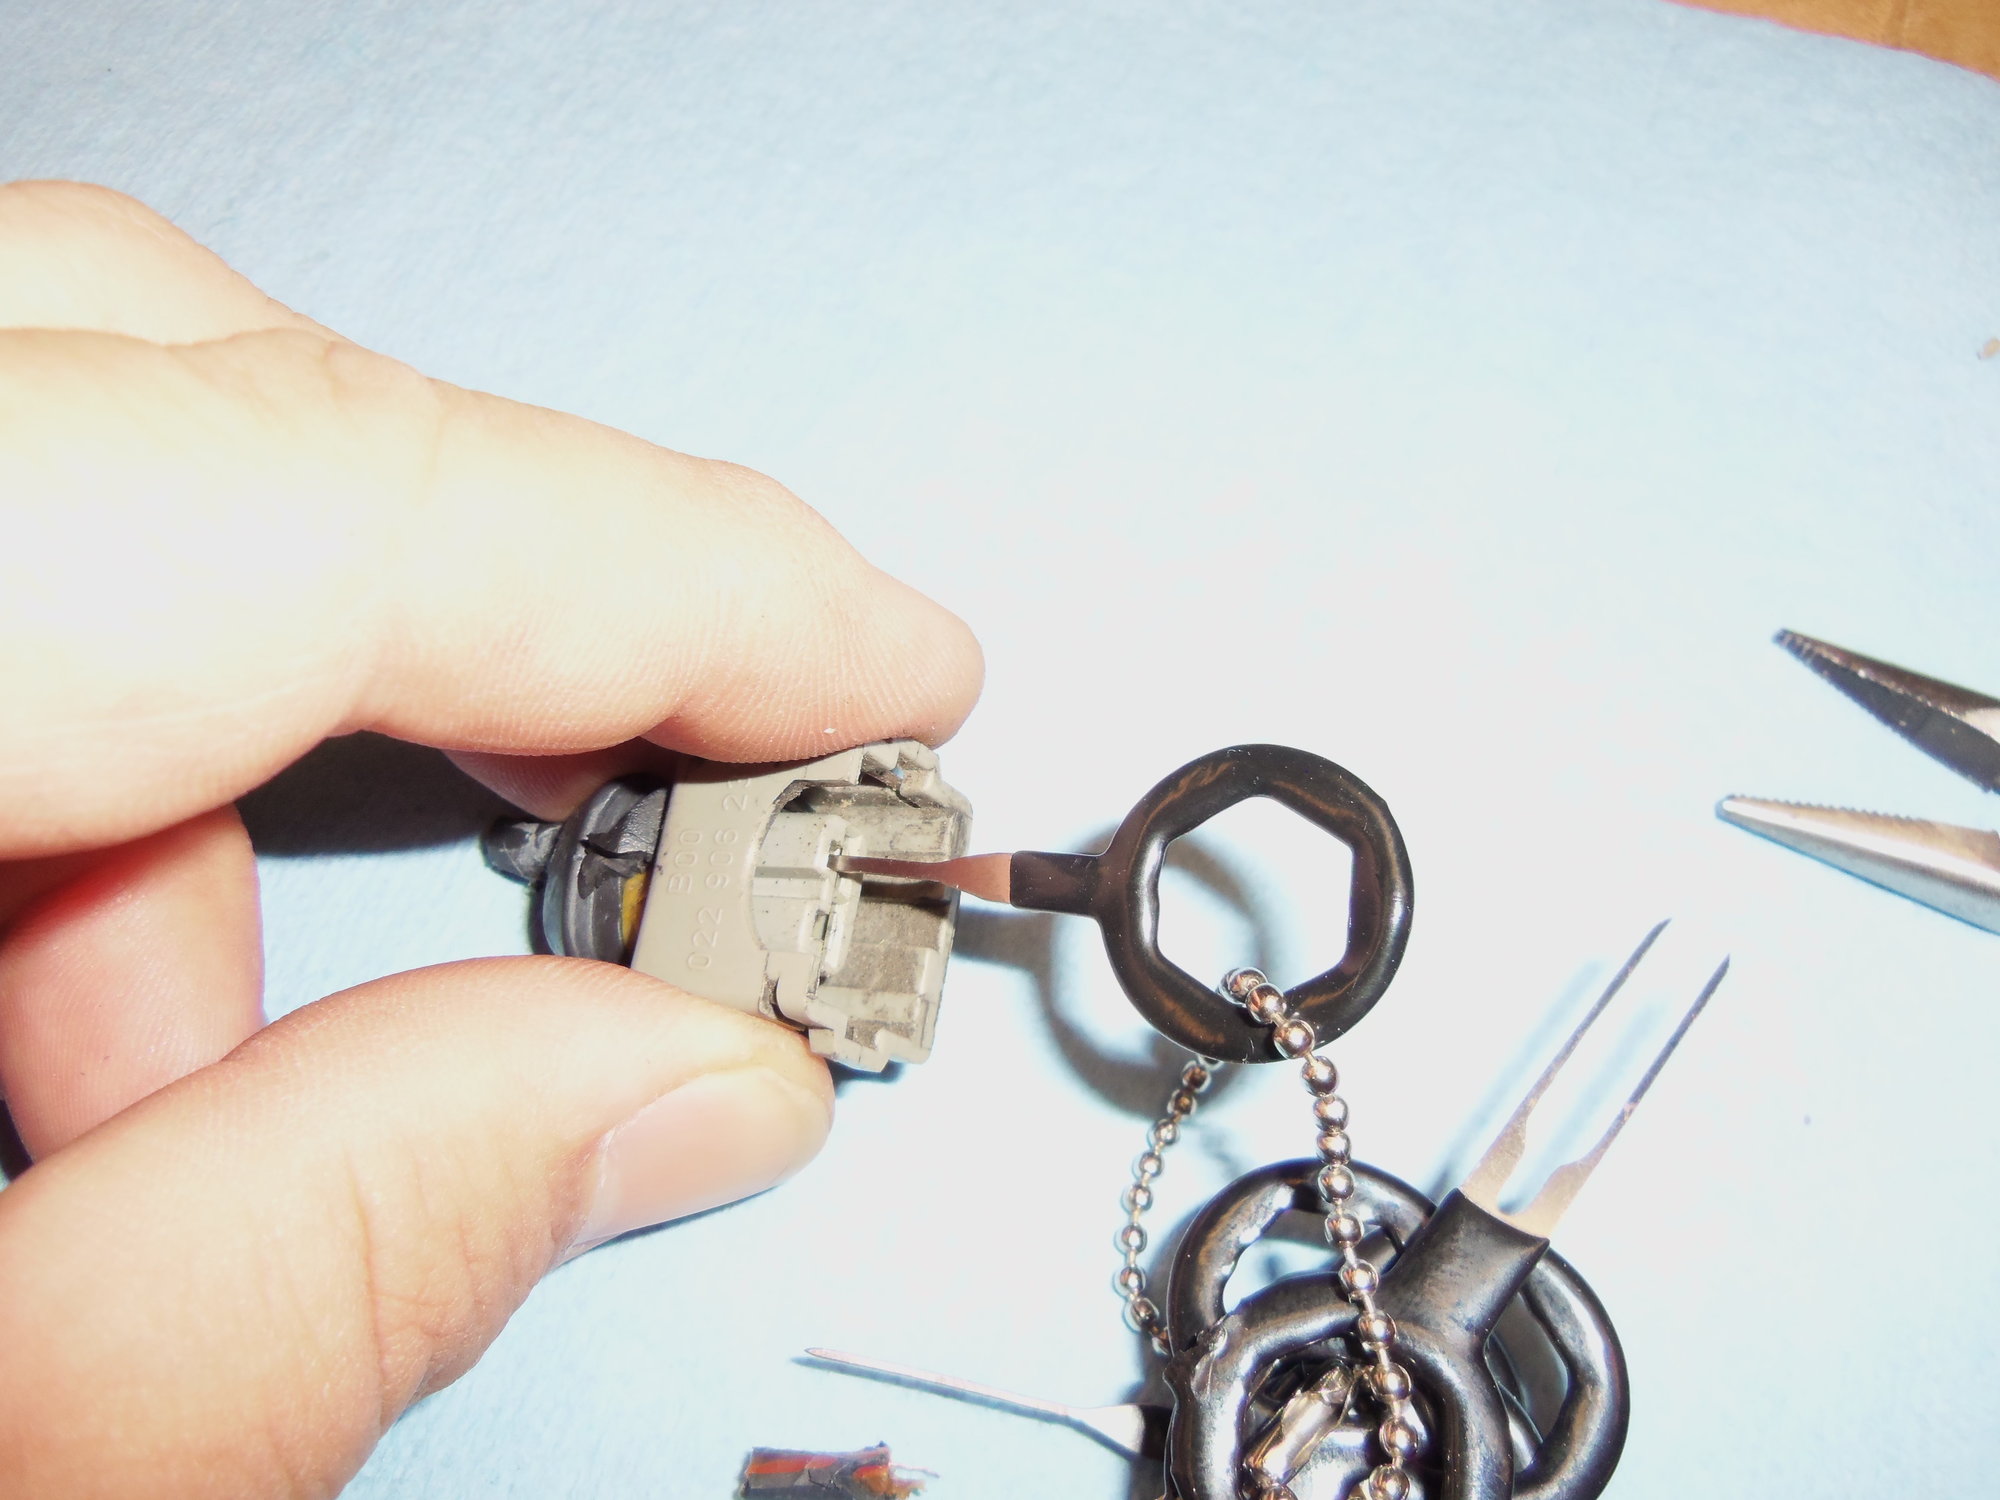
For the old connector, I used both the narrow green handled tool and one of the blades on the new key set. You sorta have to work by feel. There will not be a noticeable CLICK or such. Using the pliers or your fingers, push the wire into the terminal as far as it will go. You want to push the terminal forward so that the locking tab is NOT resting against the little ledge in the connector body. If so, the tab could get wedged when you insert the tool and not release. Now, push the tab release tool straight into the slot as far as it will go, wiggle it. Do it again. Try to gently pull on the base of the wire. If the terminal will not free, repeat the above. It will come out at some point.
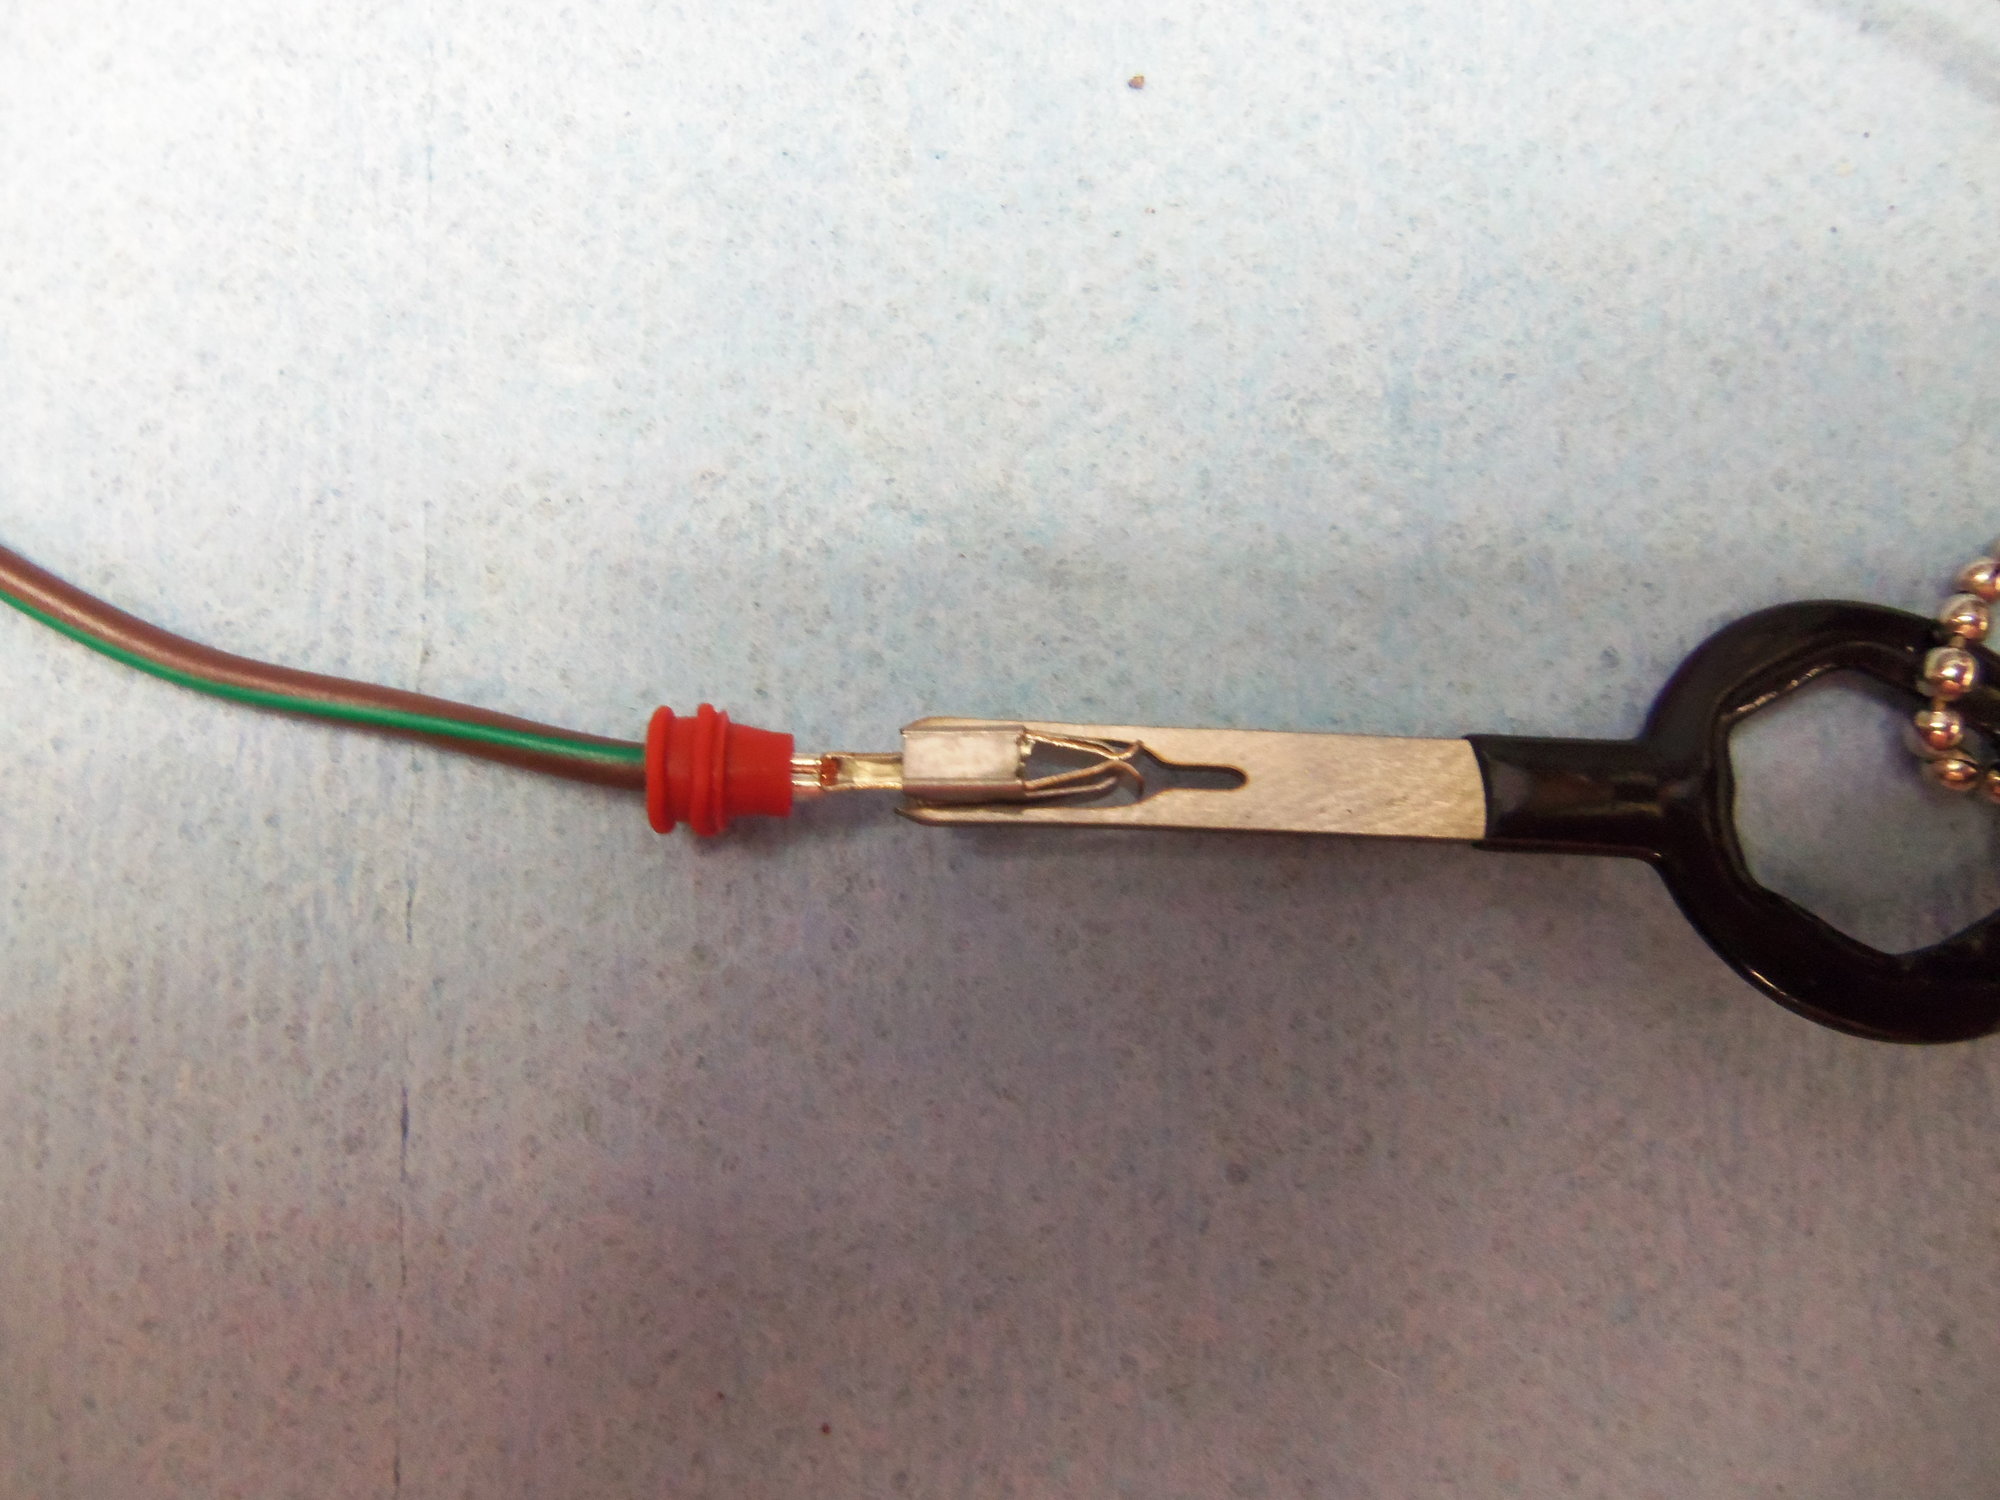
Using narrow tool in locking tab slot.
Using new key in locking tab slot.
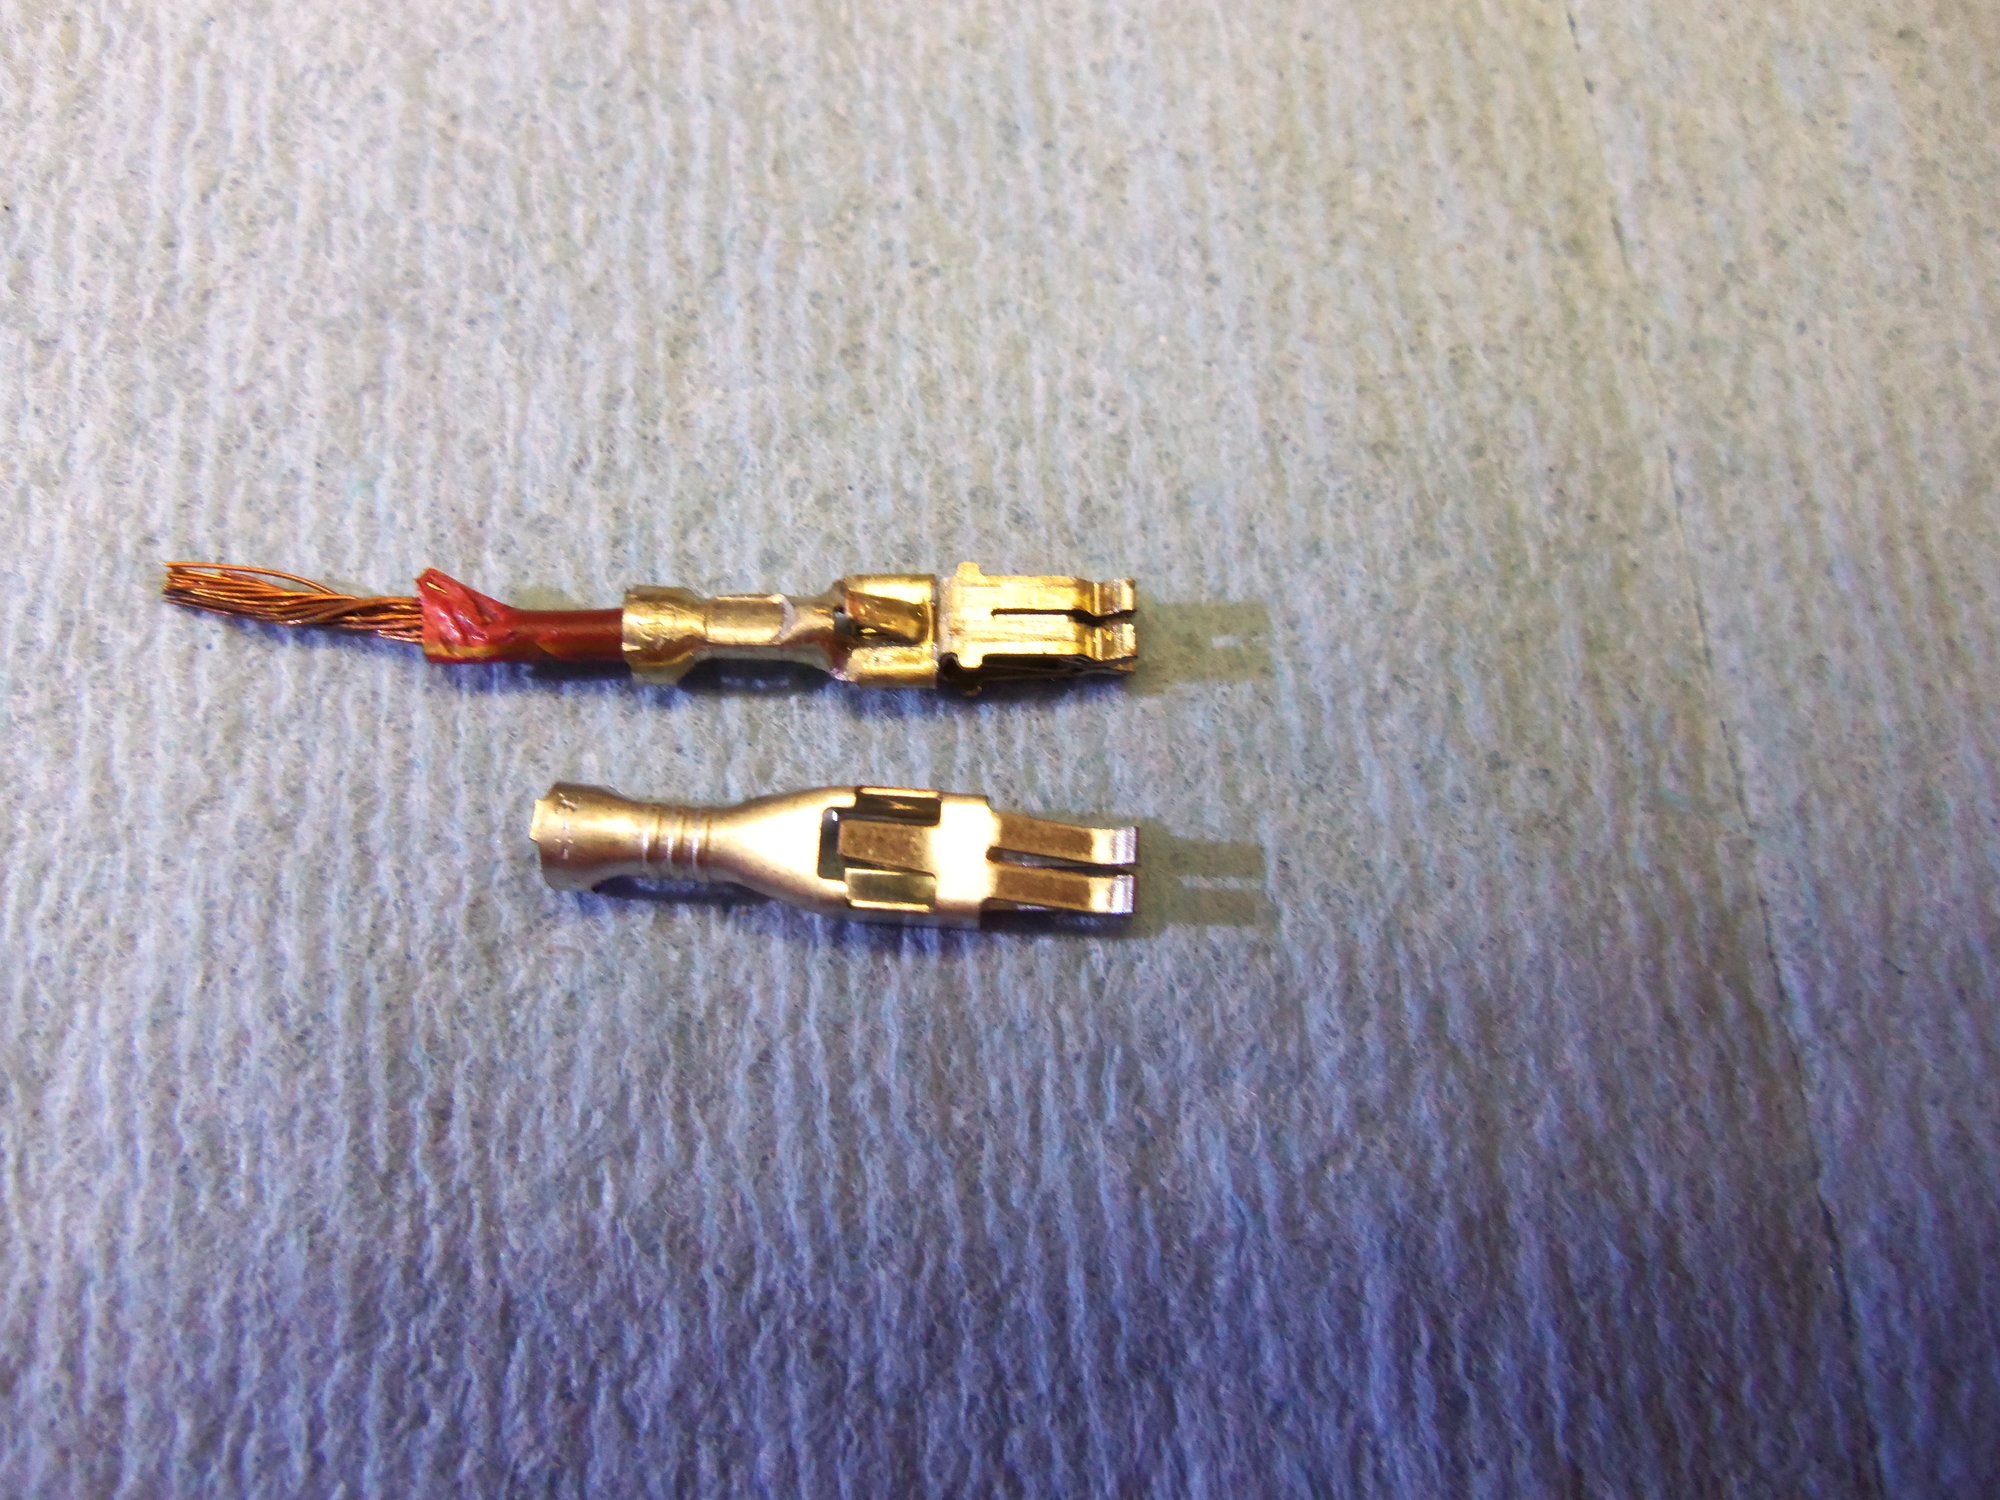
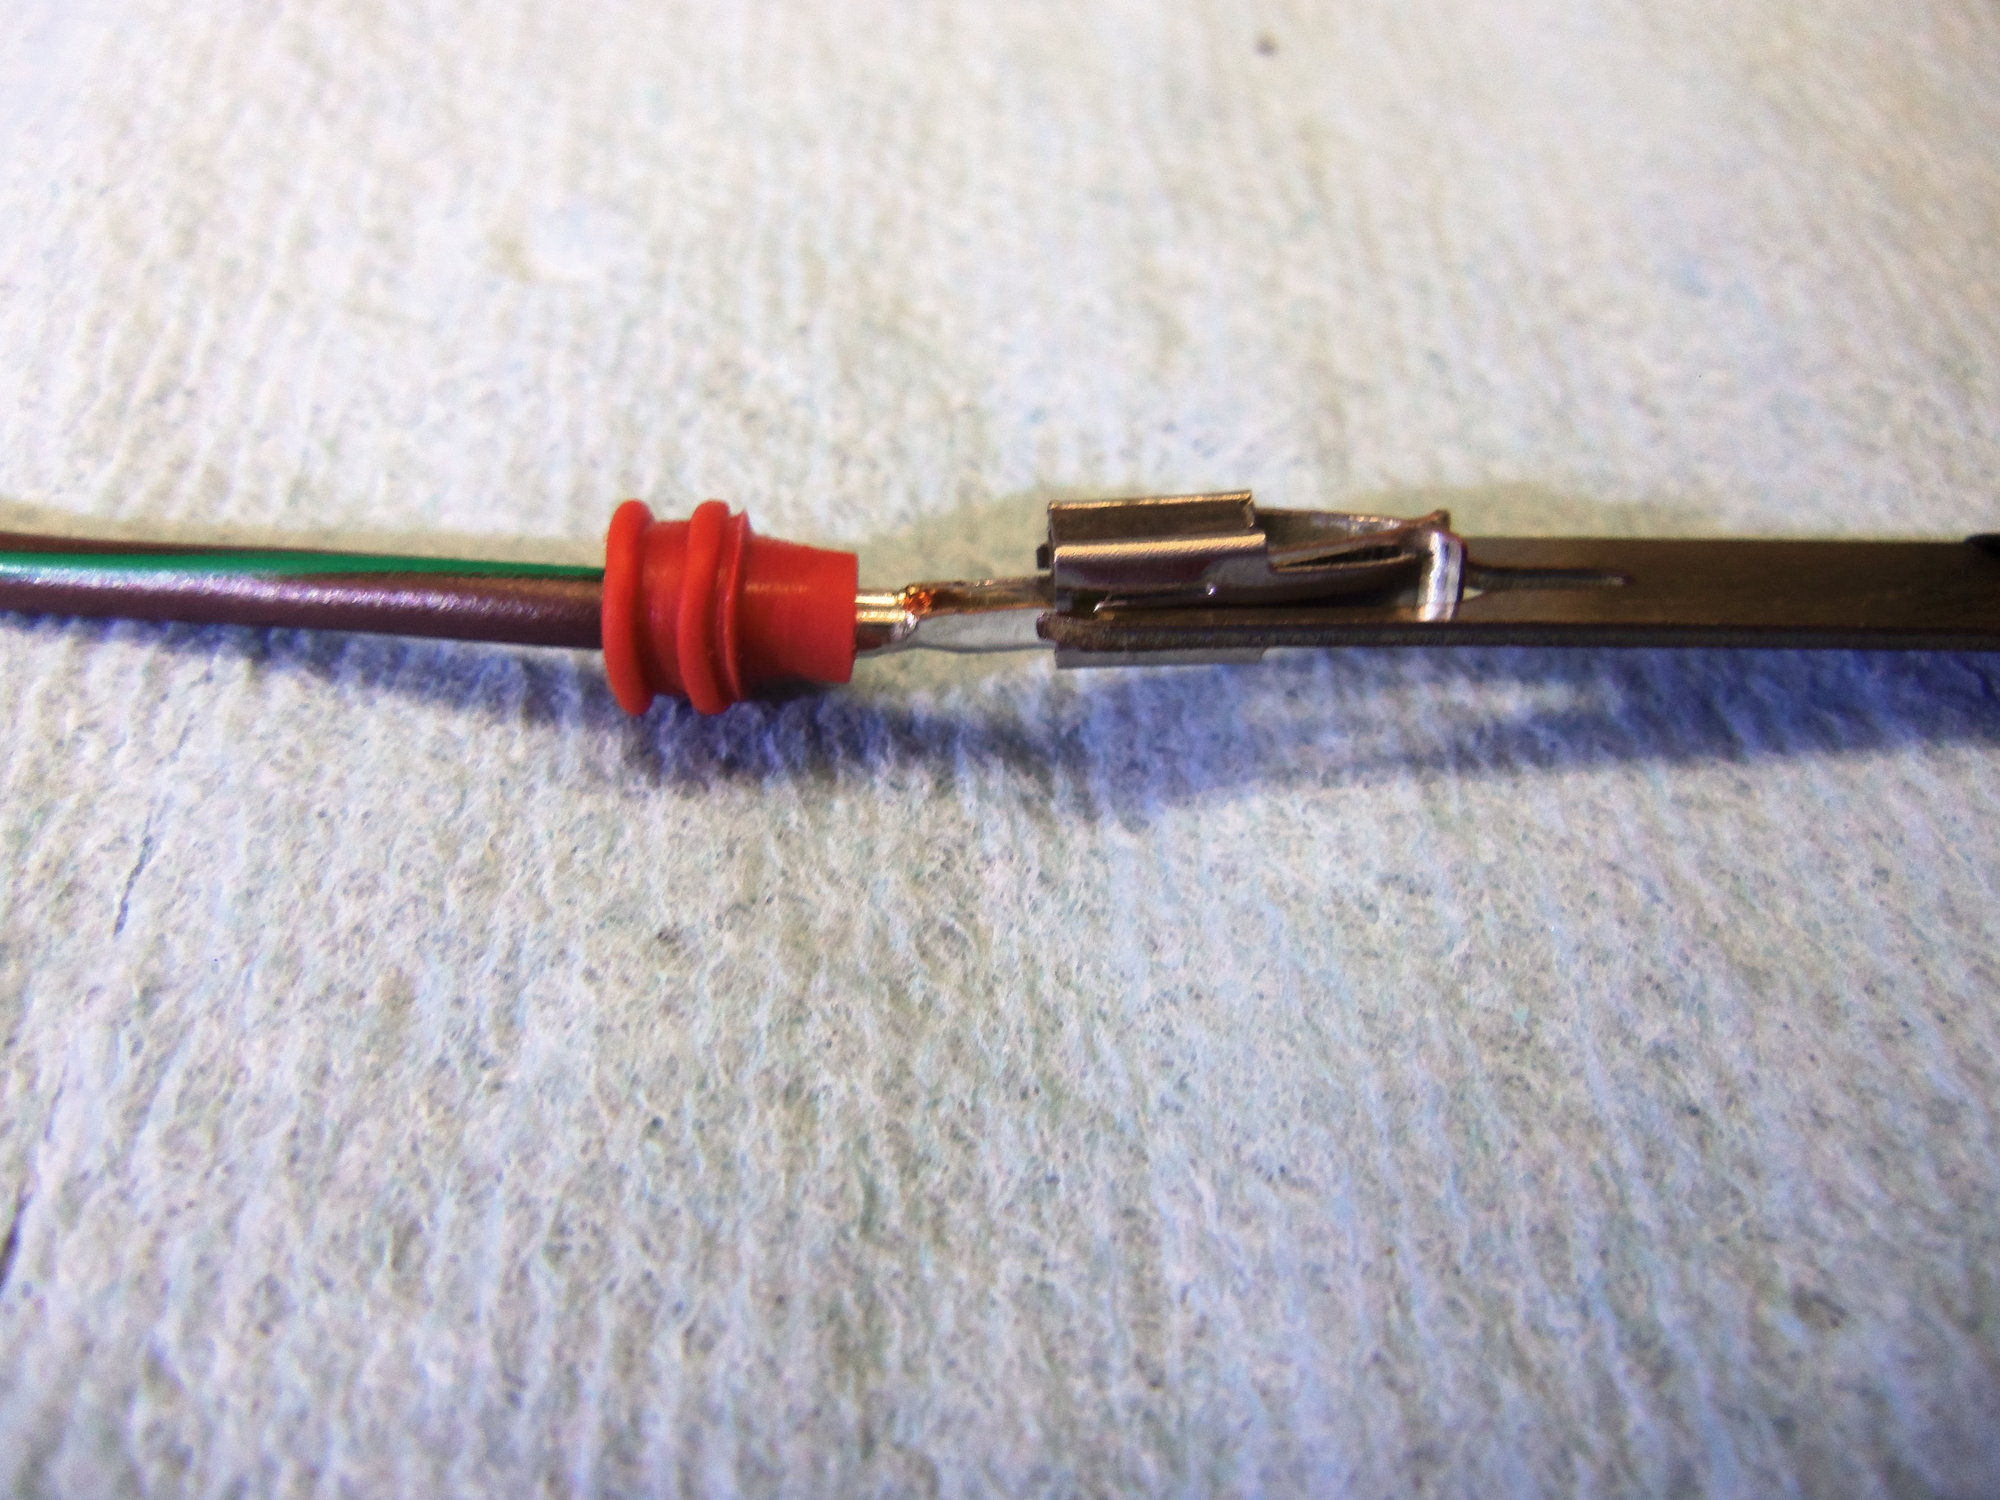
Your goal, terminal released from the connector body. And neither one is mangled. Ignore the fact that I pulled the insulation off the wire.
Different/better? photo.
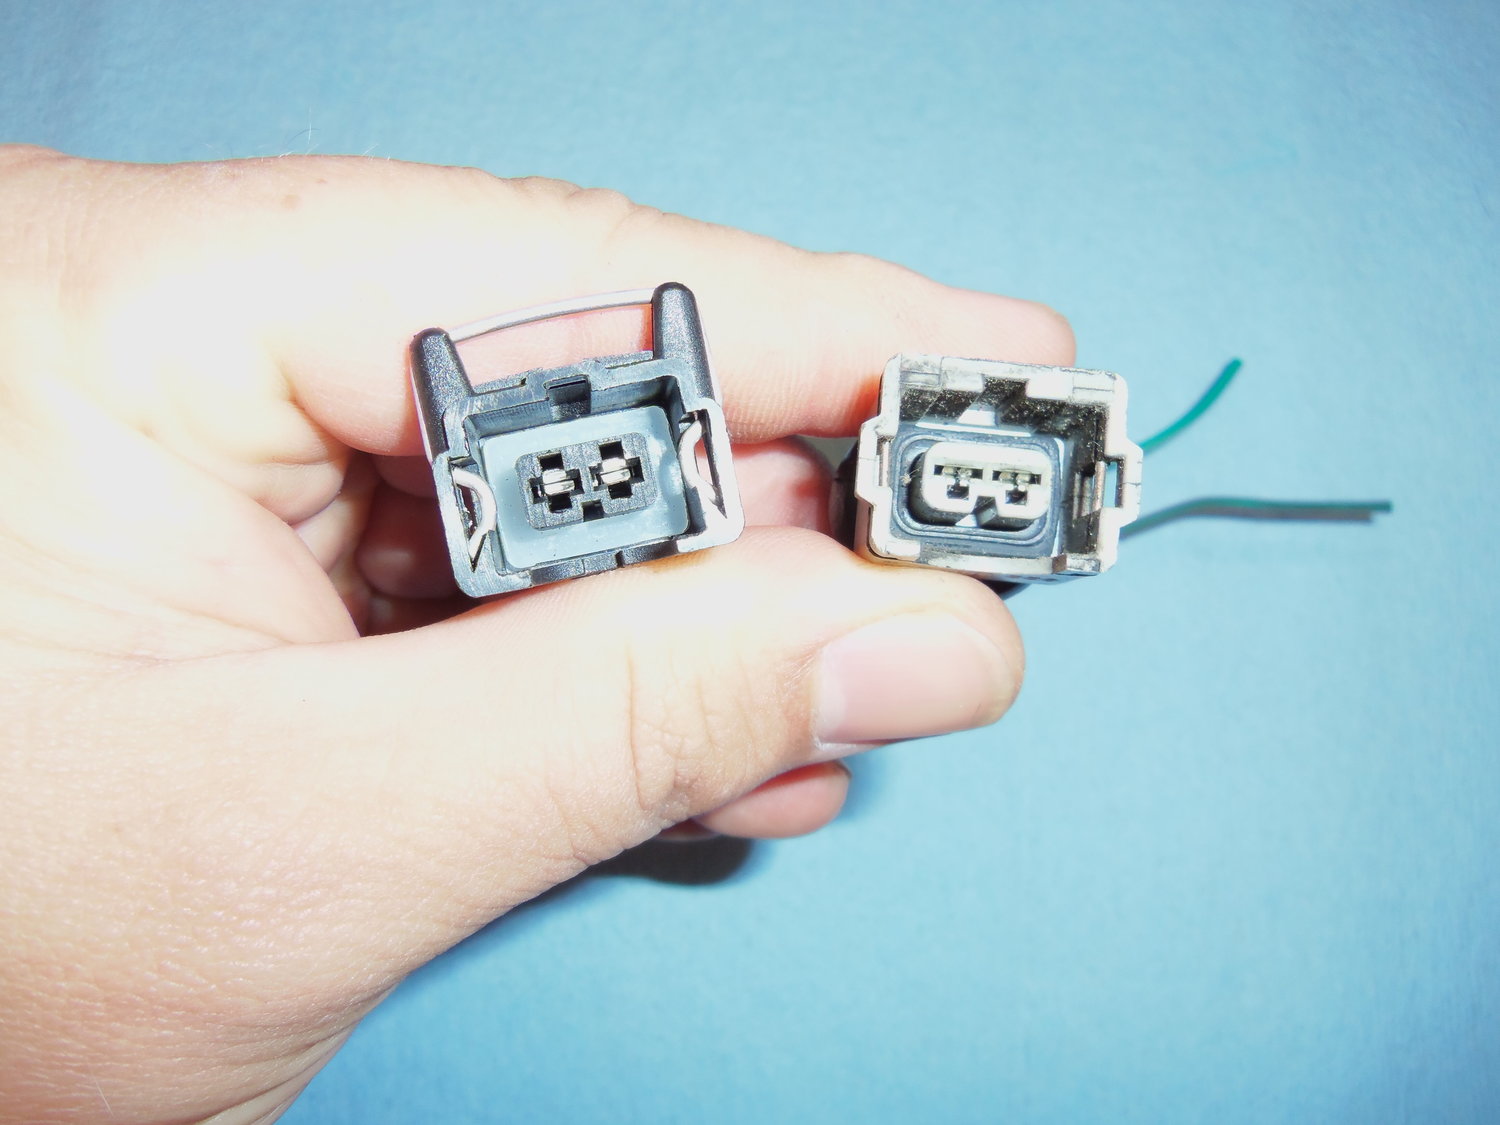
Locking tab, circled in red.
Locking tab, circled in red.
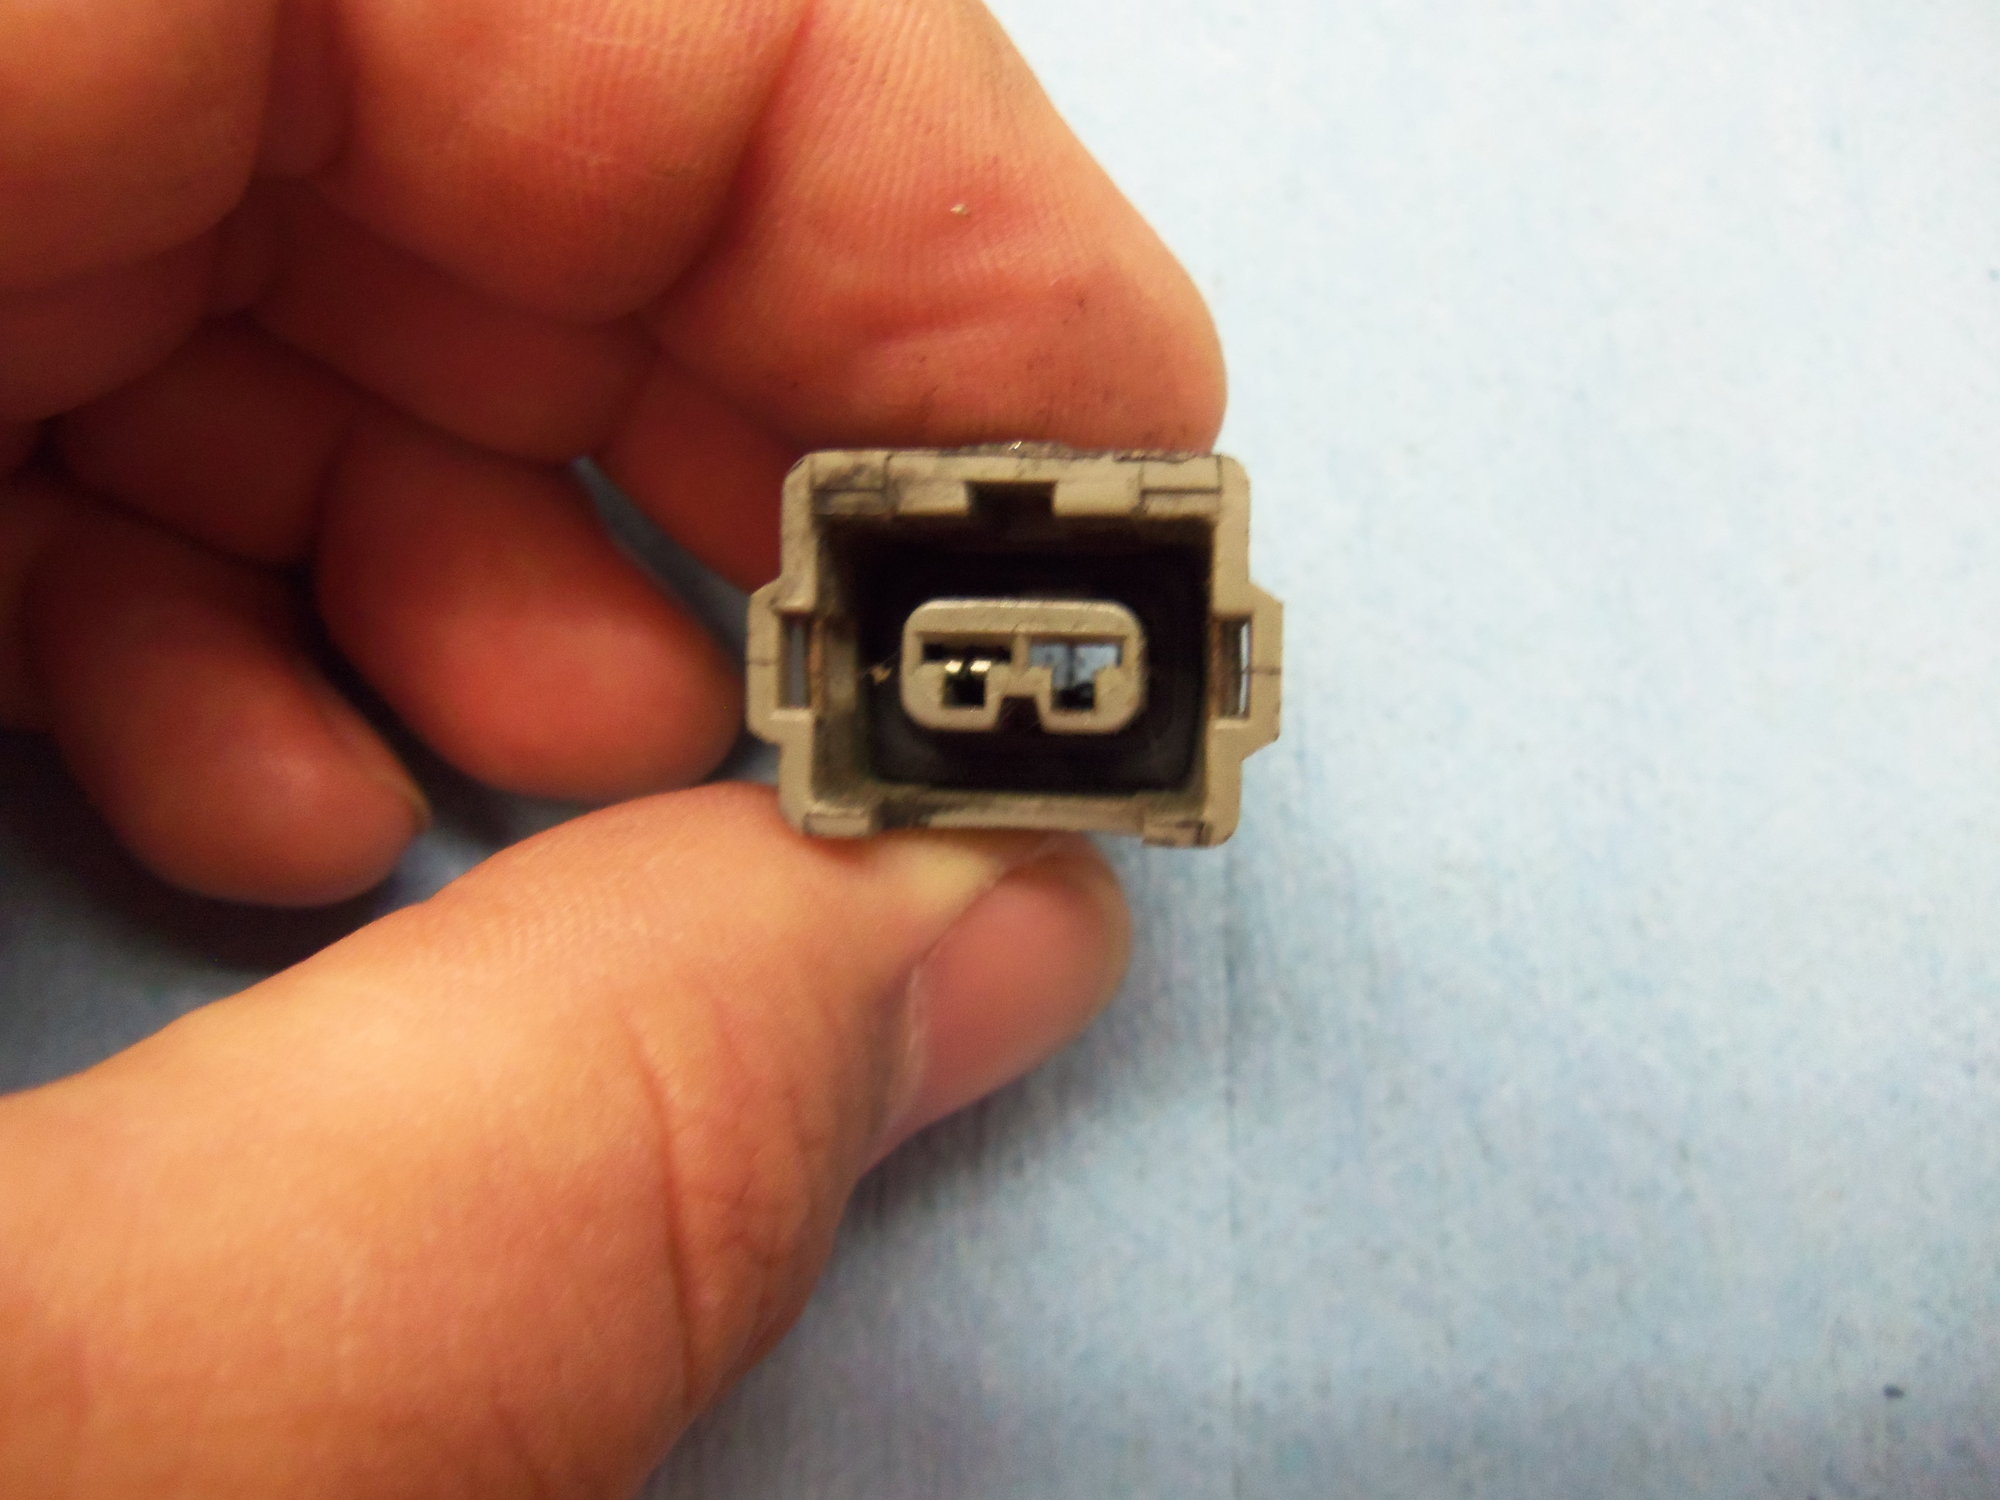
Slot for locking tab, on the right. You can just barely see the ledge that the locking tab rests against.
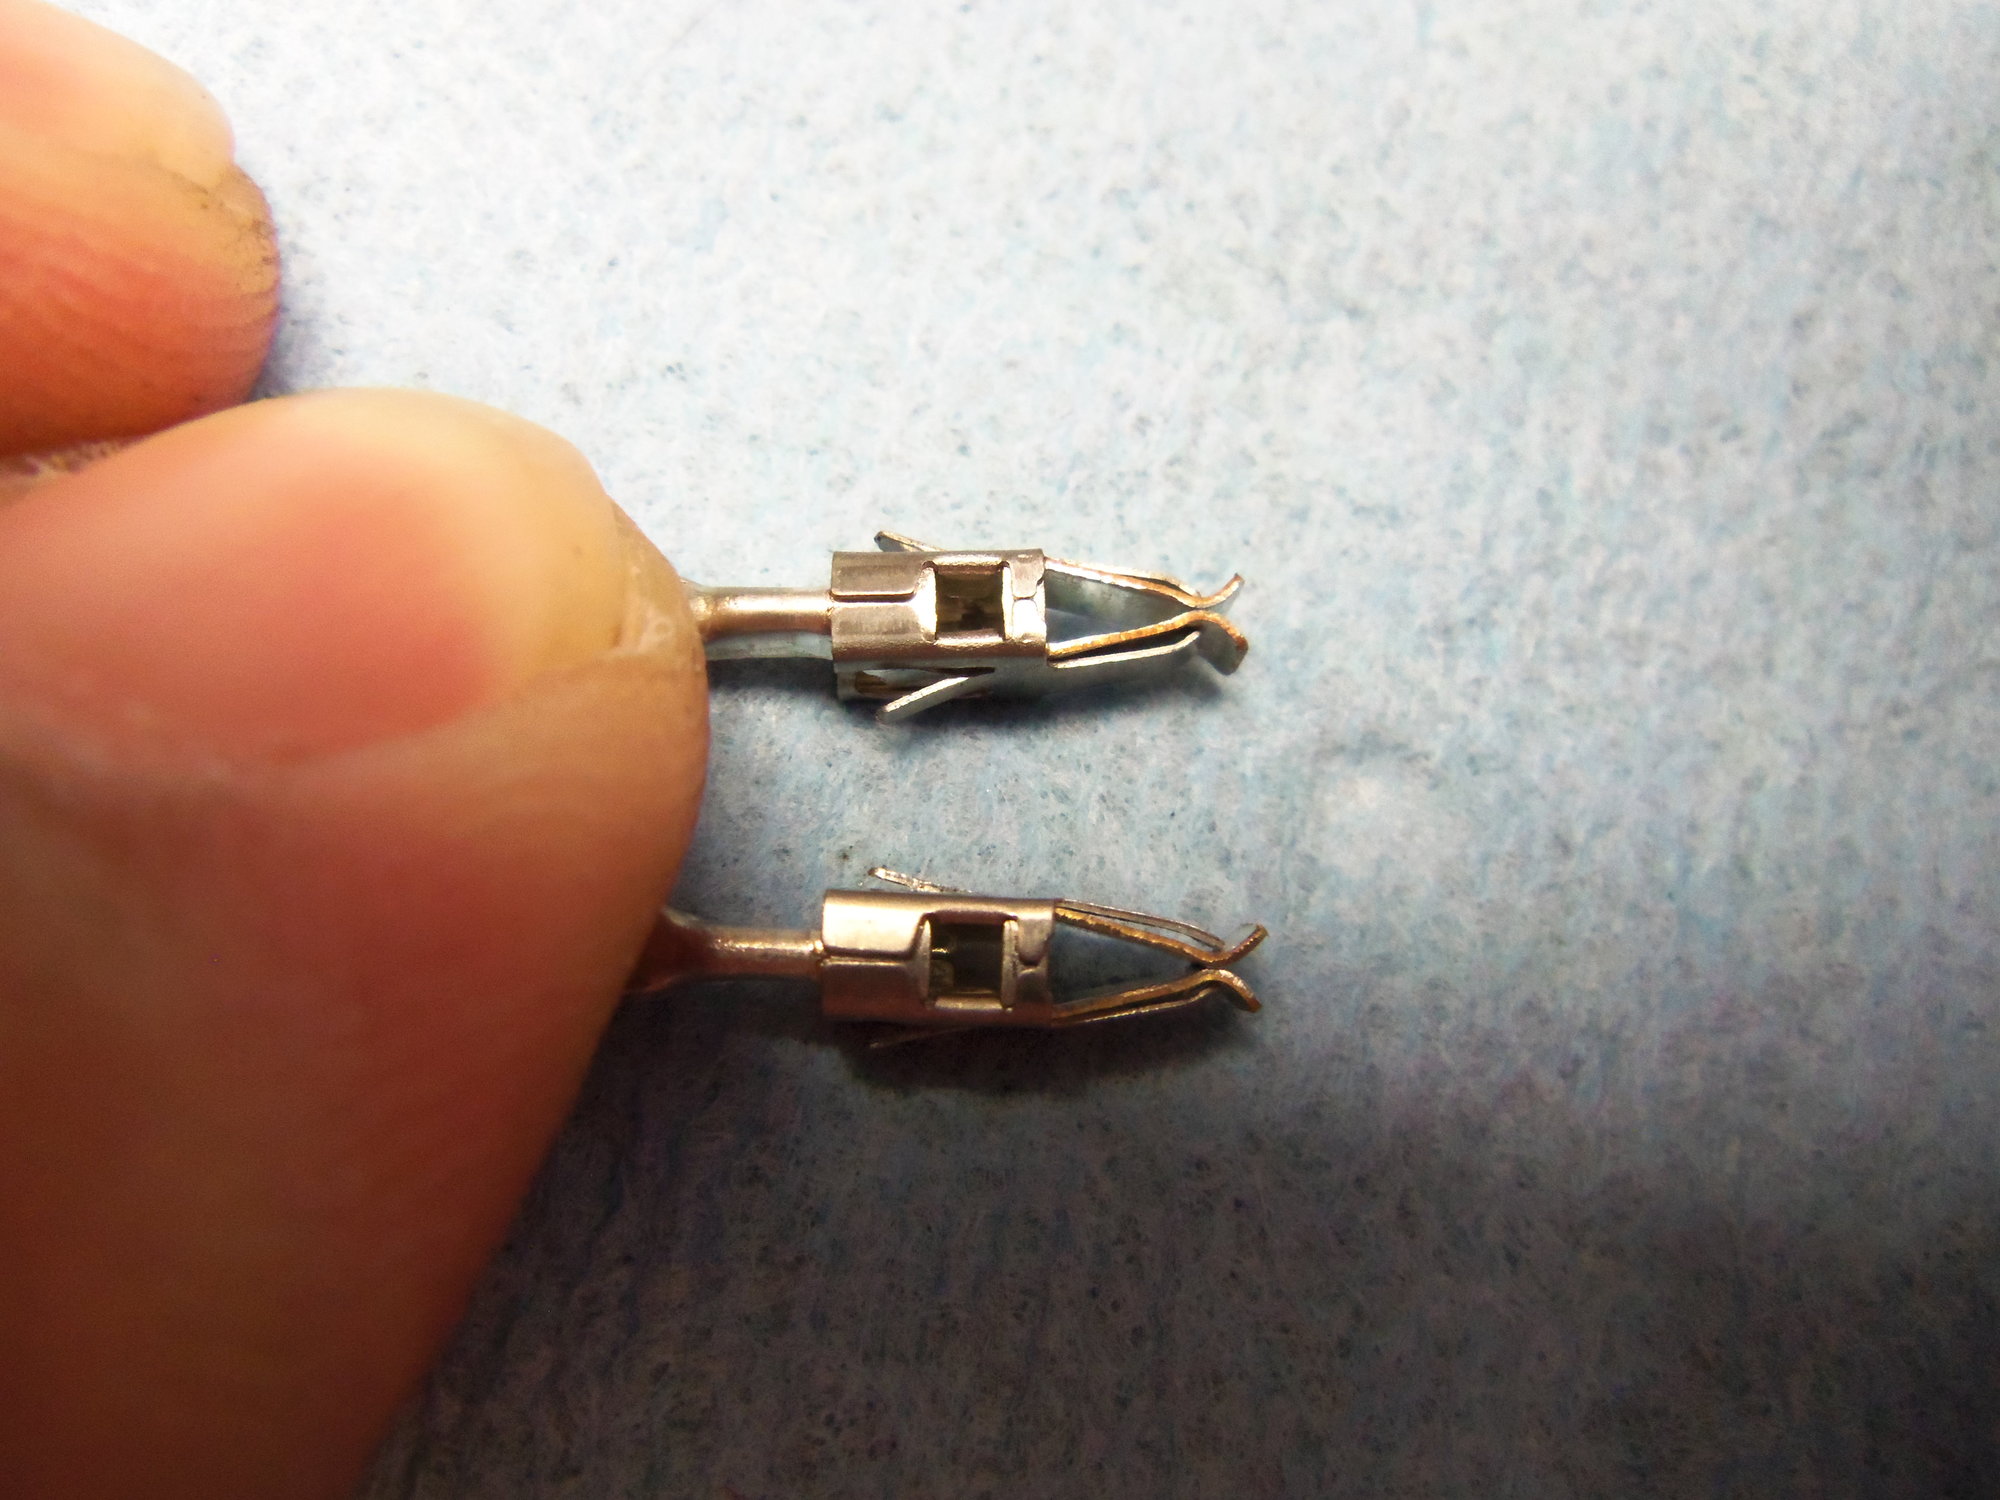
Some notes on the terminals themselves. Any new connector you buy will have new terminals. They are new, and nice. However...I preferred to stick with the OEM terminals if possible. I was lucky, and did not have to replace any terminals. However, it it had been necessary, I would have used a new one and not given it a second thought. My preference for the OEM terminals is the design of the fingers. The OEM terminal fingers are double layer, for lack of a better term. The metal finger is backed with what looks like another spring finger. In my mind, this is better than the single layer finger on the new terminals. Now, this is my opinion only, and in no way backed up with facts. I am sure the new terminals would function quite well. As well, they are new. I am betting on 30 year old metallurgy and fatigue. We shall see if I am right or not.
To muddy things, the terminals on the new connector with the wires for the fuel injectors is more like the OEM, with a second spring finger, though it is on the outside.
EDIT:GO TO POST #21 IN THIS THREAD. JIM CORENMAN HAS POSTED PHOTOS AND THE PART NUMBER OF THE CORRECT DOUBLE LAYER TERMINALS.
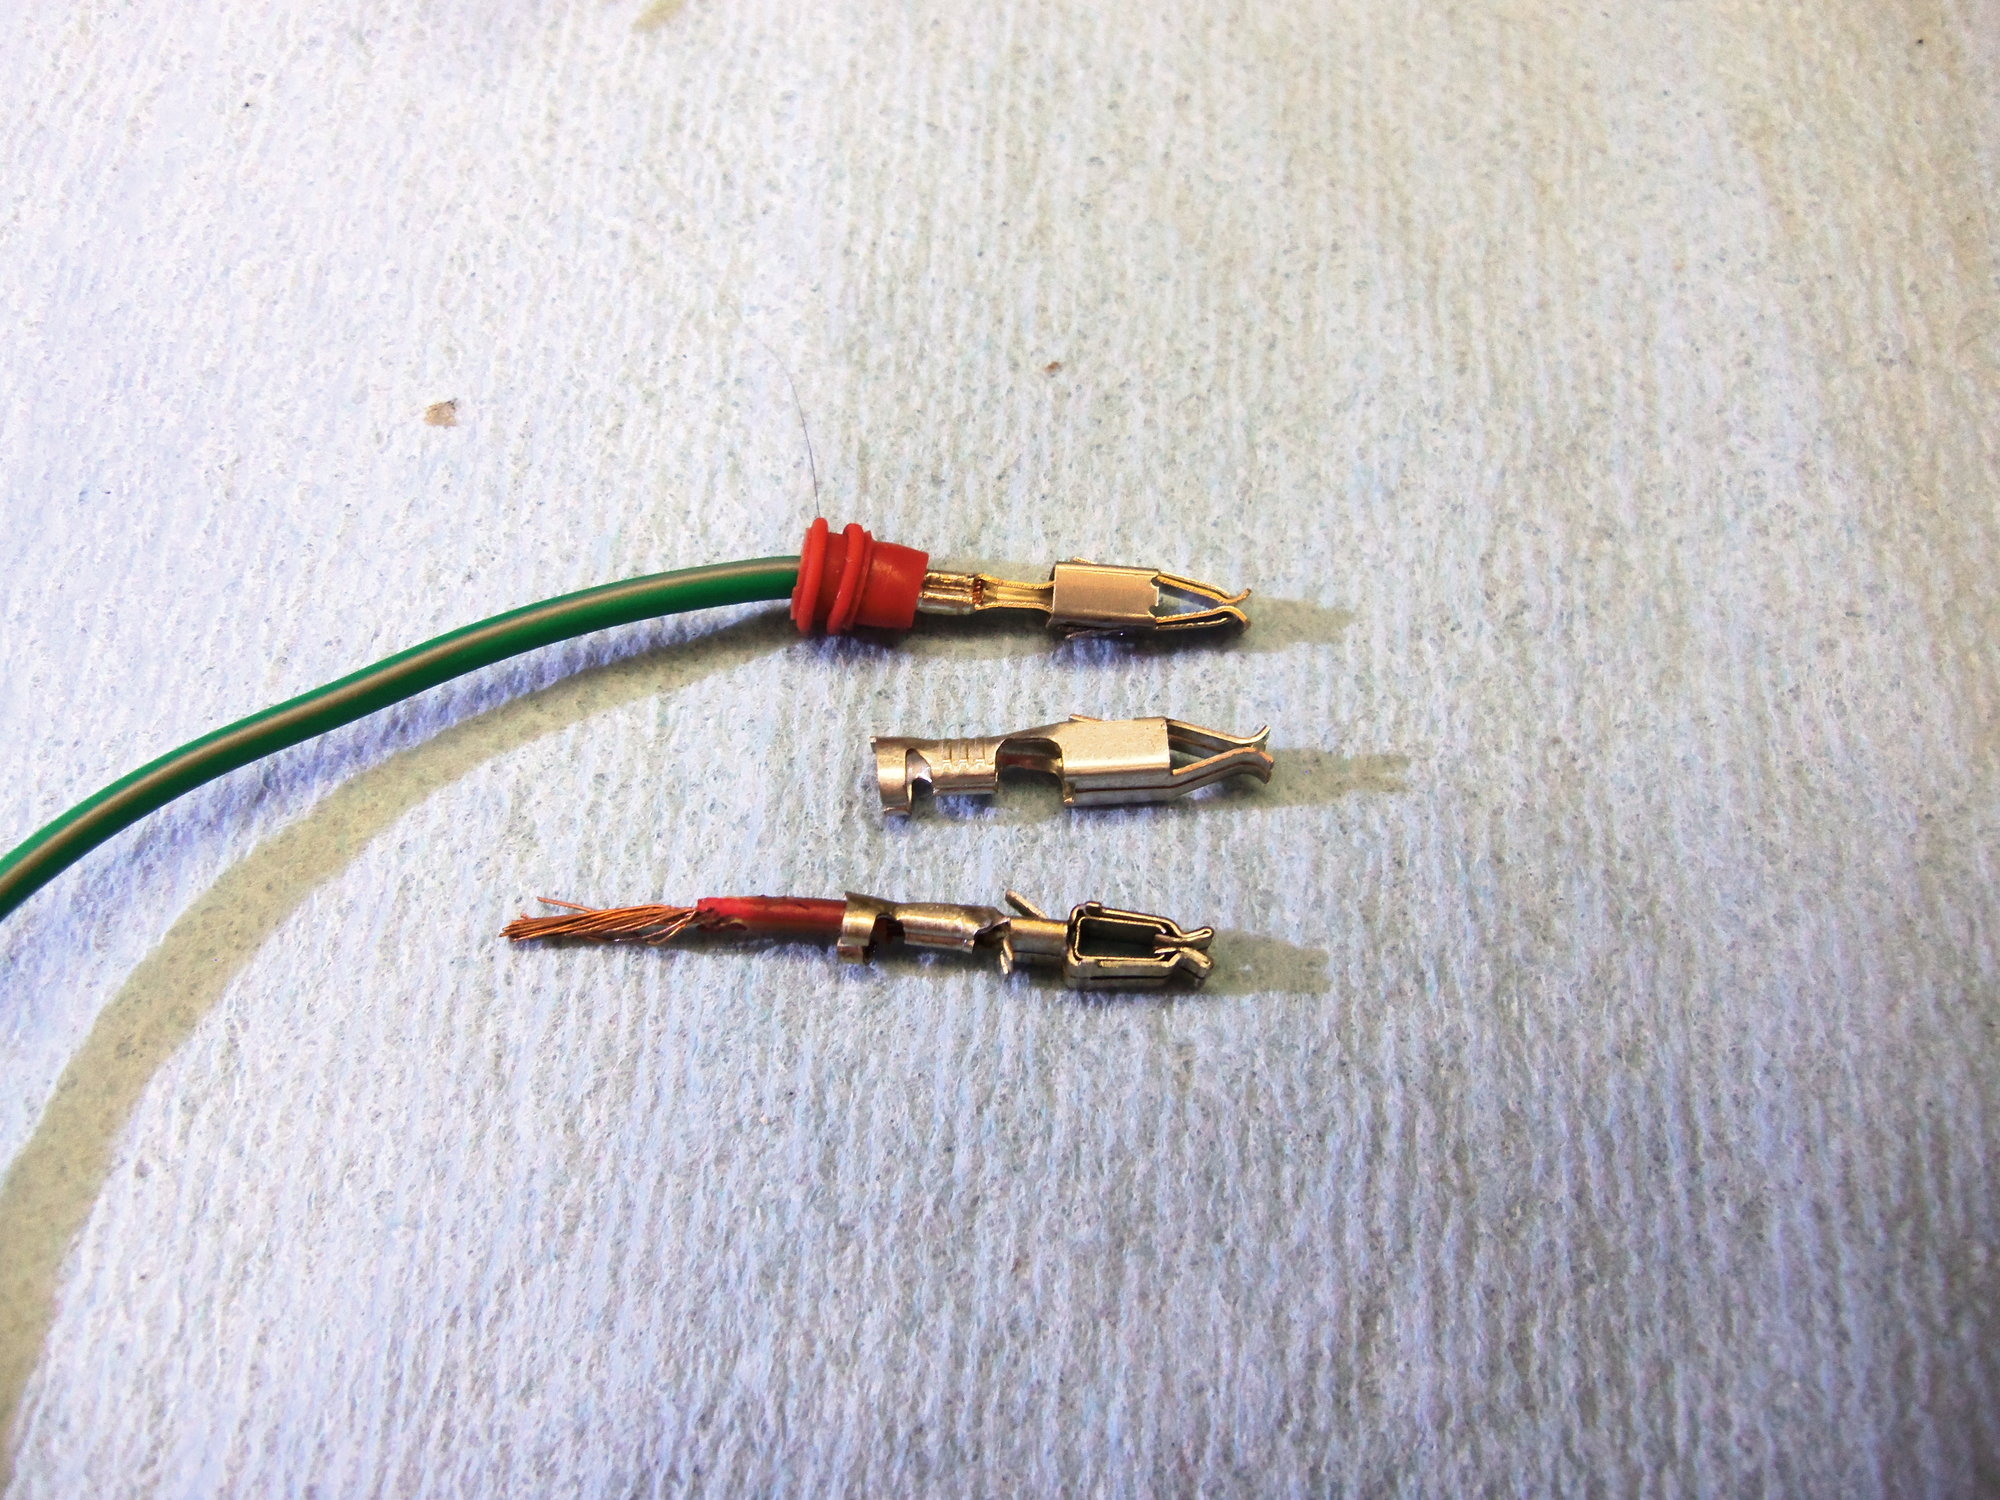
OEM terminal at top with double layer fingers. New terminal at bottom with single layer fingers.
Fingers are split on both terminals.
New fuel injector terminal at top has double layer fingers.
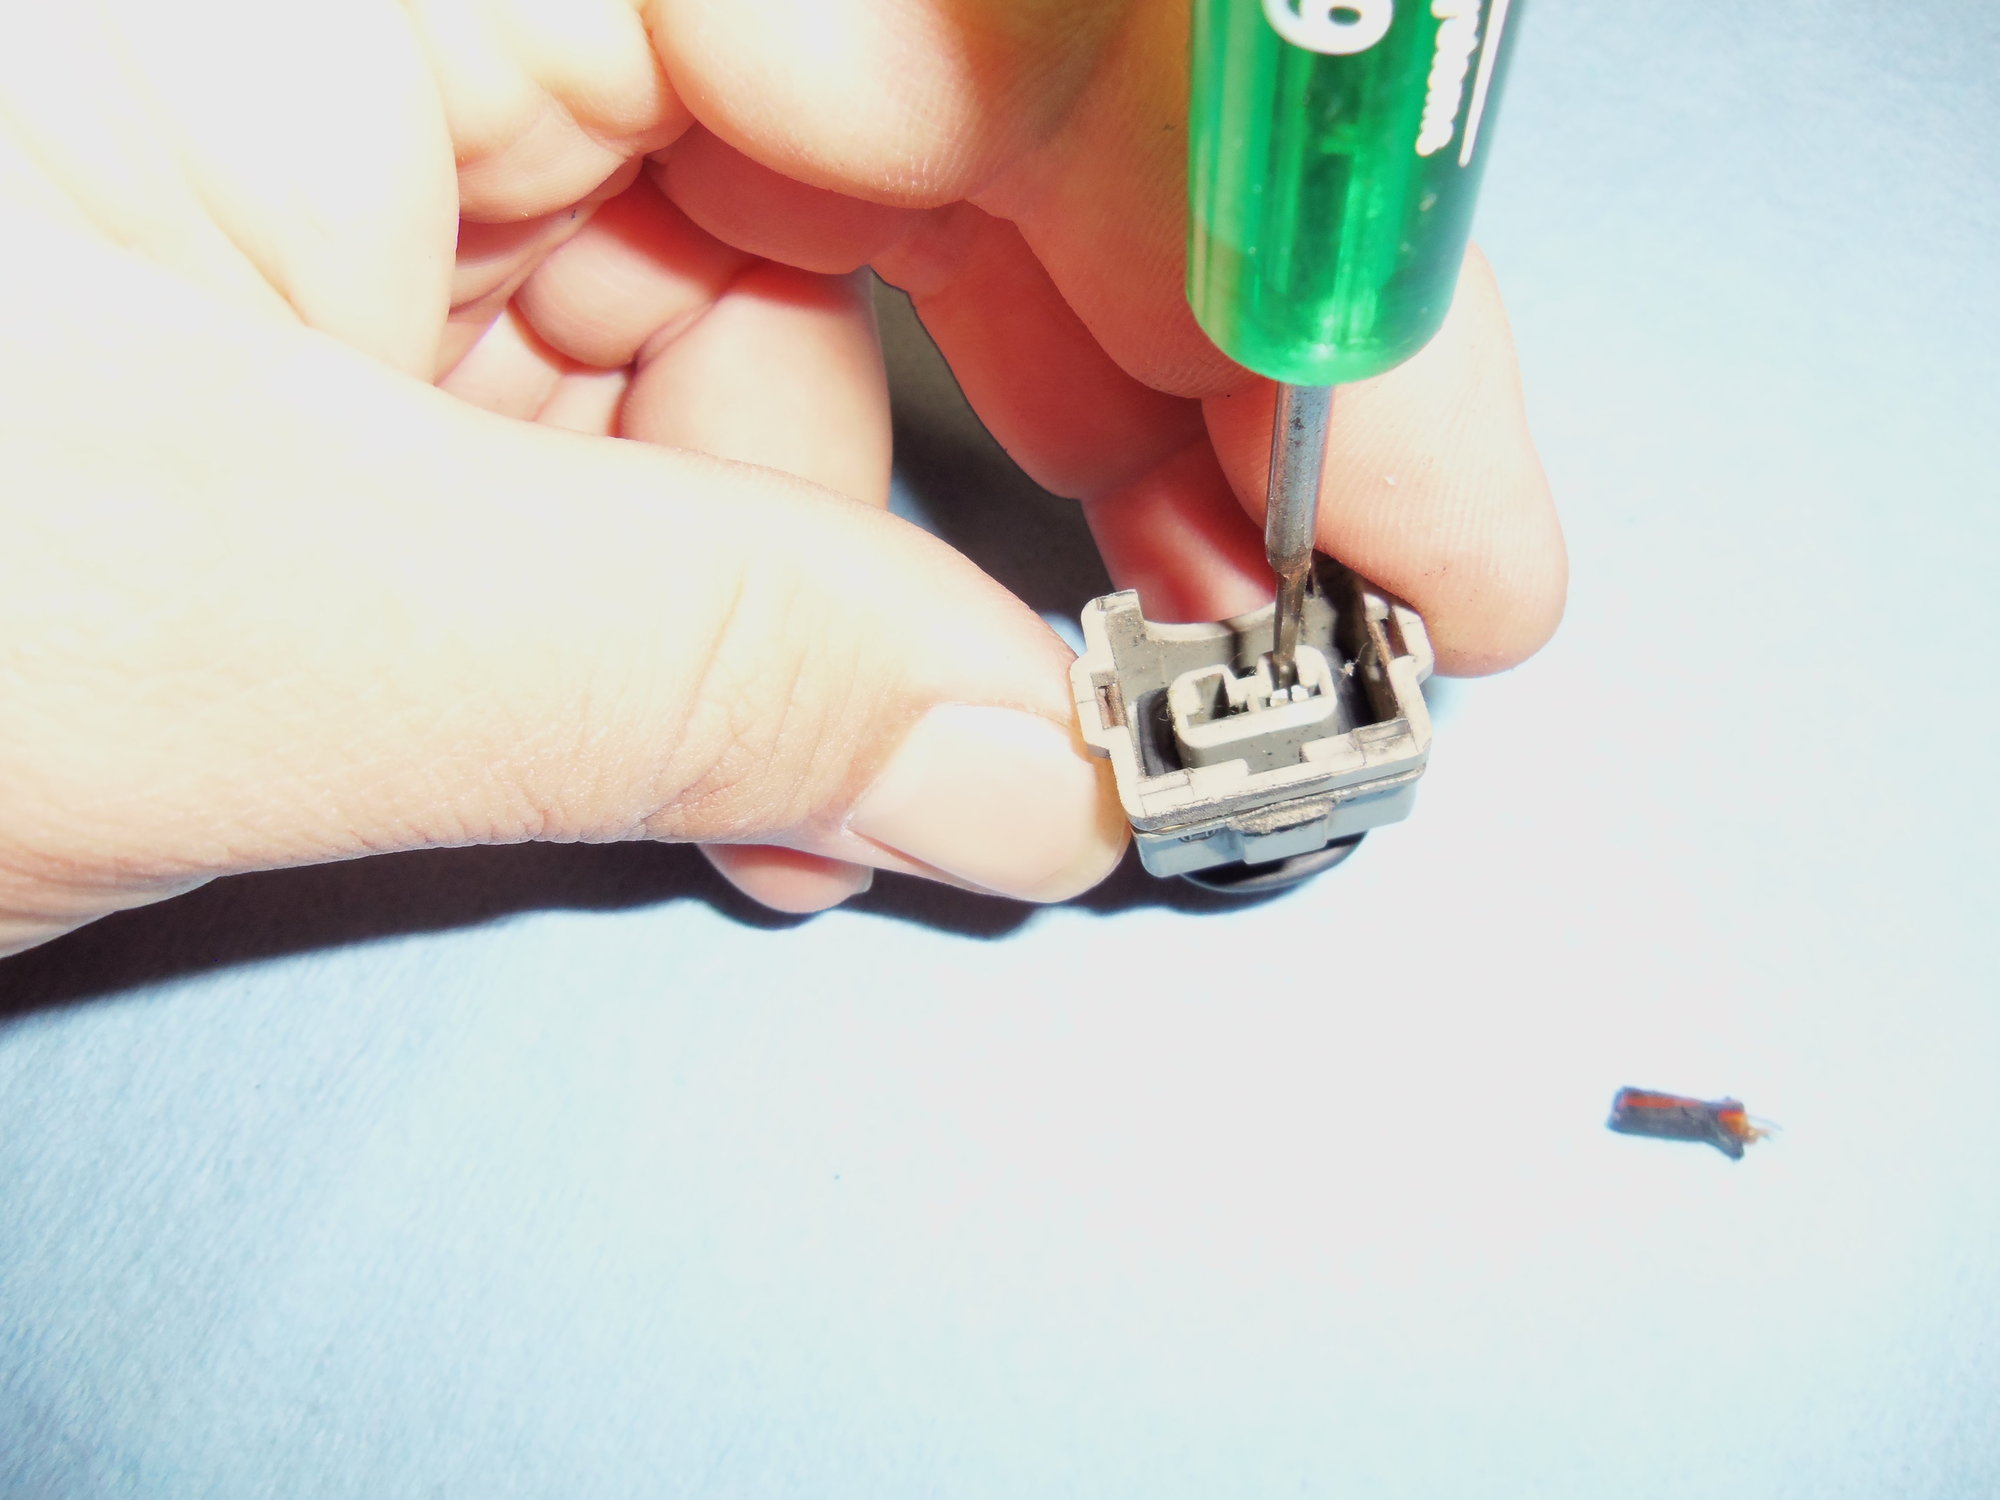
You might ask why I would remove the new terminals from the new fuel injector connector? Why not just splice the wires and be done with it? Because I wanted heat shrink tubing on the wires up under the boot. Anyway, I removed the terminals from the new connector. I used the middle sized double tine key from the el-cheapo set to release both locking tabs at the same time. When I did it last year on the injectors in the Red Witch, I had to manipulate two blade tools at the same time. It went poorly. This key made short work of the tabs. Insert the key, wiggle it a bit, pull the wire out the back. No muss, no fuss. MUCH less cursing.
Remember, use the pliers or your fingers to push the wire into the terminal as far as it will go. You want to push the terminal forward so that the locking tab is NOT resting against the little ledge in the connector body. If so, the tab could get wedged when you insert the tool and not release.
Medium sized double tine key.
Inserting key into both slots.
Better view.
Showing how the tines of the key depresses both locking tabs.
Different view.
Note, when reinstalling any of the terminals into a connector, I always bend the locking tabs out a bit. This ensures they securely lock in the connector body.
Locking tabs have been bent back out on the top terminal. The locking tabs are in the depressed position after being removed from the connector on the bottom terminal.
To wrap this up, the above process worked on all the Bosch connectors under the hood of my 928. Having said that, this is what worked for ME. Your results may vary.
I hope this helps somebody, and GOOD LUCK!!!
Some interesting info in the above, but let me elaborate. I have built hundreds of D-Jet and L-Jet wiring harnesses for Porsche's, MBenz's and VW's for nearly 20 years. Google my name to find my harness website.
The L-Jet wire terminals above are mis-identified. The design of the wire terminals used since the original L-Jet systems while functionally similar to the newest design, have improved greatly over the years. What is called OEM above is actually a newer design because it has an additional reinforcement leaf spring which combats fatigue which causes loss of grip, than the terminals called NEW. The NEW terminals above are actually the older, original design from back in the mid-1970's which were used on the earliest L-Jet systems - they have two pairs of side by side cantilever springs that frequently get mangled with repeated removal and reinsertion onto an engine component. Using a brand new terminal is always a good bet because the older ones are likely fatigued, and corroded, regardless of the design.
Secondly, the heat shrink tubing on the L-Jet connector housing is an anomaly and not factory, at least I have never seen on in the hundreds of harnesses I have parted out. It is not needed because when the rubber boot is installed, the boot provides strain relief to the wires, protects the wires from heat and contaminants exposure and waterproofs the connection.
Thirdly, to remove the terminals from their housings, always slightly push the wire end into the housing first, so that the terminal tang is released and not bearing on the housing recess/ledge which keeps the terminal in the housing. If you don't do this, then you run the very great risk of simply smashing and distorting the end of the tang into the ledge when the release probe is inserted. the tang will be bent and will likely fall off destroying the terminal.
Hi Jeff!
Thanks for replying, and for your insight. VERY good drawing! That is a big help to illustrate what I was trying to do.
Very good point about pushing the terminal in to the housing before trying to depress the locking tab. I had to learn that the hard way years ago. I forgot to say that in my text above. I have edited the post and added that information. Thanks!
I must respectfully disagree with you on a point, though. I am led to believe the adhesive lined heat shrink is OEM from Porsche for the 928, or whomever they subcontracted the harnesses too. Every connector under the hood of my 928 had this on it. I have spoken to, and read posts from other 928'ers who have found the same thing. I don't know how much this matters, but my 1986.5 has LH-Jet instead of L-Jet.
That is very interesting, and good to know about the terminals. Interesting that the new replacement terminal uses older technology than the older OEM terminal. As for the identification, I just called them that to try to differentiate them for the purposes of my post. I agree with you on the fatigue of new versus old terminals. I am taking a chance with mine, we shall see whether I live to regret it. I will be honest in saying that my decision was heavily influenced by my abysmal crimping skills. To be blunt, even with a good crimping kit, I was not confident I could properly crimp on the new terminals.
I will have to learn at some point or another.
Thank you again for your insight! I am no expert, and take any and all info I can get.

 04-10-2018, 04:04 PM