When you click on links to various merchants on this site and make a purchase, this can result in this site earning a commission. Affiliate programs and affiliations include, but are not limited to, the eBay Partner Network.
Seth and Dave - Super helpful responses...
Dave - I think what you see is all there is. Reversing the bend in the boot so I could have access to pick out the bits of male connector split the boot, then split the wire insulation on the two wires. There are no other locations where wires are exposed.
Ok. Let's keep our fingers crossed that you don't have any insulation deeper in the branch that wants to disintegrate at the slightest provocation.
I like Seth's idea to use heat shrink on individual wires, then one larger heat shrink over all three wires.
If I read his post correctly, he de-pined the connector body. That's the only way I can figure that he was able to use heat shrink without replacing connector terminals. That is certainly worth a try. Worst case you can crush the connector body and remove the pins that way.
I did notice it looks like the shielding is kind of pony tailed into that top connection.
The shielding is composed of a layer foil around the two main wires. Around the foil are individual strands of wire braided around the foil. At the connector terminal the individual strands 'twist-tie' together to enable crimping. If you can get away with not replacing the terminals do so. The braided shielding gets messy quickly.
See below for an example. This is a random interwebs image of shielded wire, not the CPS branch.
Dave, sorry about that. Yes, I depinned the connectors because I was installing all new connectors. I was not terribly impressed with the quality of the new Bosch metal terminals, so I depinned to keep the OEM terminals rather than cut them off. Granted, it was a bit of a b*tch releasing the terminals. Go figure that last month I bought an el-cheapo terminal release set off ebay that fit PERFECTLY.
Jon, I would not approach this without considering depinning the connectors for repair.
I second what Dave said about shielded wiring. It gets hairy quick terminating that.
Seth,
Did you document how you depinned the connectors? I'm thinking of "surgically" (Dremel) cutting up the old connector to release the pins from the connector without removing pins from wires. I'm hoping that with the pins free I can slip heat shrink over them and down over the split insulation on individual wires, then one larger piece of shrink over all of them, put on a new boot, insert pins into new connector, pull the boot up. The main goal being to not actually take any of the wiring connections apart. Of course what I'm suggesting could bare no resemblance to how things are put together. Some details on how you did it would really help. The shielding connection is the one I just don't want to mess with.
Thanks!
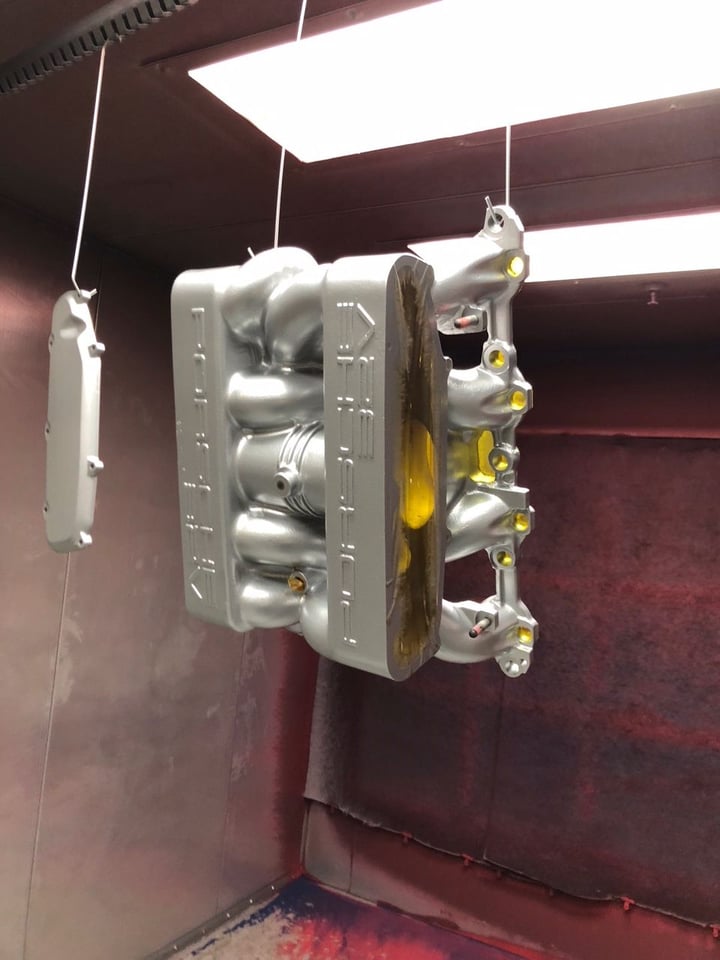
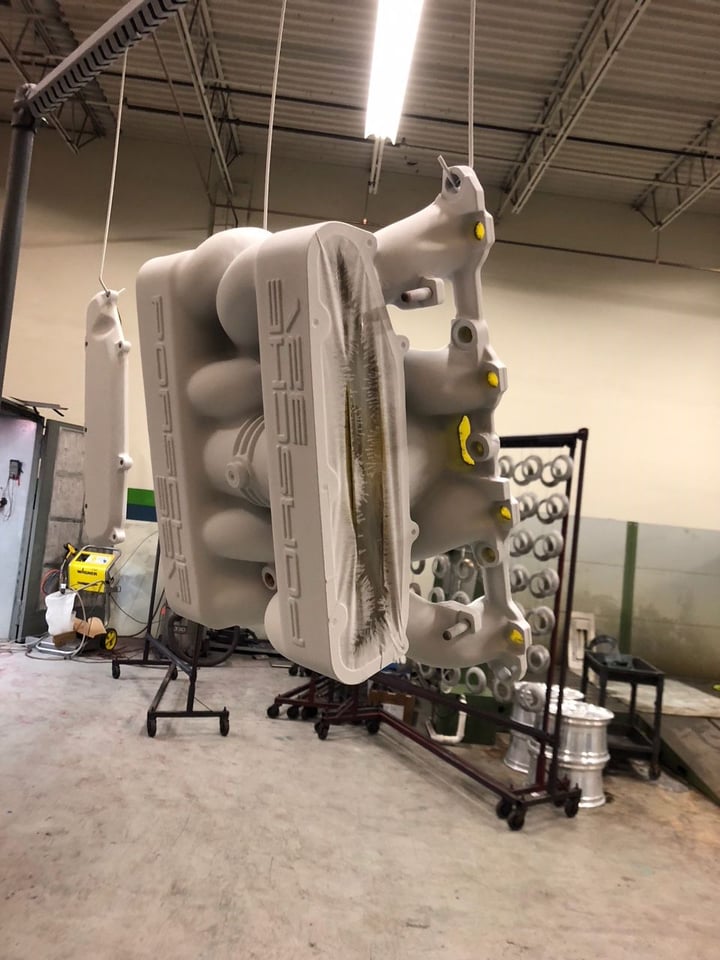
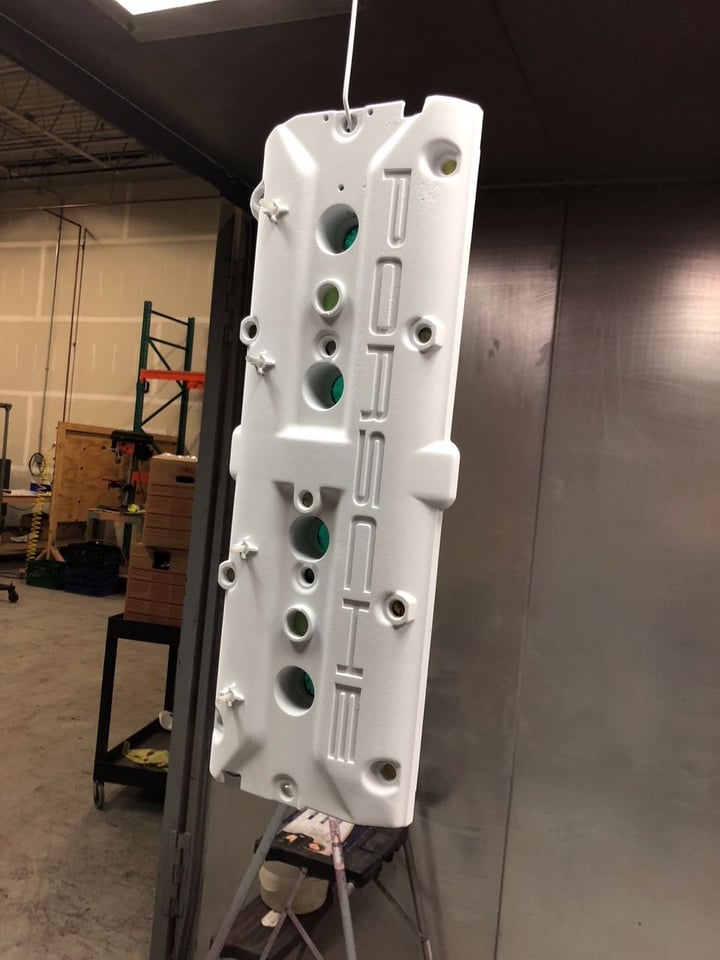
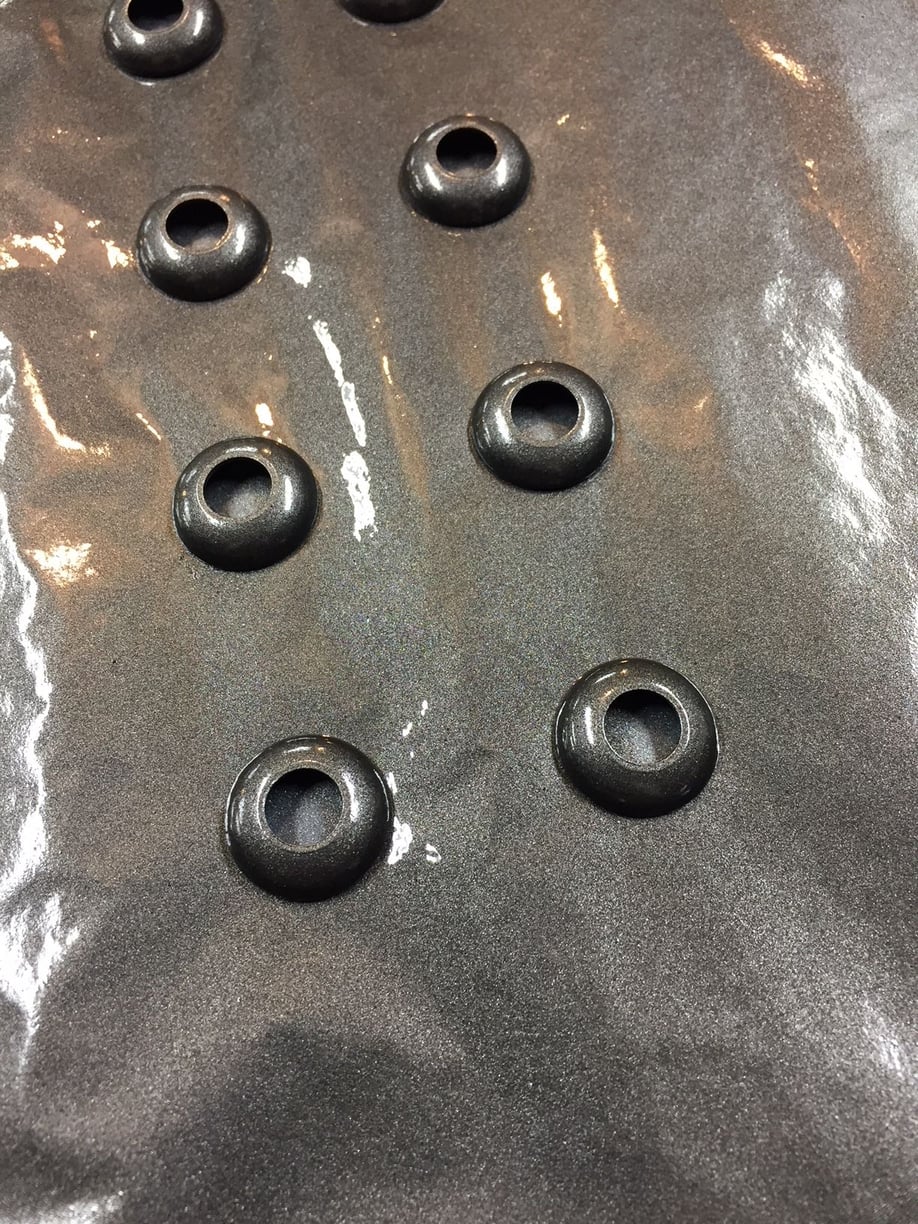
Painted the cam cover umbrella washers with VHT Engine Enamel paint
I like the look of fresh Cadmium....but it's whole purpose is to sacrifice itself and corrode. I considered gold paints, including VHT, but none were a convincing Cadmium look alike. I decided to not even try to match and come up with something that would be tasteful. I followed the directions on the cans. Used the timer on my phone to make sure I got the coats on properly. Primer, Paint, then Clear. Baked in the oven this afternoon at 200F for an hour. It looks good. The color is "cast iron" but it really looks kinda like anthracite (which I expected it would if cleared).
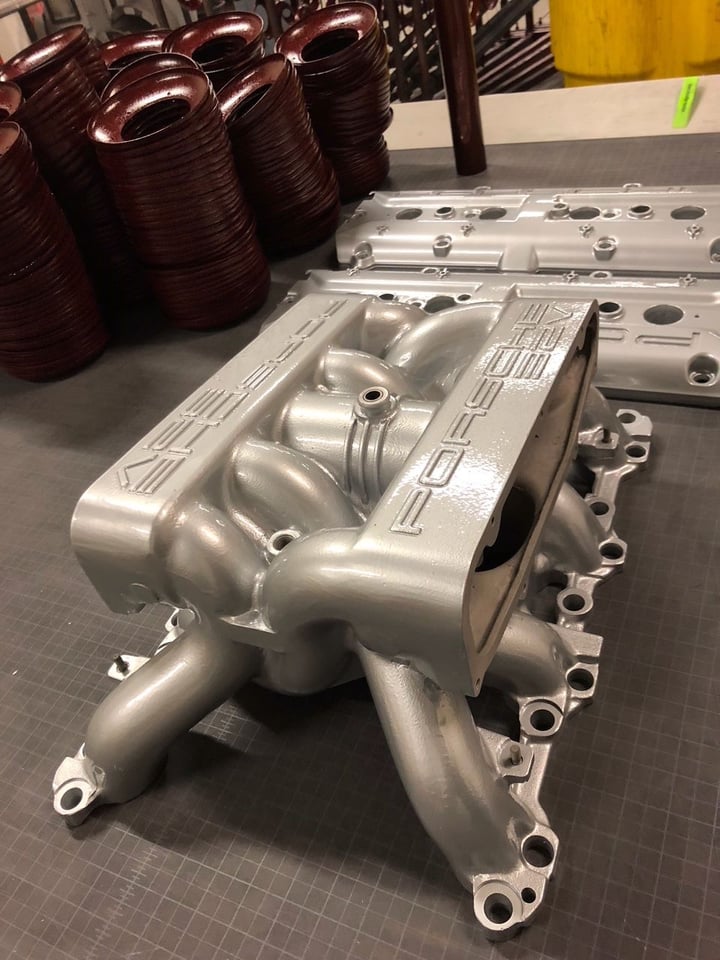
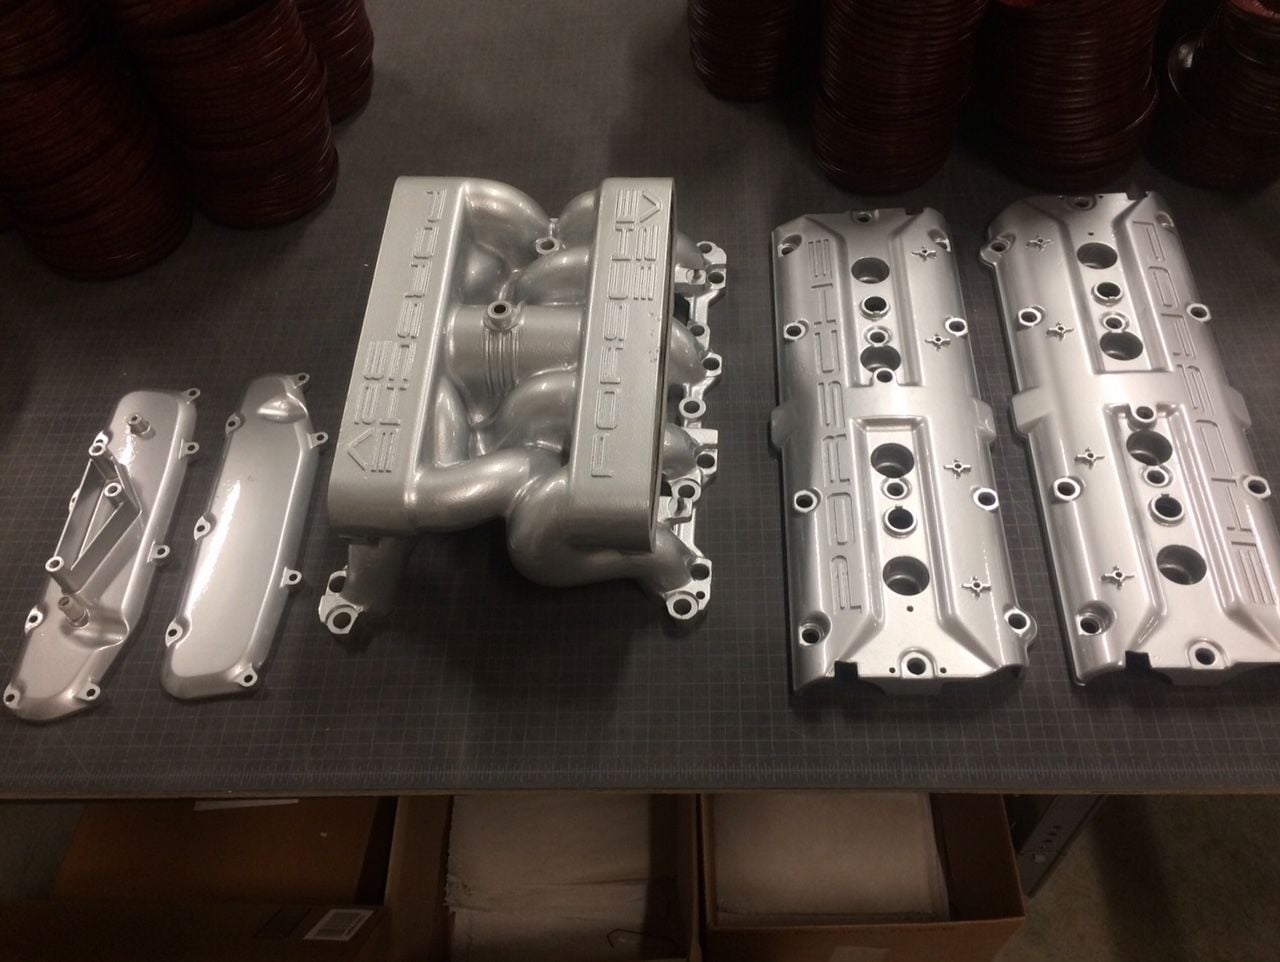
Nice of them to wrap them. They look even better than photos can reveal. The clear coat adds depth that isn't captured in photos.
Even nicer of them to remove all the flaking paint from inside. Bare metal. The guy who did it explained how they cleaned it. I can't find any residue anywhere. He said "Wash it if it will make you feel better". They baked/degassed the parts three times. There is no oil remaining inside...nothing sticky to hold media.
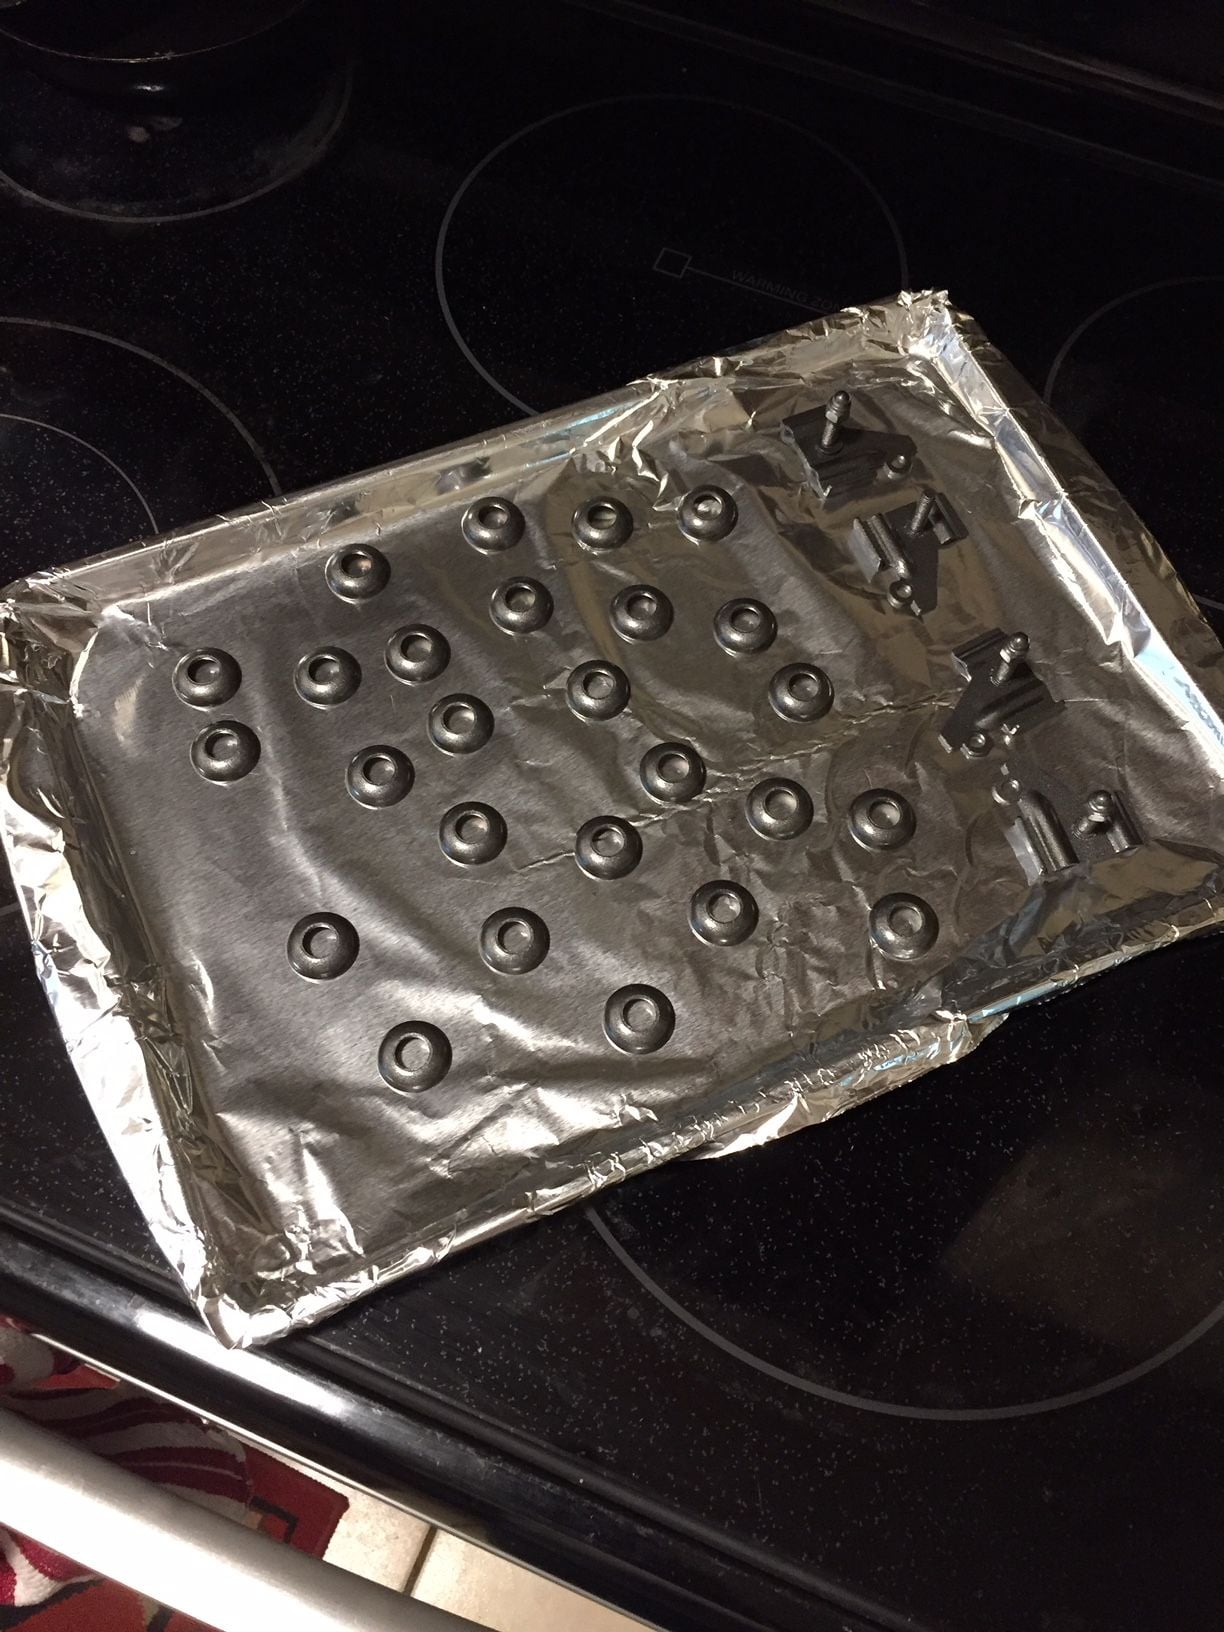
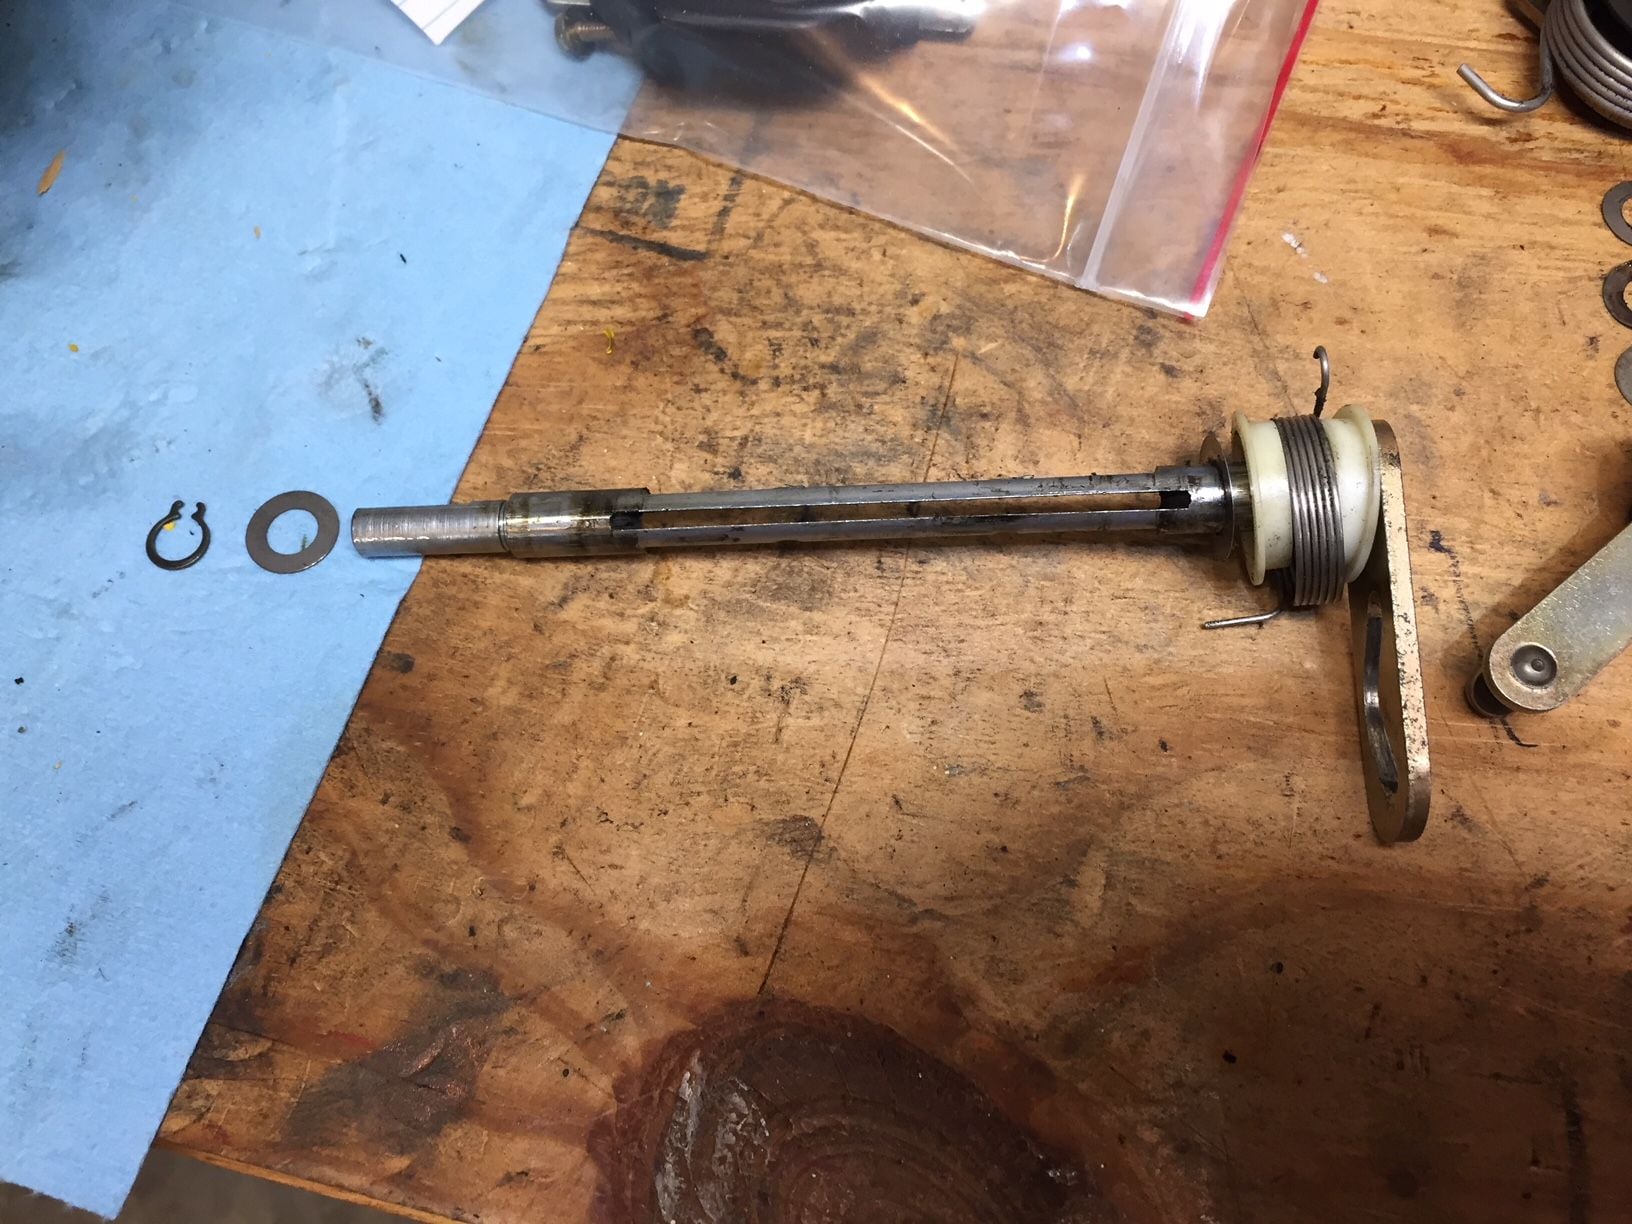
I decided to replace the bearings. I found the springs, lever arms, and assorted washers a bit different on my "88 than what Dwayne shows was on his "87. I managed to keep the black plastic "spool" in one piece (so far). A bit of s struggle to getting the small circlip on the TPS side out, even with small circlip pliers. I was careful due to Dwayne describing how easily it bends past it's elastic limit...and luckily I didn't exceed it.
Last edited by Captain_Slow; 04-14-2018 at 10:02 PM.
Reason: add photos
The PC looks beautiful. Maybe I missed it but who did you use? Your teaser really begs the question: What was the stripping/cleaning process as he explained it? I will be refinishing shortly and am compiling best practices. Thanks for a lot of new twists on a much-documented job.
The PC looks beautiful. Maybe I missed it but who did you use? Your teaser really begs the question: What was the stripping/cleaning process as he explained it? I will be refinishing shortly and am compiling best practices. Thanks for a lot of new twists on a much-documented job.
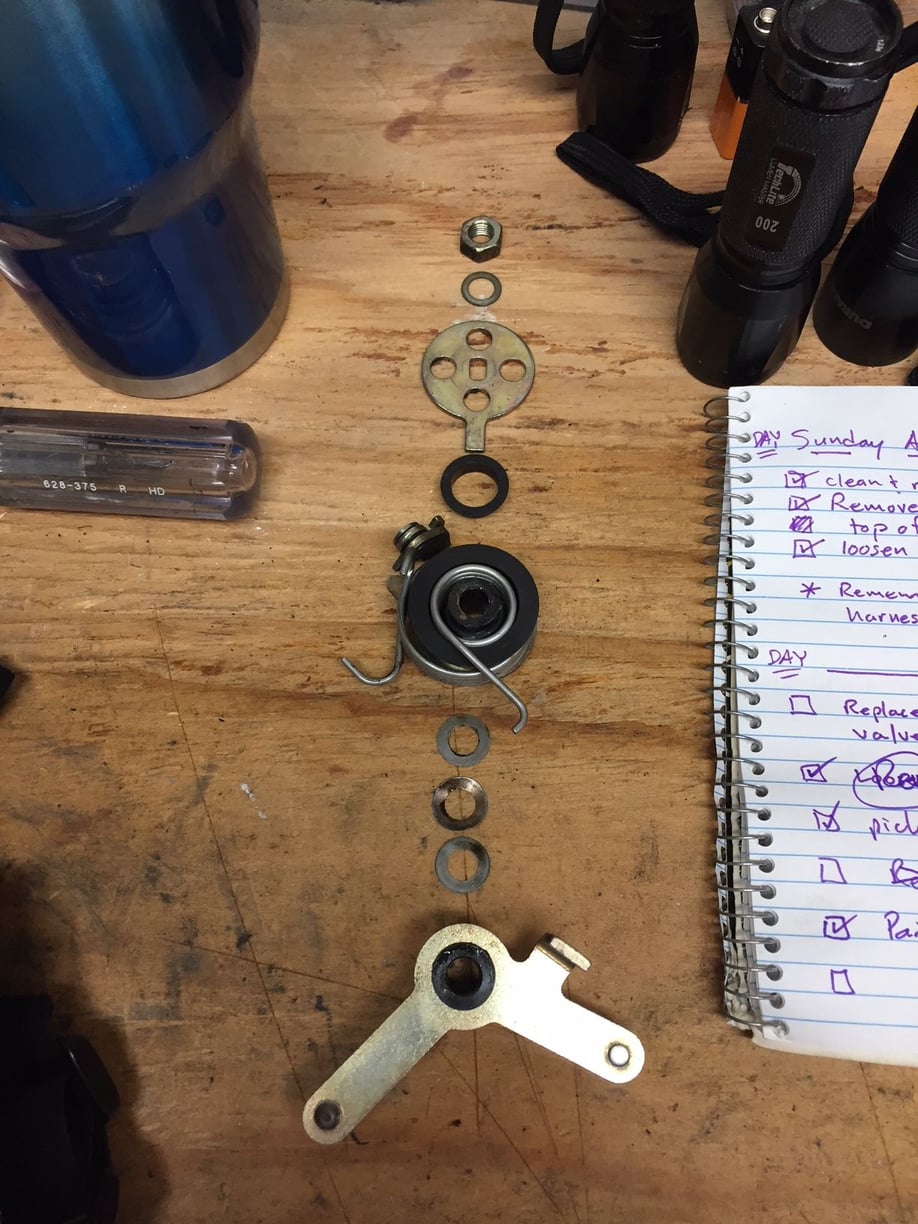
EDIT: The great results shown above lasted 3-4 weeks. By 4-5 weeks the clear coat on the intake looked like finely shattered glass. See later posts with pictures. Cause of failure: insufficient curing time. Likely due to the internal temperature of the intake lagging behind the surface temperature.
Last edited by Captain_Slow; 06-21-2018 at 11:04 AM.
Reason: Shop didn't cure the clear coat properly.
The PC looks beautiful. Maybe I missed it but who did you use? Your teaser really begs the question: What was the stripping/cleaning process as he explained it? I will be refinishing shortly and am compiling best practices. Thanks for a lot of new twists on a much-documented job.
NV Coatings. Chantilly, VA. Raphael, the shop manager, did the entire job.
Last edited by Captain_Slow; 04-15-2018 at 09:03 AM.

 04-09-2018, 02:03 AM