When you click on links to various merchants on this site and make a purchase, this can result in this site earning a commission. Affiliate programs and affiliations include, but are not limited to, the eBay Partner Network.
Wait until you remove the intake to remove the WB particularly if you have never removed it.
One M8 x 35 bolt (driver's side back one) is quite hard to reach with the intake in place.
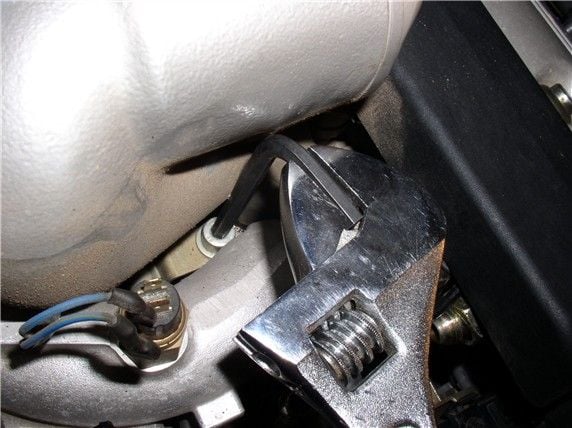
Photo taken in one of Dwayne's procedure.
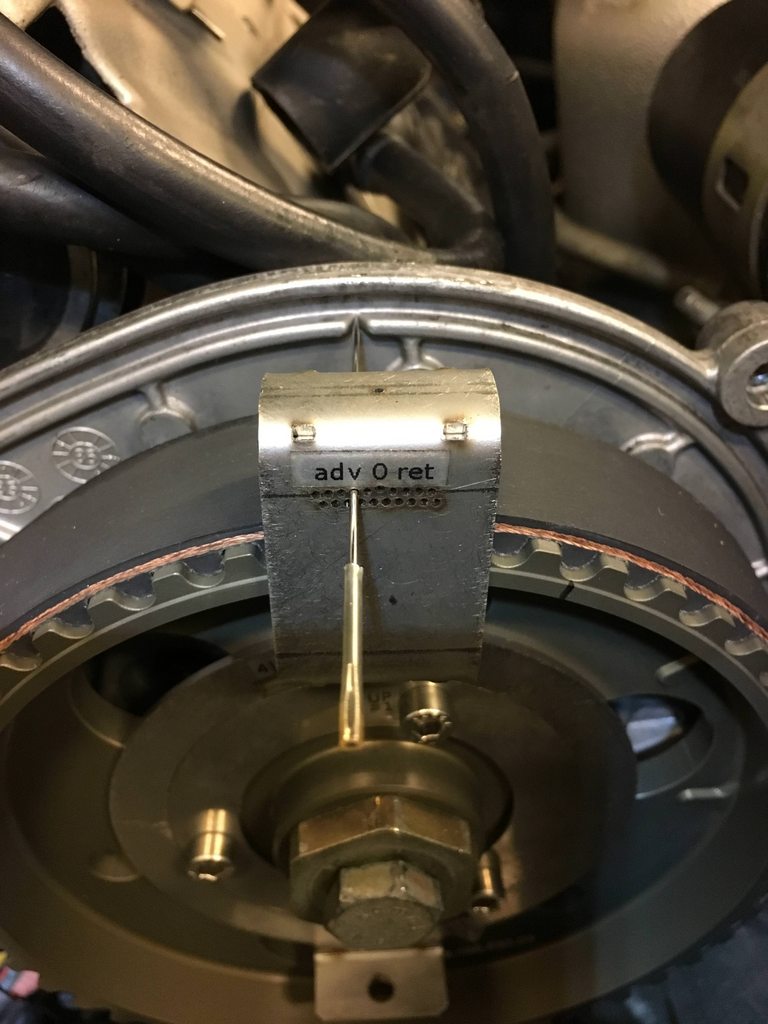
I received the PK32Vr tool, and have set it up to check timing. I have already installed the belt and PKT-S, then ran the engine on starter a couple of times(thanks a lot Stan for the pin #14 tip, very handy!). Veeery scary to spin engine by starter, but luckily no strange noises or things flying through the air. PKT-S measurement was 2.3mm after that so it is well inside spec. Then set engine to TDC to do timing.
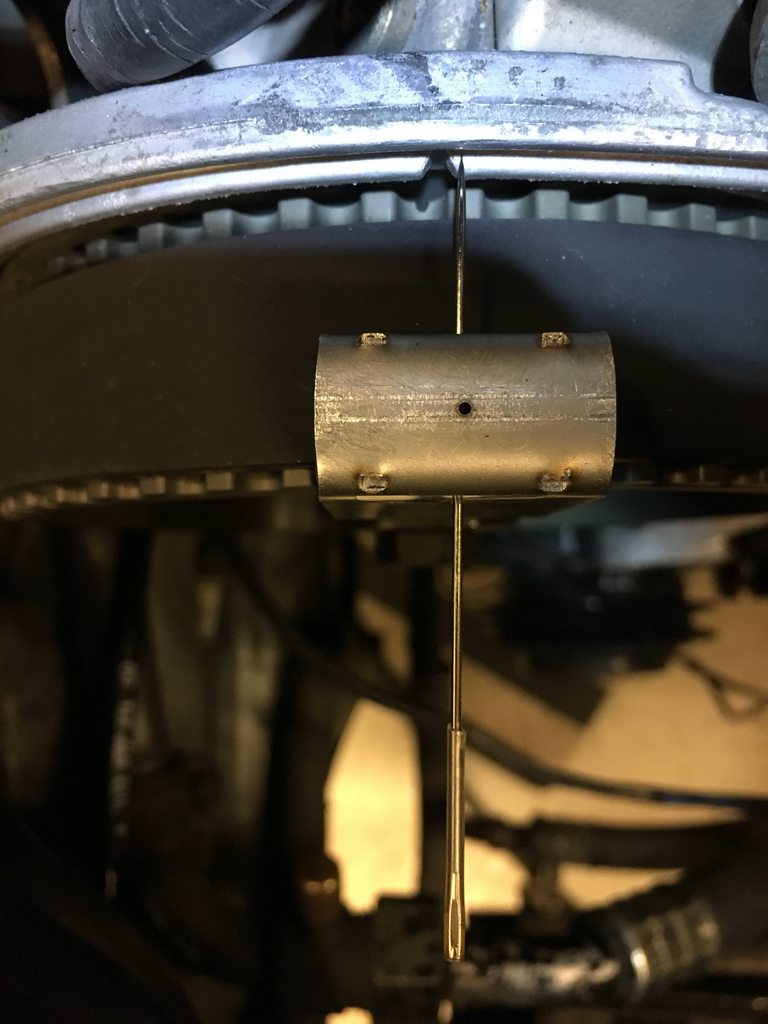
First, pics of timing needle at 0 and checked both sides. Does this seem correct in relation to the marking on the inside of the cam gear?
PS:
DS:
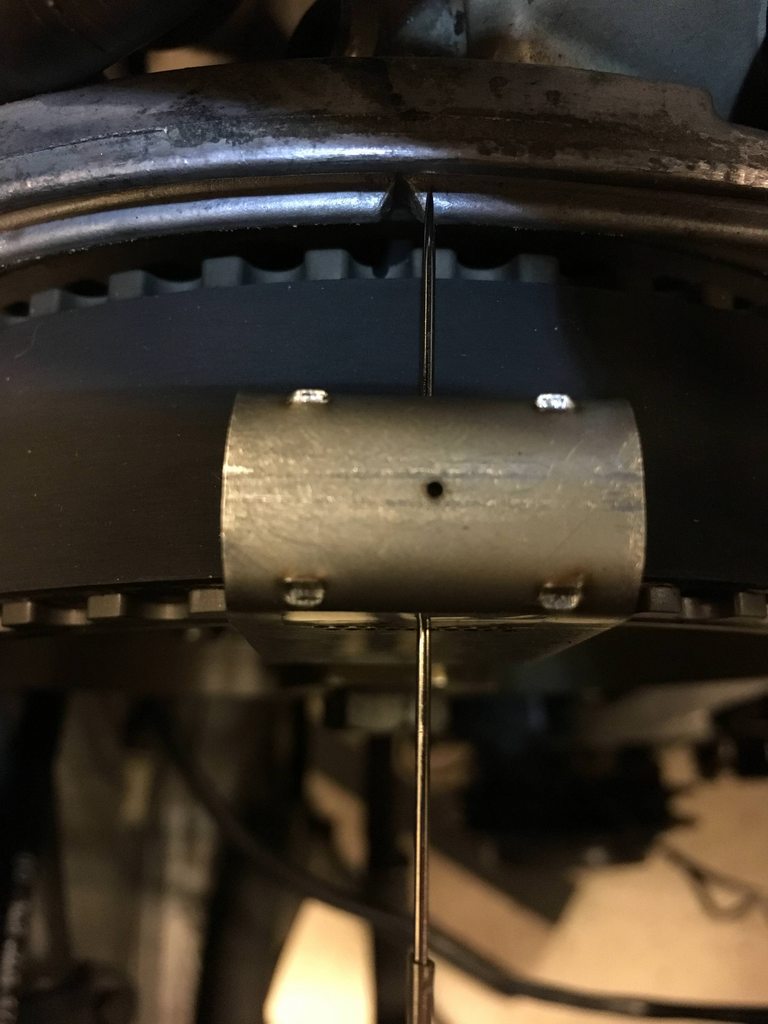
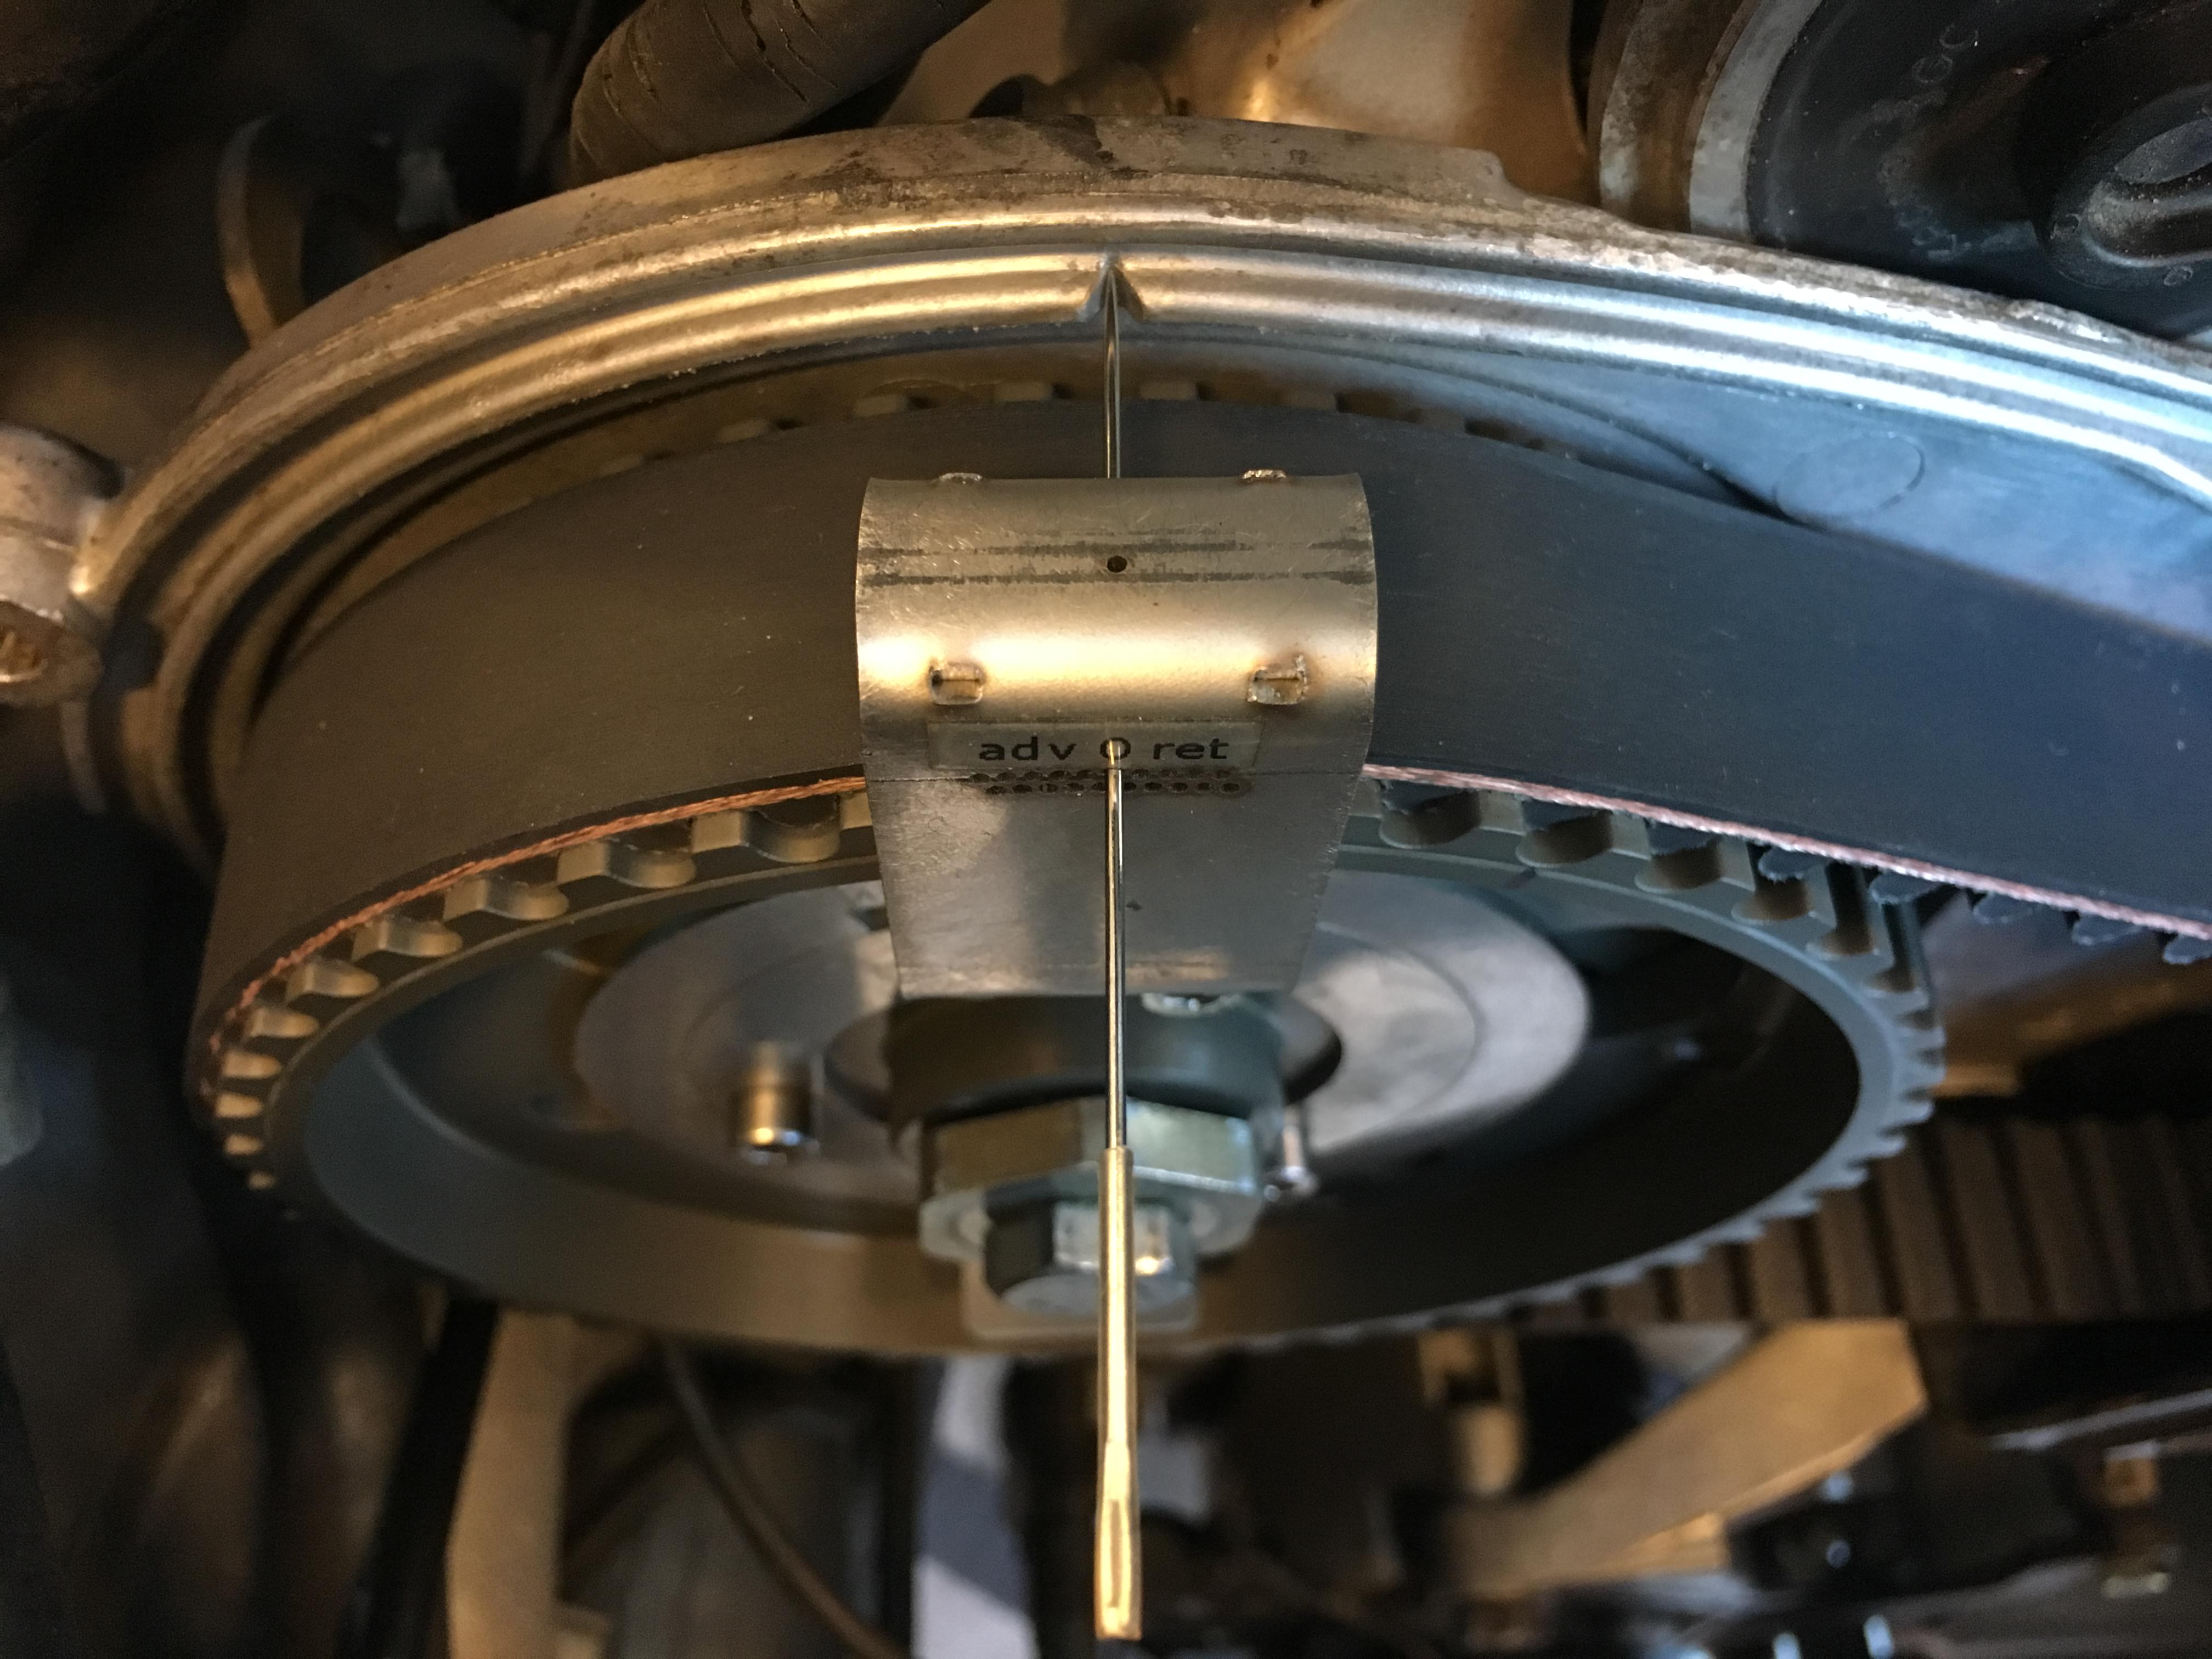
Then pics of the actual reading. PS is +3, DS is +4. Does this all add up? Can I just adjust them both to 0 now, and be happy? Or am I one tooth wrong on both gears?
Nothing wrong with that but now you need to adjust to the target timing required. Is that the old belt or a new belt? If an old belt the timing is zero on one side and minus 2 on the other but cannot remember which way round the numbers are.
It is the new belt(Porsche brand). Porken have instructed me; Because I have installed the PKT-S I must set timing with new belt after engine is rotated by starter, to have correct tension. Also ionstructed to set timing to 0, 0 cold with new belt.
It is the new belt(Porsche brand). Porken have instructed me; Because I have installed the PKT-S I must set timing with new belt after engine is rotated by starter, to have correct tension. Also ionstructed to set timing to 0, 0 cold with new belt.
Sounds as though you have understood the concept- just remember for the new belt this is an approximation and you can always go back in later and check the numbers after the belt has completed its initial stretch 1000 miles or whatever later..
Sounds good. One question; in my case, to set from where I am now to 0, do I do it at TDC or at 20 BTDC? I coudn't really understand from the manual. Am I advancing or retarding when I set it to 0 from my position?
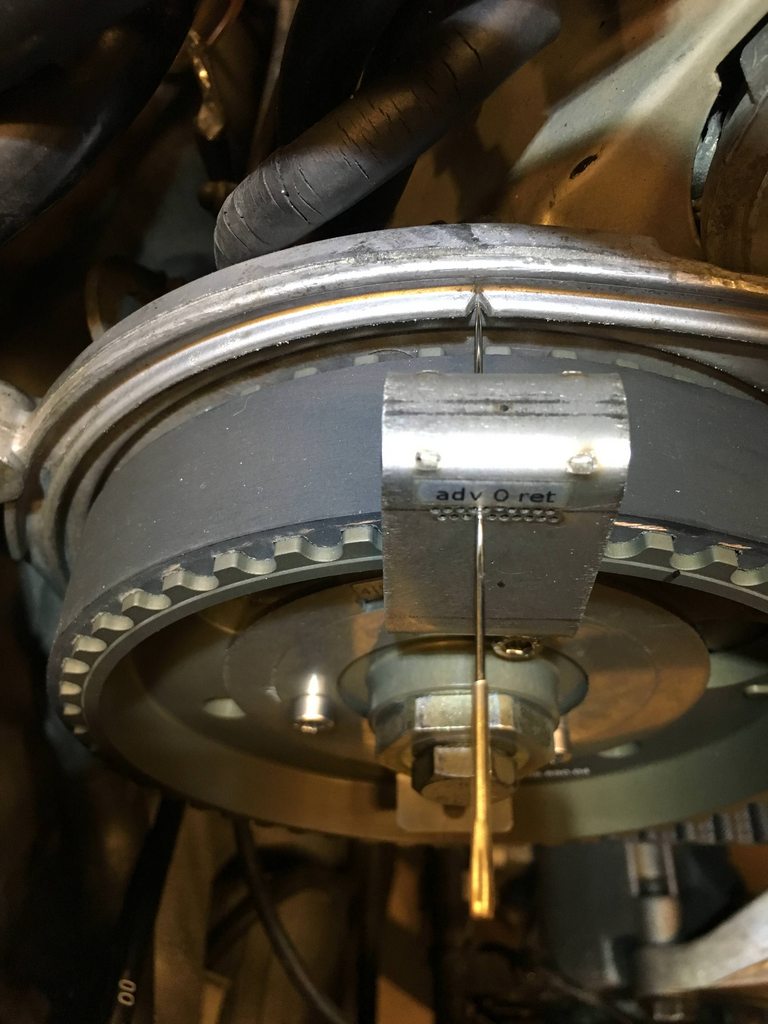
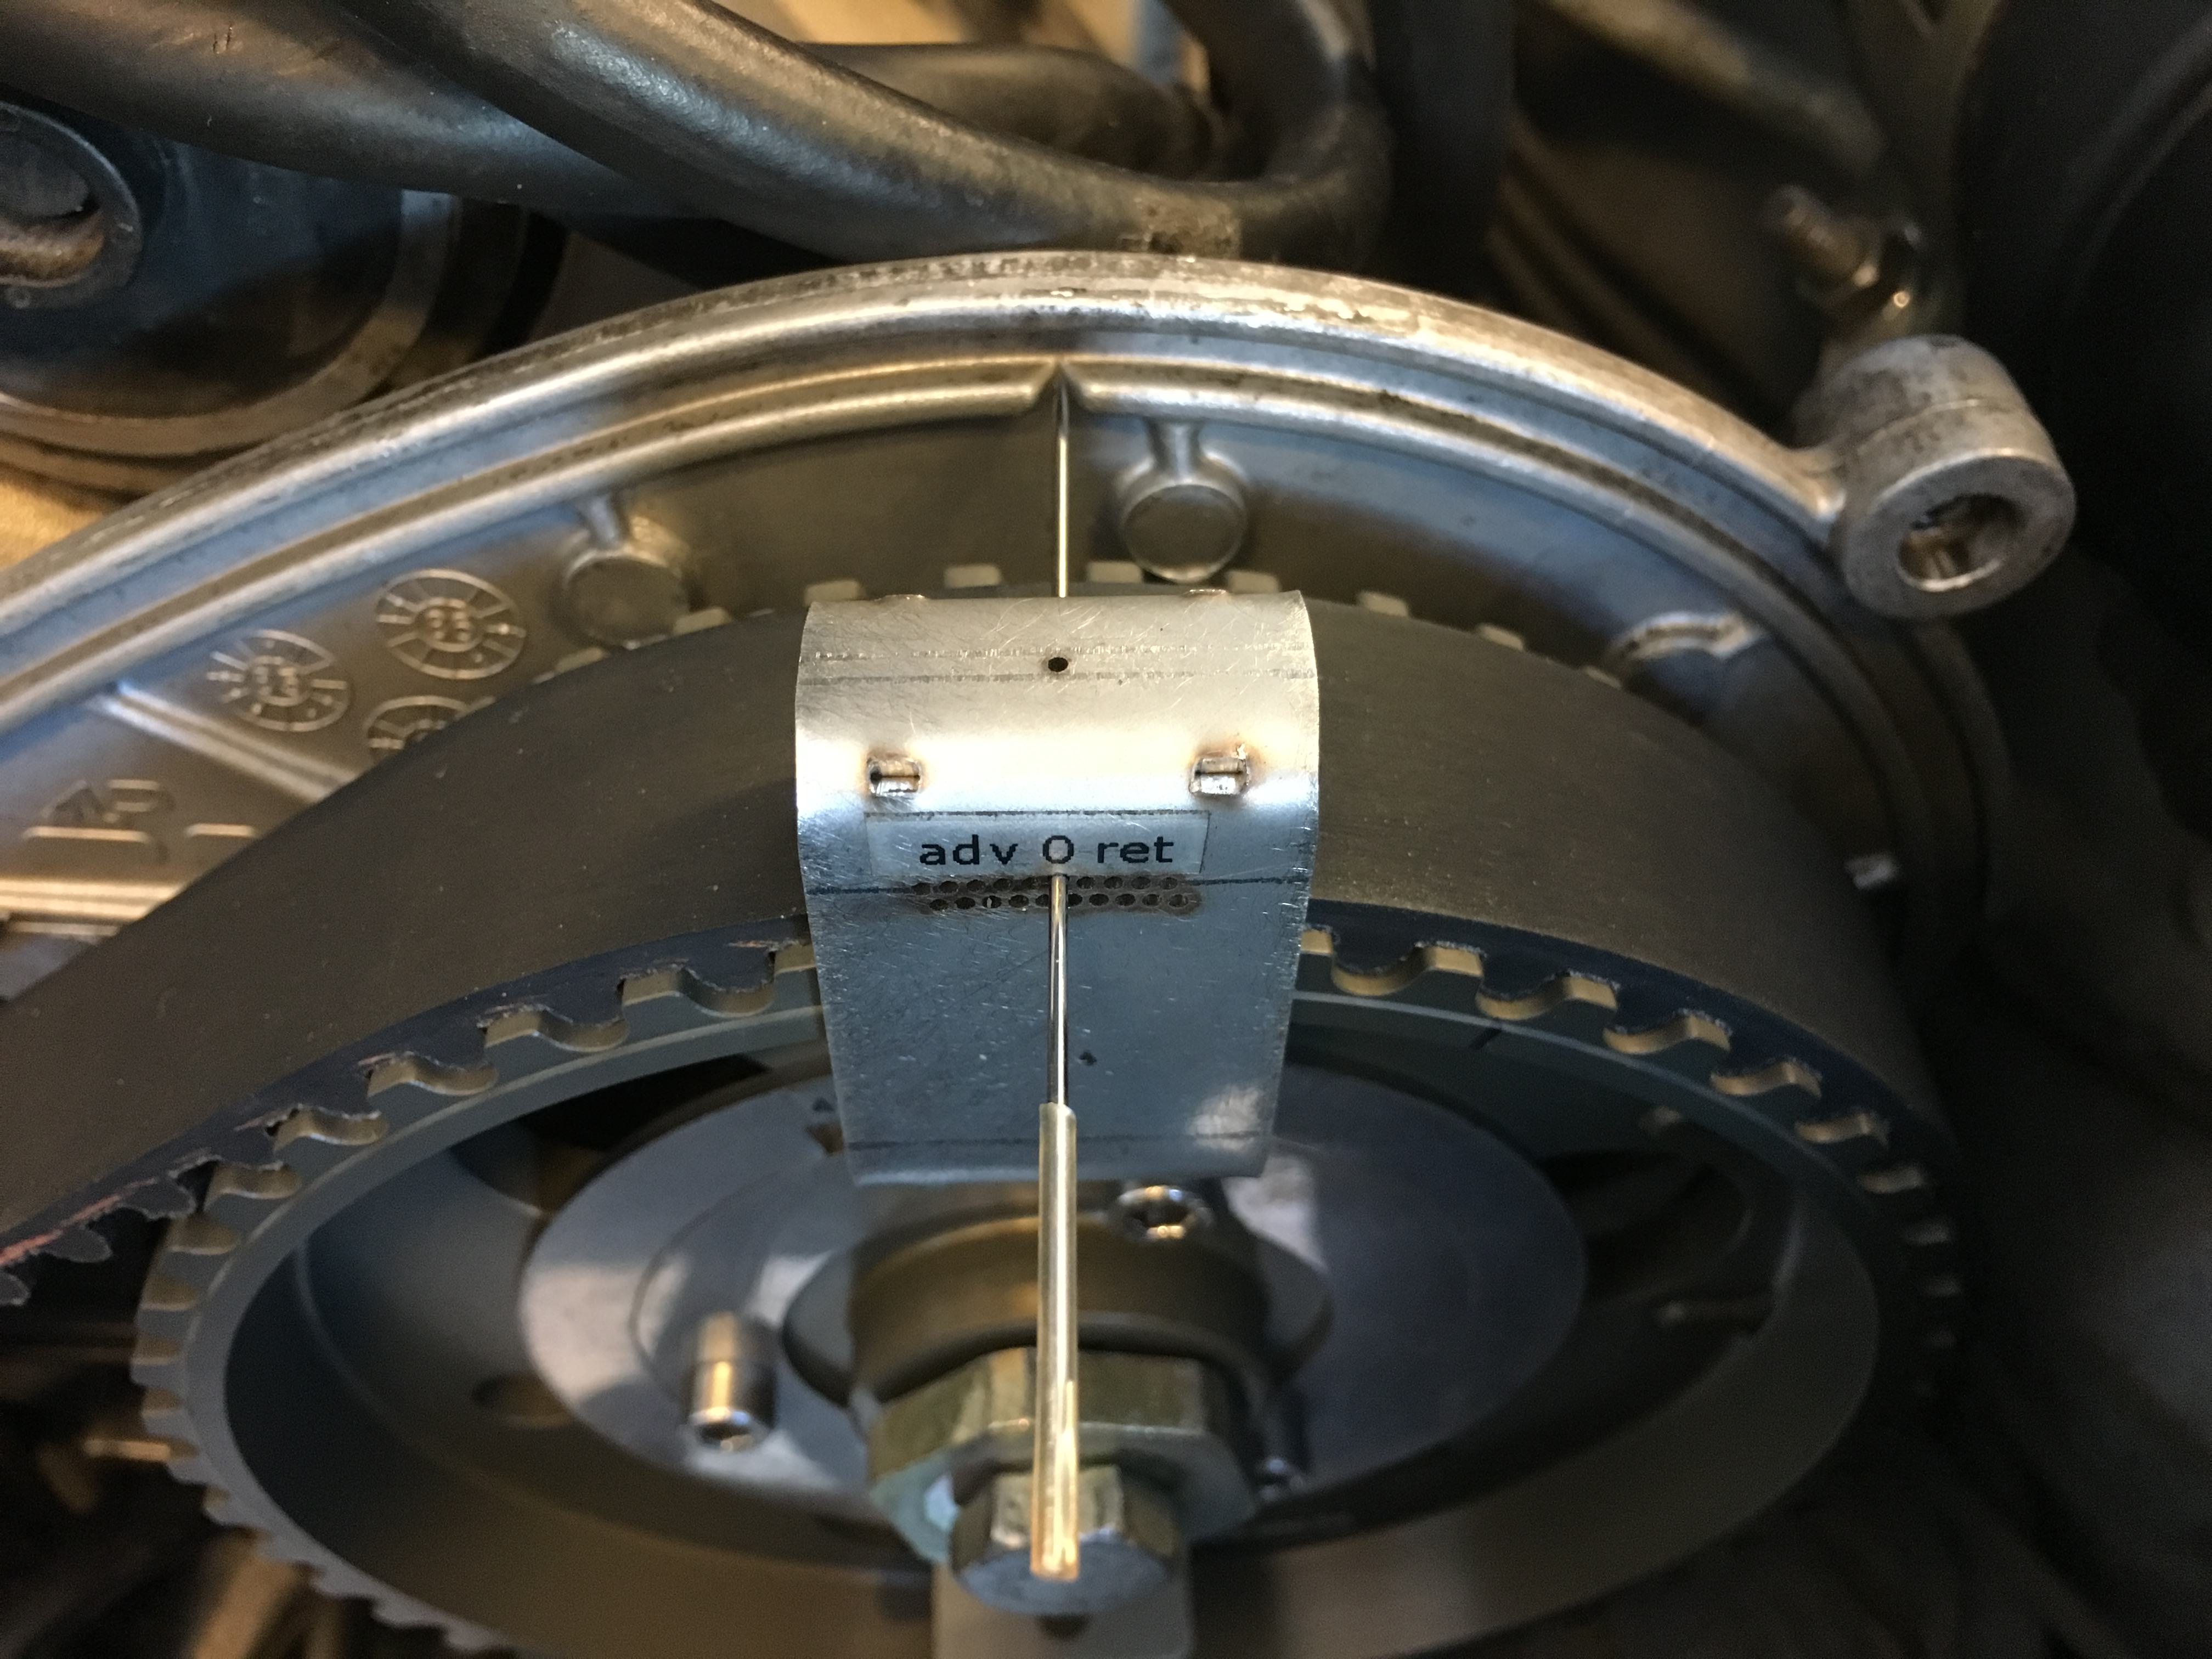
I just tried from TDC, and it was no problem. Adjusted to 0 on both sides, rotated engine, had to do PS again, rotated engine, then it was perfect. Photo is a bit off on DS, it was taken before final measurement.
What is next? Wrap up everything again and pray for a healthy startup i guess
BTW that PK32Vr tool is very handy. I thought what it does was just to align the cam gear and its markings perfect to the V - that it's just a tool to do that and really not necessary if you have a steady eye. That was until I realized that the timing is relative to the cam gear marking and with this tool you change the position of the timing without changing position of the cam gear itself. Not easy to understand if you haven't been in there yourself and seen how this works. Though when you have, it becomes obvious I am loving this learning process.
You can only time the cams at 45 BTDC and at TDC but you can do it on both crank firing cycles if it so suits.
Now you have to torque the cam bolts. Firstly ensure the three small bolts that hold the two tool templates in place are still tight as they hold the sprocket relative to the camshaft. Remove the 32VR spacers, torque the cam bolt and then check the timing is holding and if so remove the 32VR tool completely. Box it all up and hopefully you are done.
You can only time the cams at 45 BTDC and at TDC but you can do it on both crank firing cycles if it so suits.
You can do a quick check at any of the keyways on the PK32V'r, #1 or #6, TDC or 45�, but the timing should be checked and adjusted at #1 TDC because the amount of belt stretch* is different at each position (due to differing valve spring pressures).
Note as a reminder that P�l has set it to zero on both sides with a new belt. When the belt has some kilometers on it, it will have stretched* to create about -2� retard on the 1-4 side.
*Assuming a regular belt not a Gates Racing belt which doesn't stretch much at all when the engine is turned by hand, but does stretch a little over time in my observation, although it takes many more miles to do so vs. any of the other belts.
Ken,
I set my belt at 45 BTDC on No1 and always cross check/final check at TDC on No1. As I understand the OP has just fitted one of your PKT constant tensioners so my grey matter tells me it should not matter which of the 4 positions he sets it at unless of course there is some other dynamic in play..
Whereas I am sure one will not be far out when following the new belt protocol, checking it after the settling in period would seem to make sense just as we check/adjust belt tension at this time when using the stock tensioner.
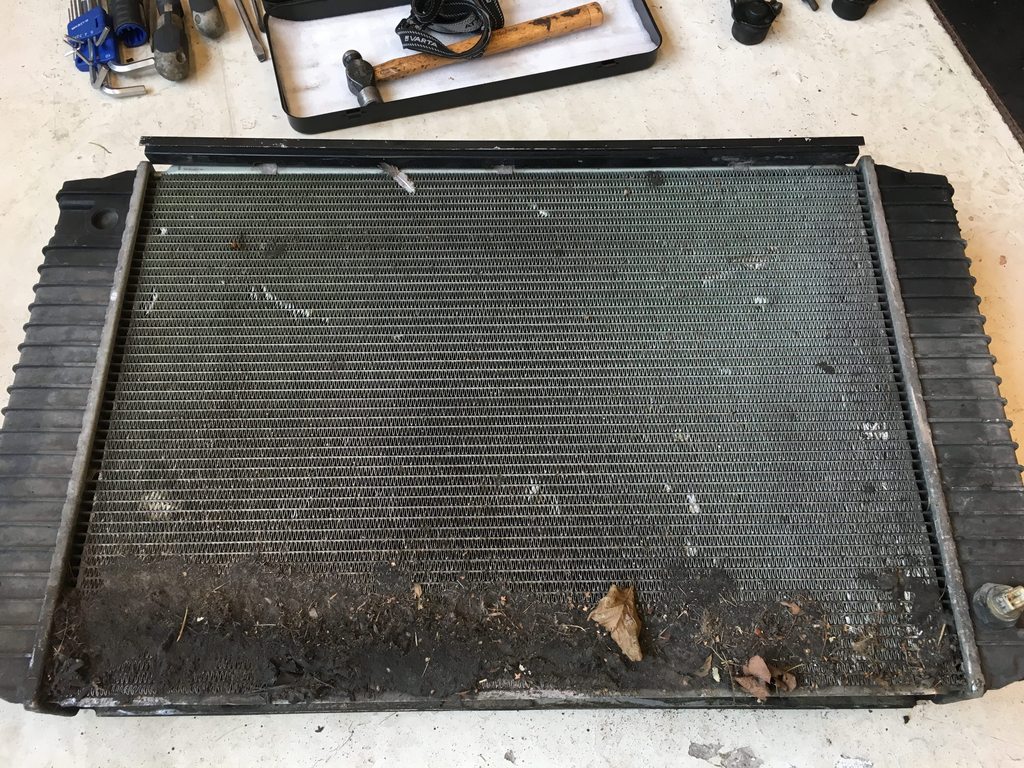
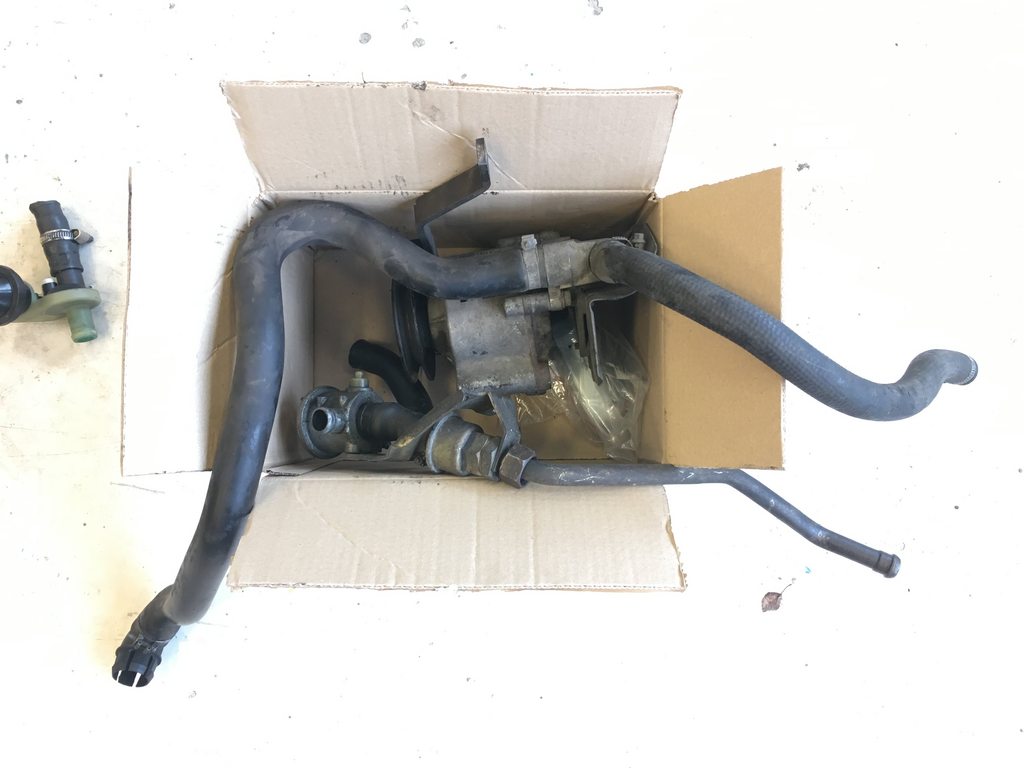
It is getting closer to startup. Most things are in place again, just waiting for the new thermostat and gaskets, arriving tomorrow. Meanwhile I figured I'd remove the radiator and flush and clean it. It was most dirty outside, glad I did it as it was max 5 mins to remove at this point. Some dirt also came out from inside when flushing with a garden hose, not a lot. New power steering reservoir and hose to pump is also in place, must remember to fill it up.
How do I best fill with coolant after the whole system is drained? Just connect radiator hoses and everything, then fill into reservoir? Or should I connect lower rad hose in both ends, and upper rad hose to radiator, then fill up radiator from there, before I connect it to engine? Or are there other tricks in the book?
I hook everything up except the top radiator hose and I use the top radiator hose to fill the block and the radiator. Then reconnect the top hose fill the reservoir and start the engine and fill as needed to get to the proper level with the reservoir cap off.
The system is self venting or at least supposed to be. I box the thing up, fill the system until the reservoir is nearly full [about half way above the main seam], leave the filler cap off, make sure the heater valve is open and then fire the motor up and let it warm up like that. I laso burp the top hose a bit while it is warming up. I then expect the level to drop some and top up to the max mark then fit the cap. You may find the level still drops a bit more but not too much.
That's it, I started the engine this weekend. No strange noises and no apparent leaks of any kind. Very happy with the result, knowing everything is in good shape now. Thank you to all contributors, it has been a very steep learing curve and lots of fun
Only fuel lines left now for this round, but I'll give myself a small break before that one.

 02-10-2018, 12:10 PM