When you click on links to various merchants on this site and make a purchase, this can result in this site earning a commission. Affiliate programs and affiliations include, but are not limited to, the eBay Partner Network.
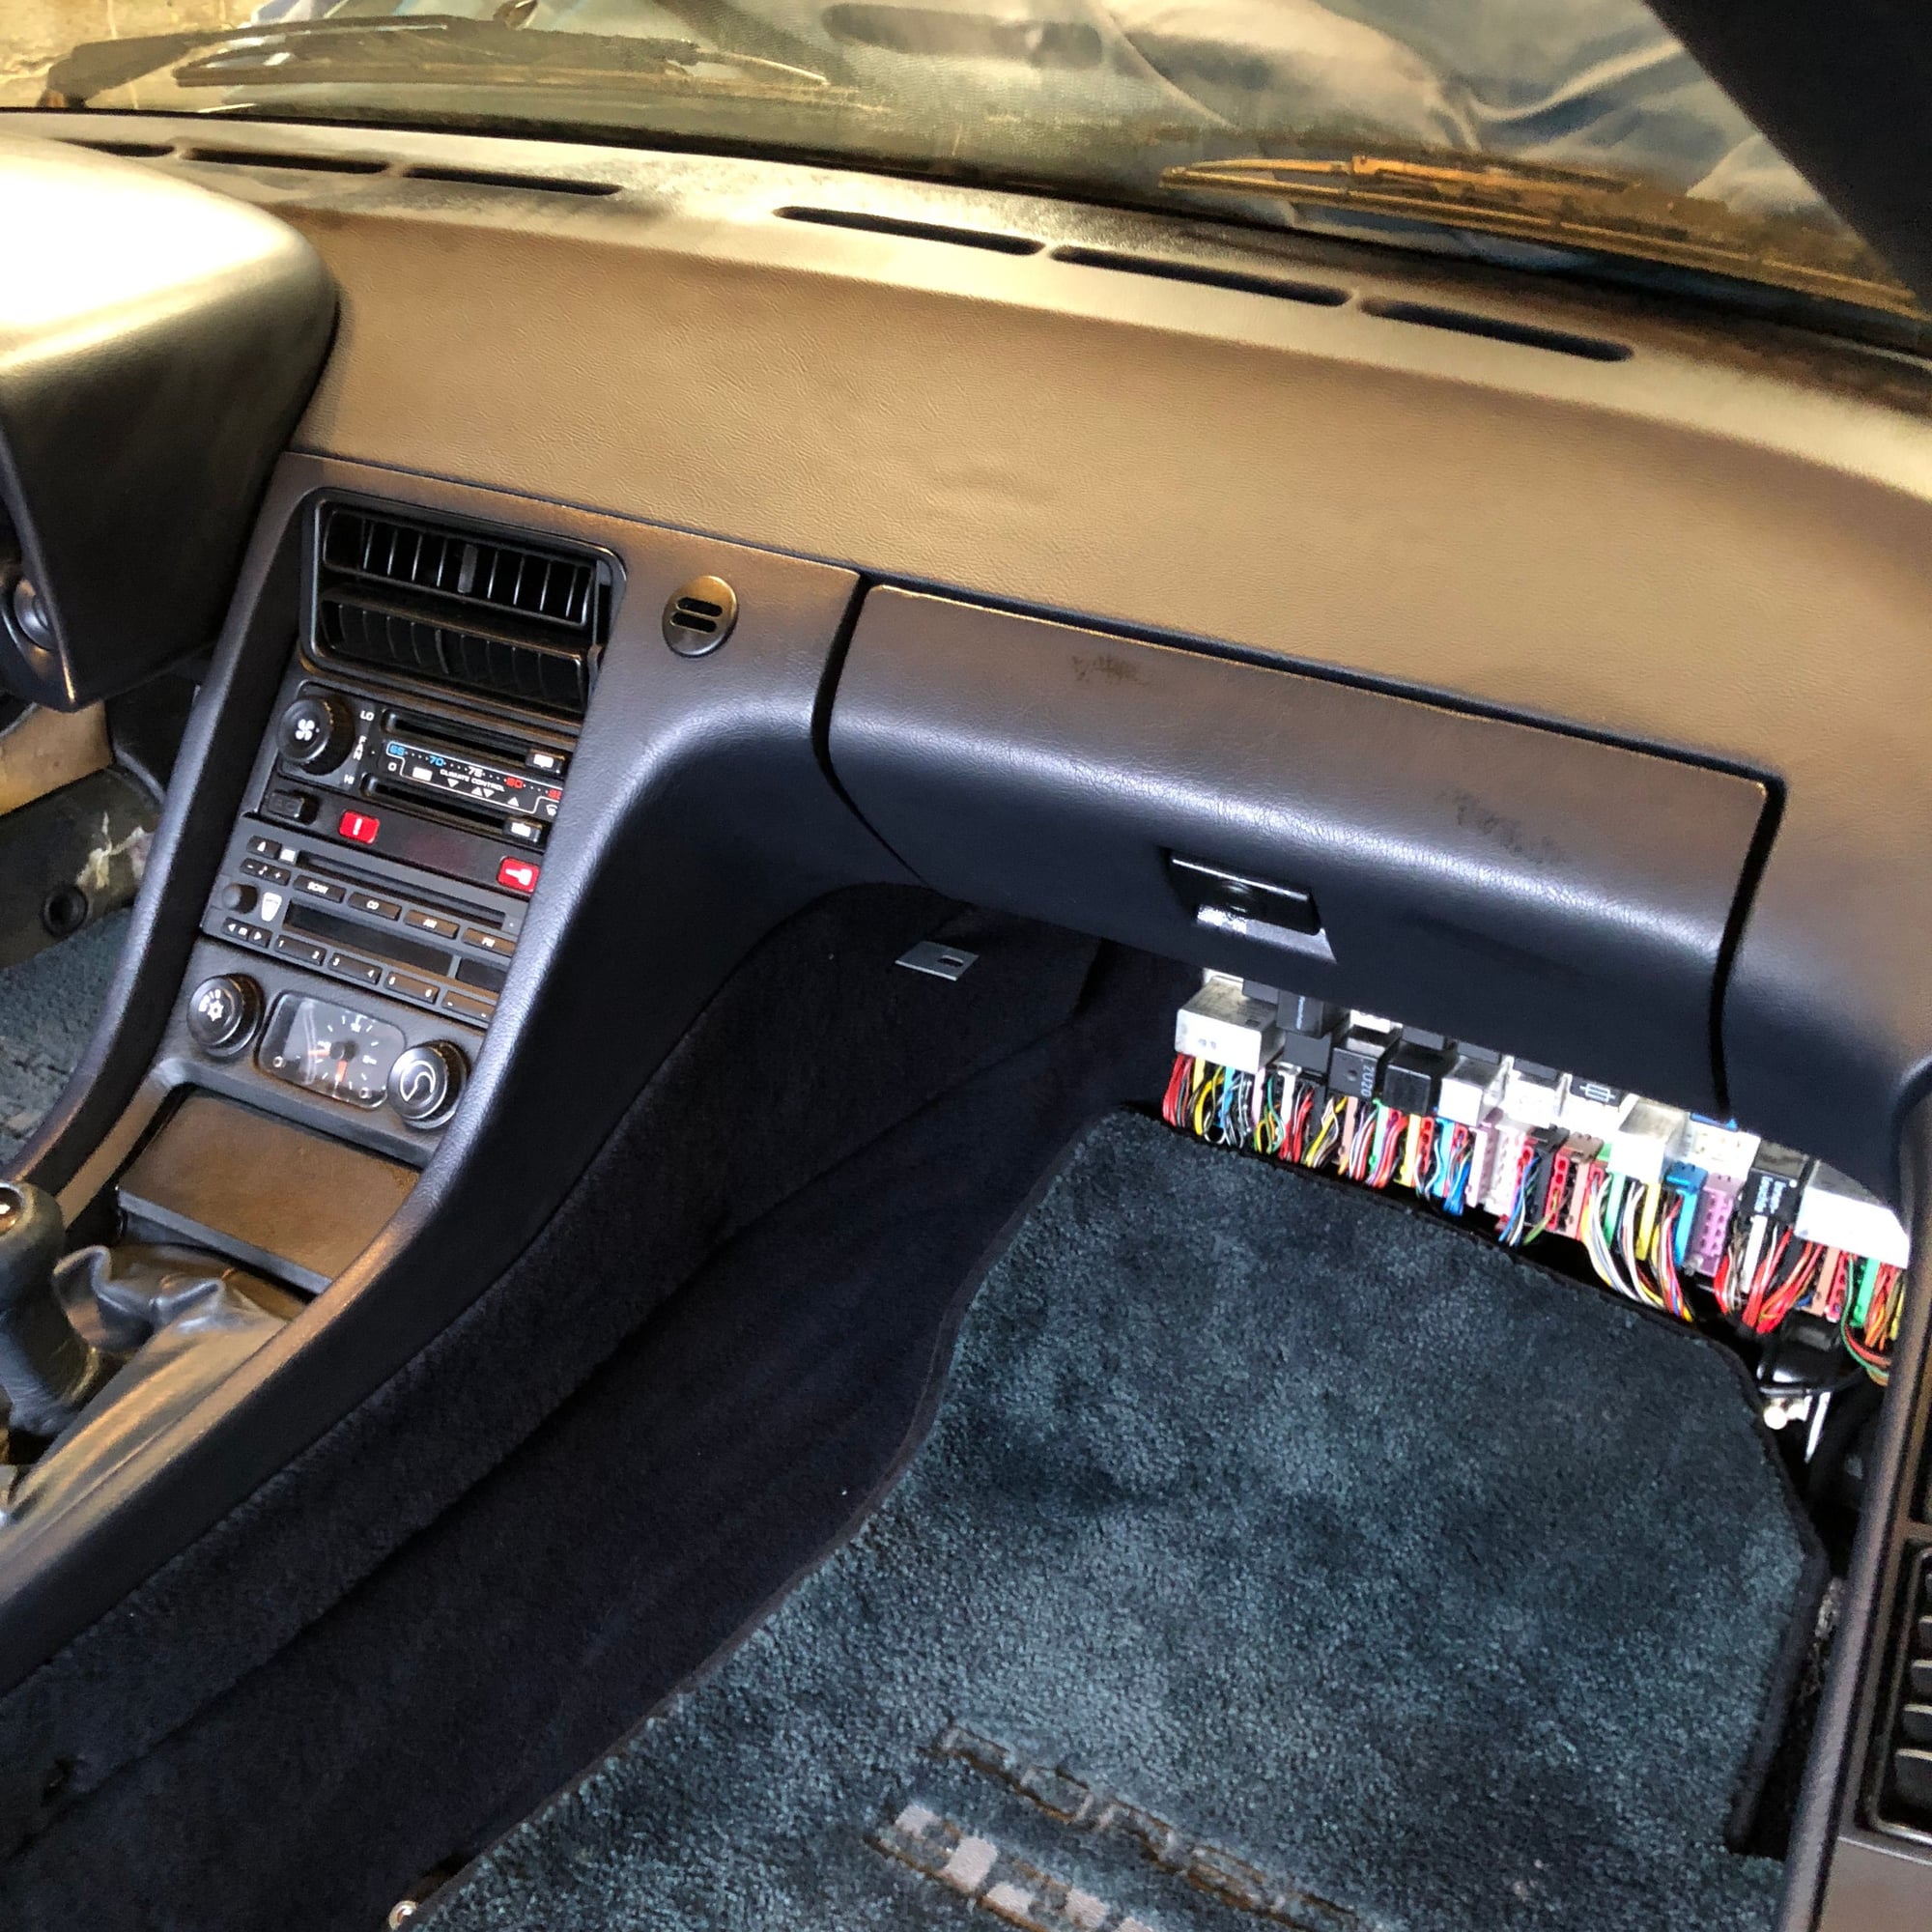
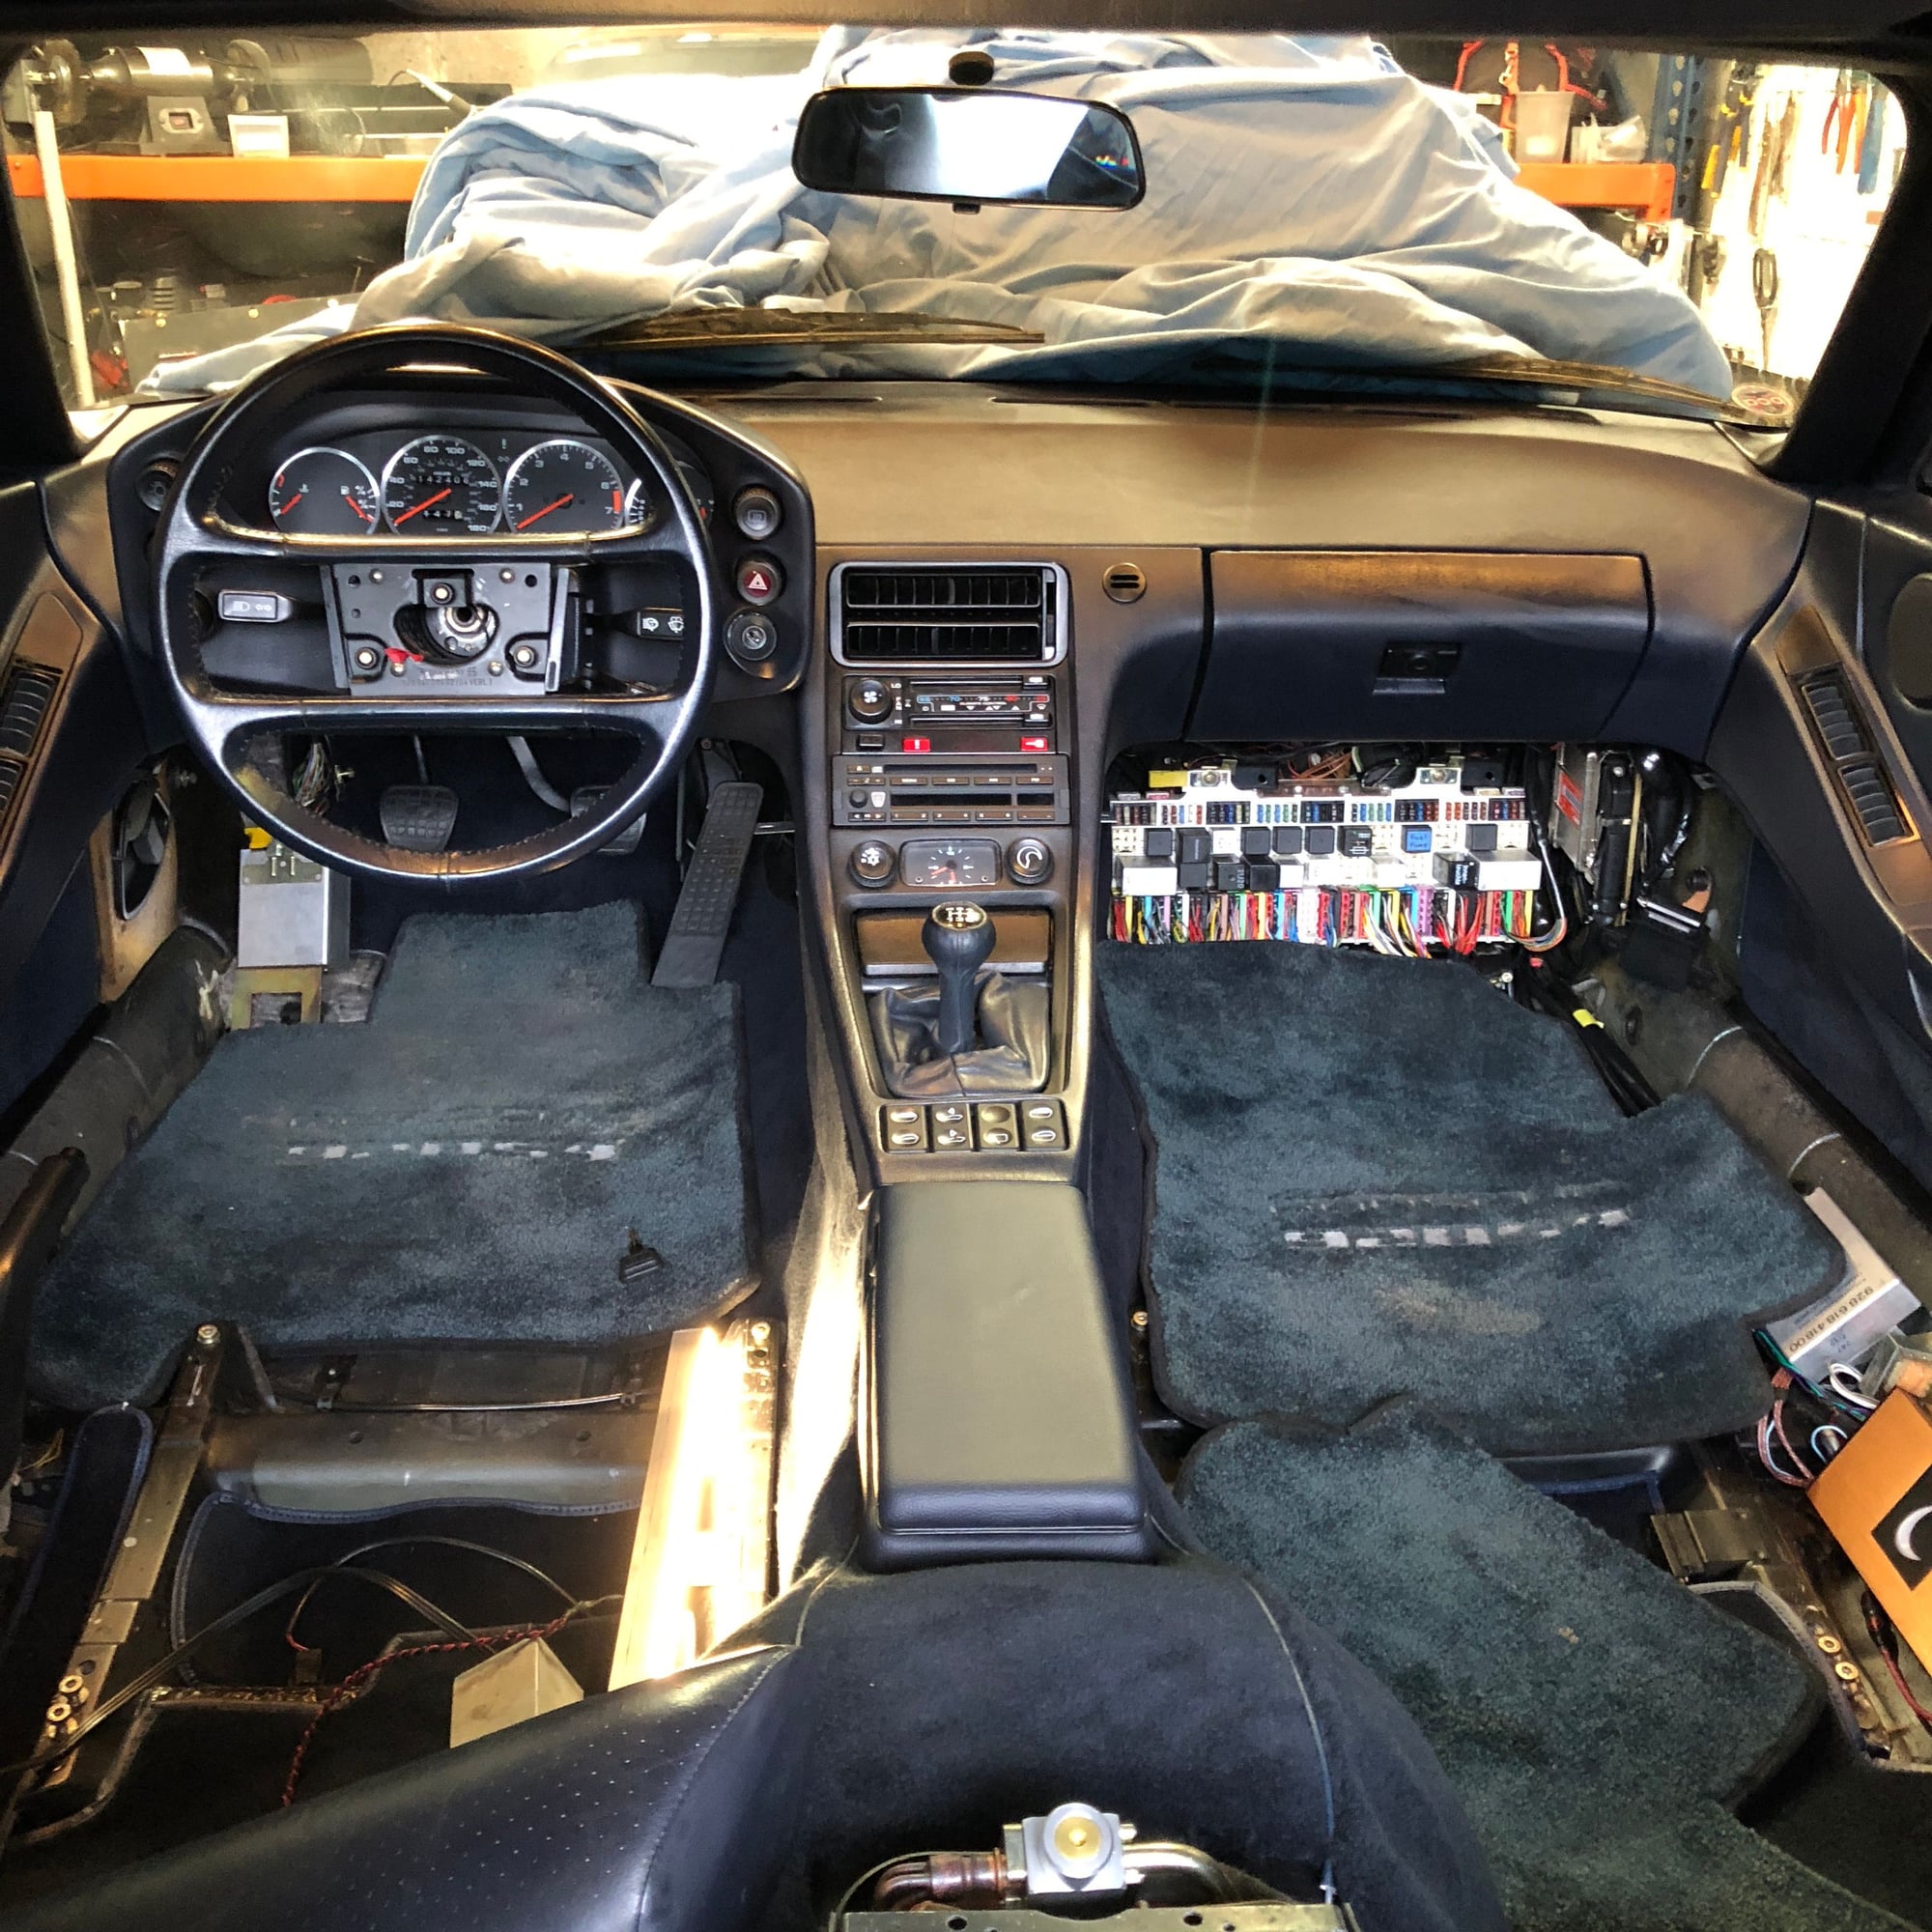
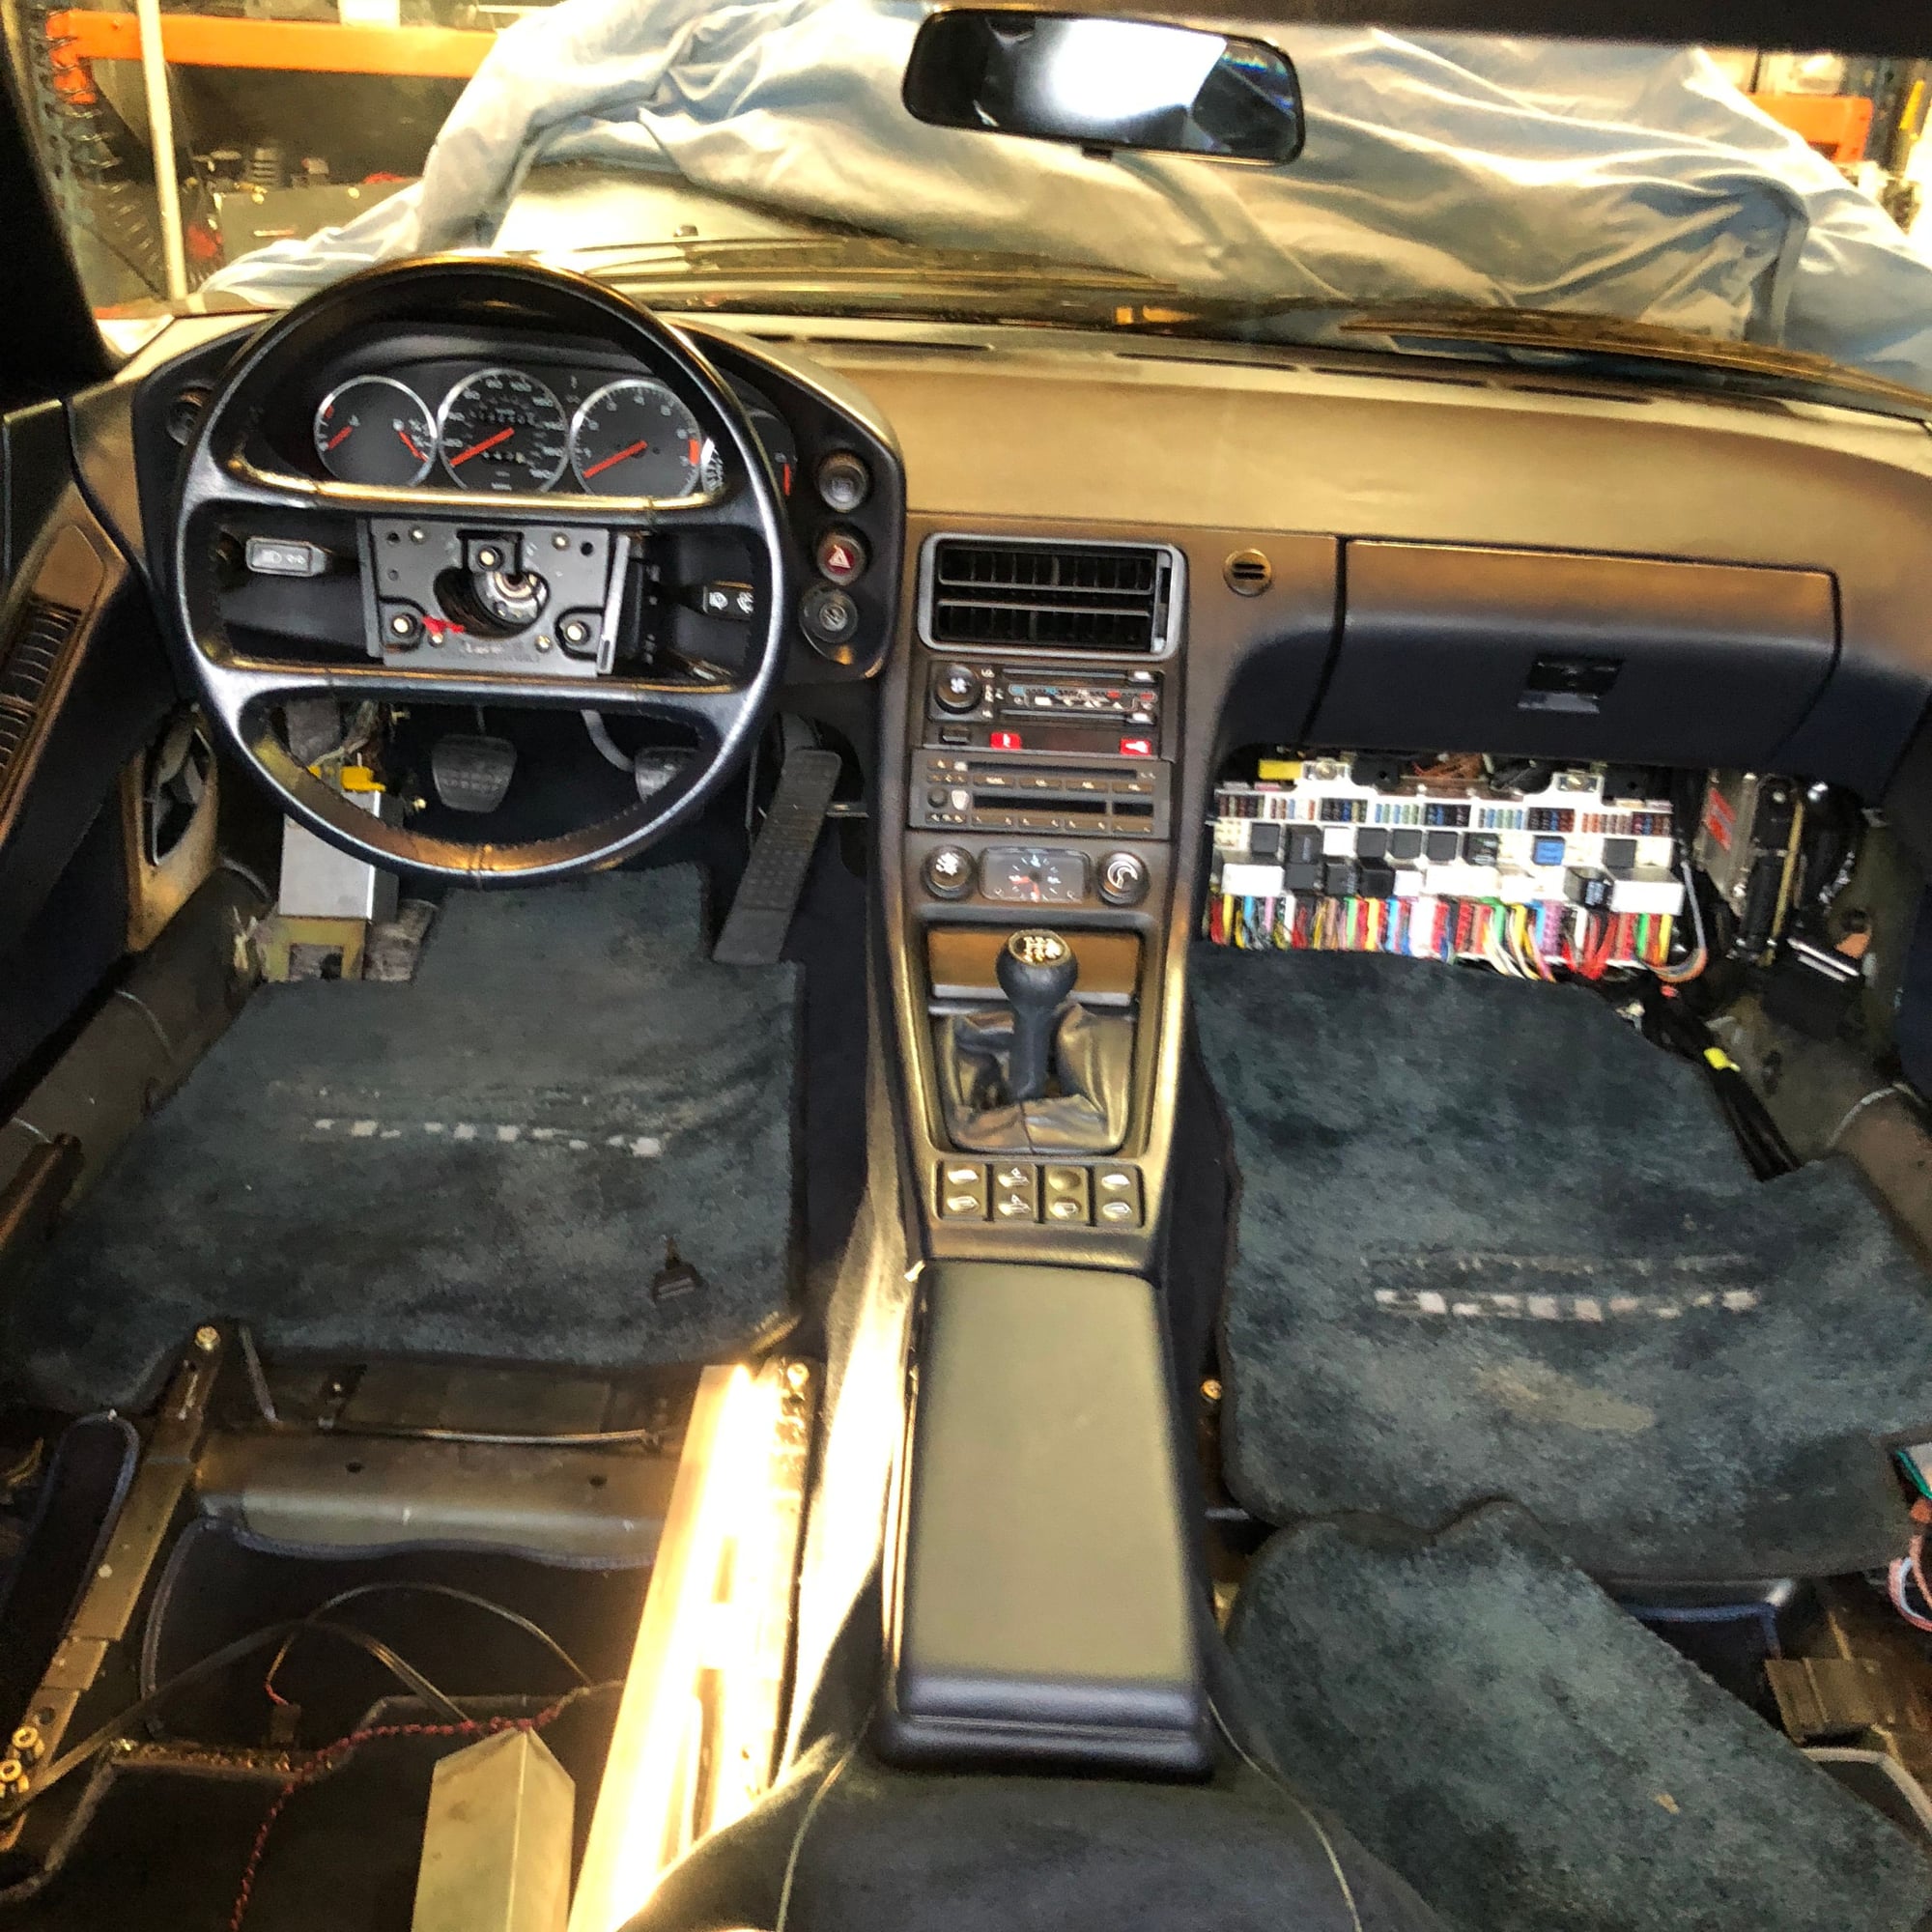
I was finally able to get the tunnel carpet installed and finished installing the dash, console, and the most complex glovebox in the world. I think I spent 2-hours fussing with that darn thing. Far too many adjustments and still not perfect. Anyway the final results look really good. The dash blends very well with the original plastic of the console and glovebox. The photos actually show a bigger difference that in real life. I still need to move the car into natural light to verify.
I am completely blown away, this looks absolutely amazing.
Thank you for all the write up on your adventure, and as one who has done quite a bit of automotive restorations, in this case I'd rather have you do my dash than do it myself.
For those of the mindset "I think I'll just send my dash to Mike in Portland", ask first the question about how much time was invested in recovering the dash just the second time. Chalk up the first effort to "learning", then consider the time he spent on the "production" piece you see. Add in the prep time on the old dash, stripping the old vinyl, fixing the cracks in the hard foam substrate, body-filing and sanding to restore the surface under the new covering. I know that this is truly a labor of love for Mike, because the investment in time even at minimum wage is incredible. "Free" time is seldom free, especially if you have a family and a home, along with other hobbies and activities you enjoy as Michael does.
Learn from the experience that he generously shares, apply it yourself to your own dash recovery effort. Share pics as part of a tutorial and "lessons learned" so others later can benefit from your experiences too. If you work at anything close to the way I do, just photo-documenting the process can add 50% to the project time. Setups, lighting, making sure the worktable isn't still clogged with other project stuff, etc. +50%
Thanks for all the very positive comments everyone. Bob is correct, there were many, many hours invested, and the more time I spent the better my skill. What I have learned from this is experience drives better and better results (good tools help too). So if you are interested in learning how stuff works (like me) or interested in doing a lot of upholstery it makes sense to learn. However I do think the professionals out there like Classic9 offer better products and will do a better job if you send them your stuff. The price will likely be the same or less if you factor in the price of your time. Now that I have finished my work, I am now need to pay my wife back for all the absent hours in the basement.
But if you do take it on yourself, feel free to ask questions, I'm happy to share my limited experience.
Great work on the dash! What radio is that? It looks quite good (simple with no bling).
Rover/BMW CD43 made by Baupunkt. It's a great solution for me. It has the correct look, It has a digital tuner, and an Aux input for bluetooth adapter. The big buttons are easy to use. You can read more in my write-up here: https://benno928.wordpress.com/2017/05/03/radio-head/
Great job and a terrific writeup! Your tips summary is really well done and part of my "library" now, with a couple of "spliced-in" comments like the note about 1/8" foam. Thank you!
I am likewise impressed with the detail and photos of your project. They inspired me to re-do my own dash. It is coming along and I will post pictures of it and the center console when I have finished.
In the end, how big (LxW) was the piece of vinyl you used for the large dash panel? I bought 4 yards, but want to cut it down before I begin.
Thanks -
-scott
I pulled the attempt 1 remnant out of the bin and it measured 27" wide (defroster to underside if dash) x 70" length (door to door). That was the trimmed piece. So I would expect that you would need 6" additional to be safe. If you are careful with your timing the area around the glove box opening, you can use that piece to redo your glovebox.
MBB

 02-24-2018, 03:01 AM
 I cant wait to see the seats!