When you click on links to various merchants on this site and make a purchase, this can result in this site earning a commission. Affiliate programs and affiliations include, but are not limited to, the eBay Partner Network.
do you have any pics documenting the process for the pod? I am doing my pod first - before the main dash panel.
thanks
-scott
I haven't tried the pod yet. The pod on my car is in excellent condition. I have a spare pod that I have been doing some experimenting with. I think the challenge will be doing it without seems. I am not sure it will be impossible. I need to order up another piece of vinyl to do some experimenting. I did some stretch testing and I think it is possible. I'll post to this thread when I am ready. It may be a while though
Question for those who are following along, what product should I use to remove the years of buildup on the original vinyl pars like A-pilar trim, center console, glove box. The are all kinda shinny whereas the new vinyl is very flat. I'r rather de-gloss the original stuff than add shine to the dash.
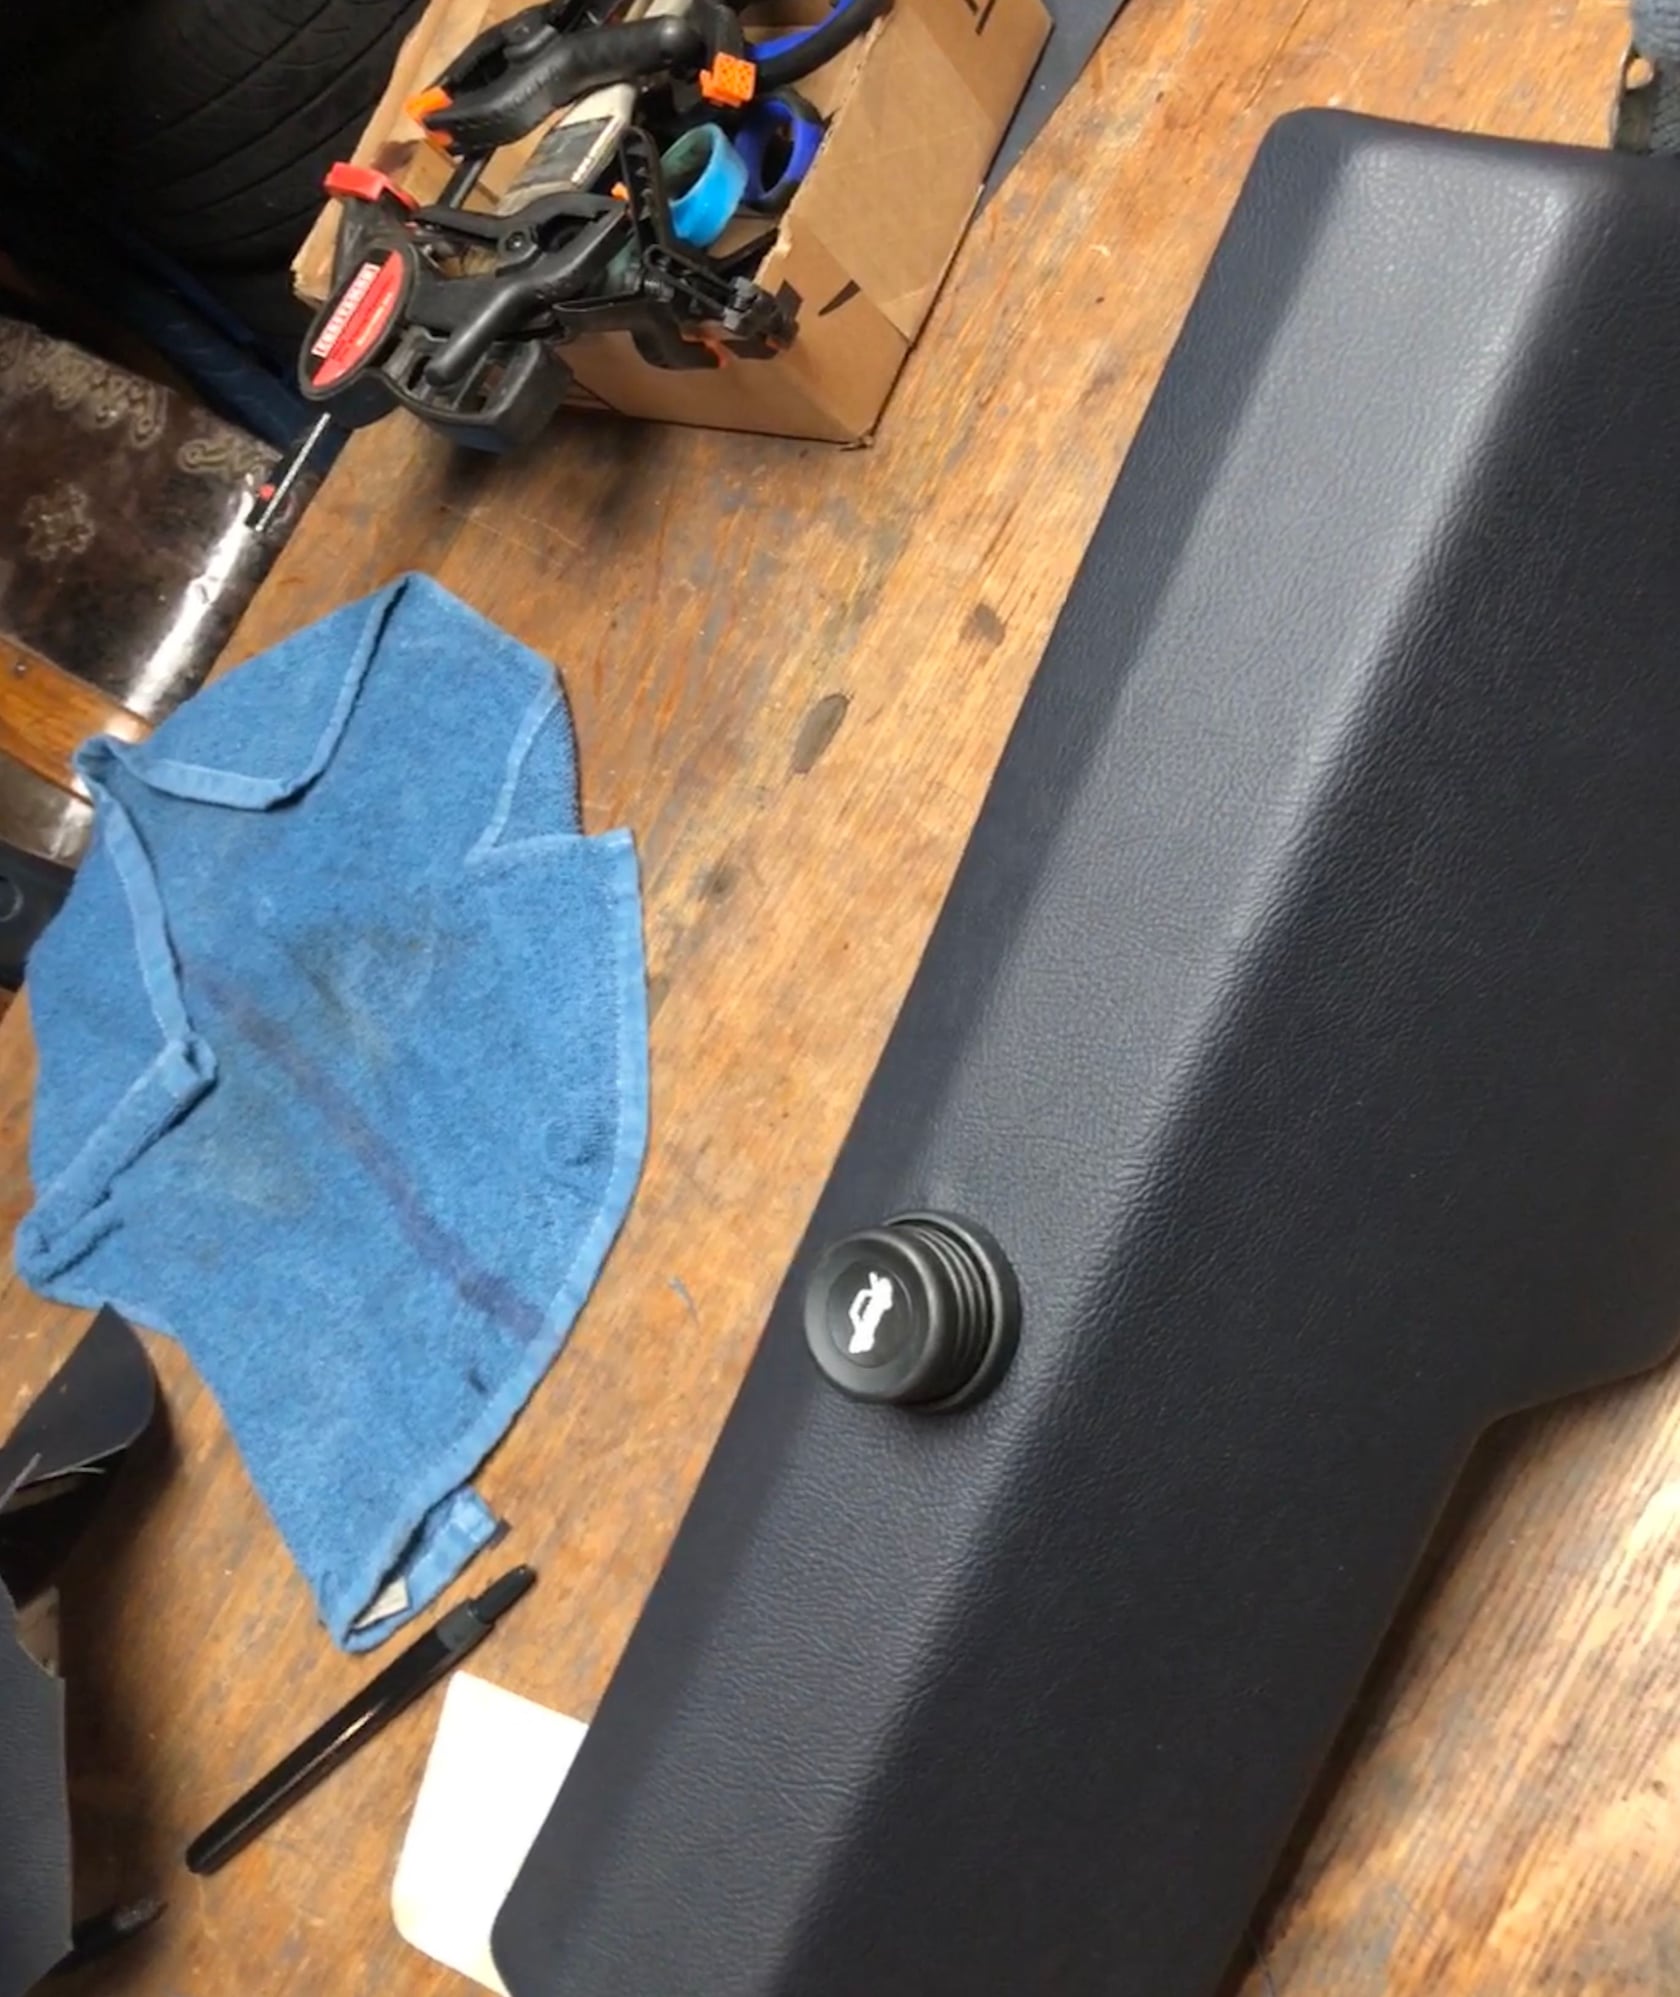
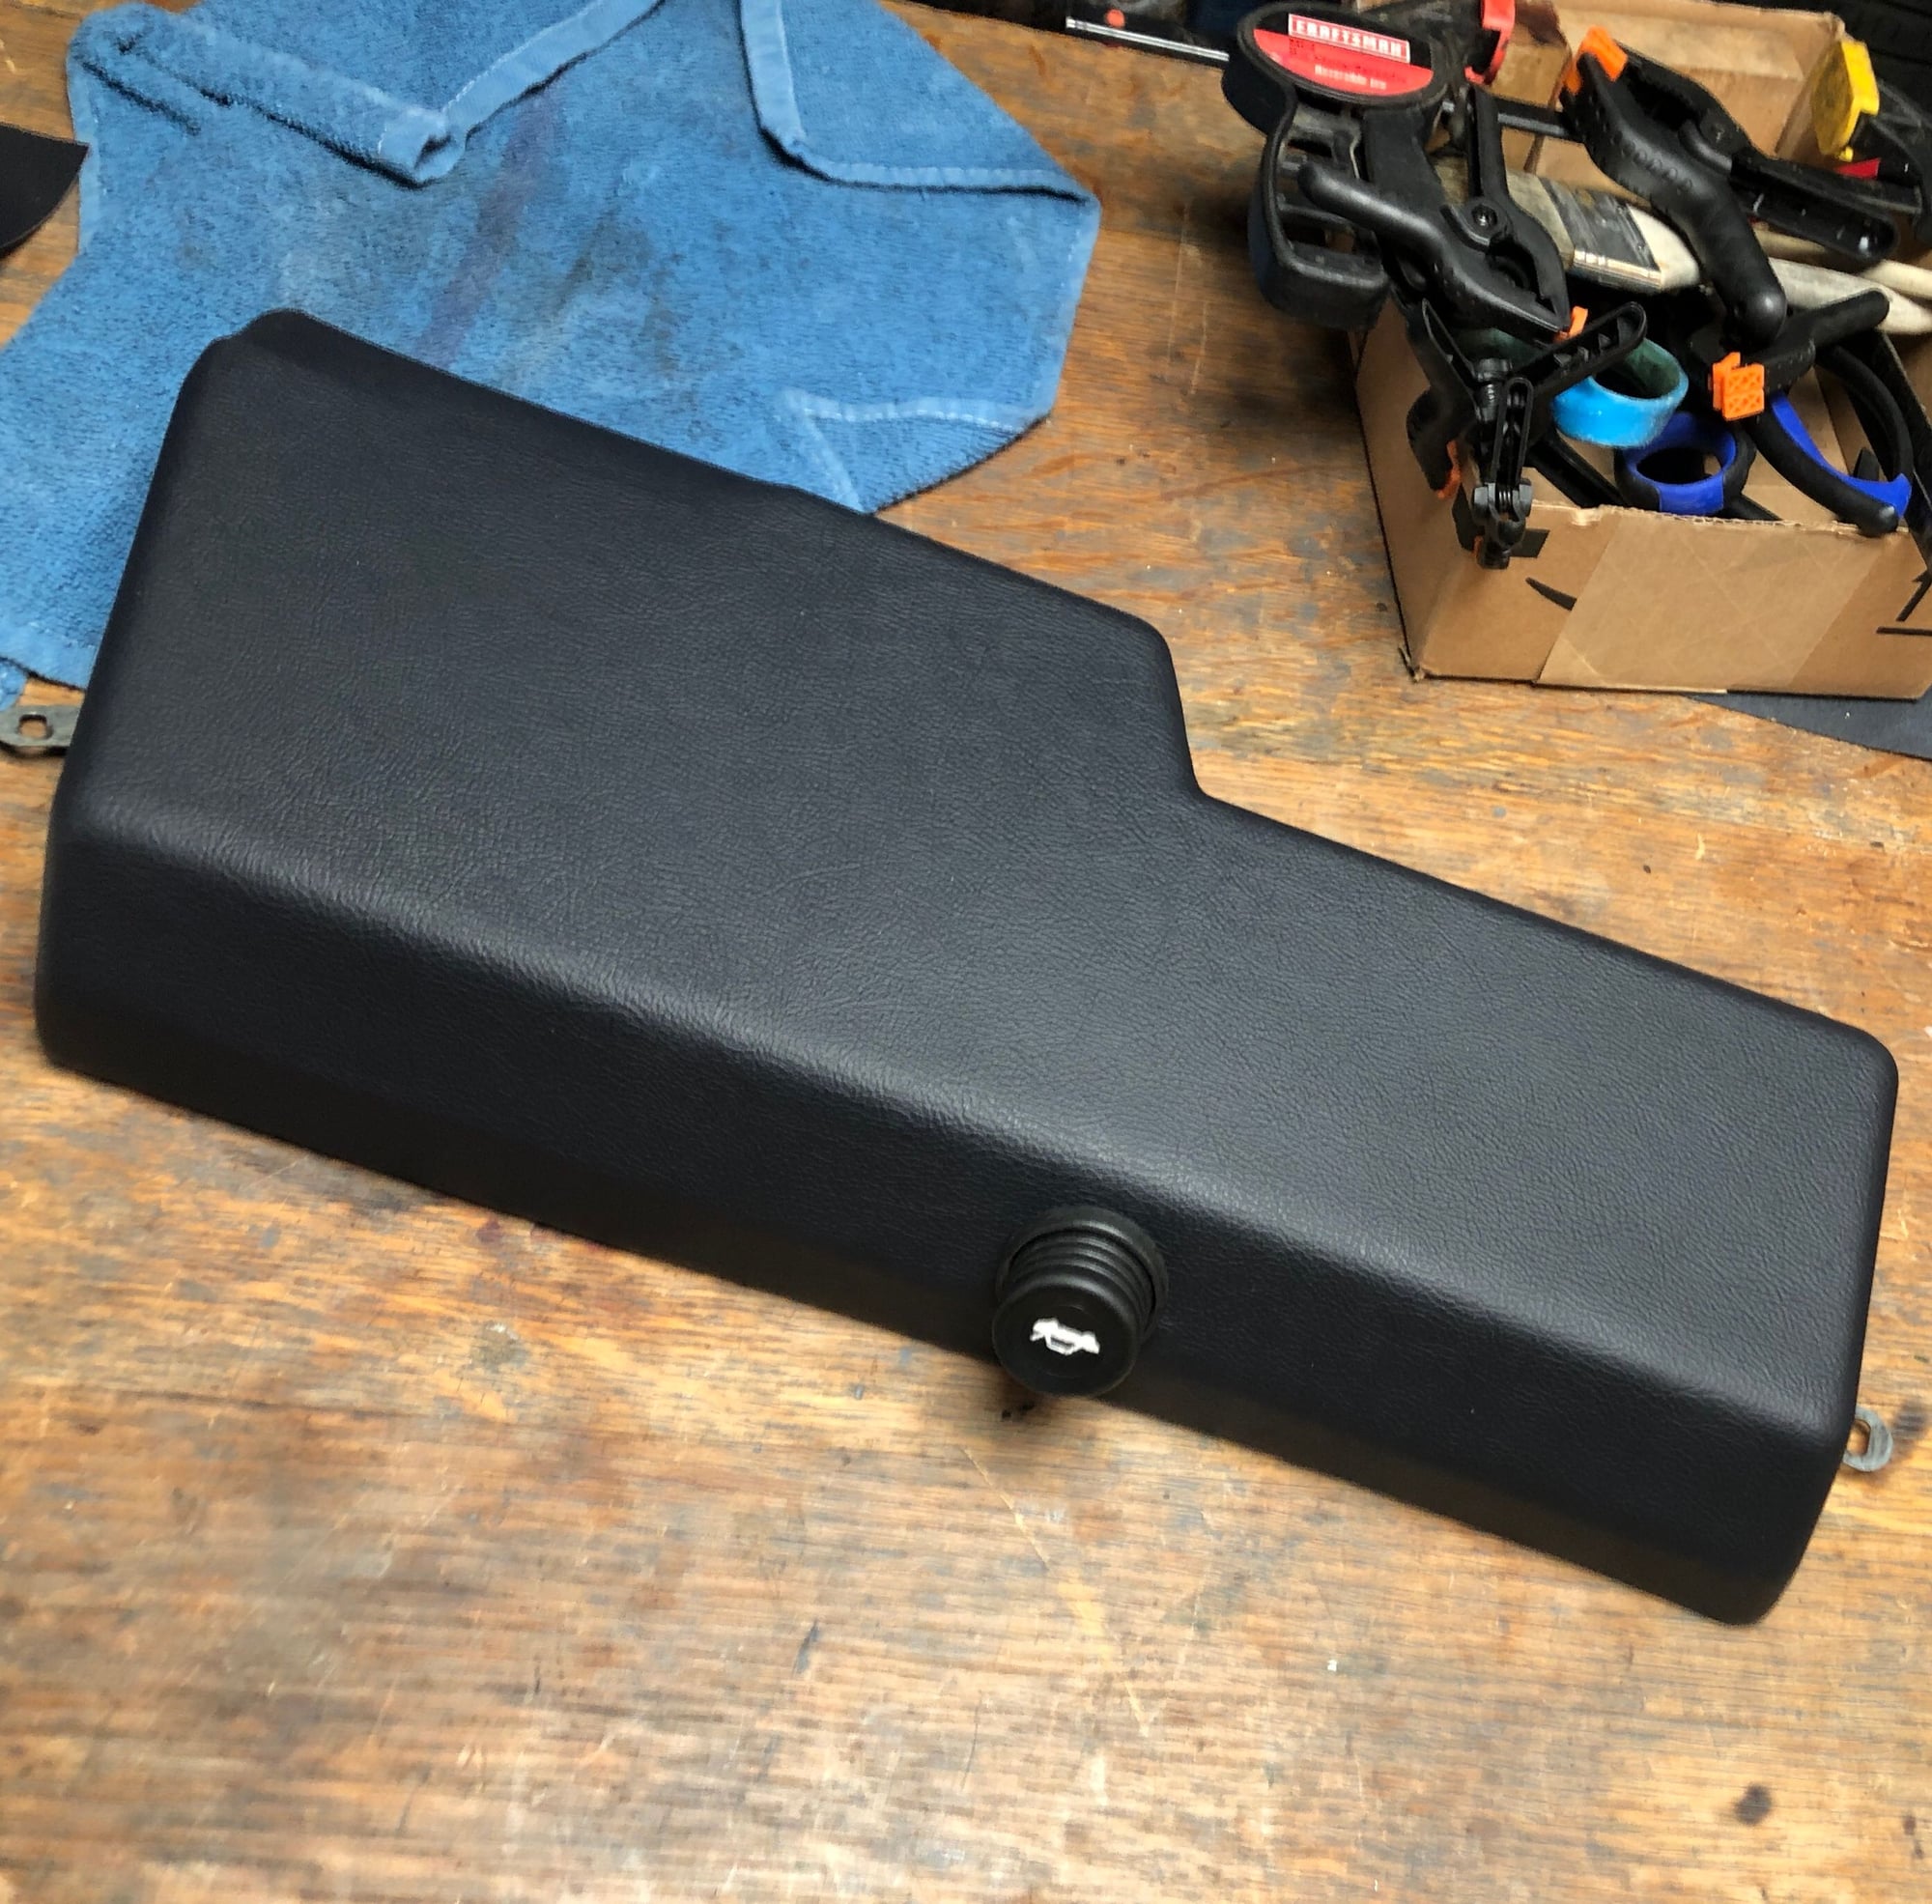
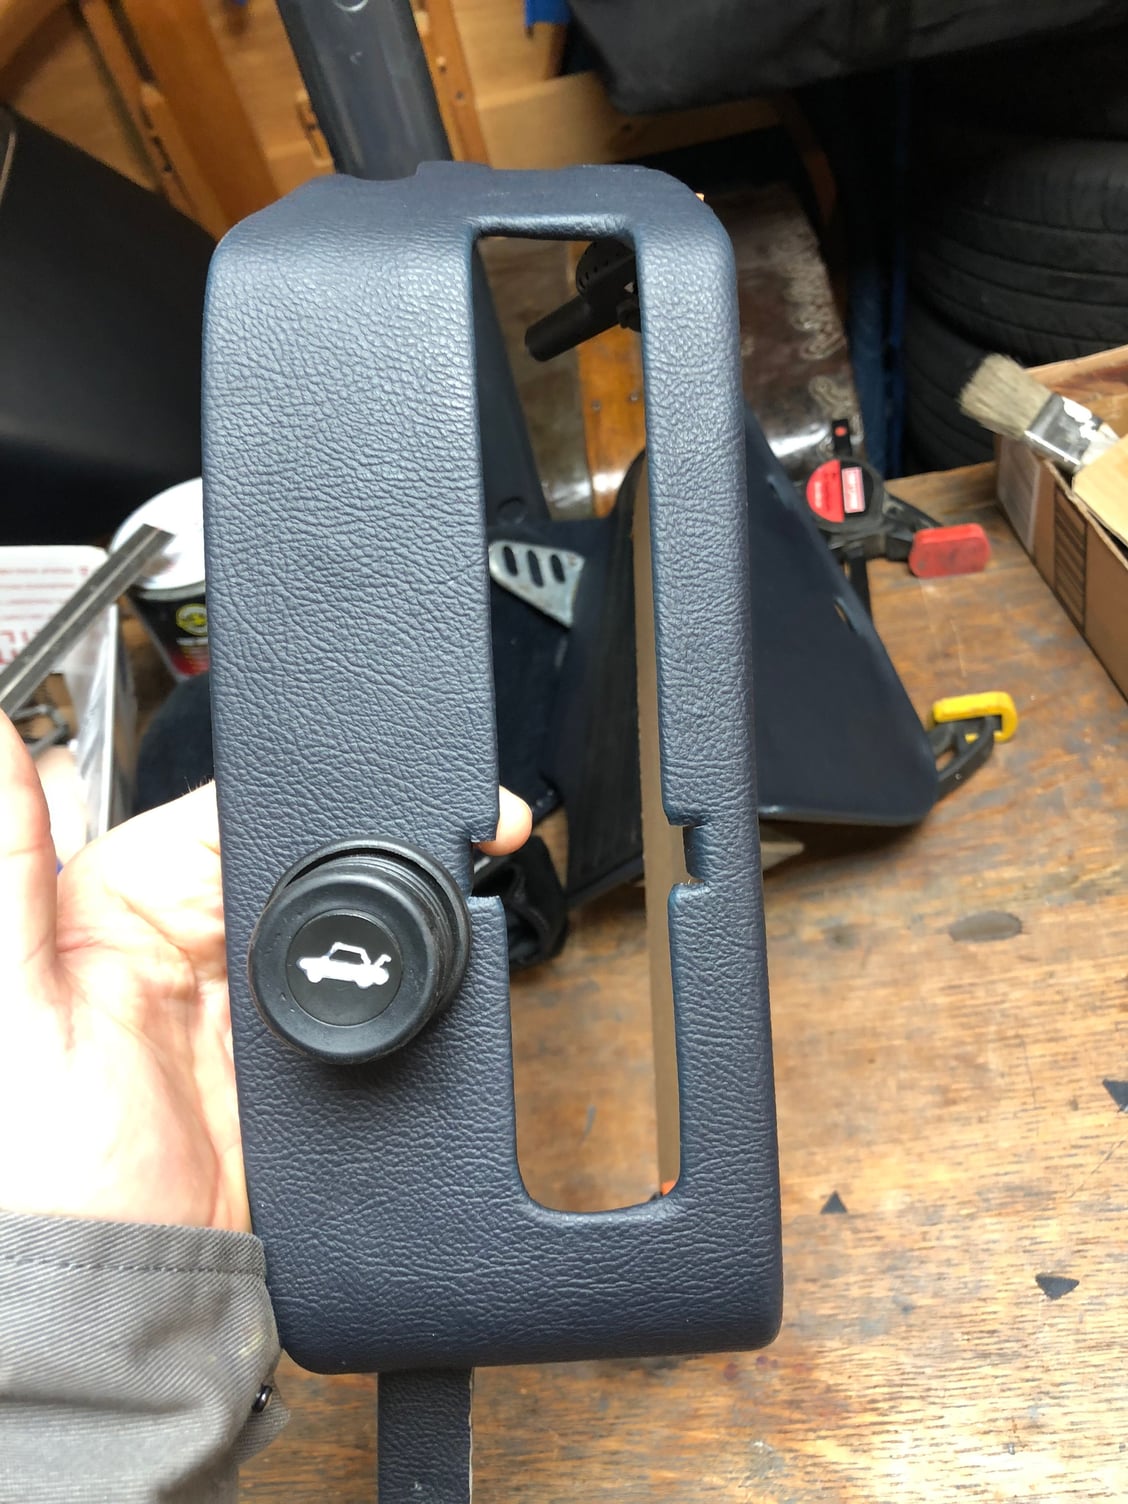
I was bored and I’m awaiting new carpet so I decided to use some of the vinyl scraps to cover the passenger side cover for the amp and radiator fan controller. I know it's supposed to be carpeted....
The passenger side turned out pretty nice. Maybe I’ll leave it like it is once all the new carpet is in.
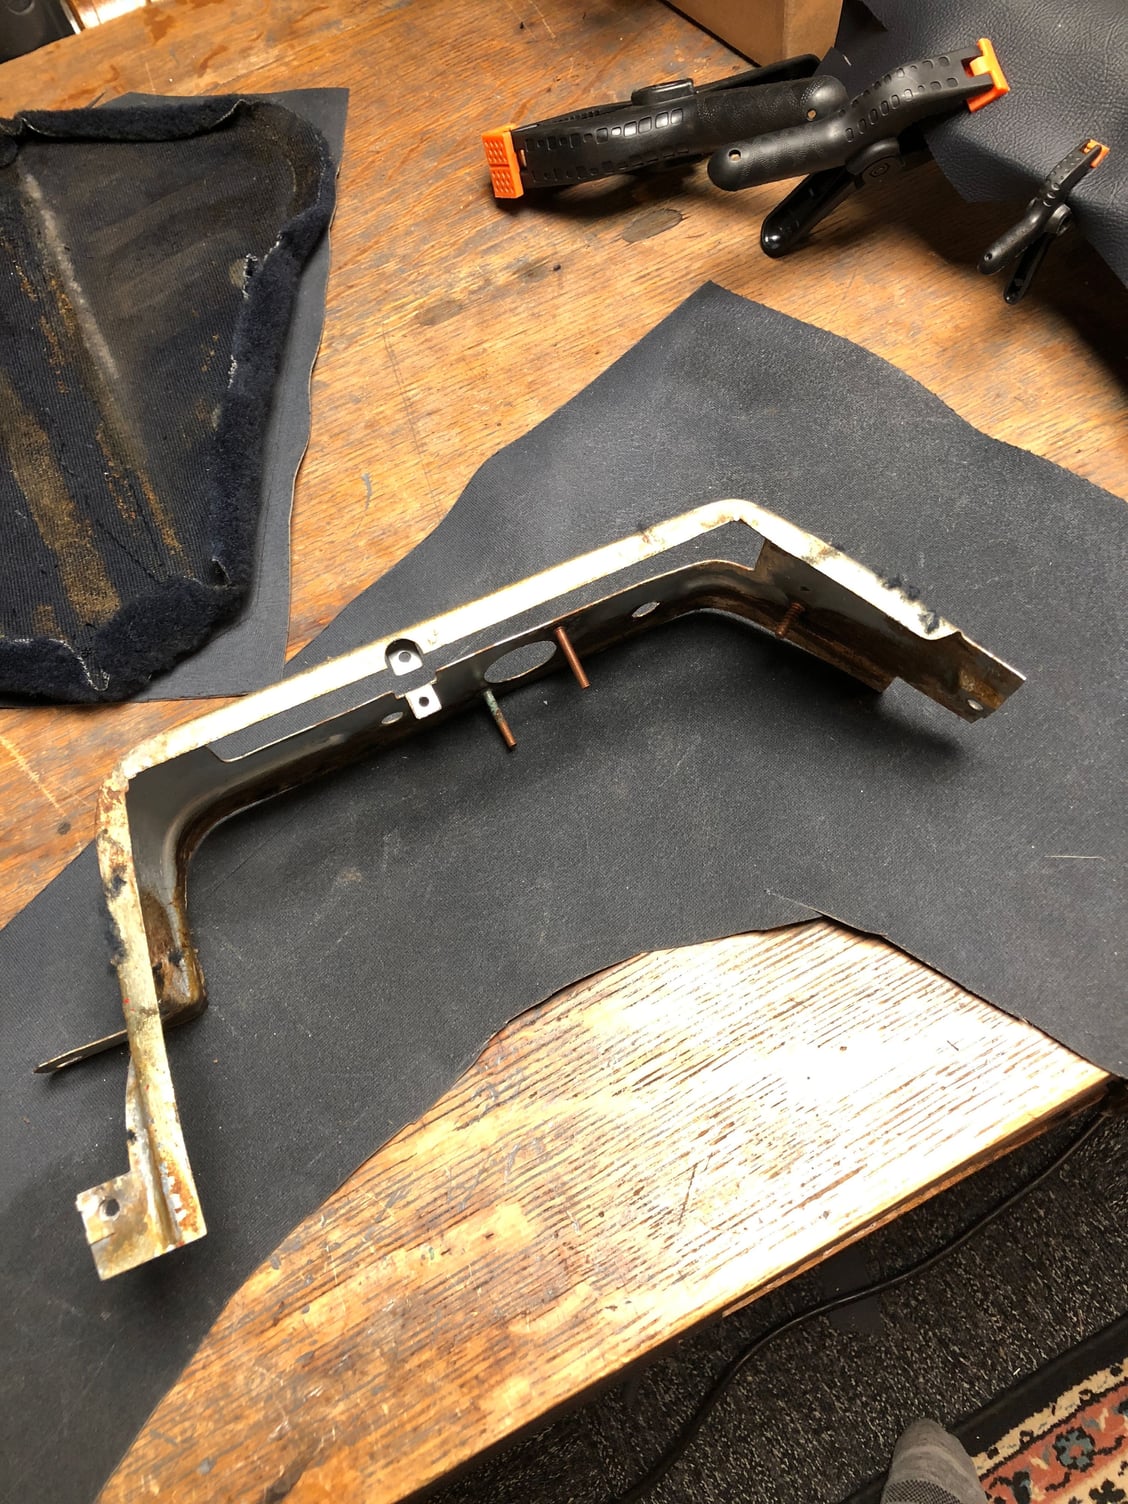
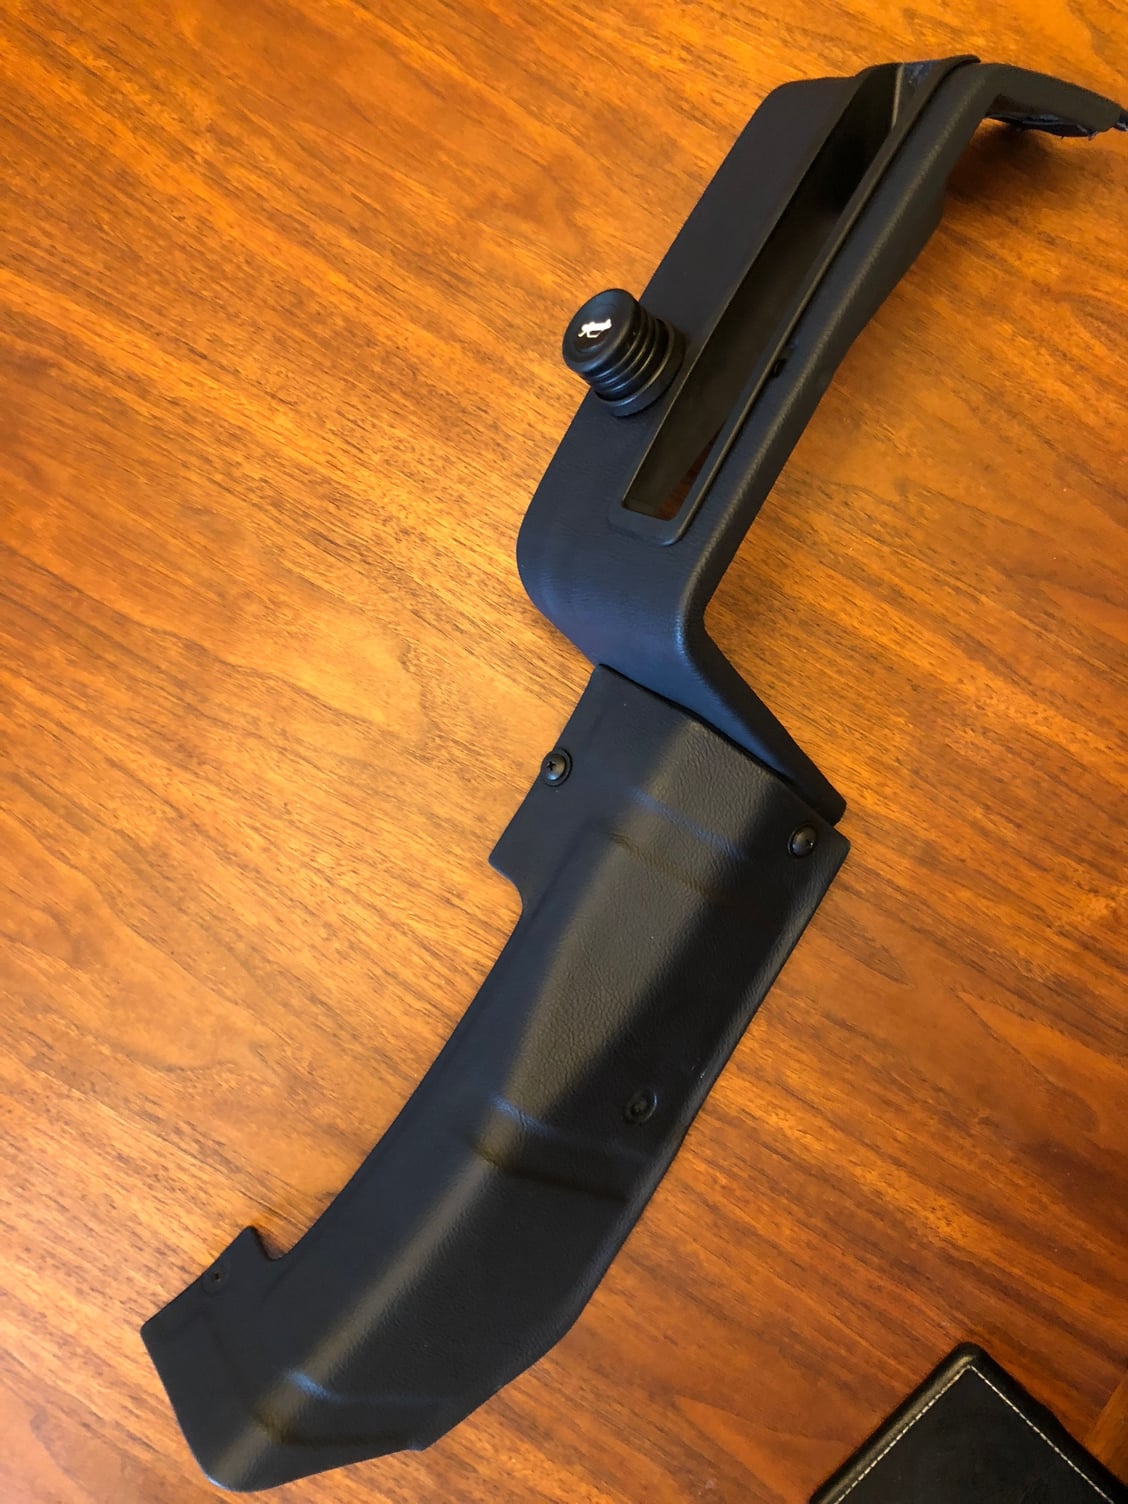
The handbrake cover over may be harder. Does anyone know if there is a side panel I’m missing that would face the driver seat?
This seems too flimsy
Last edited by Michael Benno; 02-21-2018 at 03:34 PM.
You're not missing anything, that's the complete frame, open on both sides. There's just carpet over the inboard side.
Thanks for the photo, that is exactly what I needed. I have to say this piece is quite flimsy and easy to bend, I may add a inboard panel give it some additional structure.
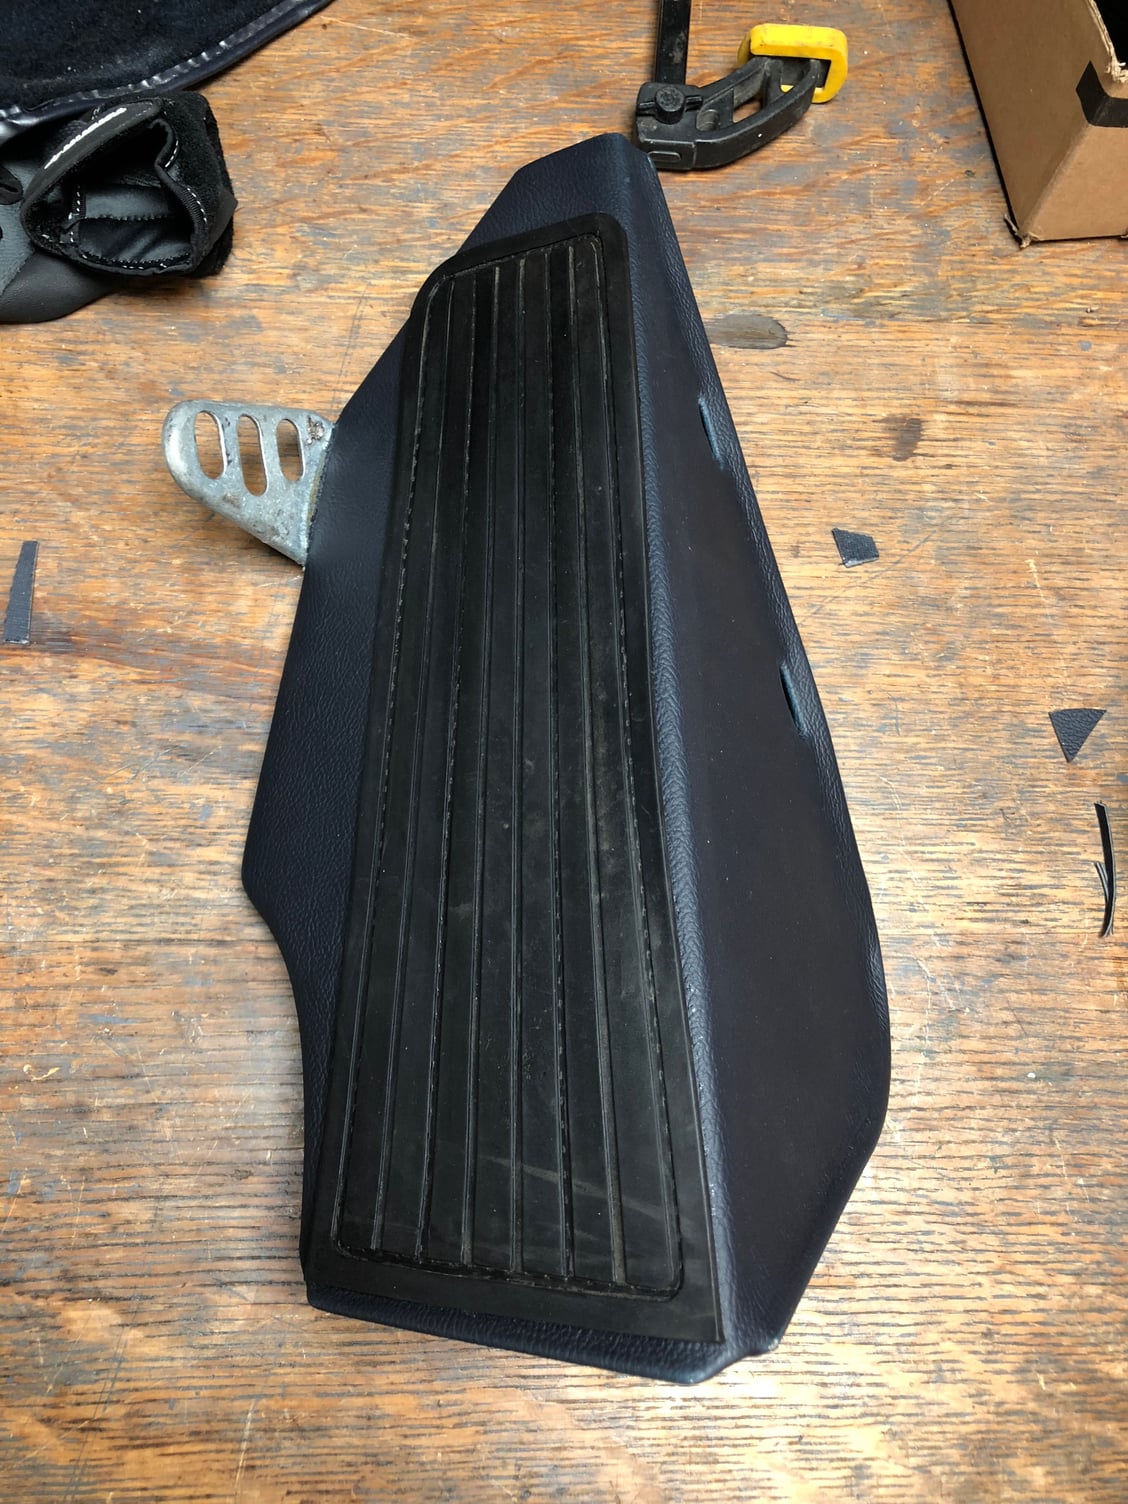
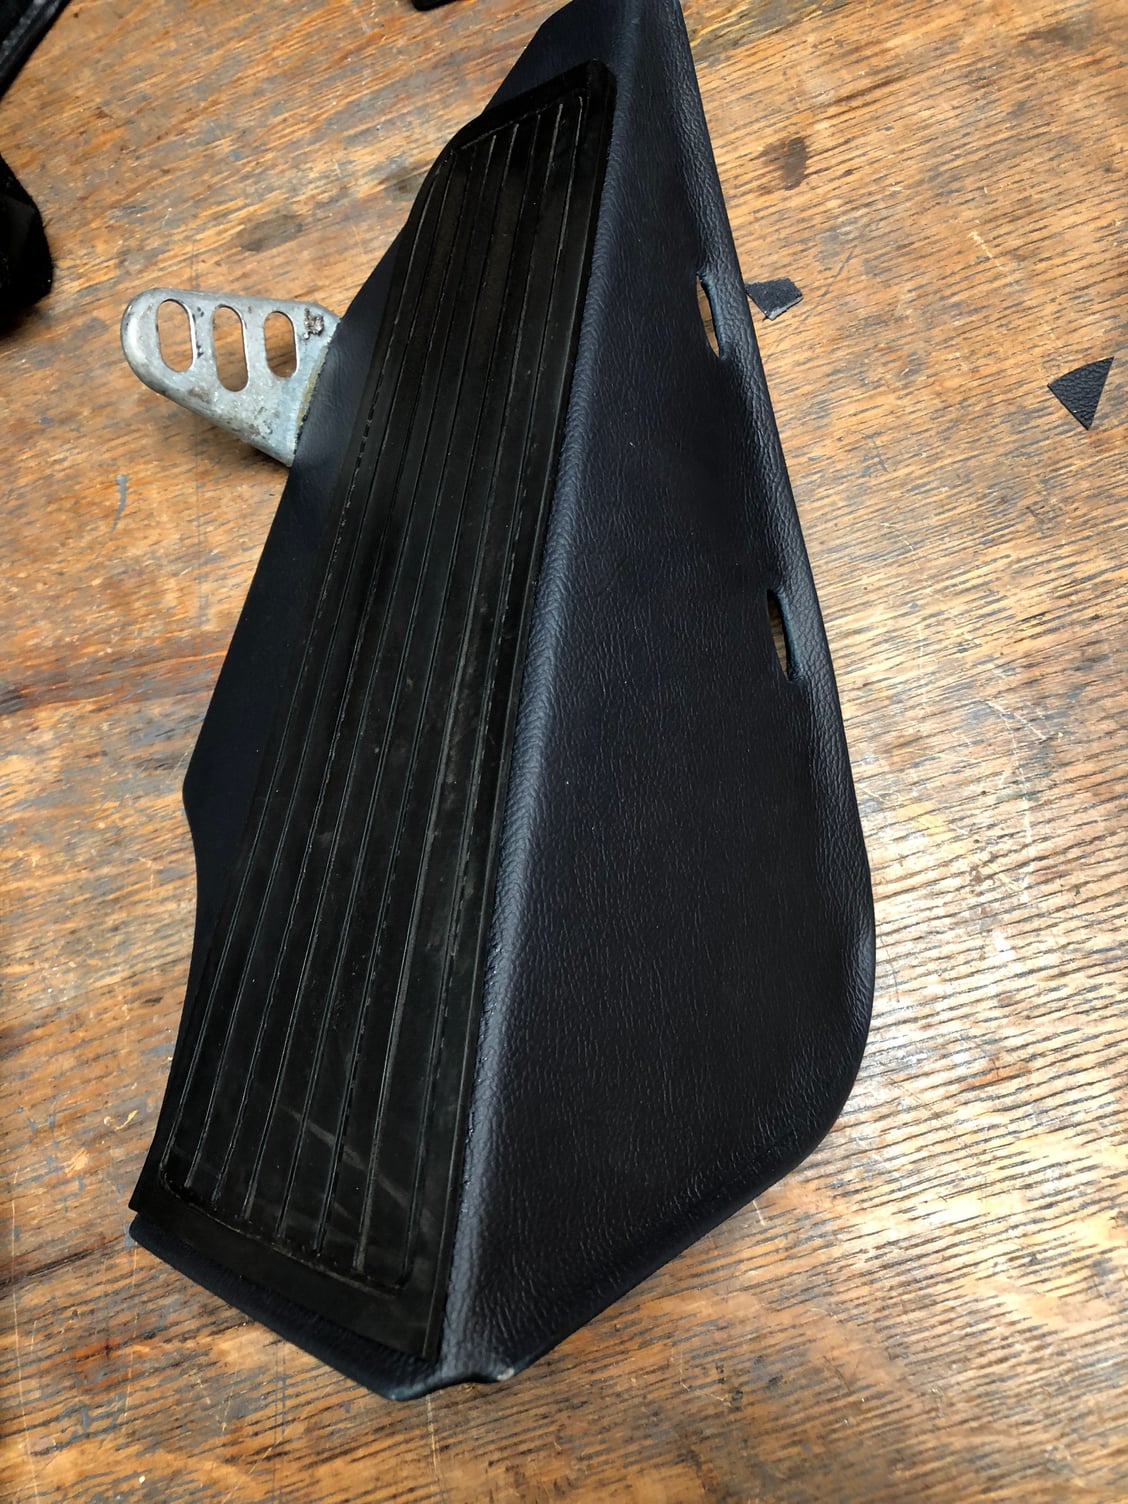
As I said in a previous post, I am still waiting on replacement carpet from Classic9 (Robert Budd) and I have this problem of extra vinyl scraps and all these interior bits just screaming at me to get covered in vinyl. I figured what the hell, why not, I can always remove the vinyl, or carpet over it. So I did the driver's side hand break cover and the dead pedal too.
The dead pedal actually makes more sense to be covered in something non-absorbent and higher wearing than carpet. So I will likely leave that as is. The carpet I removed from this item was in the worst condition of any of the pieces. In hindsight I should have put some foam padding on the side to deal with the hard lip near the mounting holes. Alternatively, I could have used more glue on the side face to get the vinyl pressed into all the corners. On this piece I tried only glueing the edges which is what the factory does with the carpet.
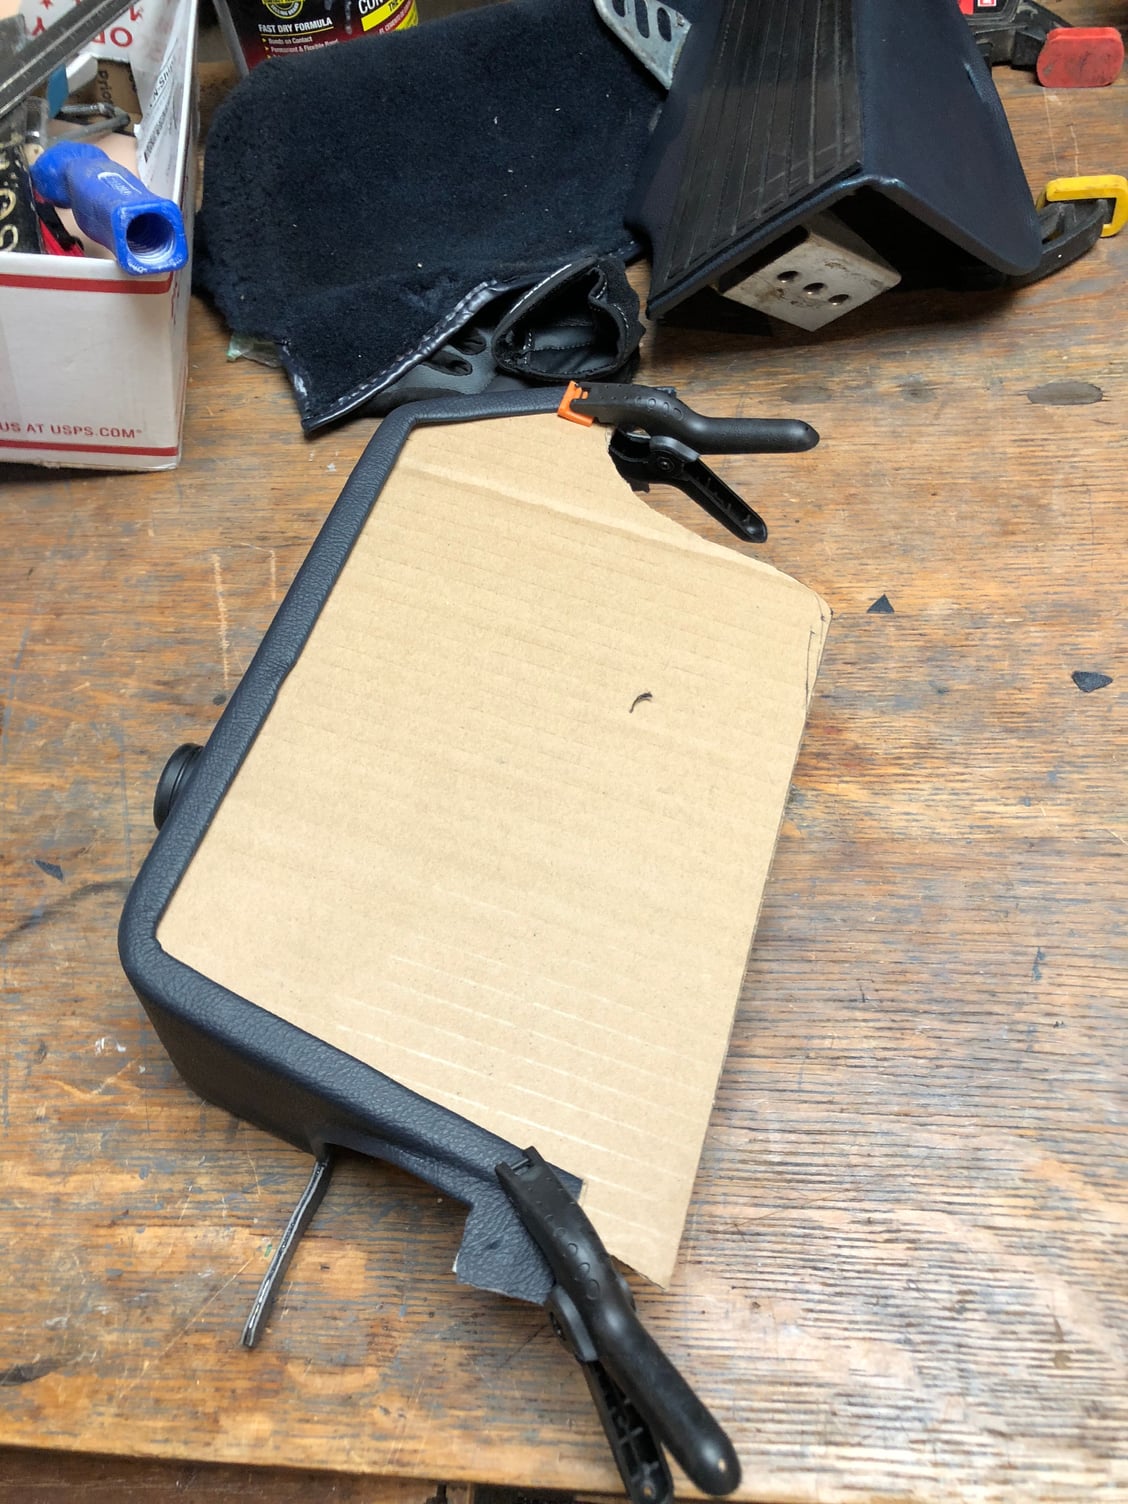
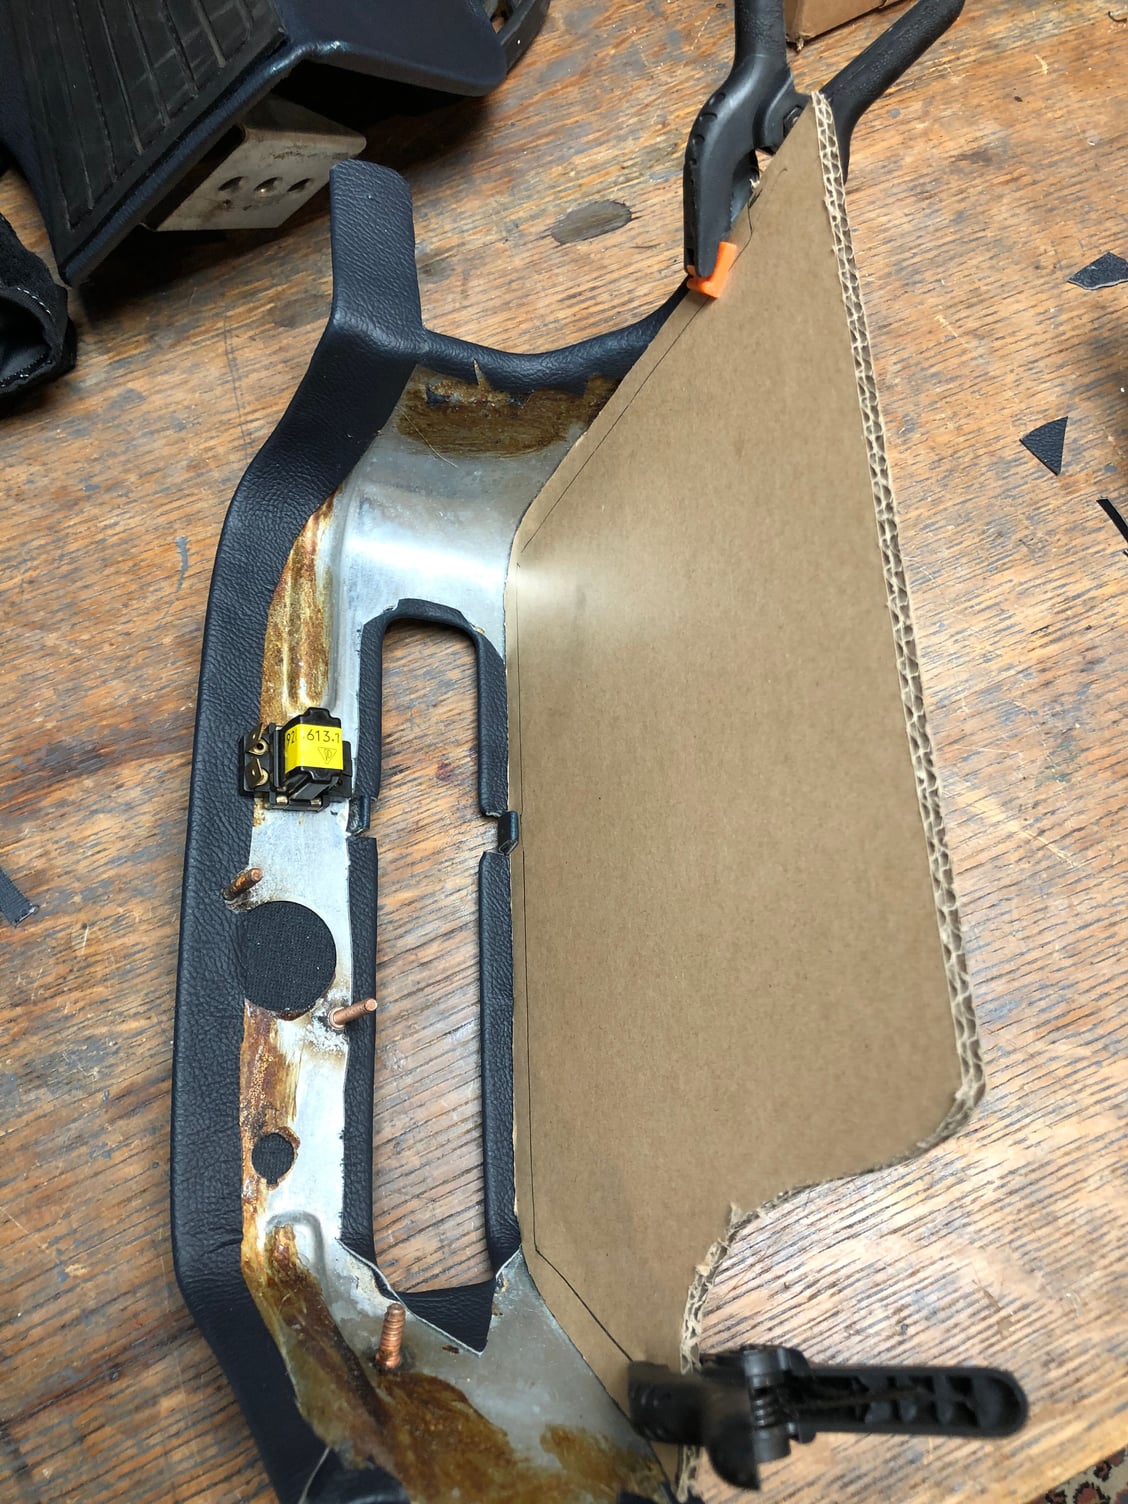
On the handbrake cover, I glued the entire surface and pushed the vinyl into all the corners. It came out good. Unfortunately, I didn't have a piece large enough to do both the top and the side next to the driver seat so I am planning on a two piece approach. I fitted the vinyl to the metal structure and I plan to cut a side panel out of some sort of flexible material, cover it in vinyl, and fix it somehow to the metal brace. I think you can get the idea with this cardboard mock up. I need to do some fine tuning to the bottom. I wonder why Porsche didn't go with a lice moulded piece on the driver's side, like they did for the passenger side. It's no more complex.
Any suggestions on what to use for this side panel? I was thinking on option would be ABS, or 1/4 birch plywood, or possibly soaking that cardboard in resign.
What would you recommend using to mount the side panel to the frame? Just use contact cement for easy removal if needed?
I think I am about done now since I am all out of spare scraps. Cheers.
Last edited by Michael Benno; 02-24-2018 at 02:58 AM.
Damn I like the e brake panel, and the passenger side panel. They look really nice covered in the textured vinyl. I know you mentioned it a few pages back, but where did you get the vinyl? It looks black, but IIRC you said it was some type of blue?
Damn I like the e brake panel, and the passenger side panel. They look really nice covered in the textured vinyl. I know you mentioned it a few pages back, but where did you get the vinyl? It looks black, but IIRC you said it was some type of blue?
I got it from, Global Upholstery, http://www.globalupholstery.com/prod...n/porsche.html, It was $35 per yard. I purchased 2 yards. They have all the colors for Porsche. It's really nice high quality stuff. I purchased dark blue (Blue 1853 on their site). It's dark blue but in artificial light it photographs black. 2 yards covered two dashes, the glovebox, the armrest plus all the pieces you see me covering.
Also, I would like to revise my practice of using the heat gun for forming. I am finding cold forming is best. I get more consistent stretching. I am now only using heat when I really want to stretch the material beyond it's natural elasticity or when I want to set the glue.
I agree with your opinion the side panels next to the seats look better (cleaner) in vinyl than carpeted. But I think I need to see the final result before committing. They look really sharp in the car without the carpet however.
Man it looks great. I hope the rest of your stuff comes in so we can see how it looks. I may go the vinyl route on some interior trim bits as well instead of carpet. I wish you were about 3200 miles closer to SC!
Man it looks great. I hope the rest of your stuff comes in so we can see how it looks. I may go the vinyl route on some interior trim bits as well instead of carpet. I wish you were about 3200 miles closer to SC!
-scott
Thanks for the complements. If you do go this route I am. thinking you may want to add 1/8" foam or double up the vinyl to soften some of the hard metal edges.
Nice work Mike, all it takes is time and determination to learn a new skill,
the side covers look great ,what a way to think outside of the box.
FWIW when you fit the dash add a strip of black velvet felt to the front edge this will prevent the dash from squeaking on the glass.
I found some at the Hobby Lobby it came in a flat sheets for lamps I just cut it into long strips it was already preglued on one side.


 02-15-2018, 08:59 PM