When you click on links to various merchants on this site and make a purchase, this can result in this site earning a commission. Affiliate programs and affiliations include, but are not limited to, the eBay Partner Network.
Very nice!! That Porsche vinyl actually looks better than the leather. I�ve noticed on the the 1990+ years 928�s that have this specific vinyl, no warpage regardless of condition on car. In other words, this vinyl holds up for decades! Only question is it will get sticky or shiny with the heat.. lots of products to help with this though. SEM�s TacFree spray is fantastic, a little goes a long way��- it�s used on boats.
Thanks for the tips of the TacFree. Yes the vinyl is very nice to work with. I have a good friend who's father does interior restorations locally and he points out that leather is a really inappropriate product for things that don't get a lot of flex or hand work (e.g. Seats and steering wheels). Unless the leather is constantly being worked it will tend to shrink and warp door cards and even warp dashboards. This is especially a problem in Ferraris. I noticed the leather wrapped door cards I got from the salvage yard looked perfect but the top edges were warped away from the window. I didn't notice that until after I had treated them with resign. I think I will recover my original vinyl cards since they fit better against the glass.
I am attempting a dash covering in leather. While vinyl is more durable, I am not sure that properly cared for leather is that bad. For example, 77Tony's Mokka has a leather dash and it is just as gorgeous as the rest of the car after 40 years. But leather requires a precise pattern and the dash is pretty complex. I might be over my head but I'm learning a lot.
Re cutting with scissors vs. knives, a sharp knife works well on glued trim areas like inside corners. Off-the-shelf knives can be pretty dull and don't hold an edge very long. Regular utility knives work very well if they're sharpened frequently with a few strokes on a "fine" diamond stone.
@Dr. Bob, thanks for the acetone tip. Weldwood is very finicky on correct drying time. BTW: It can also be used wet if immediate tackiness is not needed, e.g. where there is no stretching required.
YouTube videos by "Cechaflo," a car upholstery wizard, are a great source.
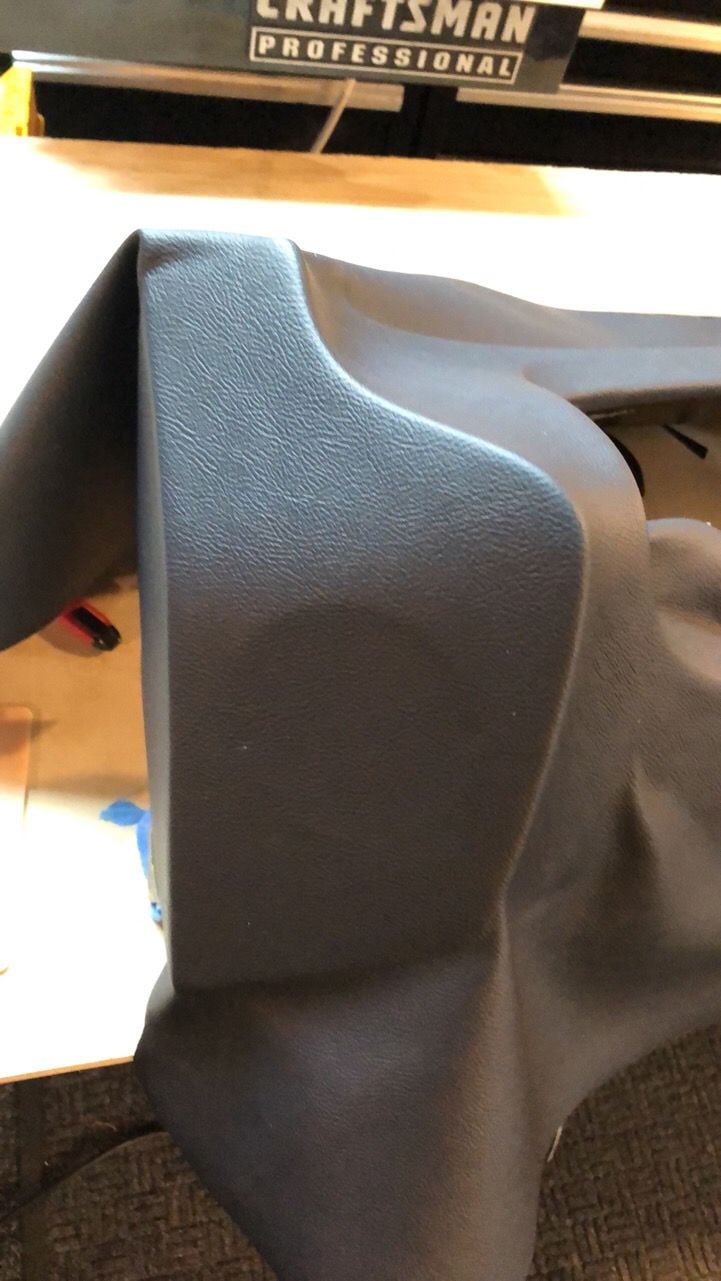
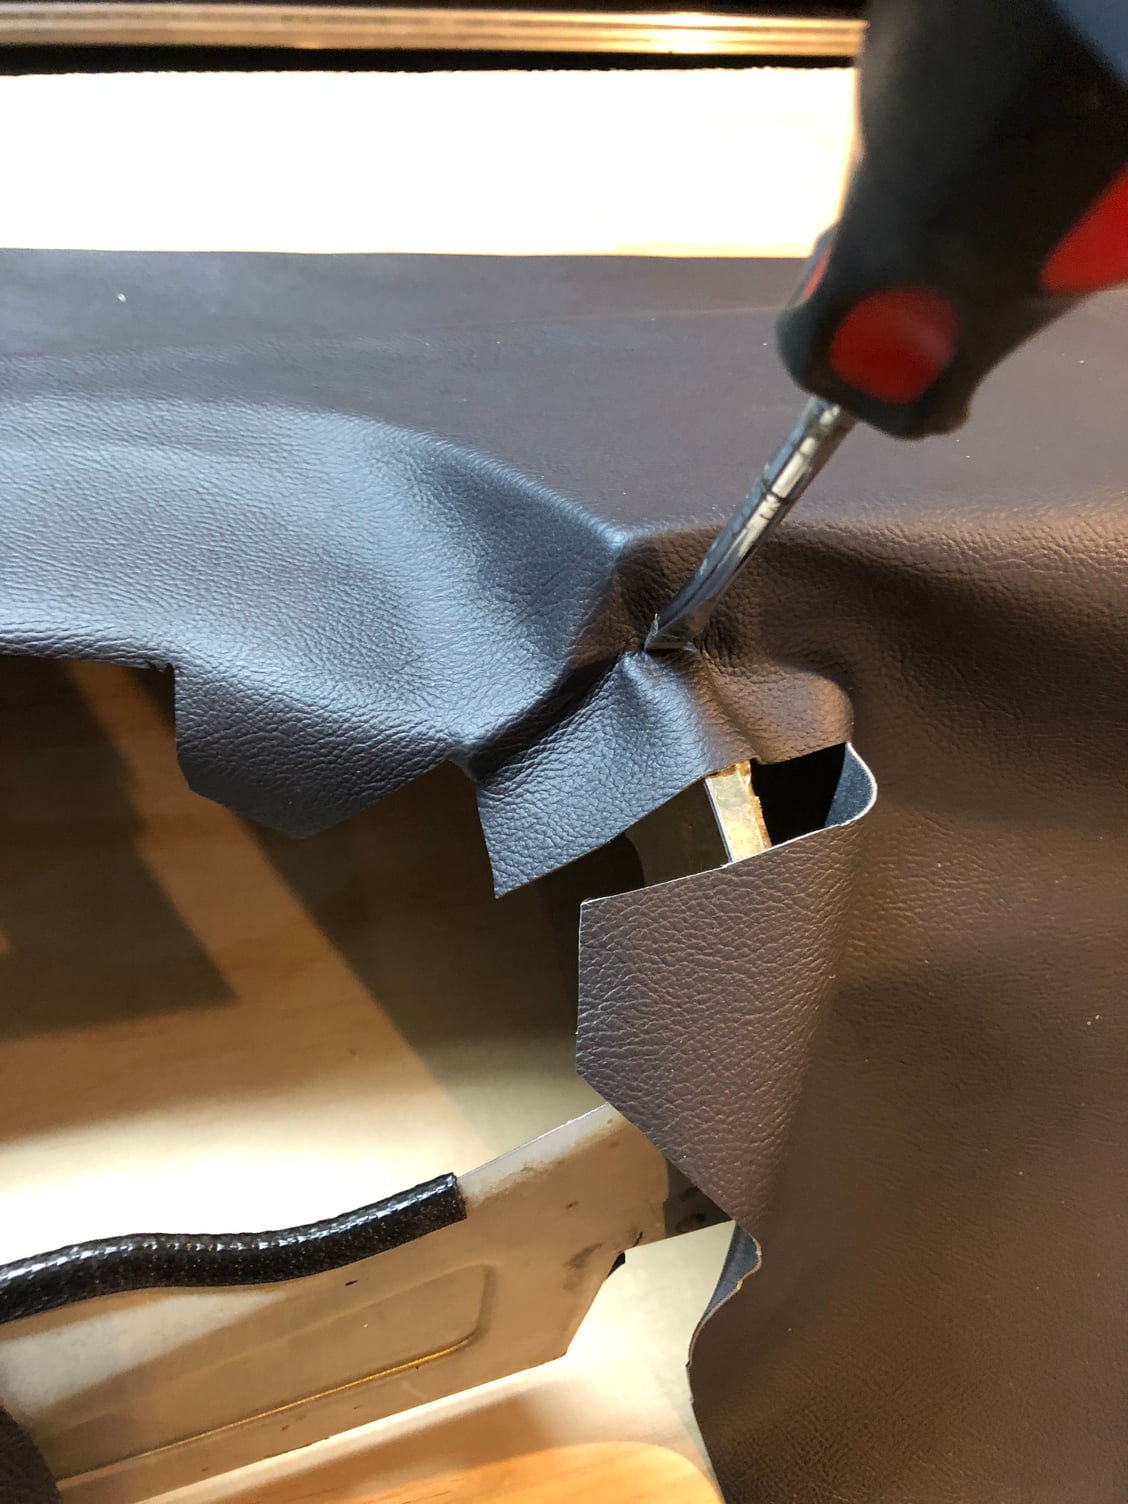
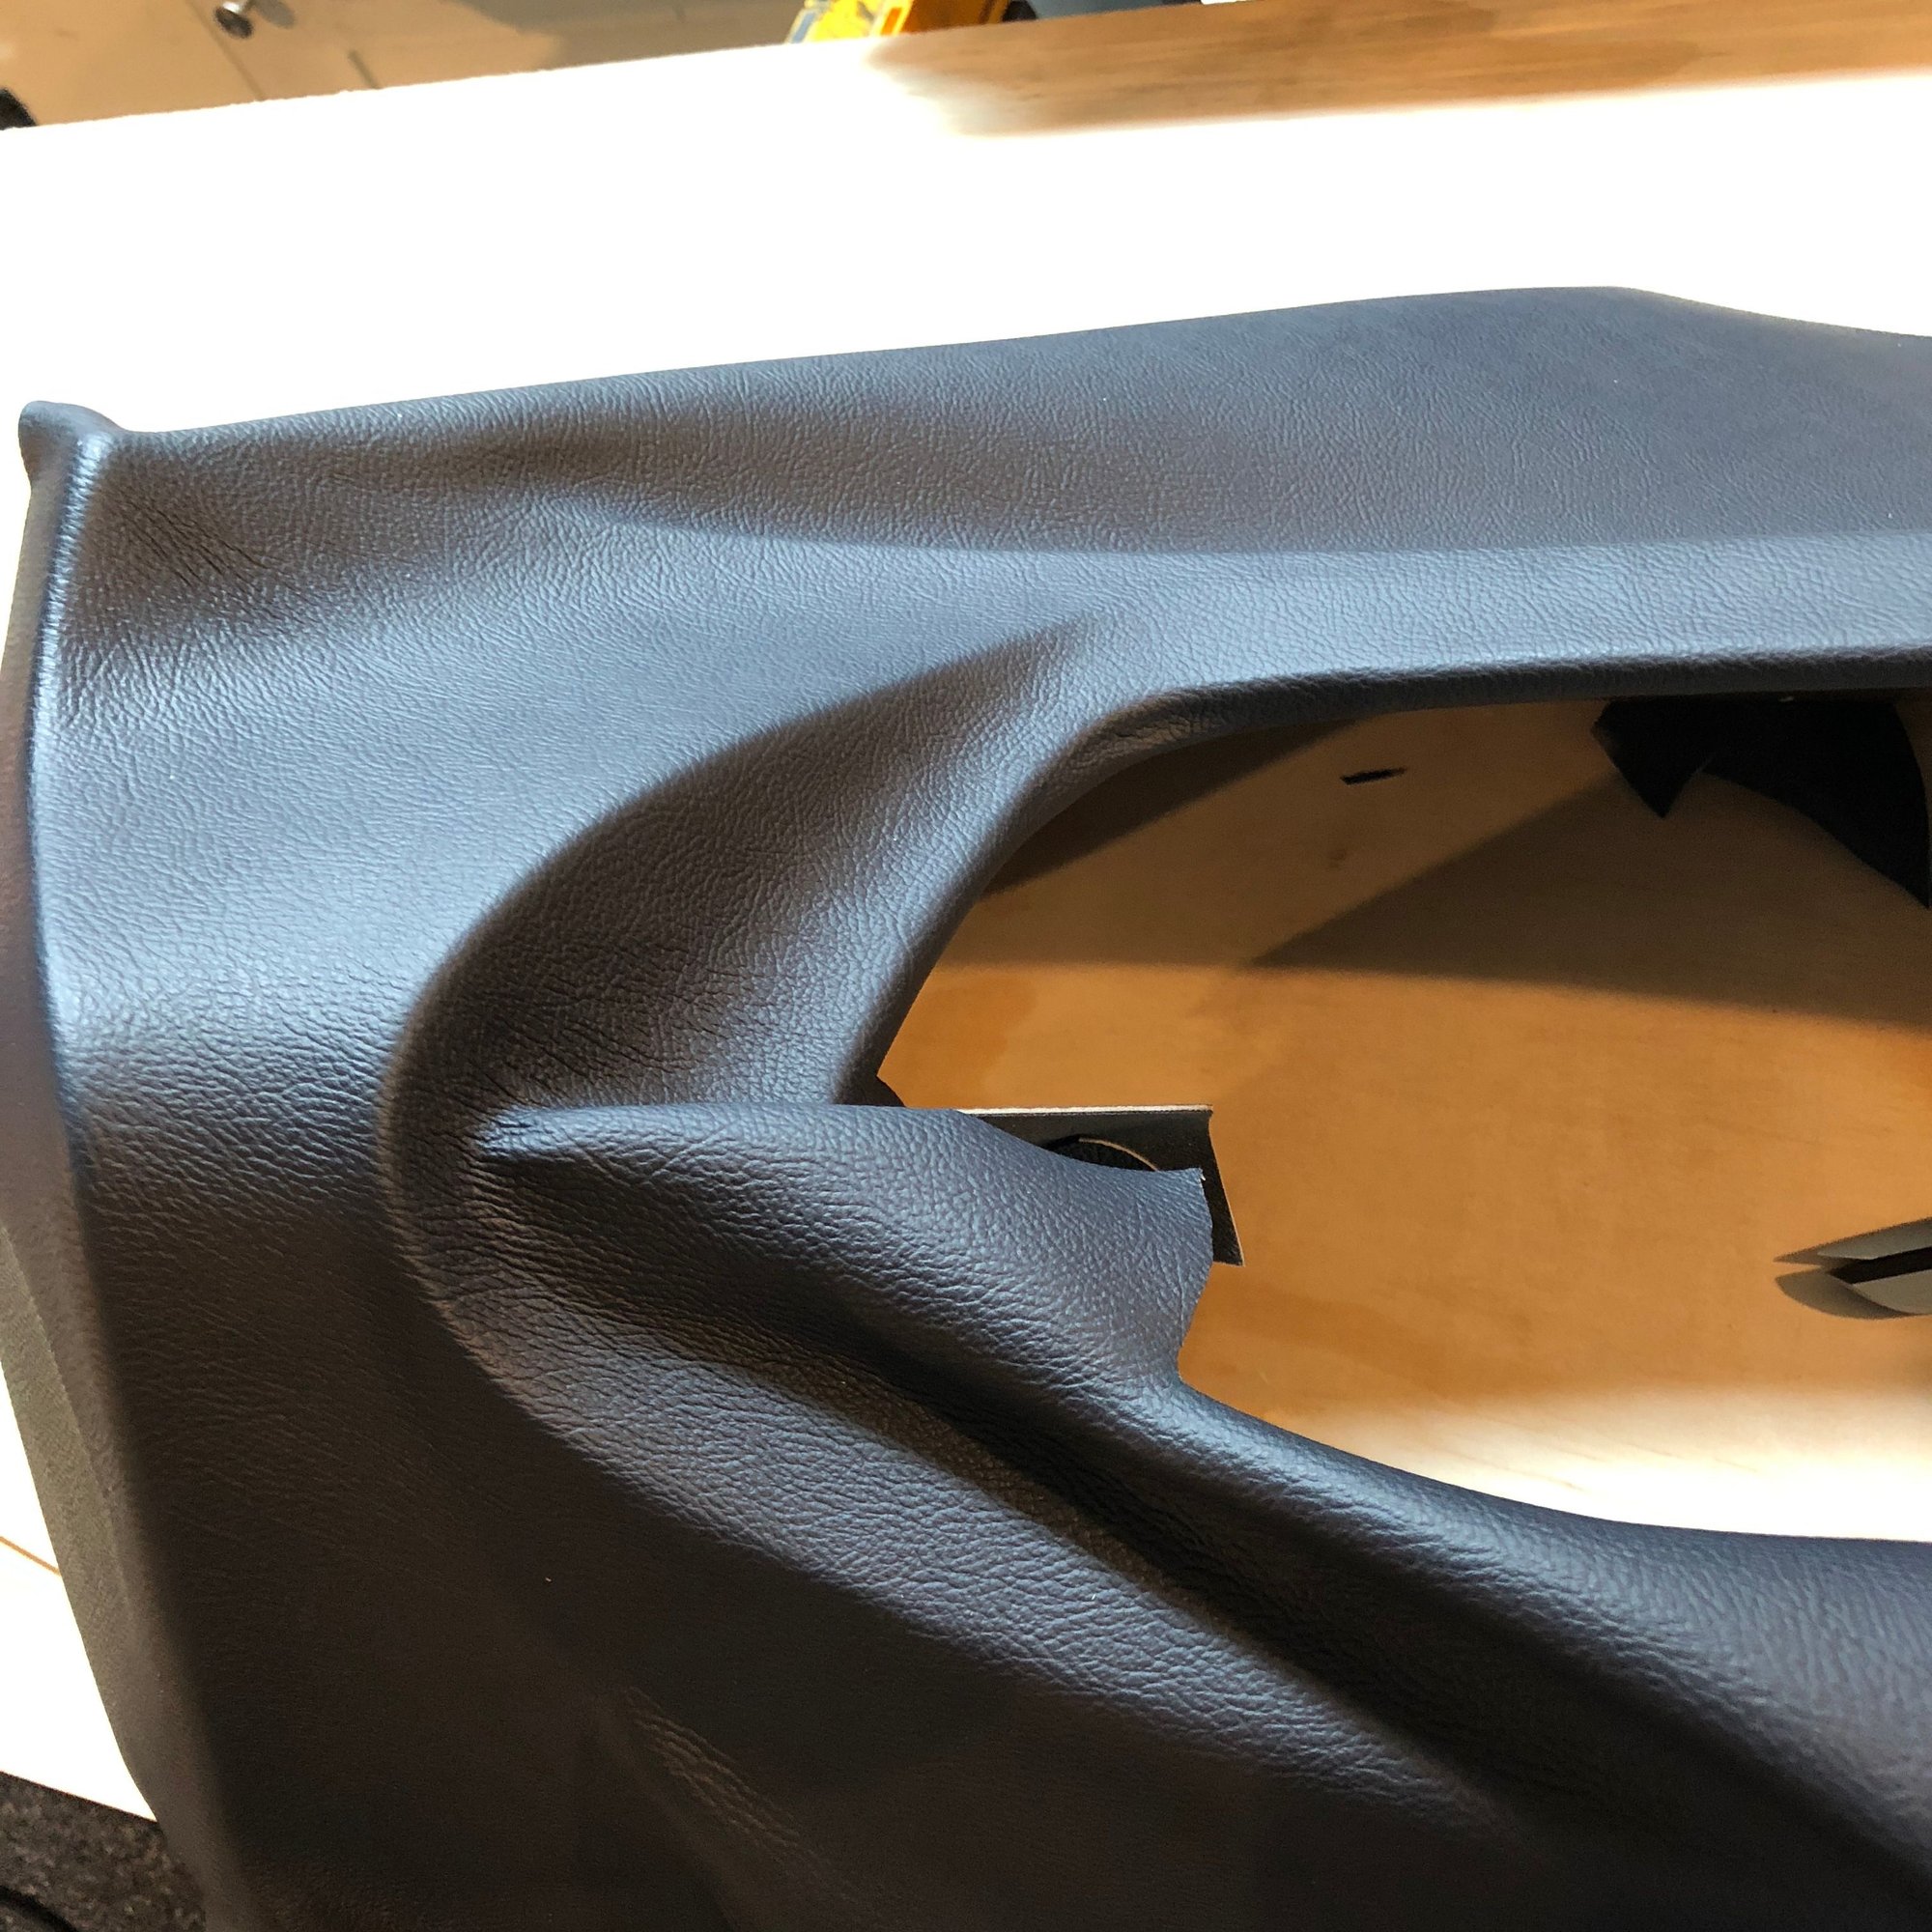
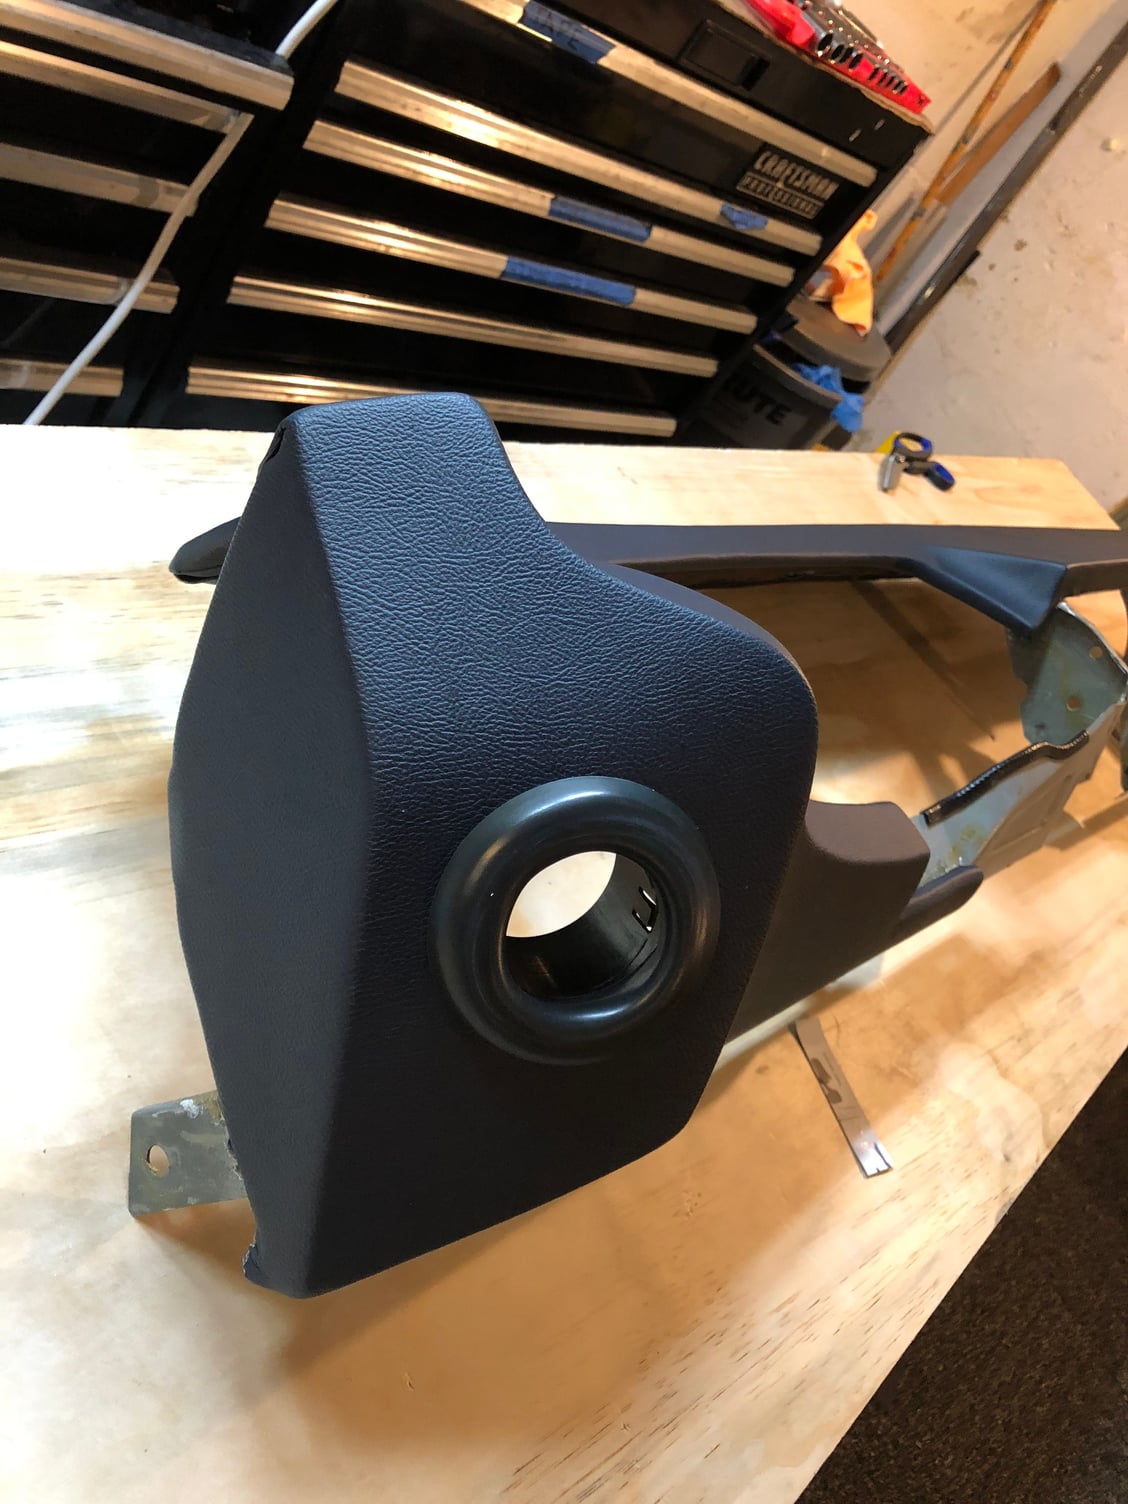
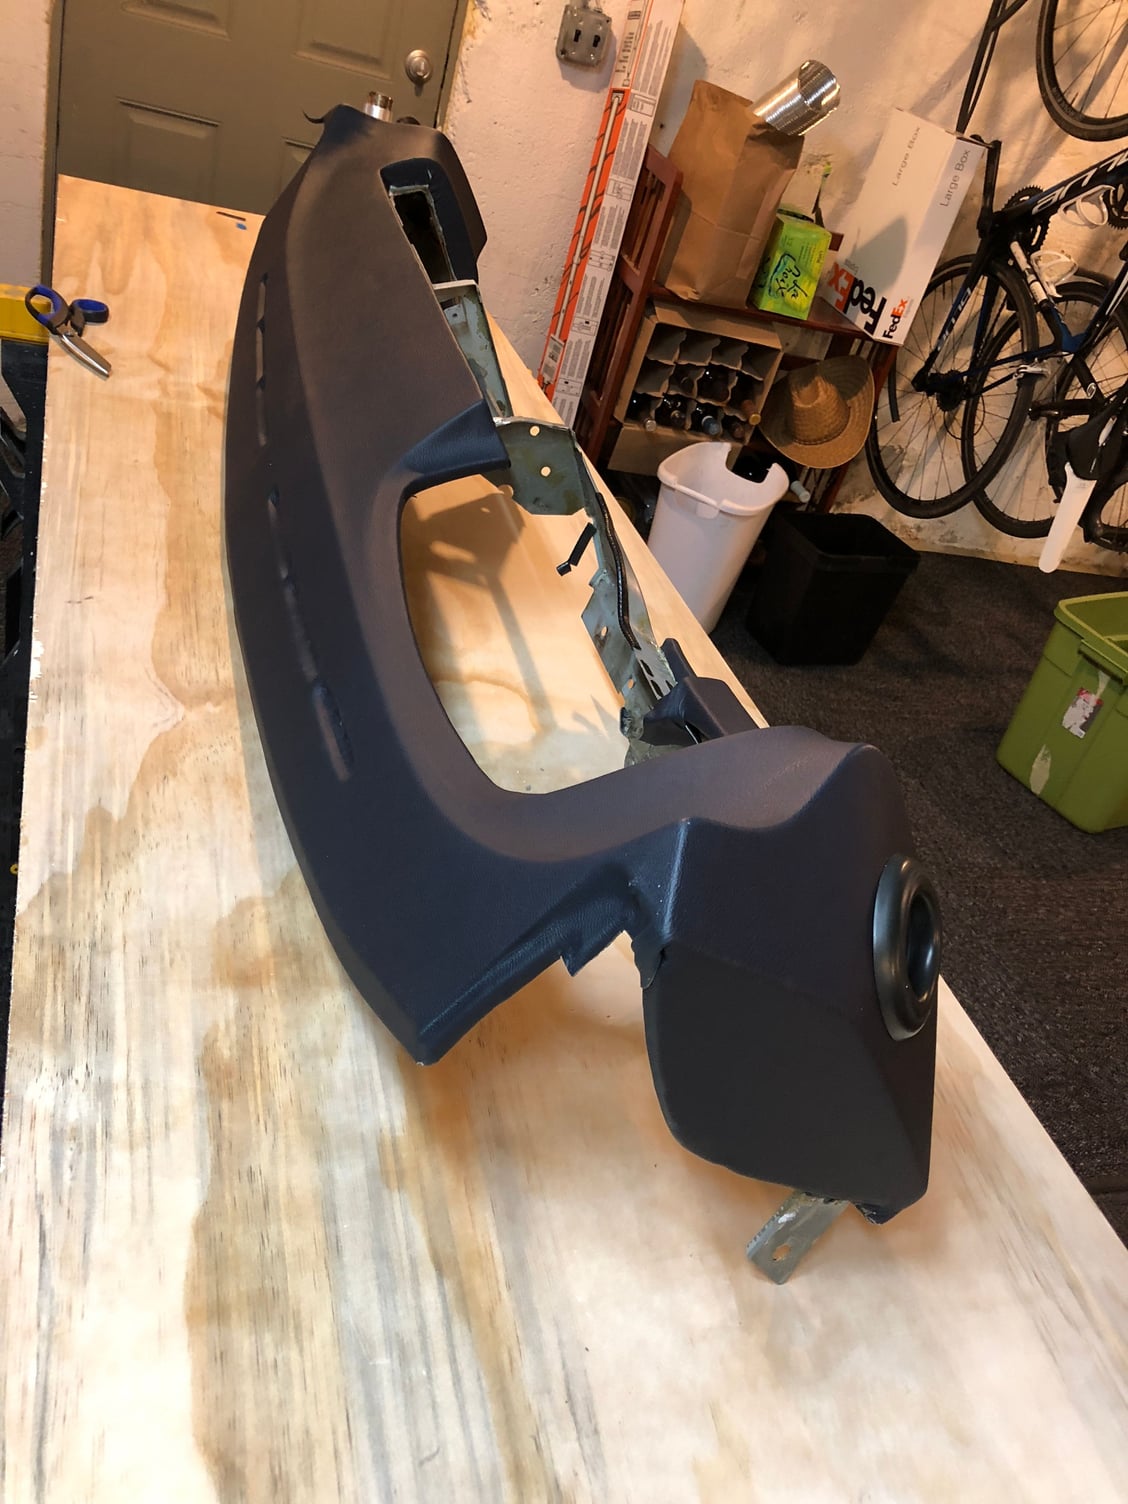
I stared on the driver side vent face first and then moved to front curves and dash pod cutout. I quickly discovered I was going to end up with too much material again. I ended up creating a seam here because I had already started cutting the material for the pod opening. The seam is hidden by the pod when installed. I think I could have avoided a seem here if I worked around the pod opening without cutting creating a drum surface and then slowly heading and stretching the material into position. The problem with that strategy is the heat releases the glue so you need a lot more hands. Plus the vinyl does not like to stick on concave surfaces when stretched. The strategy with starting with the driver's vent surface also created issued with too much material in the lower curves. I ended up needing to do quite a bit of stretching to get it all to fit okay.
Here are some pictures of my second attempt:
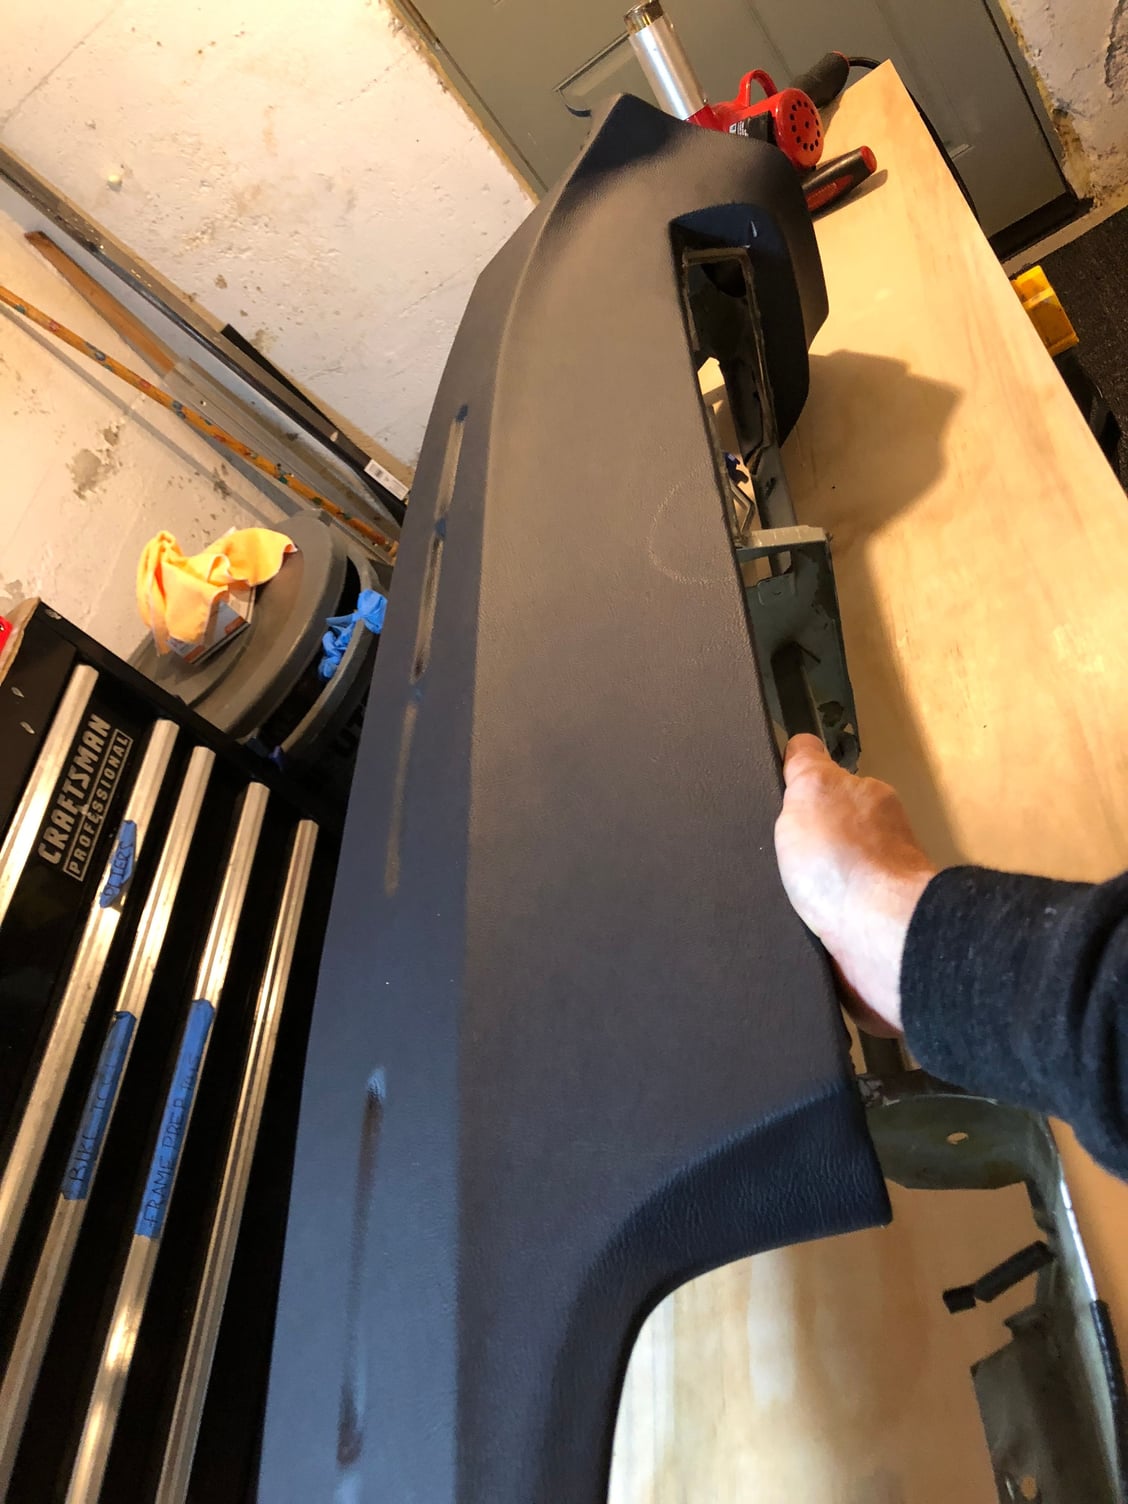
This time I started laying the material fat on the side panel vent.
here you can see I cut the bottom too short and I had to do some heating and stretching to get it to fit properly on the botto.
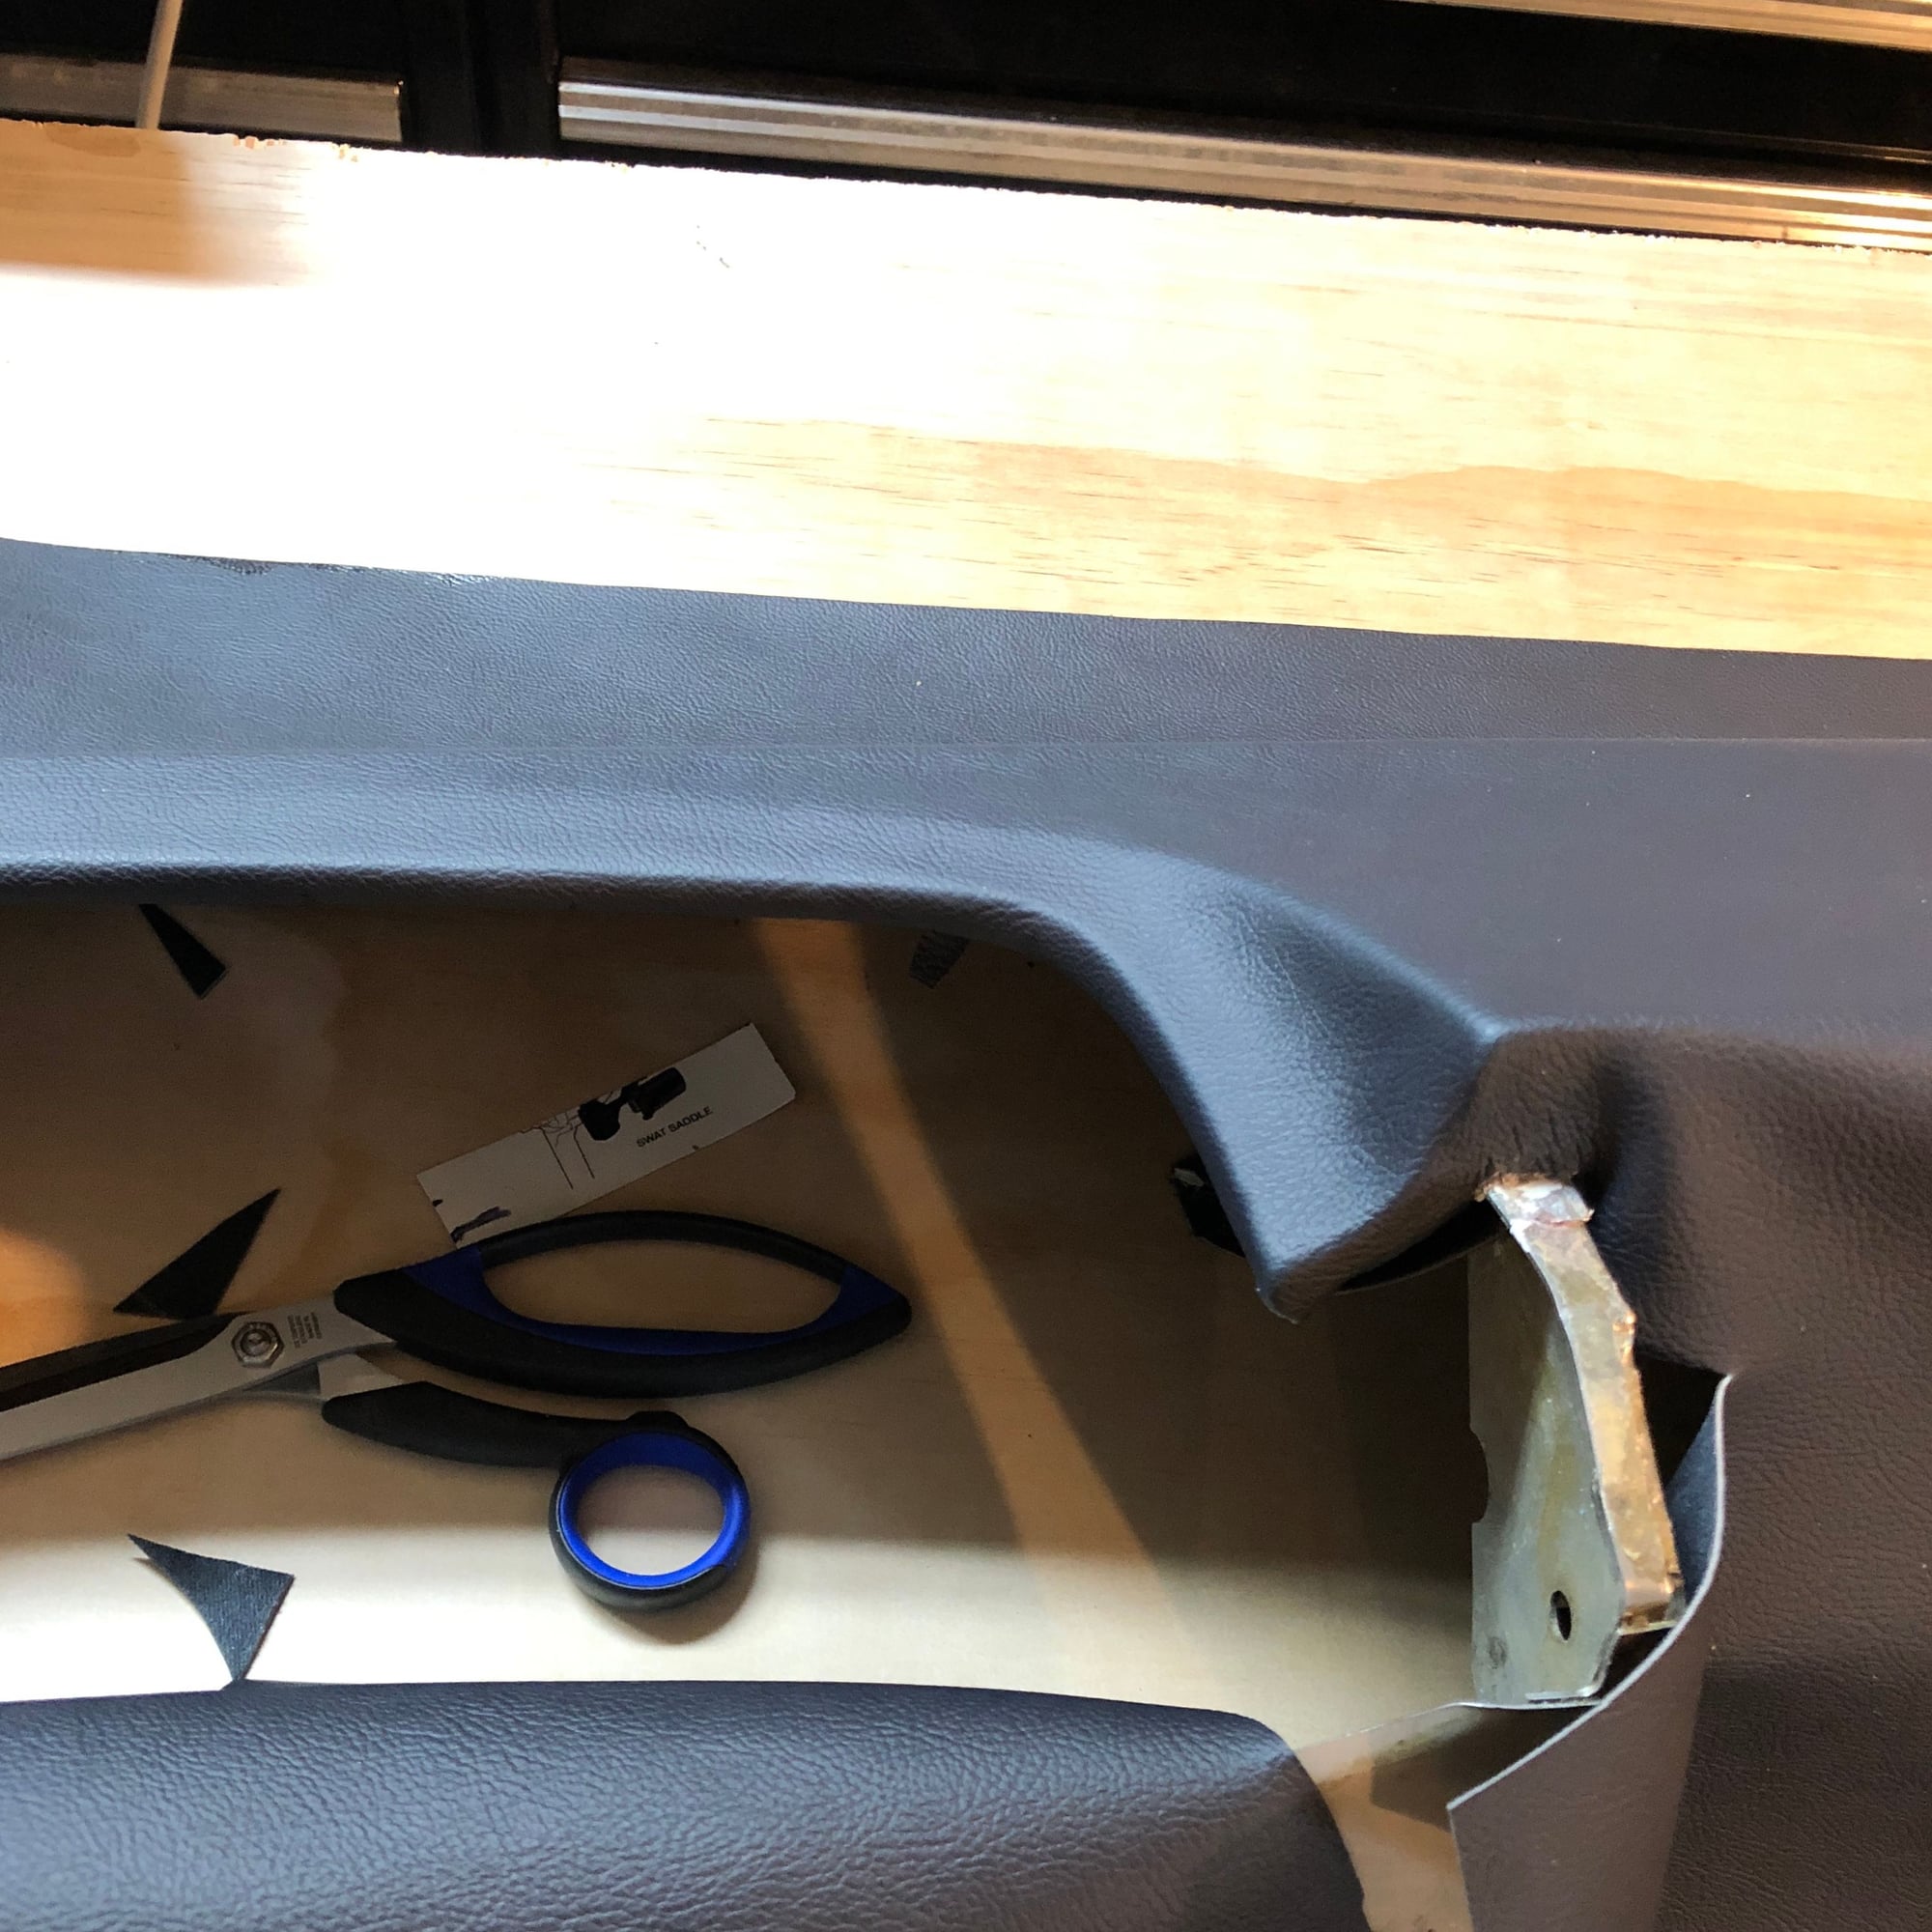
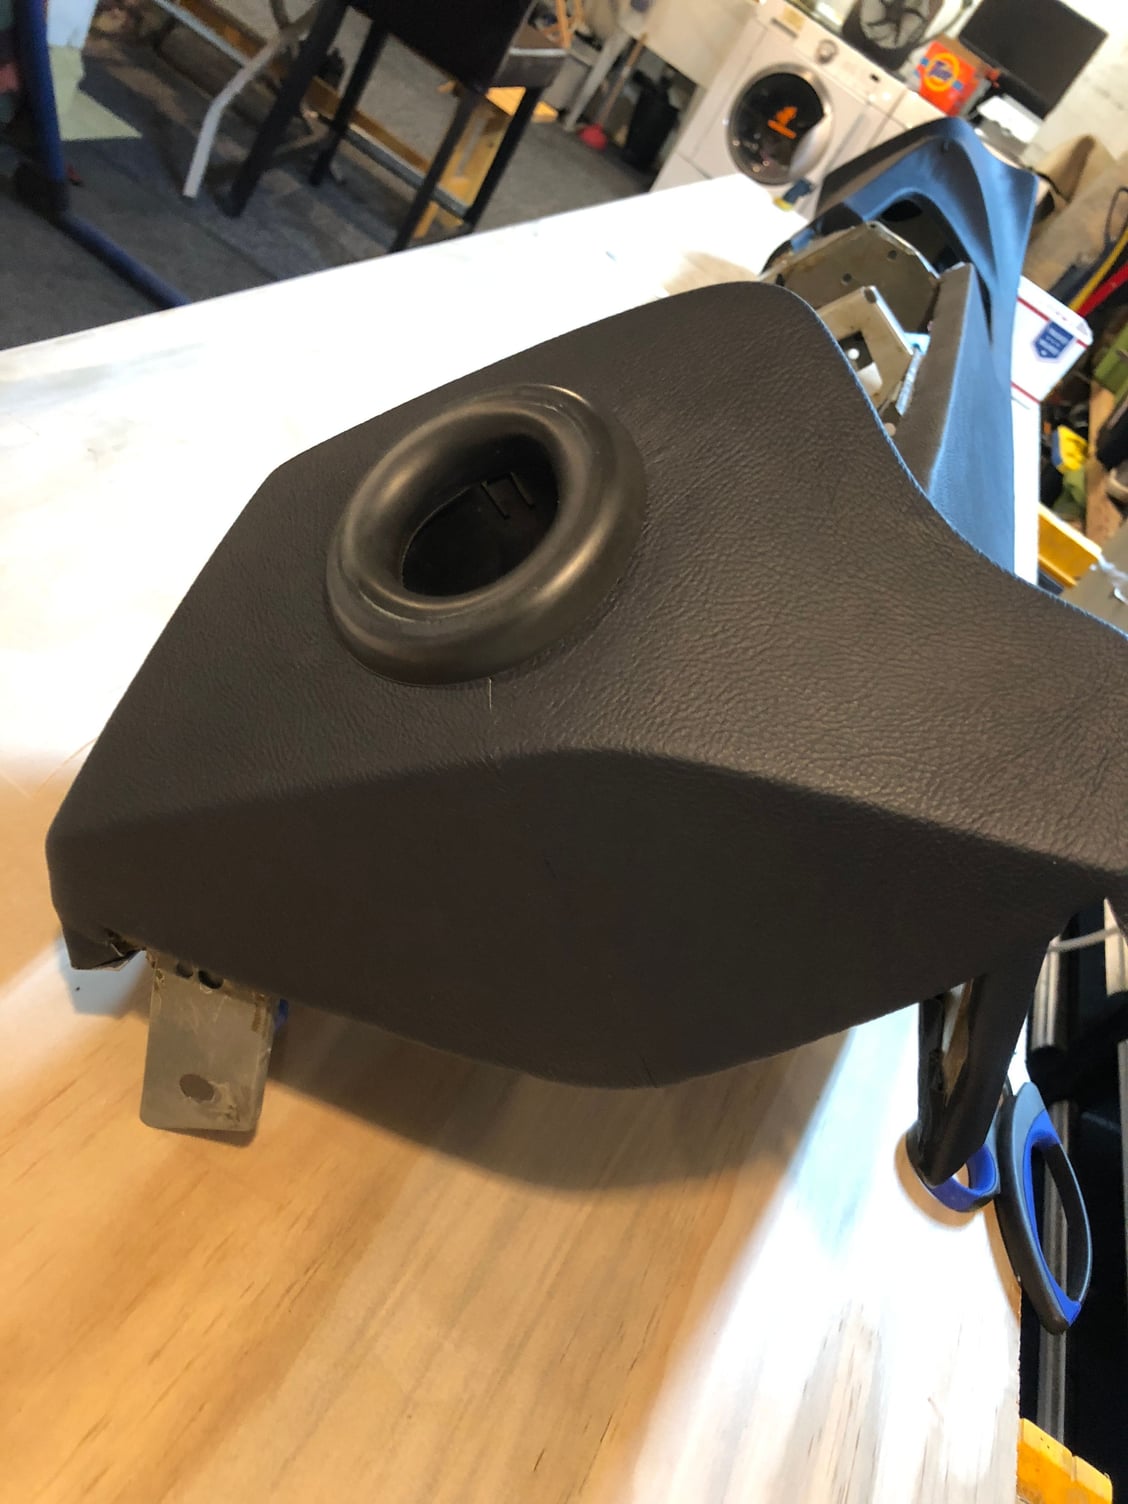
I was pretty impressed how perfect this corner ended up.
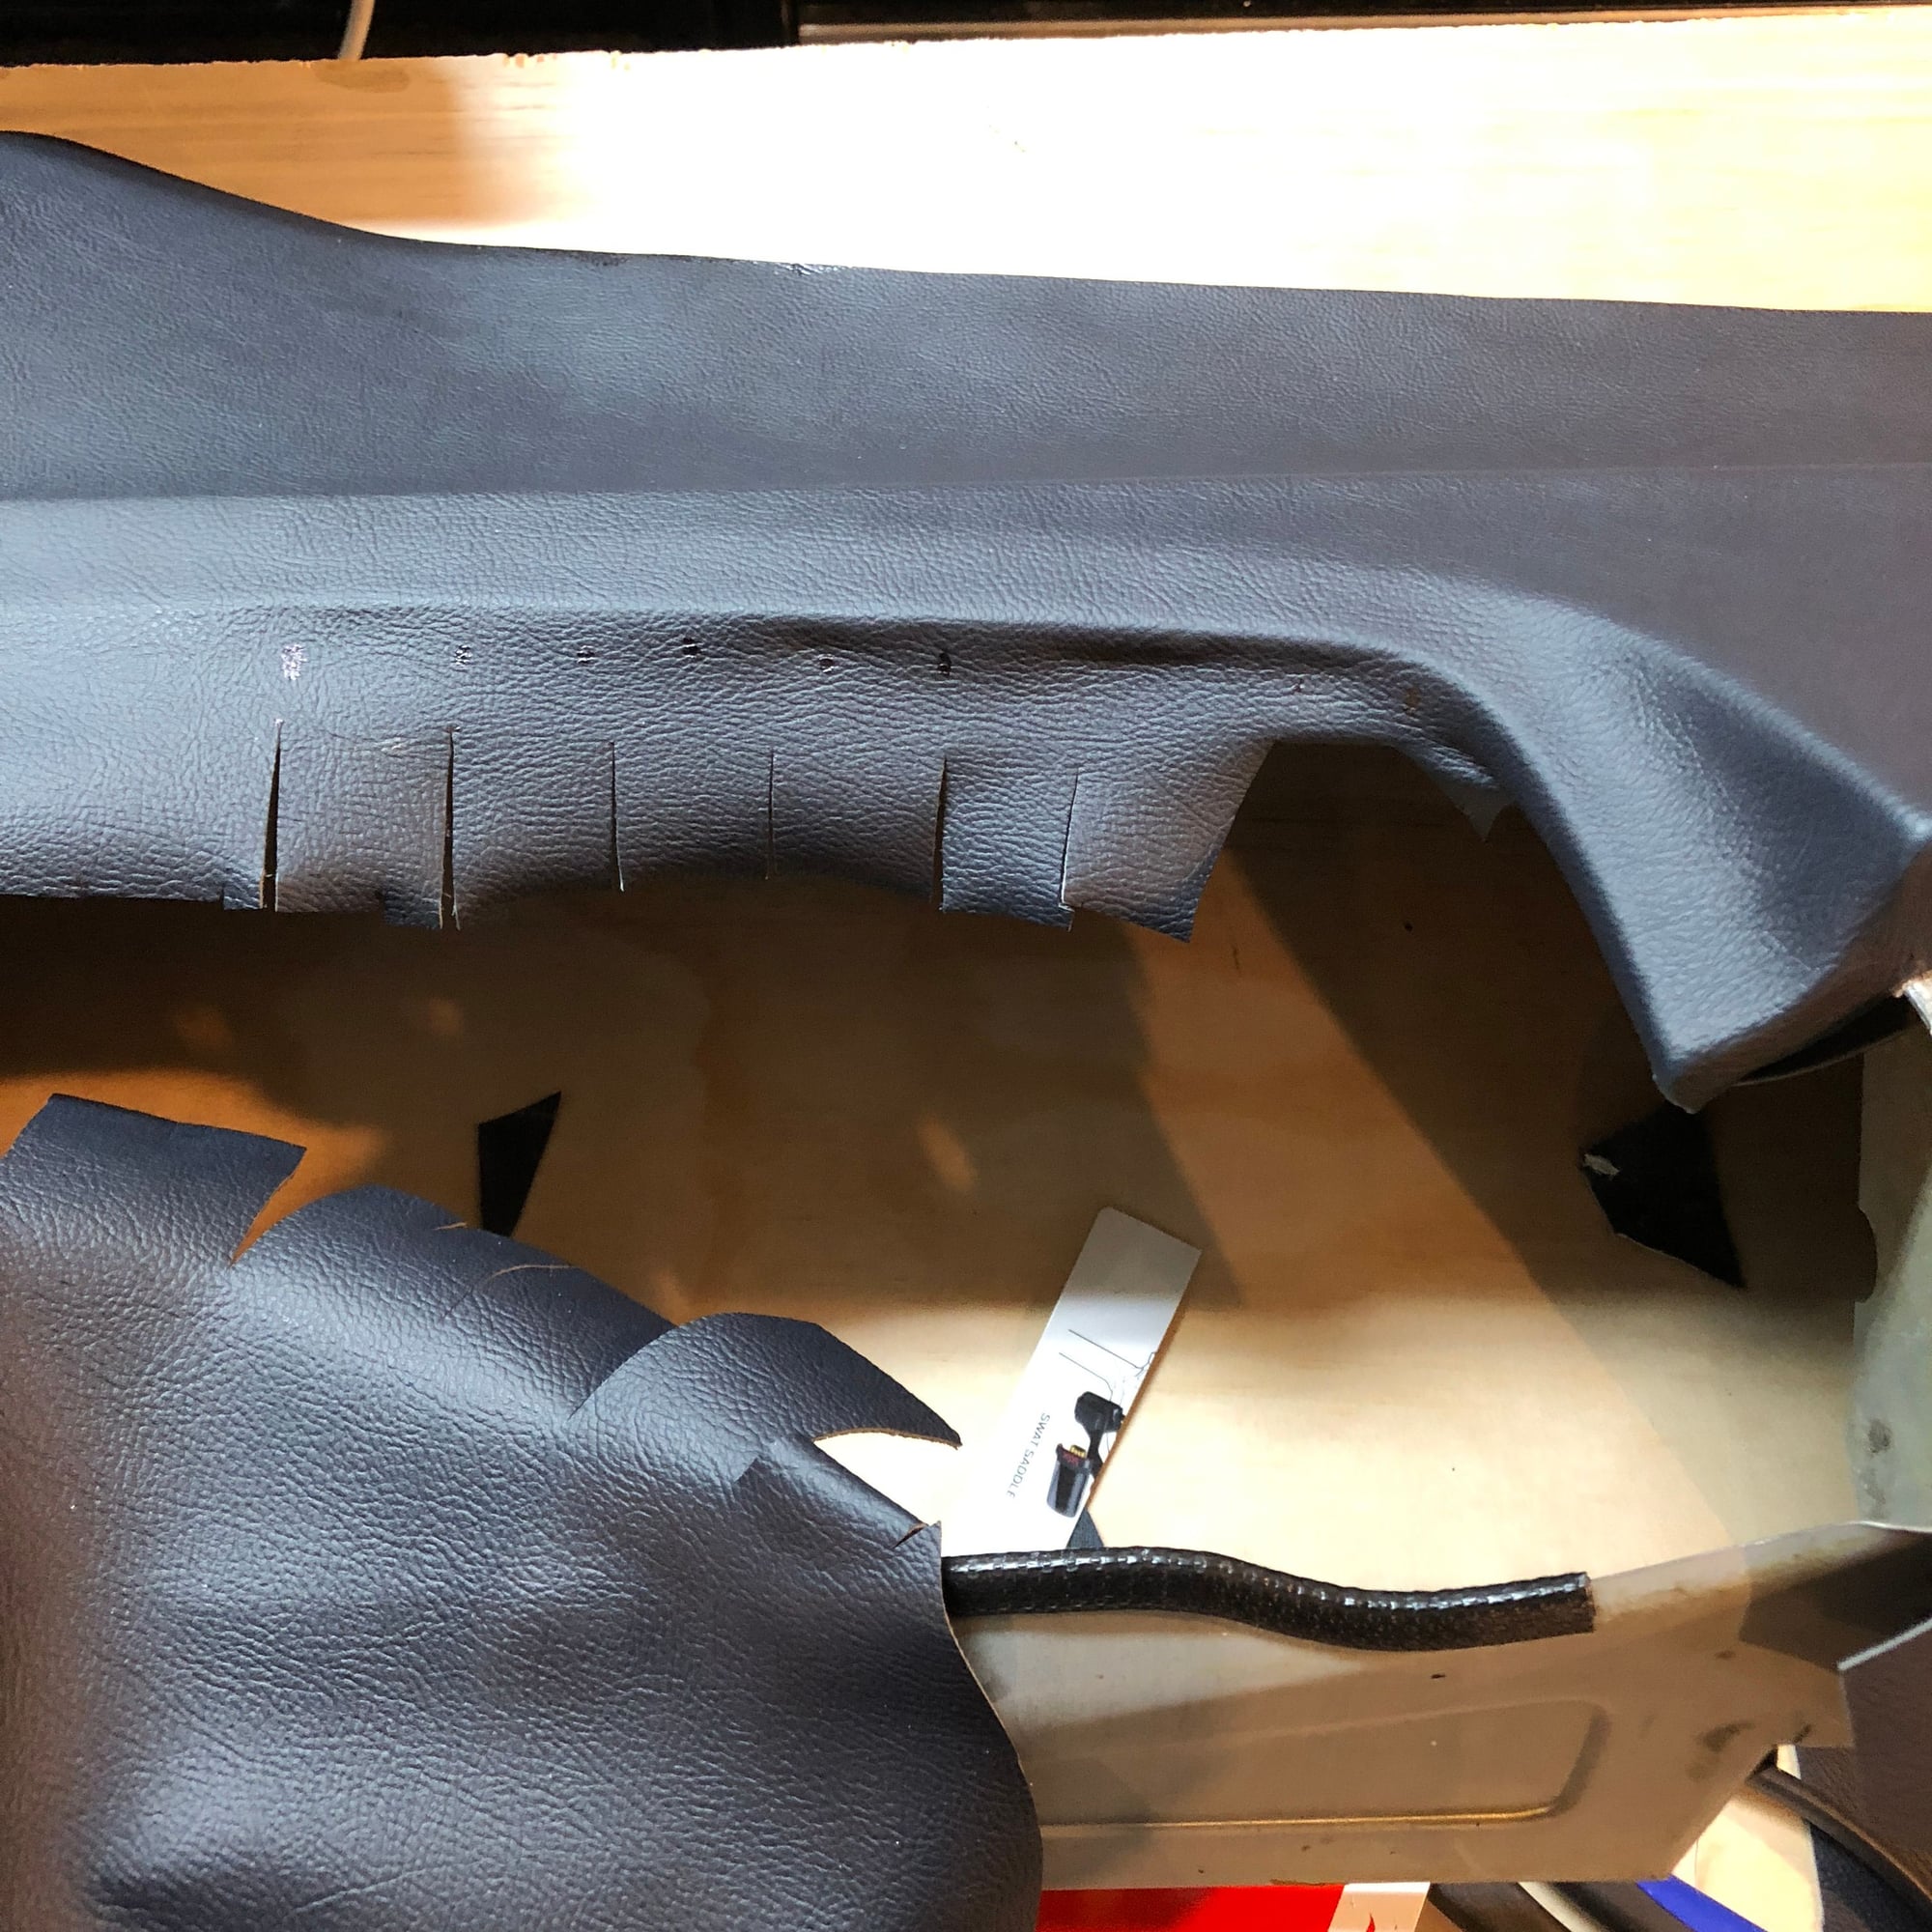
The ends look great but you can see gathered material in the pod cutout and the bottom curves. I did have this problem with my previous approach of working from the center of the dash outward. The gathered material at the bottom was really tough to pull out as well.
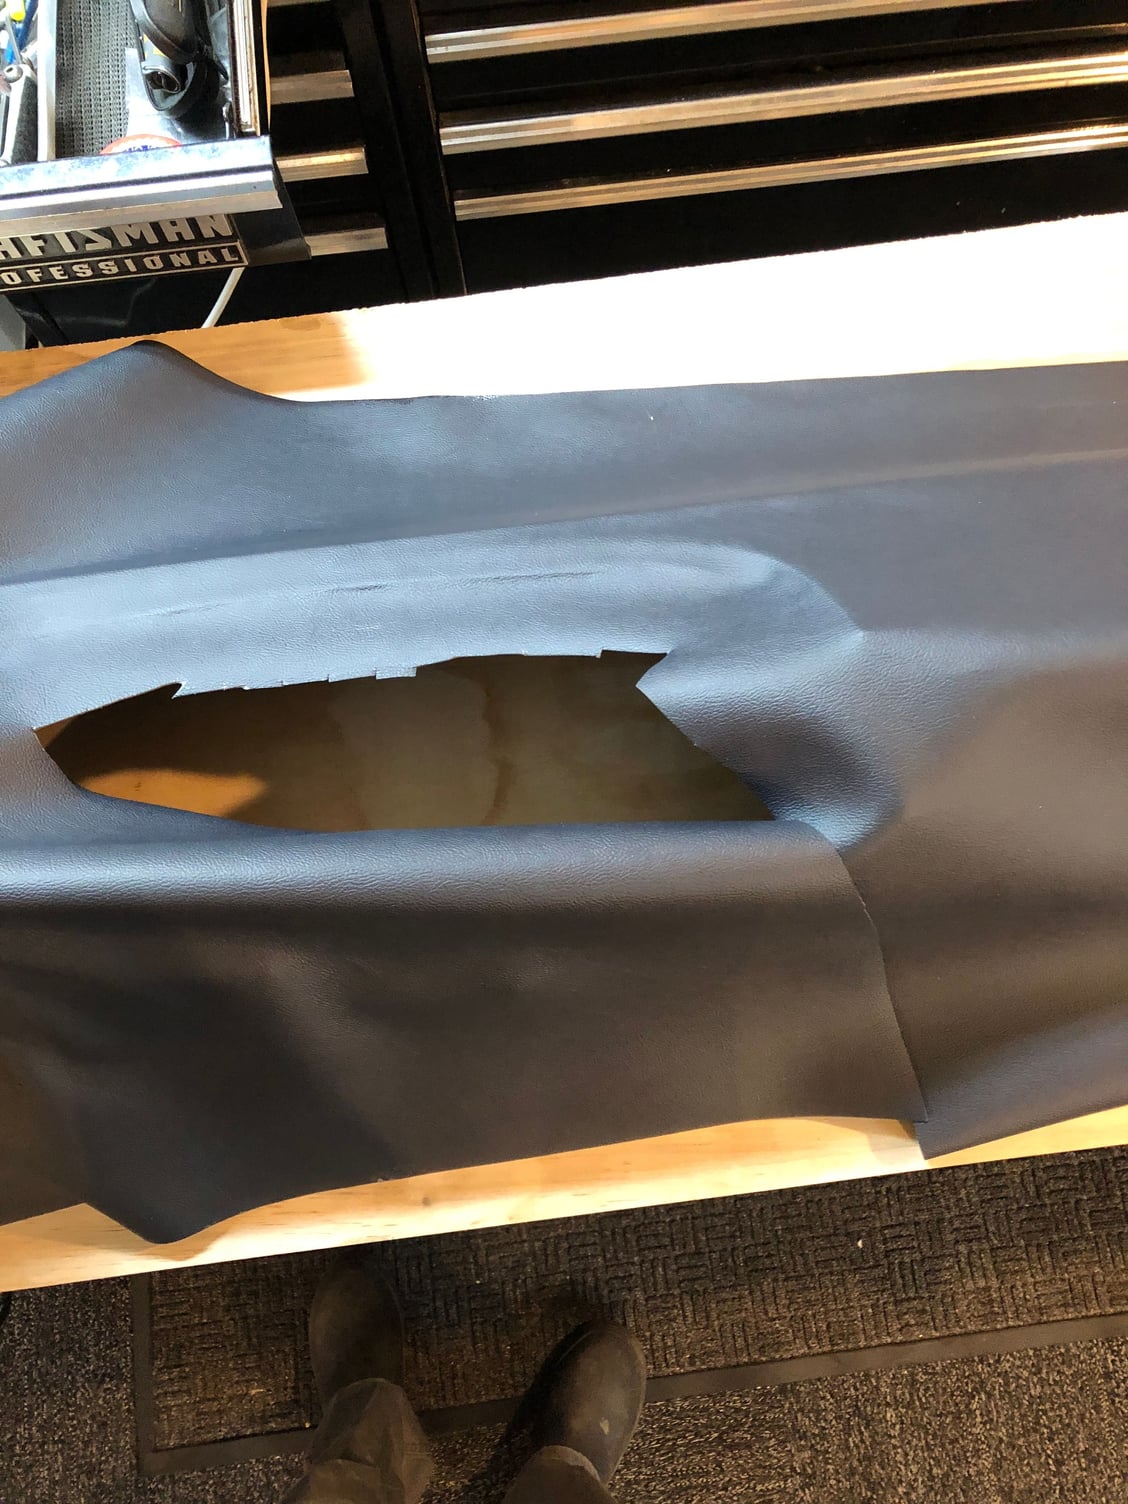
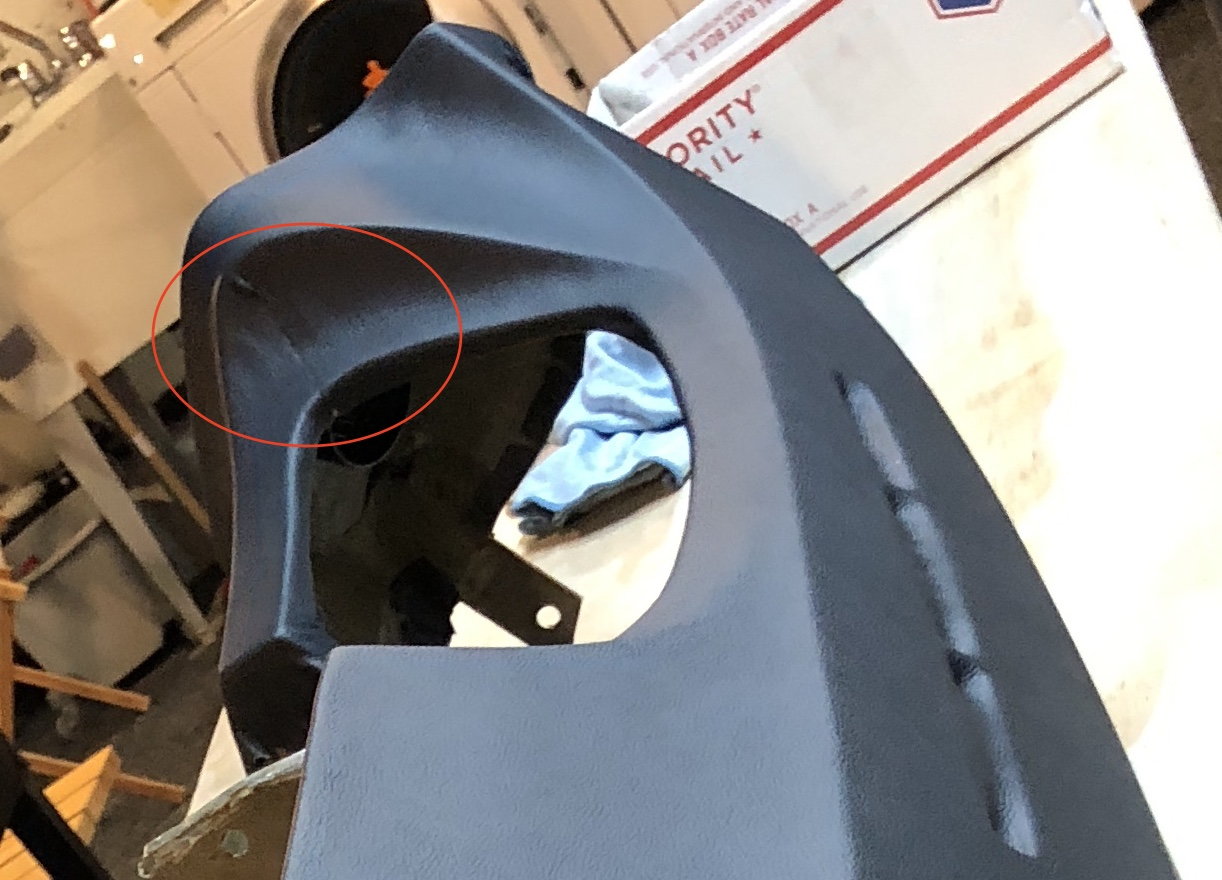
I tried and tried to get ride of this gather. In the end I decided to cut this out an make a seam. This seam is hidden by dash pod.
seam is in the red circle
On the passenger side I tried for a while to get the side vent face done without a seem but I just couldn�t get it done. So I decided to make a seem and be done.
Seem highlighted
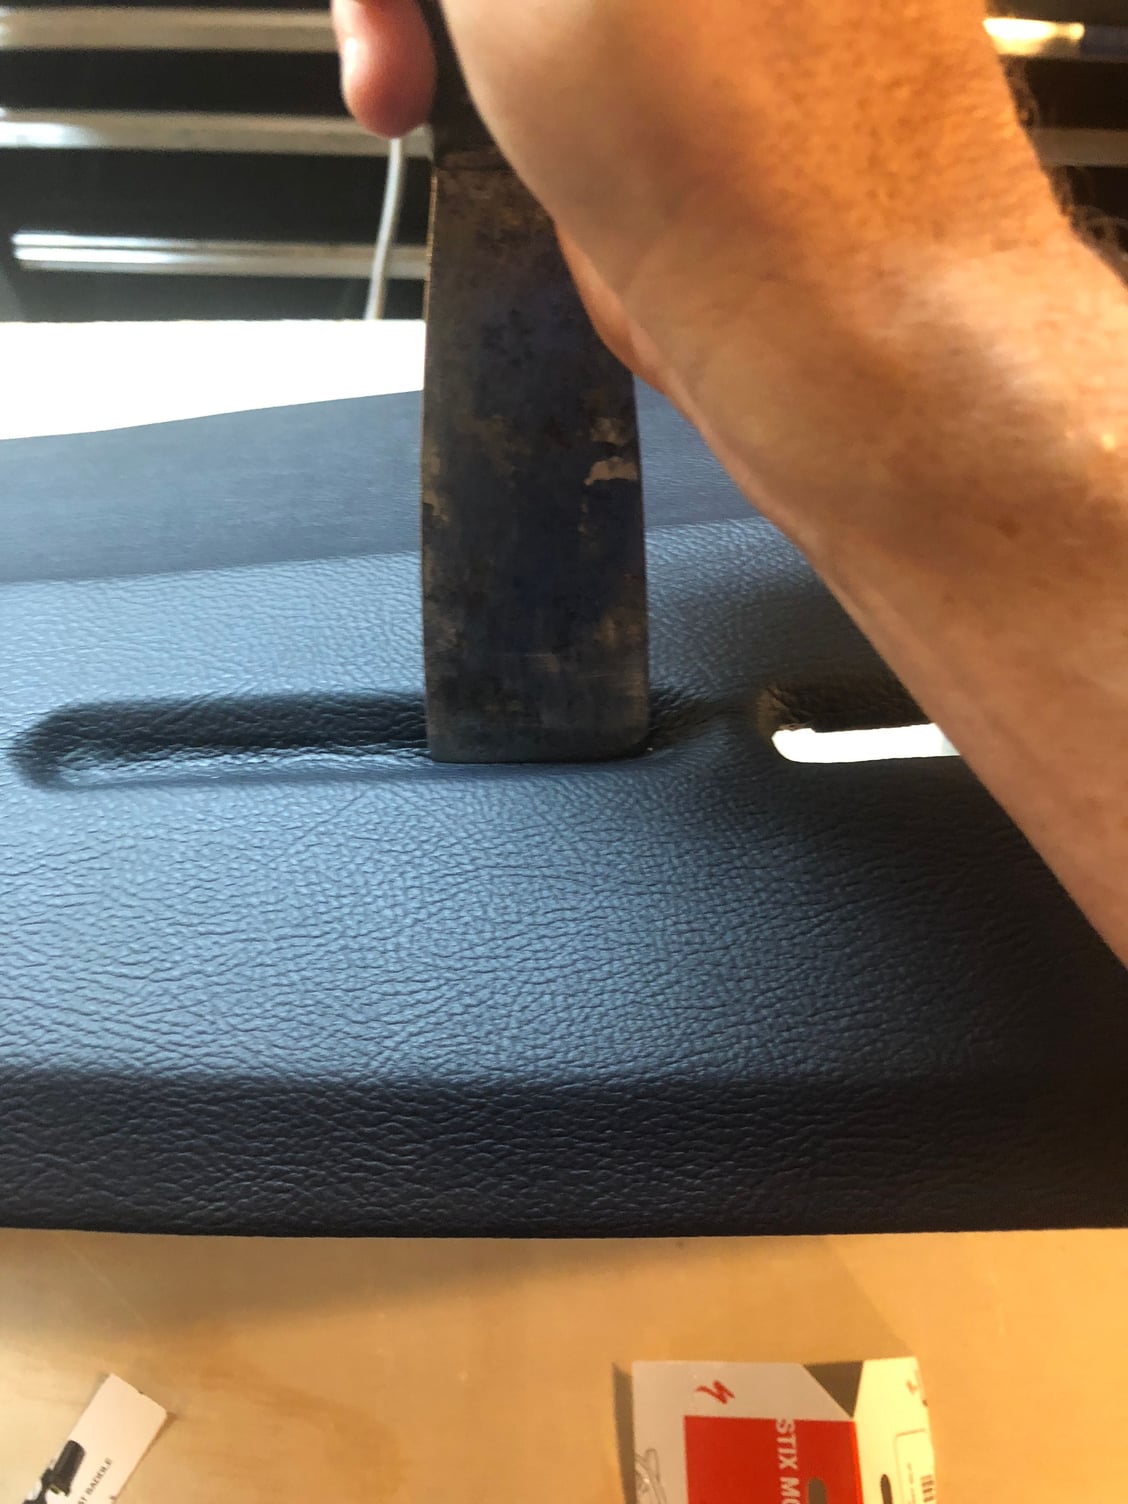
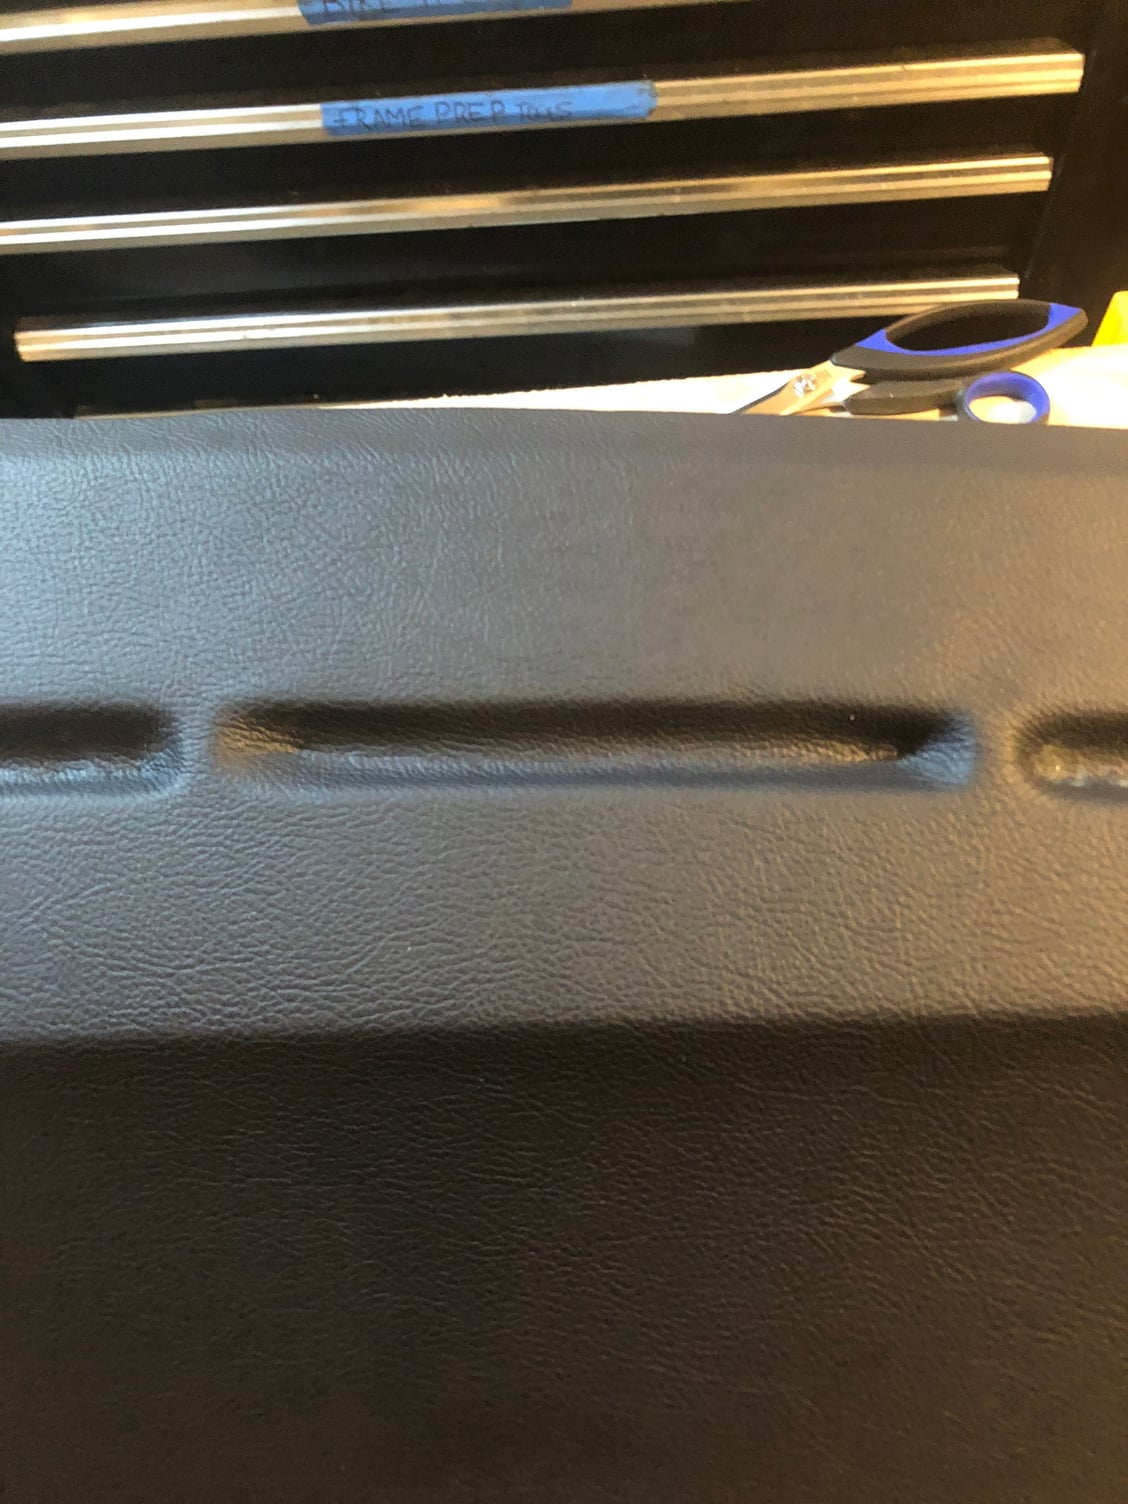
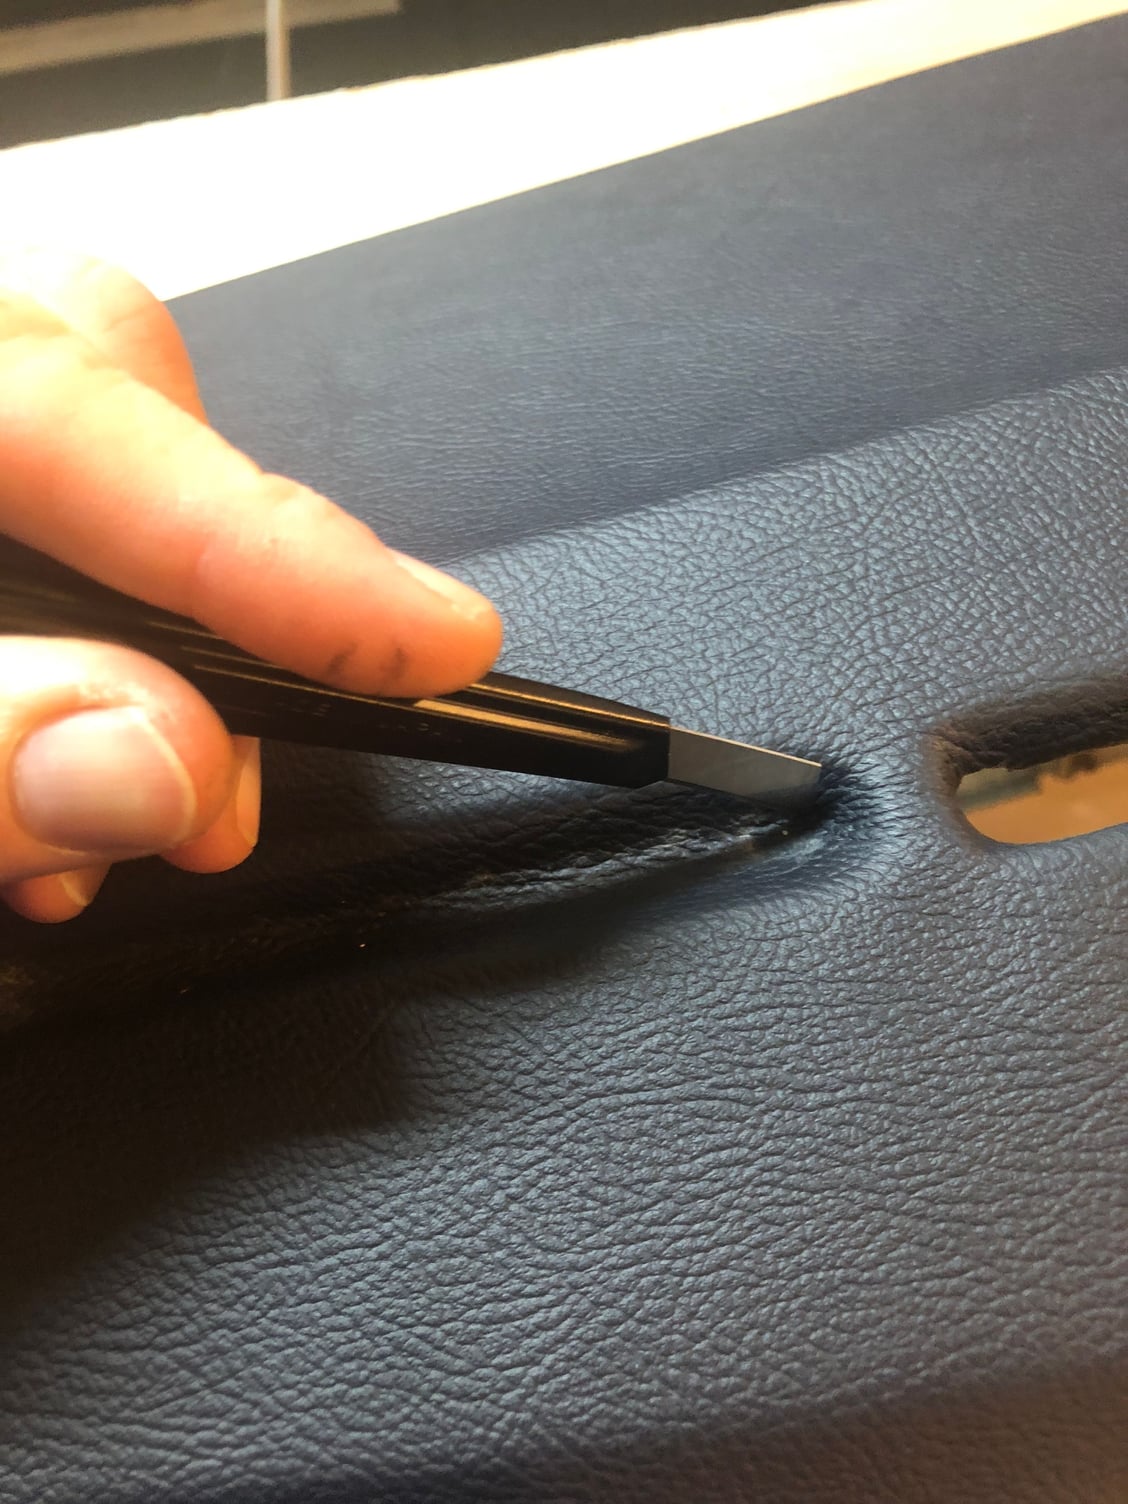
Use heat and something to push the material into the vents. Here is where it's important to brush on some fresh glue to the underside to ensure you get the stretched material to stick. You. will need to hold the material in the stretched portion until cool. Also, it's ideal to have a smooth surface to glue against. Make sure you fill in gaps with filler.
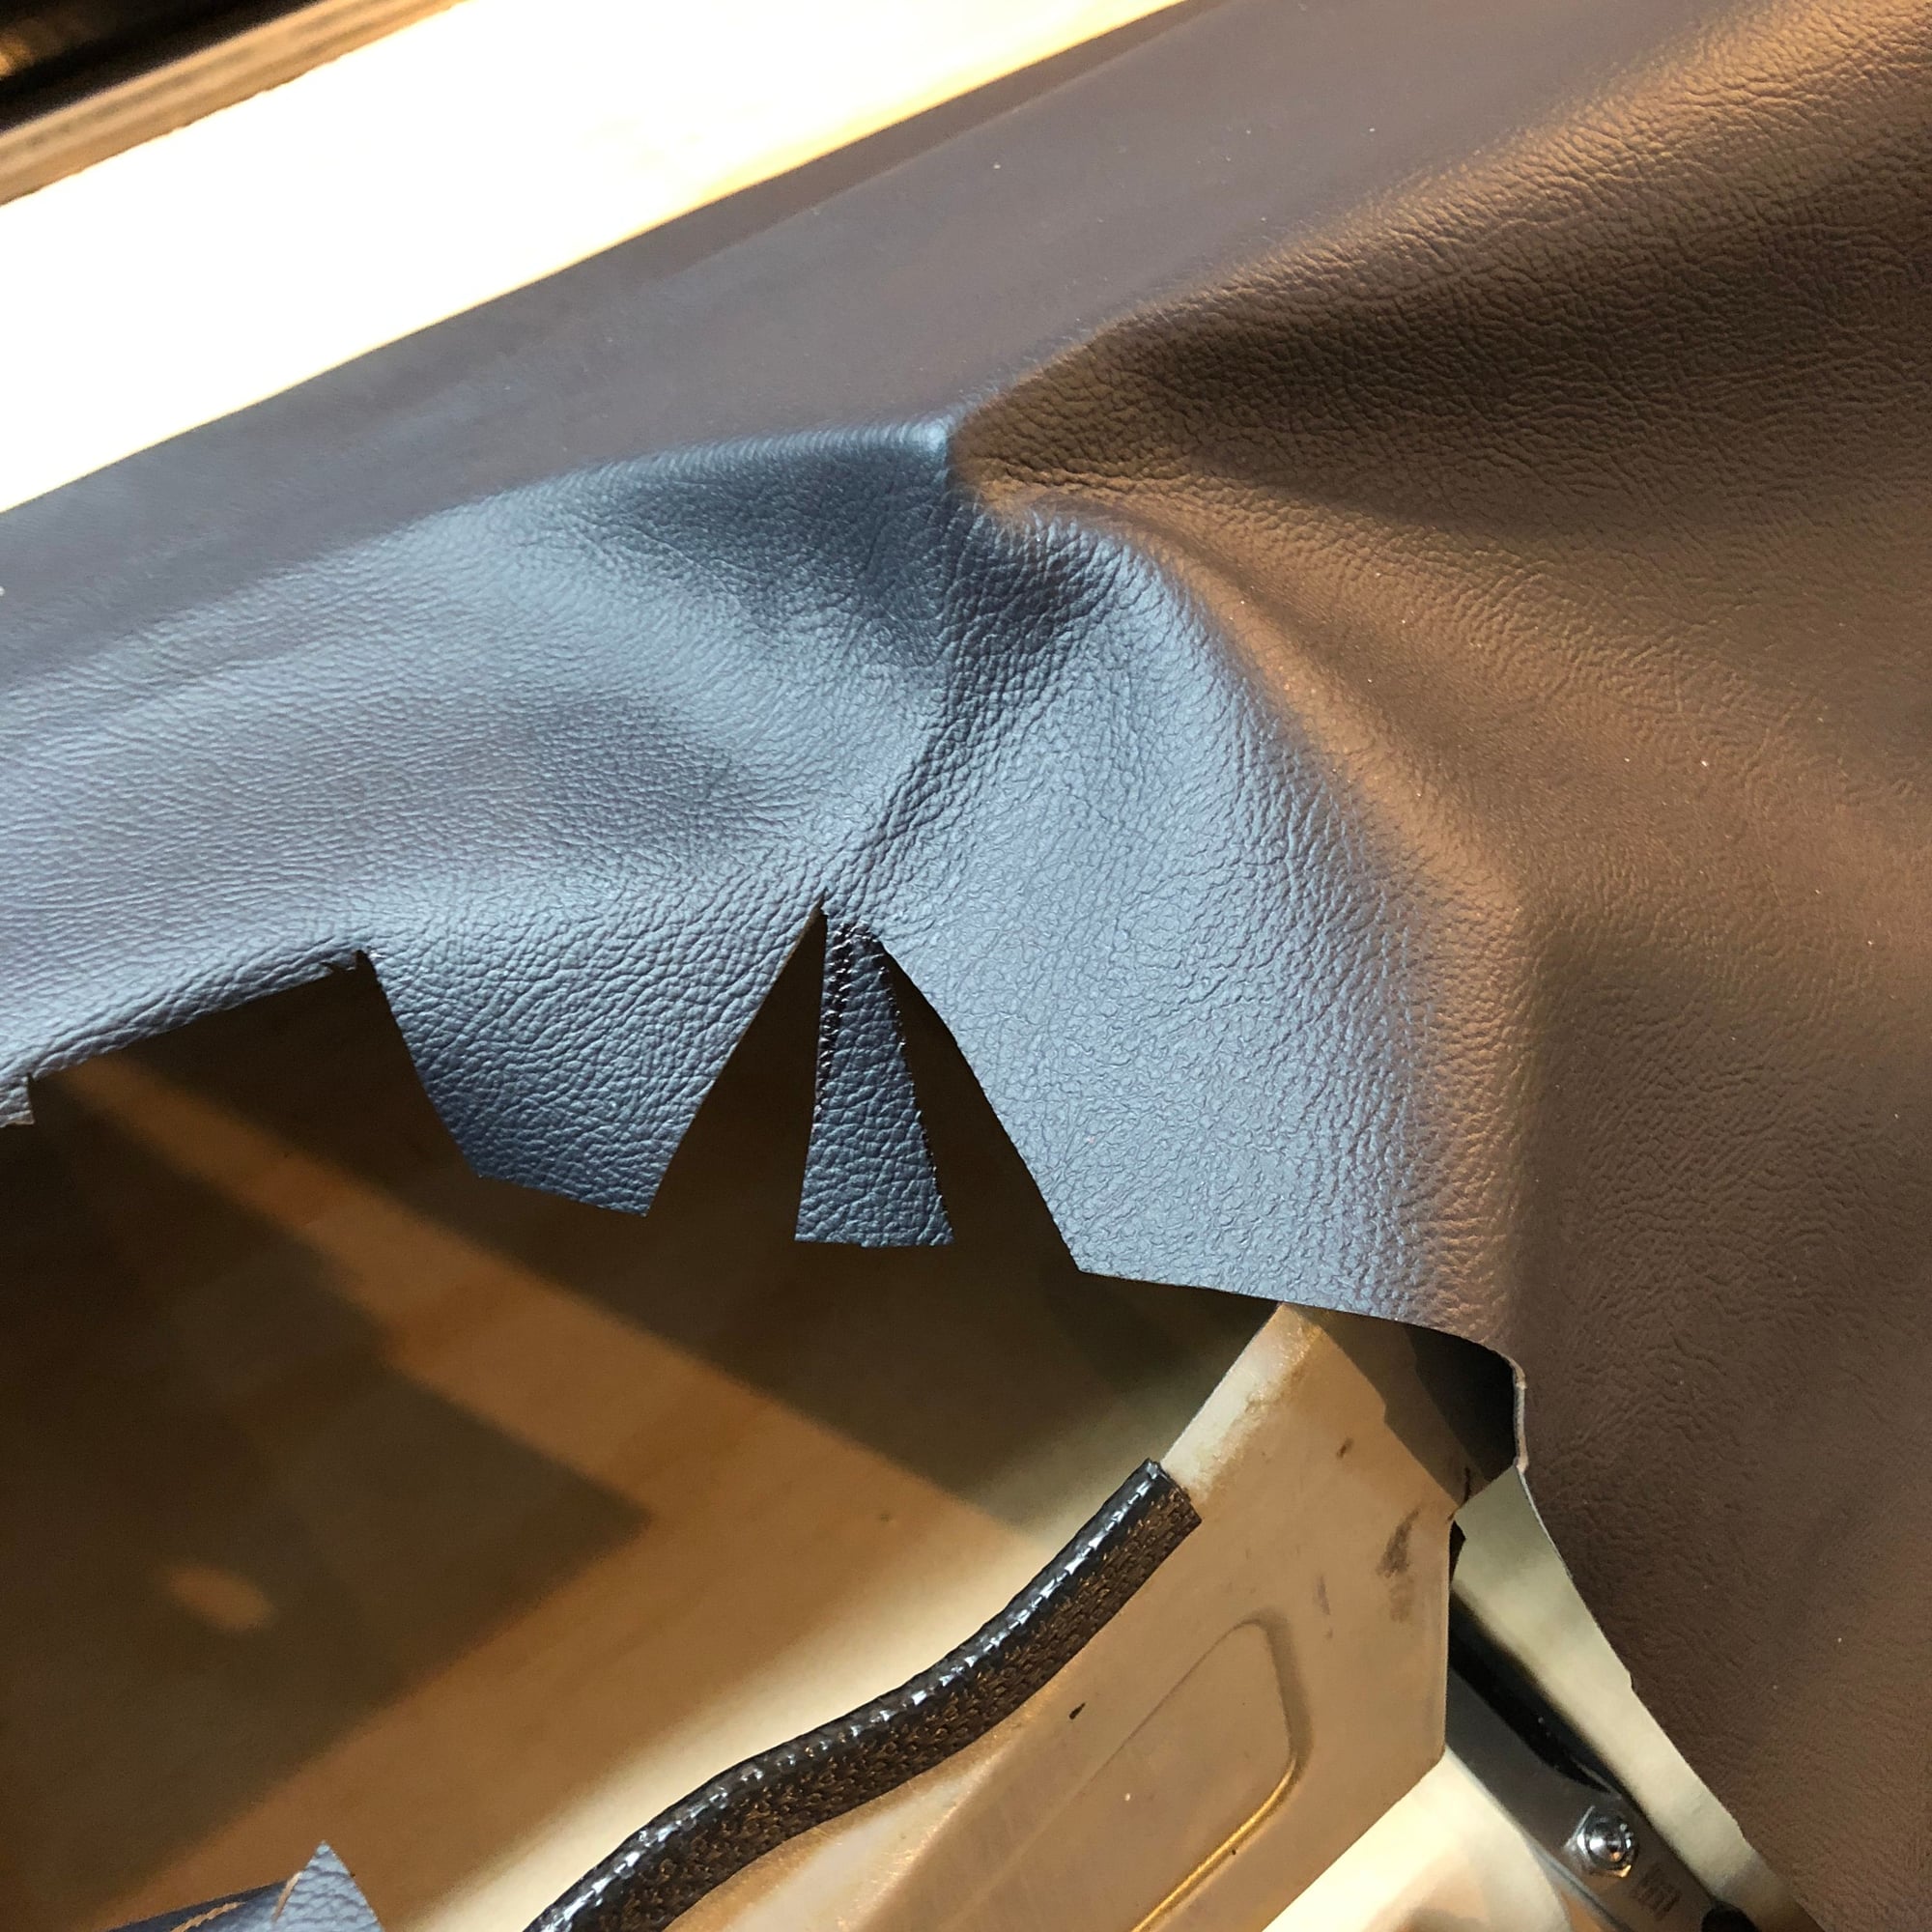
cut the edge nearest to the passenger compartment so you have more material to wrap near the windshield since that is the side you look at. Cut. "Y" at each end of the vent to enable wrapping around. Its a good idea to pull it through from the bottom before wrapping.
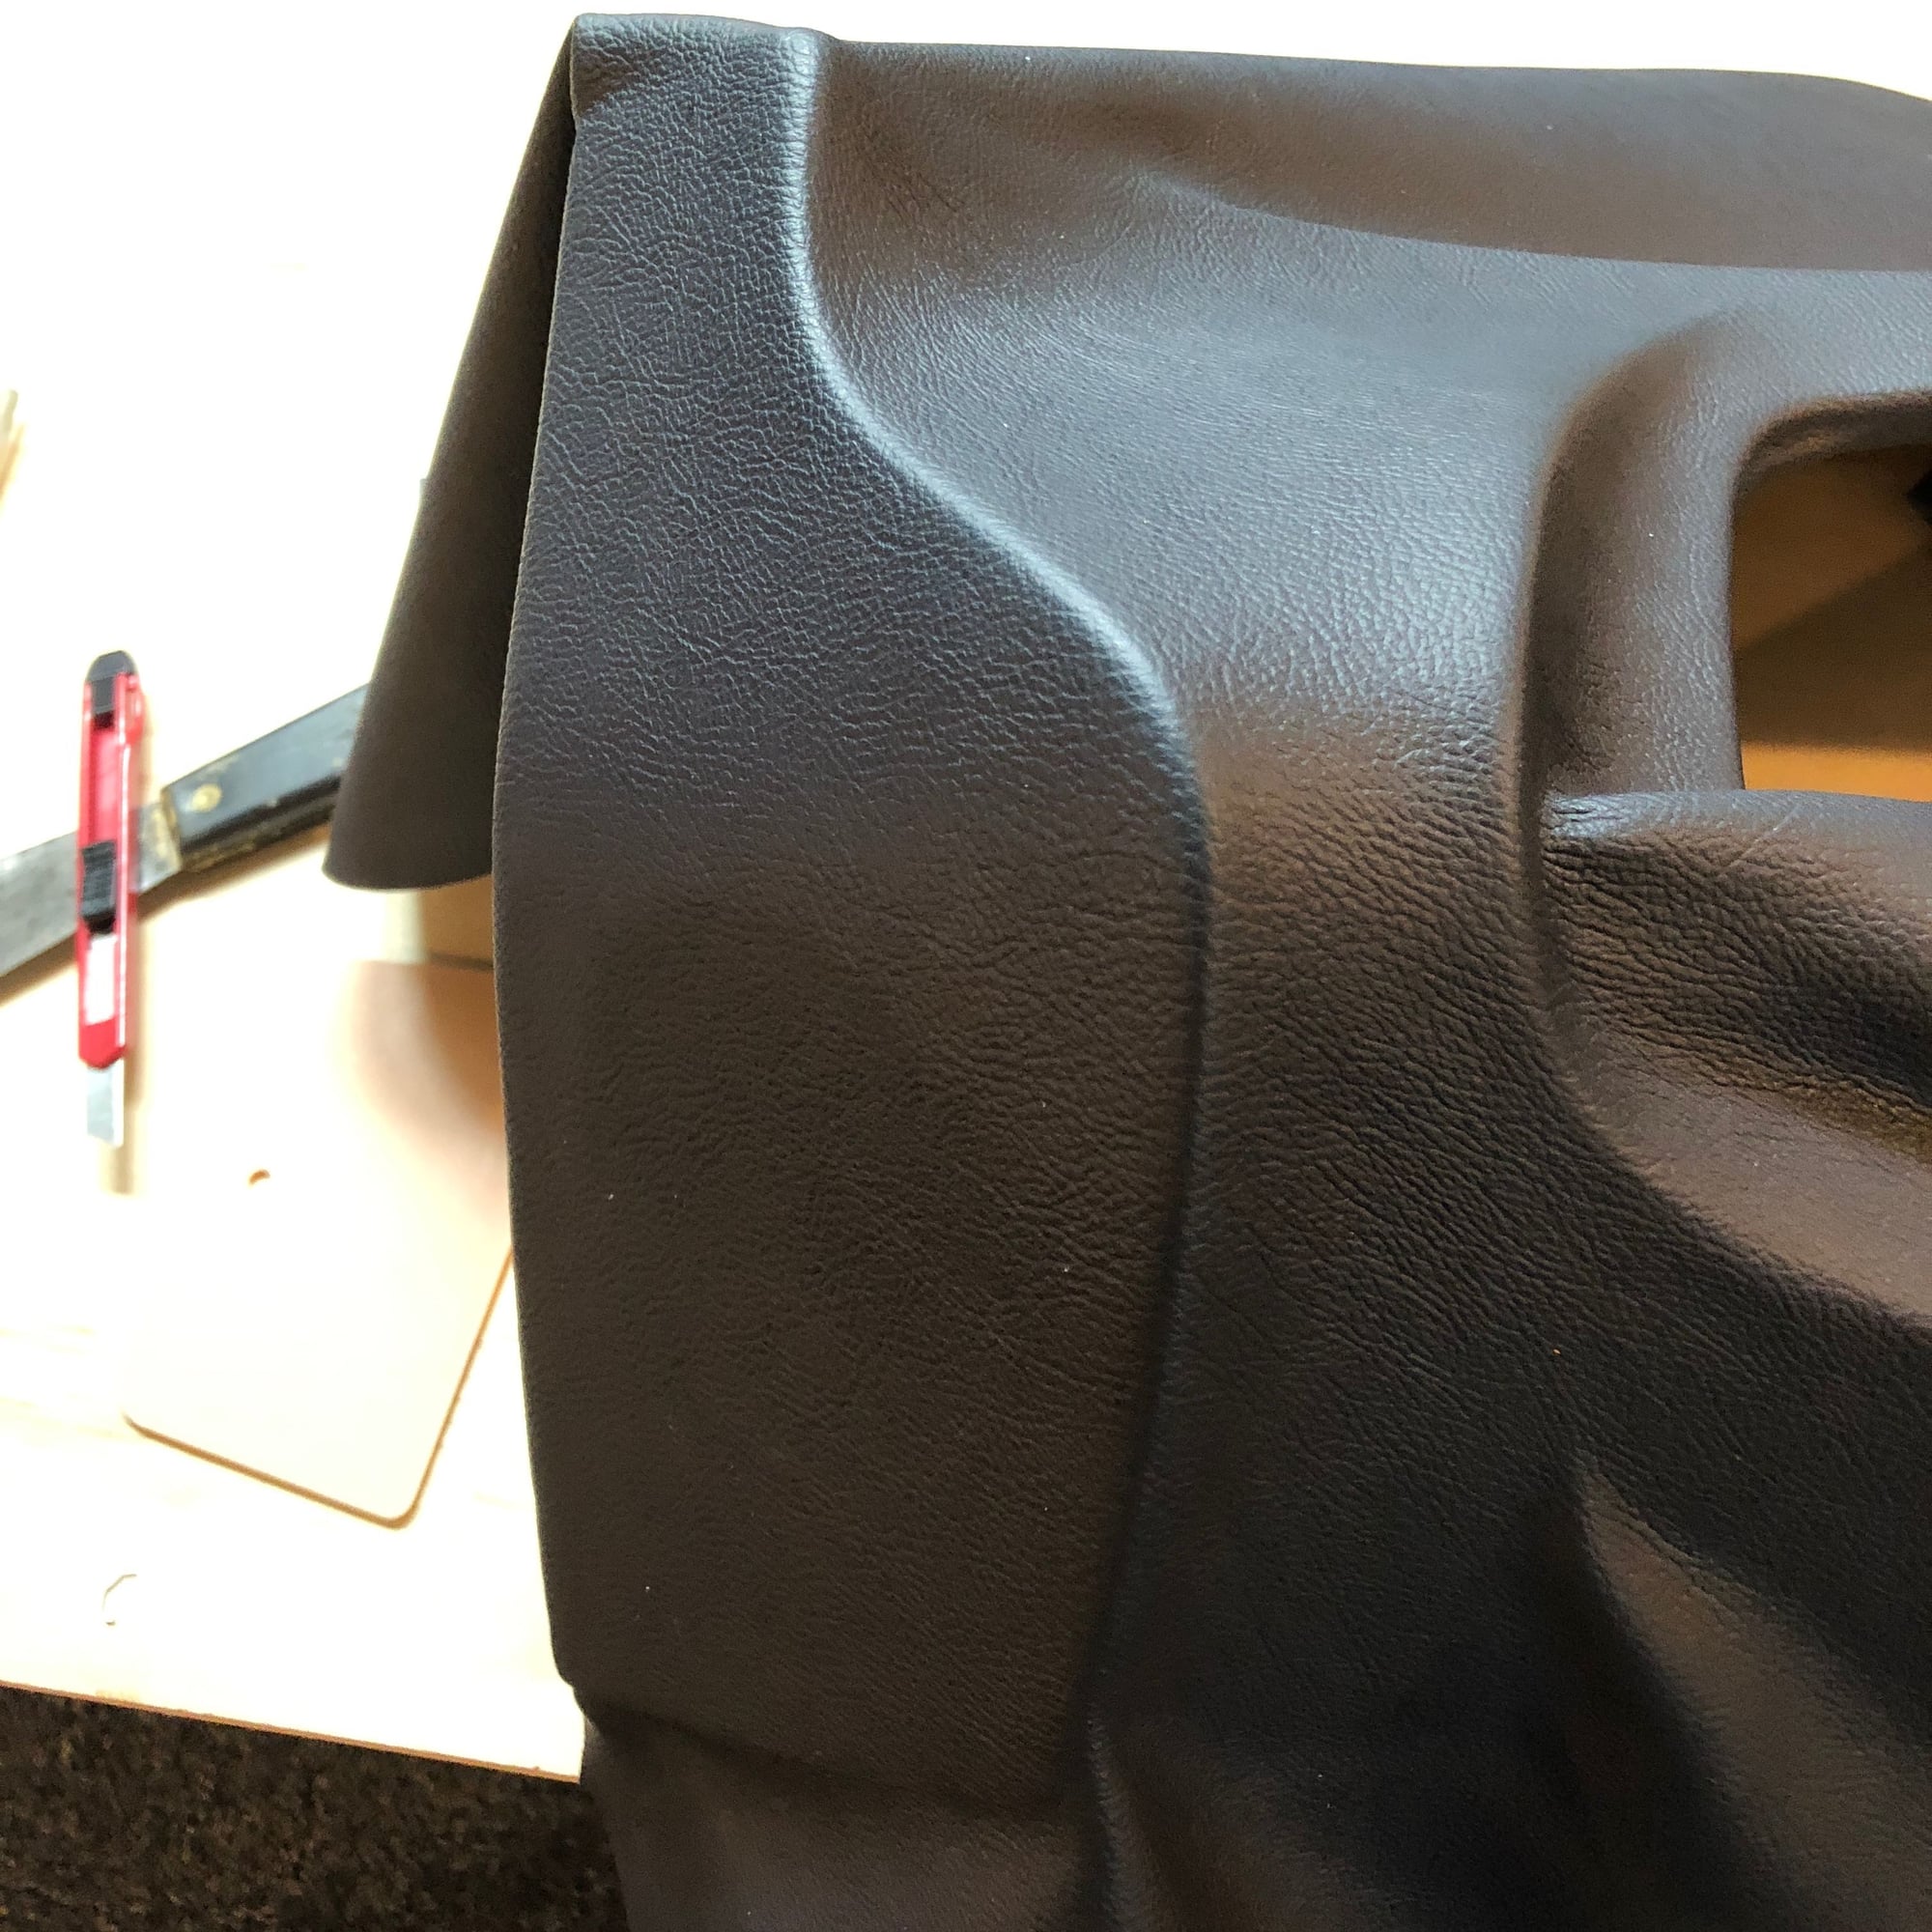
Here is a shot in the car
Last edited by Michael Benno; 02-15-2018 at 01:42 PM.
My 'polstery fixin' toolkit has a brazillion (that's a lot) little spring clamps and a similar brazillion popsicle sticks and paint stirrers. The popsicle sticks are better for pushing the covering into corners than a screwdrive, because there's much less chance of damaging the covering surface especially if the heat gun is in use. Ditto paint stirrers vs. a putty knife or scraper. Sometimes I do a little extra sculpting on a cut end to suit a particular need. The stirrers and popsicle sticks help when using the clamps, distributing the pressure and avoiding possible dimples from the clamps. The suggestion about using the 1/8" or even 3/16" upholstery staples is good for the fiber- or compressed cellulose product panels, but isn't for any of the metal stuff like the main part of the dash.
3M makes some black or yellow Super Weatherstrip Adhesive that's like a great contact cement in a tube. It's compatible with the Weldwood you are using, and offers a tip that allows you to "inject" adhesive behind tough corners and contours without risk of damaging the face of the covering. I've watched the "real" upholstery guys grab a spray gun with contact adhesive and get just the right amount in just the right place, with no overspray; I'm not anywhere near that good, but can see where there's much better control vs. using the 3M 77 or 90 in a spray can.
Meanwhile... The dash in my '89 has been covered since I bought the car, less a week or so, so no sun damage to fix. Yet. The "graining" is much less pronounced than most available vinyl seems to have. I'm not sure if that might be more or less forgiving when it comes to stretching and shaping. I've also never seen it available in any casual looking. The stuff on the black door cards I could get at an upholstery supply place where we used to live in SoCal, but I haven't even looked for a similar place near where we are now. One of the "features" of living in a less cosmopolitan neighborhood I guess.
Get good at this, and folks will beat a path to your door with dashes and pods needing recover-y.
In the video it looked as though the guy was using an adhesive backed vinyl that he then applied heat to stick. What is your take on that video?
There was a previous video where they demonstrate spreading glue on the vinyl with a plastic trowel. That is what I did and the result is essentially a glue backed vinyl that is tacky but easily moveable. Using the heat causes it to set up,.
Mike, I'll be calling on your services and expertise next fall! beautiful work and great how-to's. Thank you!!
Absolutely, I'd be happy help you learn and further develop my skills. Maybe between the two of us we should host a clinic here in PDX, revitalize the local 928 scene...
This project was immensely satisfying. I learned a lot about the processes and developed an even greater appreciation for the professionals with years of experience to develop their craft. Automotive Upholstery is definitively a learned craft and I can say my work would be miles away from someone like Robert Budd or any one else in the business. This really pays off in the more complicated work. The 928 dash seems extremely complicated to get right and now I can see why Budd sells a sewn kit, it’s the best way to get all the different shapes to fit. By the end of the second attempt I began to get frustrated with my lack of experience to solve ever increasing problems and still make it work well. While all of you have been super positive with your complements, I am sure if Robert were reading my posts he would likely chuckle as some of my finish work.
Key Learnings
Below I have tried to summarize my key learnings, feel free to ask questions or add you own:
Tools
Scissors : Find a sharp upholstery scissors. It makes a huge difference ($30-$60) on amazon. It cuts vinyl and leather like butter. Household, Sewing, and shop scissors didn’t work well.
Hard plastic scrapers, putty knives, popsicle sticks, and other tools for pressing and shaping vinyl into corners and grooves.
Knife: High quality, super sharp and thin Break-off blade utility knives. Try your local paint store.
Material
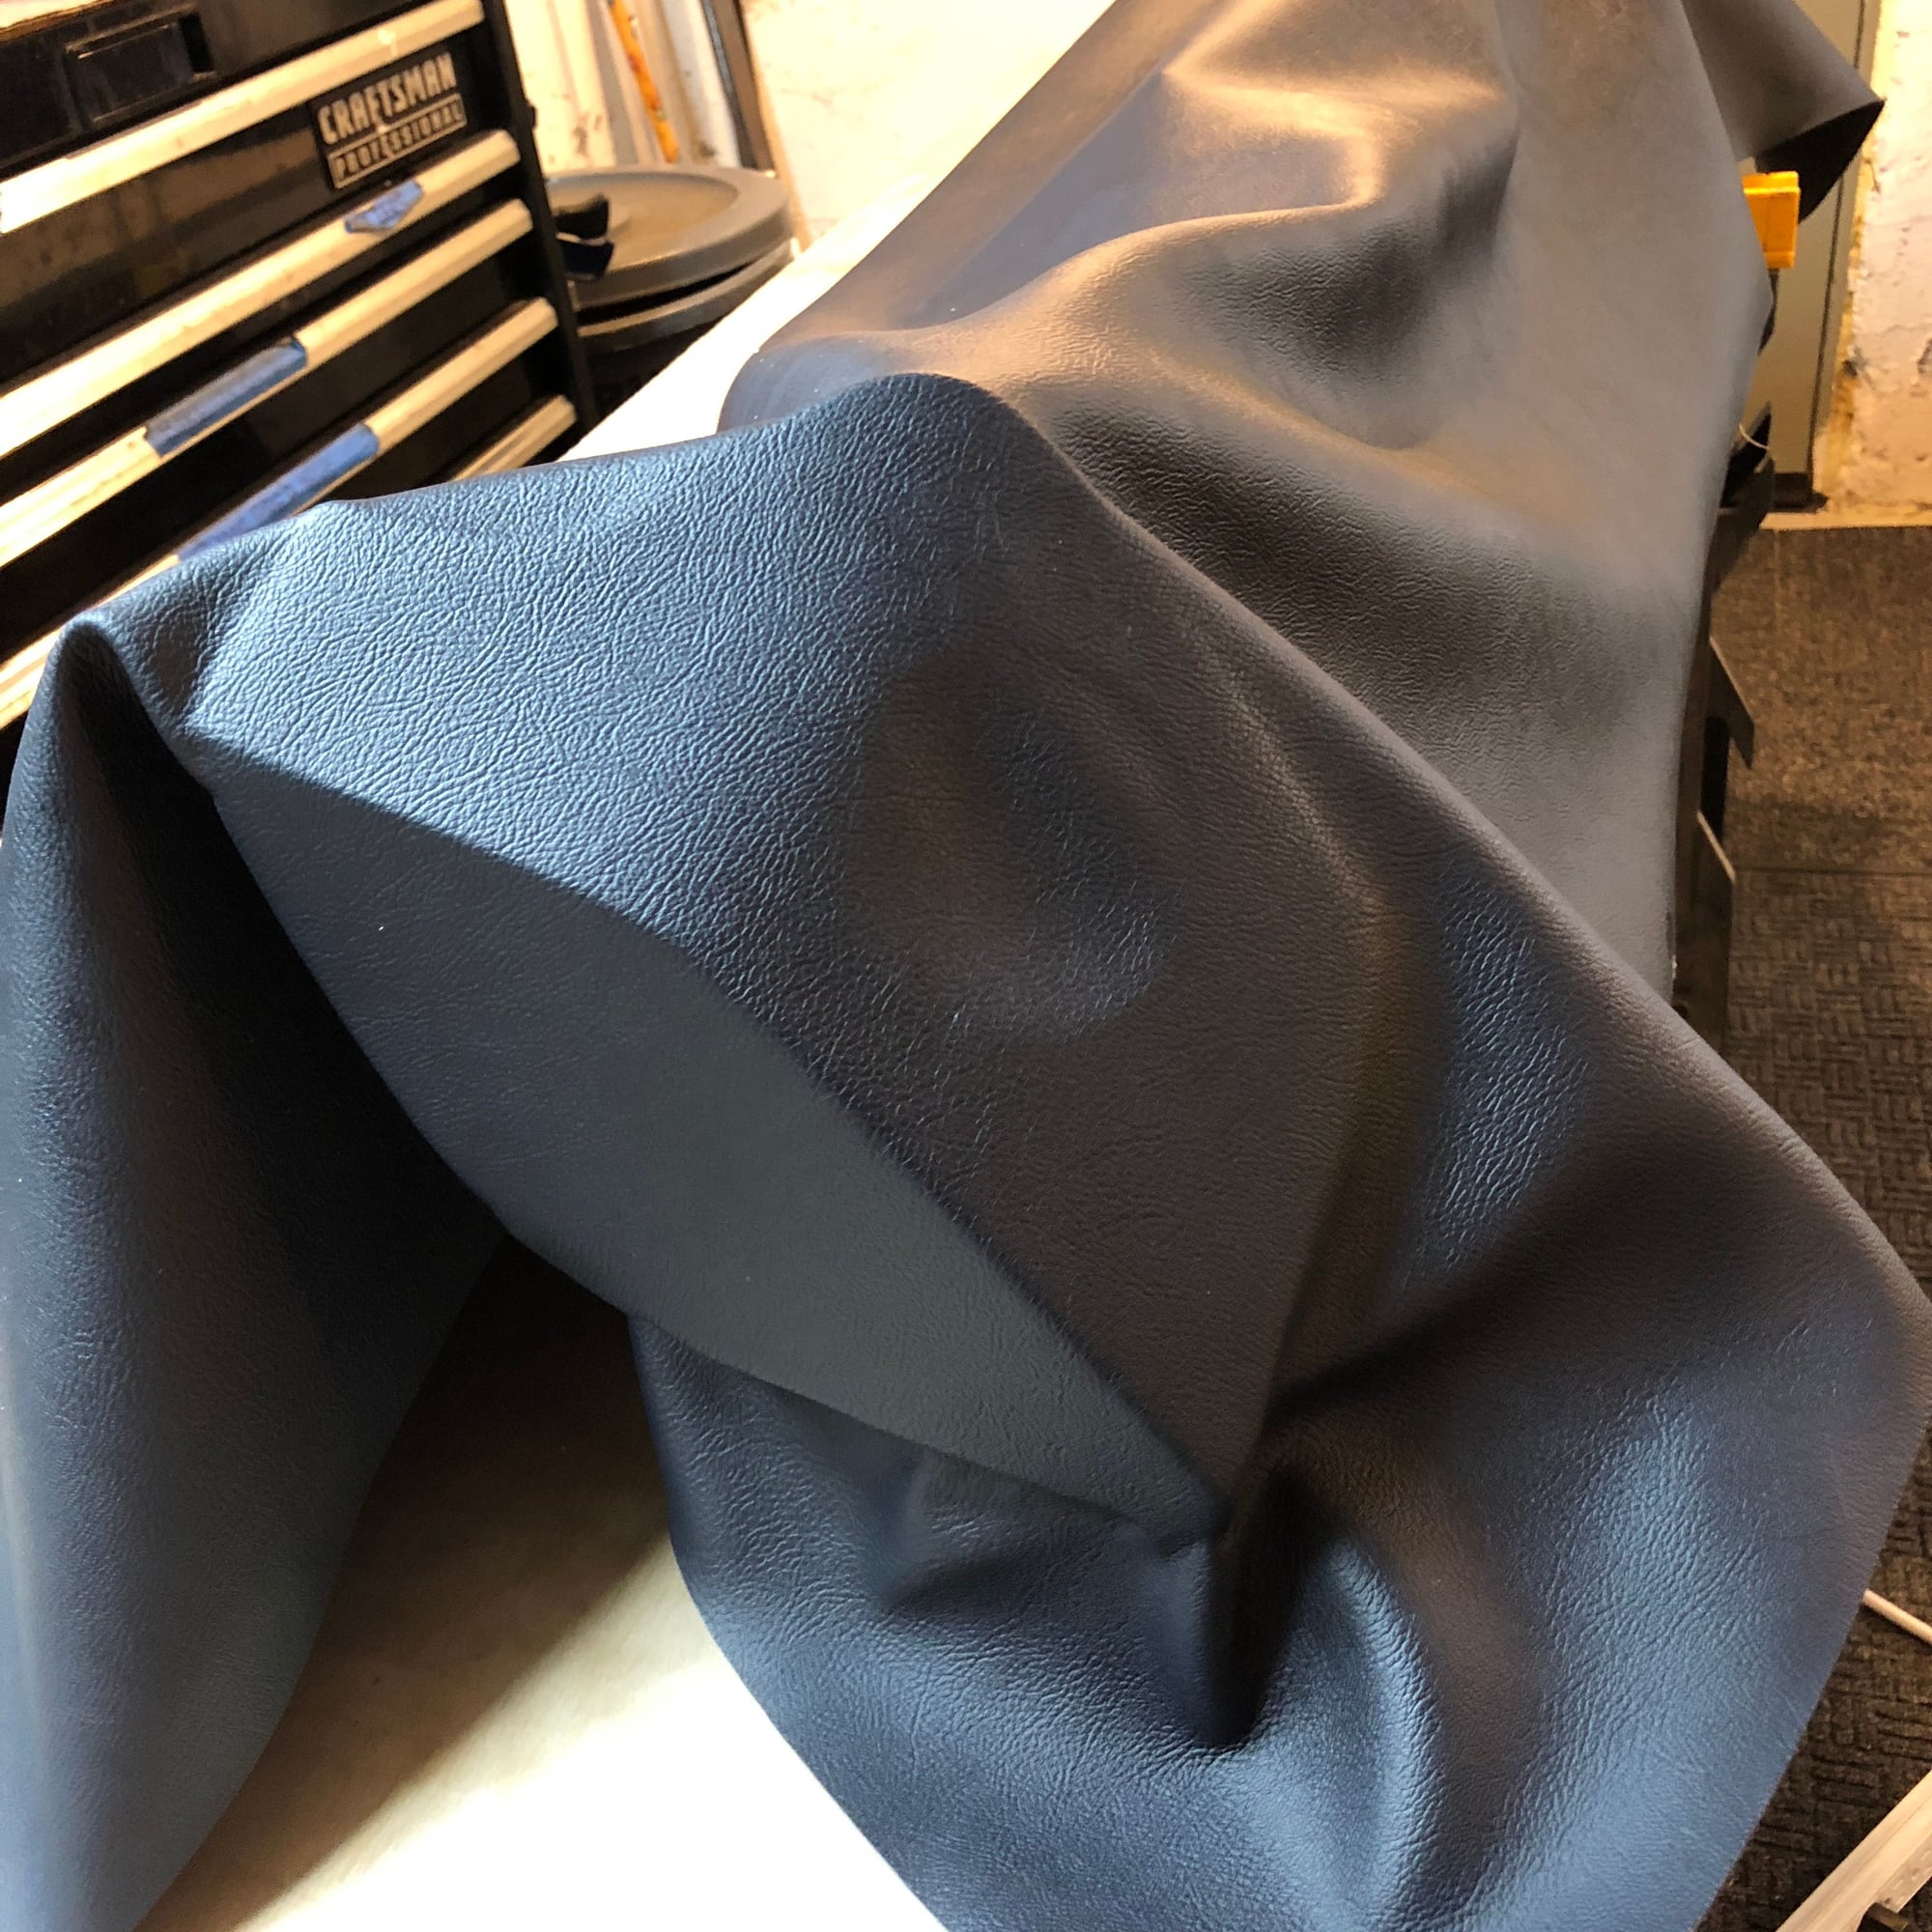
Vinyl: Google search for Porsche leather suppliers will find many options. I got my vinyl from http://www.globalupholstery.com but there are many others.
Glue: DAP Weldwood in a can is recommended by Budd and this worked well for me, available at Home Depot.
Filler: SEM Bumper Bite from Amazon
Work Area
Make sure you have a large table for the whole dash and extra material. You don’t want the glue picking up dust and debris that will later show up through the back.
Well lit – lighting was a real challenge for me. I needed more than I had to work on the curves.
Well Ventilated – the filler and the glue both off-gas pretty seriously so please use in a well ventilated area
Warm – both the glue and filler require warm operating temperatures and the vinyl is really difficult to work with when cold (55 degrees). I would prefer to do this work outside in 80 degrees.
Dash Crack Repair and Surface prep.
Make the surface very smooth – the flexible vinyl will show any imperfections. Get some SEM Bumper Bite (Flexible Filler) and coat the cracks then sand out.
Removing the bonded plastic is optional. It’s under .5mm thick and shouldn’t make much difference with vinyl over it. If you do, make sure you cover the whole surface with filler. There are a lot of air pockets and imperfections that will show through the more flexible vinyl. I would recommend against removing the plastic, the old plastic is a good surface for gluing.
Smooth the underside of the defroster vents with filler to create a better surface for gluing the extra short bits of material you poke through.
Glue Tips:
Pour the glue on the back of the vinyl and use a plastic scraper/smoother to spread the glue slowly. Give it time to absorb into the backing. This was a lot easier than using a brush and much more even.
Brush a coat of glue on the dash using a brush. Use extra glue on the concave sections and the leading edge near the windshield. Flip the dash over and apply a liberal coating about an inch wide for wrapping around the backside
Vinyl Application
Set it and leave it. Avoid reworking the material if you can because the material will get distressed looking and will be difficult to get back to a perfect fit. Try cold setting for initial laydown and then smooth into position with light pressure. Use the heat gun to activate and final set.
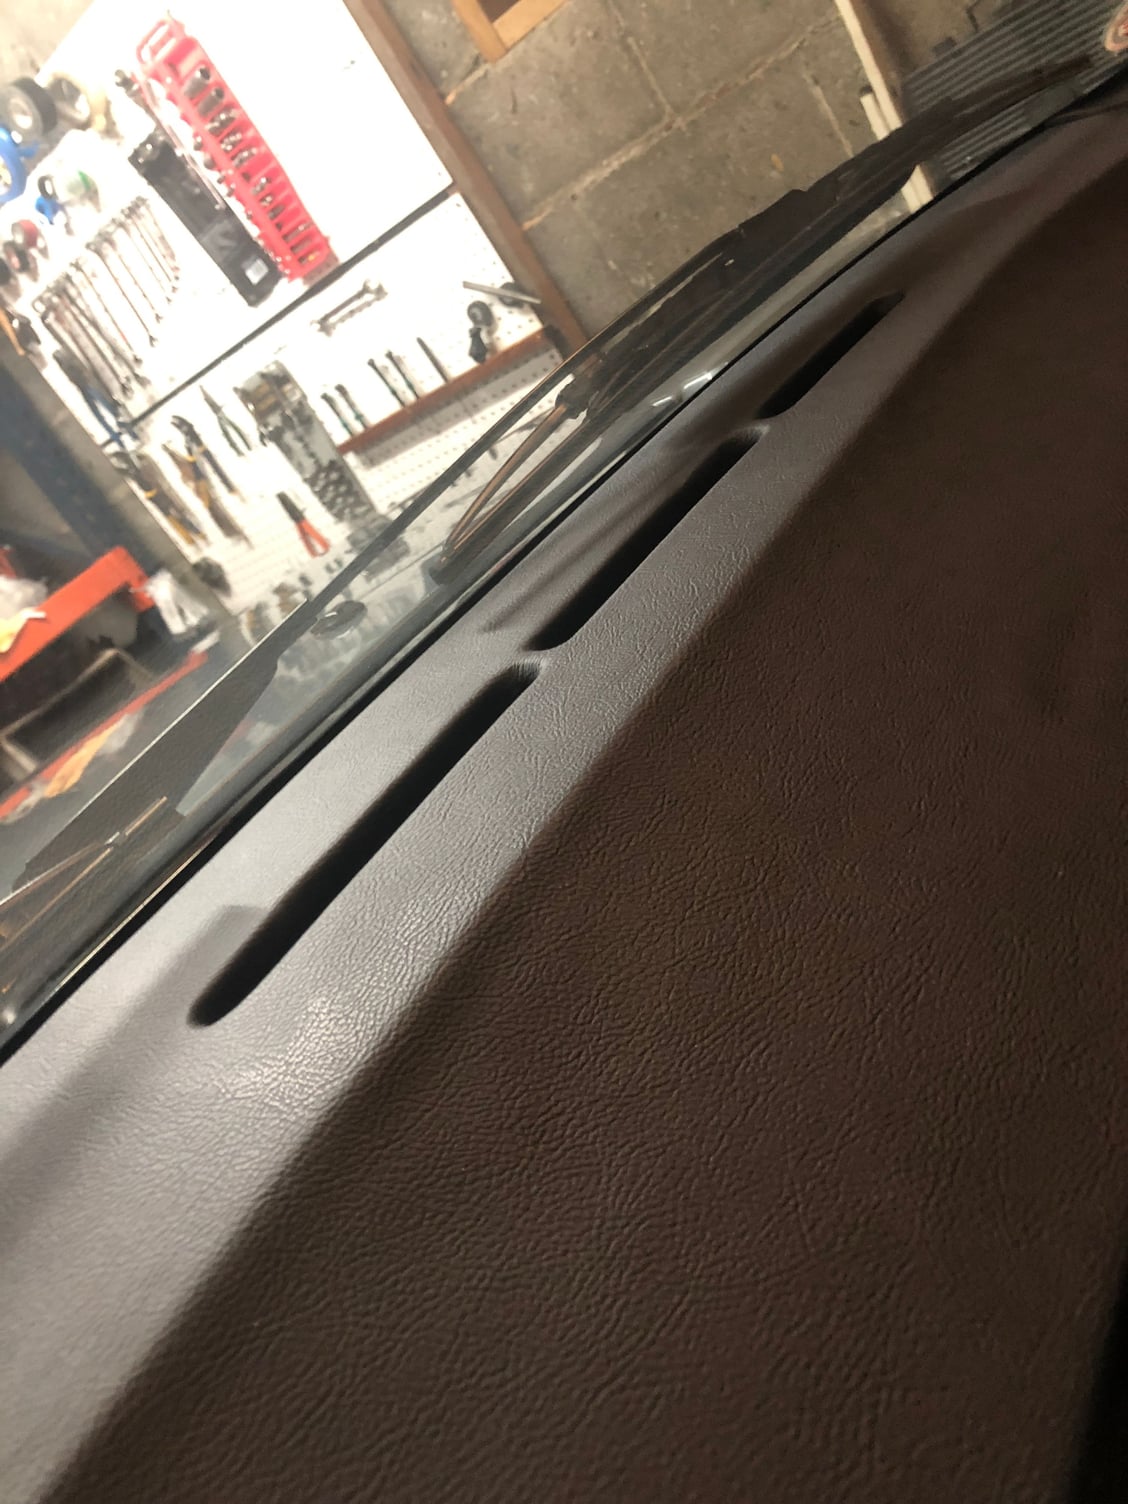
Lay Down Procedure: You are going to make mistakes, try to make them in areas that matter less. Start laying down the vinyl on the top and center and work you way outward to the concave ends. Plan on having excess material around the side vents and then cut it out and leave a seam from the vent hole to the dash edge, This is mostly hidden.
Defroster Vents: There isn't enough material so you need to really stretch it. I recommend before doing the vents, give the underside a fresh coat of glue and get it in all the corners well. Then use a couple rounds of heating and stretching. Make sure you hold the stretch until the material cools to get it to set on the glue. Then cut a slit on the cabin side of the vent so you have a longer piece to wrap on the windshield side since this is the side you see when driving. Cut the slit about 90% the length of the vent and then use a "Y" cut at each end. After you cut you should heat and pull the material as much as you can to get more wrap. You should be able to get all the way around if you are careful.
Hopefully you find this helpful.
PS, if you live near Portland, OR and you want a hand, drop me a message.
There was a previous video where they demonstrate spreading glue on the vinyl with a plastic trowel. That is what I did and the result is essentially a glue backed vinyl that is tacky but easily moveable. Using the heat causes it to set up,.


 02-05-2018, 01:44 PM