When you click on links to various merchants on this site and make a purchase, this can result in this site earning a commission. Affiliate programs and affiliations include, but are not limited to, the eBay Partner Network.
Nice work and thank you for sharing. I recovered my doors and learned that the Weldwood contact cement is the way to go. Based on my experience with the correct contact cement, I would recommend that you also staple the edges as a precautionary measure. Source an upholstery stapler that can shoot 1/8" staples. I believe Amazon carries one for ~$70 and it will keep you from having to pull the dash should one of the edges come loose. Looking forward to seeing how yours comes out as I would also like to cover my dash without having to pay several hundred dollars.
The vinyl portions of the early cars is not a solid color, but a mottled, swirling color. I may be wrong, but if you had that type of vinyl and stretched it tightly around a corner or edge, I think it would show in the pattern. Maybe I'm wrong (I hope that I am), but it's something that I can see being an issue. But it might be a mute issue, because I can't seem to find any stretch vinyl in anything other than a solid color.
I would really like to try, or see someone else try if they can find something that works. I did buy something that was similar in color to the original vinyl, but it's not at all stretch and I doubt that I'd get it to work. That's the other issue; whatever I use on the dash has to be used on everything else (door panels, headliner, trim, etc.) or it's going to look wrong, IMHO.
thanks!
My my car is an 83, and best I can tell it is solid brown (not the swirl color). I hope I am ok. Ordered a couple of samples today.
Thanks for all the very positive comments. Honestly, I figured I would get a bunch of 'you're doing it wrong' responses.
I did a little more work on the dash over the weekend and feel that I have taken this experiment s far and I can. Now I just need to decide if it's good enough to go in the car or do I start over. All the wrapping mistakes will likely be hidden by the installation. However the imperfections from insufficient crack repair under the vinyl is likely too much for me to handle. So I may do-over.
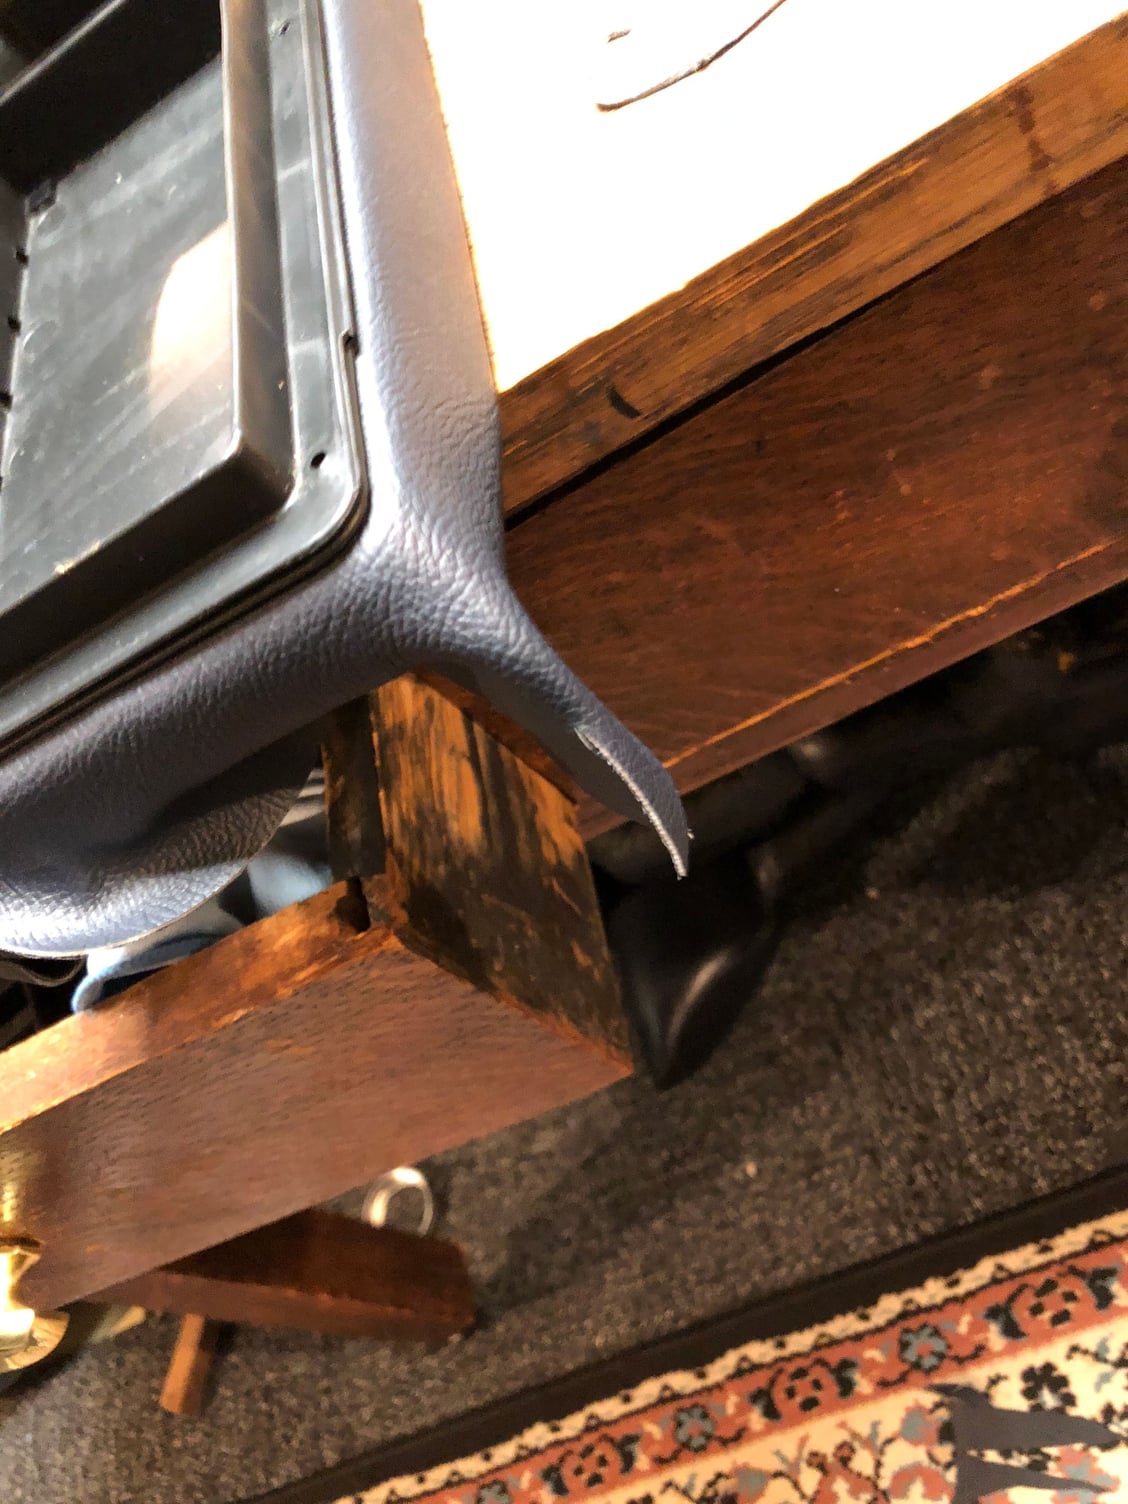
Here are some pics highlighting the areas that I had trouble with and the finish work is less than stellar. I think I could do a better job once I have a stronger arm (broken elbow) and a assistant to hold the dash while pulling vinyl and gently heat with the gun.
I tried to seamless on this side least on the vent face and it really didn't work.
this corner is where I could had used an extra pair of hands.
here you can see discoloring from too much heat and too much stretching
I did like this finish work. Again not visible but I think I could have trimmed better.
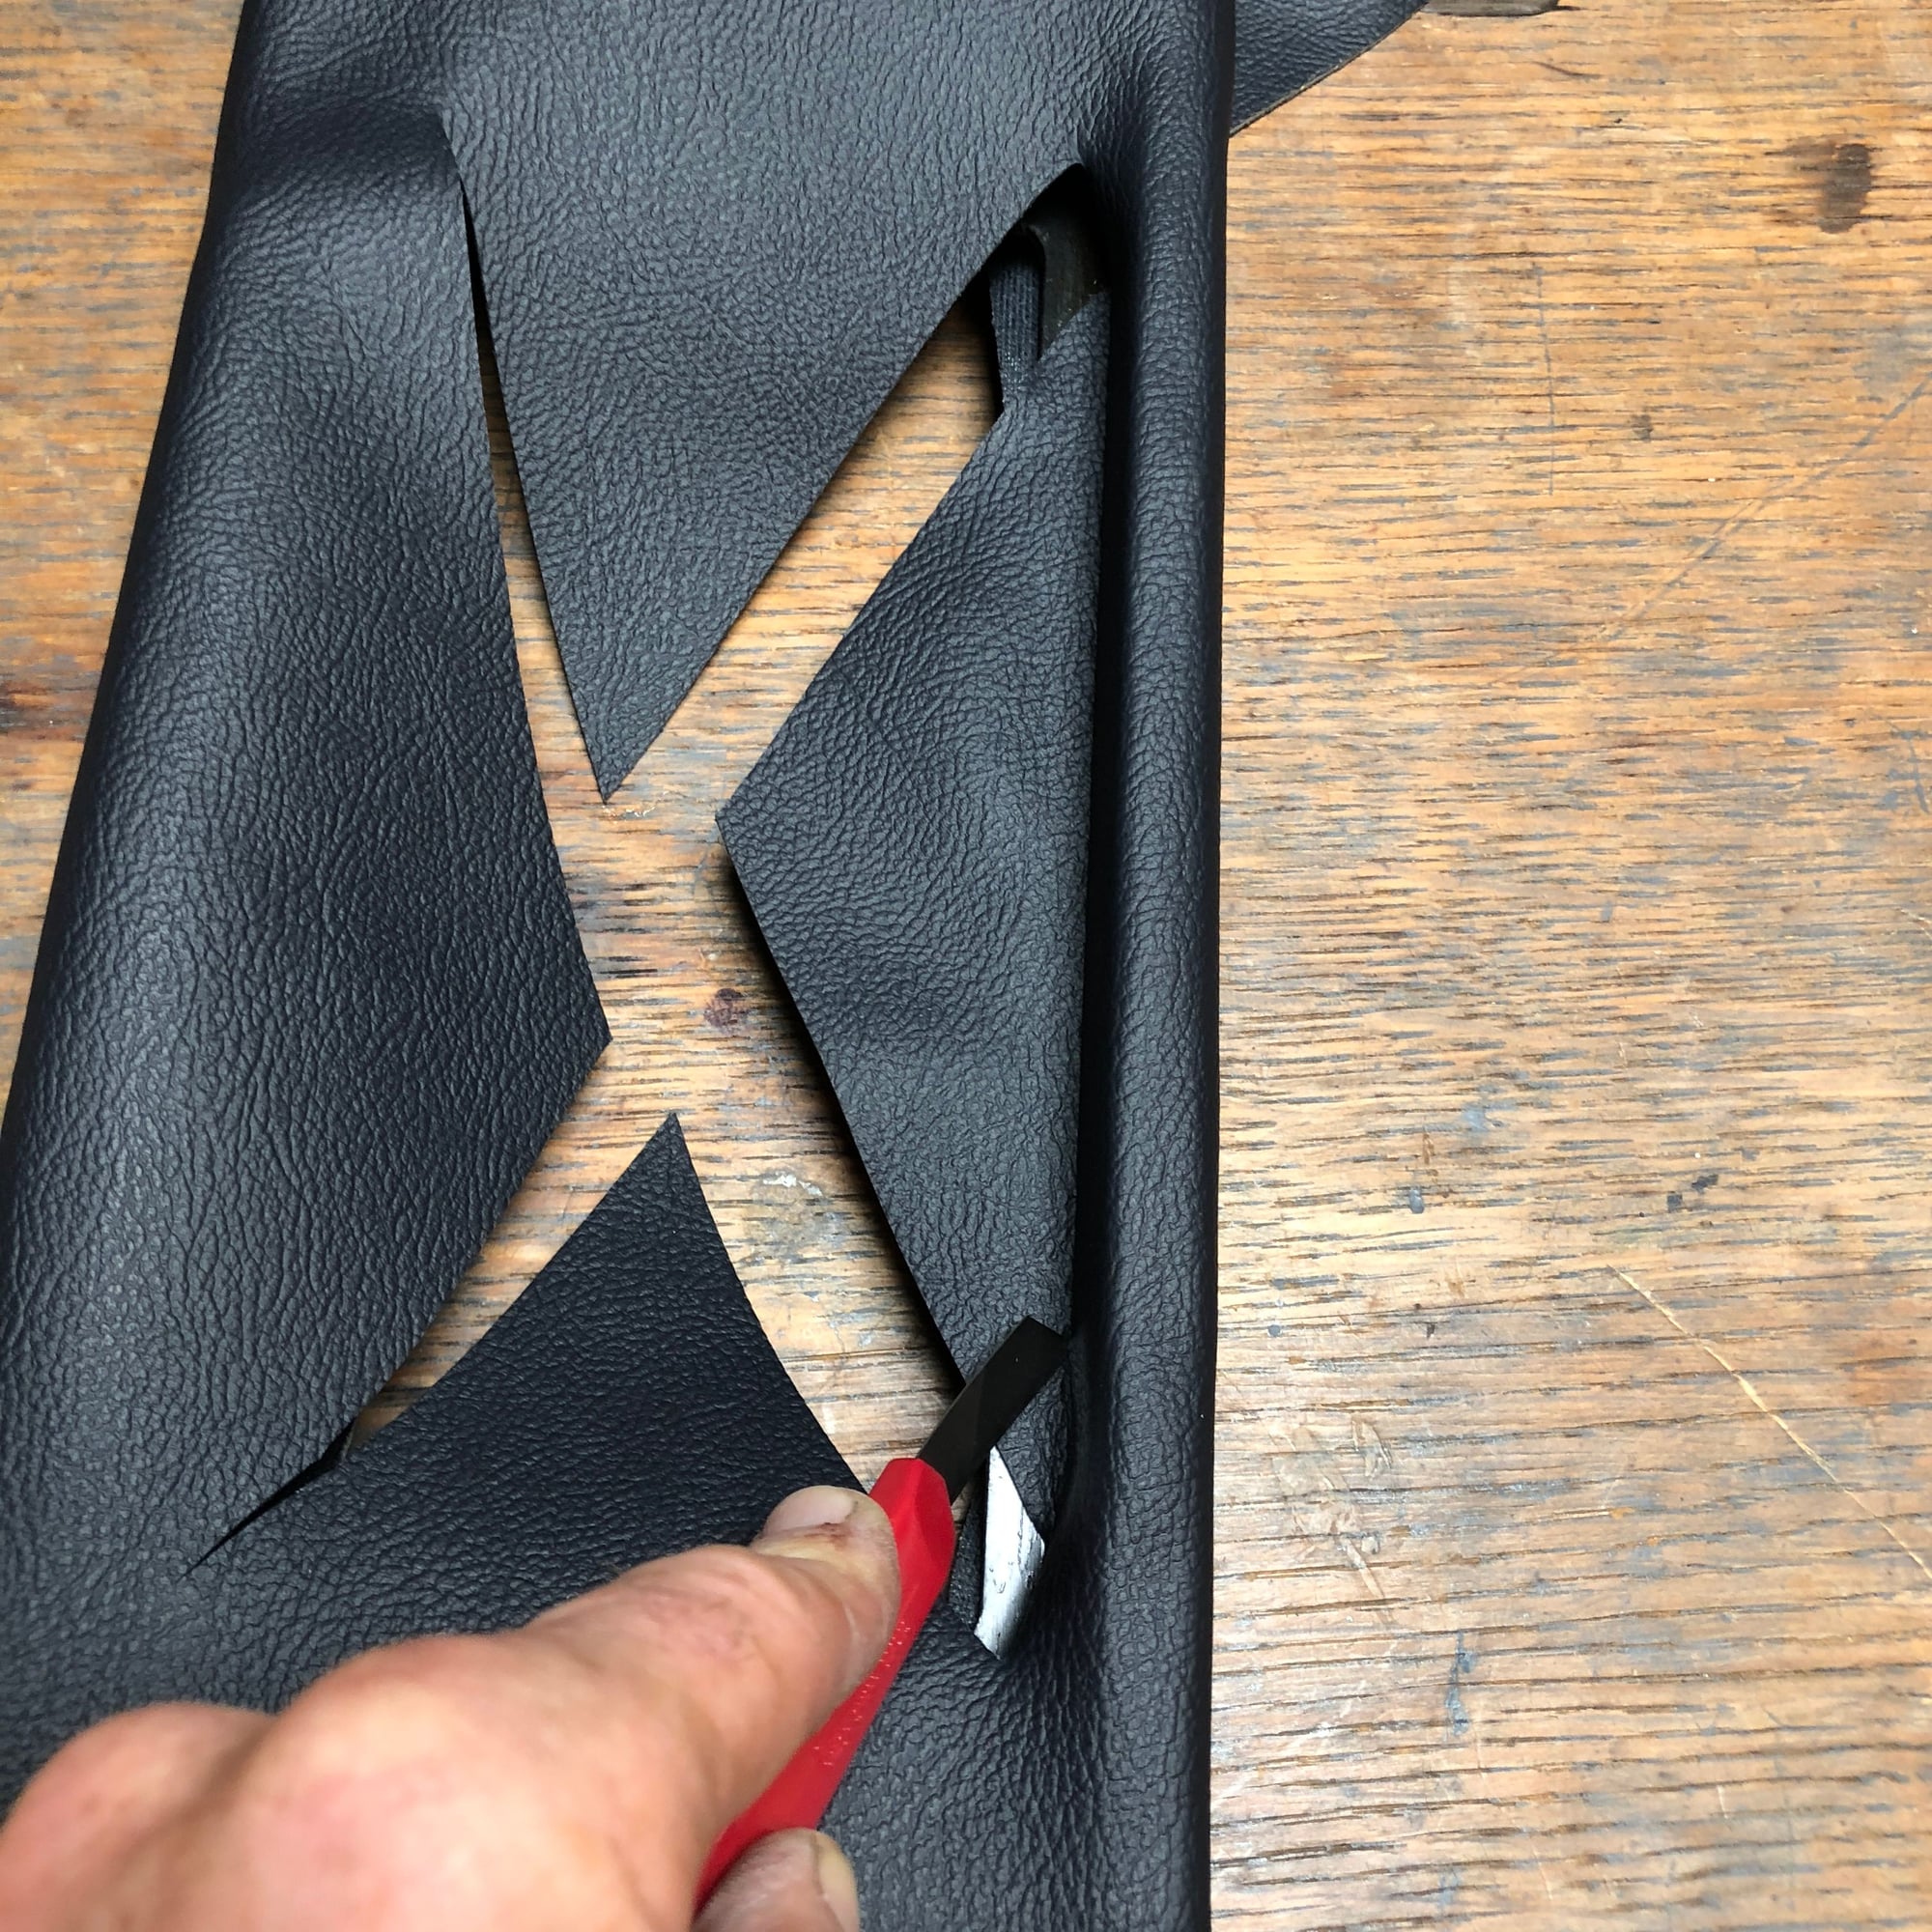
these edges were difficult to figure out. the issue I ran into was how to fold over. In hindsight, I would not wrap. I would just trim to the edge,
this is about as good as I could get the wrap job. But this will not be visible under the trim.
If/when I redo this dash. Here is the progression I plan to follow. This is basically work from the outside-in. Use the glove box and dash pod opening to gather extra material.
Here's a thought, and it may not work, but maybe worth a shot, since our alternatives for true vinyl dashes are virtually nil.
What if you recovered the dash & then had the seams professionally filled & repaired by Fibrenew? I've never personally seen their work, but I've heard great things about them.
It's a learning process, and I think you're doing great. Obviously your eye is more critical than others viewing it. Keep up the good work, and documentation for others to follow.
In the picture above with the numbers - do the numbers represent the pattern in which you would add glue and let things set before moving to the next number? Or do you add glue to everything and just work the sections down in that order?
In the picture above with the numbers - do the numbers represent the pattern in which you would add glue and let things set before moving to the next number? Or do you add glue to everything and just work the sections down in that order?
Thanks -
-scott
Good question. The numbers refer to the order in which to lay the vinyl. My suggestion would be to give the whole dash a coat of glue and then the entire fabric a coat of glue and let dry. In my first attempt, I let the glue dry for 2 days. The glues was still tacky and did a good job in most areas but not strong enough to fight the memory in the vinyl. I would wait no longer than a few hours before beginning. If you wait longer you may need to re-apply in some tricky areas.
FWIW, the contactcement is easily "reactivated" with som acetone-based brake cleaner with a paint-spray nozzle. A quick spray and you have some minutes to work while the surface is again tacky.
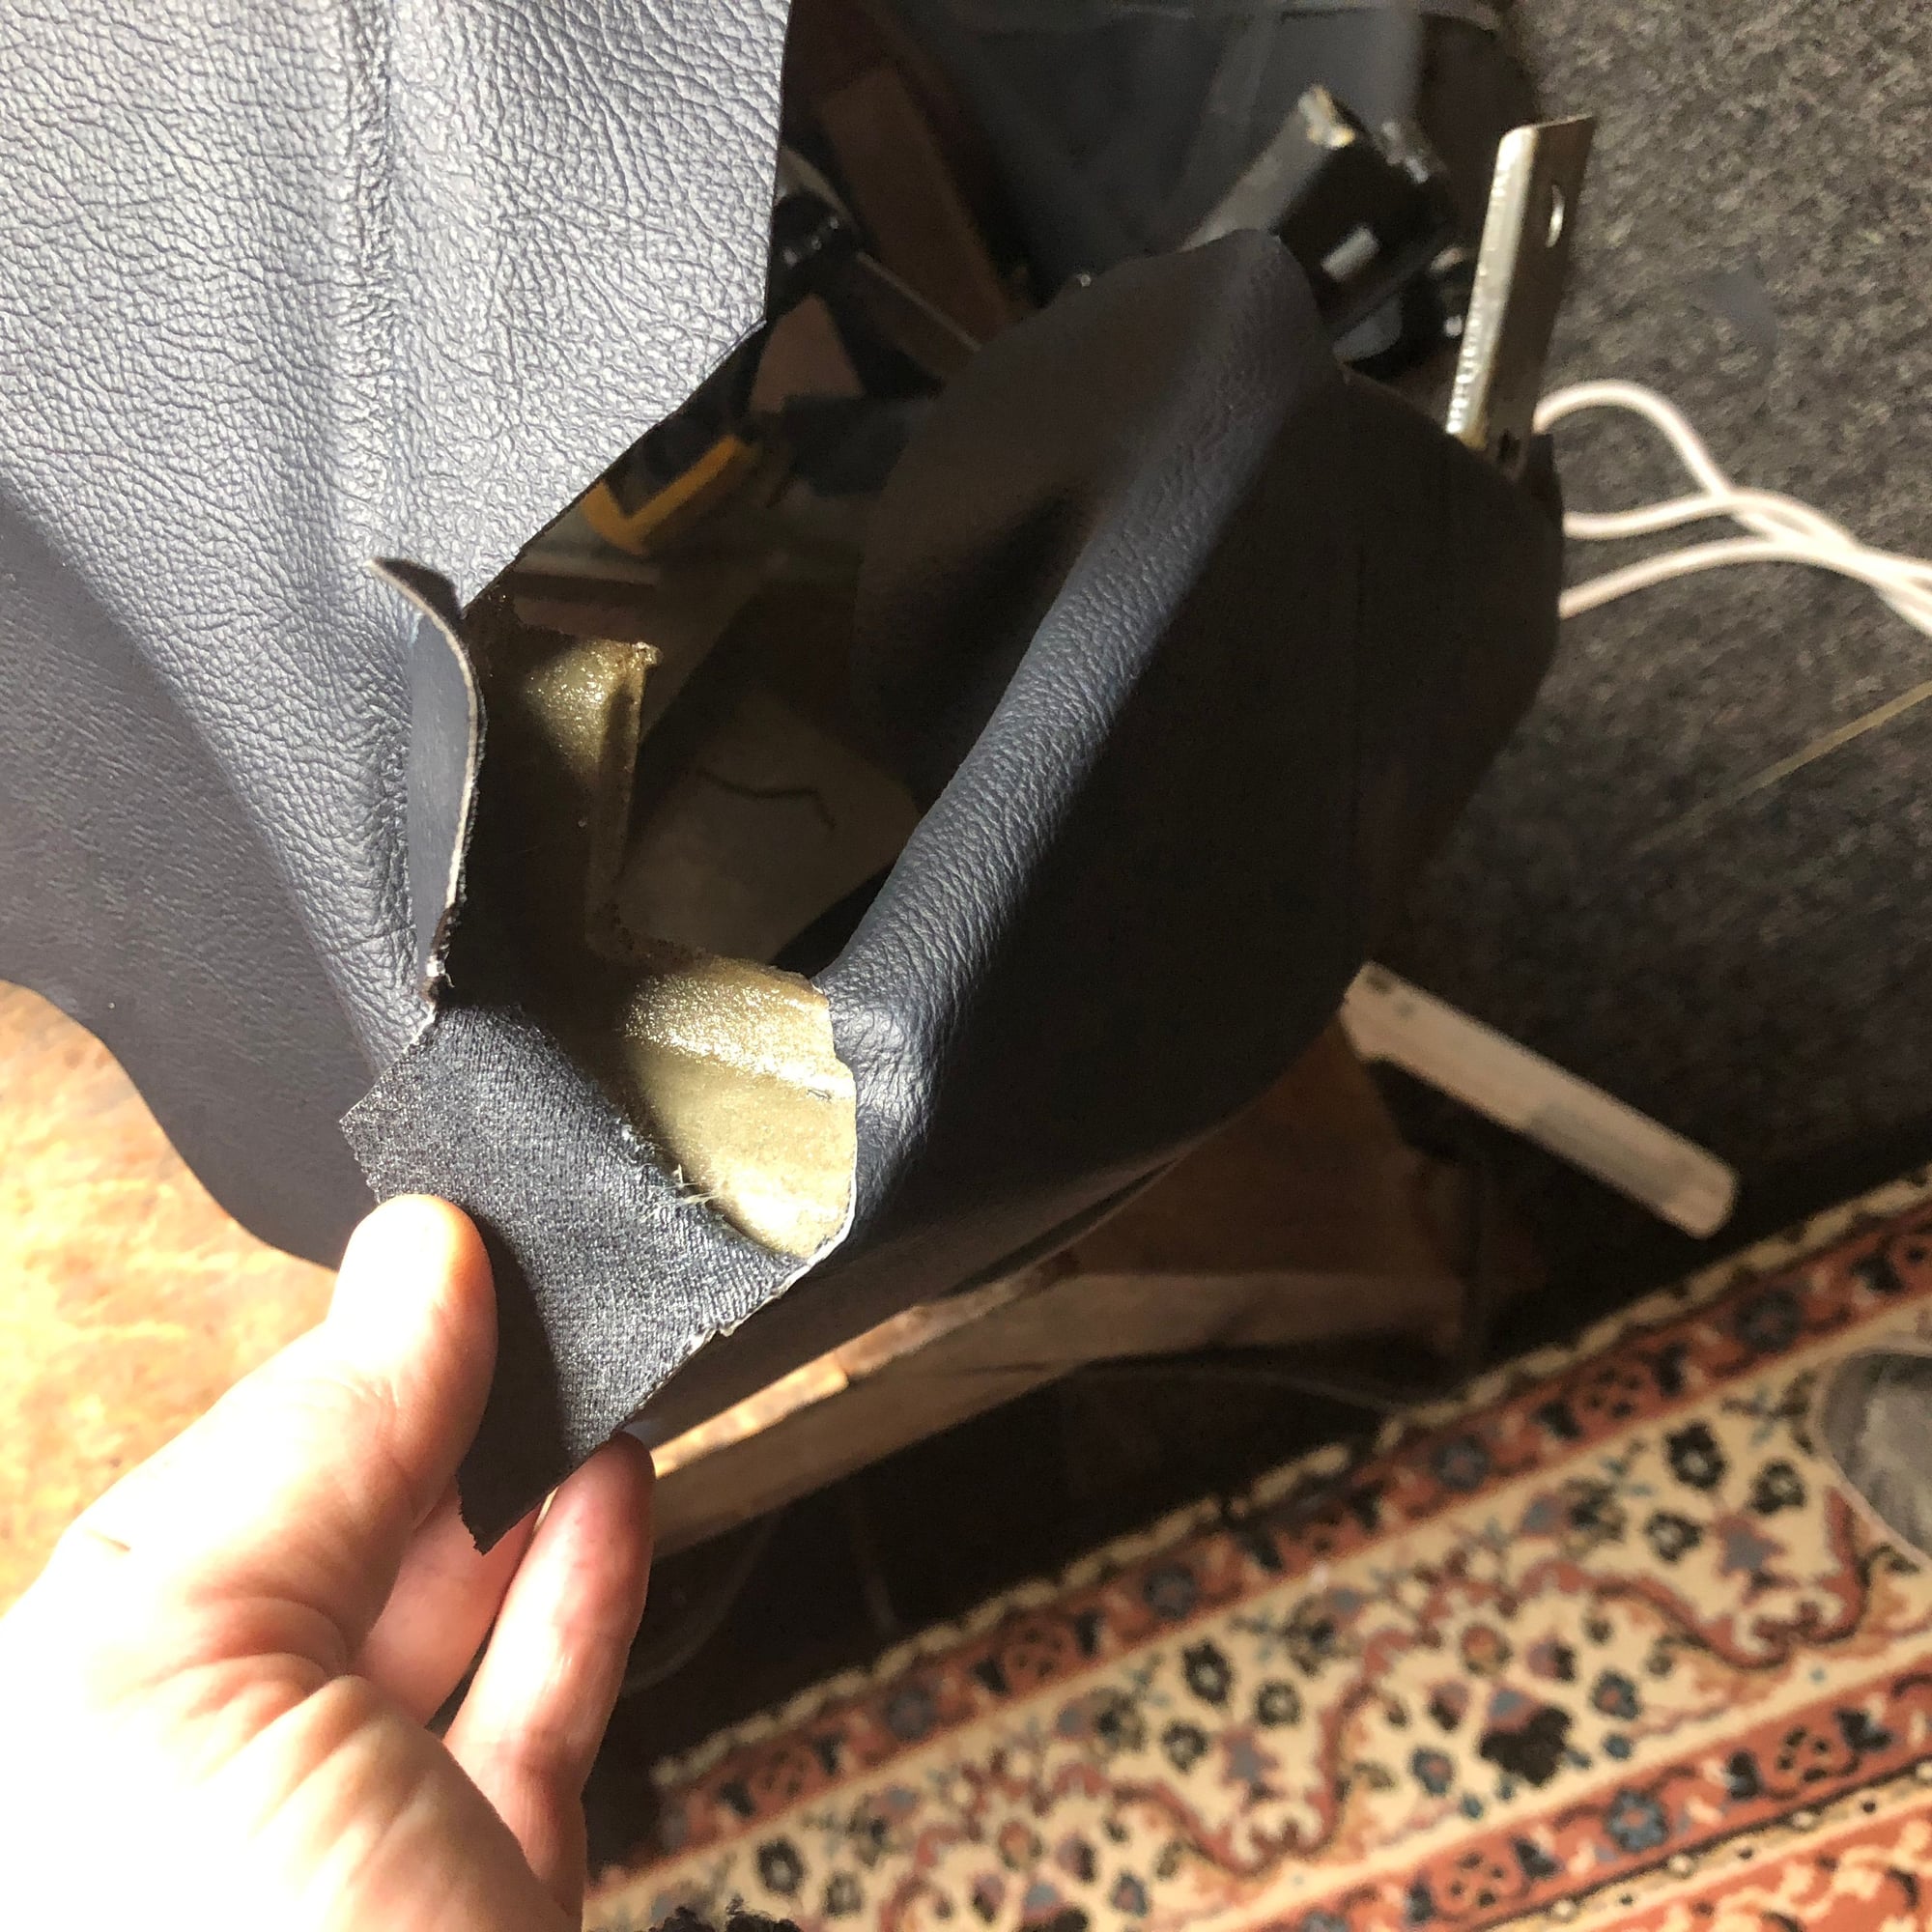
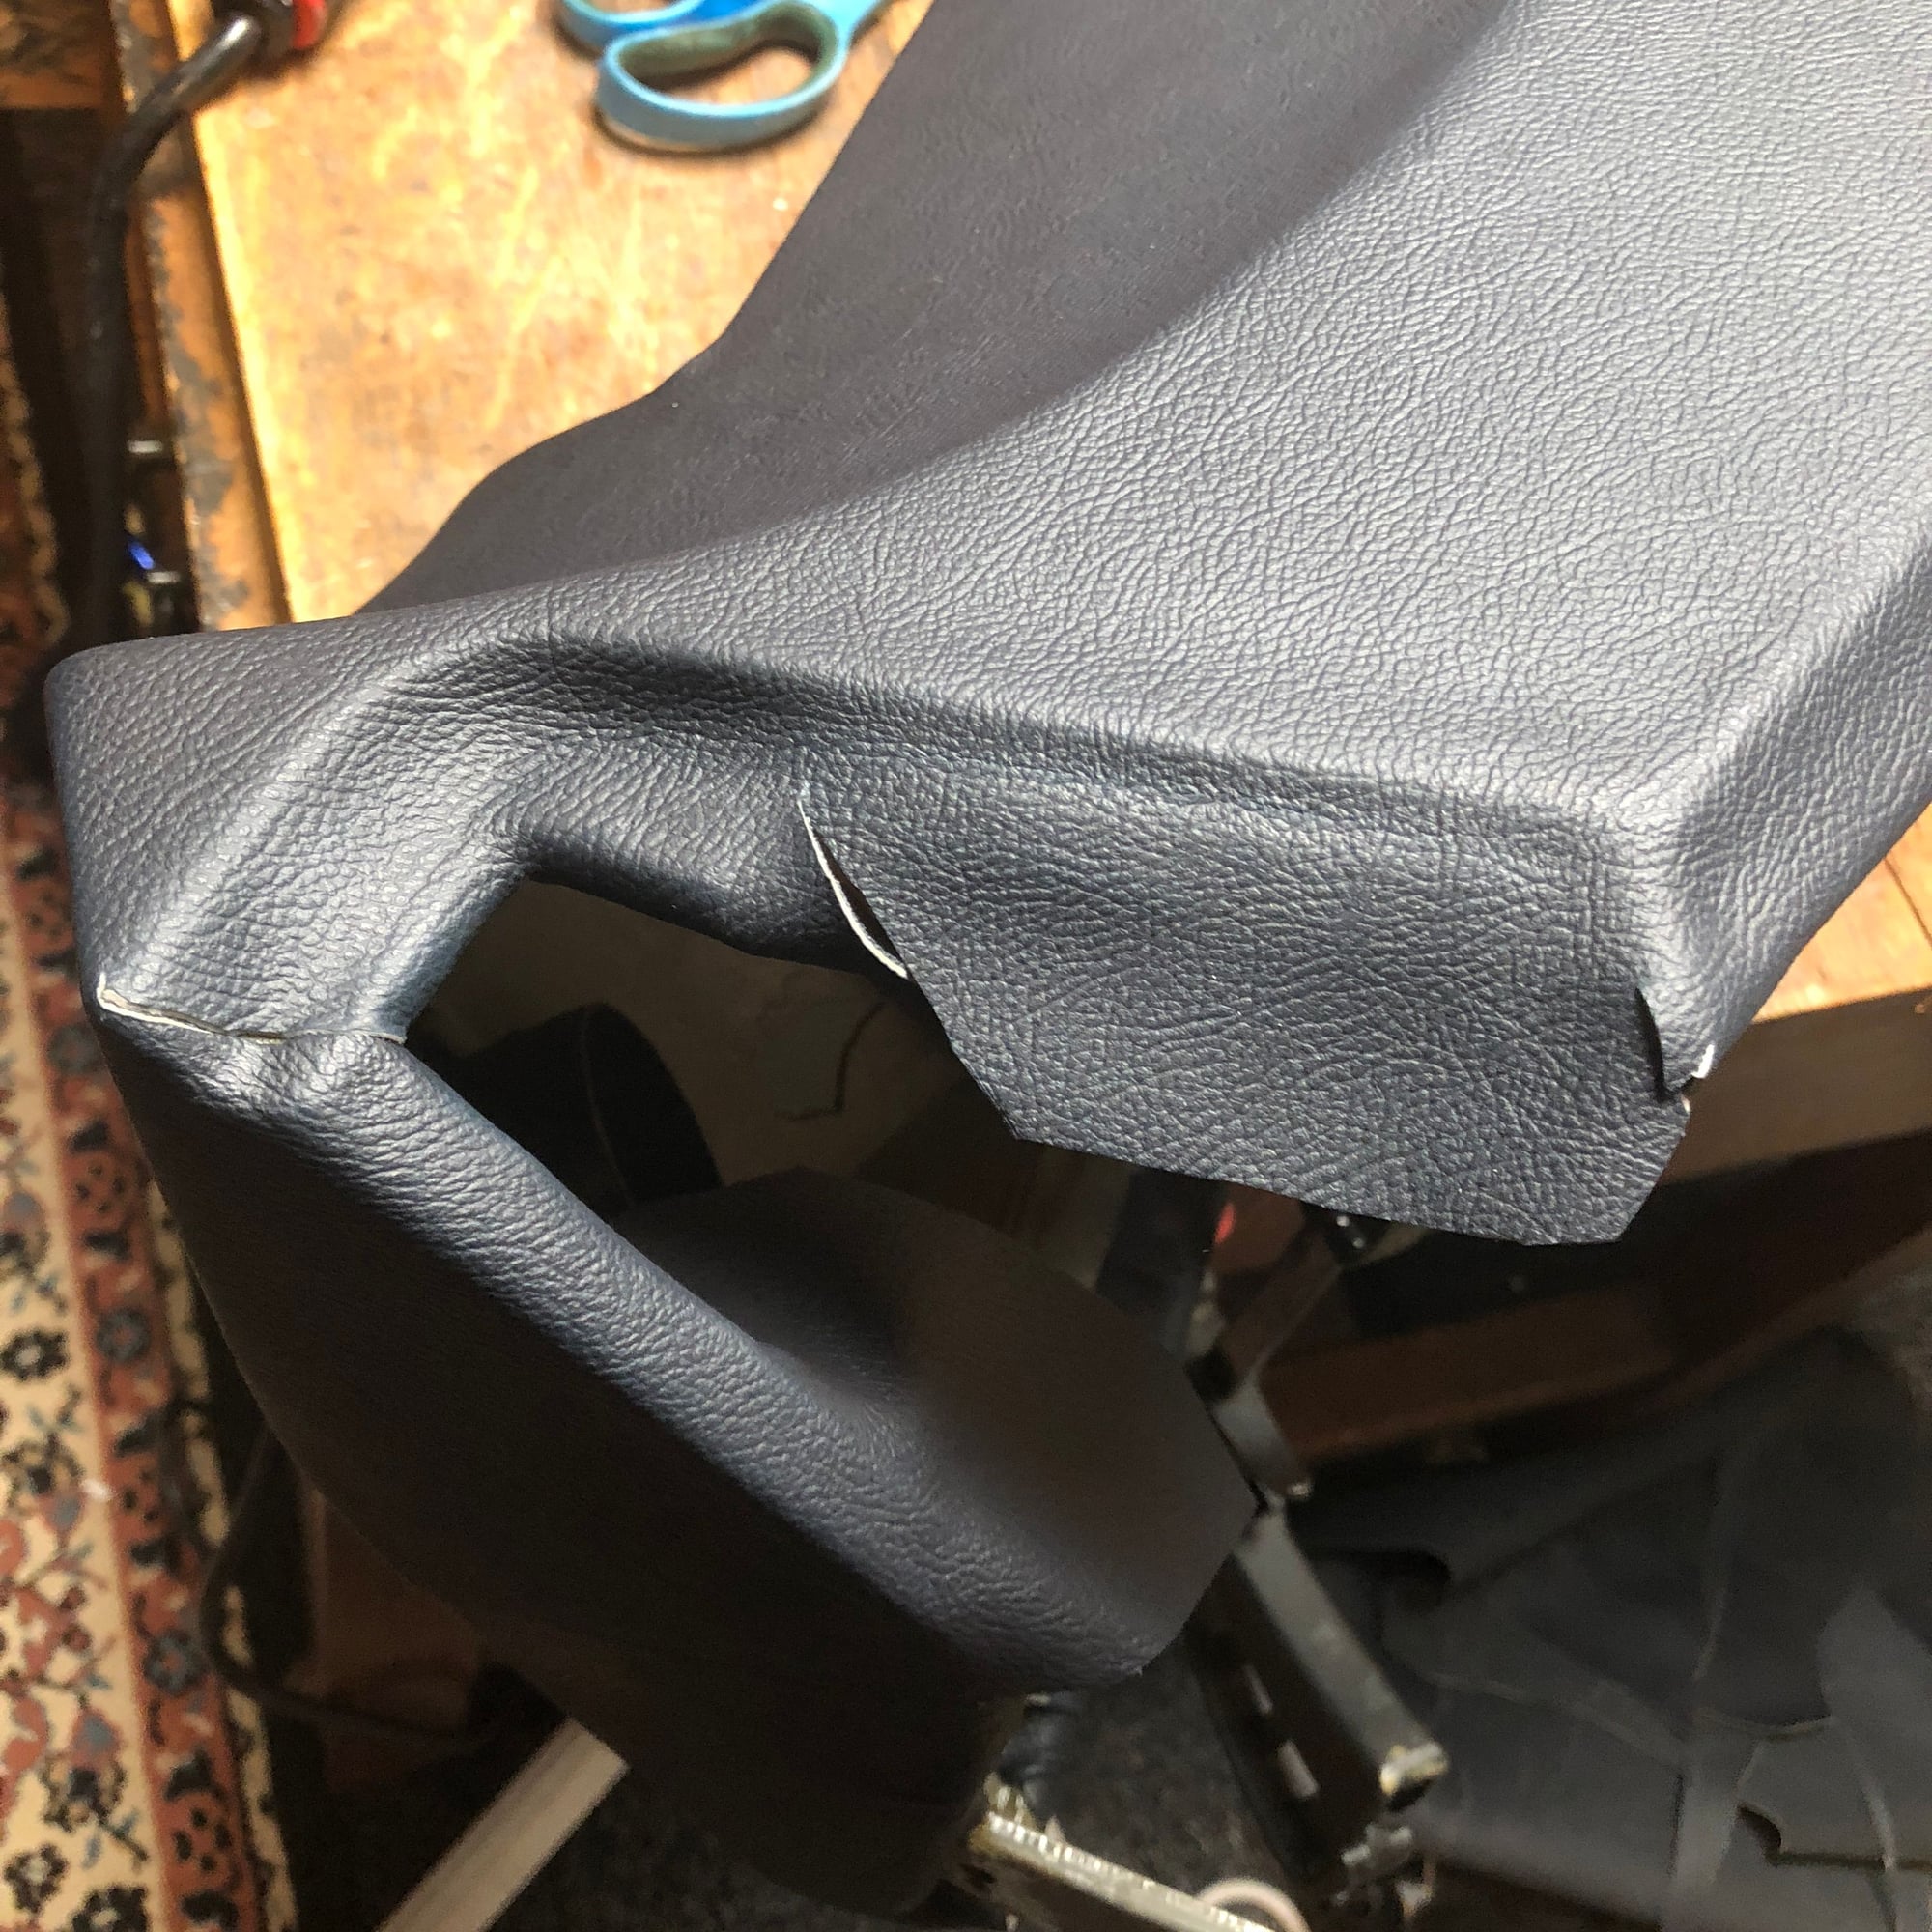
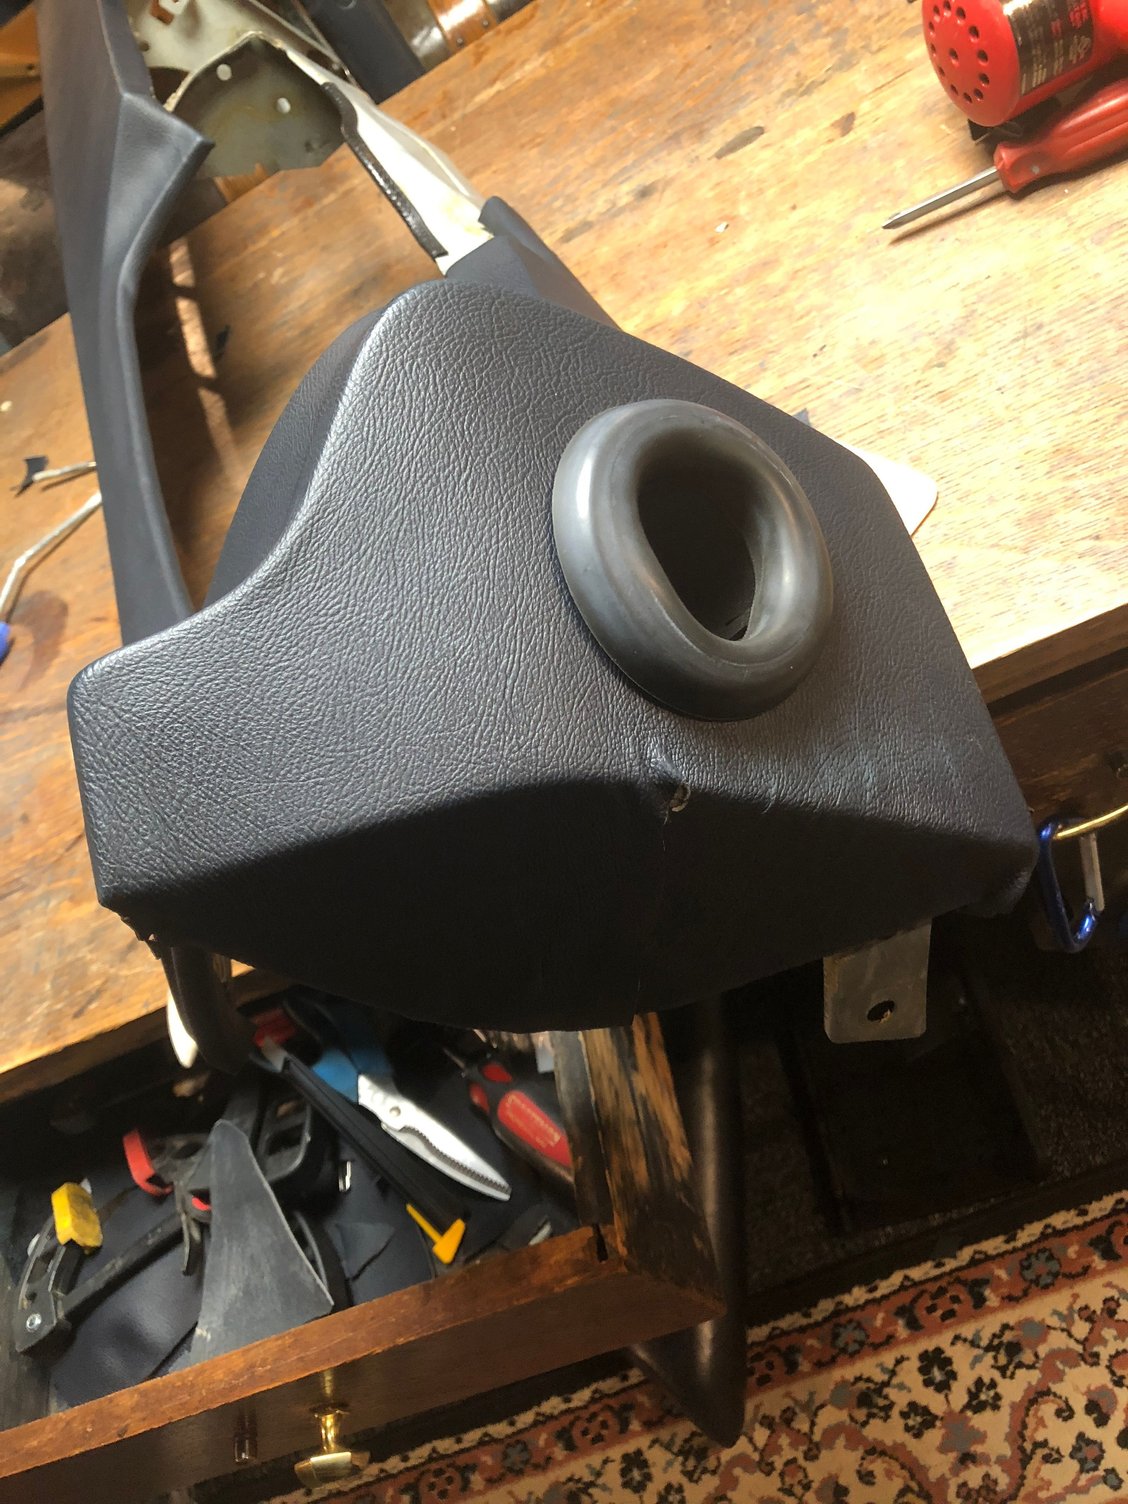
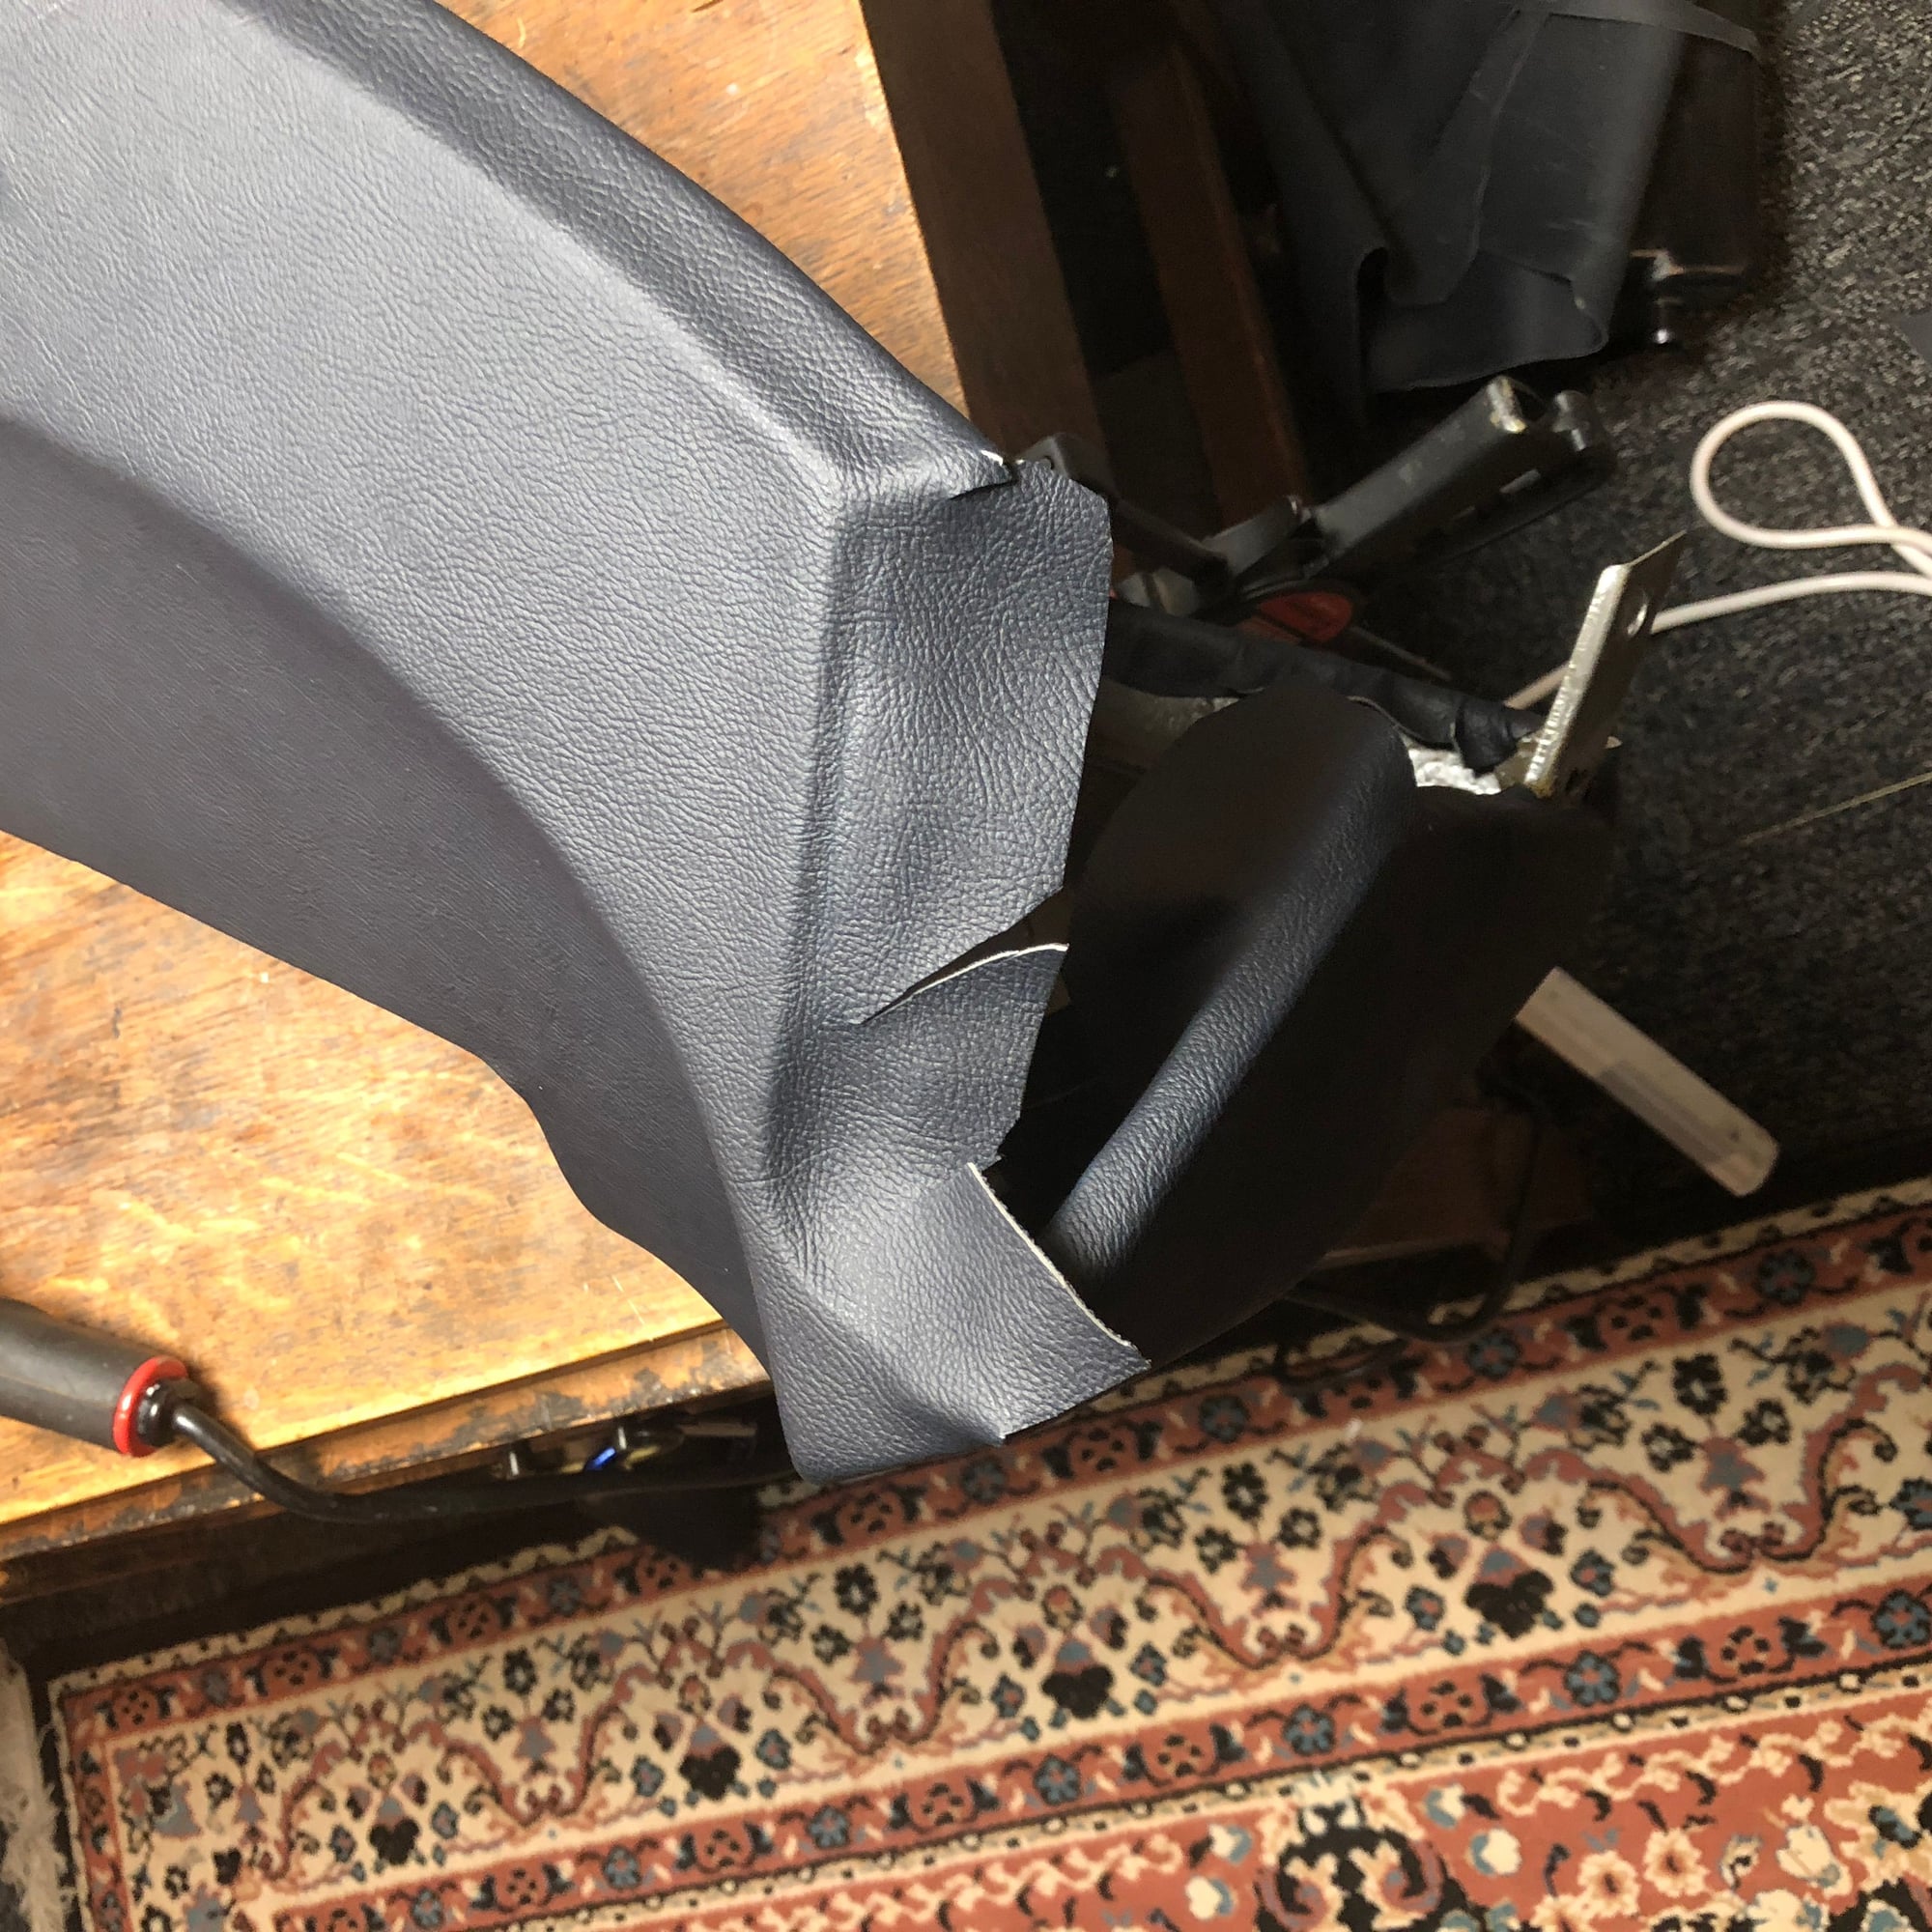
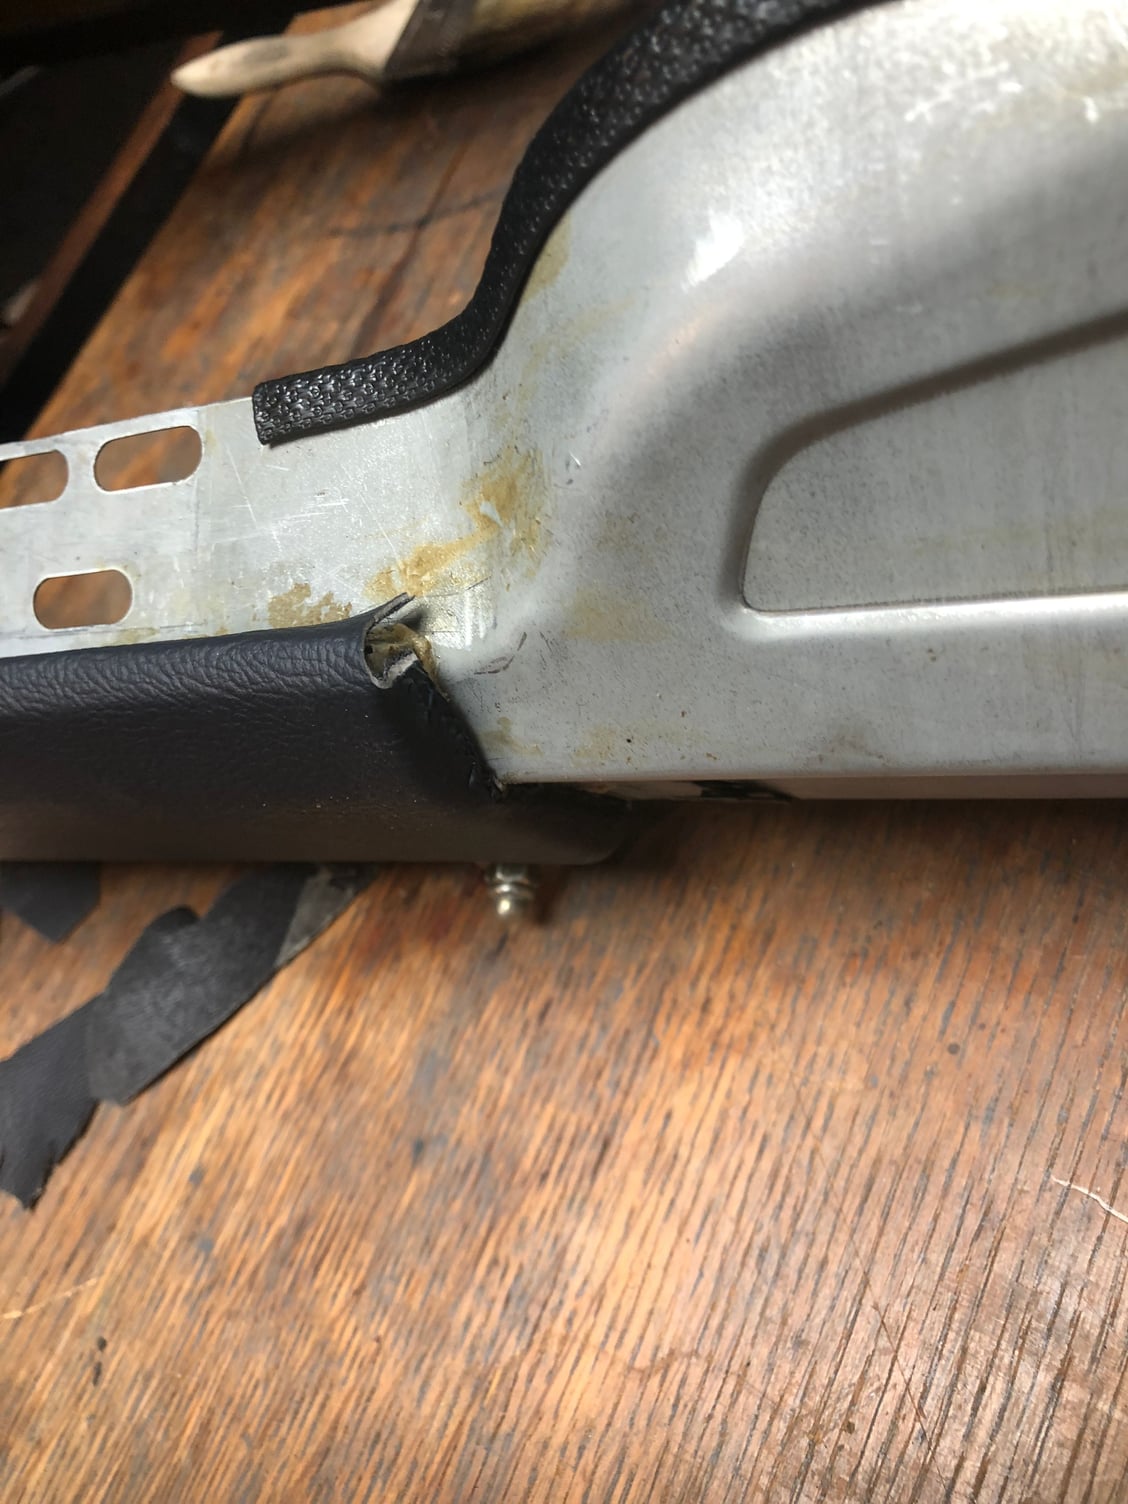
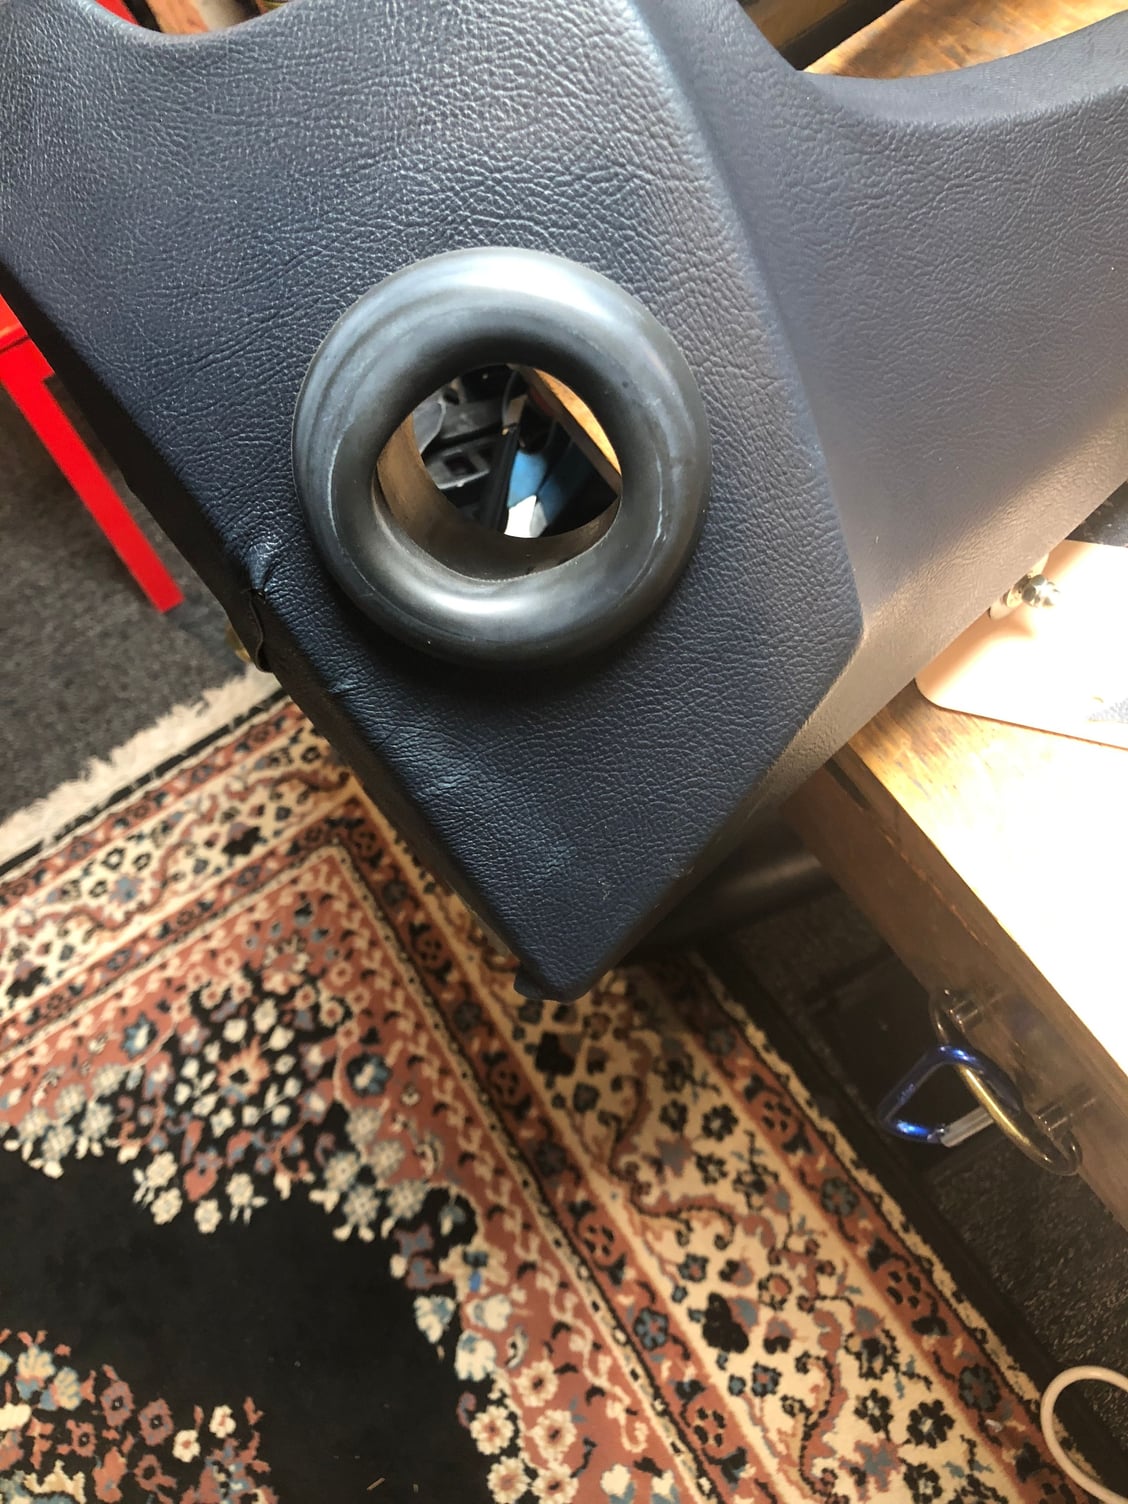
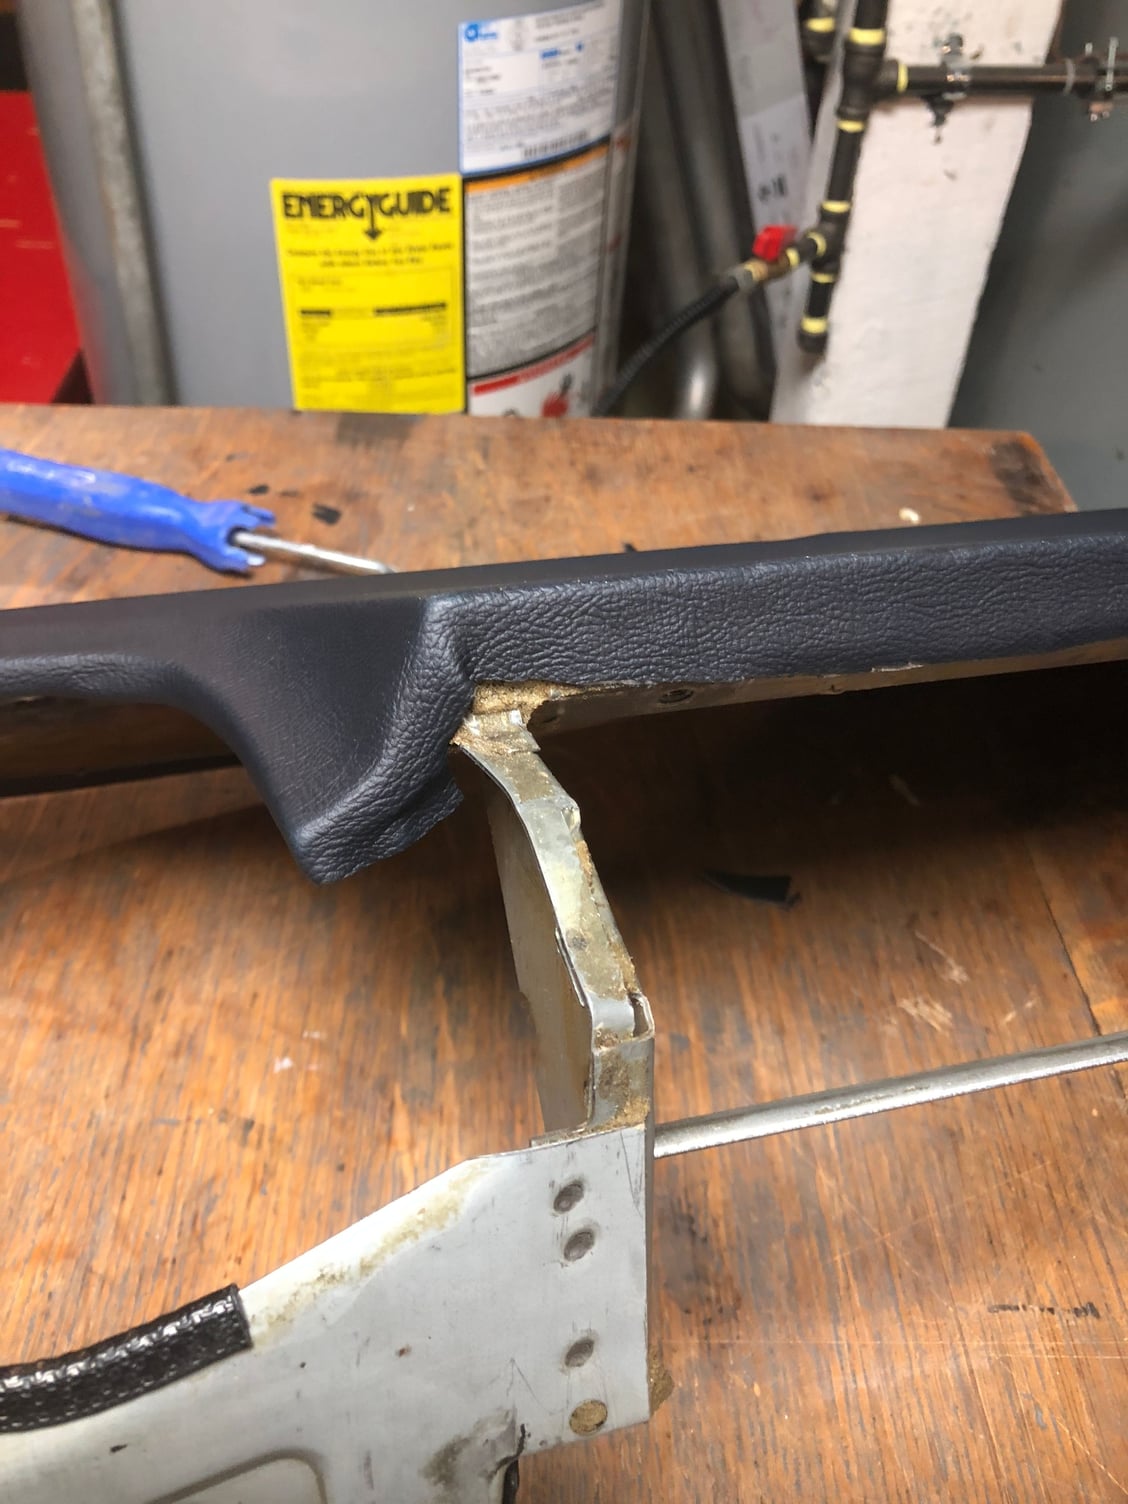
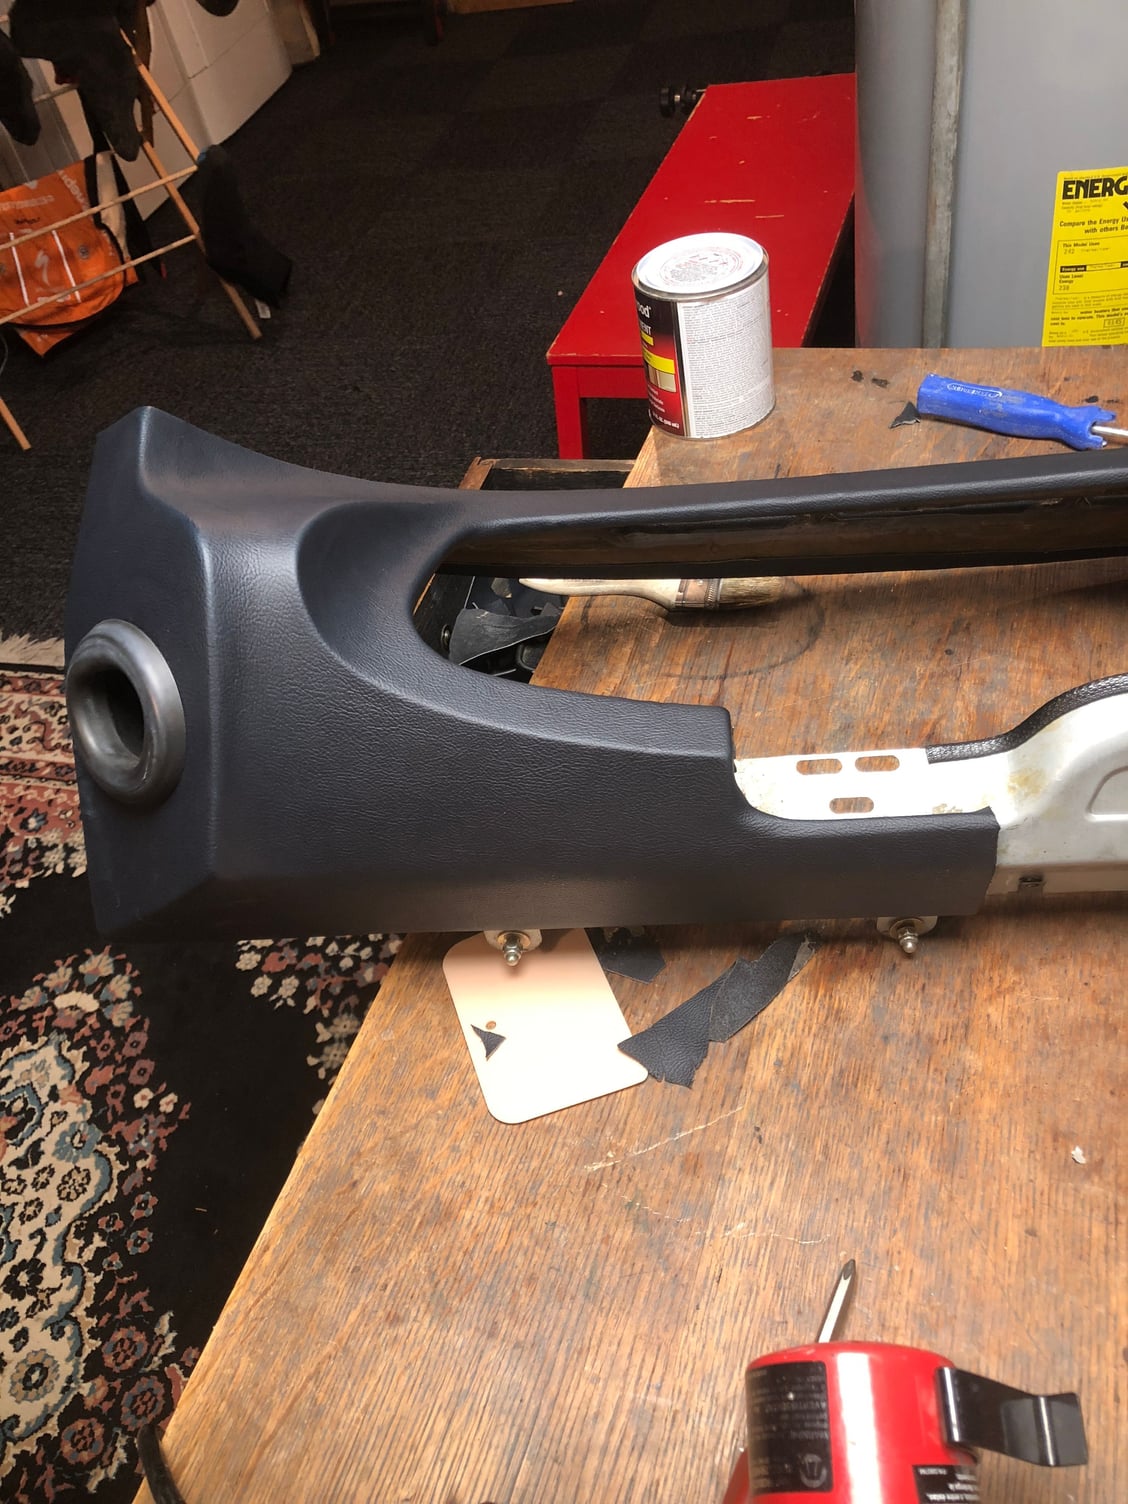
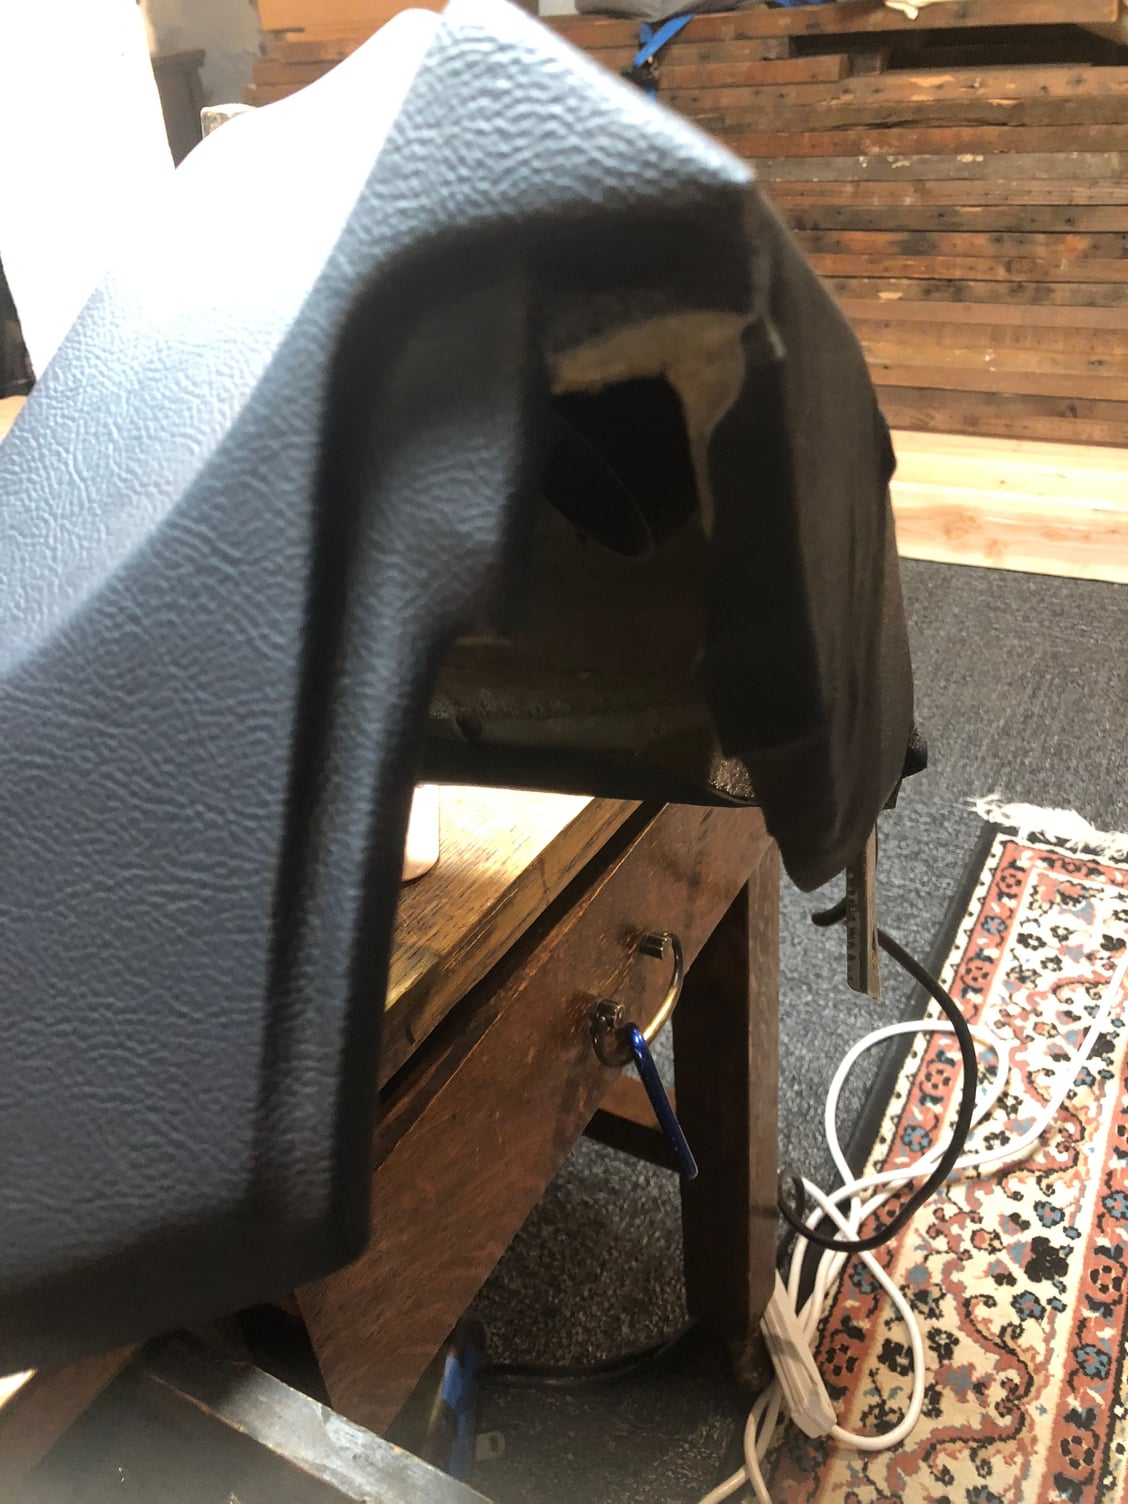
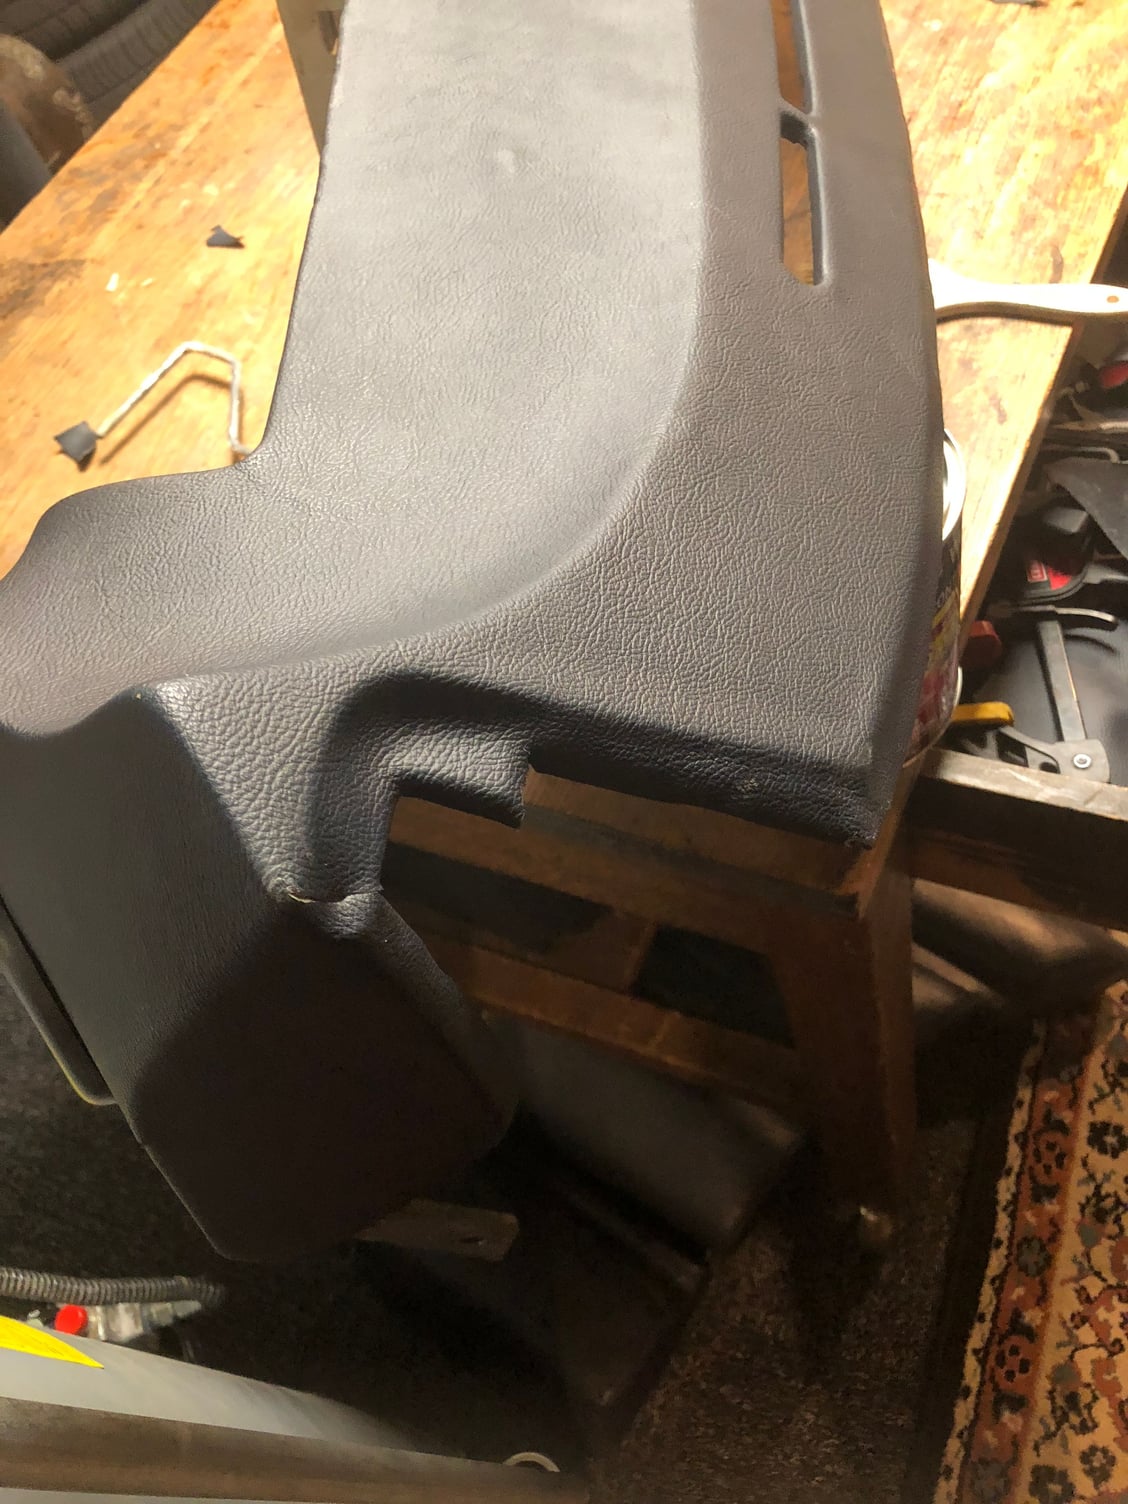
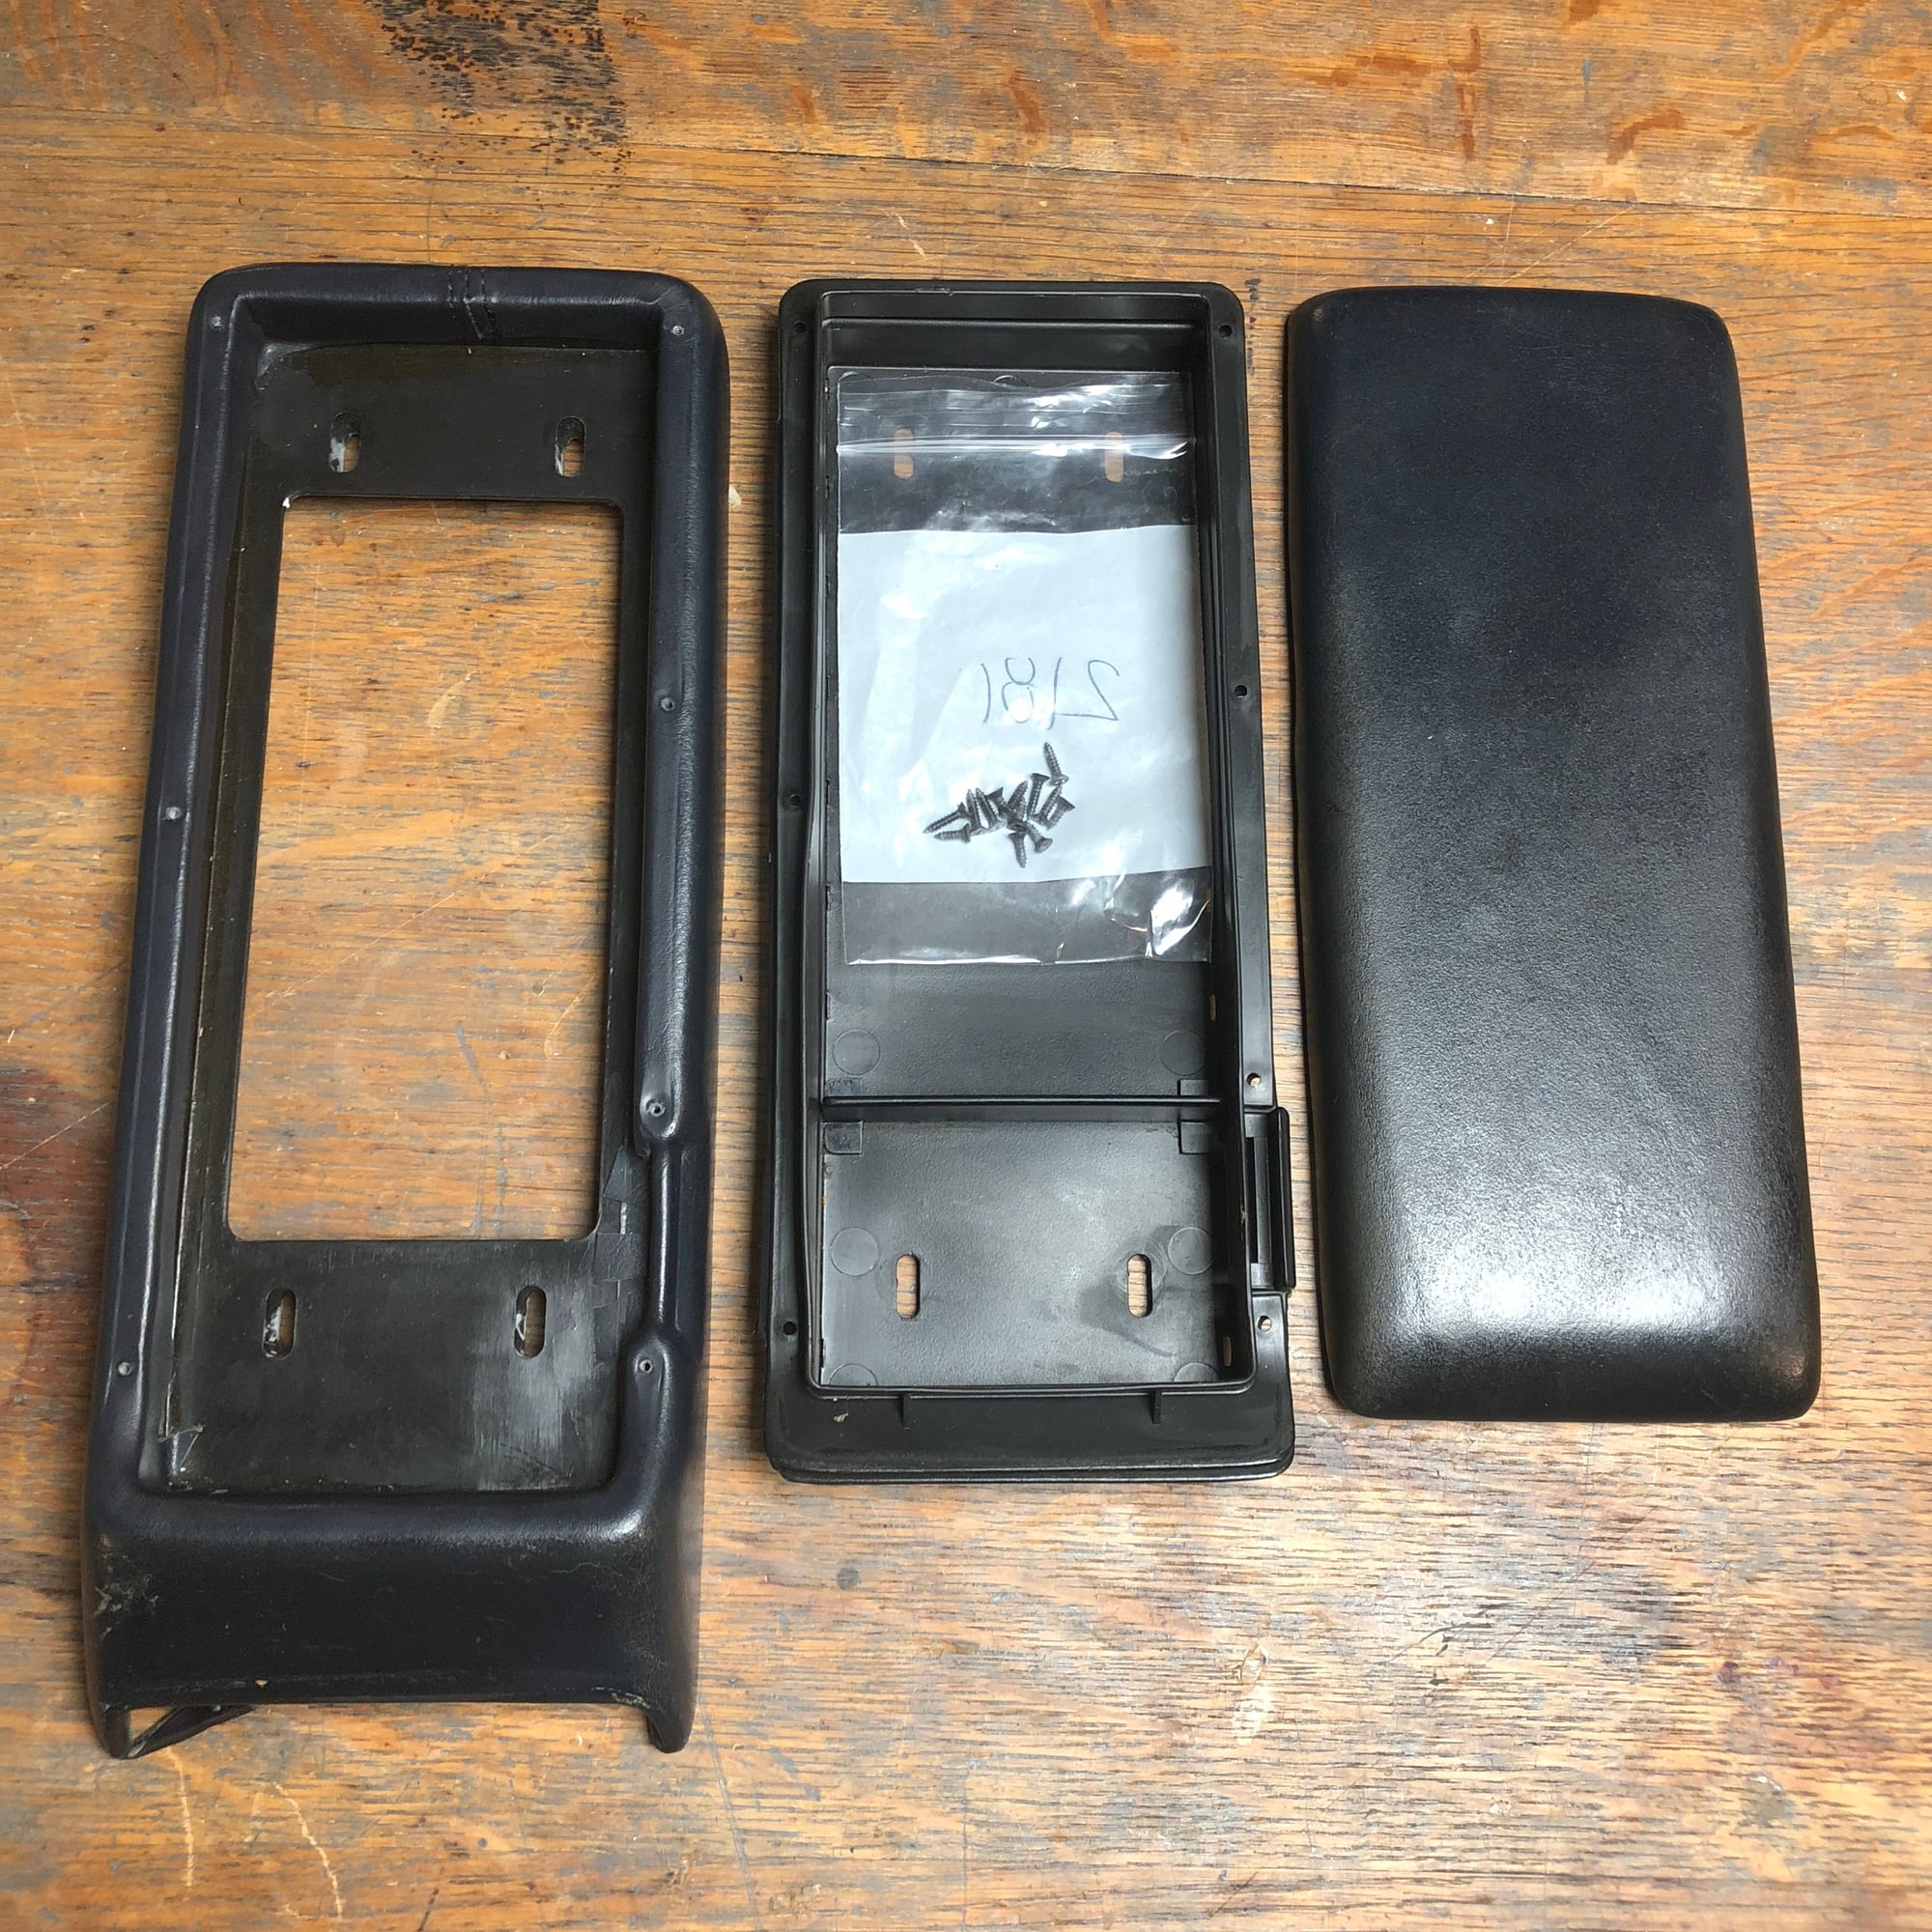
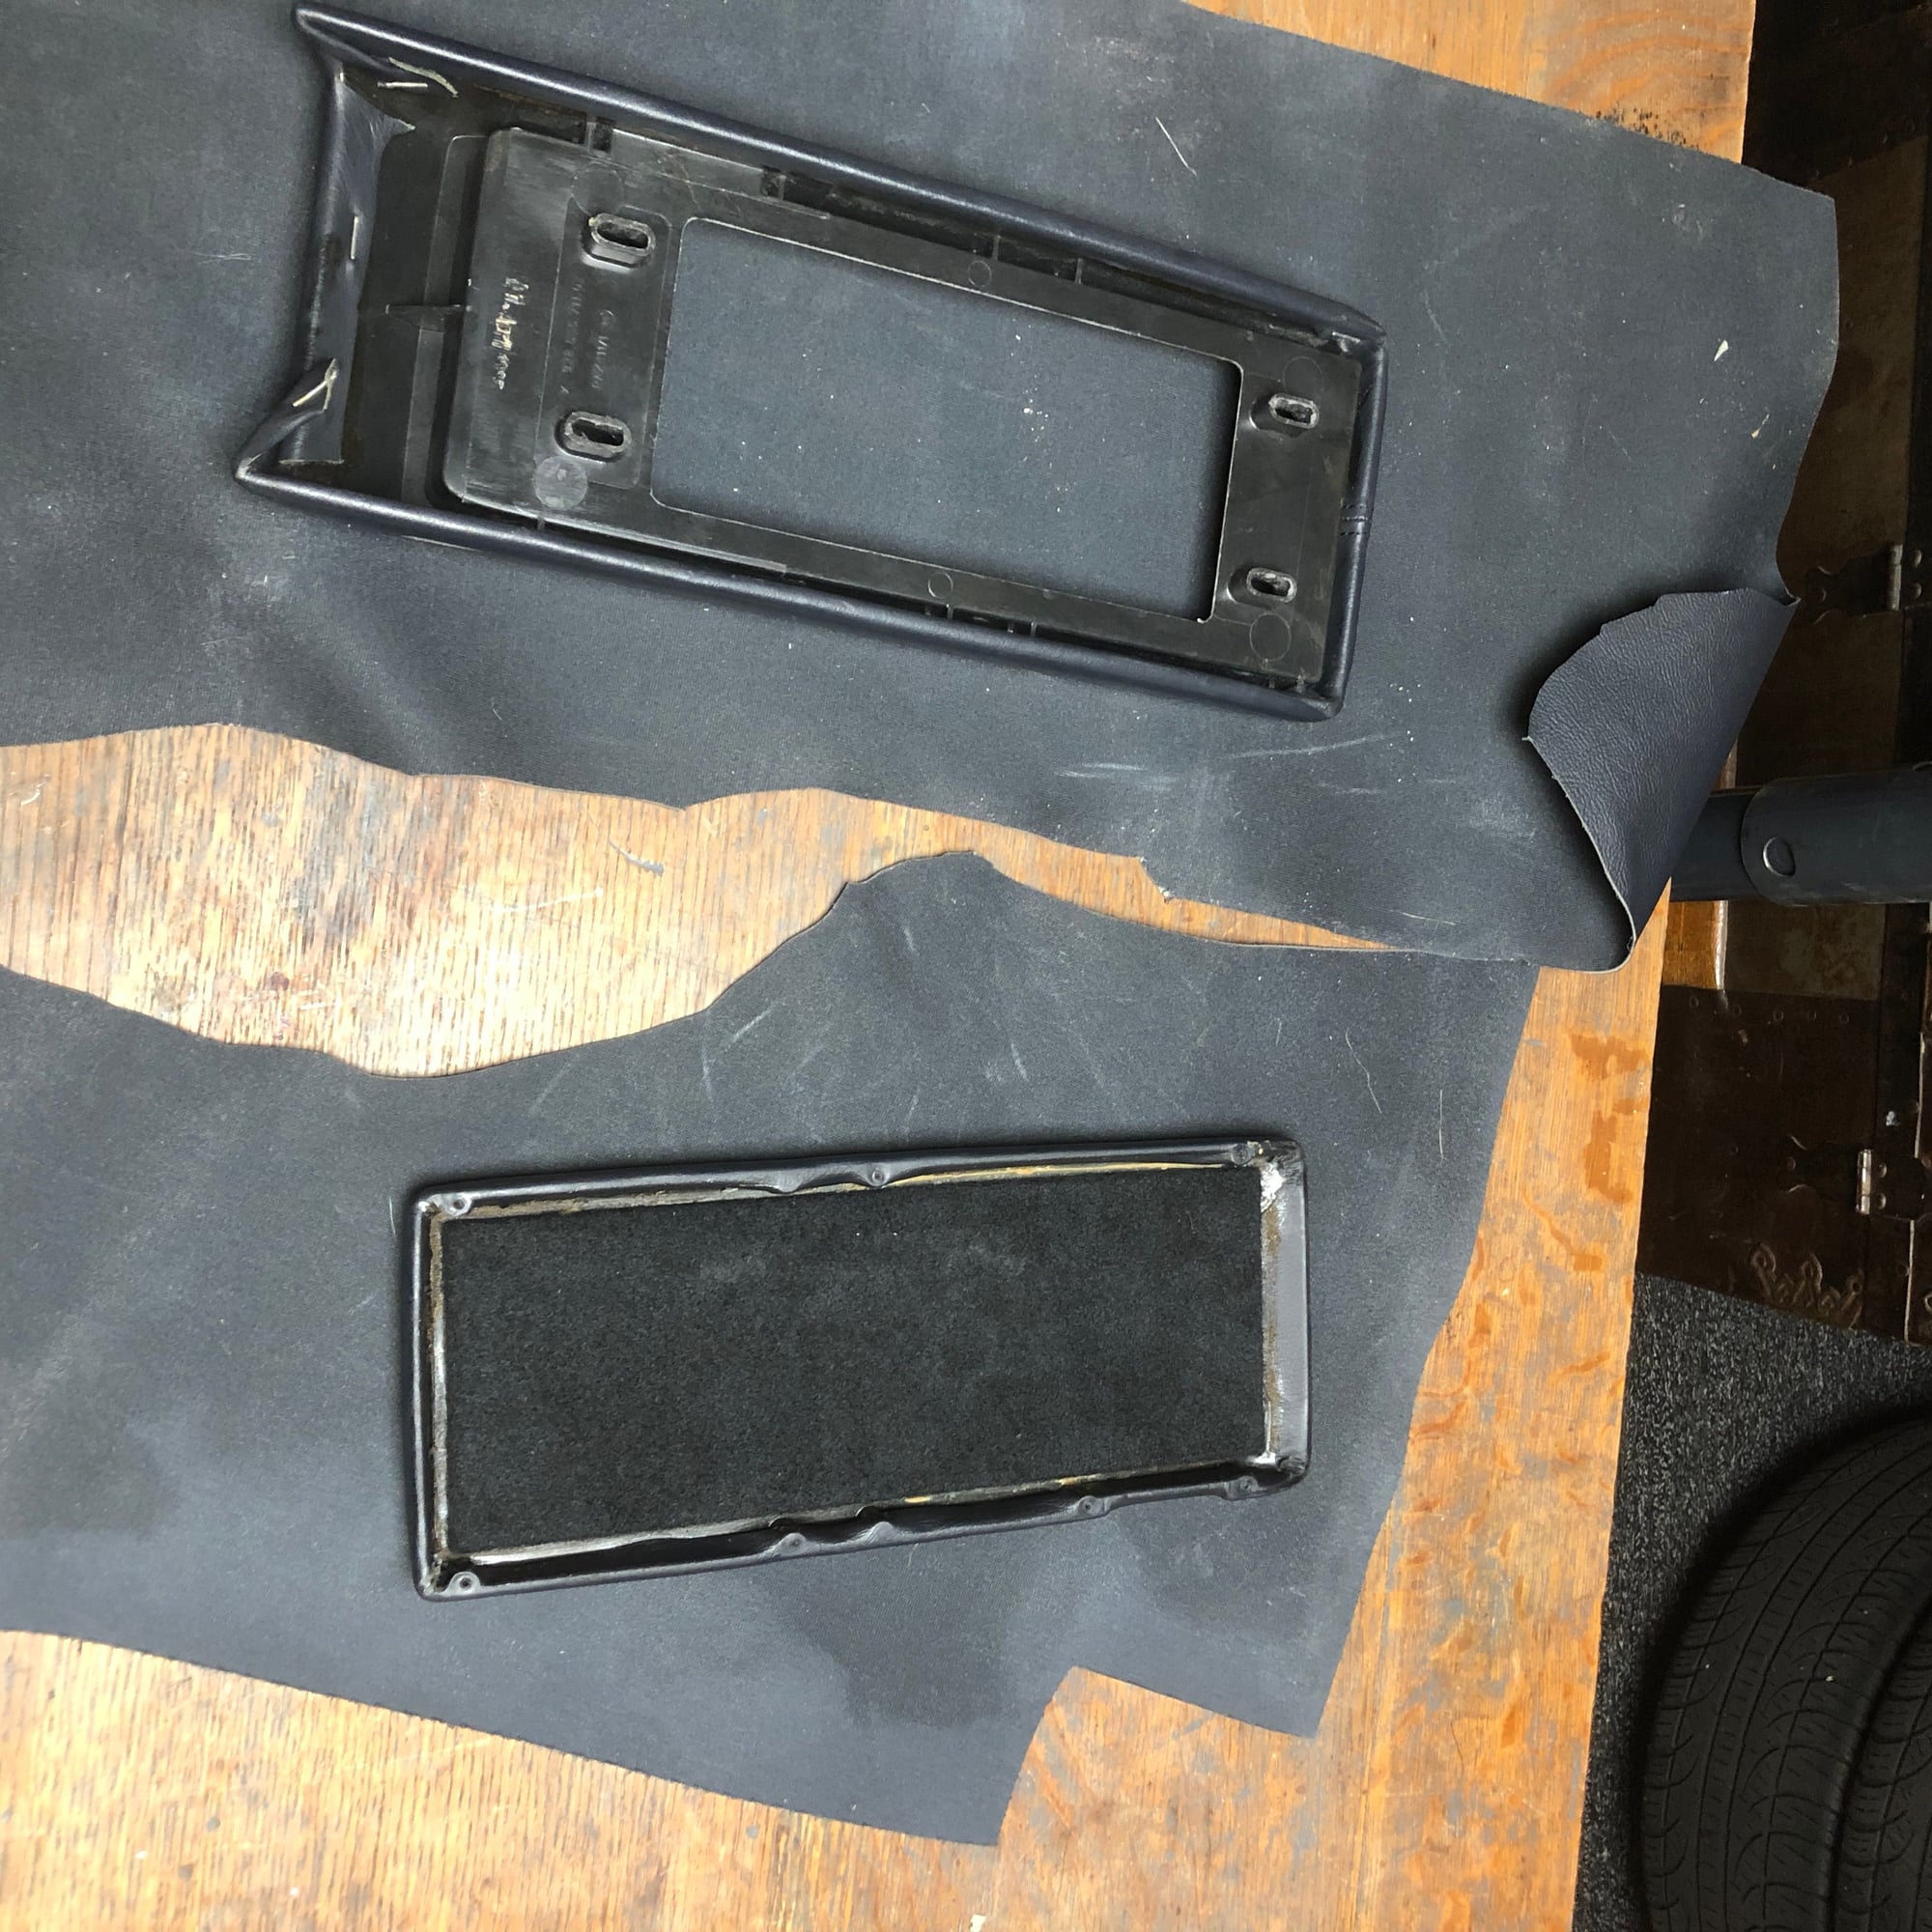
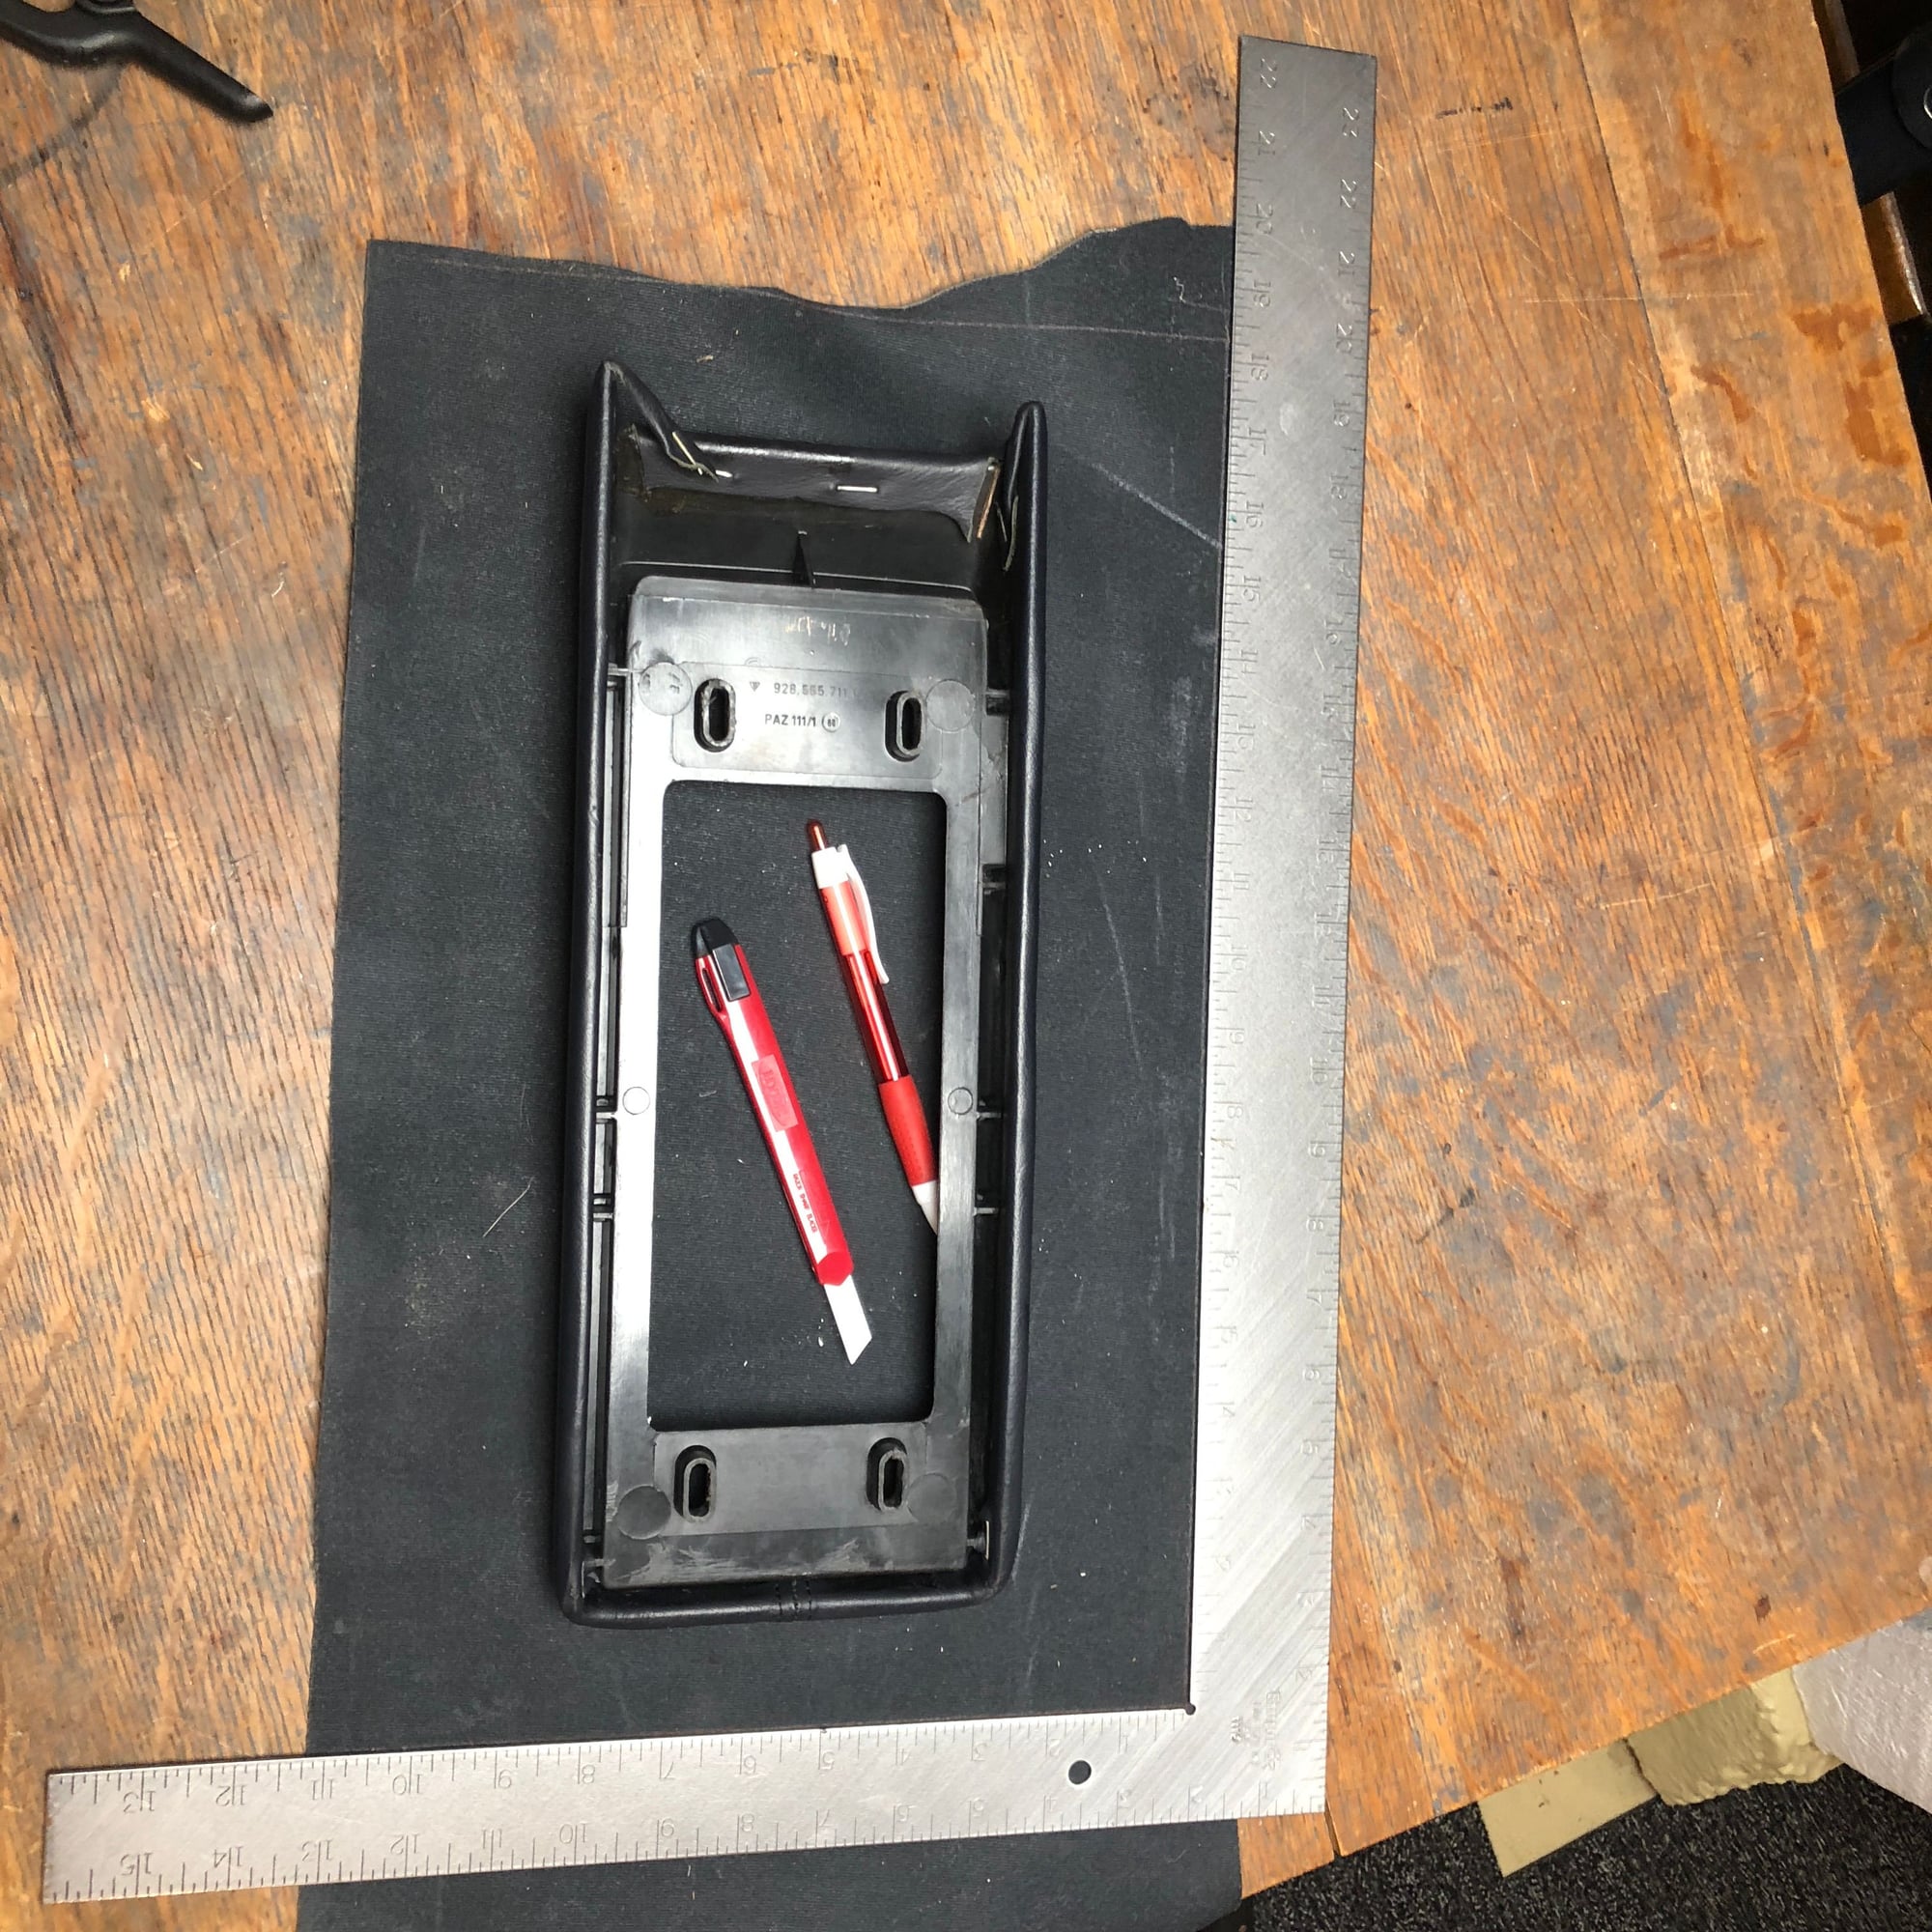
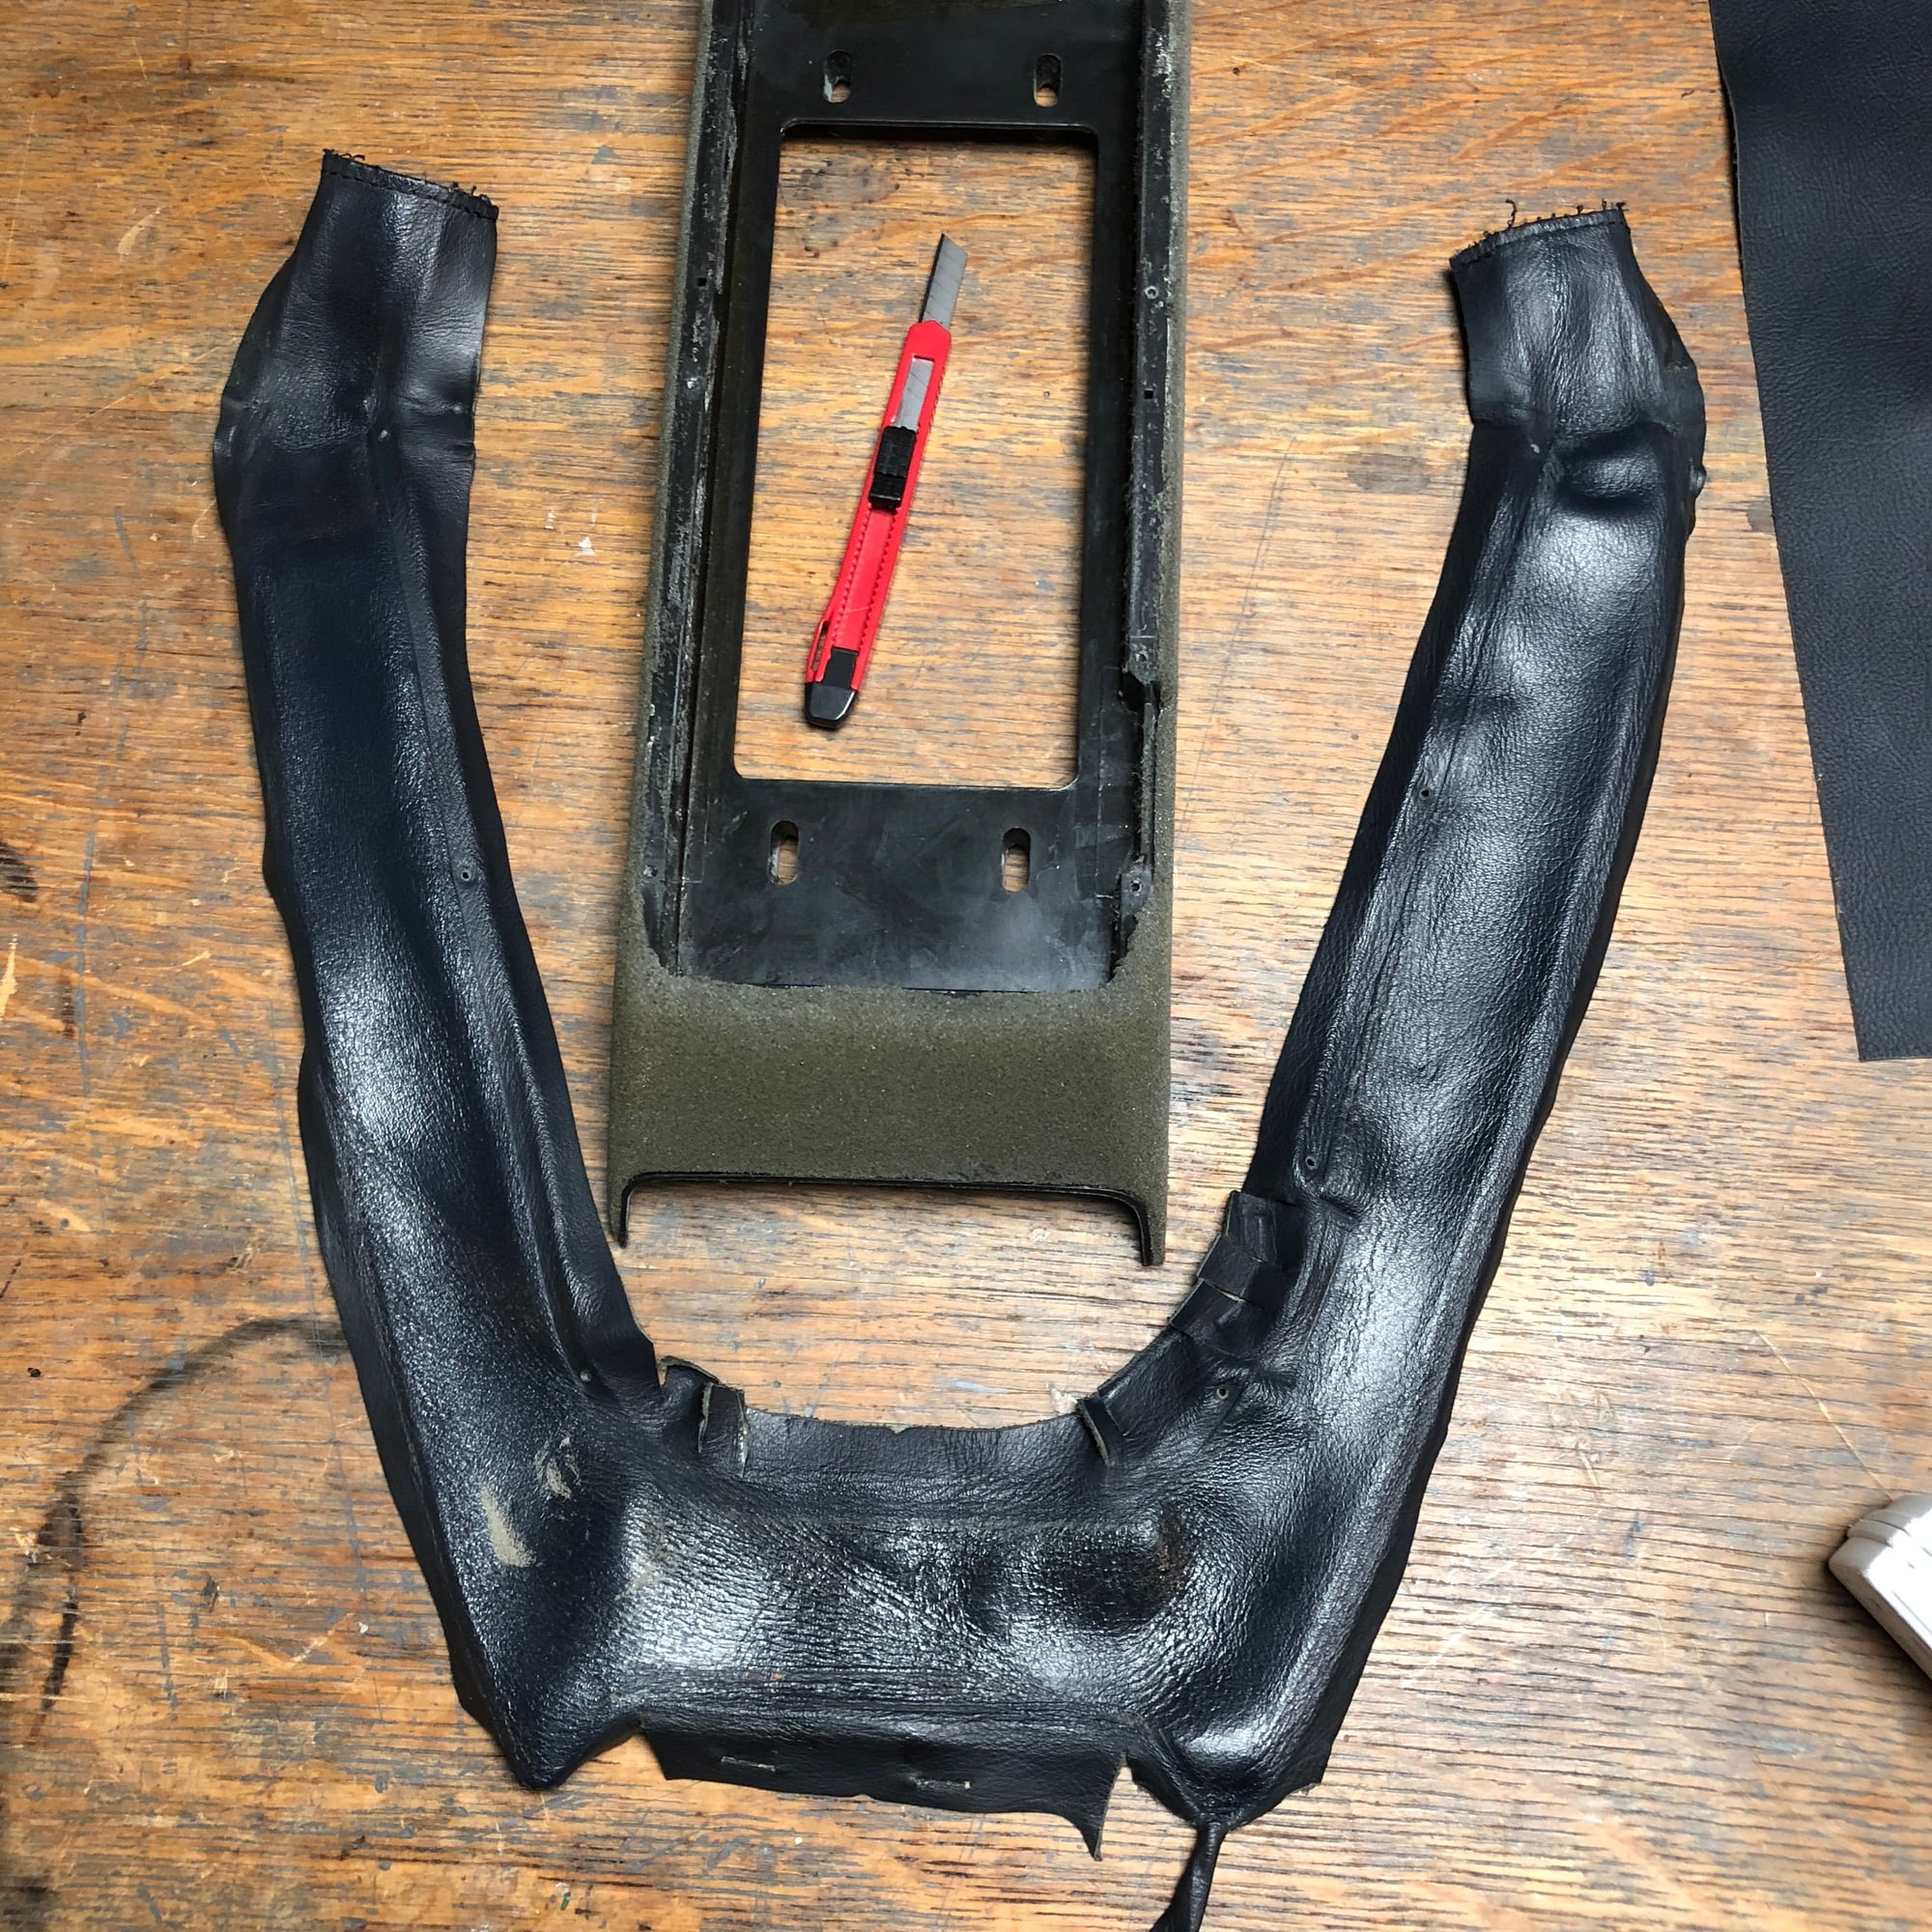
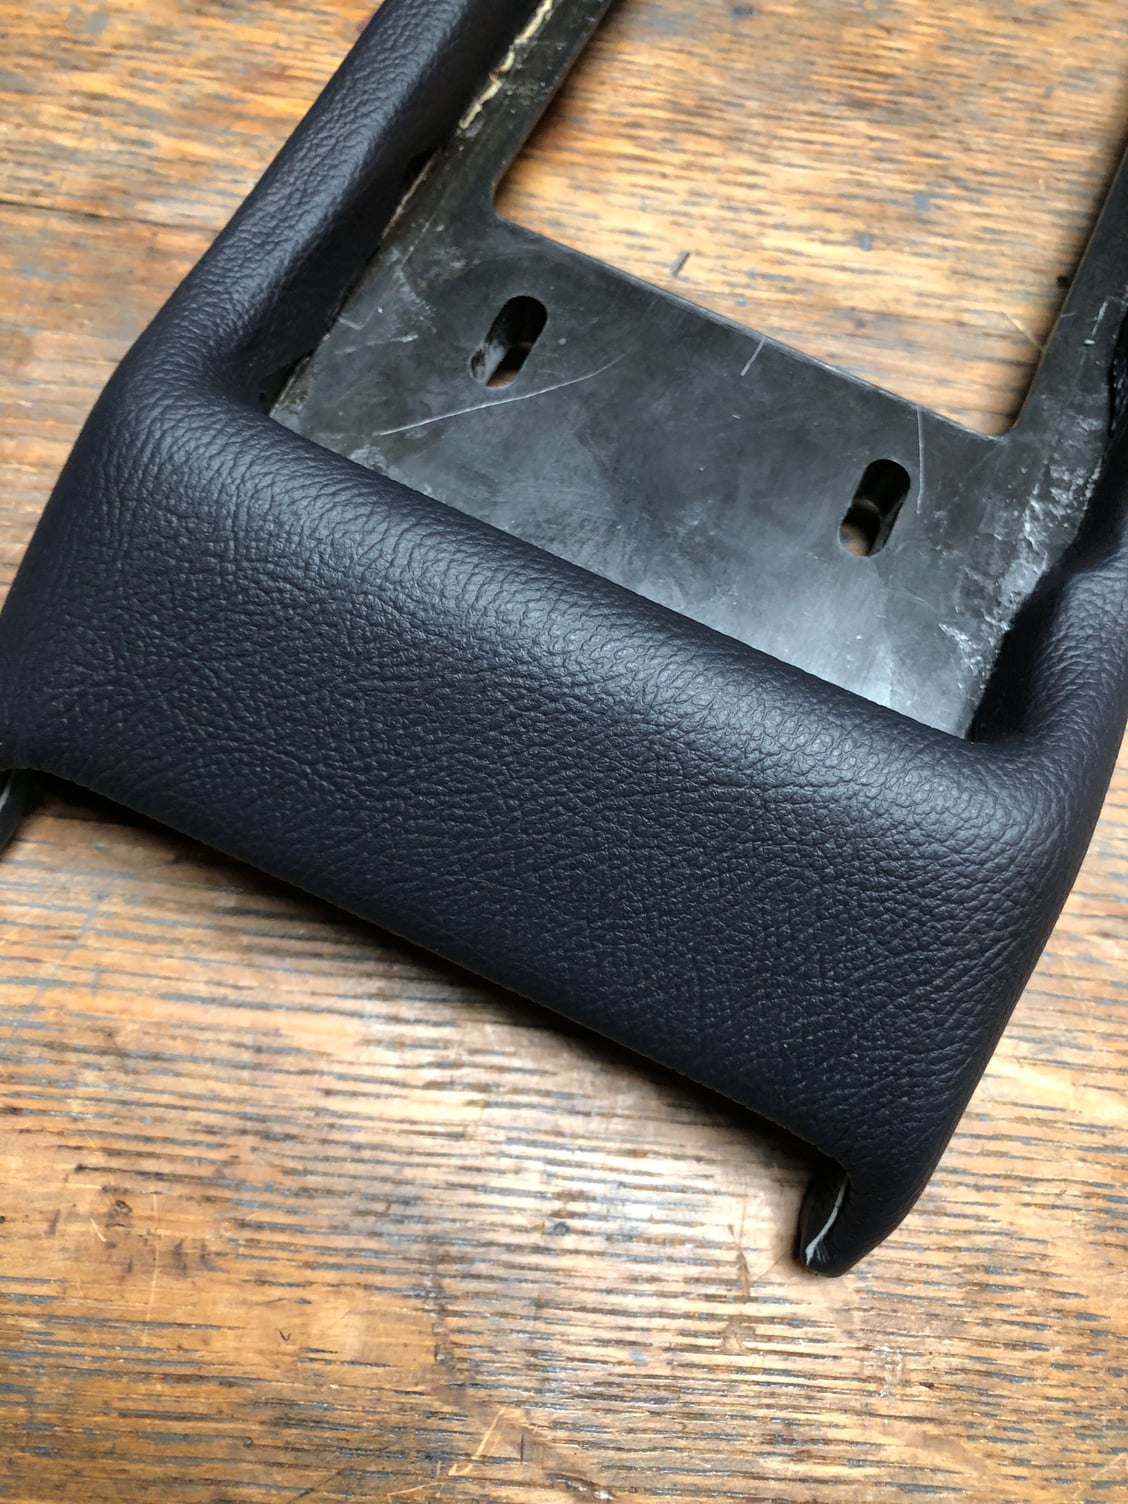
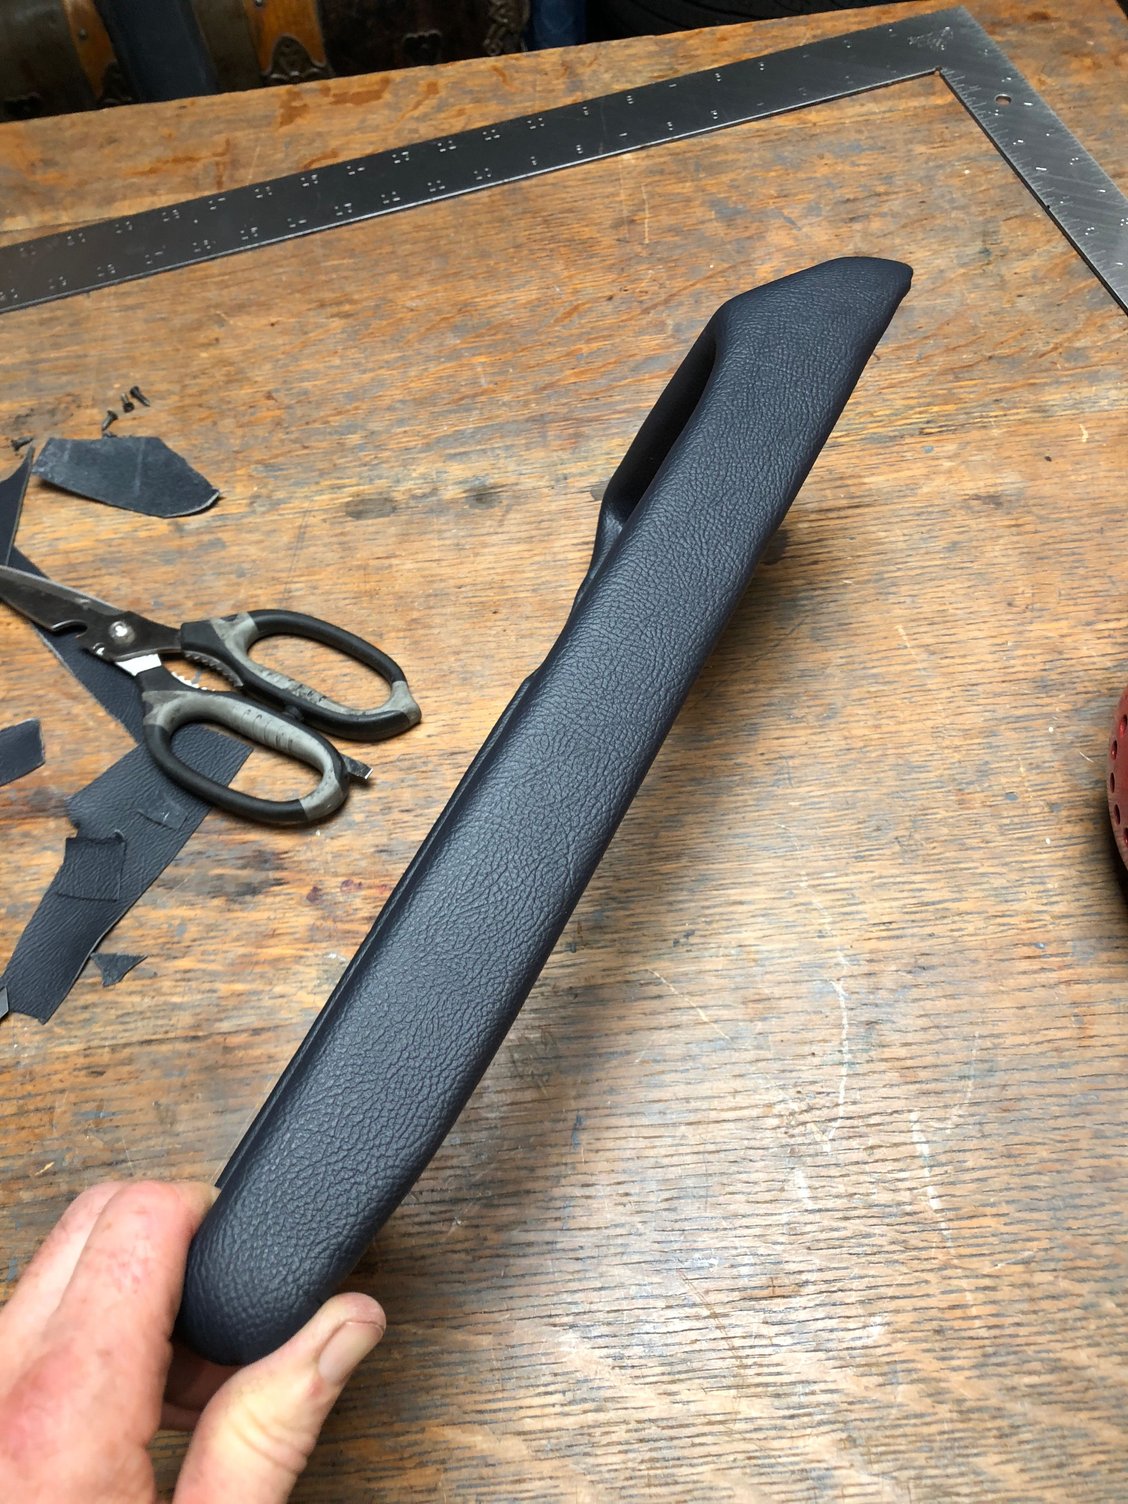
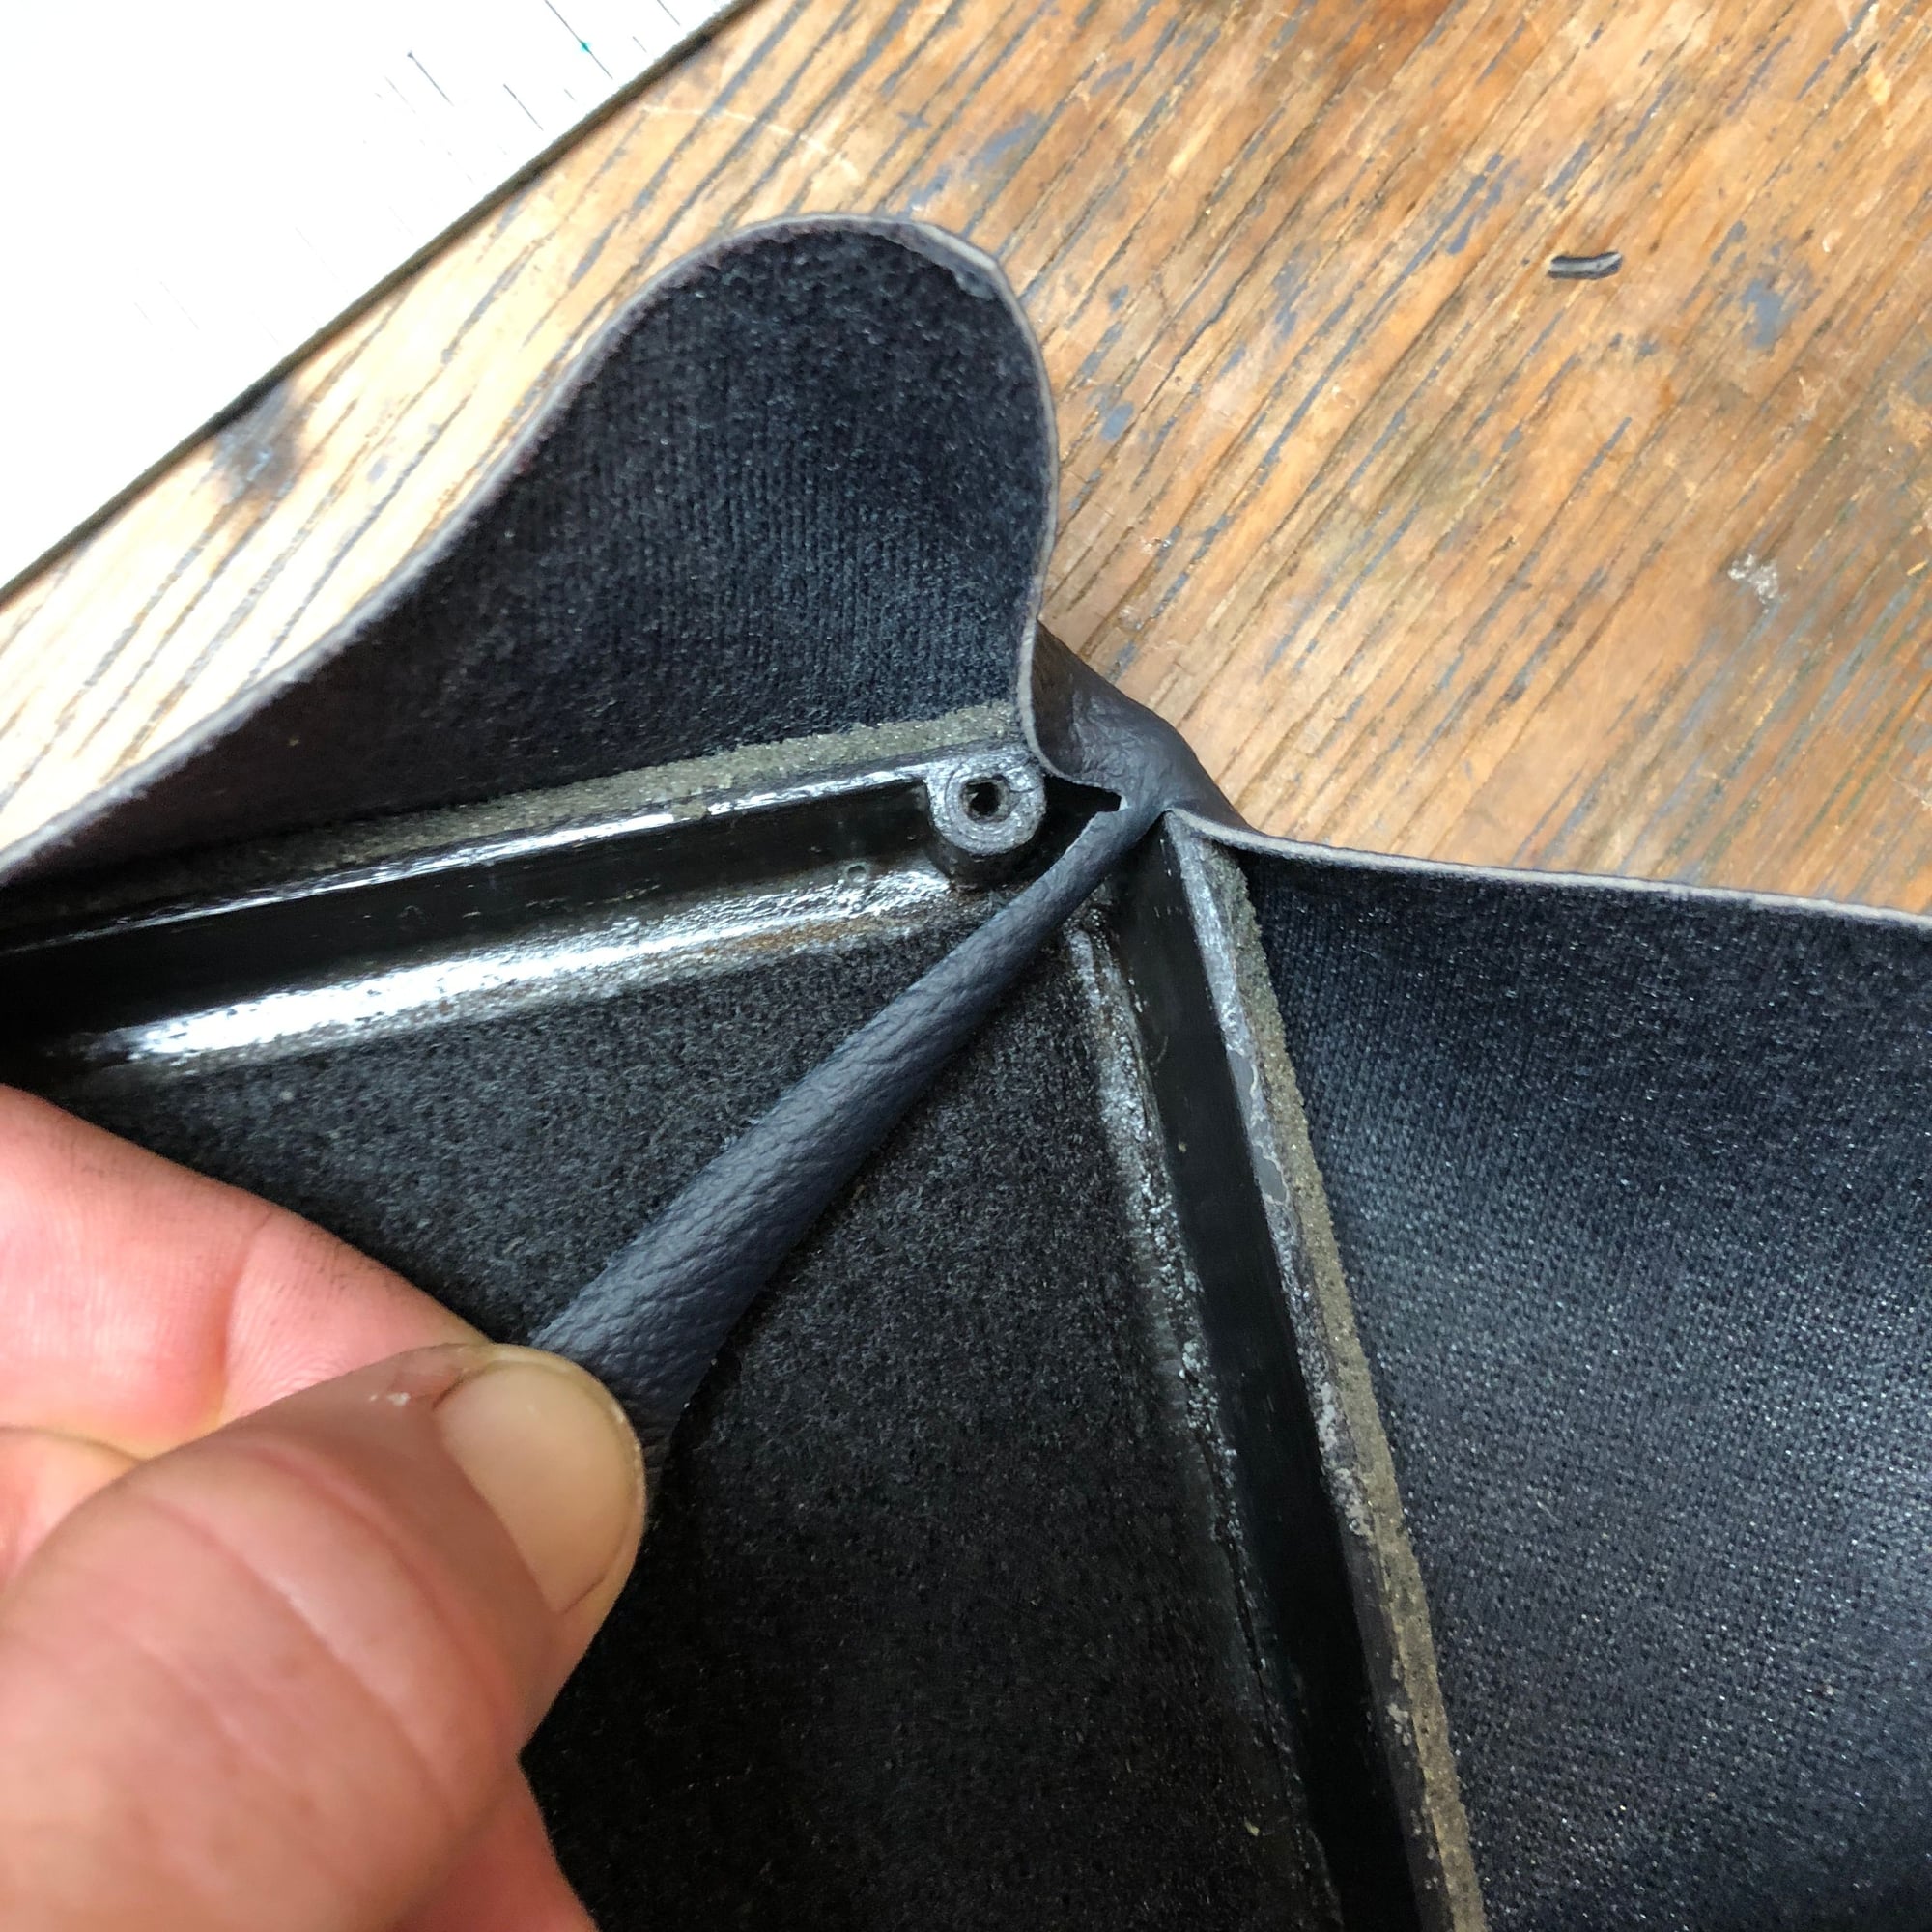
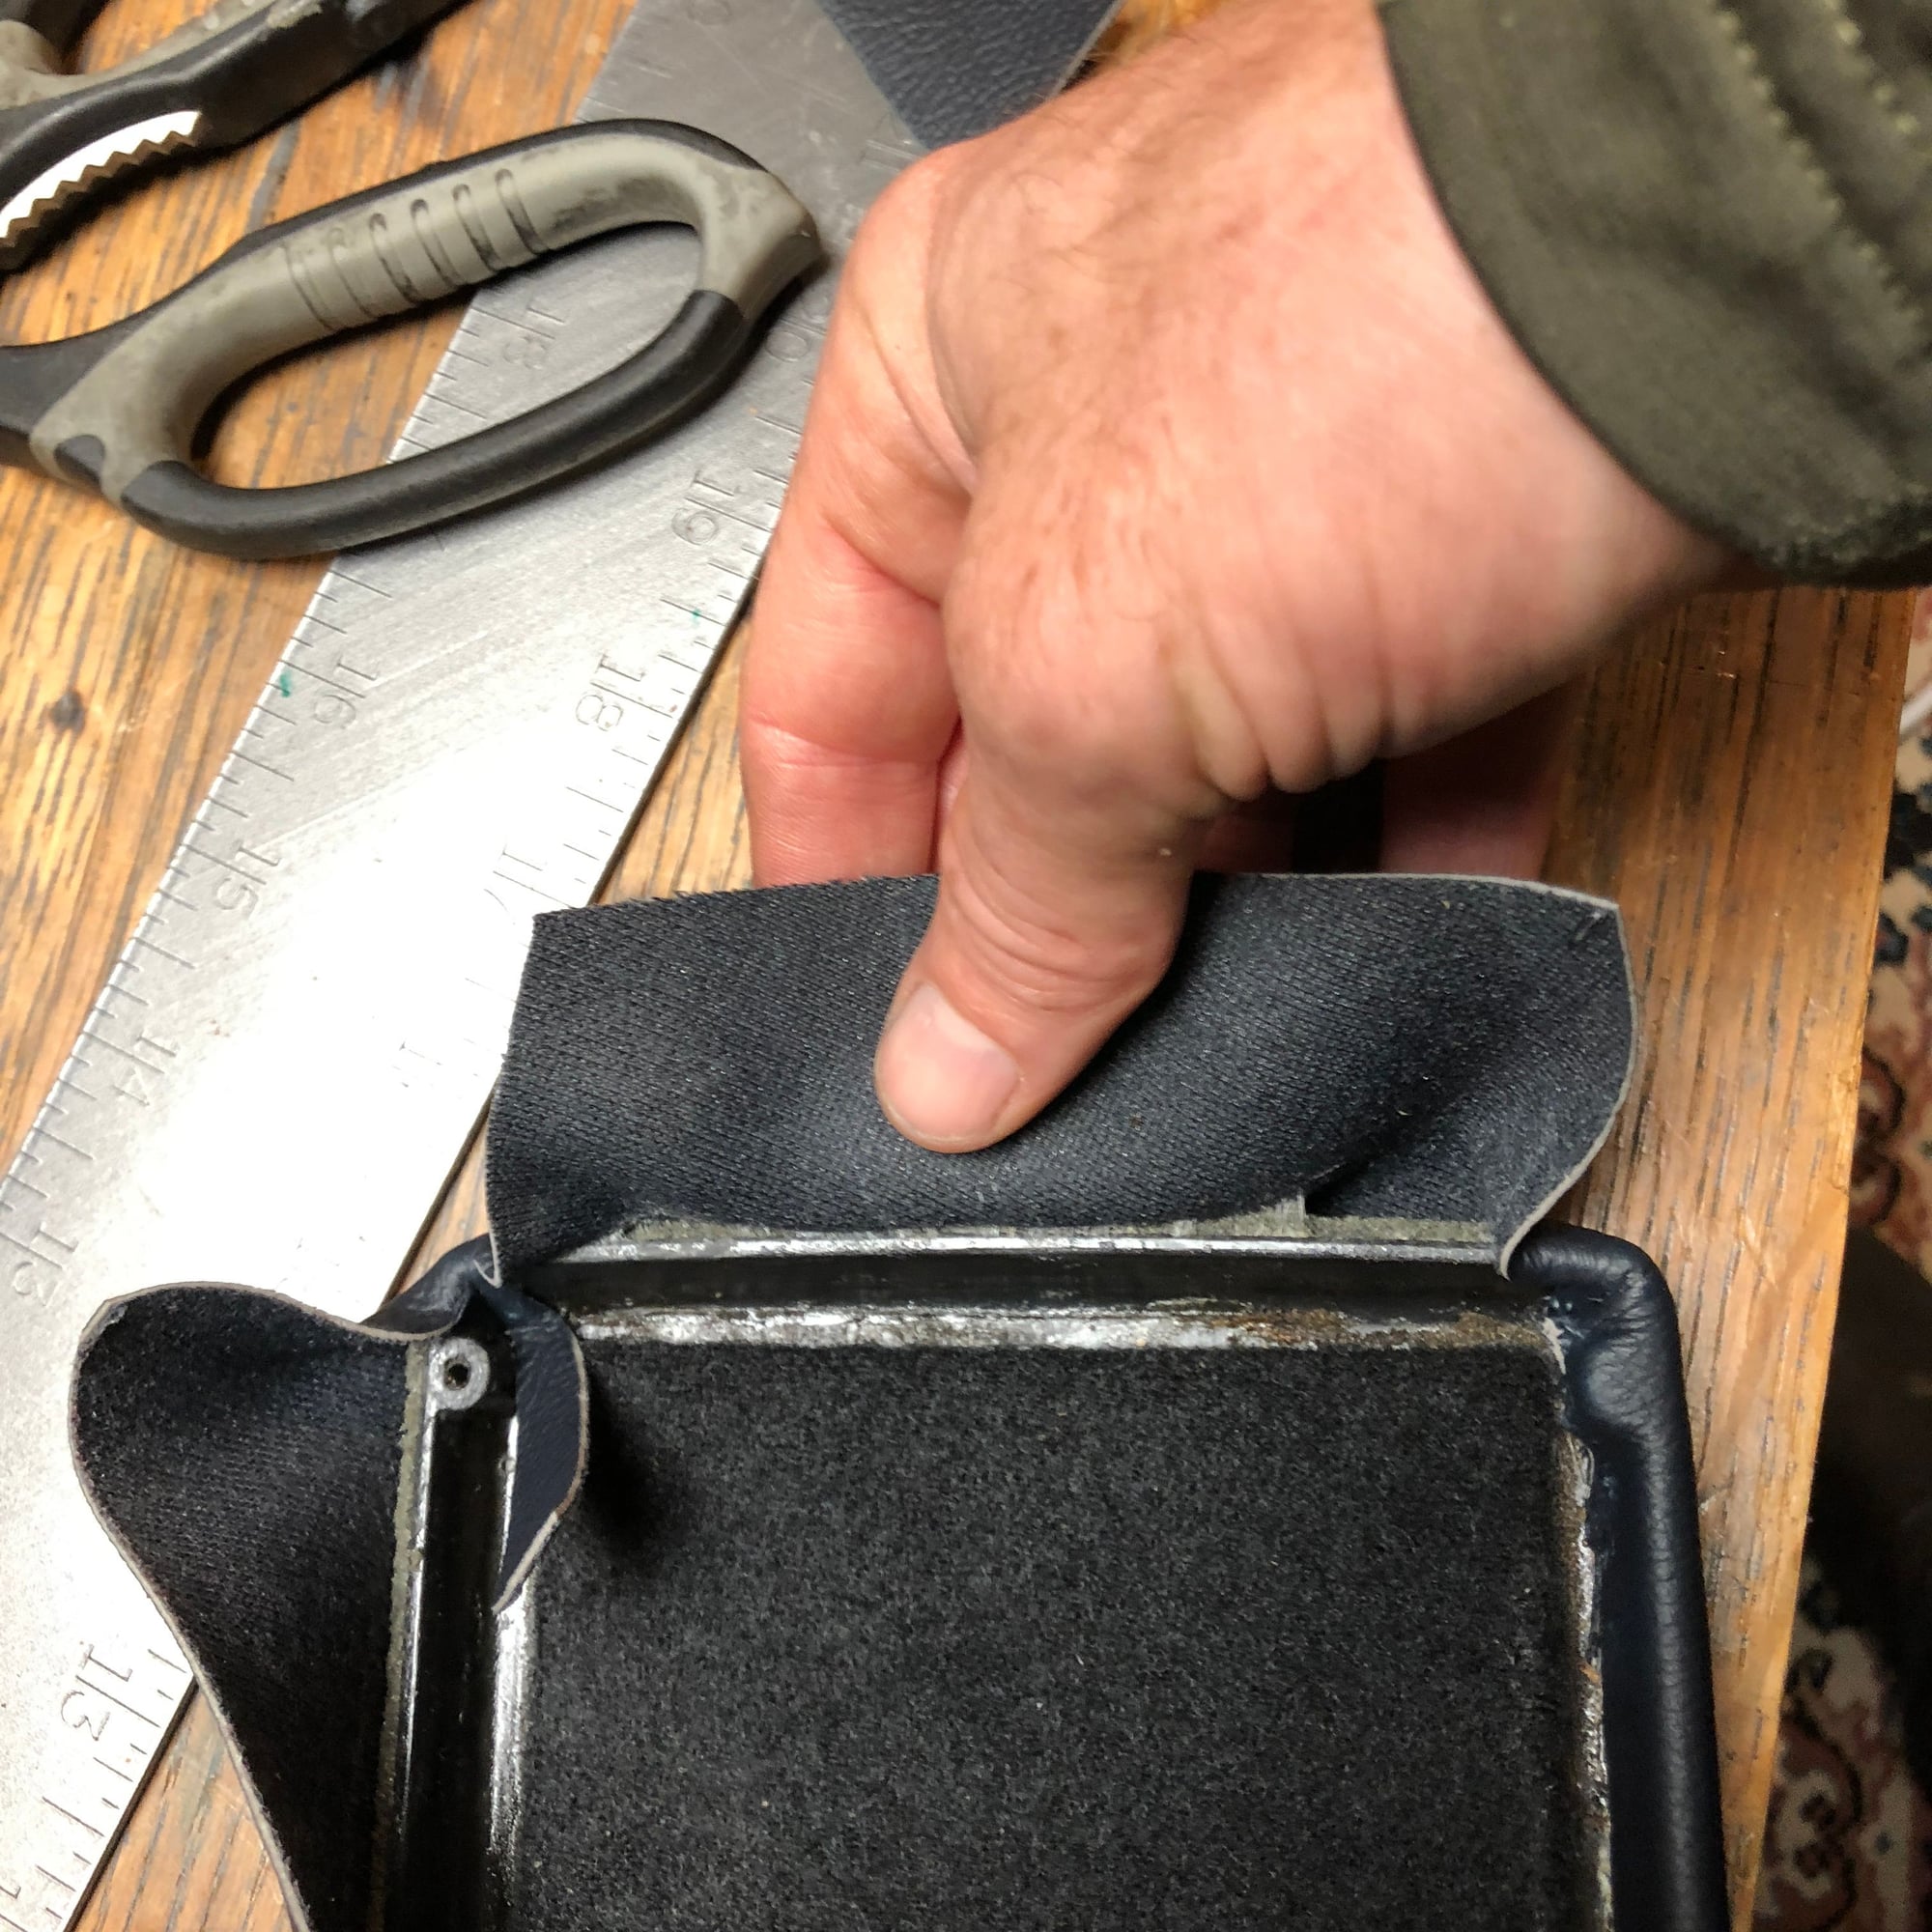
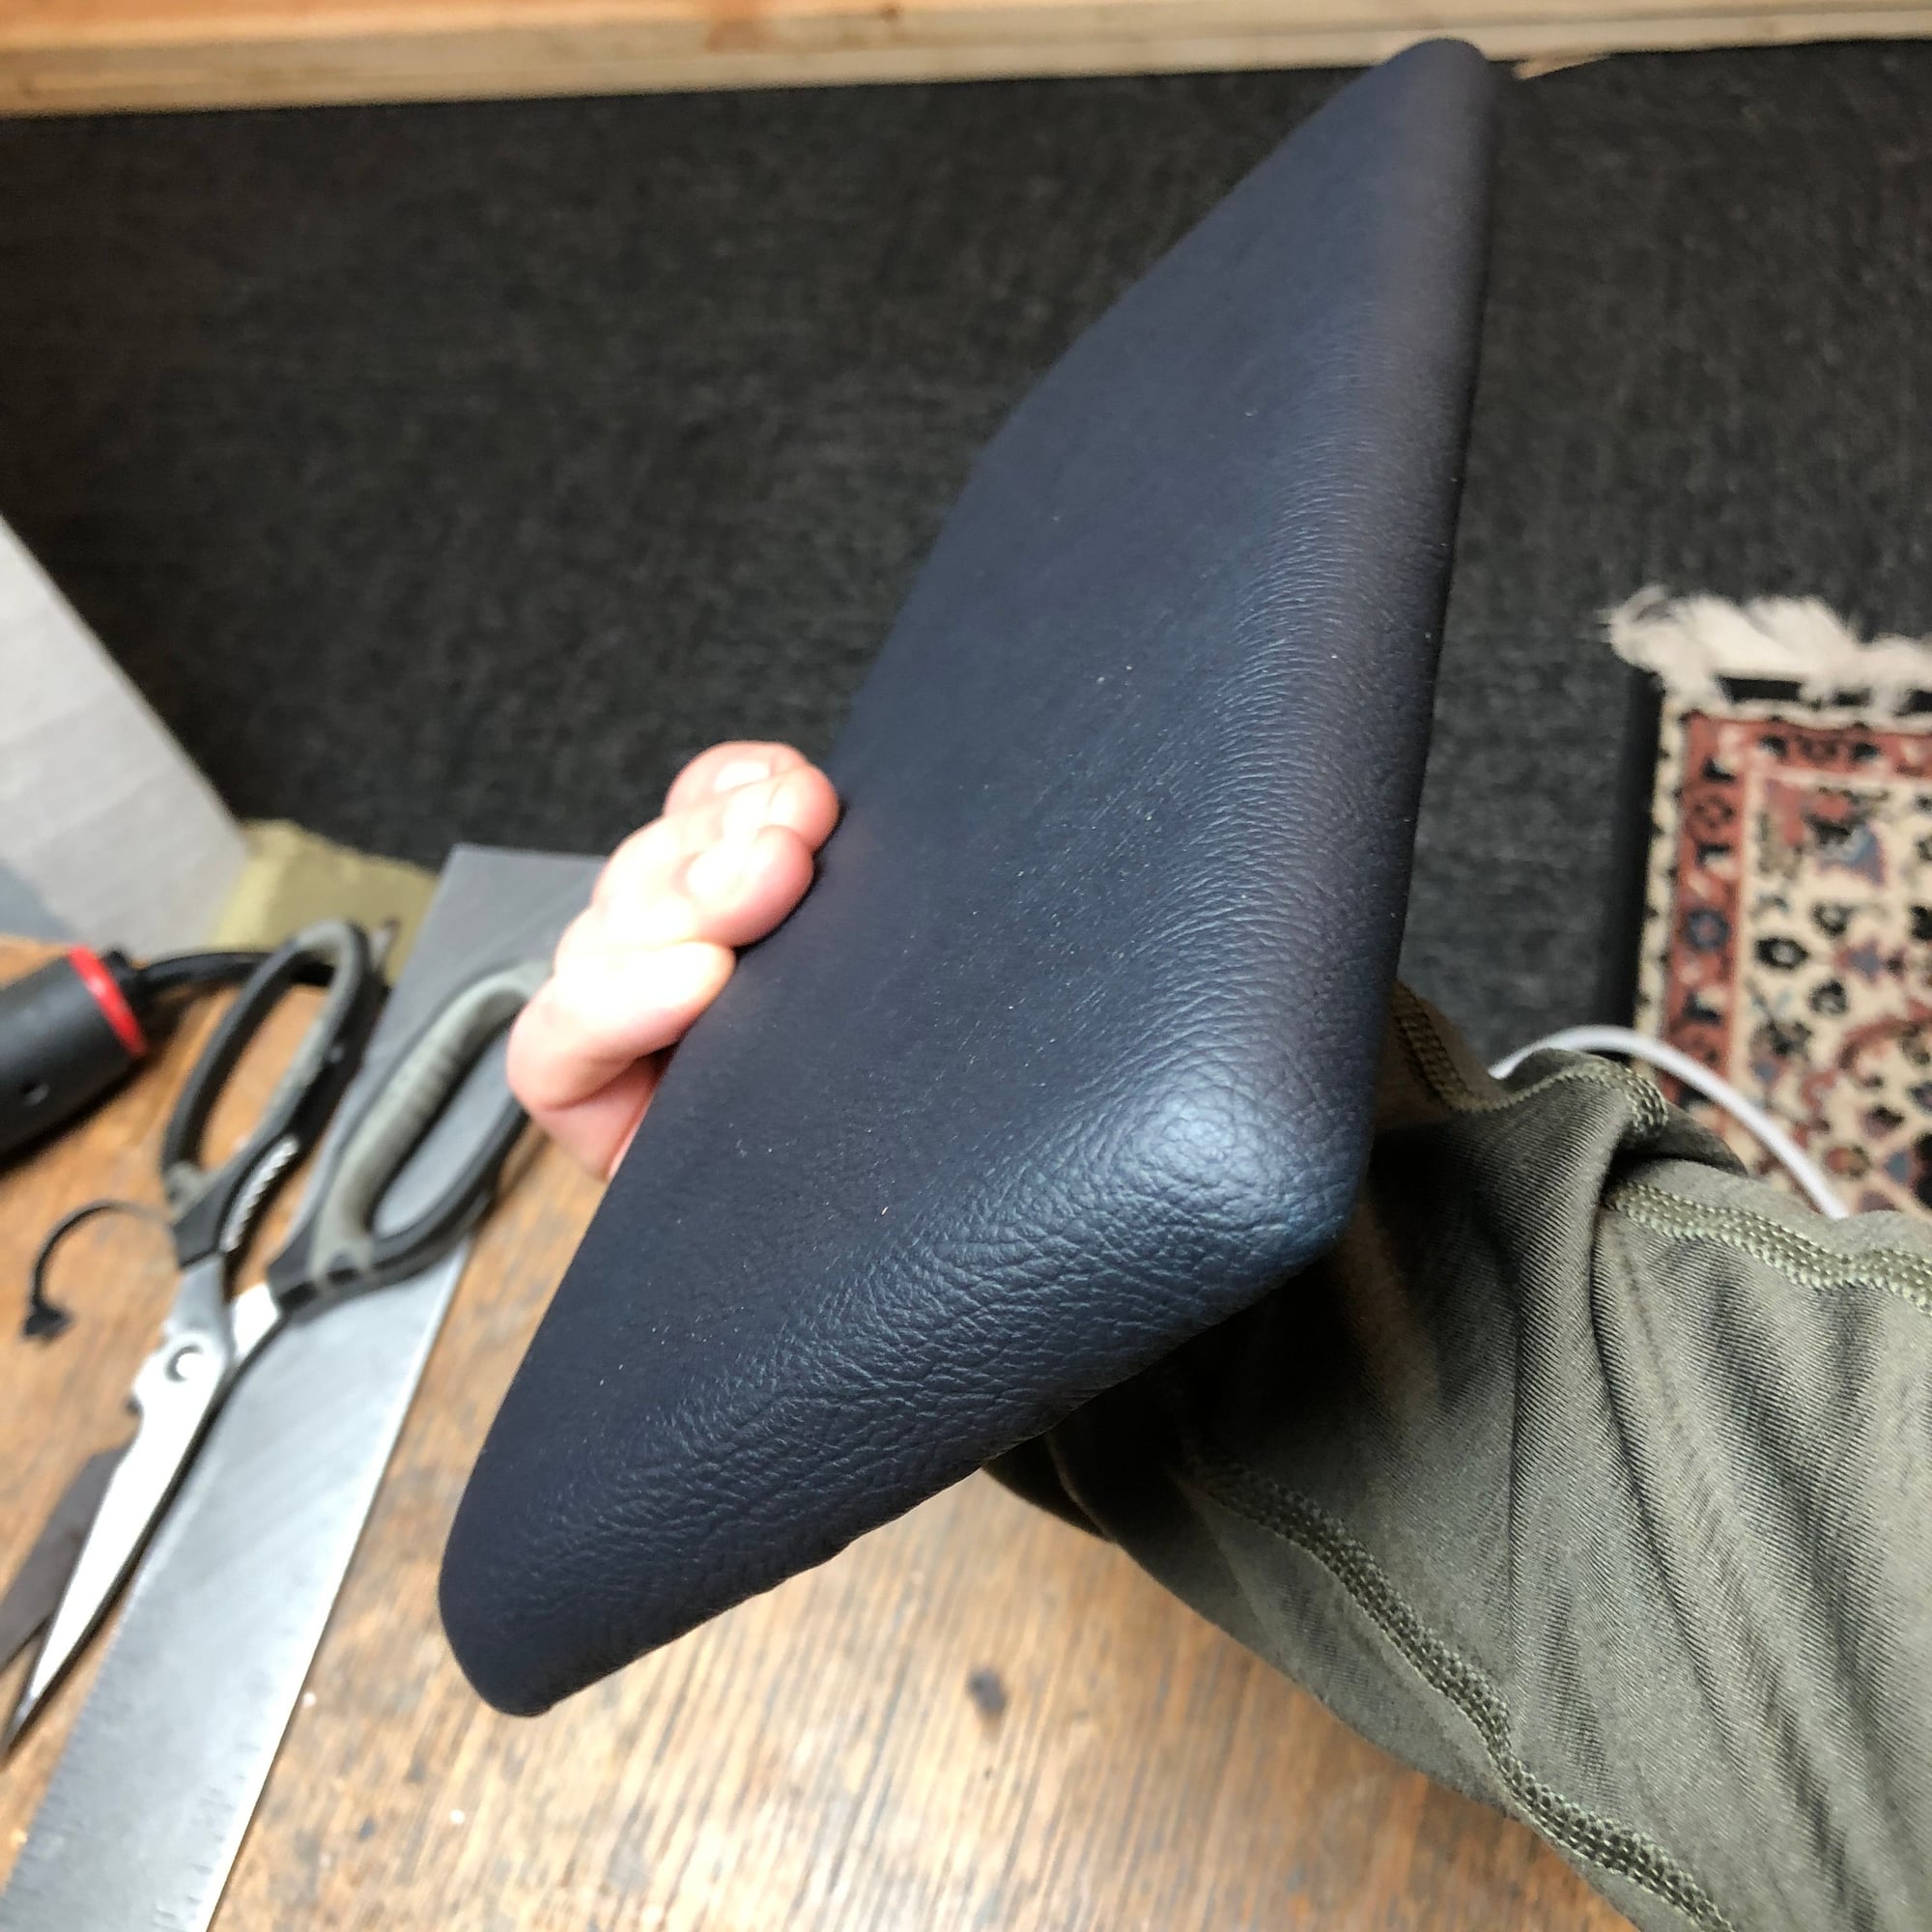
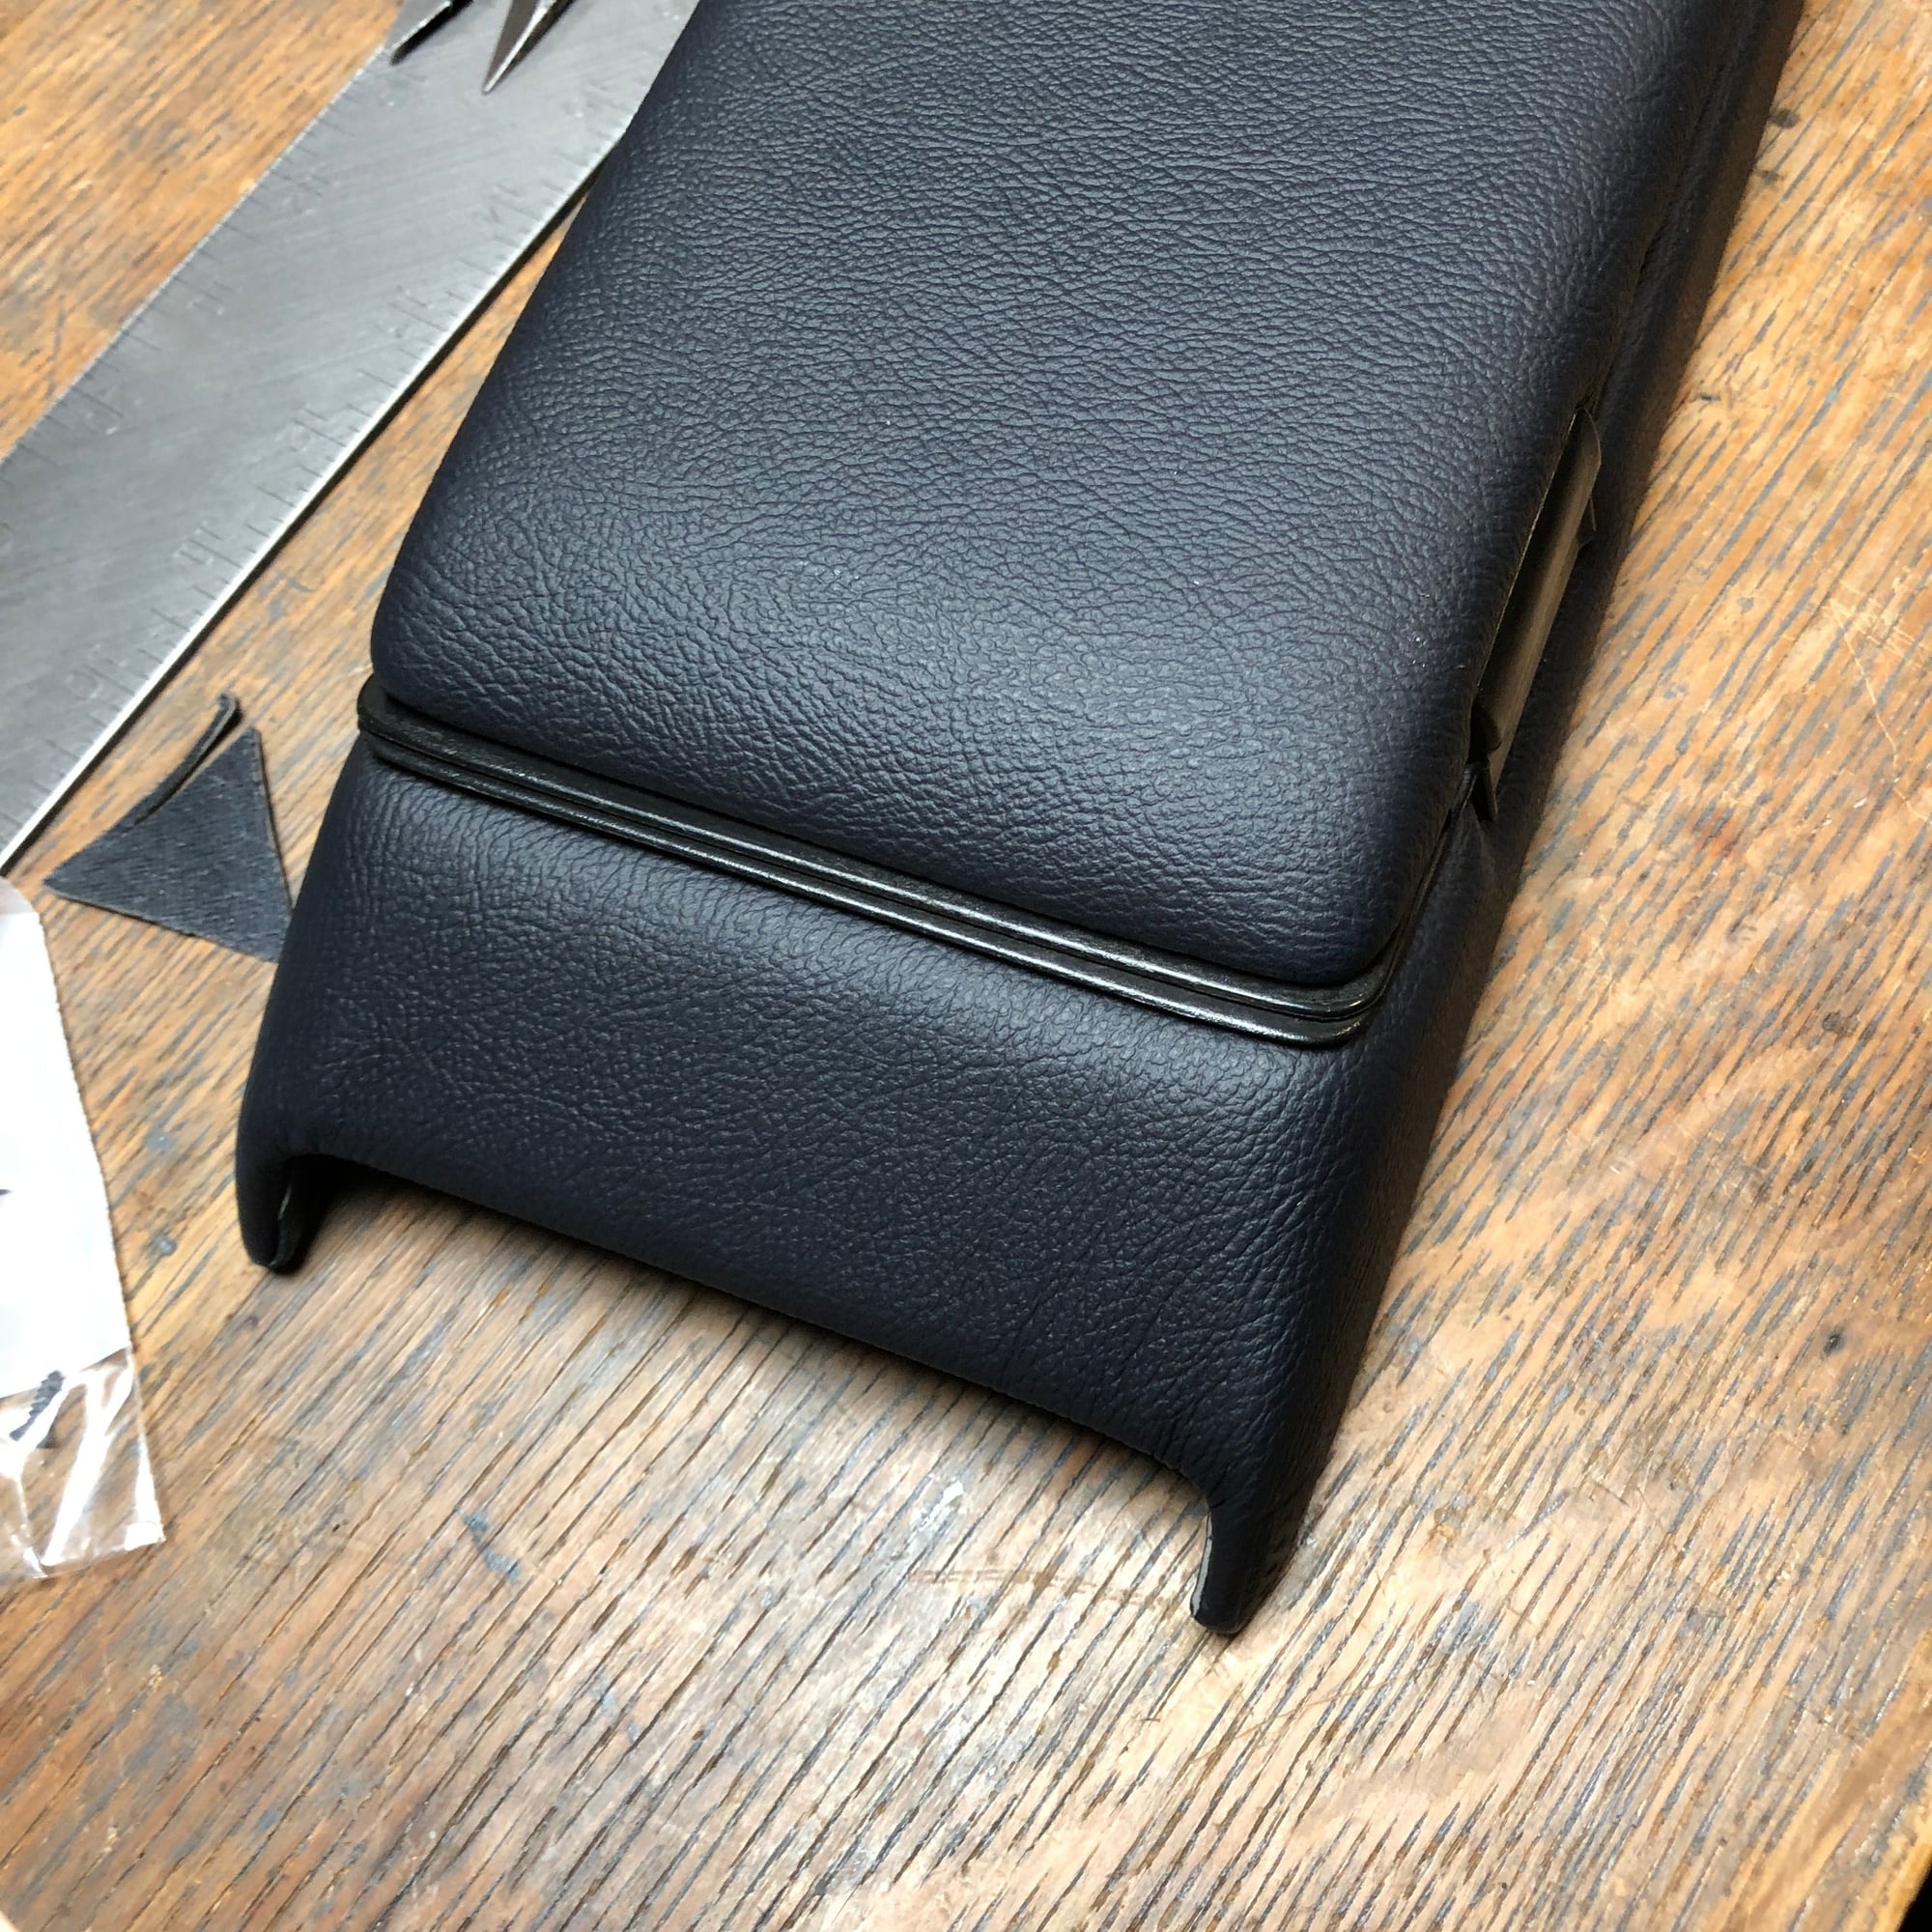
My hope it is to redo the dash once but resurfacing the substrate with SEM flexibly filler that I ordered last night. Until then I thought I’d experiment with the armrest as well. I had some vinyl scraps left from the first round of dash covering. My armrest was leather, however The color had worn off and the surface had lost it's grain do to may years of oil and dirt deposits. I cleaned it thoroughly but the finish never really cleaned up. It was weirdly shinny. I was going to have the leather on my armrest re-dyed but I realized that really wouldn't bring the grain back. So off it came.
Take a look it was pretty easy and I was able to strip and recover in about 3hrs.
Last edited by Michael Benno; 02-05-2018 at 11:40 AM.
Very nice!! That Porsche vinyl actually looks better than the leather. I�ve noticed on the the 1990+ years 928�s that have this specific vinyl, no warpage regardless of condition on car. In other words, this vinyl holds up for decades! Only question is it will get sticky or shiny with the heat.. lots of products to help with this though. SEM�s TacFree spray is fantastic, a little goes a long way��- it�s used on boats.

 01-27-2018, 07:05 PM