When you click on links to various merchants on this site and make a purchase, this can result in this site earning a commission. Affiliate programs and affiliations include, but are not limited to, the eBay Partner Network.
The screws are a standard rotor set screw that is usually included with a set of new rotors. This isn't a screw you'll likely find at a hardware store; order the correct screw from Pelican or similar vendor.
Are there properties of a �rotor set screw� that are different from a standard metric machine screw?
Are there properties of a �rotor set screw� that are different from a standard metric machine screw?
Thermal Spraying of concentrated Unicorn farts?
__________________
David Roberts
2010 Jaguar XKR Coupe - 510HP Stock - Liquid Silver Metallic
928 Owners Club Co-Founder
Rennlist 928 Forum Main Sponsor www.928gt.com
Are there properties of a �rotor set screw� that are different from a standard metric machine screw?
No, it's a standard metric screw but it's an odd duck to find in a retail store - Easy to find M6 metric screws but not usually as short as 12mm. That's been my experience trying to shop for them anyways.
On a more serious note, this was always my choice https://www.mcmaster.com/#91801a307/=1b72i3r installed with the proper anti-seize and just hand tightened until it seats. Never ever had an issue.
No, it's a standard metric screw but it's an odd duck to find in a retail store - Easy to find M6 metric screws but not usually as short as 12mm. That's been my experience trying to shop for them anyways.
On the 928 there's nothing 'behind' the rotor. So, a slightly longer (~15mm) screw works fine. My h/w store does have screws that work just fine on a 928. I seem to recall that they are identical and 12mm. The important thing is that the collet and pitch are the same.
Originally Posted by DR
Thermal Spraying of concentrated Unicorn farts?
But Unicorn Fart Gas was banned in the EU decades ago and recently in California.
When you get your new screws for the brake discs, put a small dab of anti-seize on the screw's collet (or on the 'indented' part of the disc) and then when you turn them in, make them finger tight.
Those screws are only needed to hold the disc on until you bolt-on the wheels. There is zero reason to make them super-duper tight unless you like using your impact tool and drill.
I use anti-seize, tighten the screws to make sure the discs are fully seated and then back the screws off half a turn. Whoever is "in there" next will thank you....
I was prepared this time, I purchased a new propane can for my torch since it was empty and I borrowed an impact screwdriver from work for that stubborn screw.
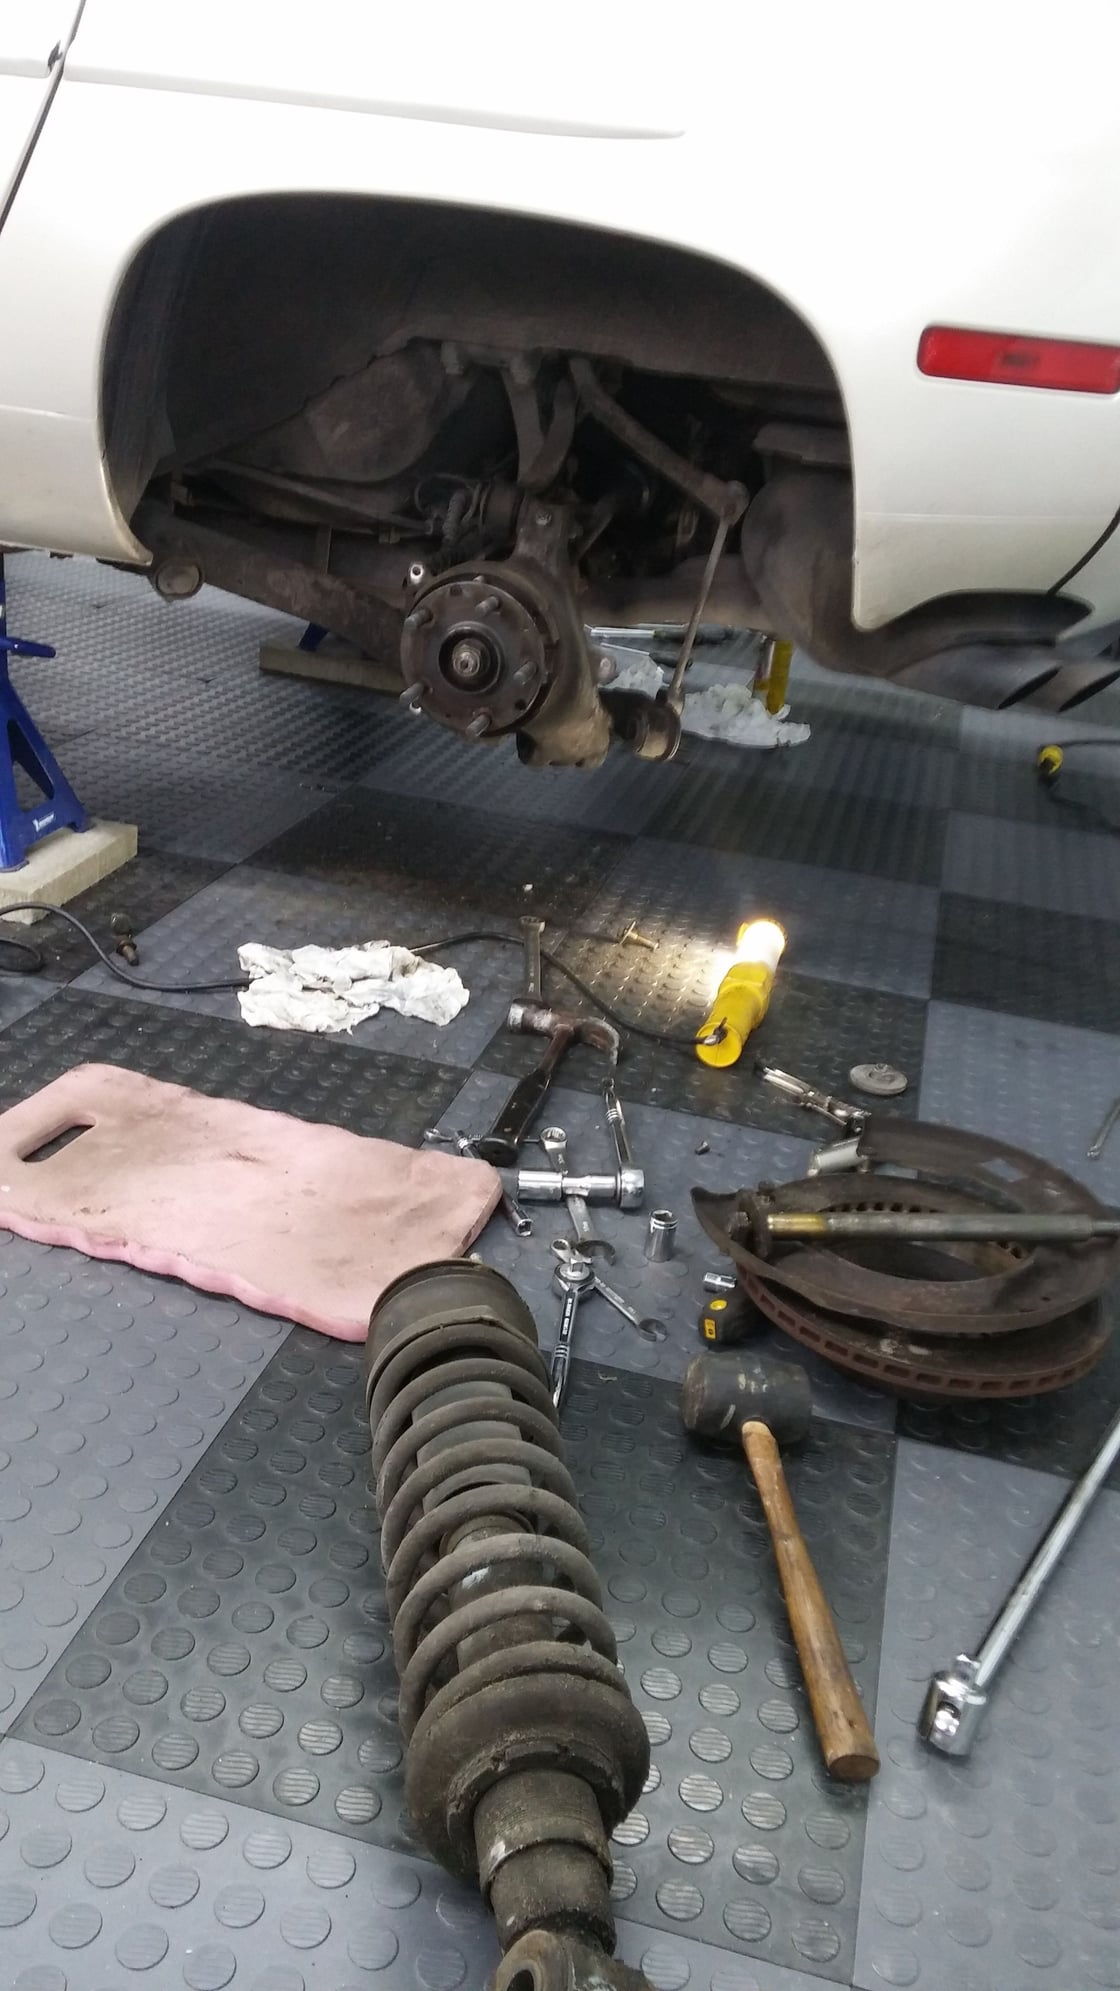
I used a big screwdriver and tapped it with a hammer first to see if that might help, but I could not still turn the screw by hand. So I used the impact screwdriver and it came out right away, HOORAY !
You can see by the picture below:
The last time I thought my rotors were seized, and I remember people telling me about the lip from the parking brake sometimes getting stuck, so I decided to look all around and could not find anything pertaining to that !
Here is the part were I felt STUPID !!!
I remembered that for me to remove the wheels from the hub I had to put the parking brake on, otherwise the wheel would turn. I decided to check if it was still on, and YES it was, so I took it off then as soon as I touched the rotors from the left side and from the right it fell into my hands without issue ! DOE !!!!! Like Homer would say !
You can see both sides pins removed and shocks out ! :
Drivers side (left).
Passenger side (right).
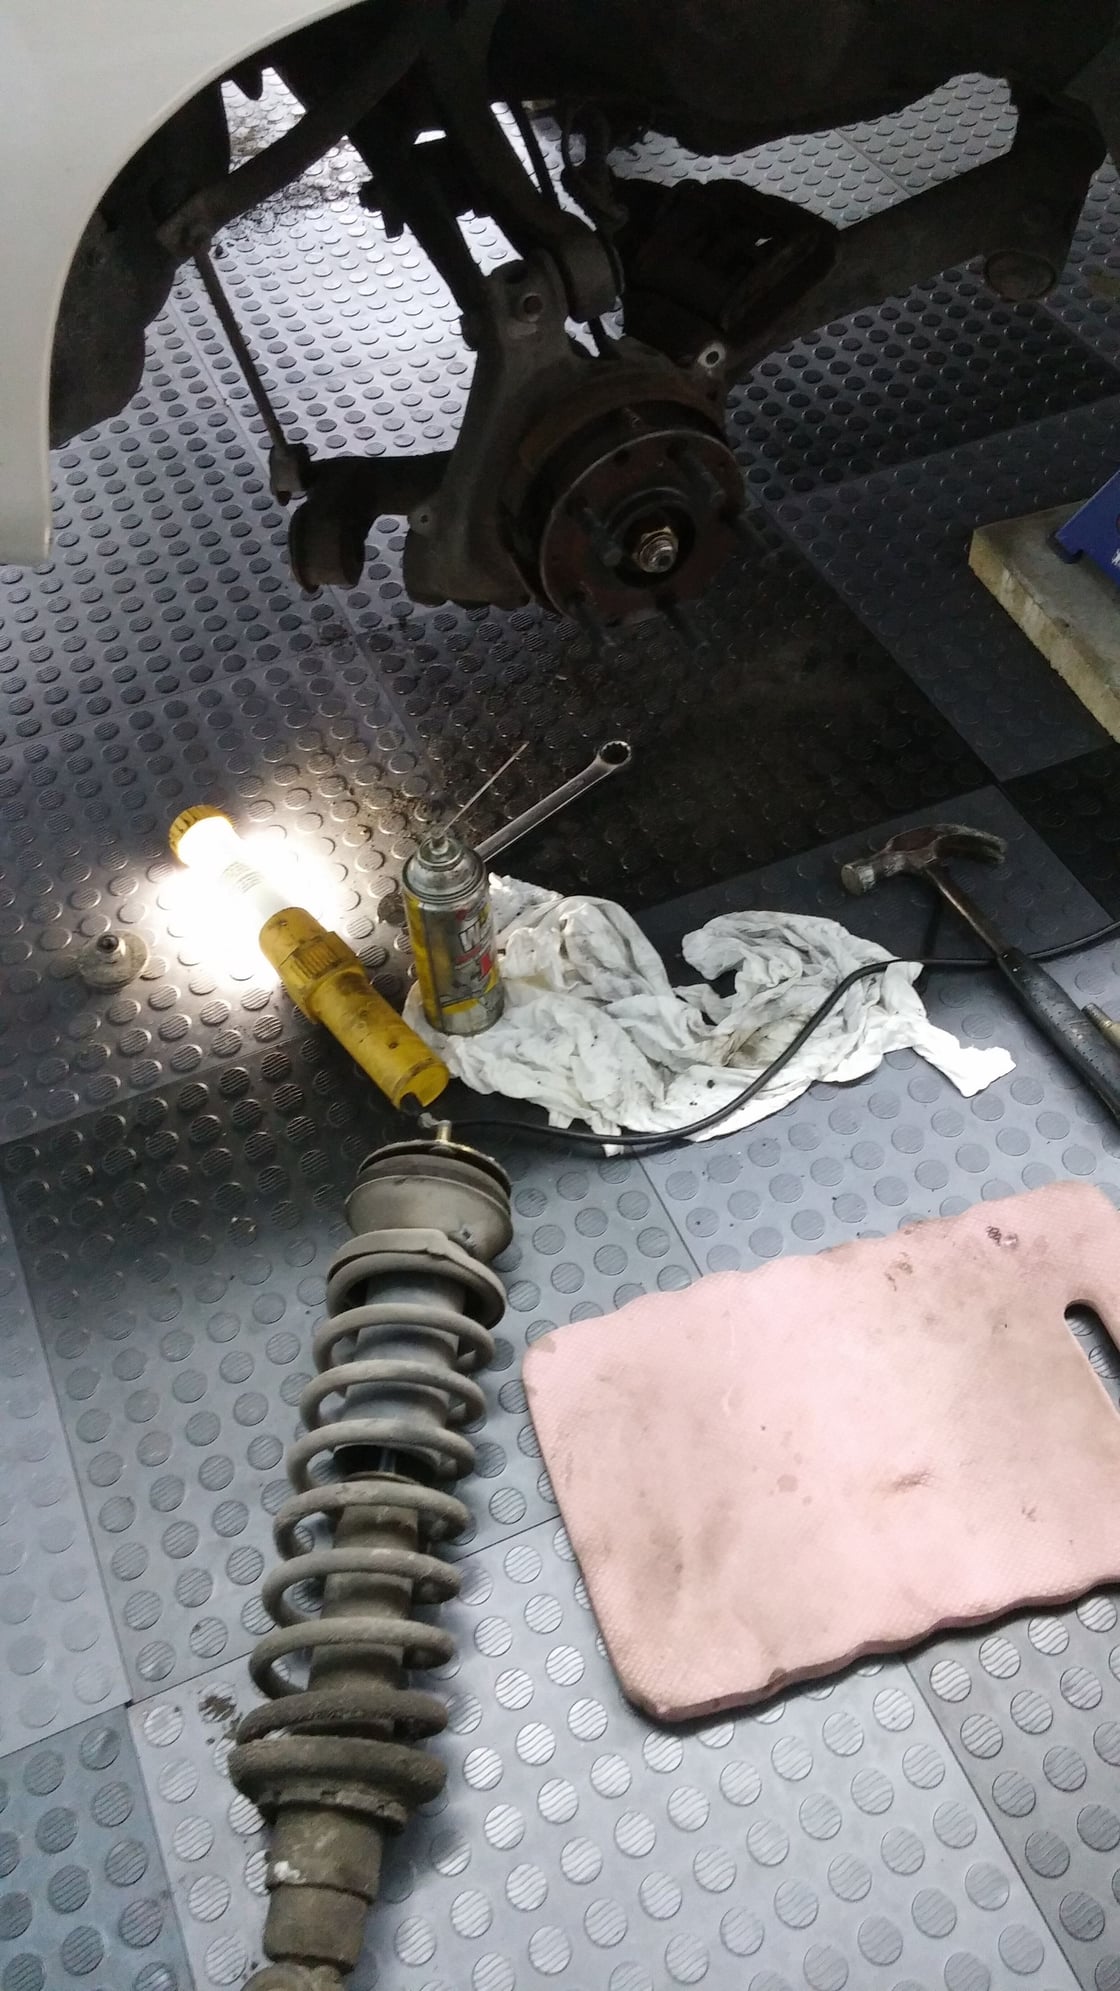
Now I am at the drivers side front and having "FUN" trying to remove the spring assembly through the A-arm. I quit for today since I will need the assistance of someone because I only have 2 hands ! lol
Front drivers side shock assembly.
Last edited by Andre The Giant; 01-21-2018 at 05:18 PM.
Reason: Mistakes
Just removed front struts this past weekend to add the bump stops to the new struts. Yes, had to redo because the old bump stops were bad so I ordered new ones.
I see you have the upper ball joint nut removed from the upper a-arm so go ahead and pop that off.
Remove the connection to the sway bar end link at the sway bar, which is 19mm nut/bolt
Remove the lower swing arm from the car, which is 4x 19mm bolts plus the two 17mm nuts/bolts in the front of the car. However, leave it attached to the hub so you don't need to touch the lower ball joint or where it connects to the lower swing arm.
The whole hub assembly with lower swing arm should be able to be set on the ground with the stud side down, but if the car is too high then set it on something so you don't stress the brake line.
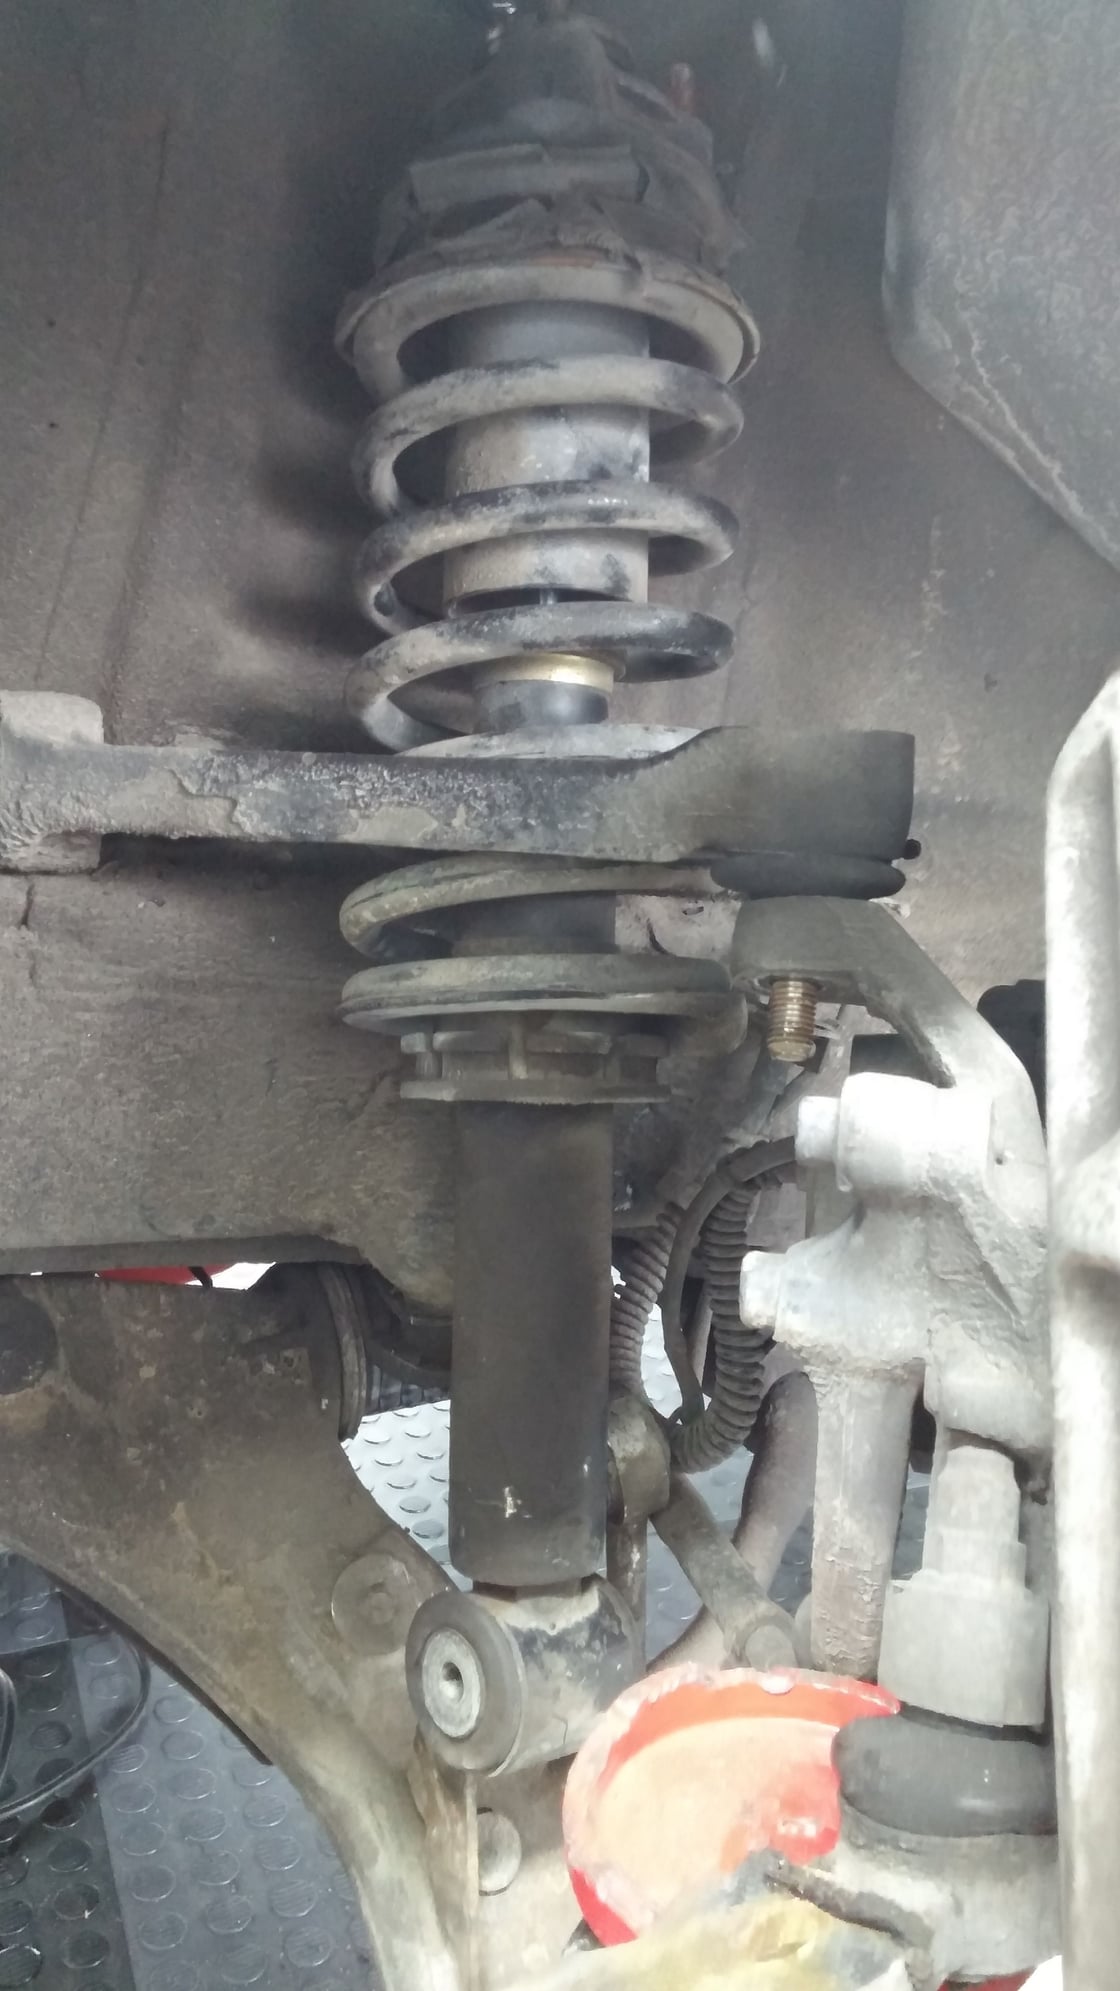
You can easily remove by yourself, but you have to get the lower swing arm and hub out of the way as the strut has to come straight down. You don't want the upper a-arm attached to the hub because you need to be able to easily manipulate the a-arm to get the strut to slide down. Its kind of a PIA, but it should not take more than 5 minutes to take in or out.
And the dirtiest trick of all - the rear shock top mounts are asymmetric!. Will only mount in one position.
First one I refitted went straight up, easy. Second one fought back, and it took me a while to realize what was wrong. Talk about Doh!
jp 83 Euro S AT 57k
Just removed front struts this past weekend to add the bump stops to the new struts. Yes, had to redo because the old bump stops were bad so I ordered new ones.
I see you have the upper ball joint nut removed from the upper a-arm so go ahead and pop that off.
Remove the connection to the sway bar end link at the sway bar, which is 19mm nut/bolt
Remove the lower swing arm from the car, which is 4x 19mm bolts plus the two 17mm nuts/bolts in the front of the car. However, leave it attached to the hub so you don't need to touch the lower ball joint or where it connects to the lower swing arm.
The whole hub assembly with lower swing arm should be able to be set on the ground with the stud side down, but if the car is too high then set it on something so you don't stress the brake line.
You can easily remove by yourself, but you have to get the lower swing arm and hub out of the way as the strut has to come straight down. You don't want the upper a-arm attached to the hub because you need to be able to easily manipulate the a-arm to get the strut to slide down. Its kind of a PIA, but it should not take more than 5 minutes to take in or out.
Thank you I have been following this video as a guide where he removes the one bracket for the lower control arm, to be able to lower the arm enough to be able to wiggle it out, but no luck yet. I will try my luck next Sunday.
And the dirtiest trick of all - the rear shock top mounts are asymmetric!. Will only mount in one position.
First one I refitted went straight up, easy. Second one fought back, and it took me a while to realize what was wrong. Talk about Doh!
jp 83 Euro S AT 57k
That is quite useful information, thanks, I will keep that in mind.

 01-19-2018, 11:32 AM