When you click on links to various merchants on this site and make a purchase, this can result in this site earning a commission. Affiliate programs and affiliations include, but are not limited to, the eBay Partner Network.
My first motor mount/oil pan gasket/steering rack bushing job. Worklog. 92 GTS.
1992 928 GTS, ROW, 149000km
I am on the verge of starting this job, so I thought I'd make a worklog with progress, questions, and issues I encounter along the way including how they are solved. I have never done this before, I am no mechanic, but I would say maybe an average "DIY'er".
I have the car on a scissor lift in a heated garage, and I have no stress finishing this, so my starting point and work conditions are good I'd say.
For motor mounts I have the Volvo mounts from Roger. OPG, I have the original cork gasket + the silicone from Roger, not decided what to use yet. Steering rack bushings I have the 8x delrin bushings also from Roger.
One of the first things to consider is how to lift the engine for MM and OPG replacement. I see some lift from top, some jack from bottom. Jacking from oil pan gasket sounds ok to do the MMs but can't replace OPG with that setup. I see some use a jack on the bell house, but I think I will try to lift from above, sine the car is high on a lift, and it will give me more space underneath. Found this solution in another thread (https://rennlist.com/forums/928-foru...asket-not.html). 4x4 with fat cargo strap on the front center lift point. Looks like he also jacked the bell housing up. Would jacking be necessary with this technique or is it sufficient to only lift from the front?
A photo of how my car stands now
I am fairly confident I'll get this job done thanks to this forum and all the contrubutors with a lot of knowledge and willing to share. Hope you guys will chime in if I am in need of help!
You sure do have an advantage over most of us, many would kill for a heated garage .
You live in California? You have heated air straight from nature all year long, do you really need heat inside? I am from Norway, we have natural freezer temperatures 6 months a year, November-April.
If you are going to do the sump gasket with the engine is place then the sound approach is to support the engine from above with wooden cross members and then using coach bolts or whatever through the wood, use them to take the weight and then drop the cross member. The best thread I have seen on this approach is Seth's- we documented and superbly photographed. Follow that and you cannot go far wrong.
I have the Delrin bushes and Volvo mounts- they work well. The sump gasket seems to generate different points of view. My sump bolts we rather slack when I checked last year so carefully pinched them up but then the gasket was relatively new. I am still in the original gasket camp but that is probably because I have not tried anything else.
I used jack under the pan (with wood block) and engine lift bar from above at different stages of the same mounts/gasket/bushes job. For the oil pan, it was fine just supporting at the front shackle. Mine is a lo-rise lift - you would need a transmission jack if you wanted to support from below at any stage.
What a fantastic space you've got to do the work! Gives you a head start.
When it's all done you may want to check whether you need transmission mounts replaced. The new motor mounts will lift the front end slightly, so if clearance for transmission above rear crossmember was tight before, it will be tighter (and I believe the Volvo mounts are slightly taller - I went for stock).
If you are going to do the sump gasket with the engine is place then the sound approach is to support the engine from above with wooden cross members and then using coach bolts or whatever through the wood, use them to take the weight and then drop the cross member. The best thread I have seen on this approach is Seth's- we documented and superbly photographed. Follow that and you cannot go far wrong.
I have the Delrin bushes and Volvo mounts- they work well. The sump gasket seems to generate different points of view. My sump bolts we rather slack when I checked last year so carefully pinched them up but then the gasket was relatively new. I am still in the original gasket camp but that is probably because I have not tried anything else.
I like the scissor jack- any details?
I think the cargo strap setup will do the same as the bolts through the wood? Just takes a bit less time to set up and one less thing to tangle with?
I used jack under the pan (with wood block) and engine lift bar from above at different stages of the same mounts/gasket/bushes job. For the oil pan, it was fine just supporting at the front shackle. Mine is a lo-rise lift - you would need a transmission jack if you wanted to support from below at any stage.
What a fantastic space you've got to do the work! Gives you a head start.
When it's all done you may want to check whether you need transmission mounts replaced. The new motor mounts will lift the front end slightly, so if clearance for transmission above rear crossmember was tight before, it will be tighter (and I believe the Volvo mounts are slightly taller - I went for stock).
Thanks. Well if I lift from above with your setup, would the transmission jack from underneath be necessary at any point? I haven't done the job, so it's kind of hard to see all scenarios yet.
Thanks. Well if I lift from above with your setup, would the transmission jack from underneath be necessary at any point? I haven't done the job, so it's kind of hard to see all scenarios yet.
No it won't be. It's a couple of years since I tackled this so I'm trying to recall when/why I had jack underneath. I think it was just paranoia about the engine hoist on that single lift point so just belt and braces (suspenders)!
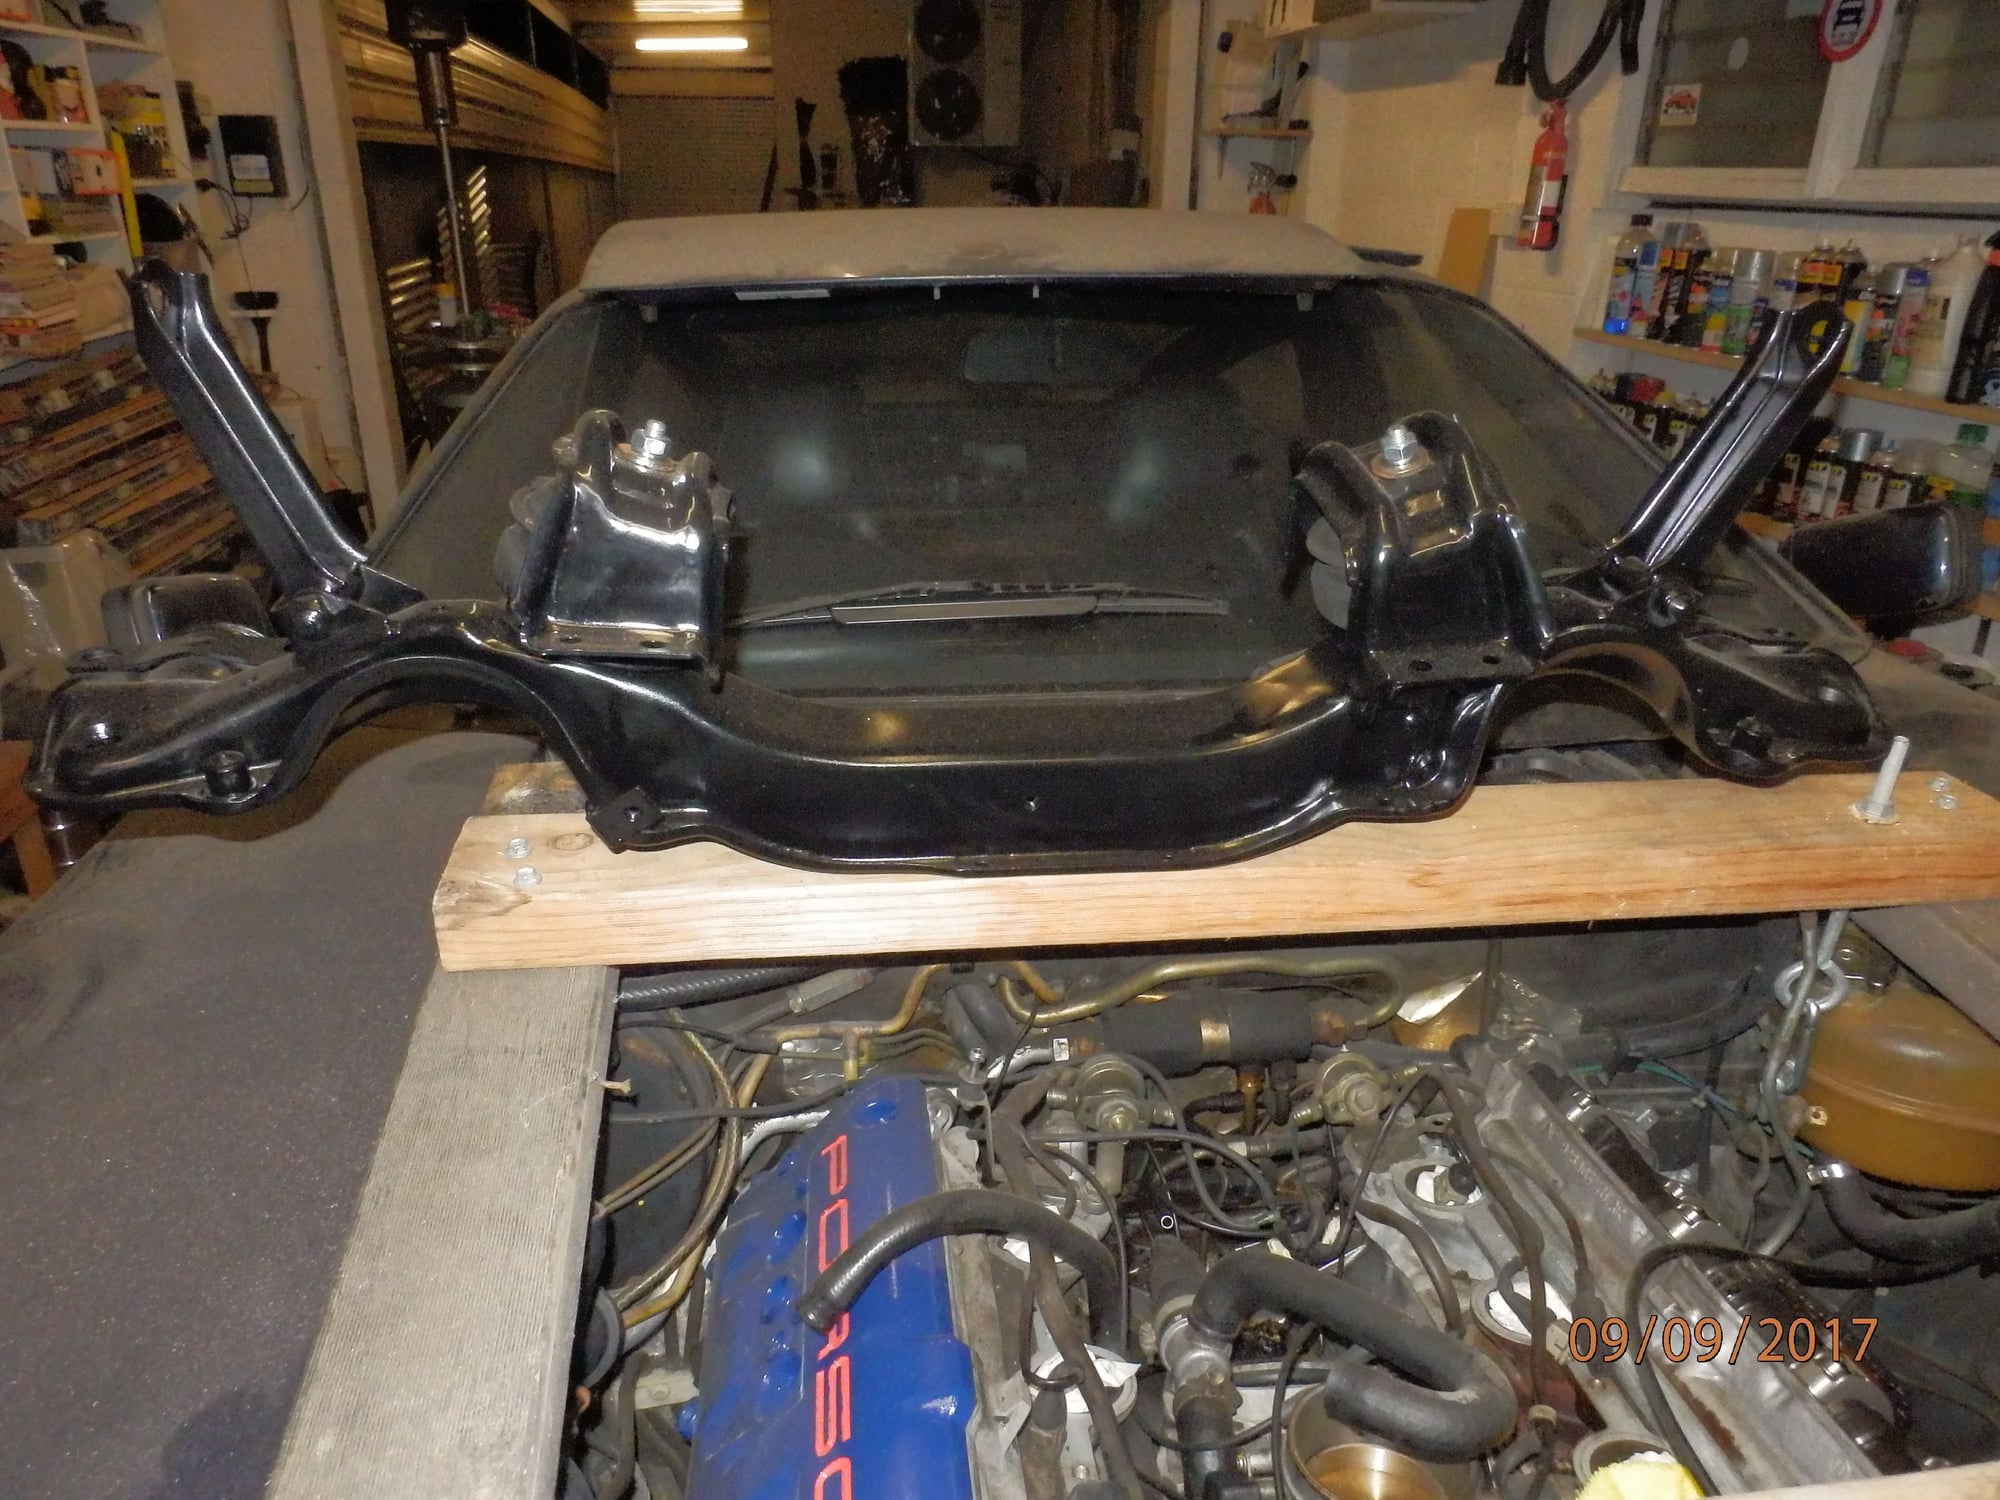
I have just finished doing what you are about to start. I used the the timber actoss the engine bay with long toggle loops like the attached pic. Once the engine is free the mounts you can wind the engine up for a bit more clearance below. You can see in the pic of the car the timber and the loop bolt.
I have just finished doing what you are about to start. I used the the timber actoss the engine bay with long toggle loops like the attached pic. Once the engine is free the mounts you can wind the engine up for a bit more clearance below. You can see in the pic of the car the timber and the loop bolt.
Interesting that you removed the crossmember together with the brackets that bolt to one side of the upper A-arms. Saves having to line up the maddening horizontal support bolts! But the A-arm bolts themselves pose what was to me an in superable challenge with engine in place. How did you attack those nuts?
Perhaps in 30 years we'll know which has greater longevity, cork or silicone. One objection could be eliminated if there were cork-colored silicone gaskets - I guess gasket company engineers do not have any art school graduates to advise them ("See how beautiful that oil pan casting is? Do not distract the eye from it.") A determining factor is whether you're doing the MM job at the same time - you can stretch a silicone gasket on without removing the cross-member. Always a consideration is whether they're installed correctly - getting the right "squish" in them is quite different for the two types. We all learn how to tighten bottles and jars with different seals; the same principles apply, but we amateurs don't get much practice with an oil pan.
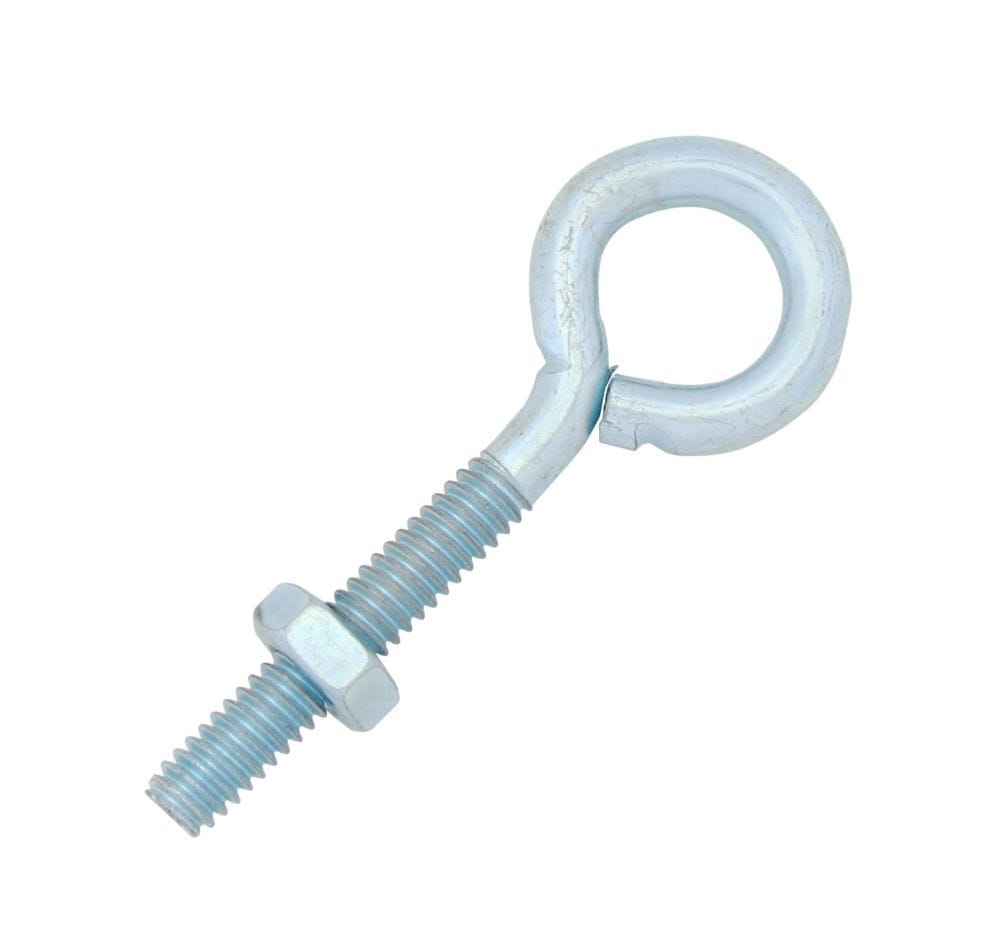
Perhaps it was my own artistic sense that drew me away from a 4x4 to this:
The beam over the engine will be fine. That tie-down is not sufficient -- it stretches some with load, and there's no way to adjust it with weight on it. Consider using the eye bolt as others show, with a chain link to the front engine bracket.
The beam over the engine will be fine. That tie-down is not sufficient -- it stretches some with load, and there's no way to adjust it with weight on it. Consider using the eye bolt as others show, with a chain link to the front engine bracket.
fully agree w/dr. bob........you will be under the car/engine if that strap lets go!
Ive used the silicon OPG on several cars; it seals well and easy to work with
Nice garage space and can relate to the freezer comment; -35c in Western Canada last week. We bottle the frigid air and sell it to our US friends in the summer; RCDN
Dont use that strap to tie down anything other than a motorcycle
As Dr Bob points out once the strap is loaded it cant be adjusted,
the new MMs will mean the engine will have to be lifted some before the bolts can be installed.
I dont think a jack under the bell housing alone is sufficient to support the engine as the bending moment is very hi at the TT
Interesting that you removed the crossmember together with the brackets that bolt to one side of the upper A-arms. Saves having to line up the maddening horizontal support bolts! But the A-arm bolts themselves pose what was to me an in superable challenge with engine in place. How did you attack those nuts?
I removed the all the power steering hoses and pump etc on that side and the air-con compressor and bracket the other side and removed the radiator. Then got them from underneath with a long breaker bar towards the front of the car.

 01-05-2018, 06:18 AM


 .
.