When you click on links to various merchants on this site and make a purchase, this can result in this site earning a commission. Affiliate programs and affiliations include, but are not limited to, the eBay Partner Network.
Lots of work this weekend. First pics are a few of the shiny new paint job. Sure looks better than it did. It is not perfect (e.g. $10K plus), but as I have said before, I intend to drive this car and enjoy it, so I don't want to have to park at the end of the parking lot across two spaces to avoid door dings.
Also...
1) Pulled the rest of the tape off
2) Painted several exterior trim bits with a fresh coat of satin black
3) Repaired one front light surround
4) Repaired broken fender liners with mending plates. More work to do on these.
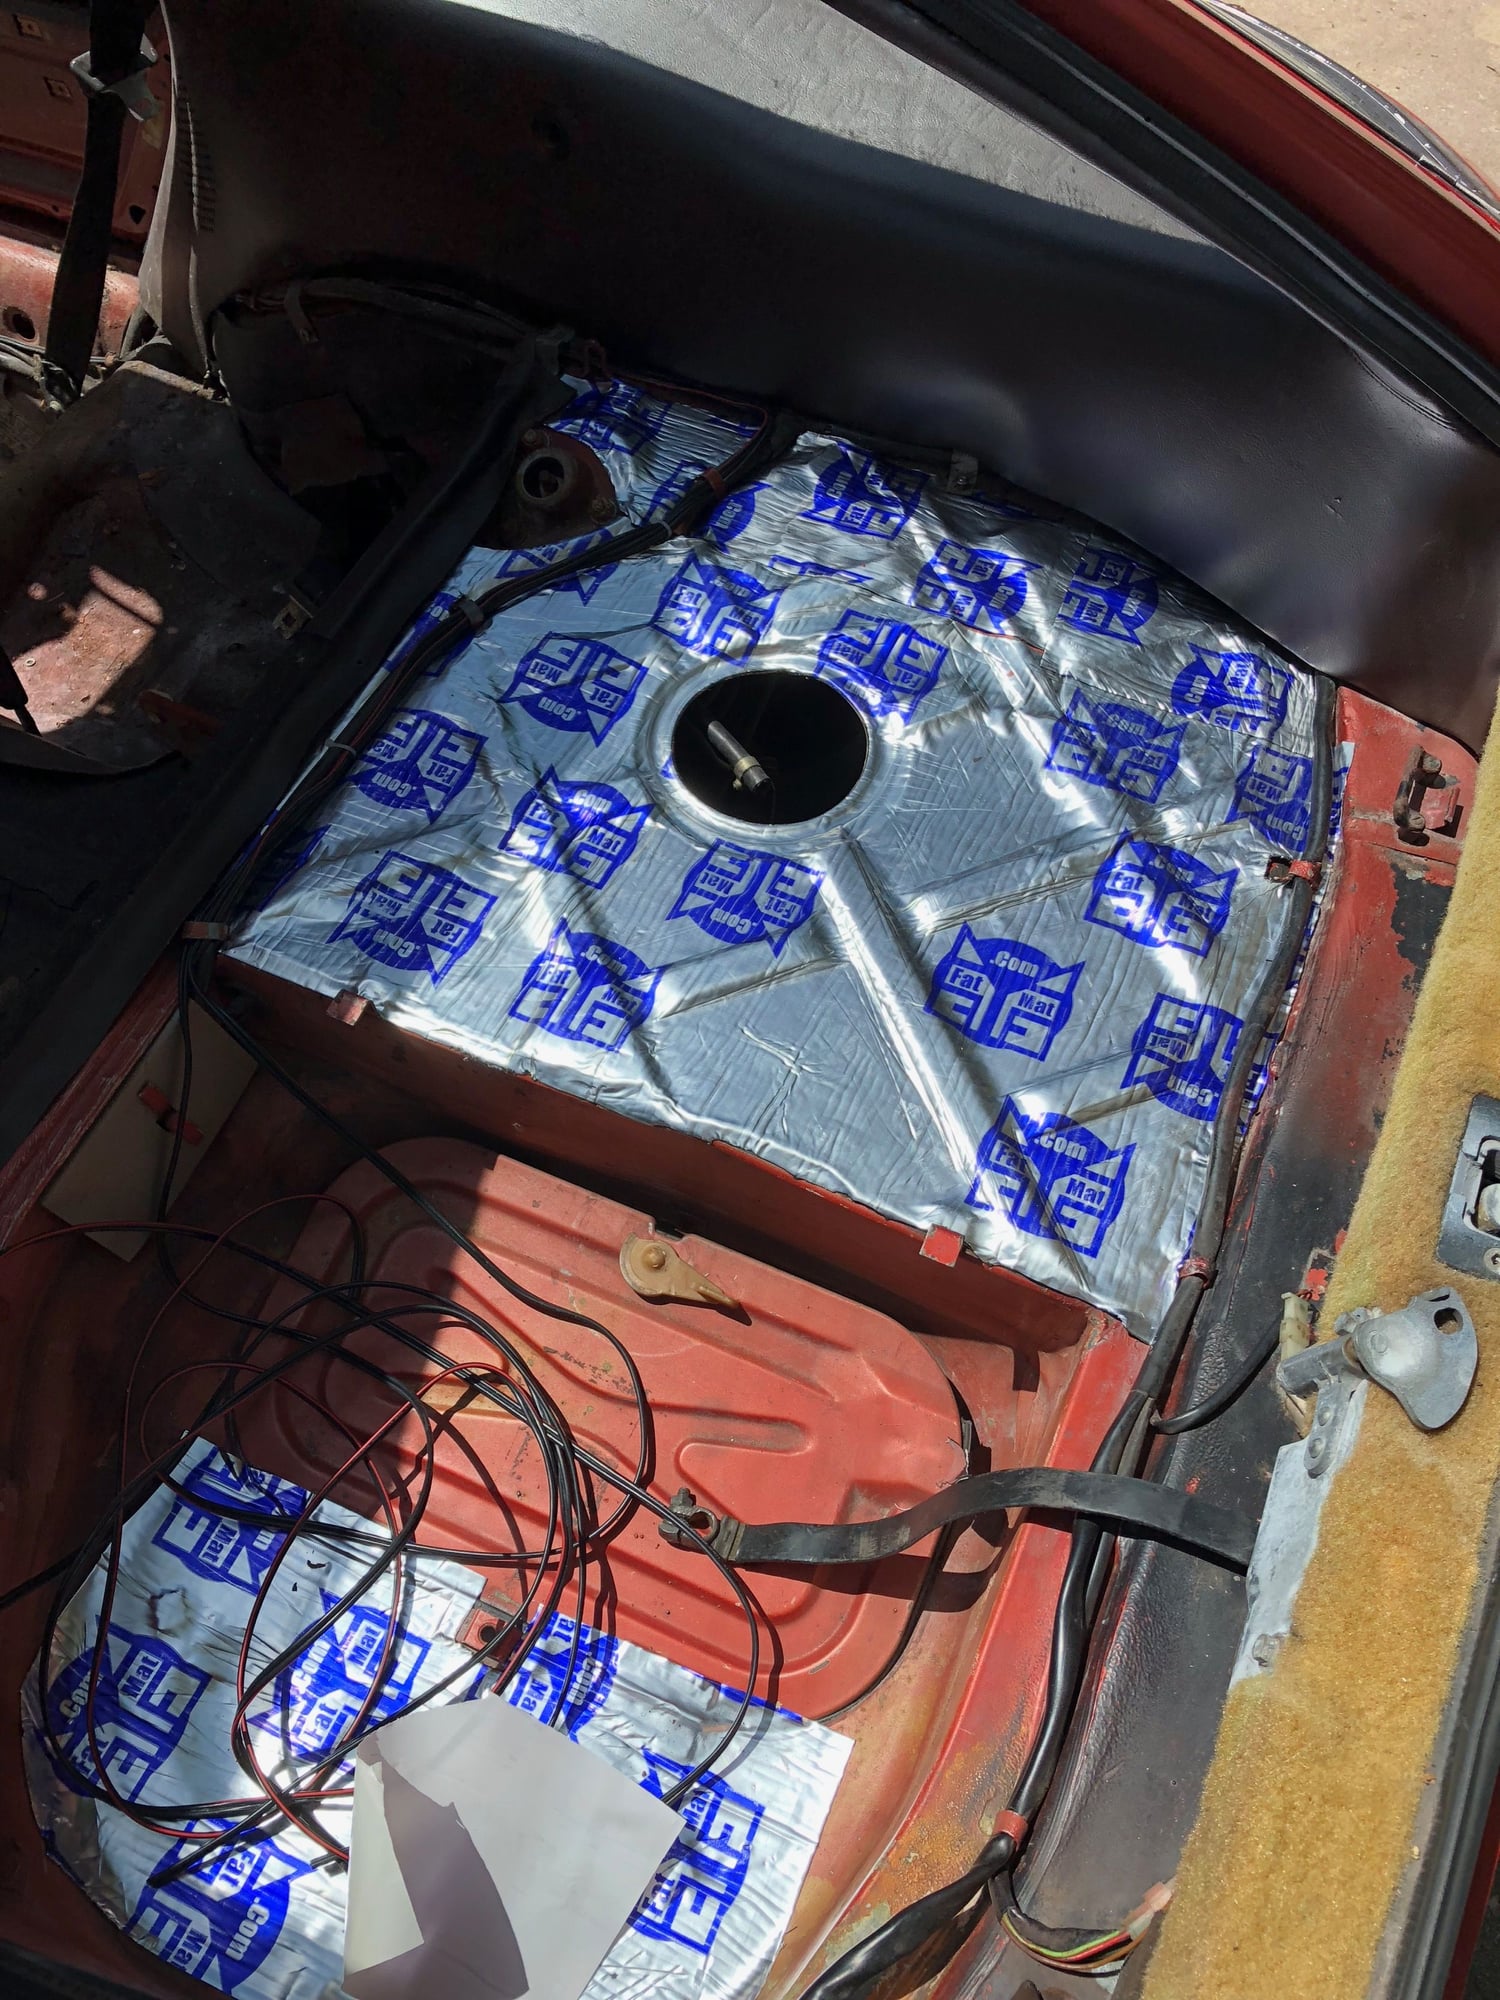
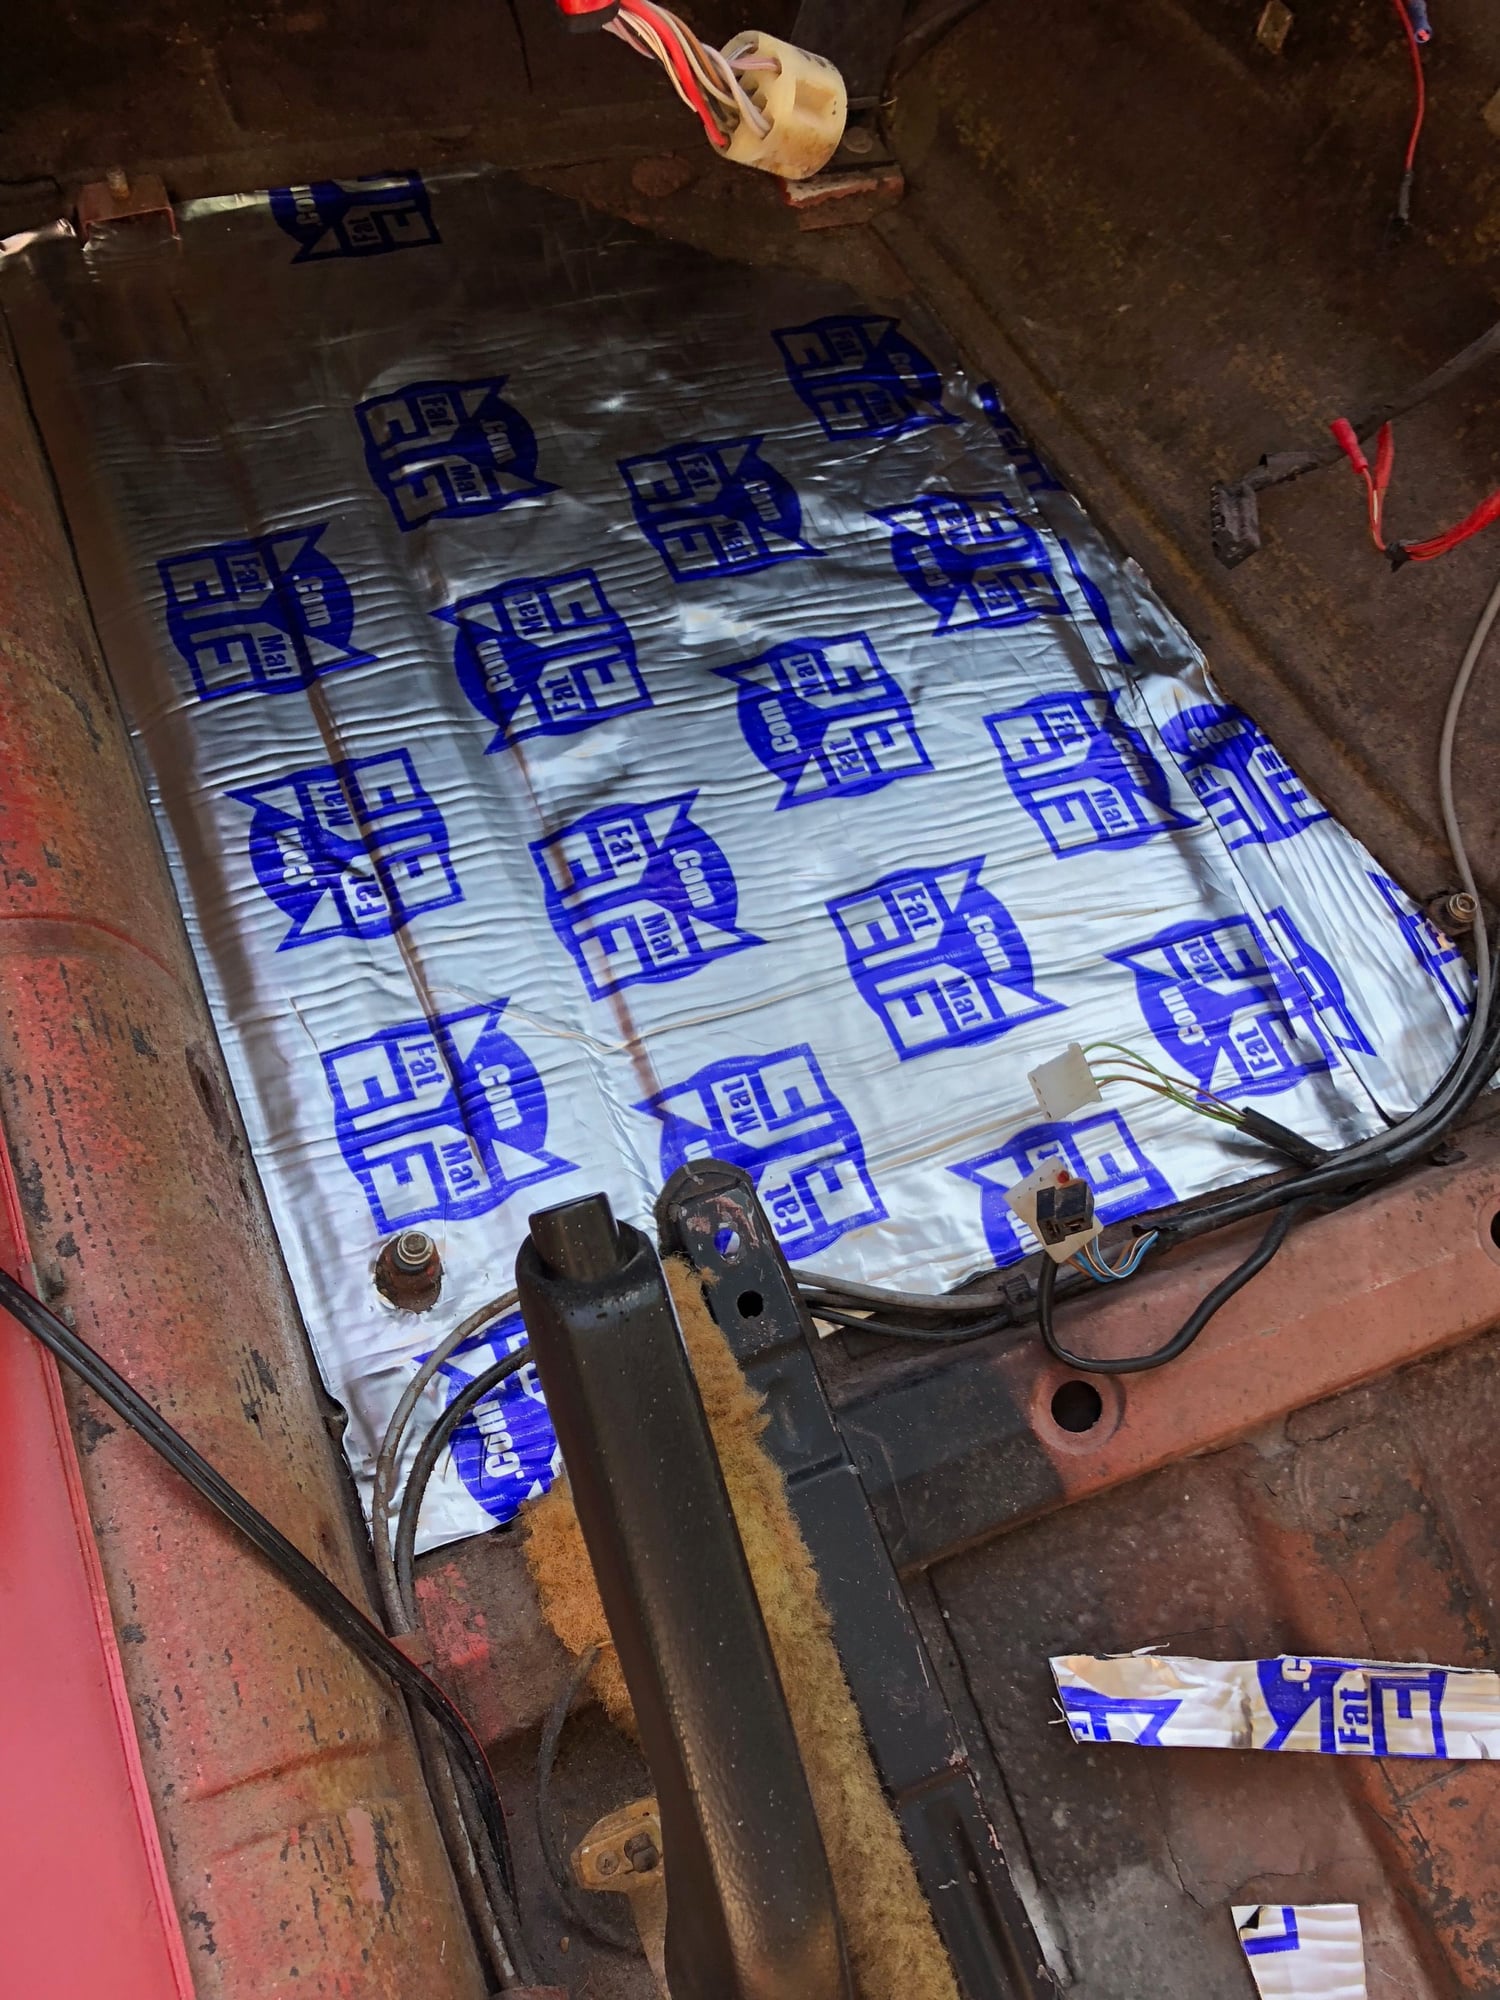
5) Fat mat installed on floors, spare tire well, roof, sunroof panel, etc. (Still have to do doors)
6) Covered first couple of pieces of vinyl on dash and pod
7) Polished rear light lenses
8) Ran new interconnect lines for audio
9) Cleaned all the paint 'stuff' from interior
WHEW...I still hope to make the deadline of SITM...
Many more pics of new paint, but will post later on
Got the roof mechanicals reinstalled. Hope it will work this time with the panel.
Polished lenses with Novus 3 then Novus 2
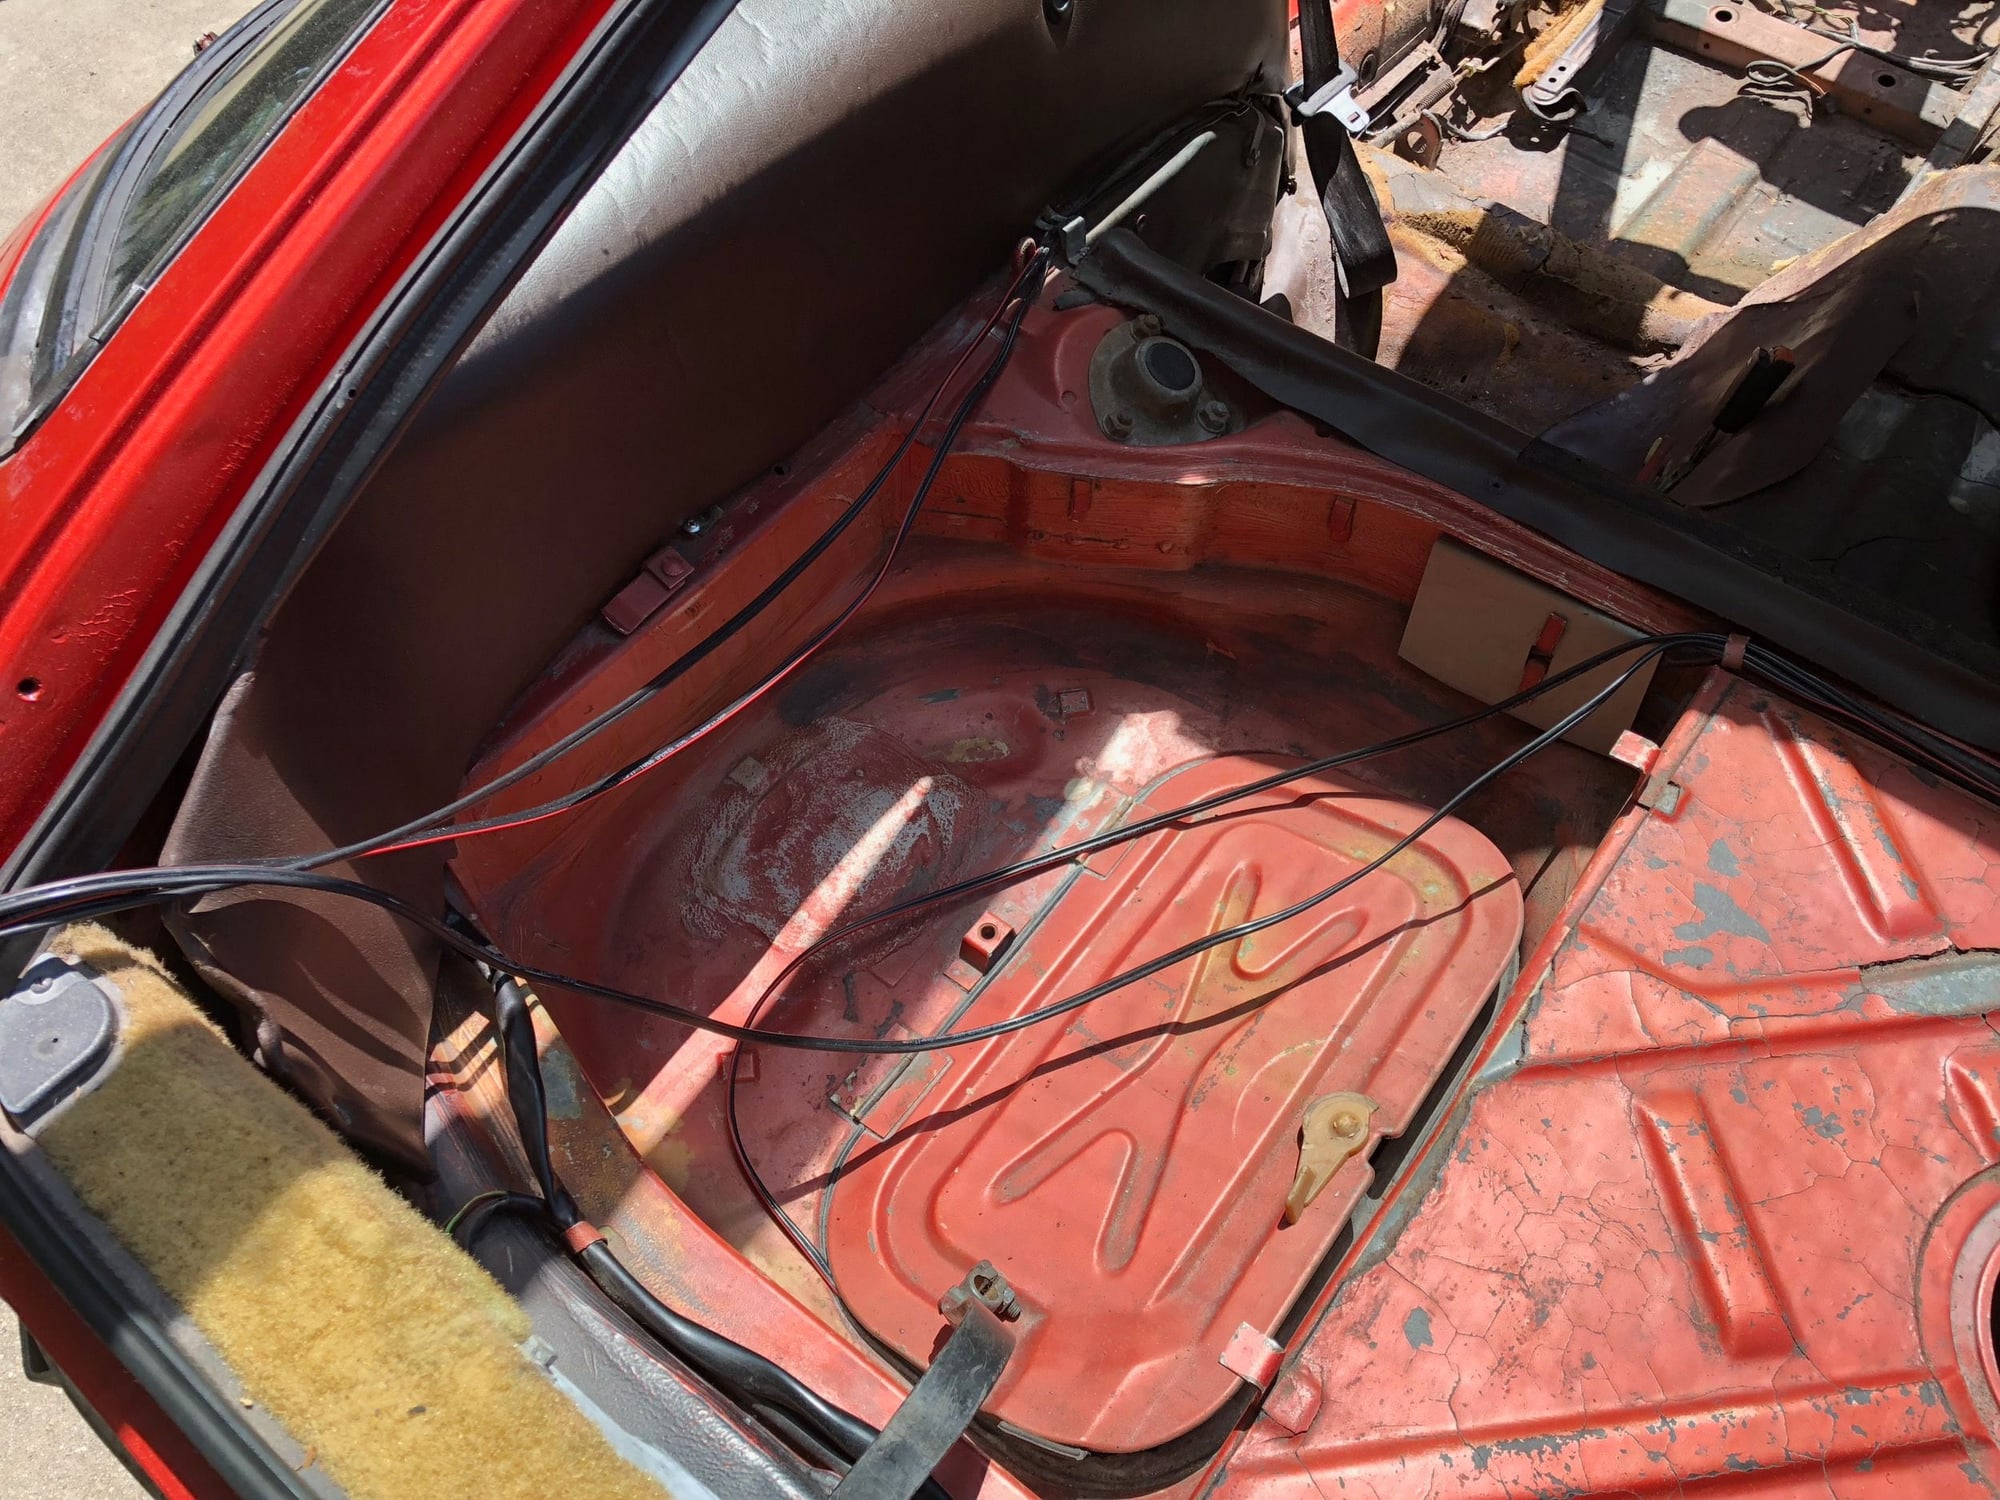
Clean rear compartment
Adding fat mat
With new panel - eventually will have a 6.5' sub mounted in the panel
Fat mat for front drivers side
Both sides in front - not replacing the original factory stuff...will also add to the doors as well.
Front fender liner. Used mending plates riveted to the non-visible side.
Will seal/fiberglass through the crack areas and repaint
Gorilla glue on the front light surround. Will sand and paint.
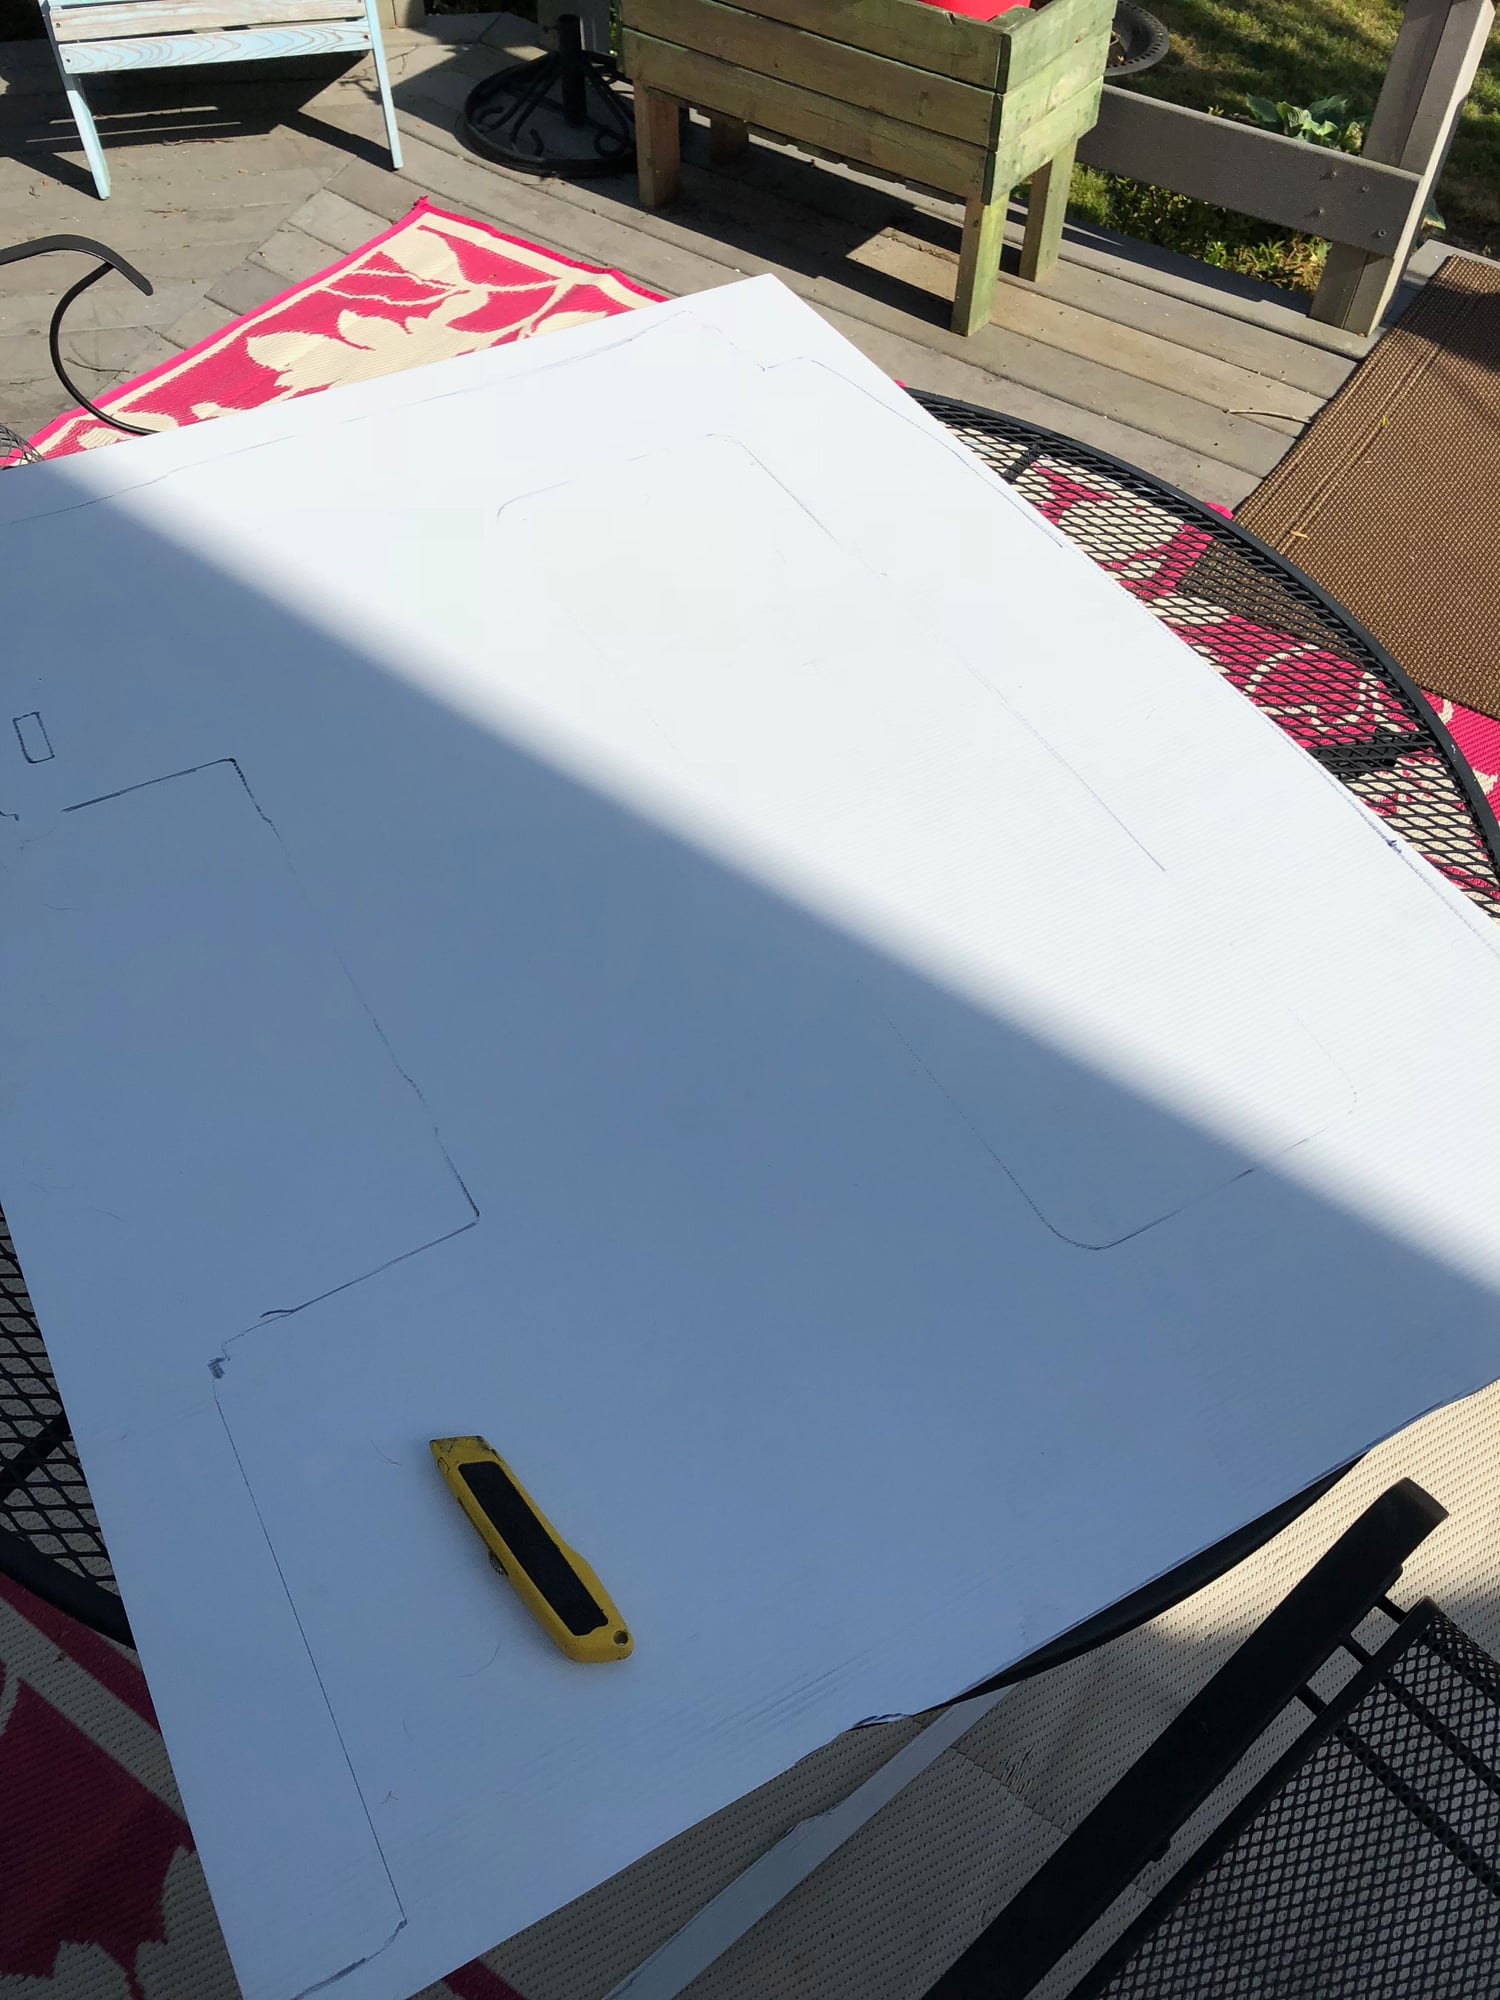
Started work on a replacement headliner today. I think this really is going to be a viable option. I am using corrugated plastic (same used for campaign and yard sale signs). A 48x36" piece cost me all of 15 bucks. See the pics below. It is about the same thickness as the hardboard used by the factory, and I believe in testing is just flexible enough to bend around the edges where it needs to. Once in place, I am going to use the heat gun at the corners (e.g. where the visors screw in) to 'mold' the plastic to the shape of the roof in that area.
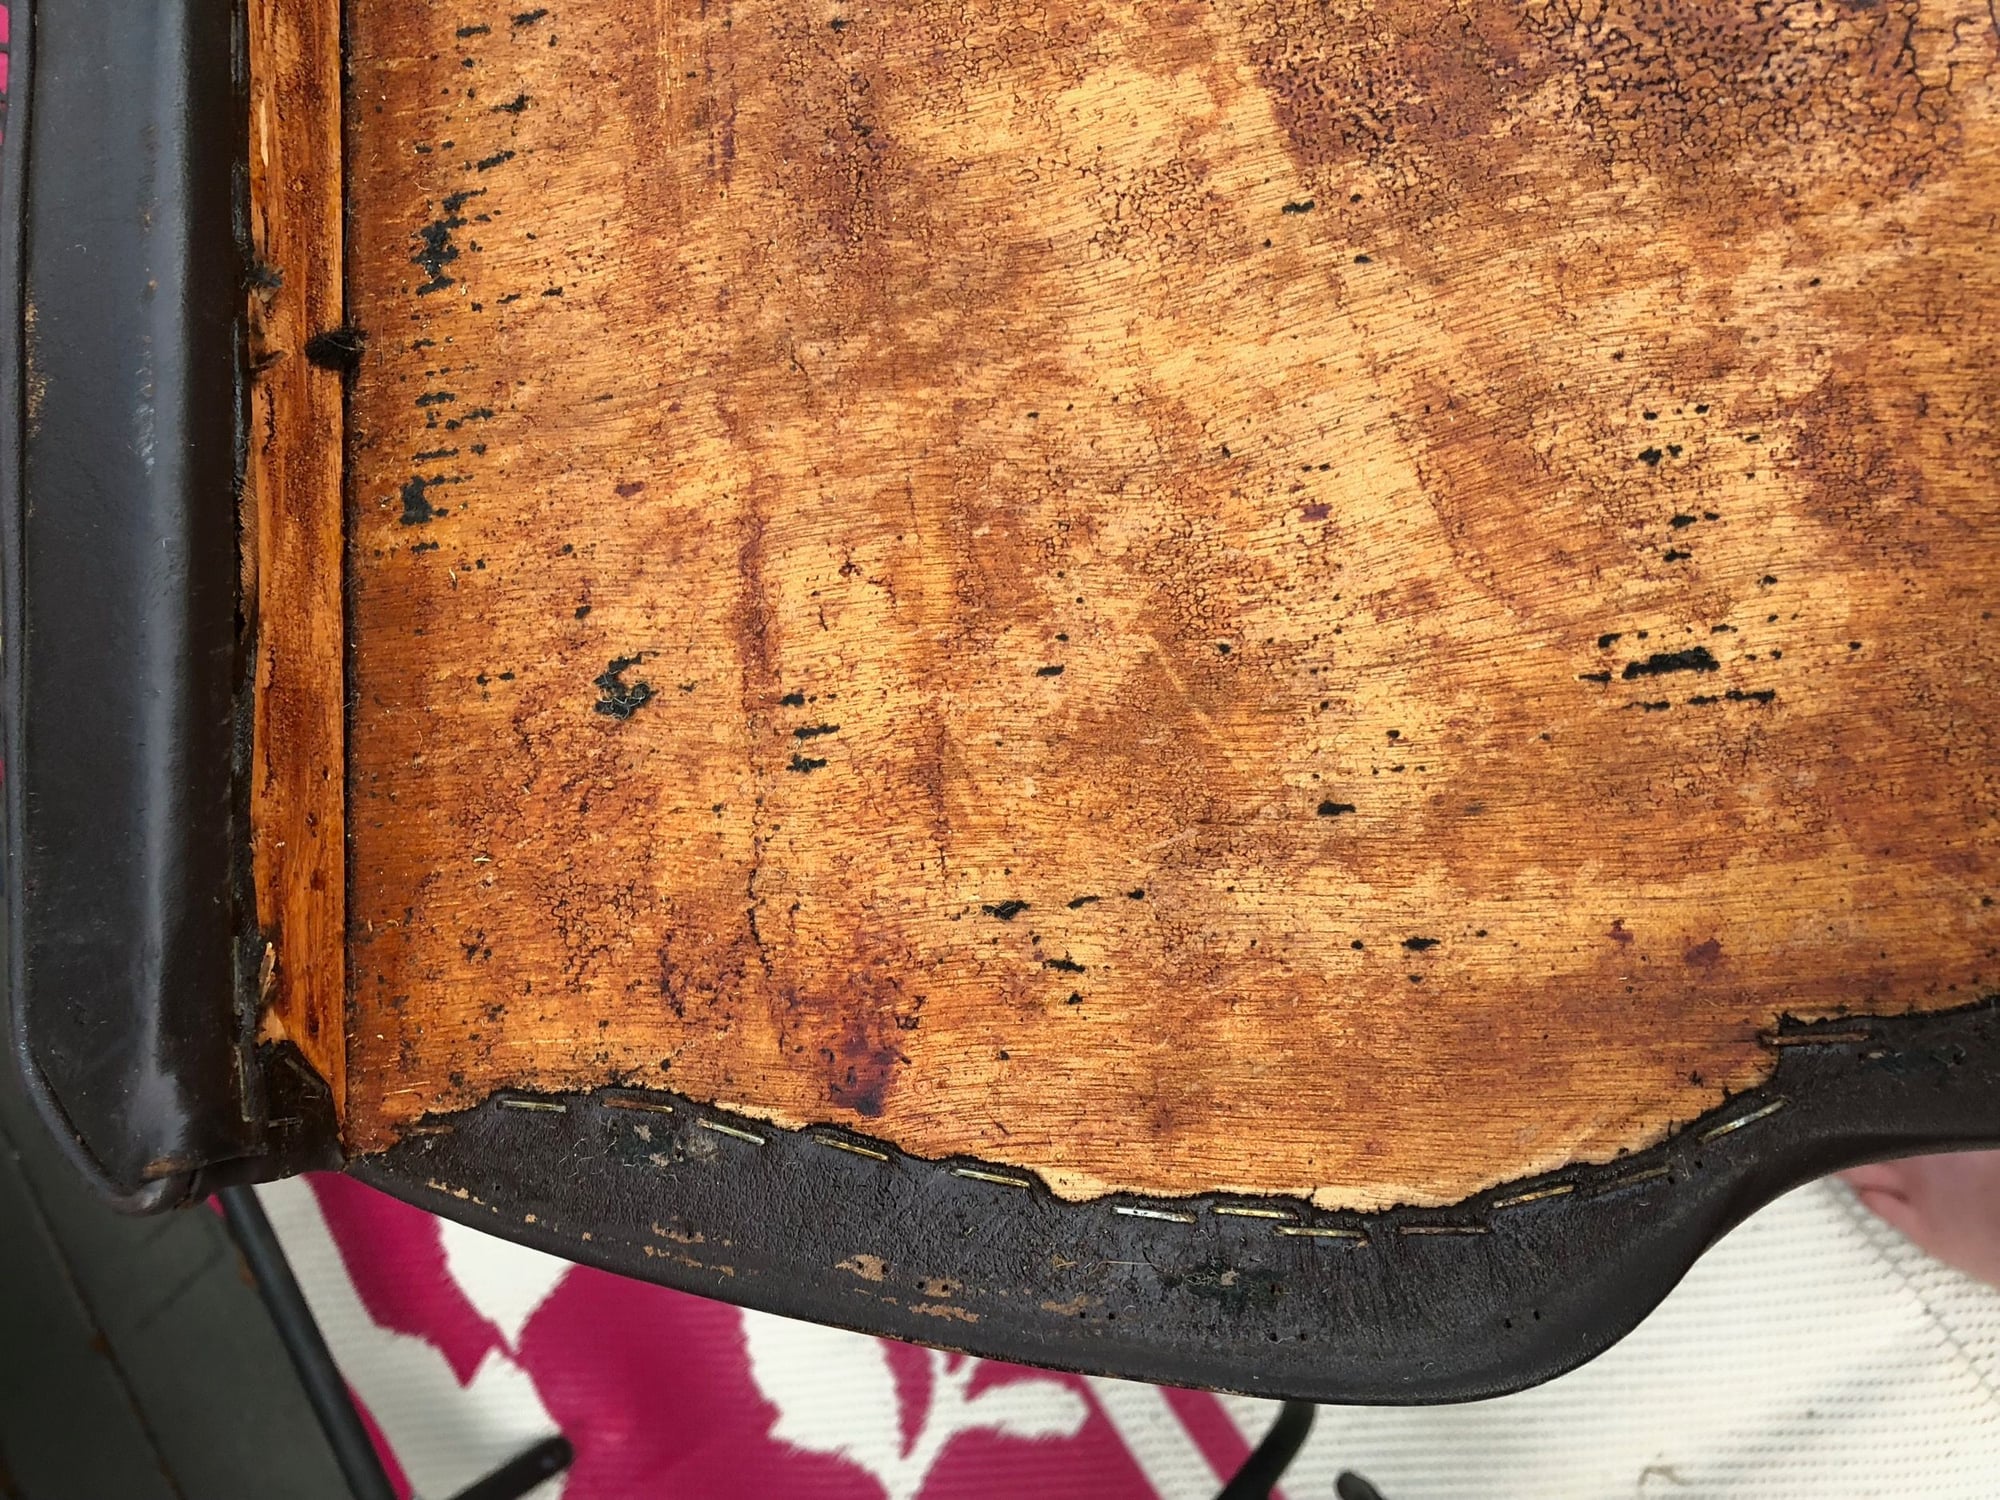
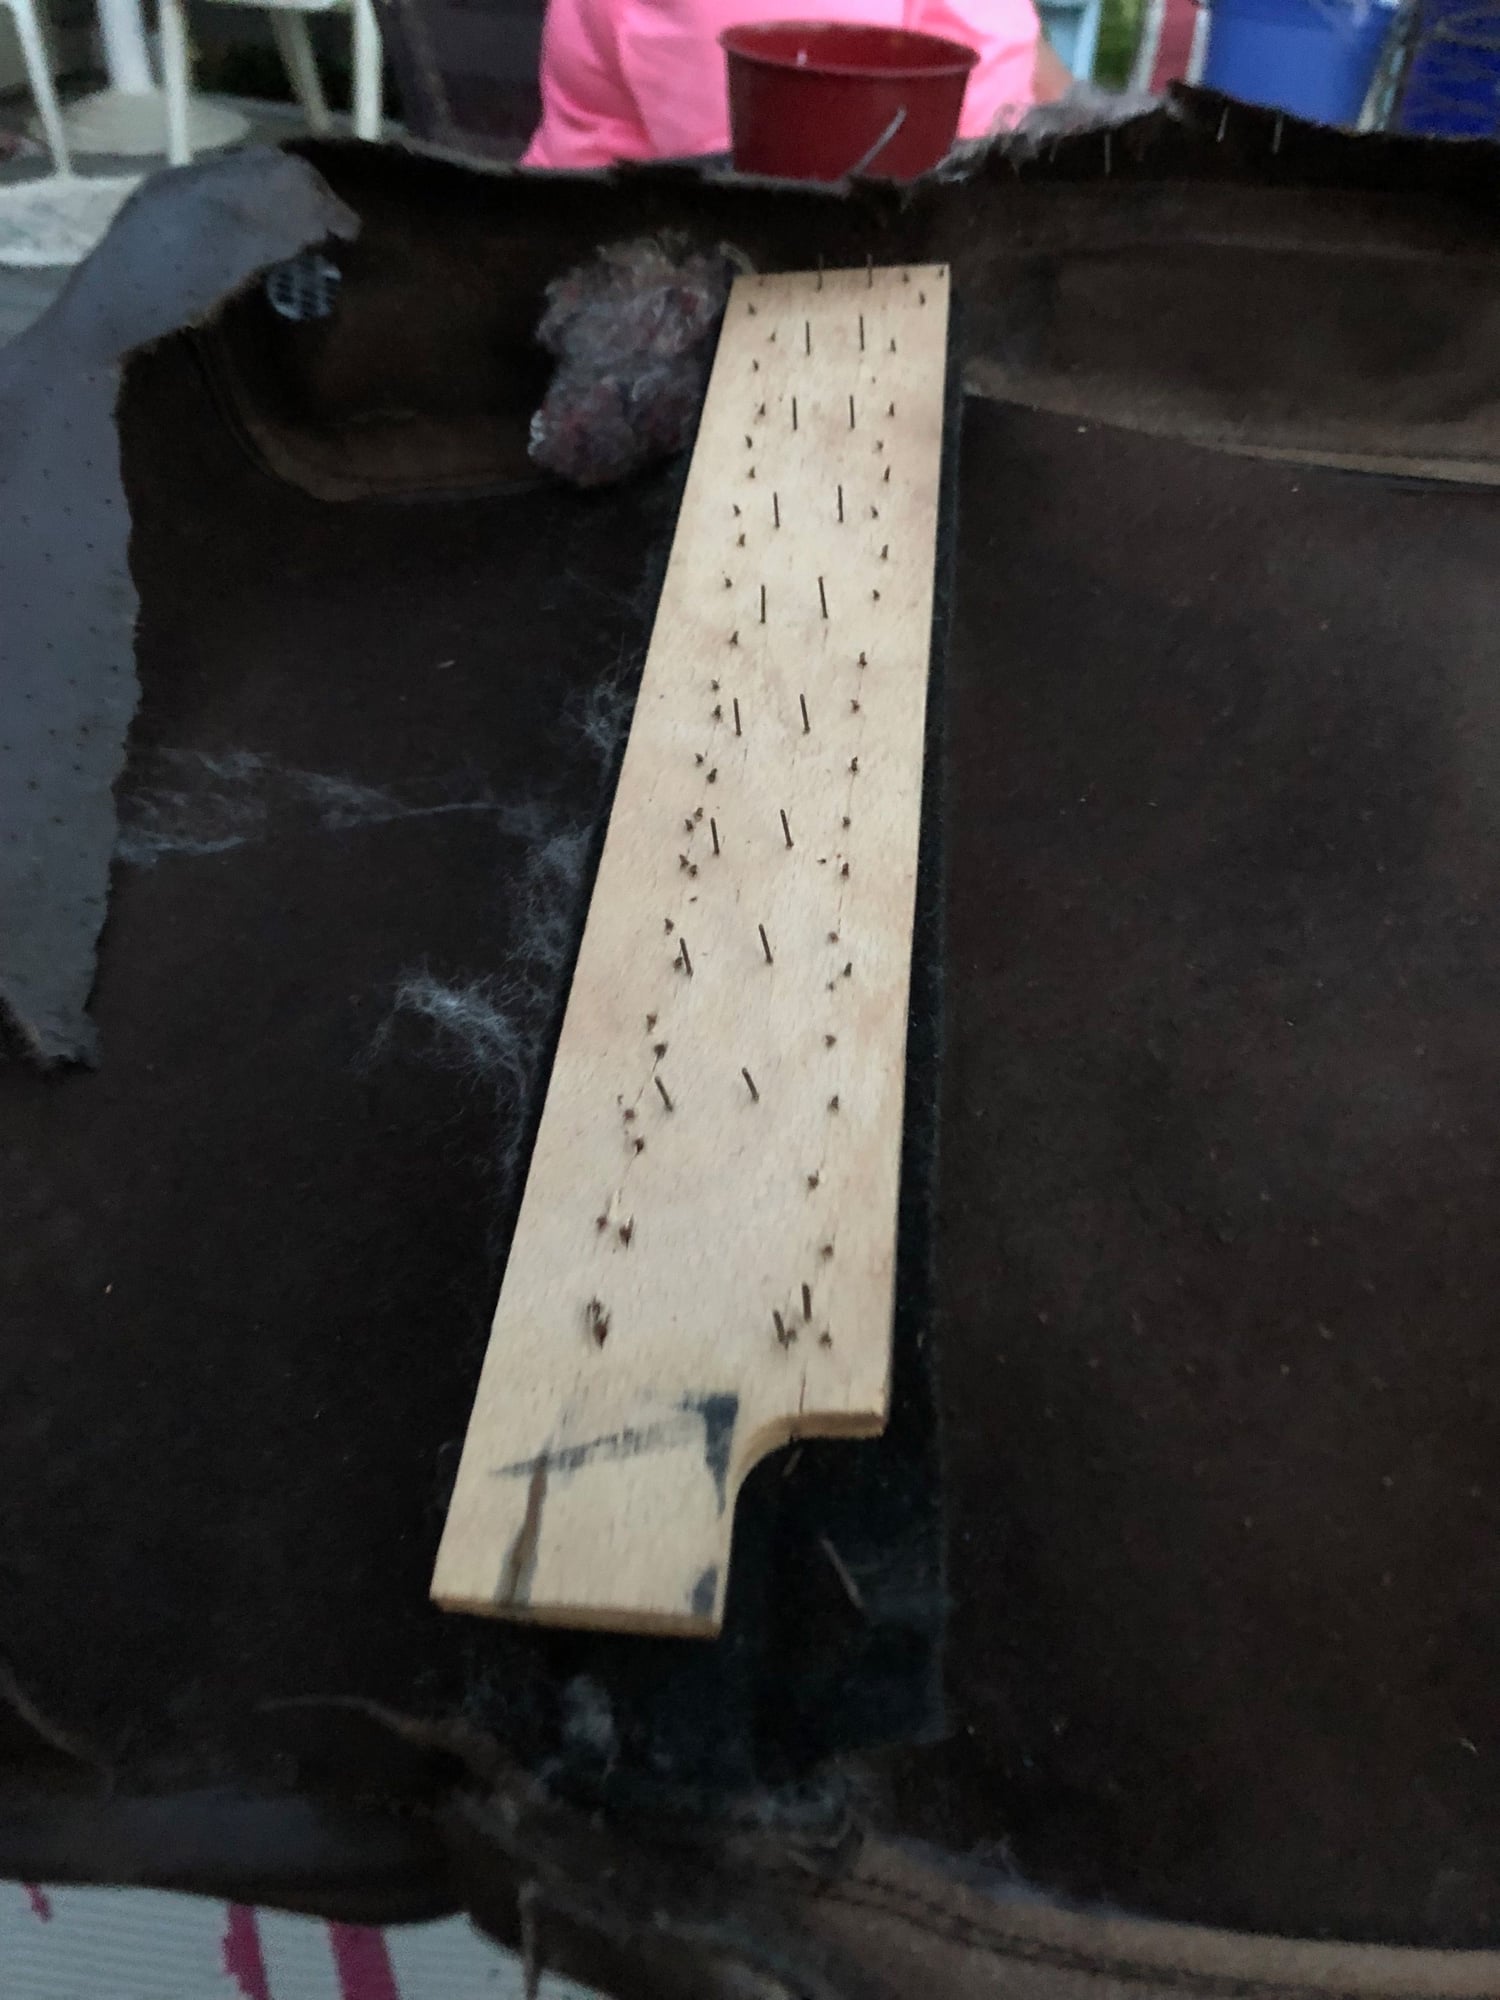
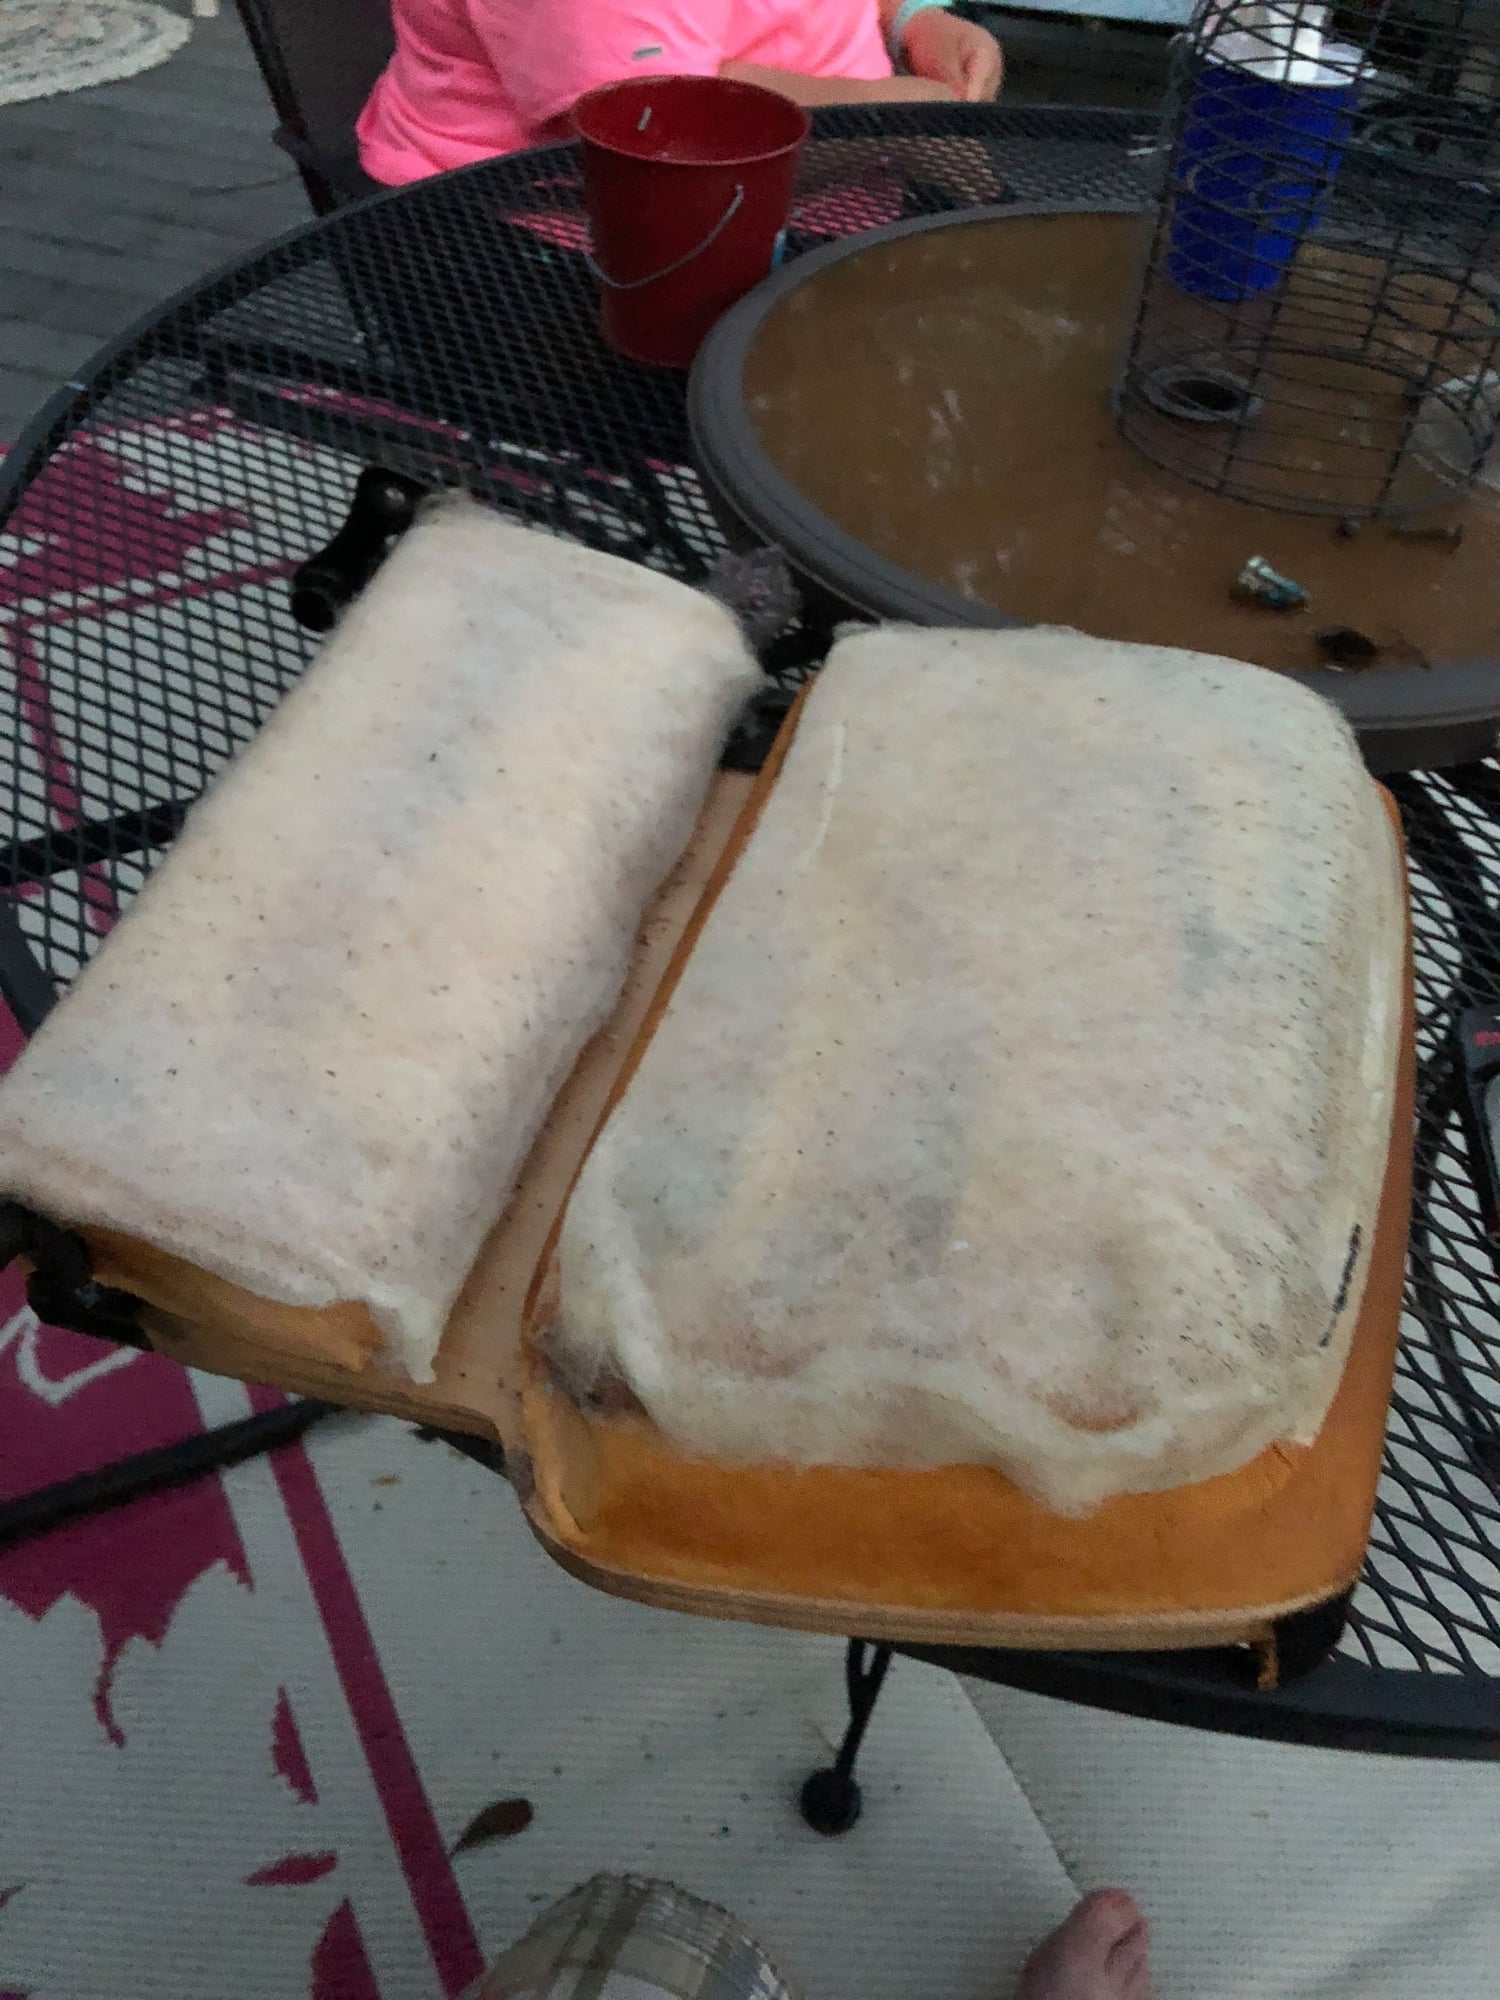
Also started to pull the uppers on the rear seats apart for recovering. No surprises here. The carpet is stapled on - came right off. The vinyl is stapled around the back. Pulled all the old staples out as I removed it. The rosette is pressed in (no screws, etc.). The only interesting find is that, since the back of the seat is plywood, there is a plywood strip between the cushions that the 'hold down' fabric is actually stapled to. Makes iv VERY easy to get that right. I wish the front seats had that setup as well and I would not worry about getting that look right up there.
More to come...SITM is 4 weeks away!
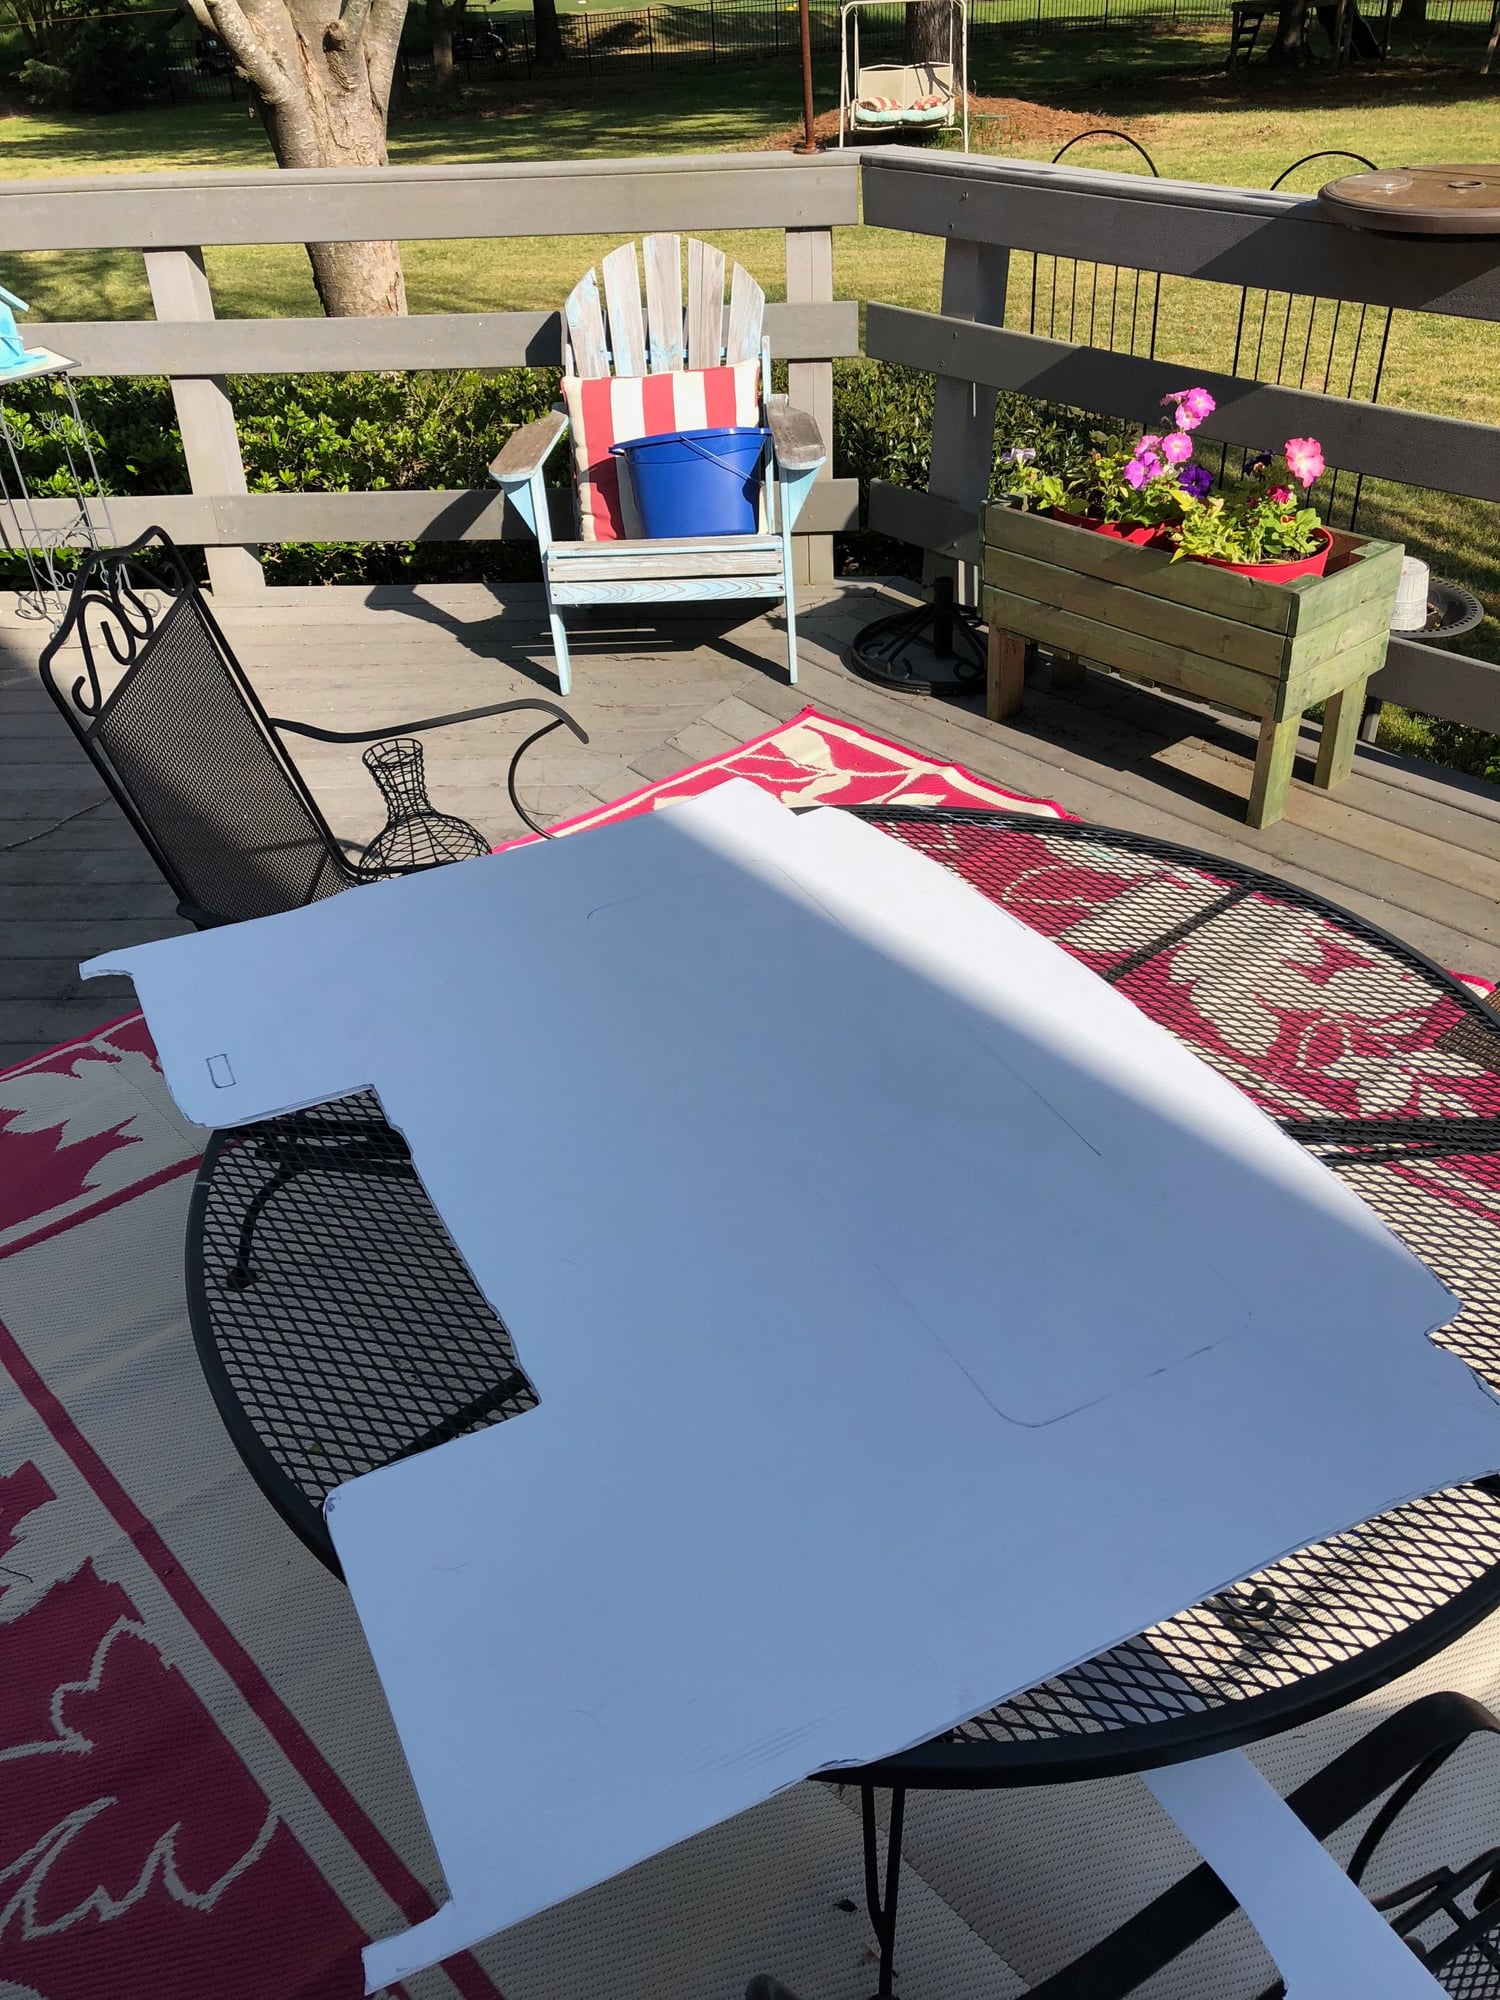
48"x36" was just big enough. Traced the old headliner with my daughter holding it flat (it was severely warped all over).
Cut with a box cutter. Plan will be to cover with same vinyl I am using on dash and pod.
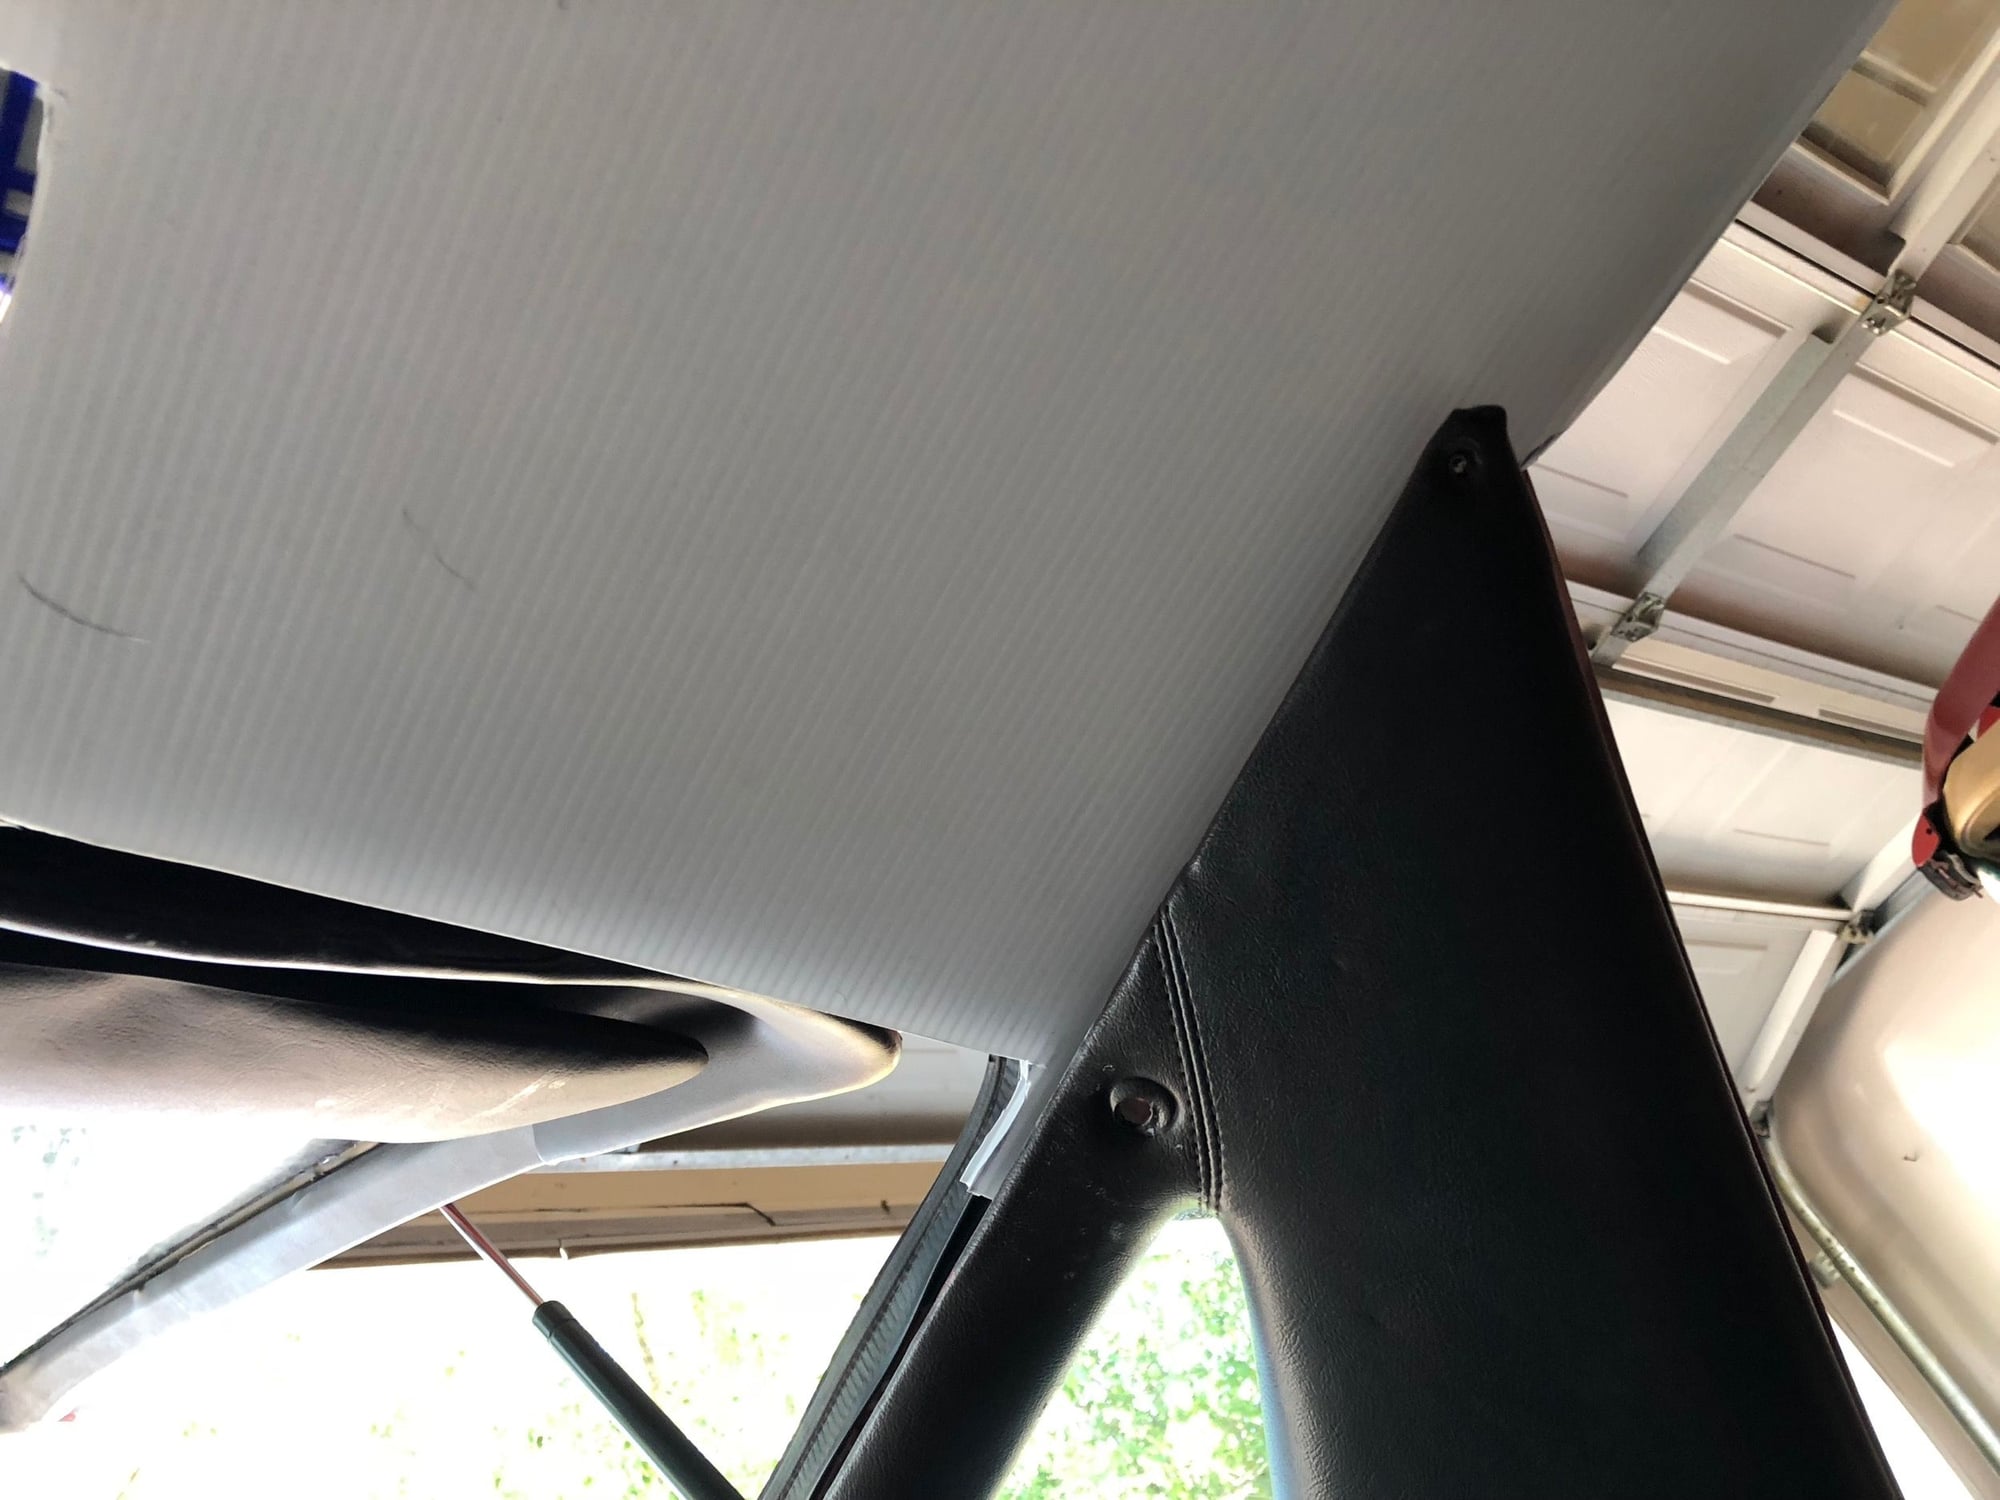
I am attempting to hold it up in the middle against the roof opening. When I press it up to the roof, it draws up as I would expect around the edges and 'conforms' to the roof shape.
I believe the press buttons along the sides and back and the visor attachment points in the front will hold it in nicely.
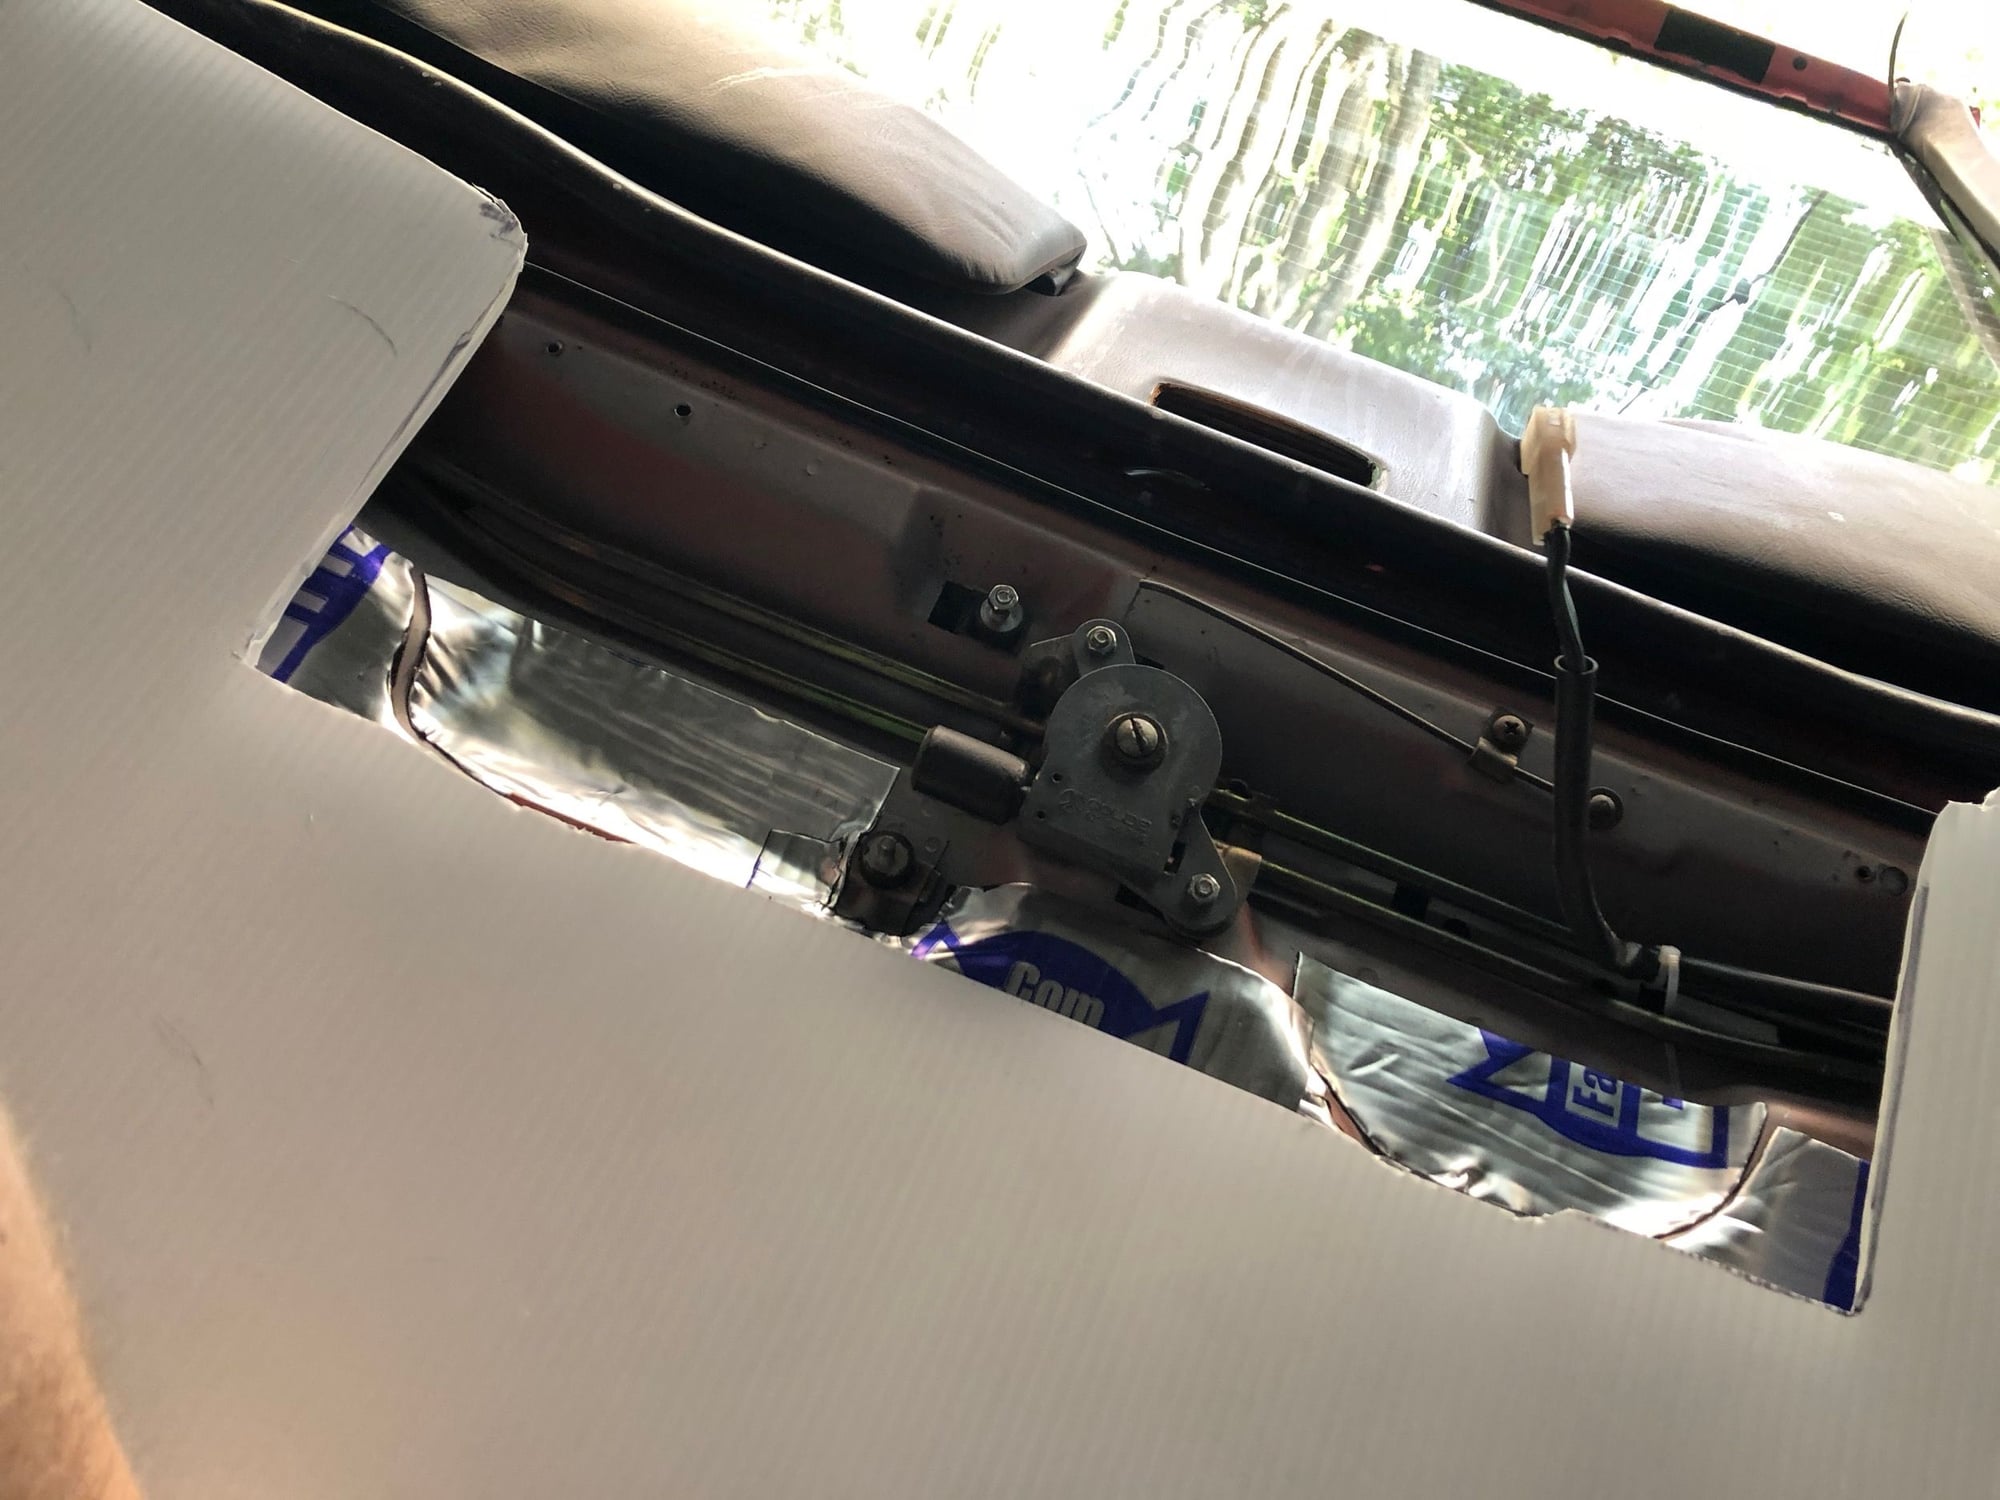
S/R motor cutout.
Back of rear seatback upper. Plywood base that vinyl is stapled to as well as carpet.
These covers have a little plywood strip in them that holds the middle seam down. Clever - wish all the seams were like this.
Business side of rear seat upper. No real surprises here.
Great job! Can I suggest you save that headliner pattern before you cover and install. My 87 has a serious warp in headliner at front and around sunroof cover area and this looks like a great option.
Great job! Can I suggest you save that headliner pattern before you cover and install. My 87 has a serious warp in headliner at front and around sunroof cover area and this looks like a great option.
Be glad to...but I am not sure how best to help? Do you want me to get a second board and trace it for you? I could bring to SITM...I am sure I will need to do some additional trimming to what I have done so far - mine was so warped.
Be glad to...but I am not sure how best to help? Do you want me to get a second board and trace it for you? I could bring to SITM...I am sure I will need to do some additional trimming to what I have done so far - mine was so warped.
-scott
Scott, when you get it trimmed correctly could trace to a piece of cardboard, dont need you to purchase another corrugated board. If you could bring to SITM that would be great! Would be more than happy to buy you a couple beers for the effort!

 04-30-2018, 11:54 AM


 Keep up the good work. T