When you click on links to various merchants on this site and make a purchase, this can result in this site earning a commission. Affiliate programs and affiliations include, but are not limited to, the eBay Partner Network.
Getting quite a bit done but no way she will be ready for SITM this weekend. Oh well...does take the pressure off and makes me slow down and make sure things are good rather than rush something.
See the pics for details.
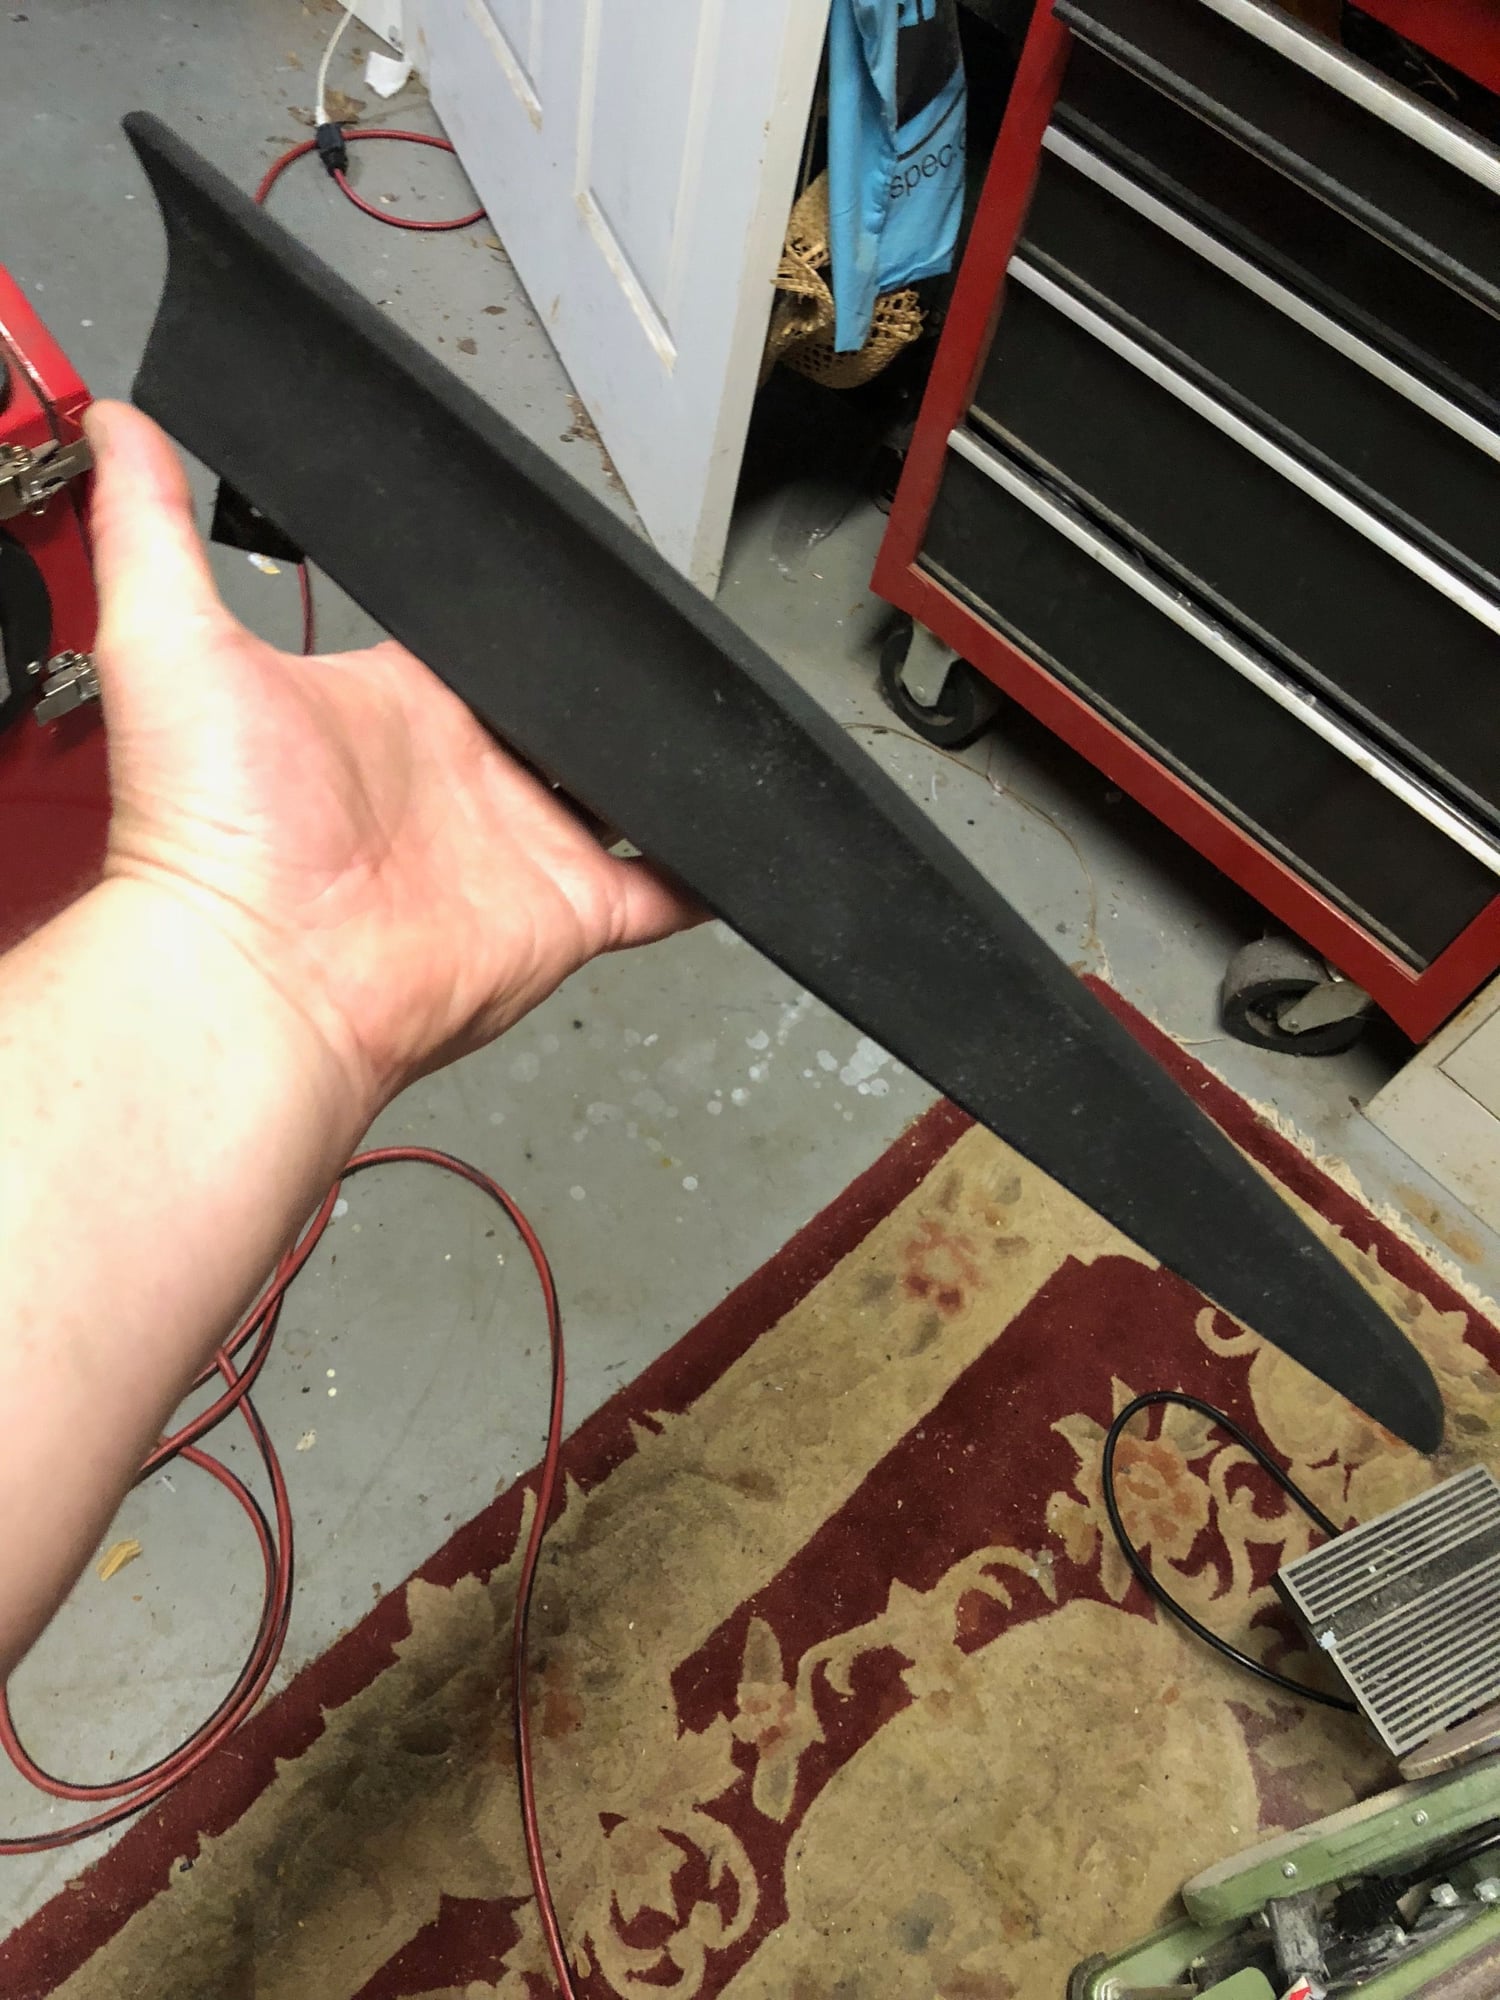
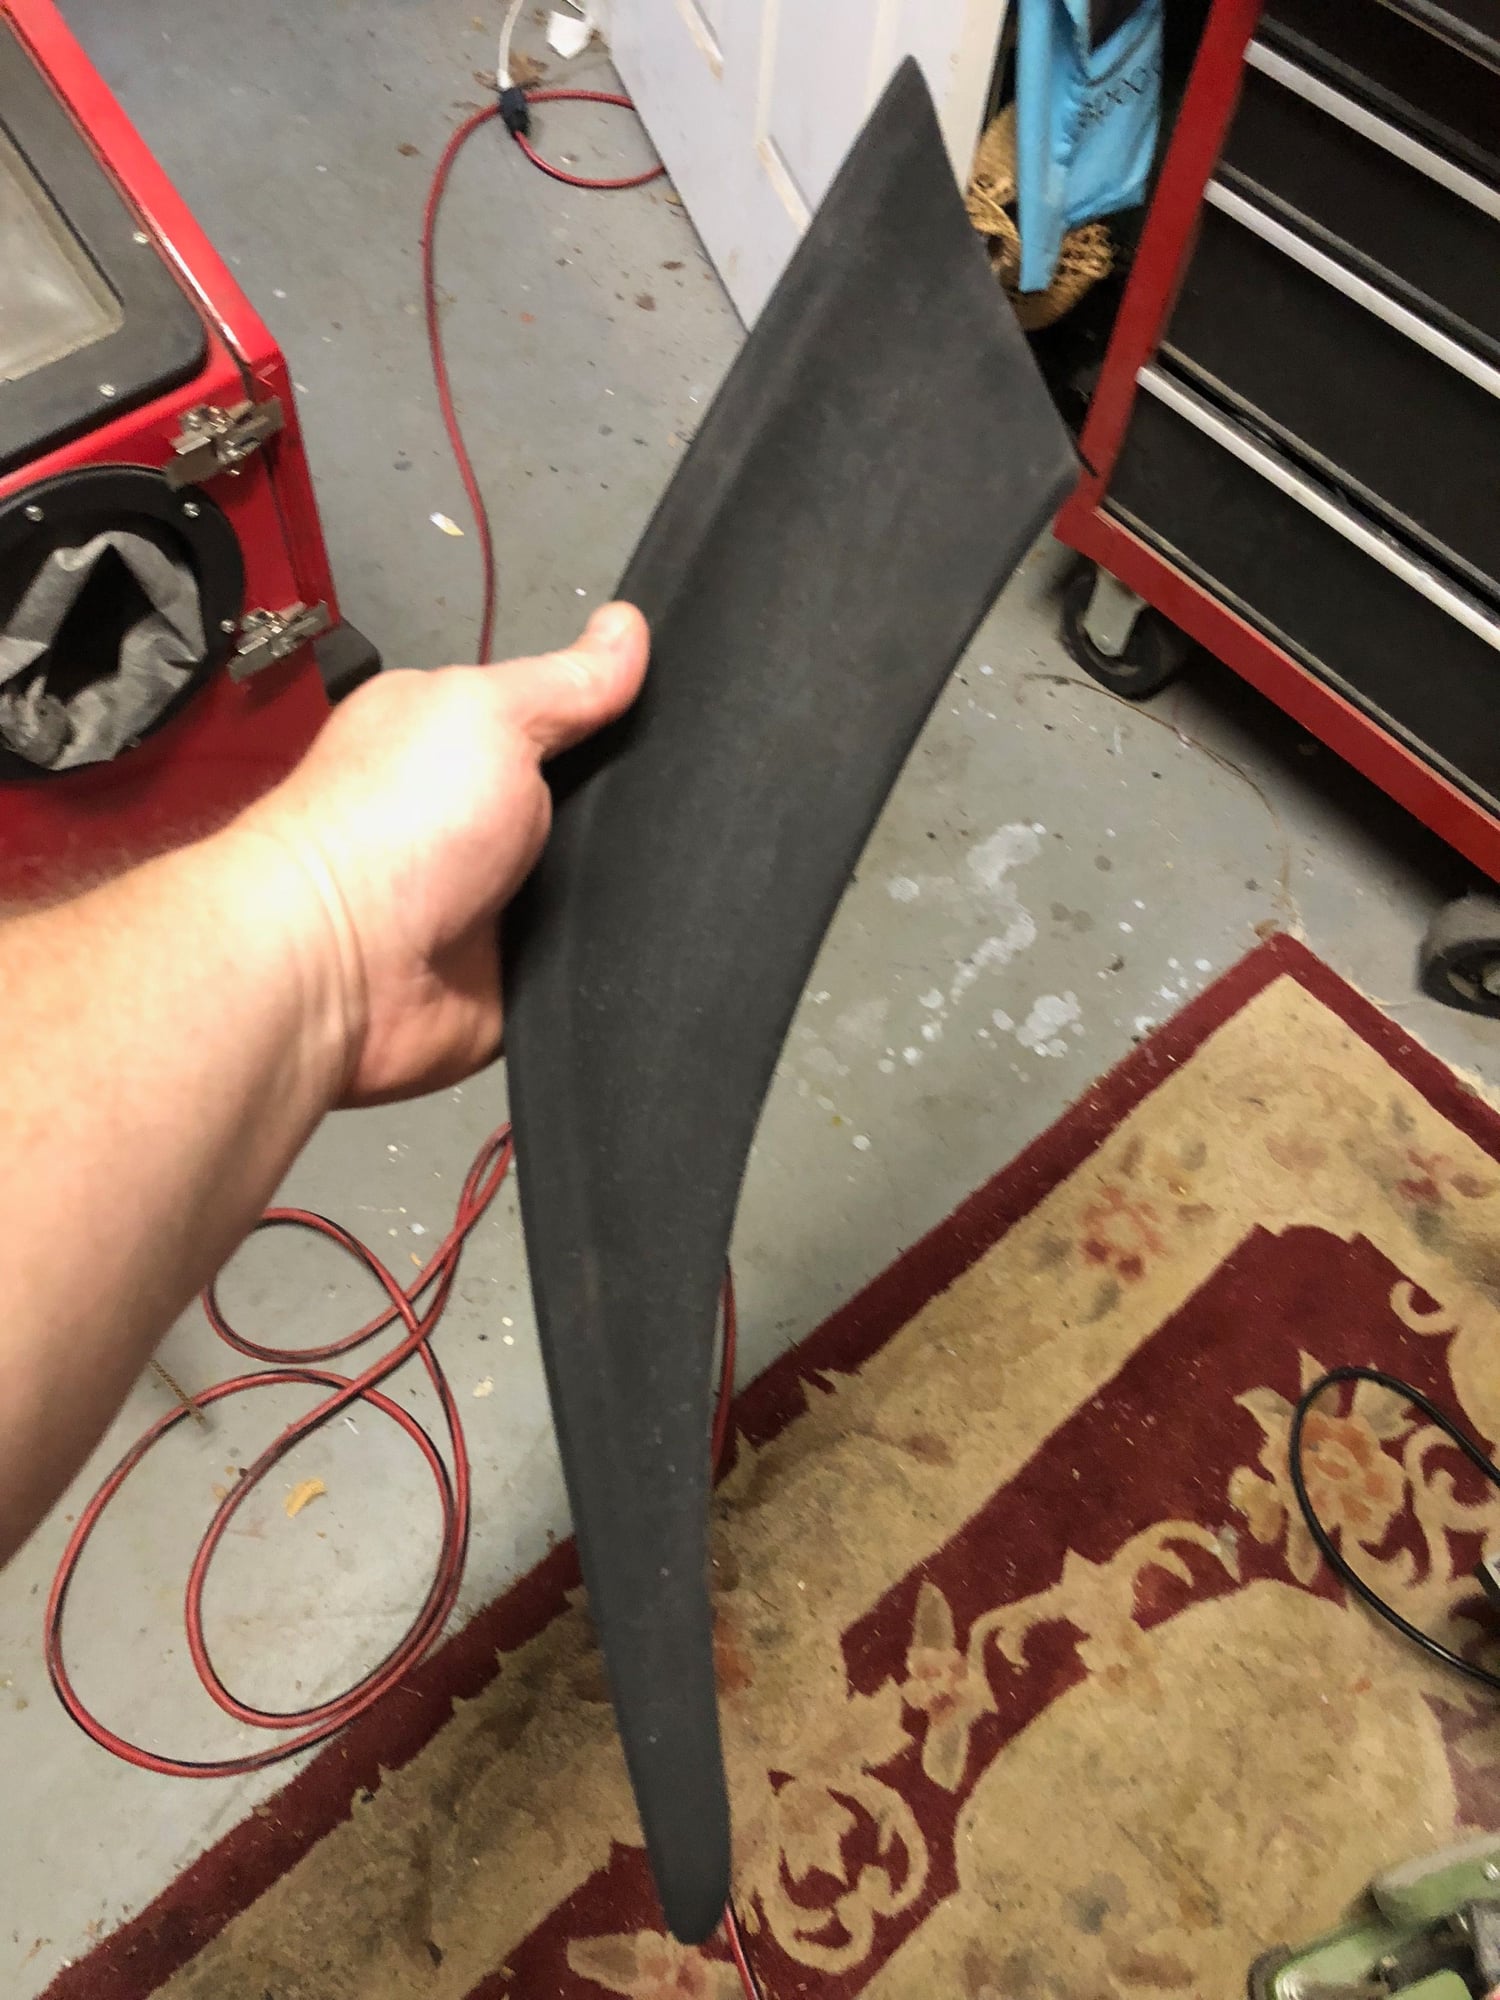
Used 500 grit sandpaper to remove the crusty layer of hardened rubber on the spoiler tips and mirrors
Returned quite a bit of the flexibility - now have to figure out the best treatment for them.
Reglued rear seat side panels - guess who bolted the seat uppers back in without these in place first and gets to redo it...ugh!
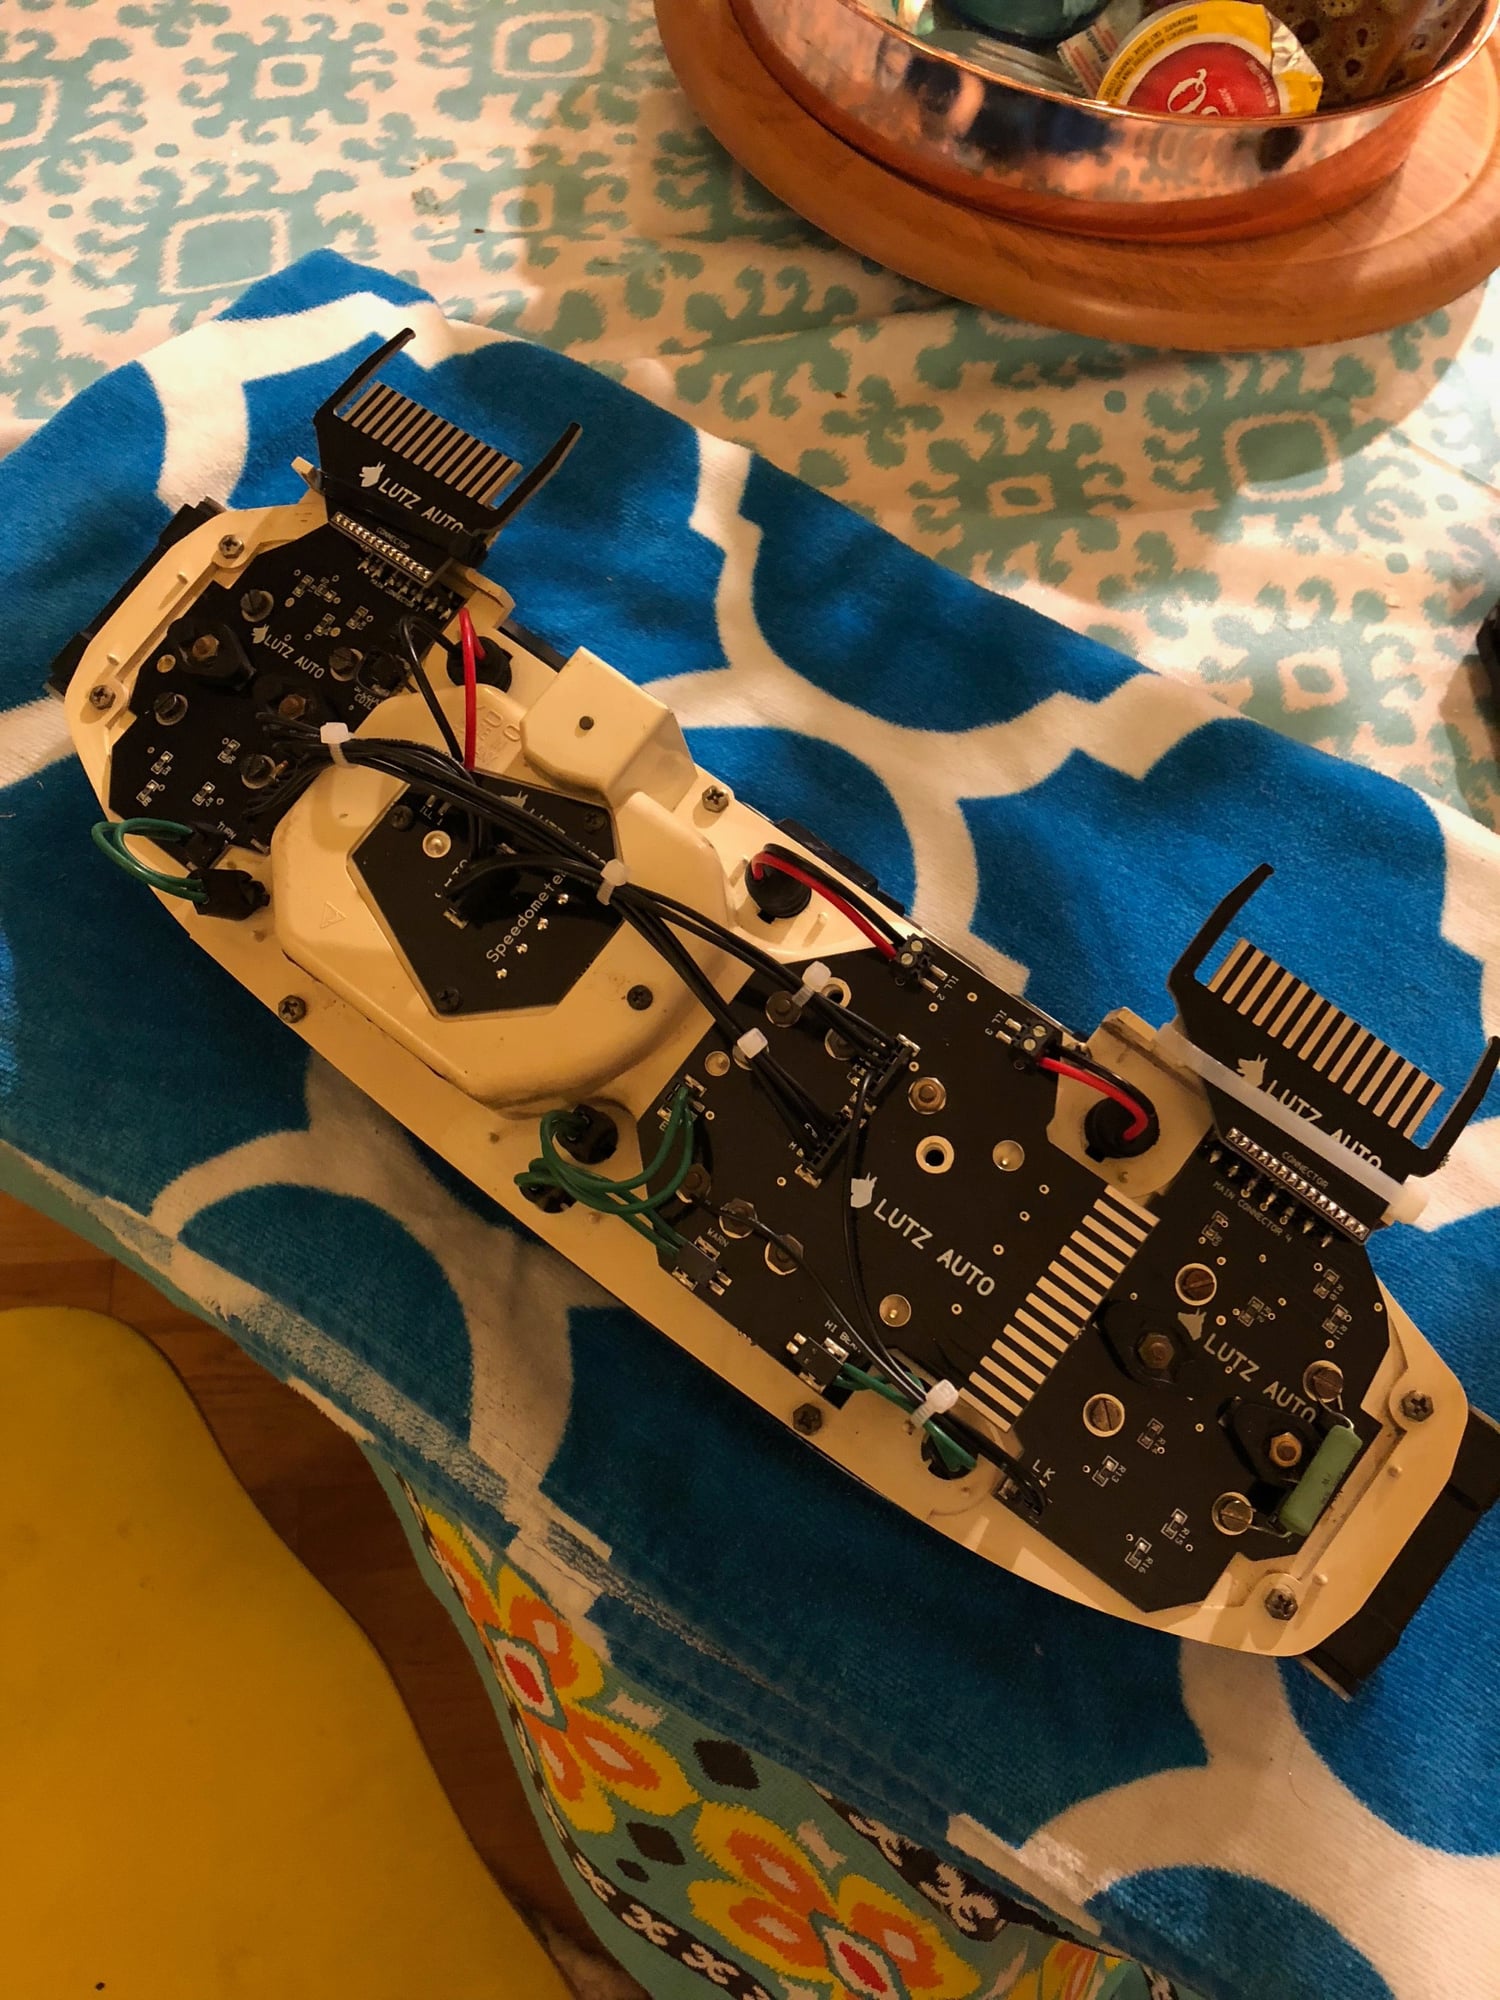
New electronics for the inst panel. Kit from Roger went in smoothly. Can't wait to test when I can power the car back up.
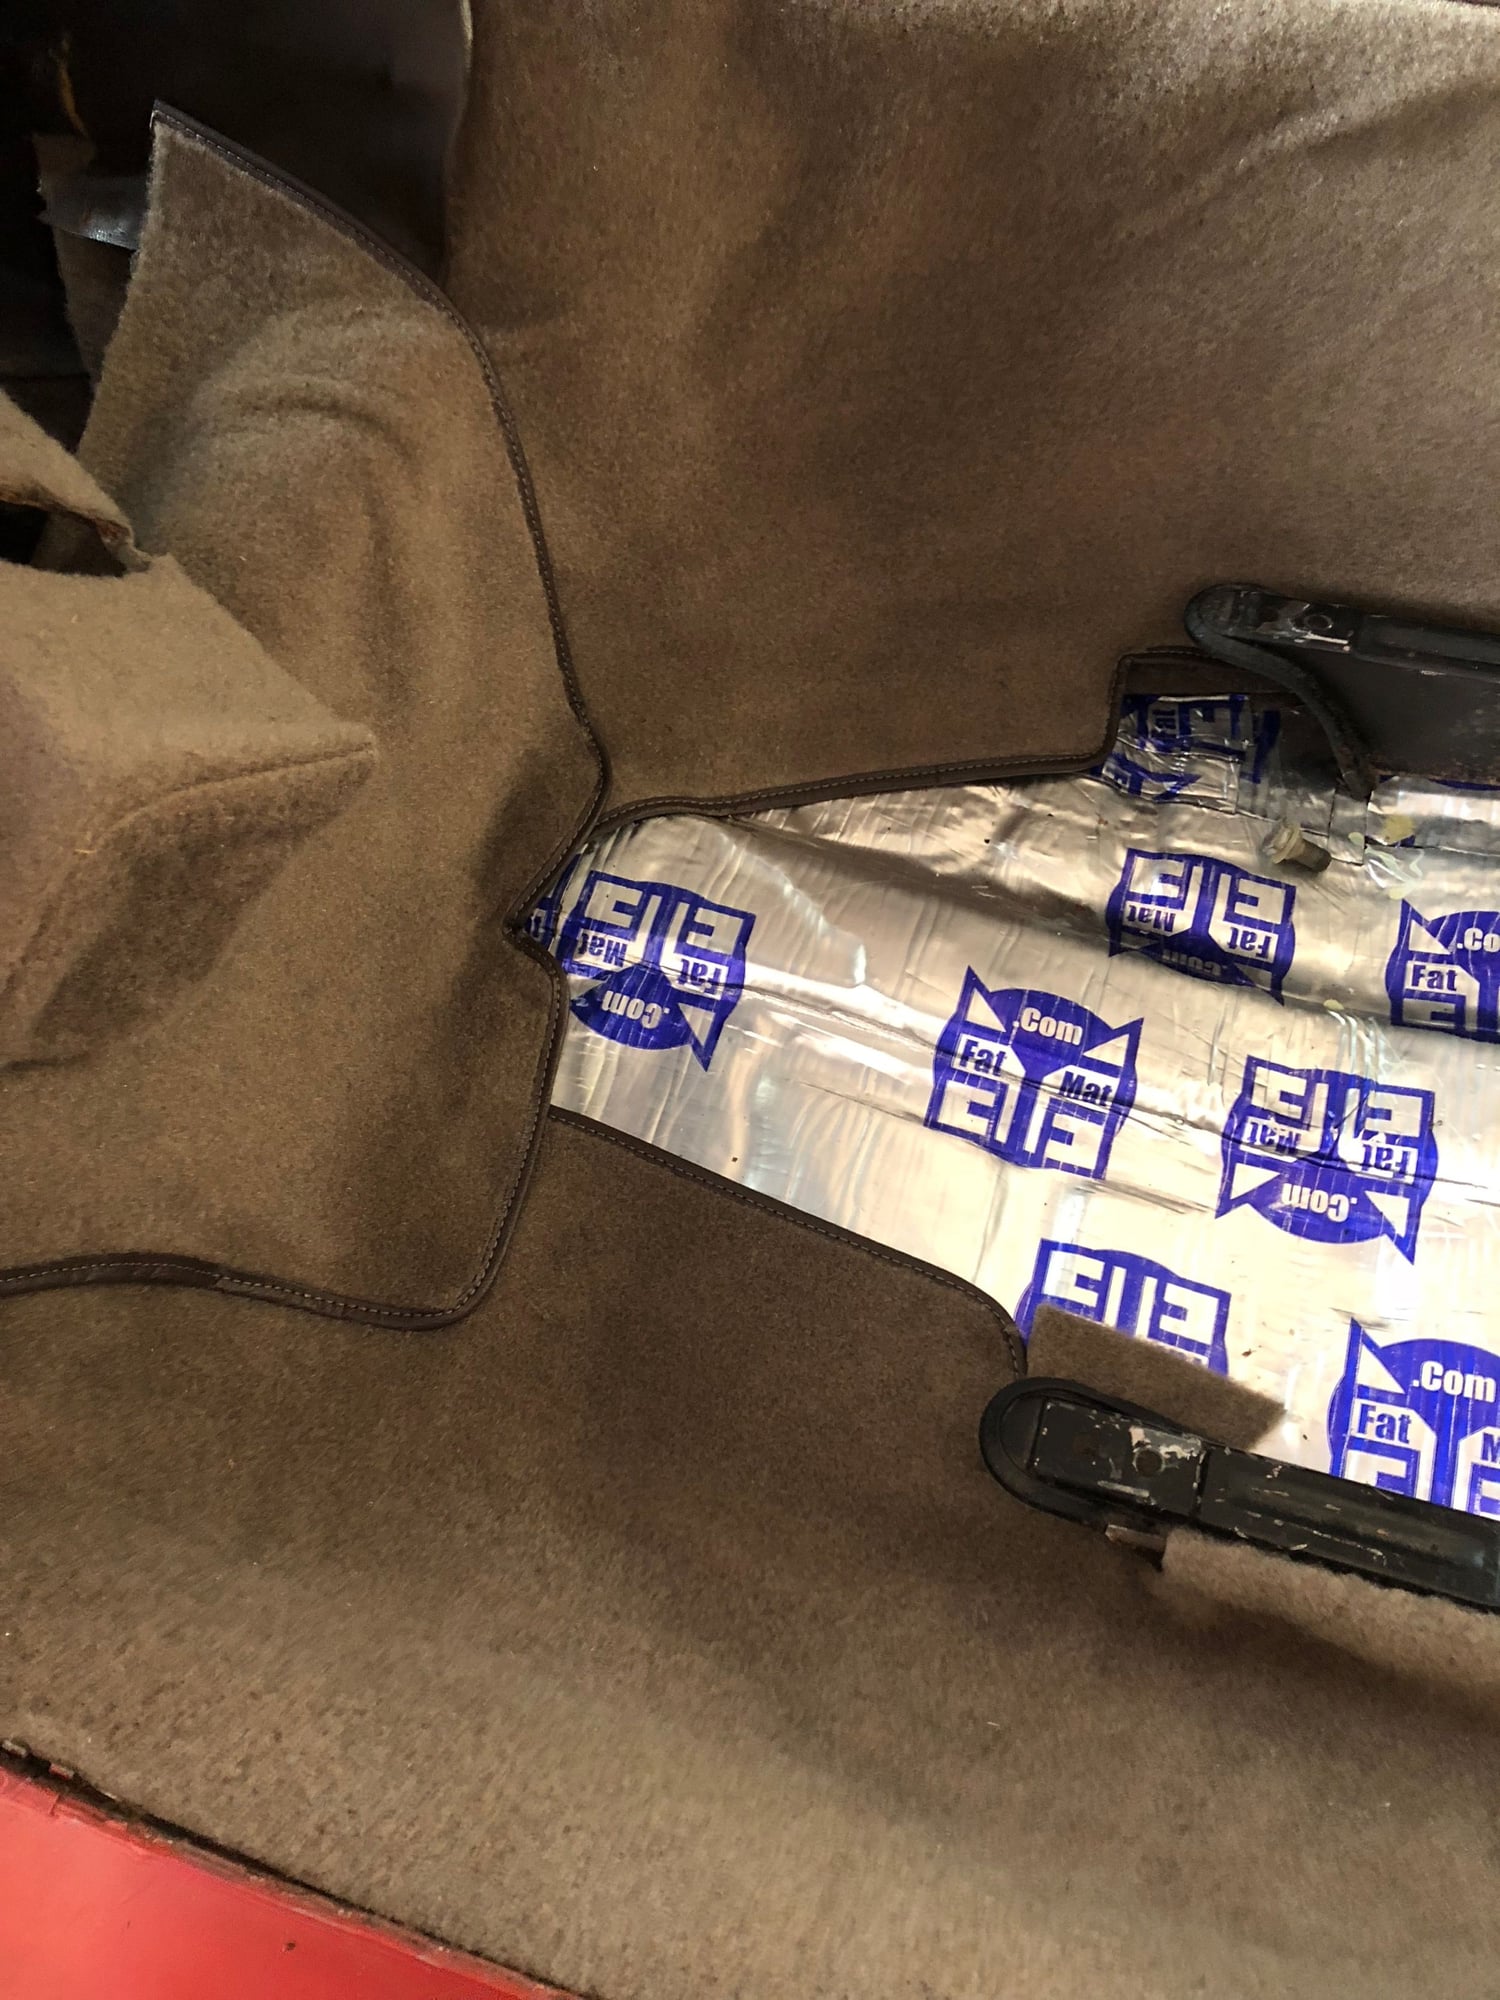
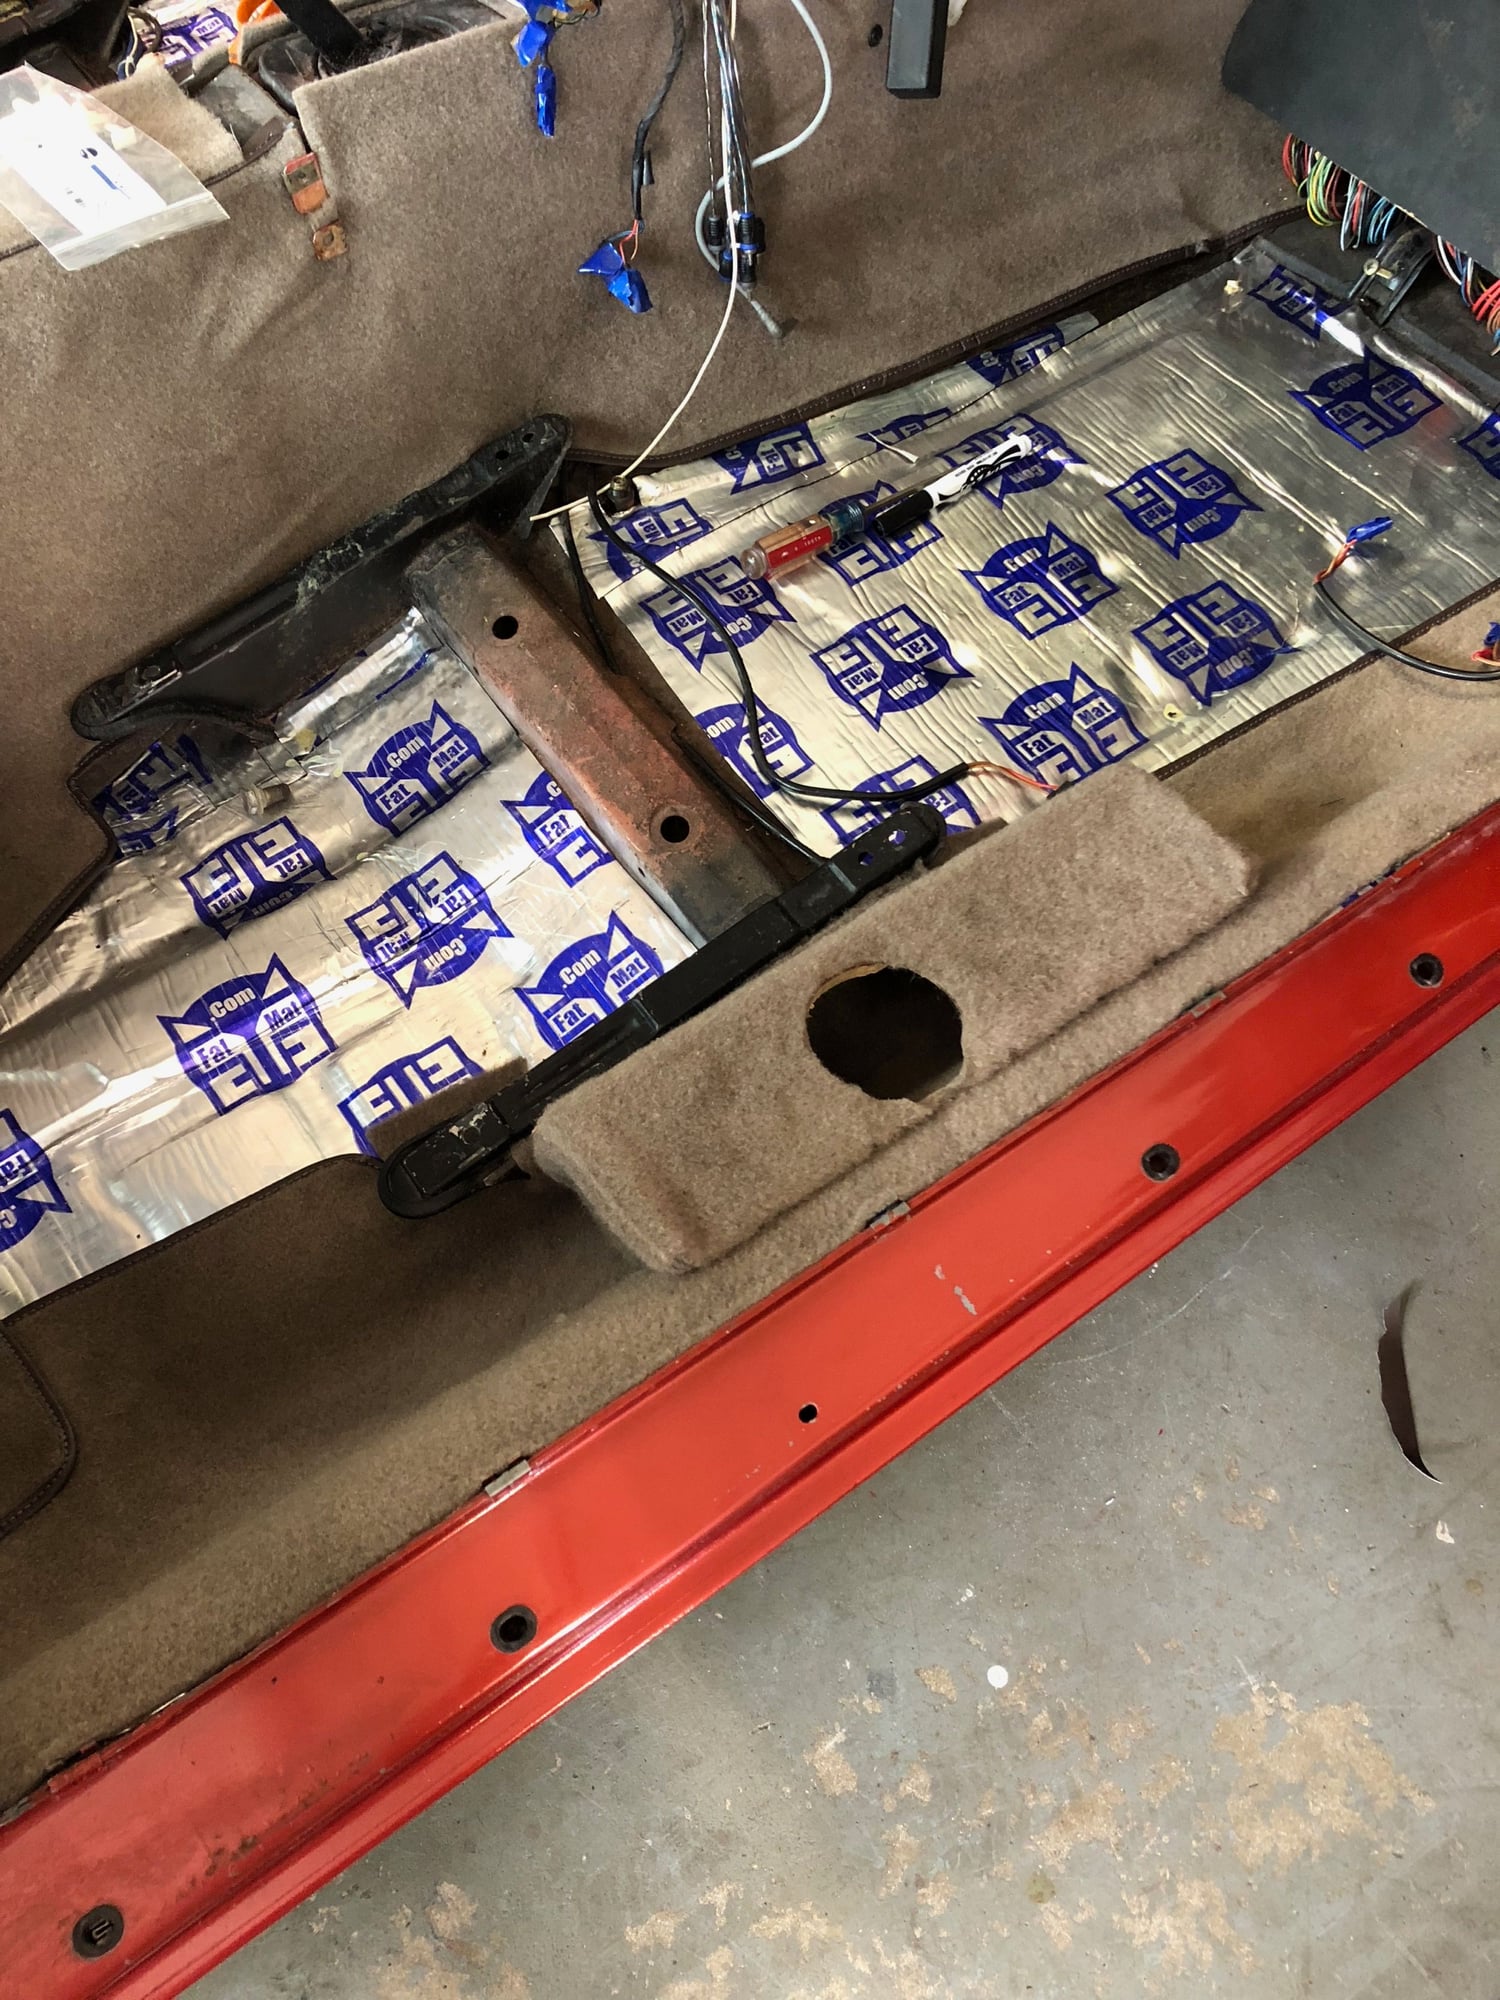
Carpet is still going in.
My new "cupholder trim piece over the OXS counter.
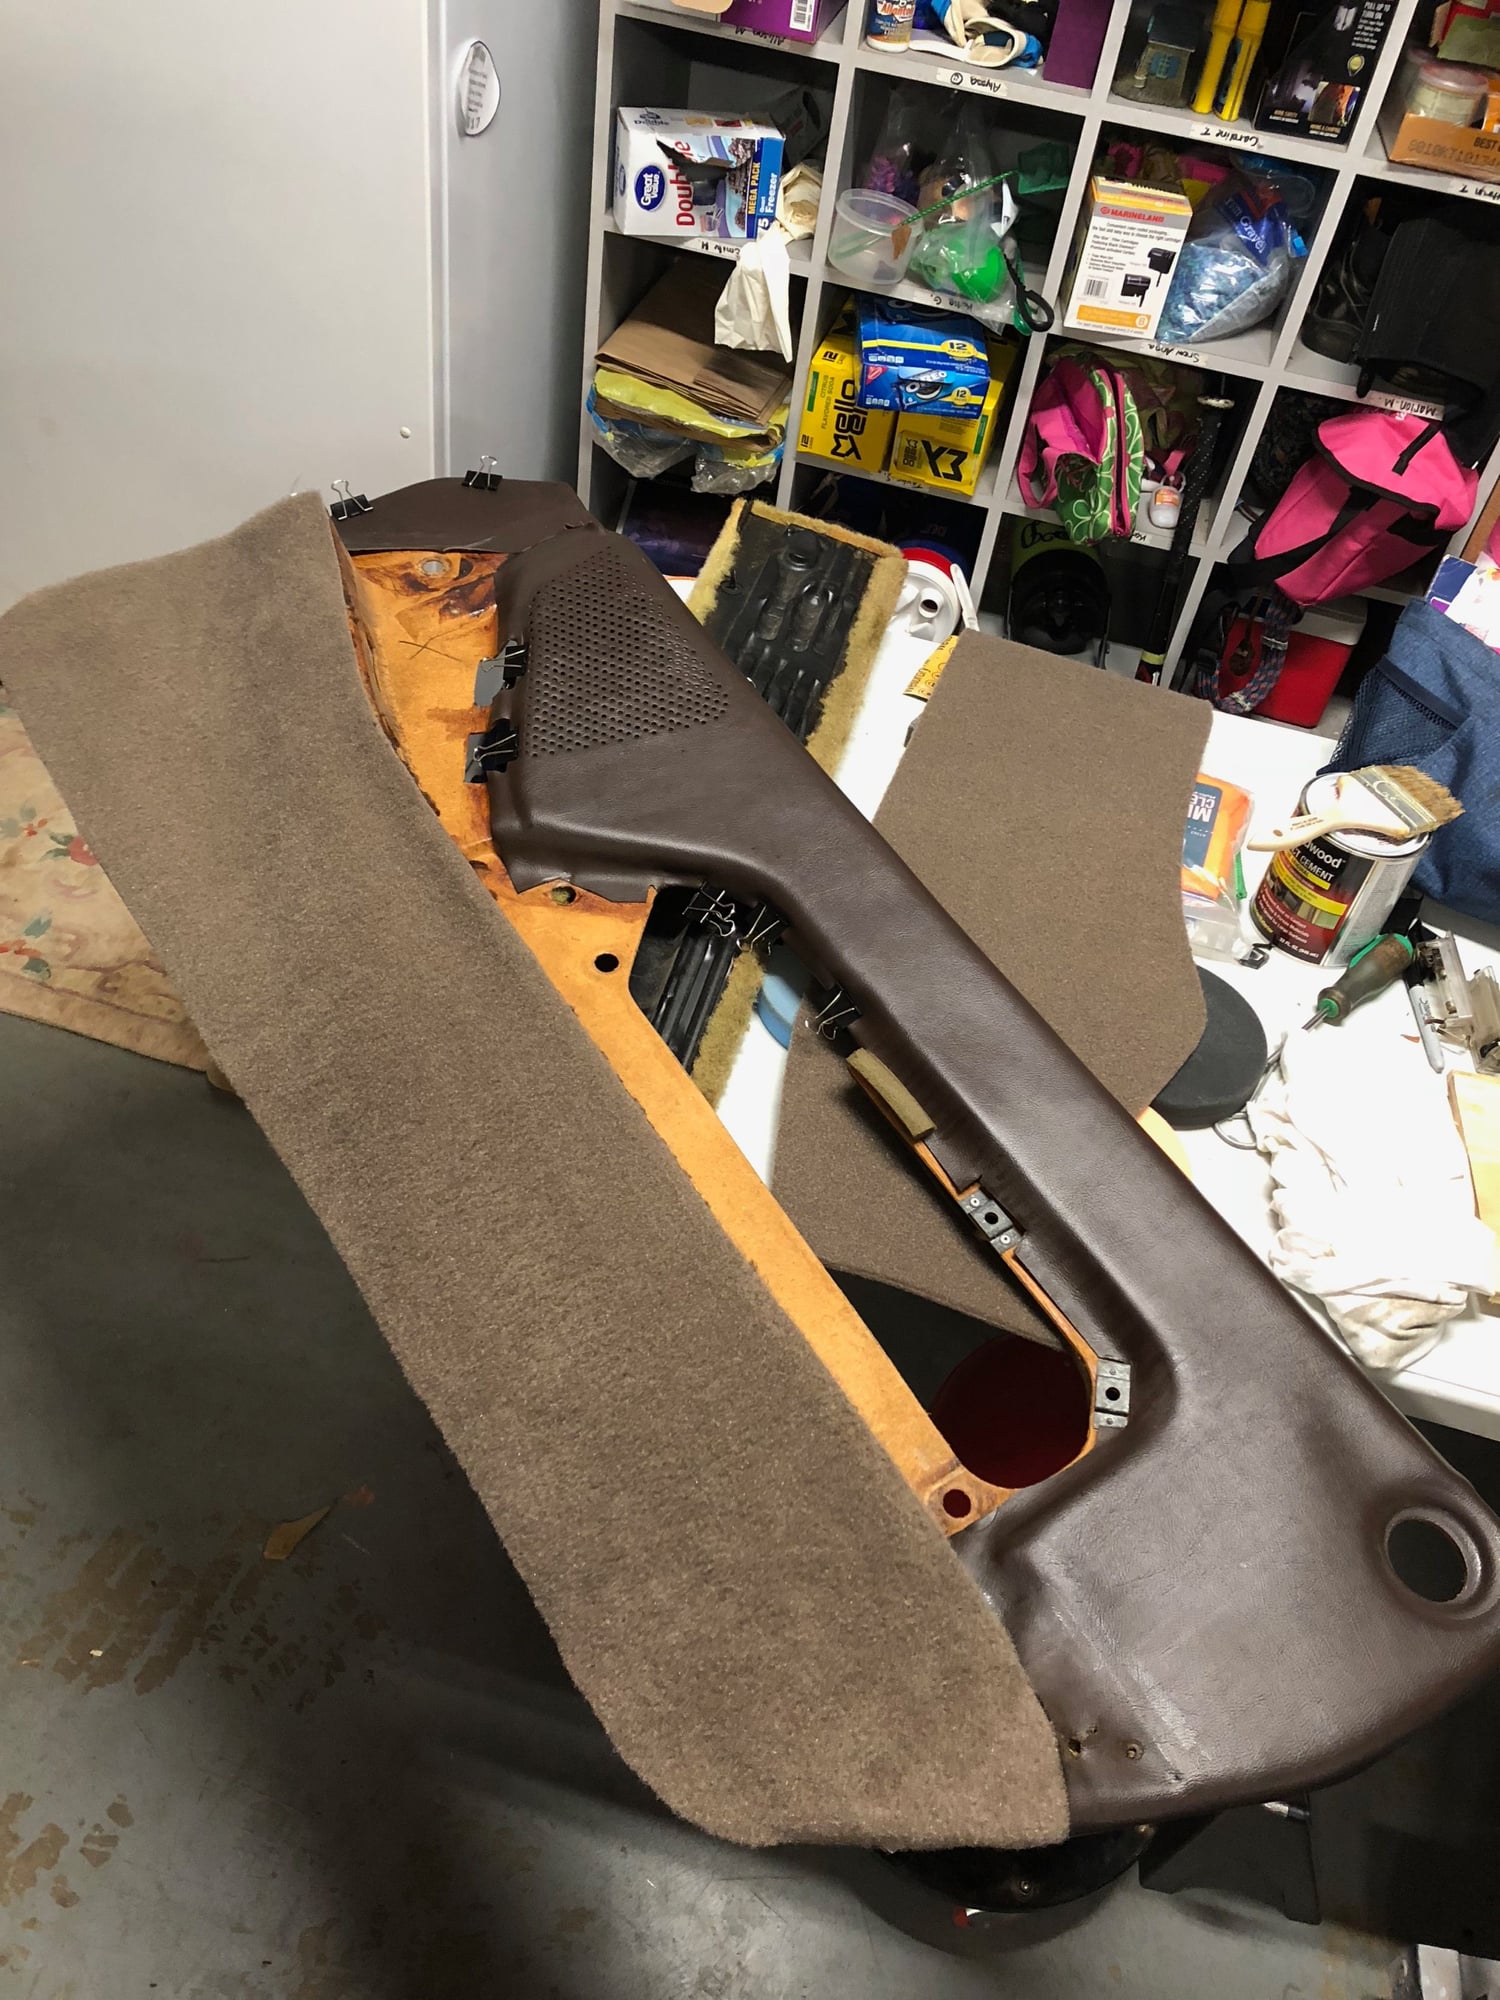
More trim going back in along and along.
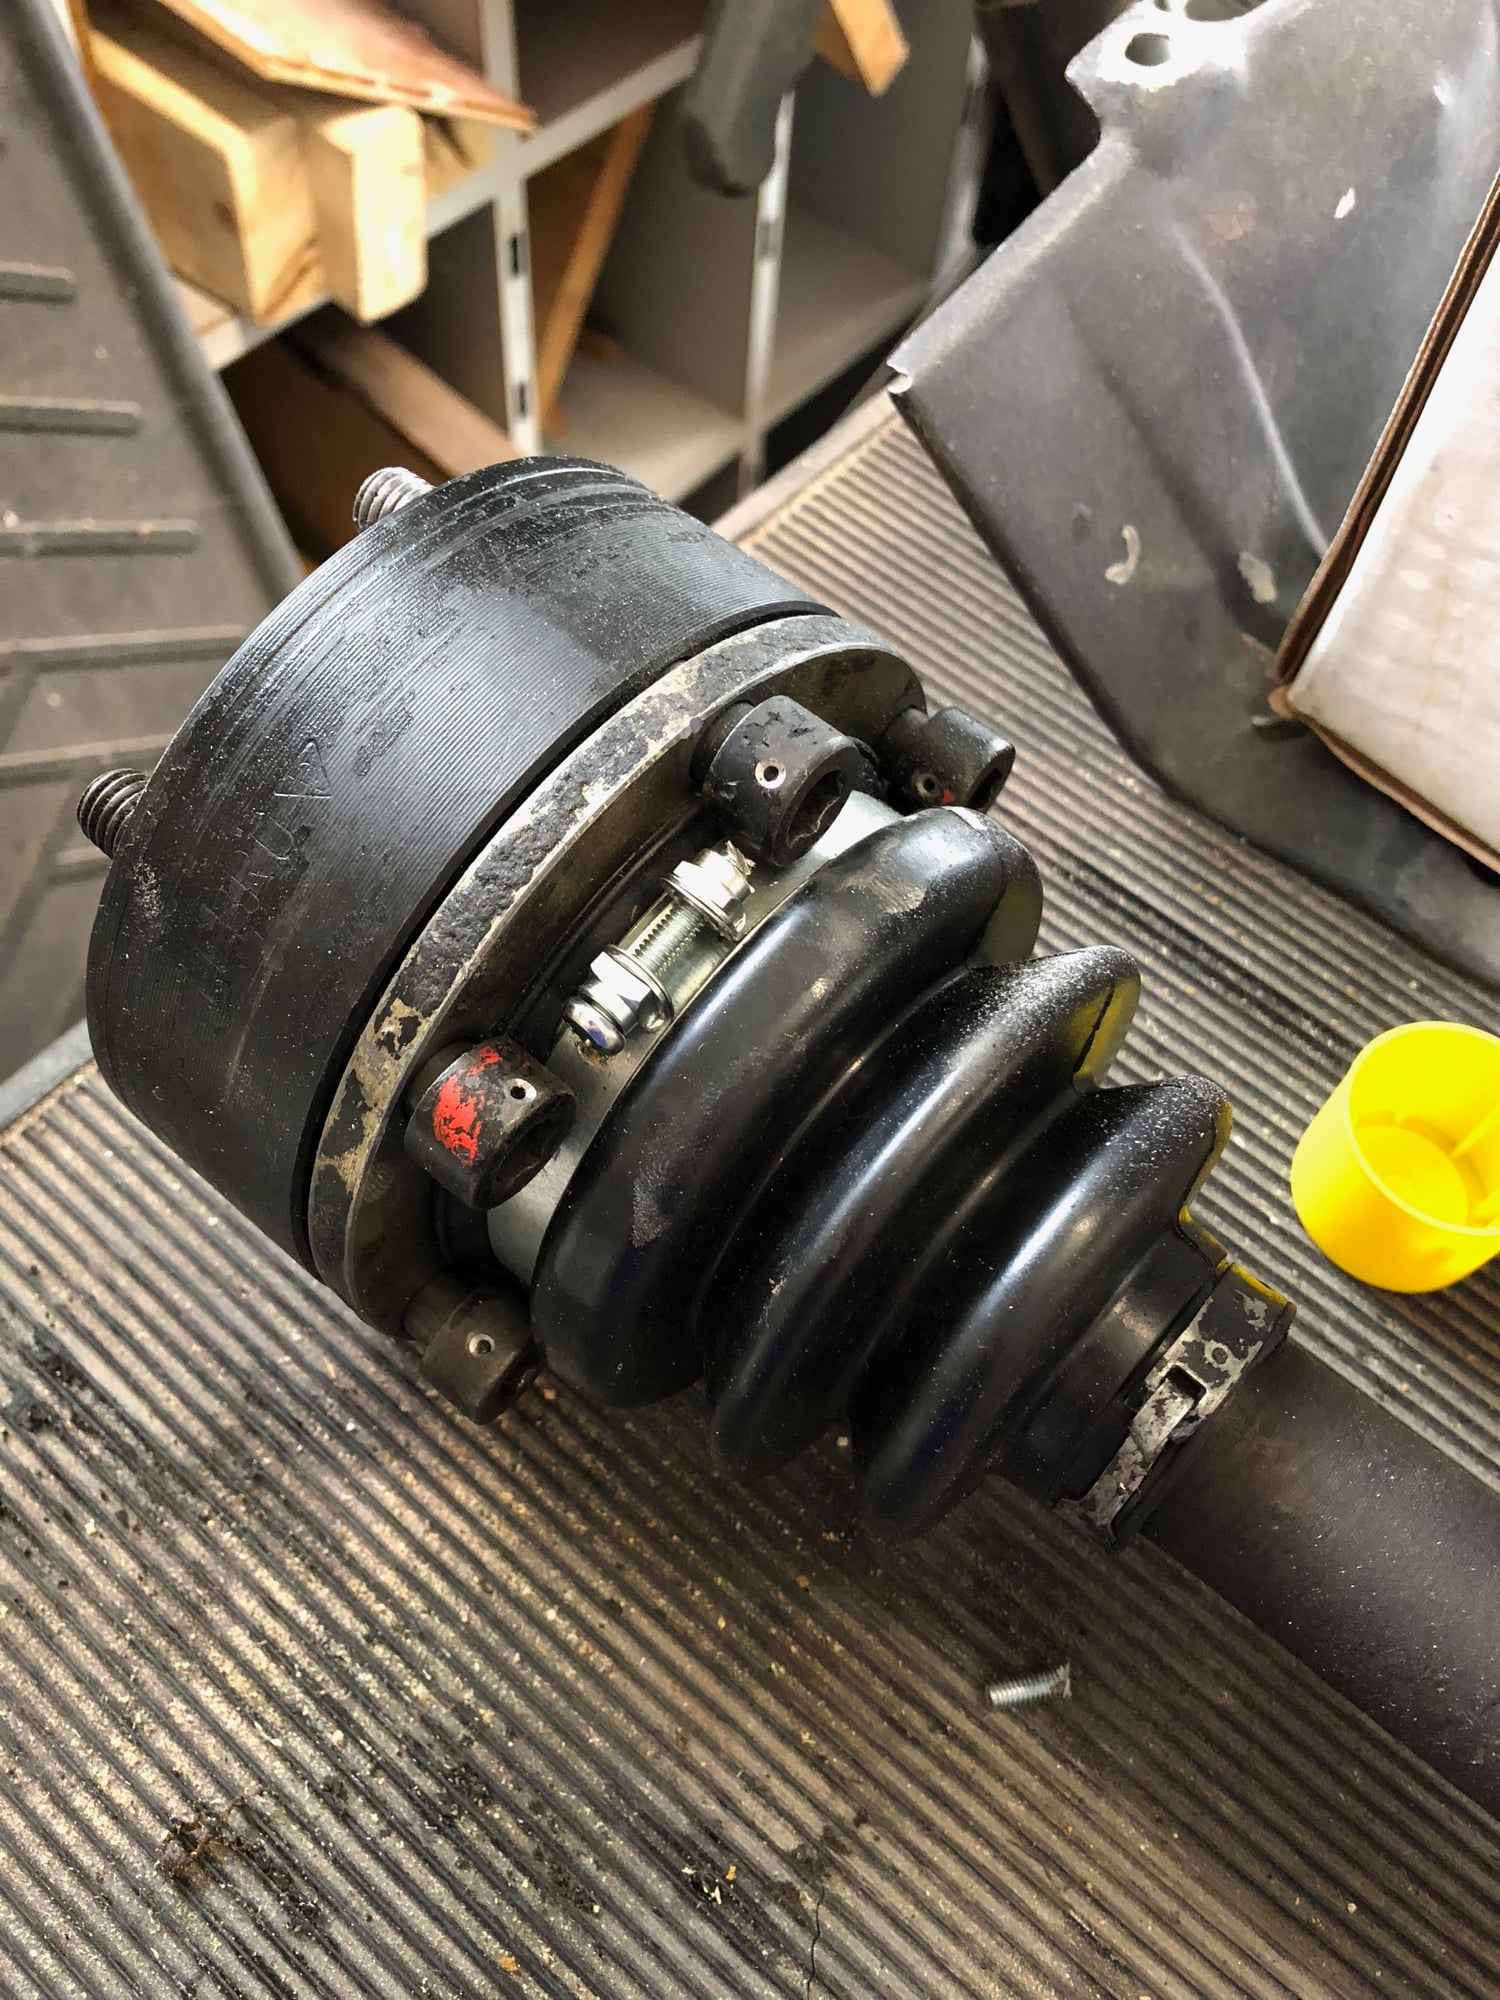
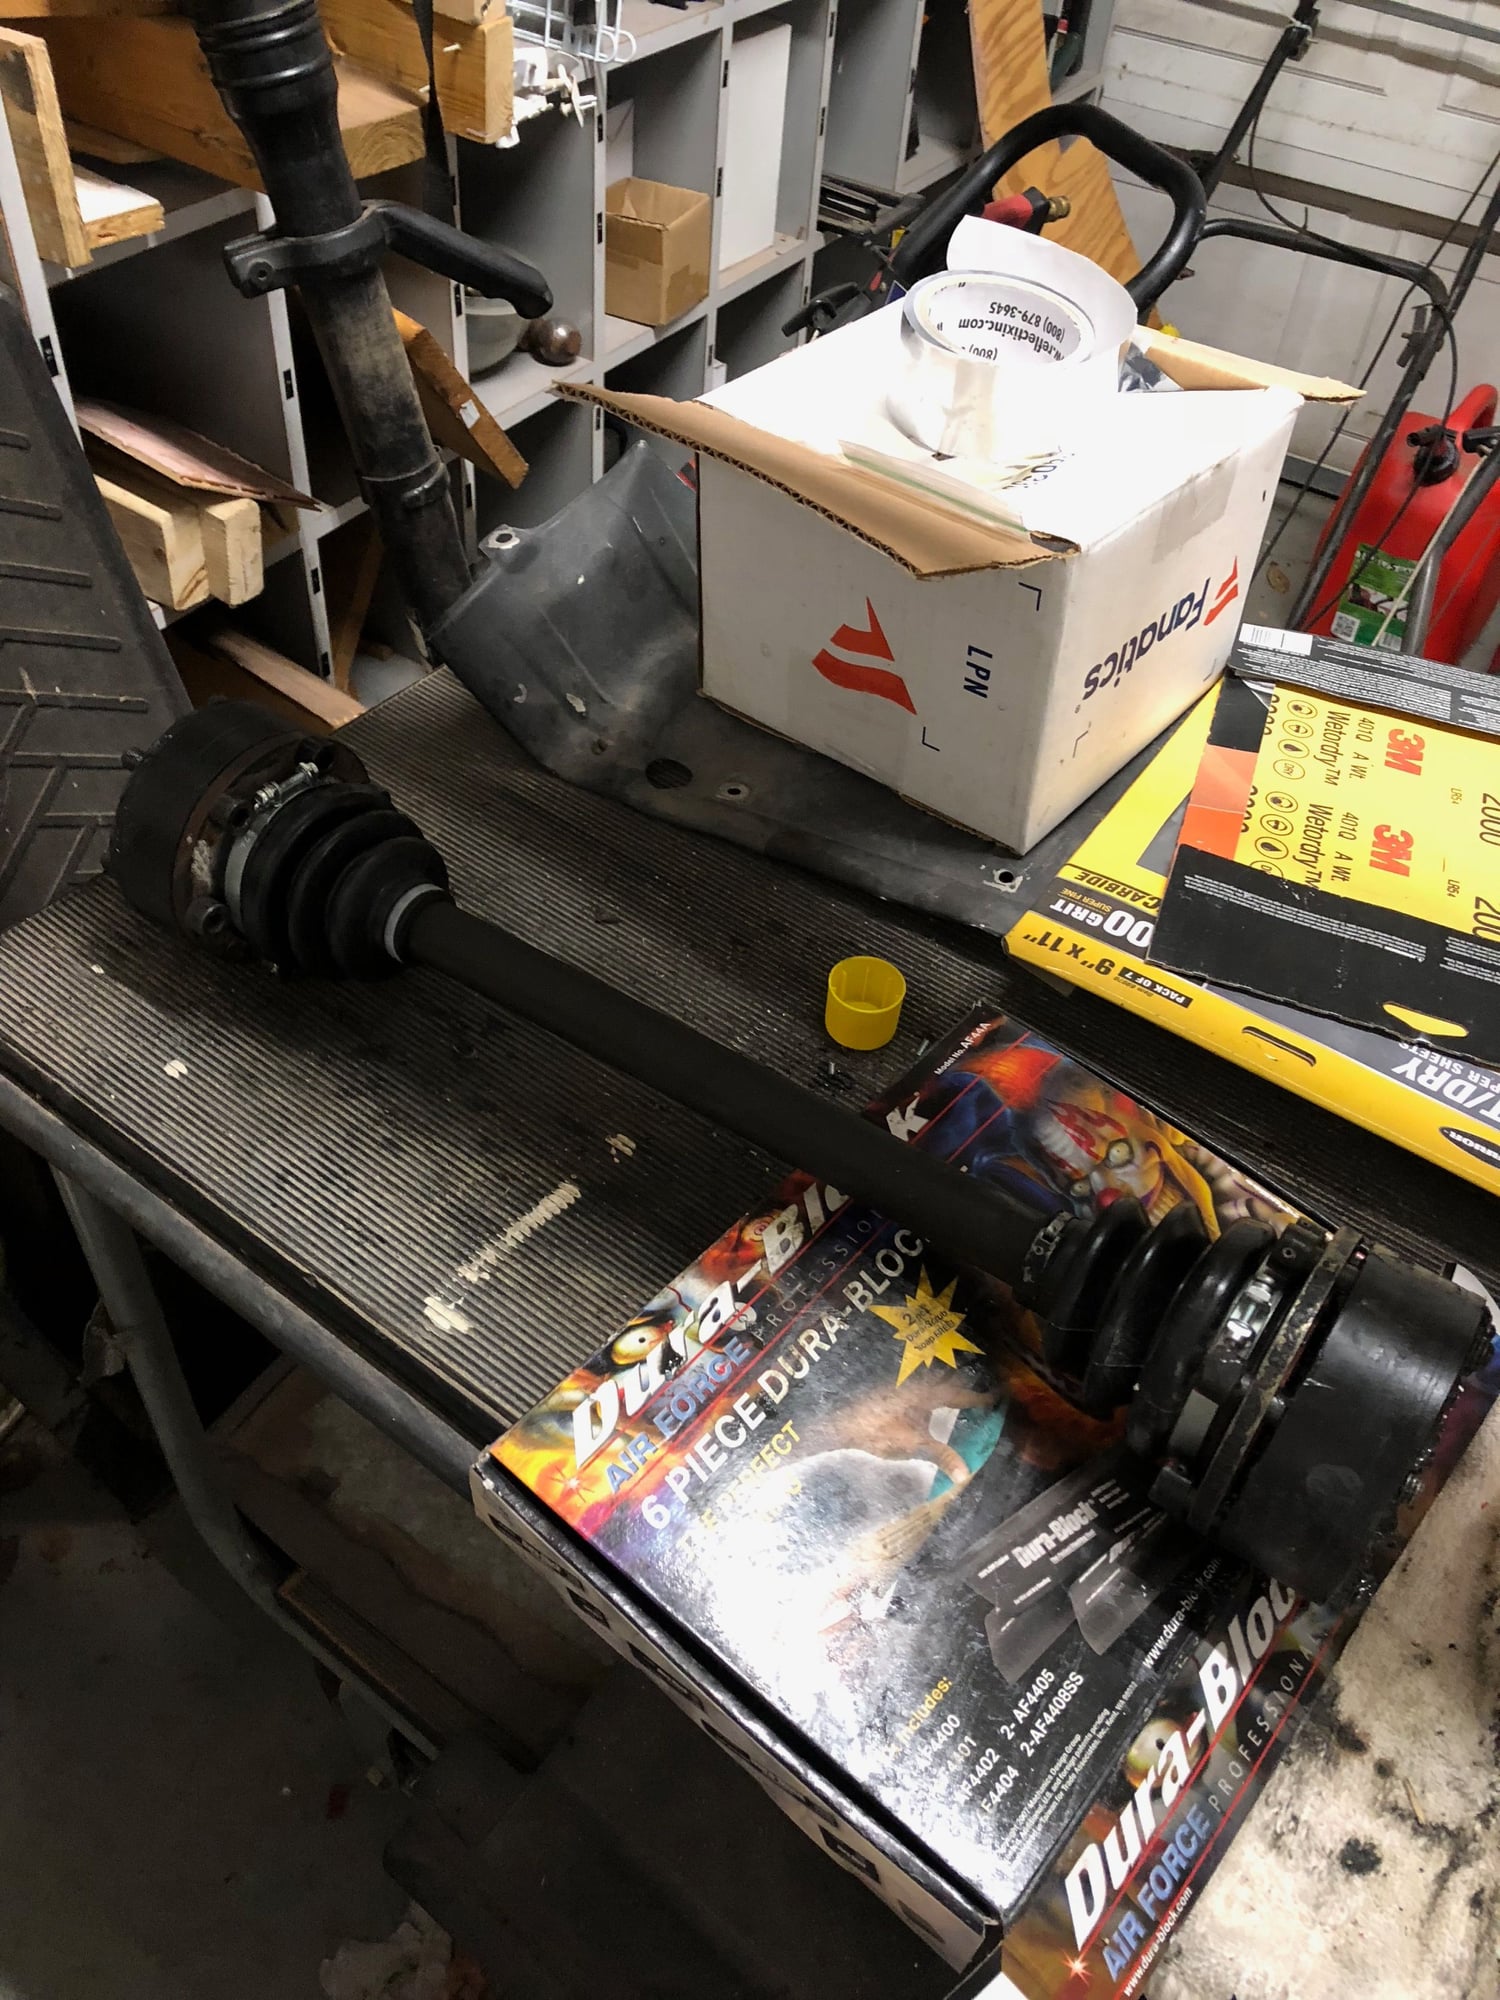
Inner CV joint rebuilt. Hope to get the outer done this week and reinstalled.
Well things continue to come together...got the axle shaft completed last night (thanks to my good buddy Ron (airtekhvac) for supplying a gently used replacement flange for the beat up and bent up old one)! Also got one piece of carpet replaced on one door. Thanks to Rob at Classic9 for a quick reply and looking out for me. I inadvertently got two of the same carpet piece in my kit and he is sending the correct piece asap. Great service from Rob!
Replacement went quickly for that.
I really like the combination of the original brown interior and the new mocha carpet. I am hoping the slightly darker color will show a bit less dirt.
Ron came through! Thank you sir - hope to get the rebuilt shaft bolted in tonight.
Of course did not get too much done with a trip to SITM on Saturday, but was able to get a few things worked in...
1) Reprimed, sanded and repainted rear bumper. Still need to clear it, but I think it is going to be a better finish than what it was.
2) Cleaned door lights - what a difference the little things make
3) CV axle reinstalled but not torqued and wired yet
4) Started working on passenger front seat.
Pretty dirty. Cleaning things like this and knowing they will go back into a newly cleaned and carpeted door panel really make me feel like car is closer to being as it was in late 1982.
Nice and clean. Not worried about changing these lights out since there is plenty of room for them not to short out. Planning to replace the headliner and hatch lights with VW units that will avoid potential for shorts.
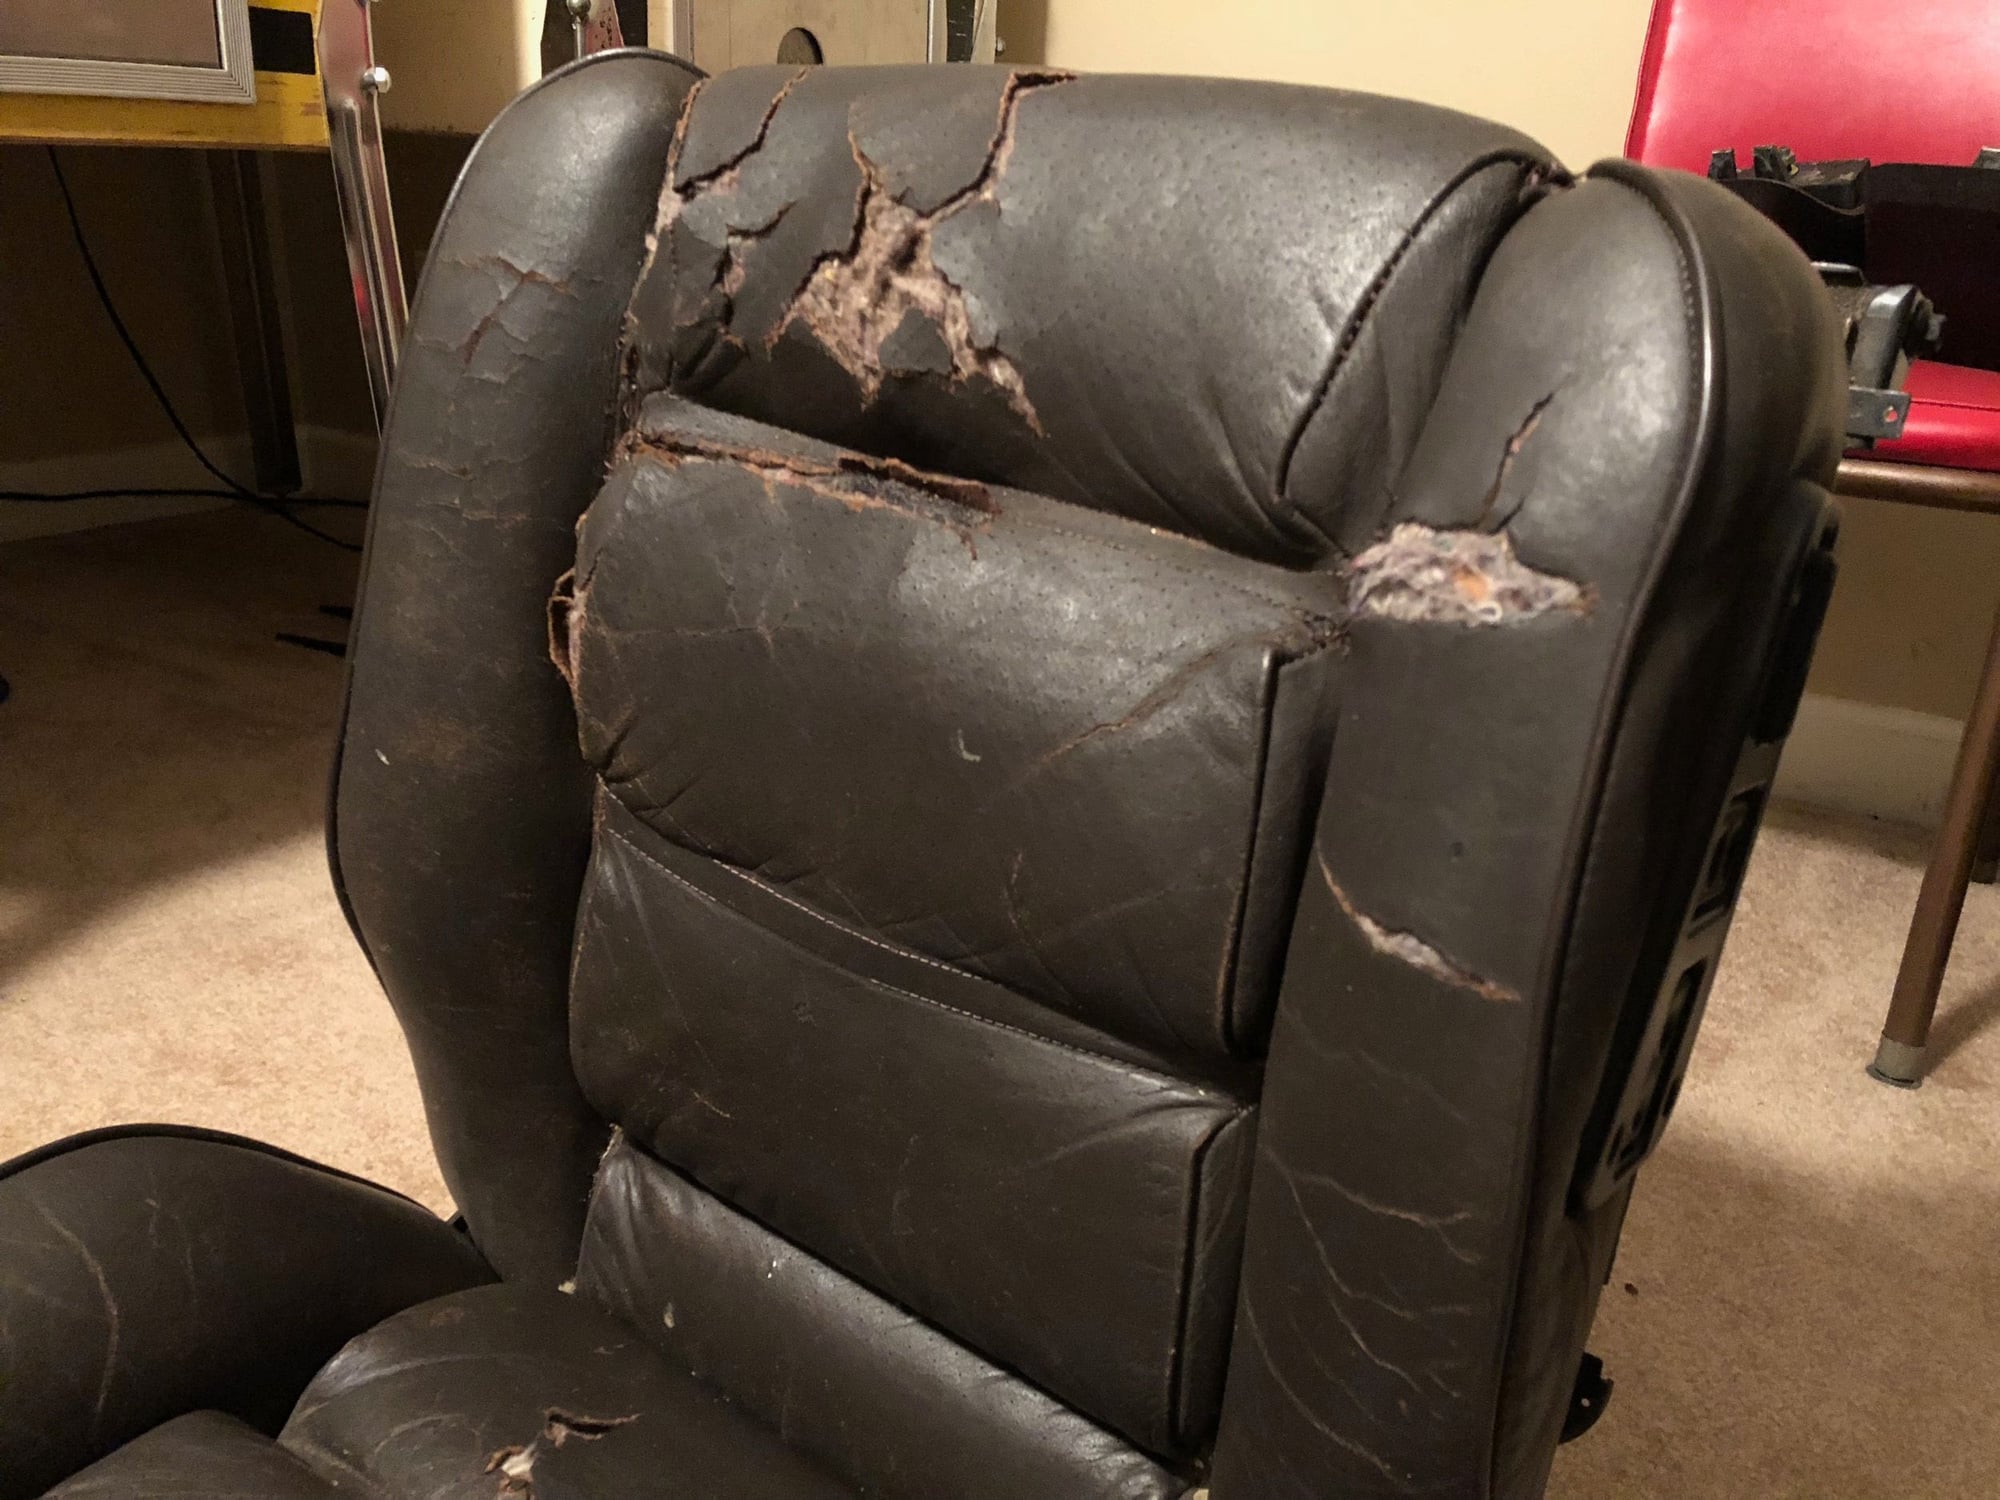
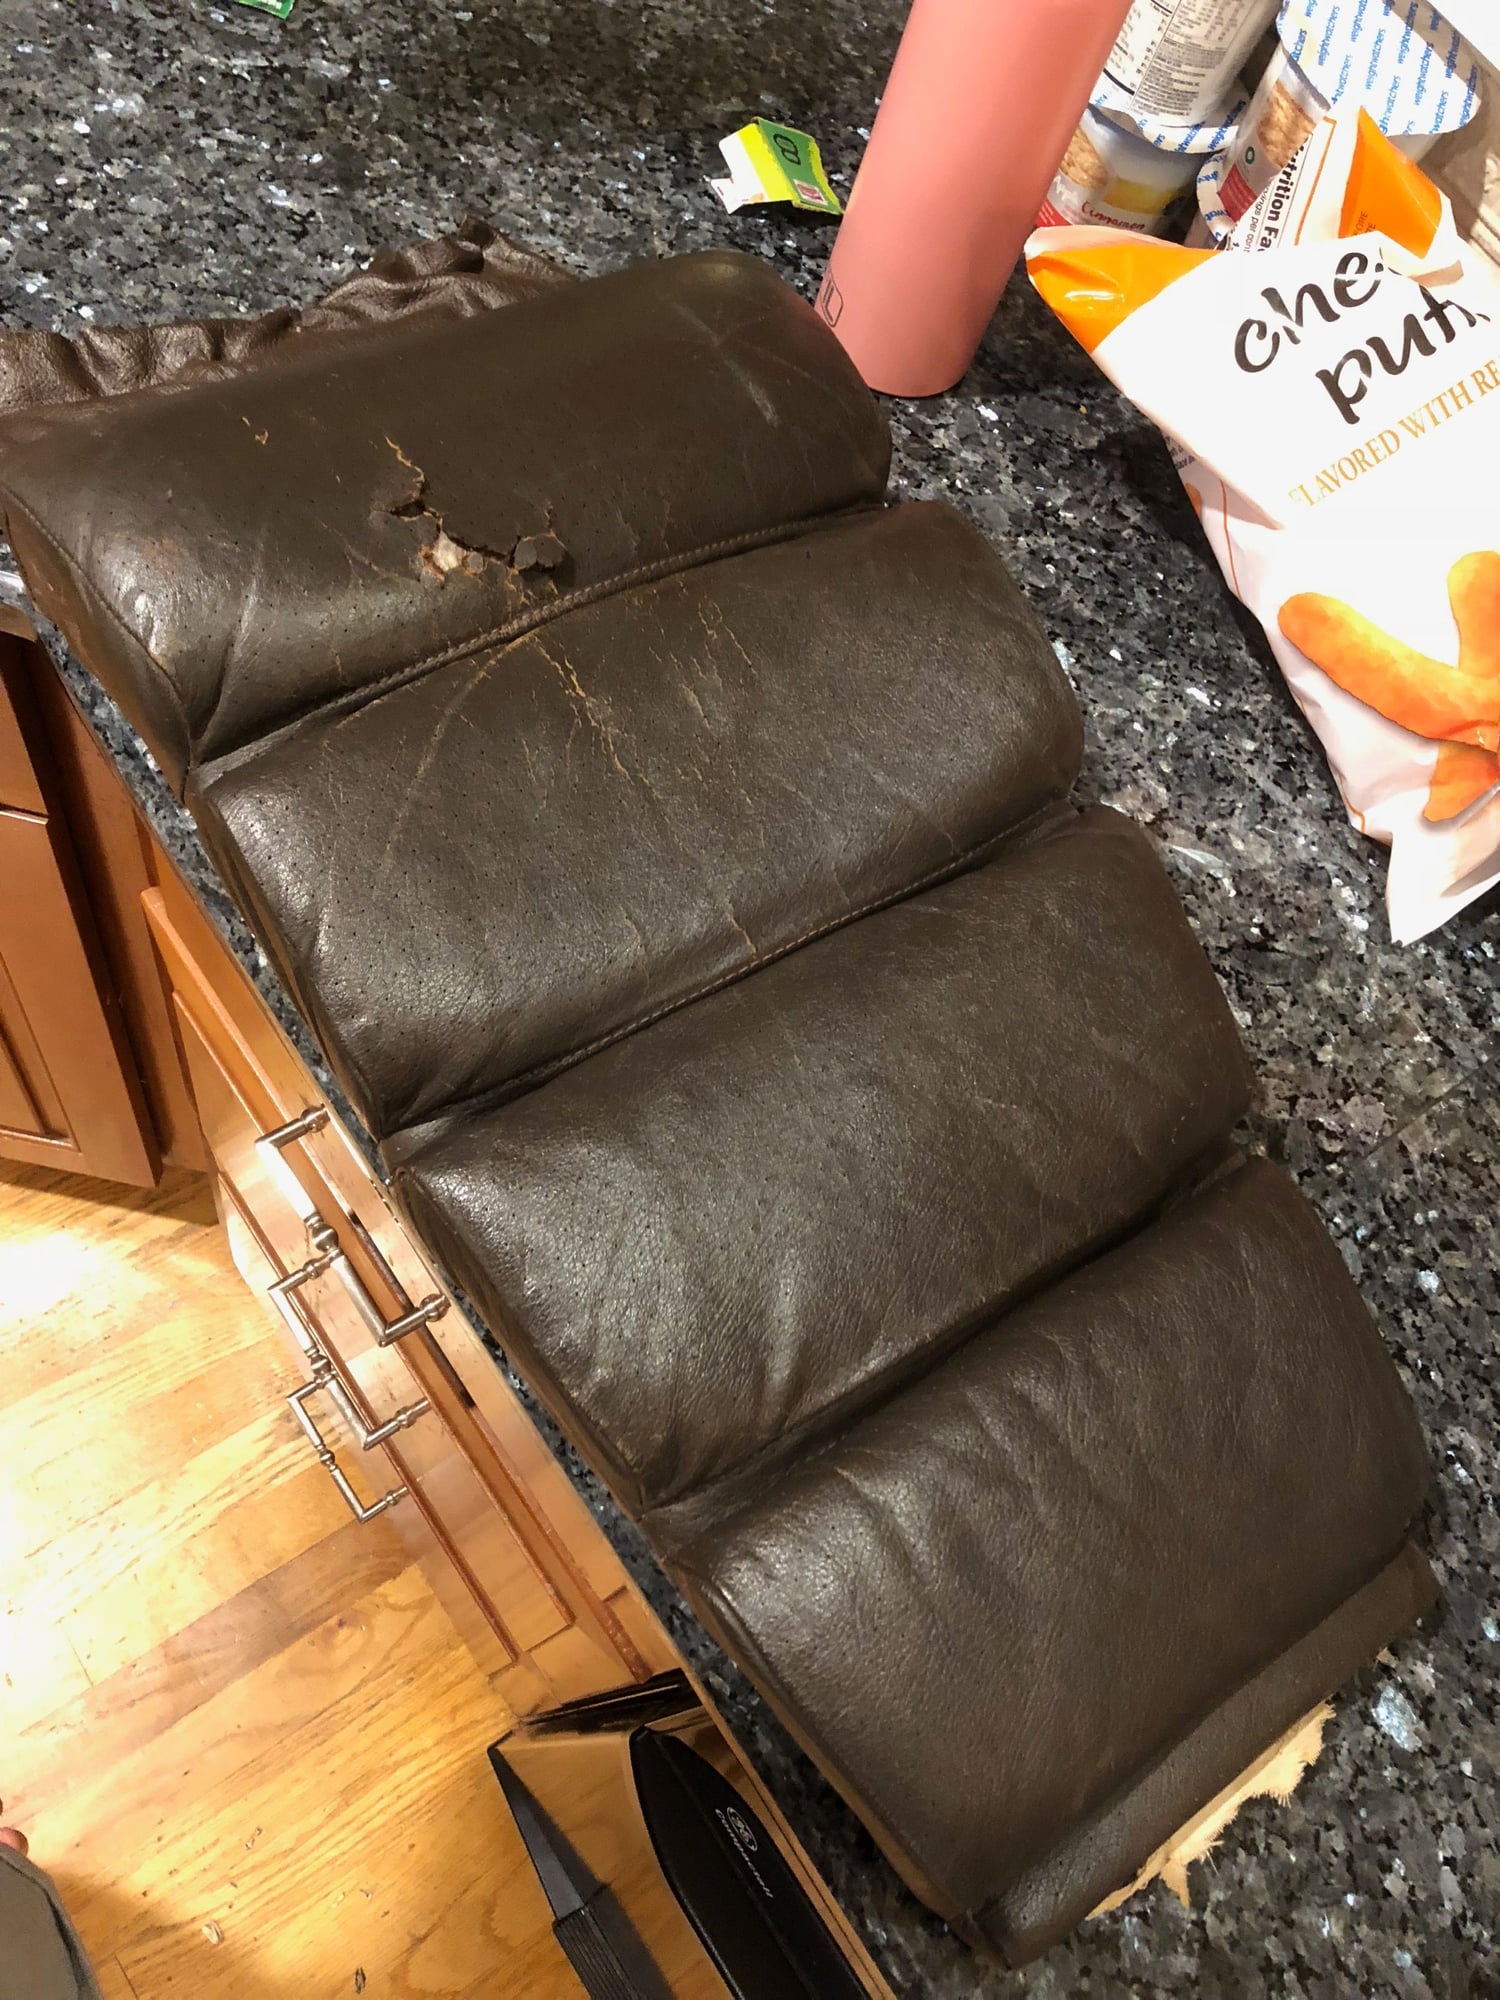
Original seat covering
I was surprised at how much this leather darkened over the years
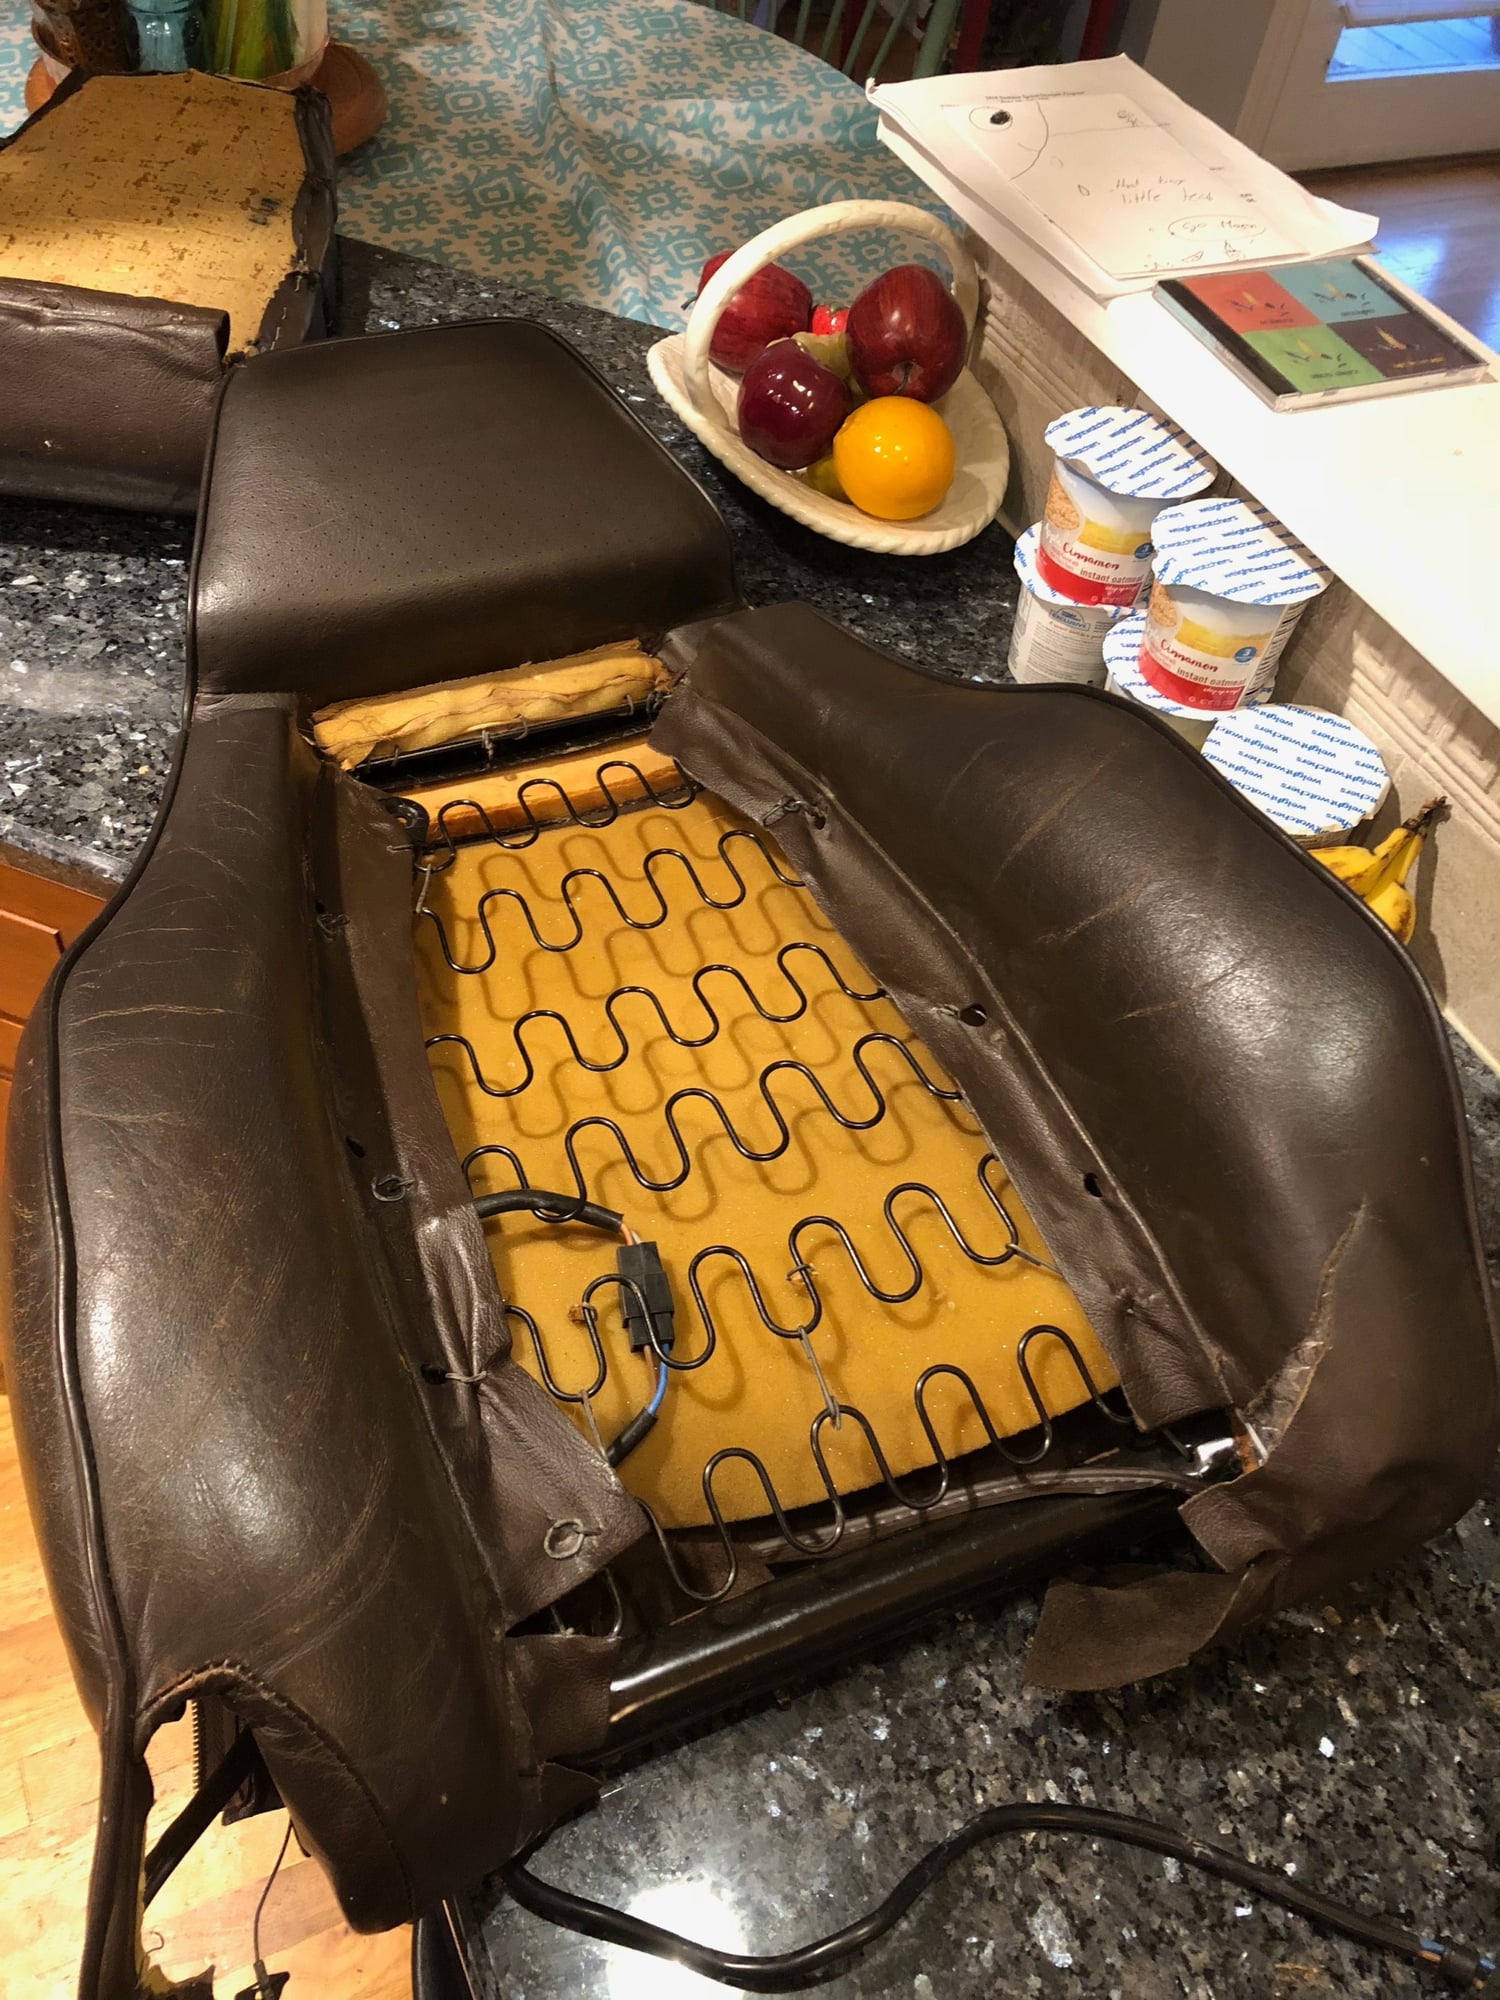
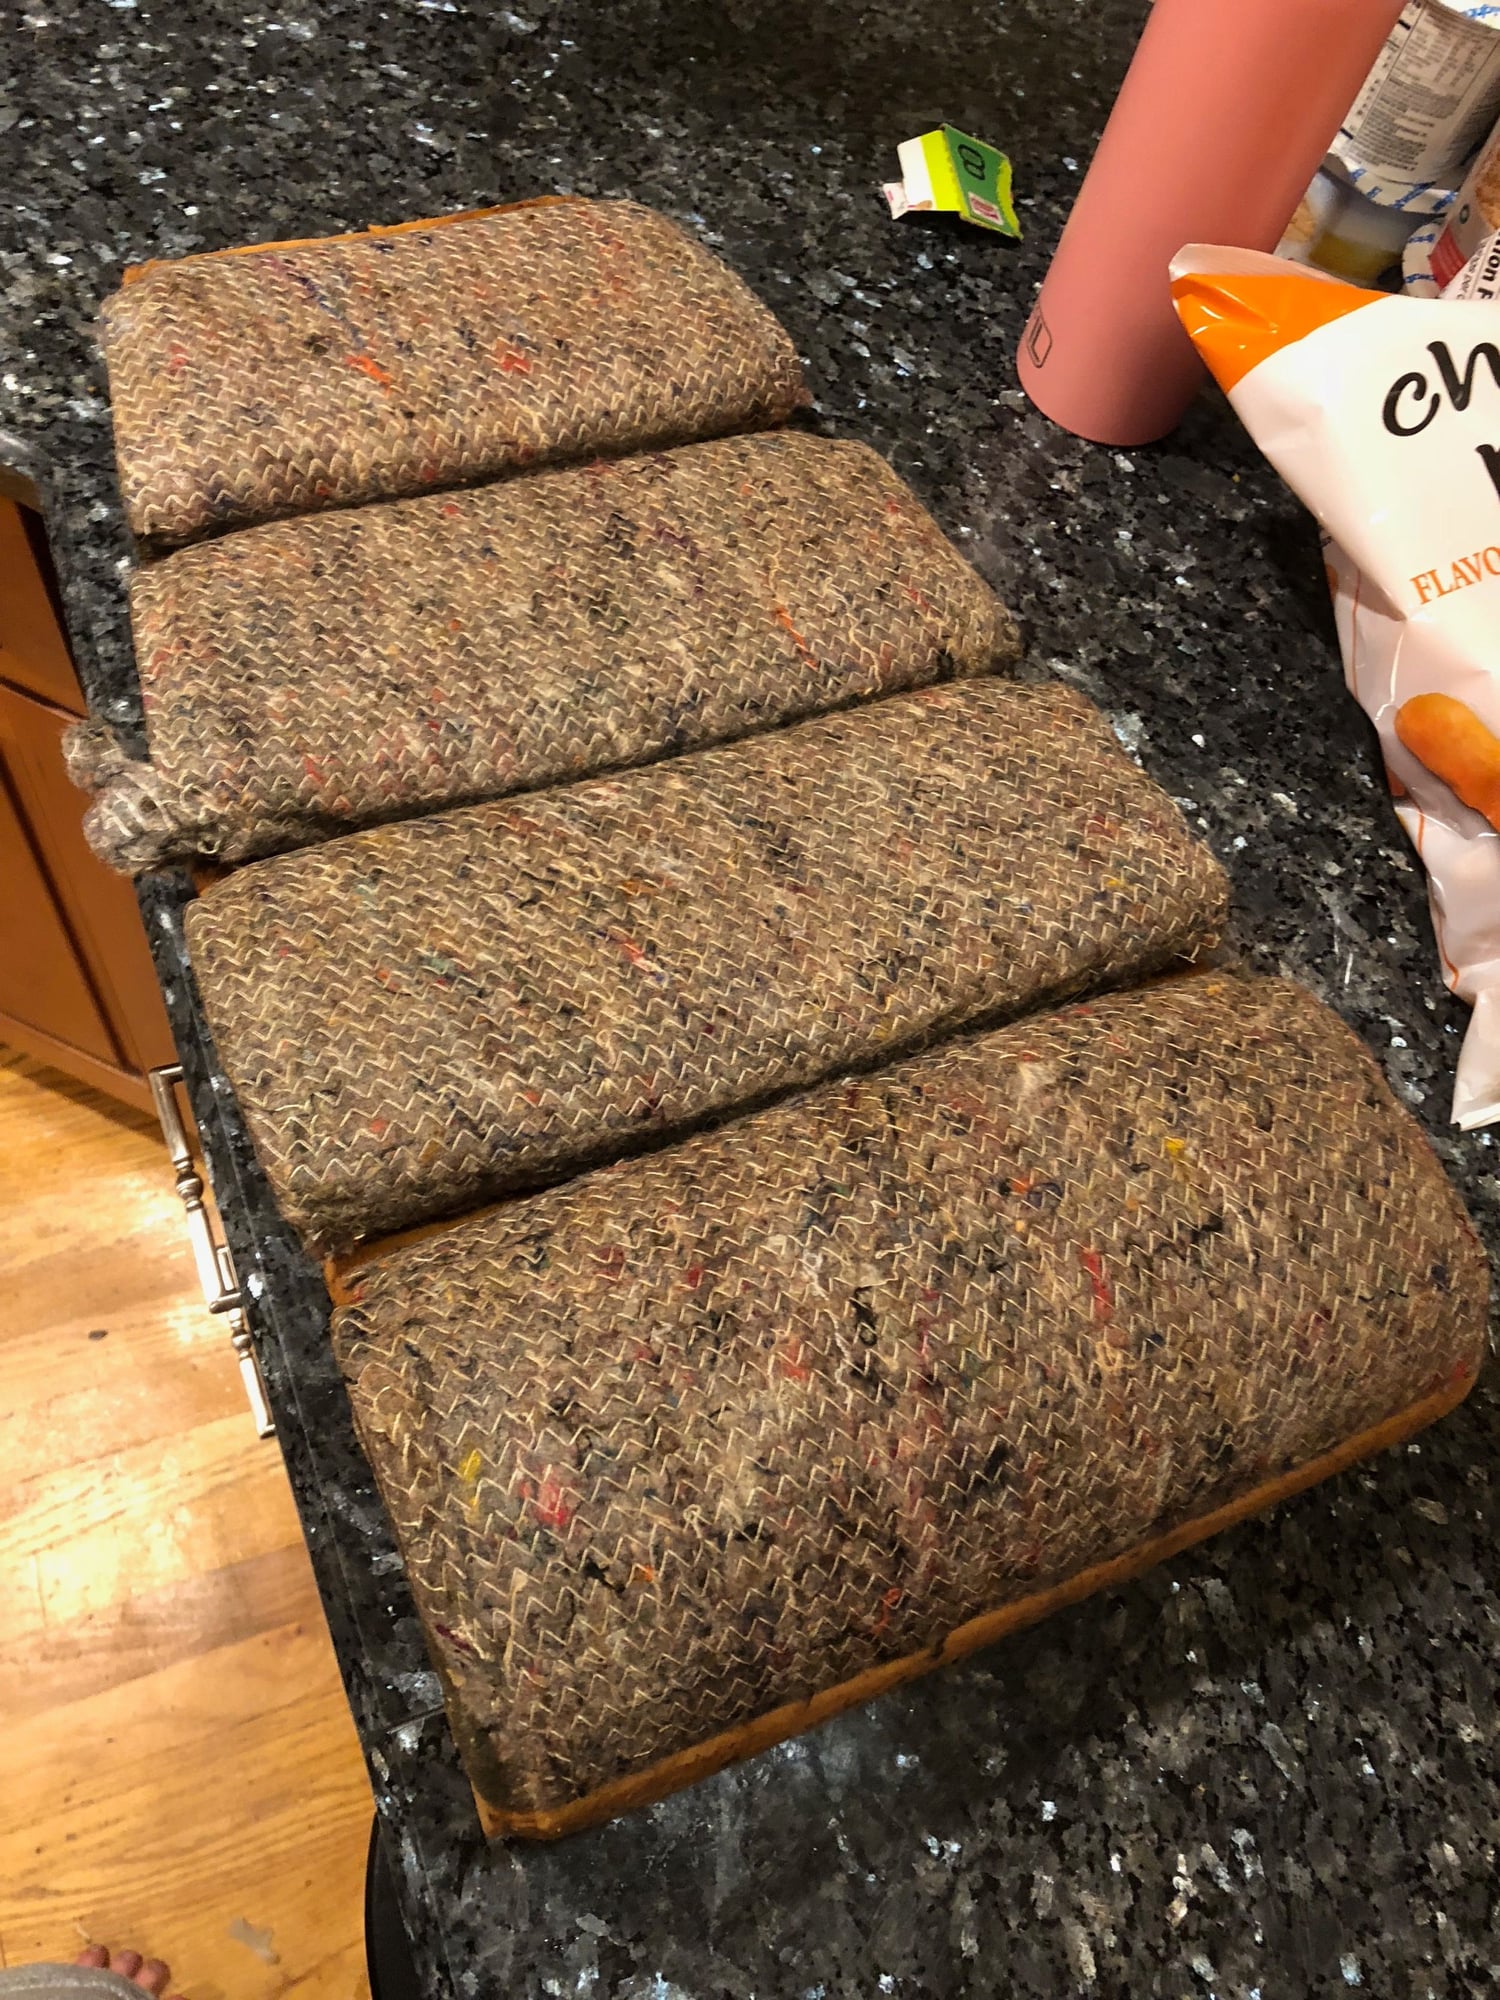
Disassembly. As always I have LOT of pics of each little step of disassembly if anyone needs reference pics.
The padding underneath is in VERY good condition - pleasantly surprised. May have to beef up the padding under the middle section though.
Looking awesome, Scott!!!
You have gone beyond my limit. I am terrified of upholstery work!
(says the fool with an automatic transmission apart on his work bench)
Oh man...we'll trade work then...send me your seats and I'll send my transmission when it needs it! And yours is an auto to boot. I think I would be less terrified of the manual!
Yeah - its going to be pretty shallow but better than nothing. Need to find an insert for it.
Since I did not have an amp there, I figured it was worth a shot. If the E-brake mechanical stuff was not underneath on the driver side, I would do the same there. I don't have the ***** for audio, hatch release, or headlight adjust.
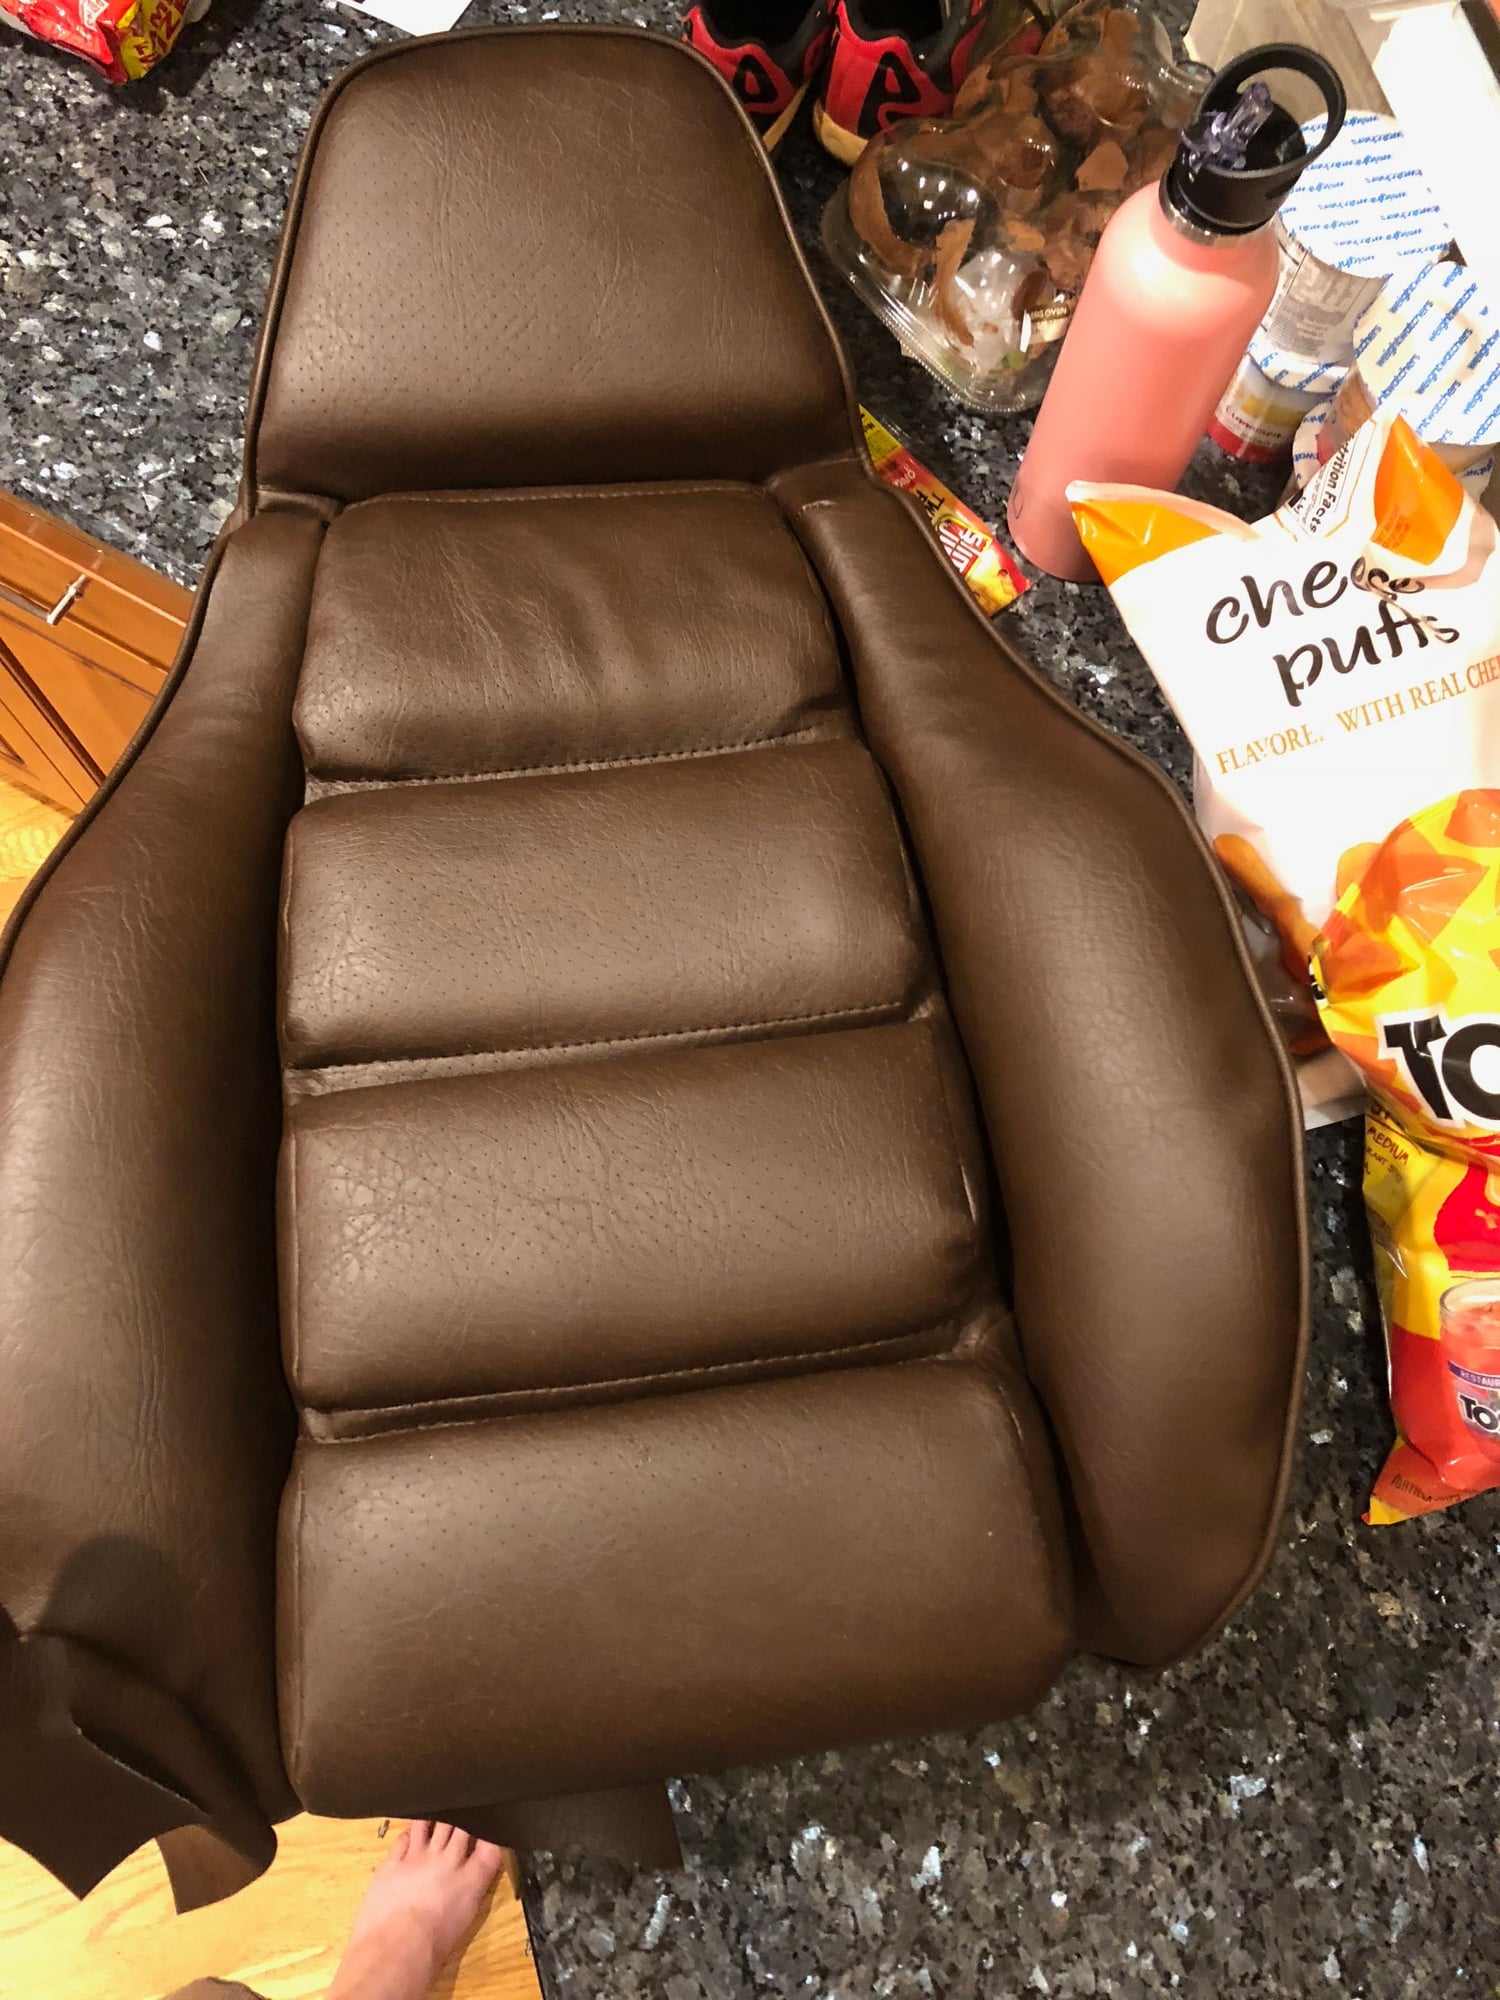
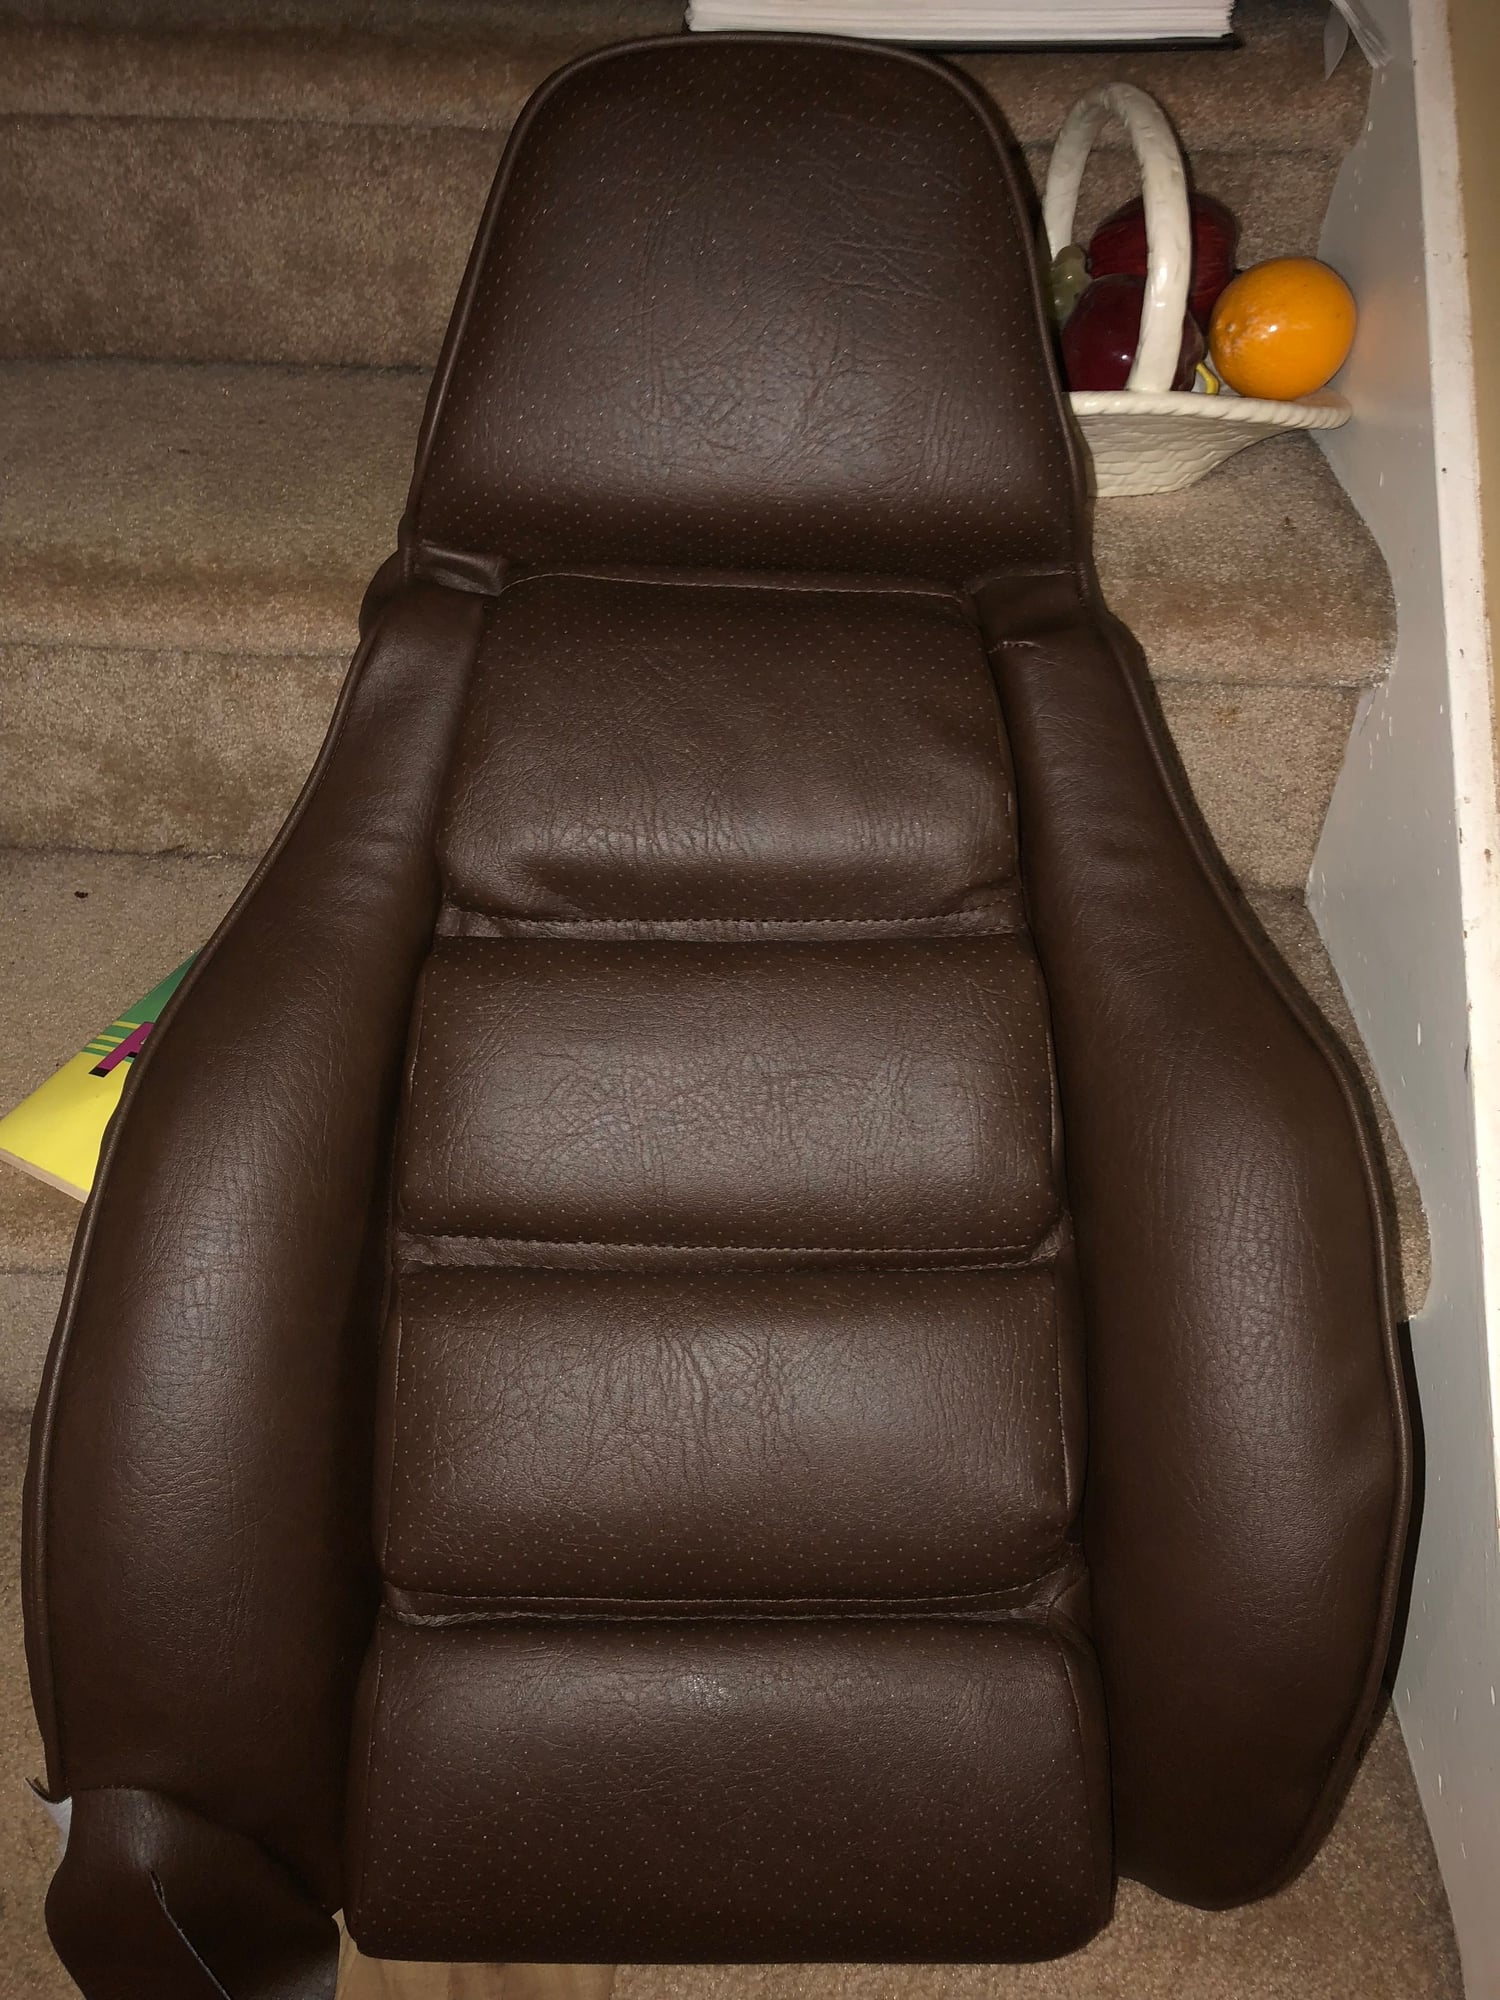
I'm really excited about the progress on my seats...so had to post today. The seats (I have no idea why) are one of my absolute favorite design point on this car. The 'scalloped' look is great and I was really concerned at how Recaro created the look and would I be able to get it anywhere close.
They are not perfect and I still have a little tucking and stapling to do, but I am pretty pleased. Anxious now to get the bottom section done.
Original factory leather
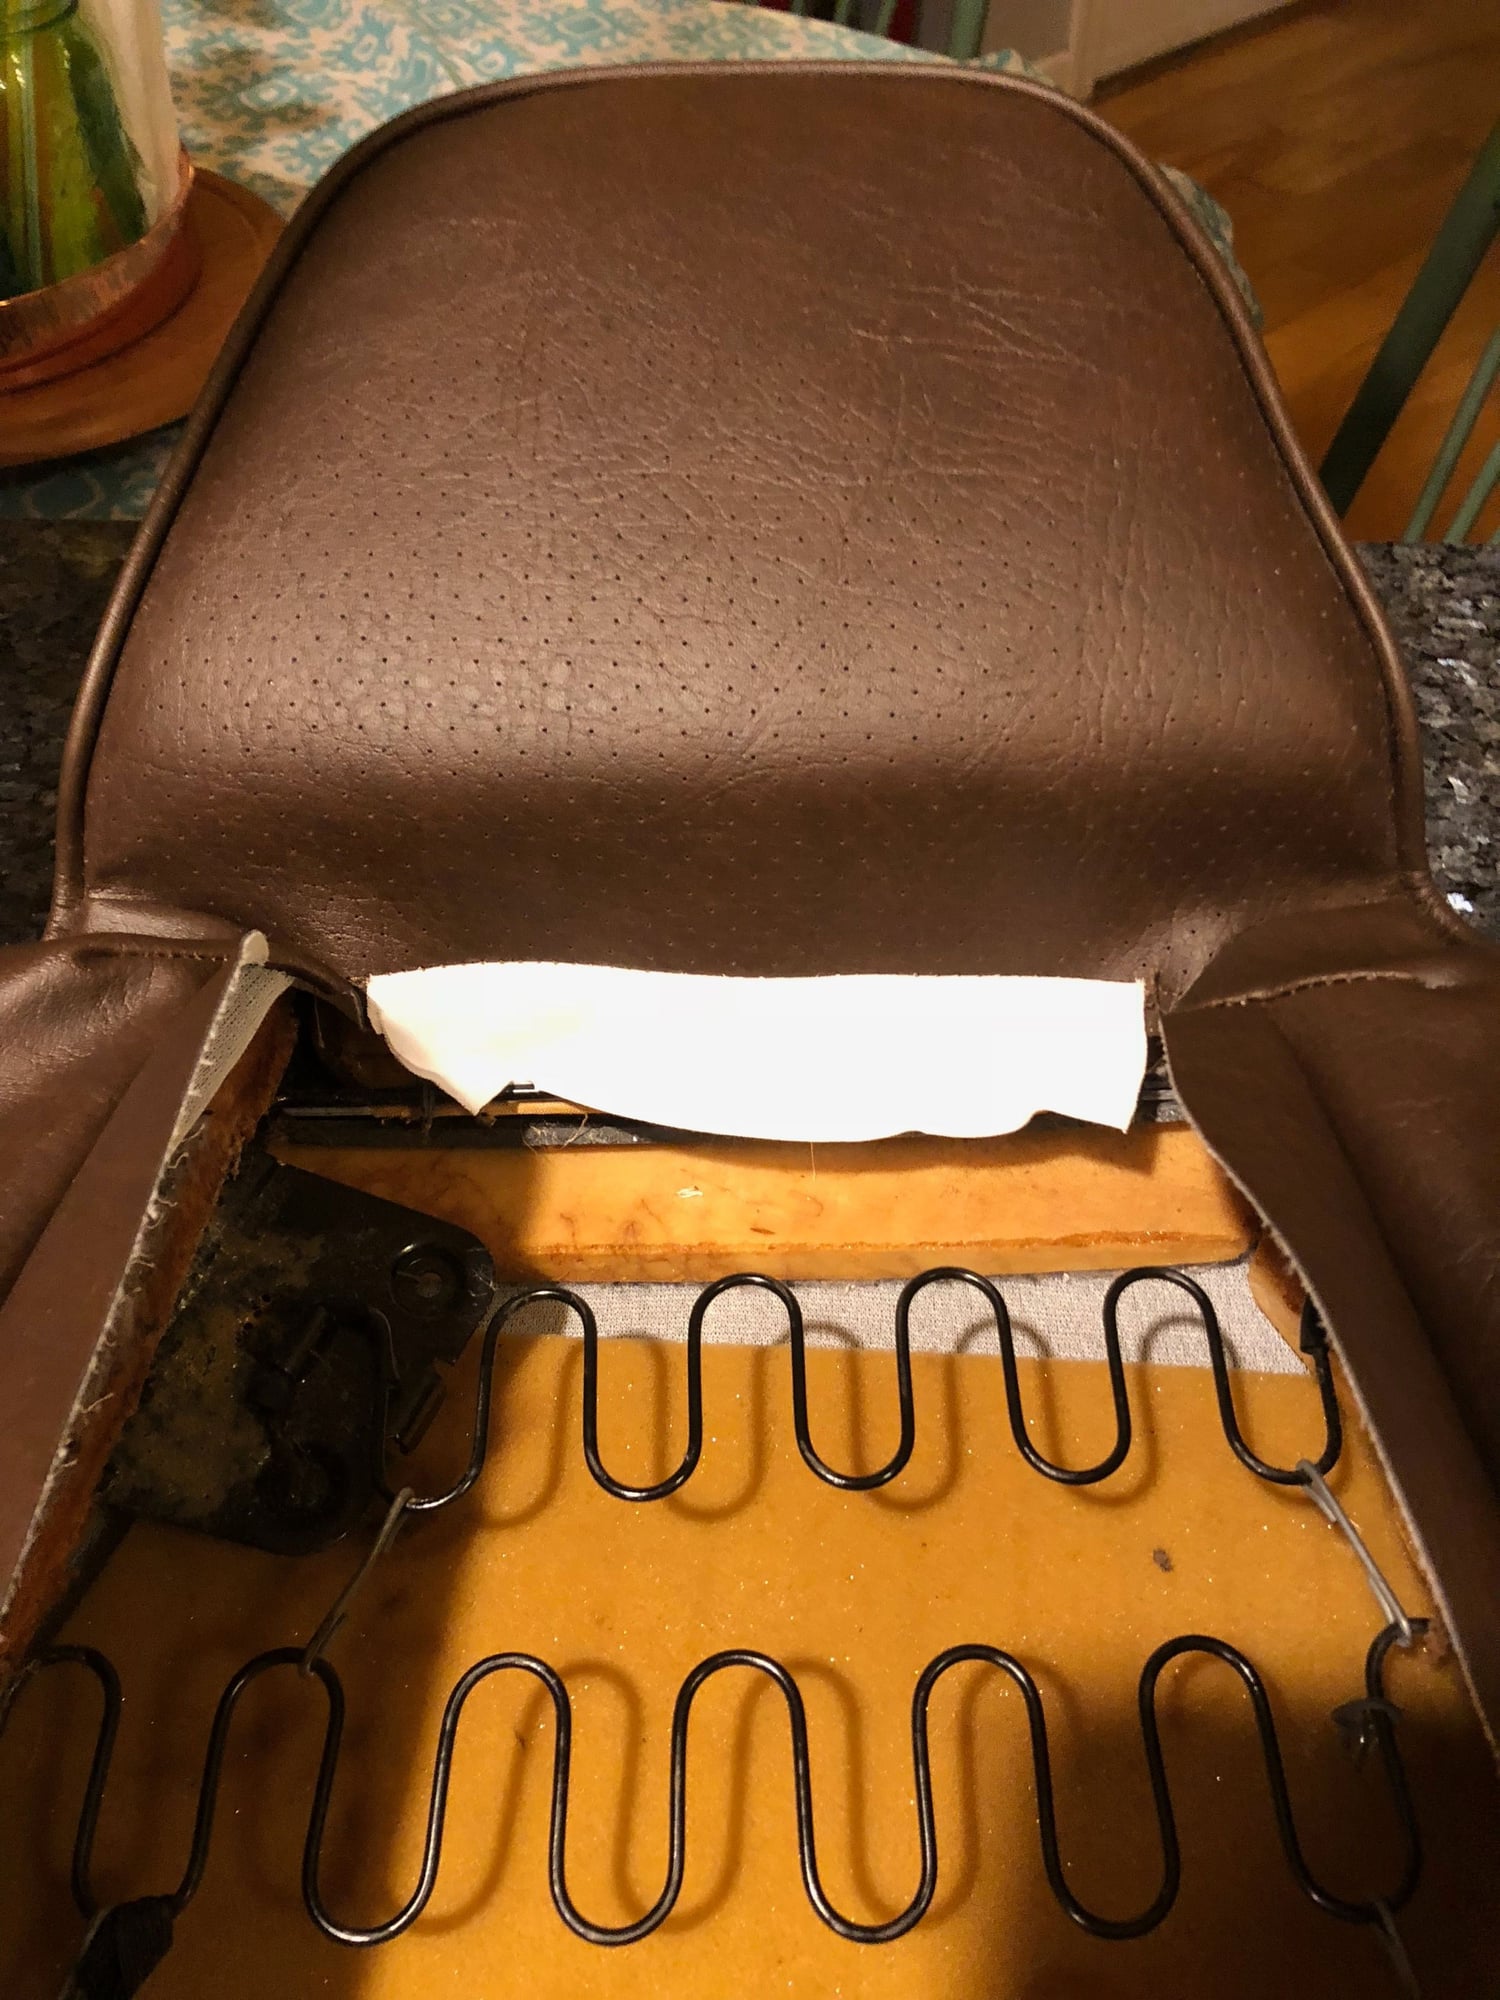
leather removed - not very difficult
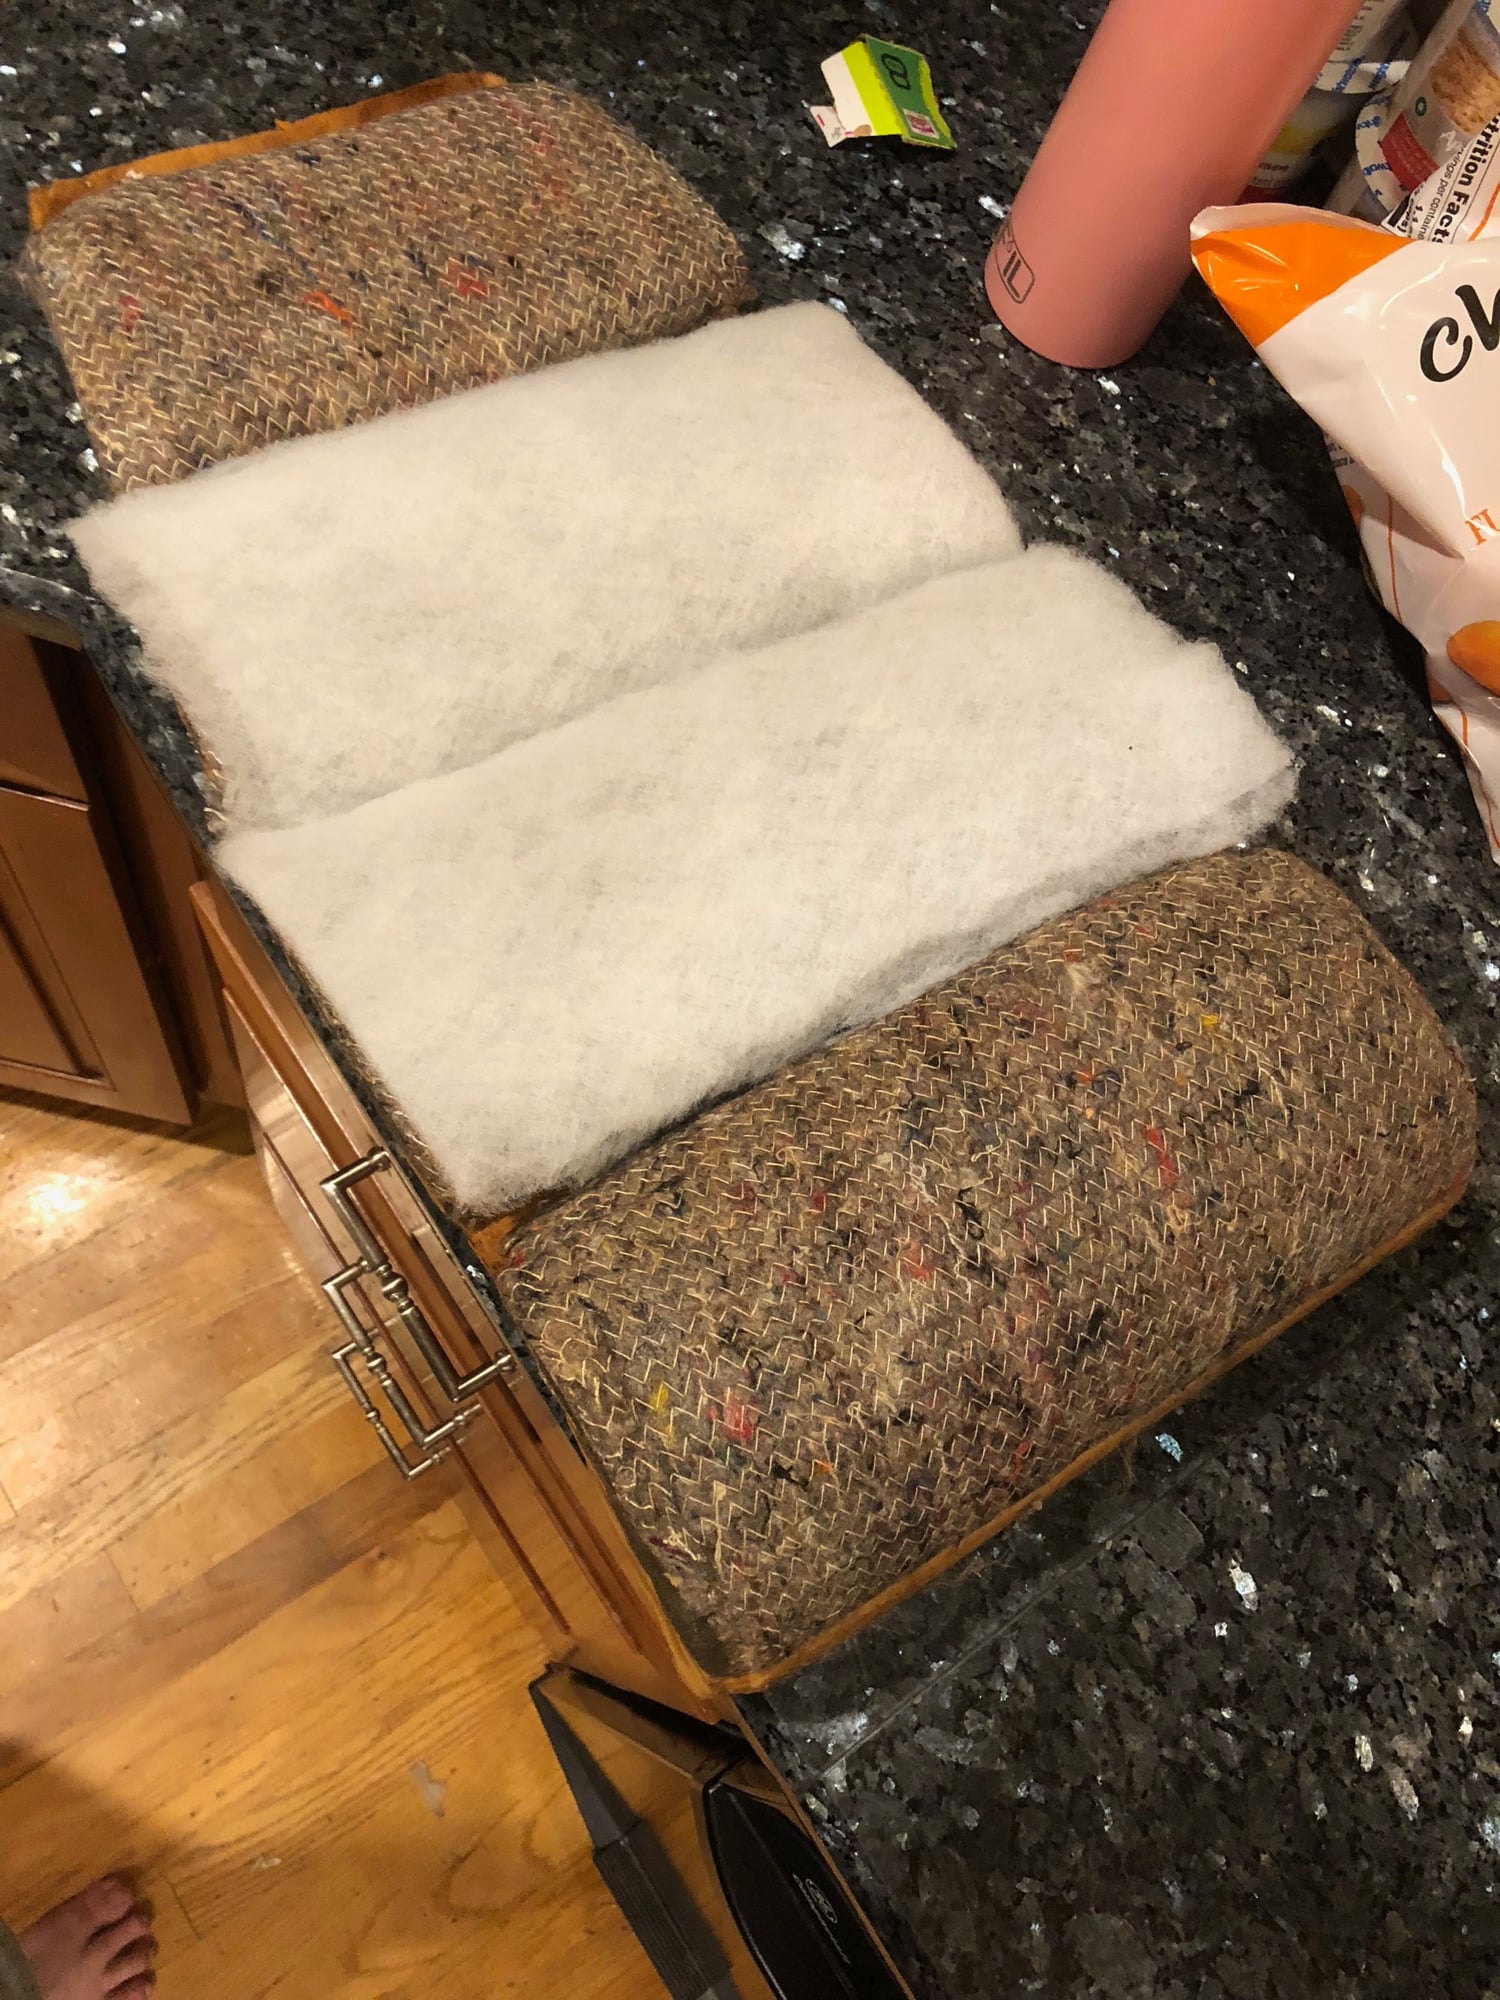
Needed to add just a little batting to compensate for compression over the years
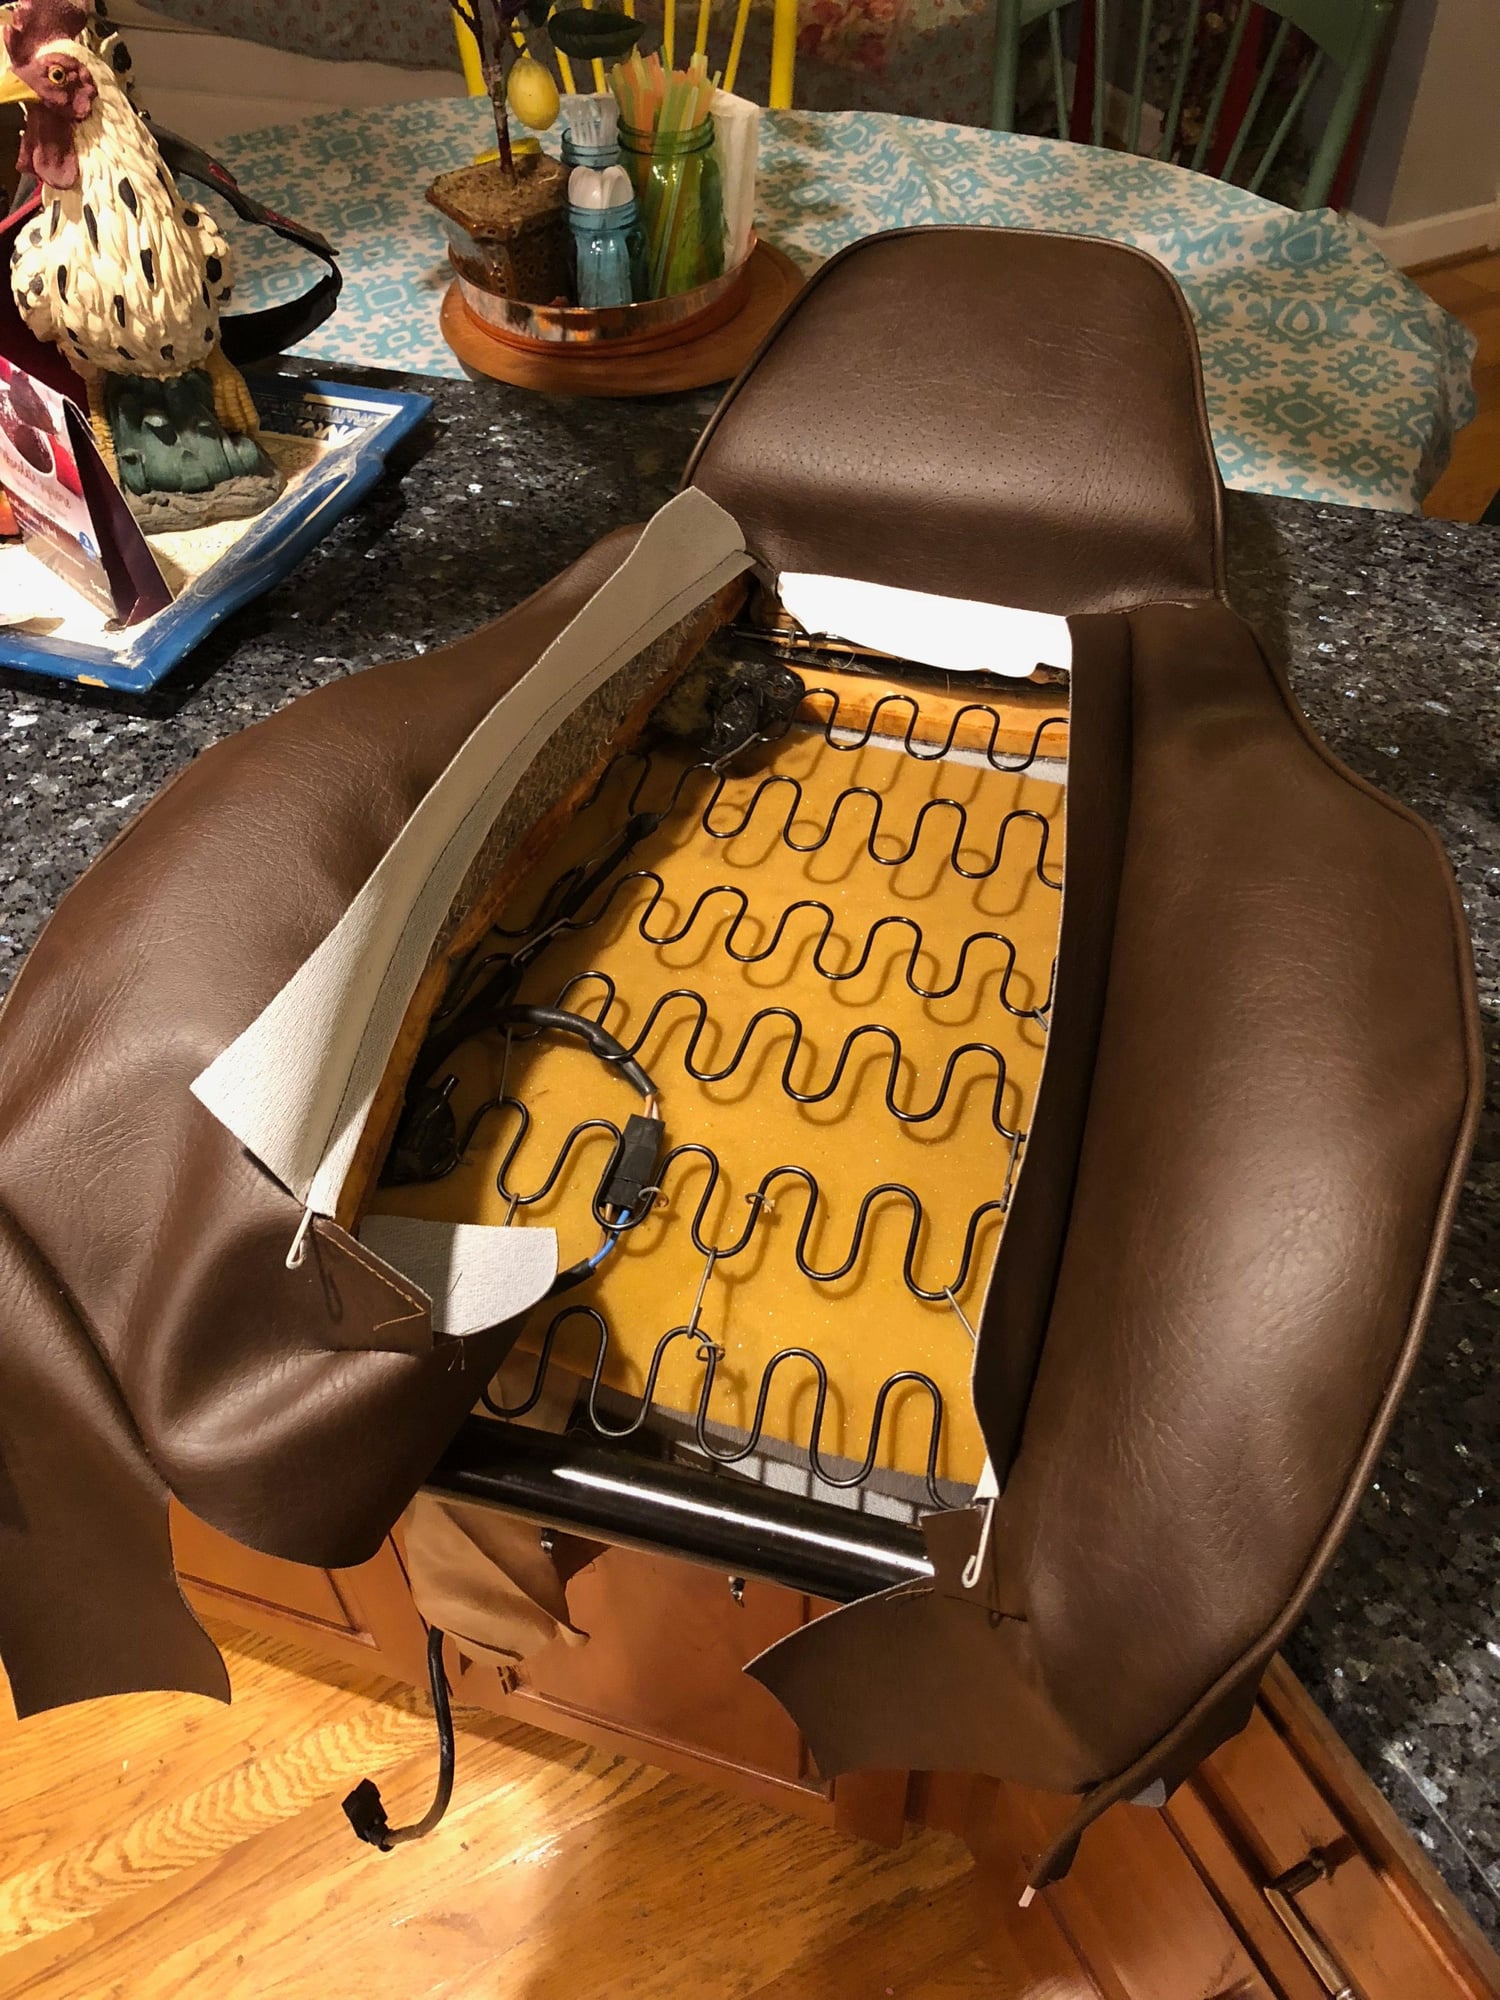
Cover installed - stapled down between the scallops with the outward clinch stapler.
Test fit inside the back. Still a little tightening to do around the edges and the bottom is not pulled tight yet. I feel pretty good about it and can't wait to sit in it!
No visible staples. There is a piece of heavy felt sewn under the vinyl where the seams are. The felt is either glued or stapled to the foam, and holds the seam down against the foam, keeping the bolsters in place.
I�ll take some pics when I get home of that part and post up.
so far these seem to be well constructed and I have not had to do any cutting or trimming.
i hope they will be durable as a daily driver.
-scott
Ahh..I think I get it. The staples are placed in from the backside. Makes sense now.

 05-21-2018, 01:26 PM