When you click on links to various merchants on this site and make a purchase, this can result in this site earning a commission. Affiliate programs and affiliations include, but are not limited to, the eBay Partner Network.
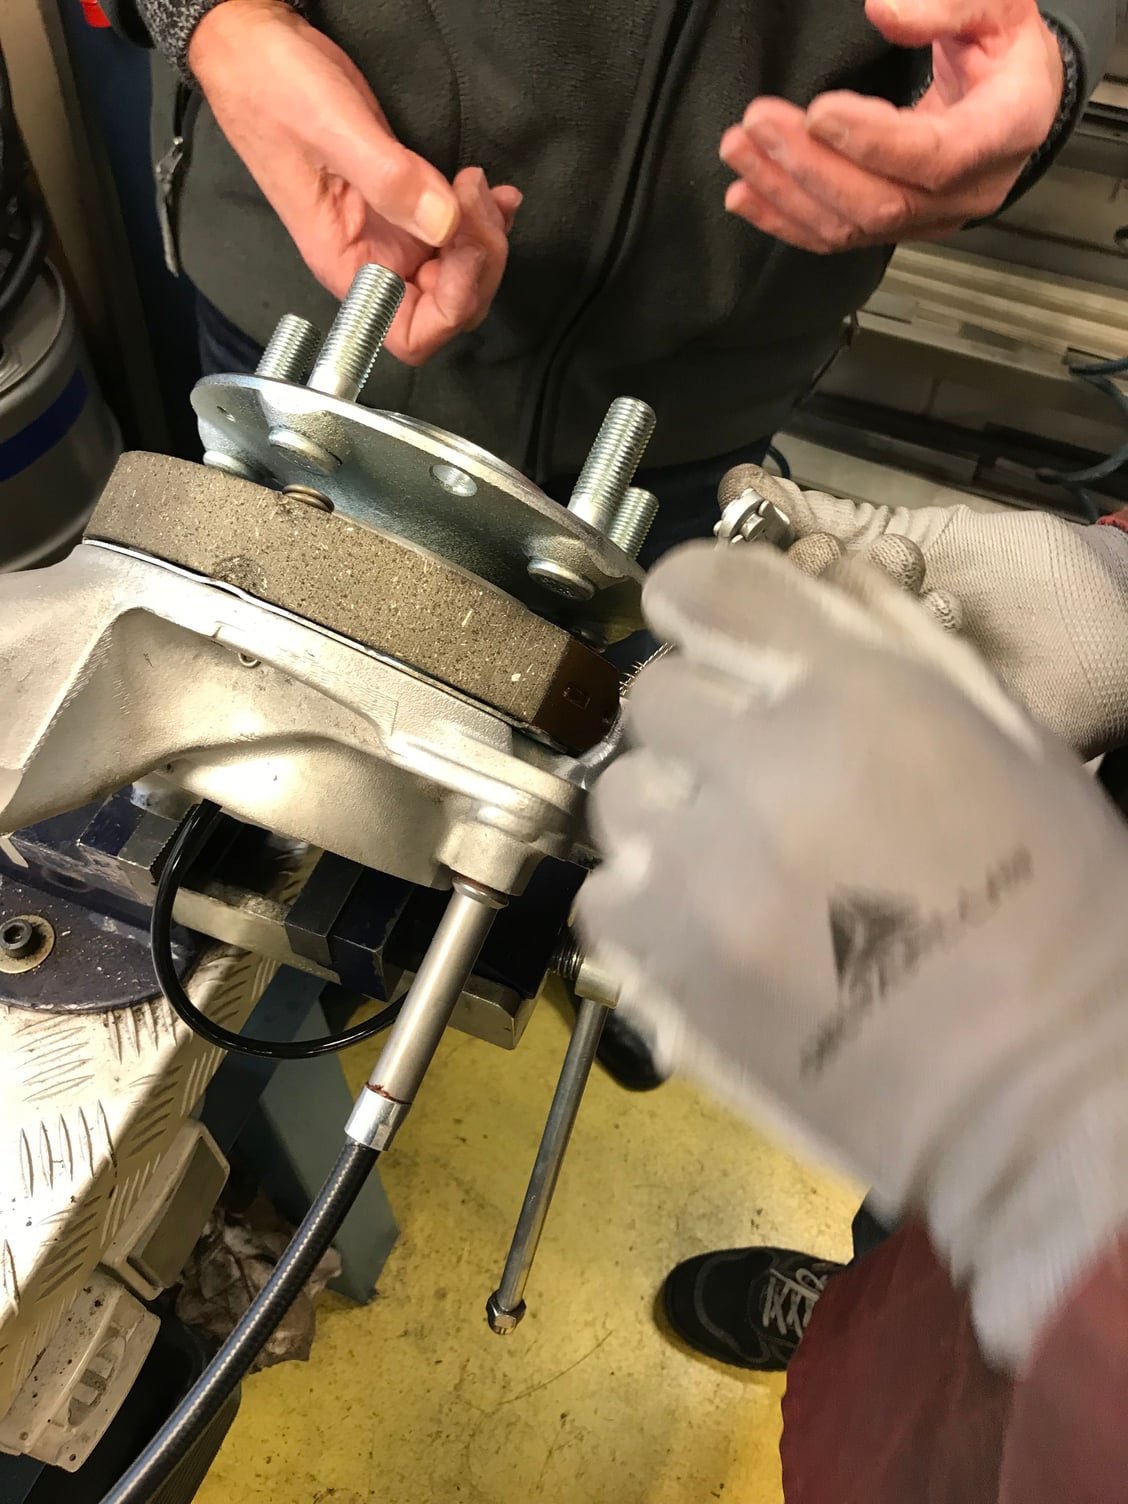
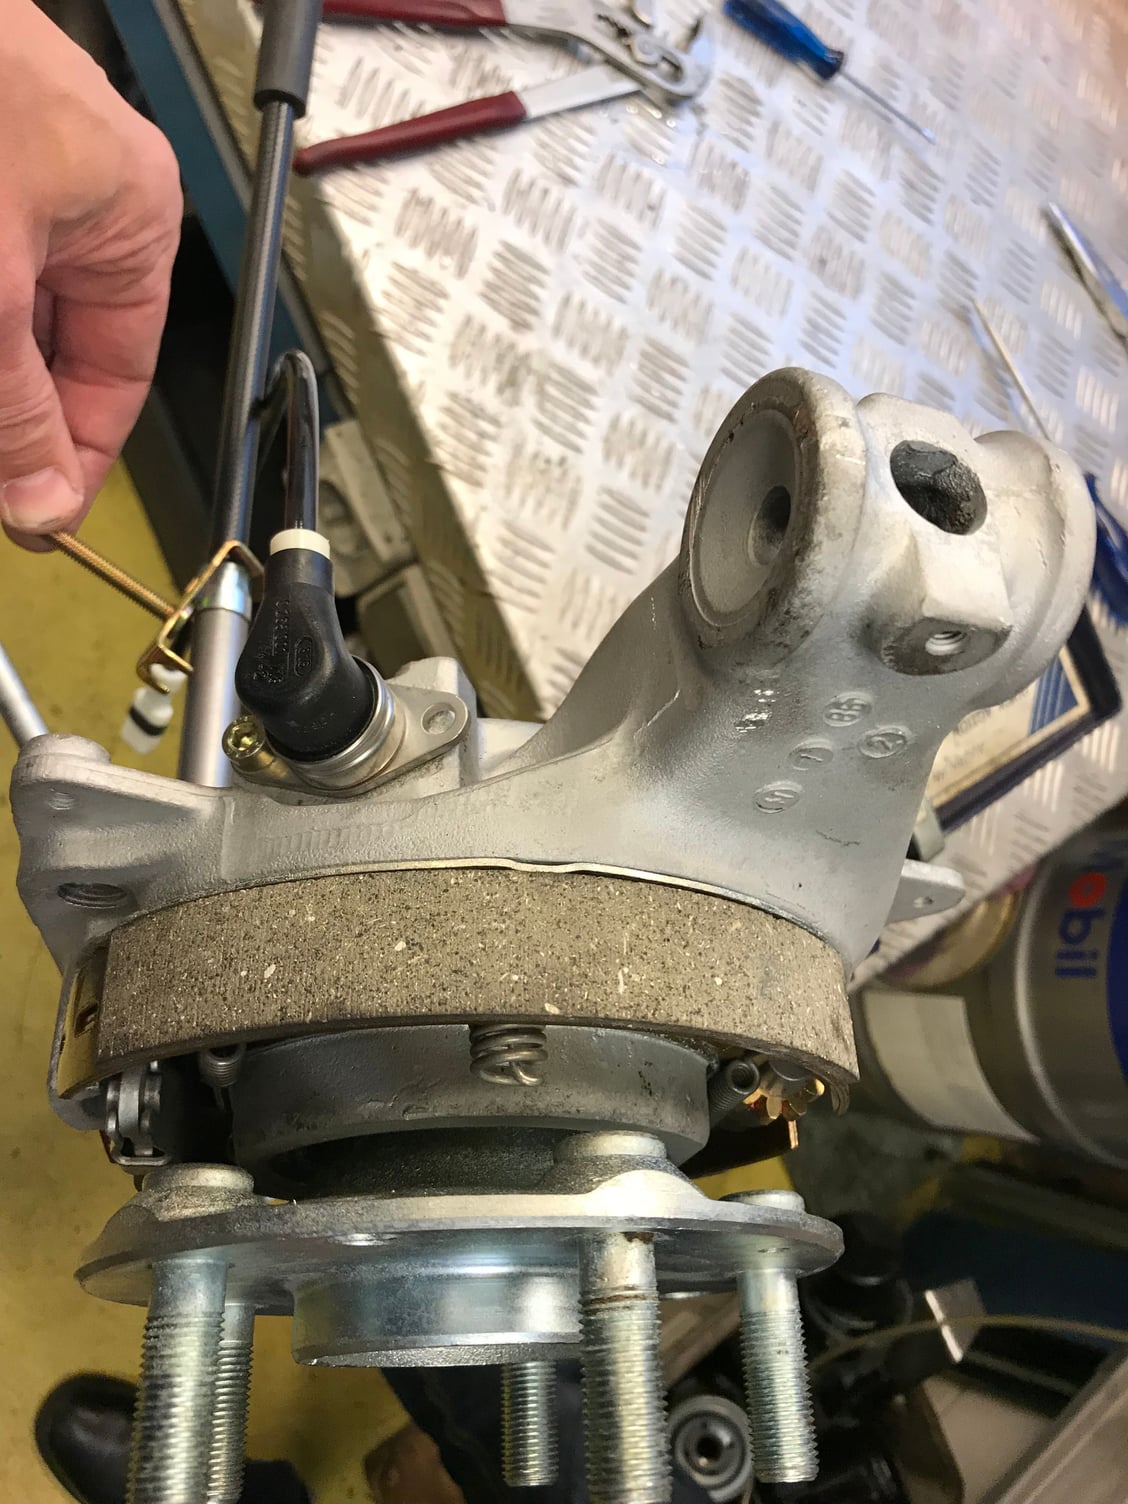
Today we put the compression spring in "the right way" and removed the parking brake cable from both wheel carriers so we could add the mounting brackets to the cables:
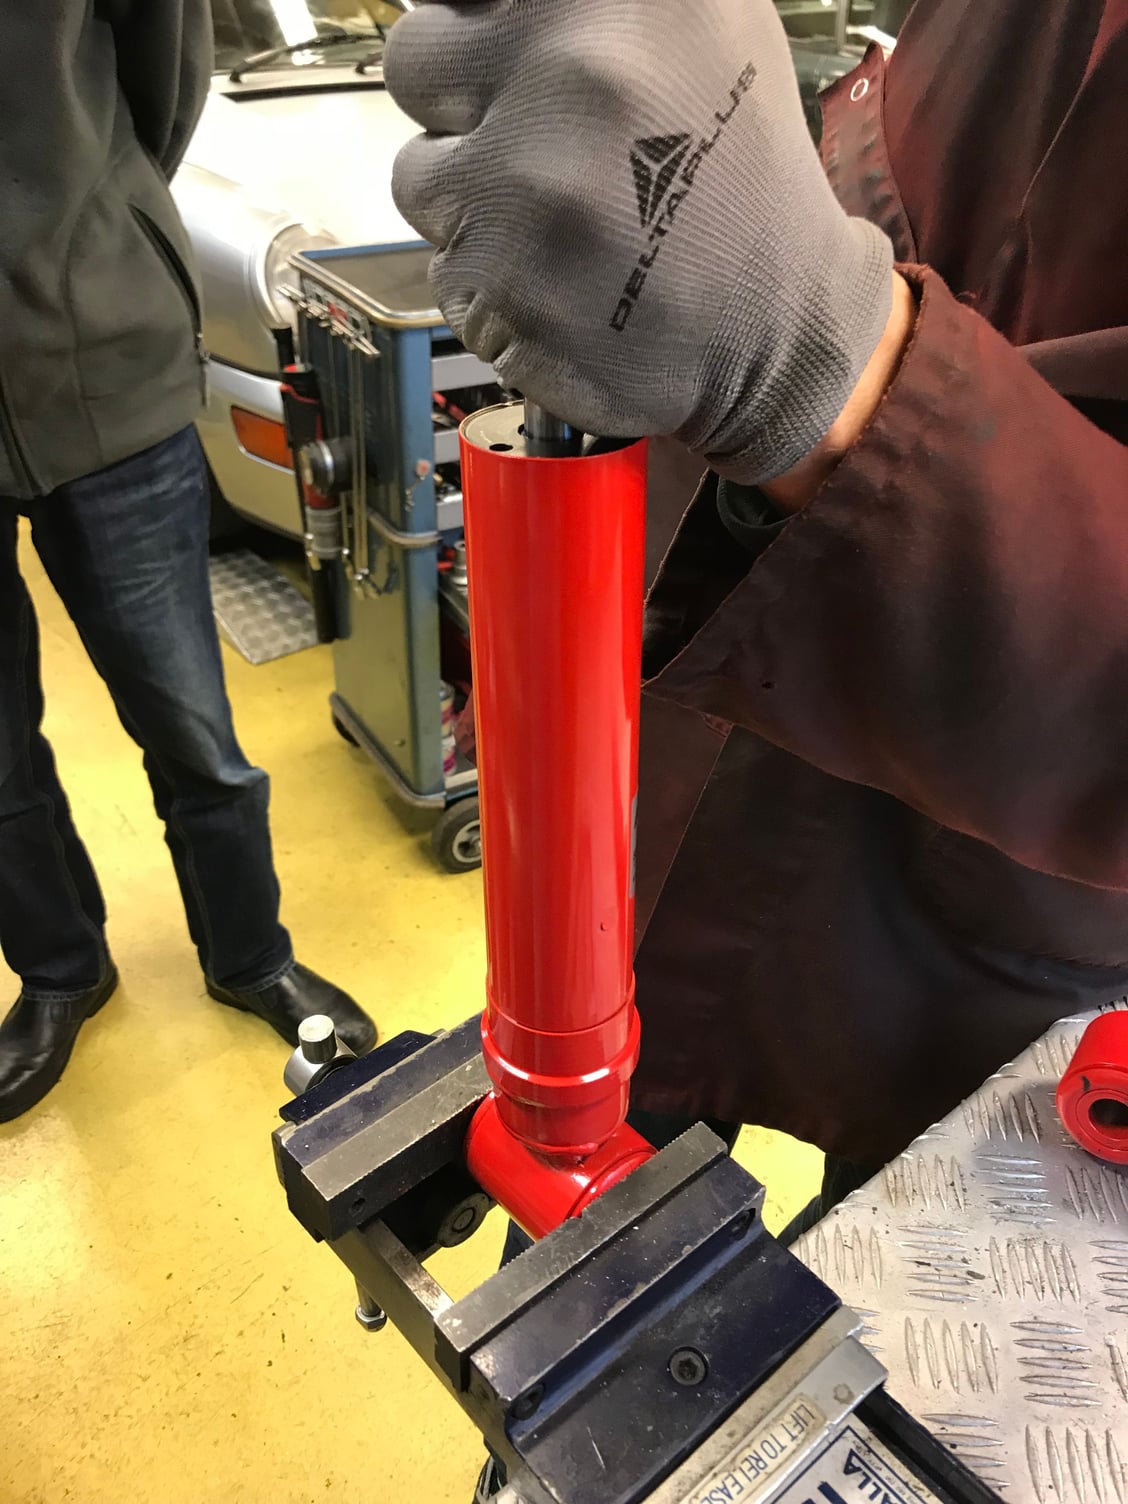
Next job was putting the shock absorbers and springs together!!!!
I decided to go for red KONI shocks: they are a Dutch company and having visited their factory once I was very impressed with their craftsmanship.
These red KONI's can only be adjusted before installation, by pushing the metal rod all the way down you can select hard or soft damping and everything in between. We opted for 'bang in the middle'.....
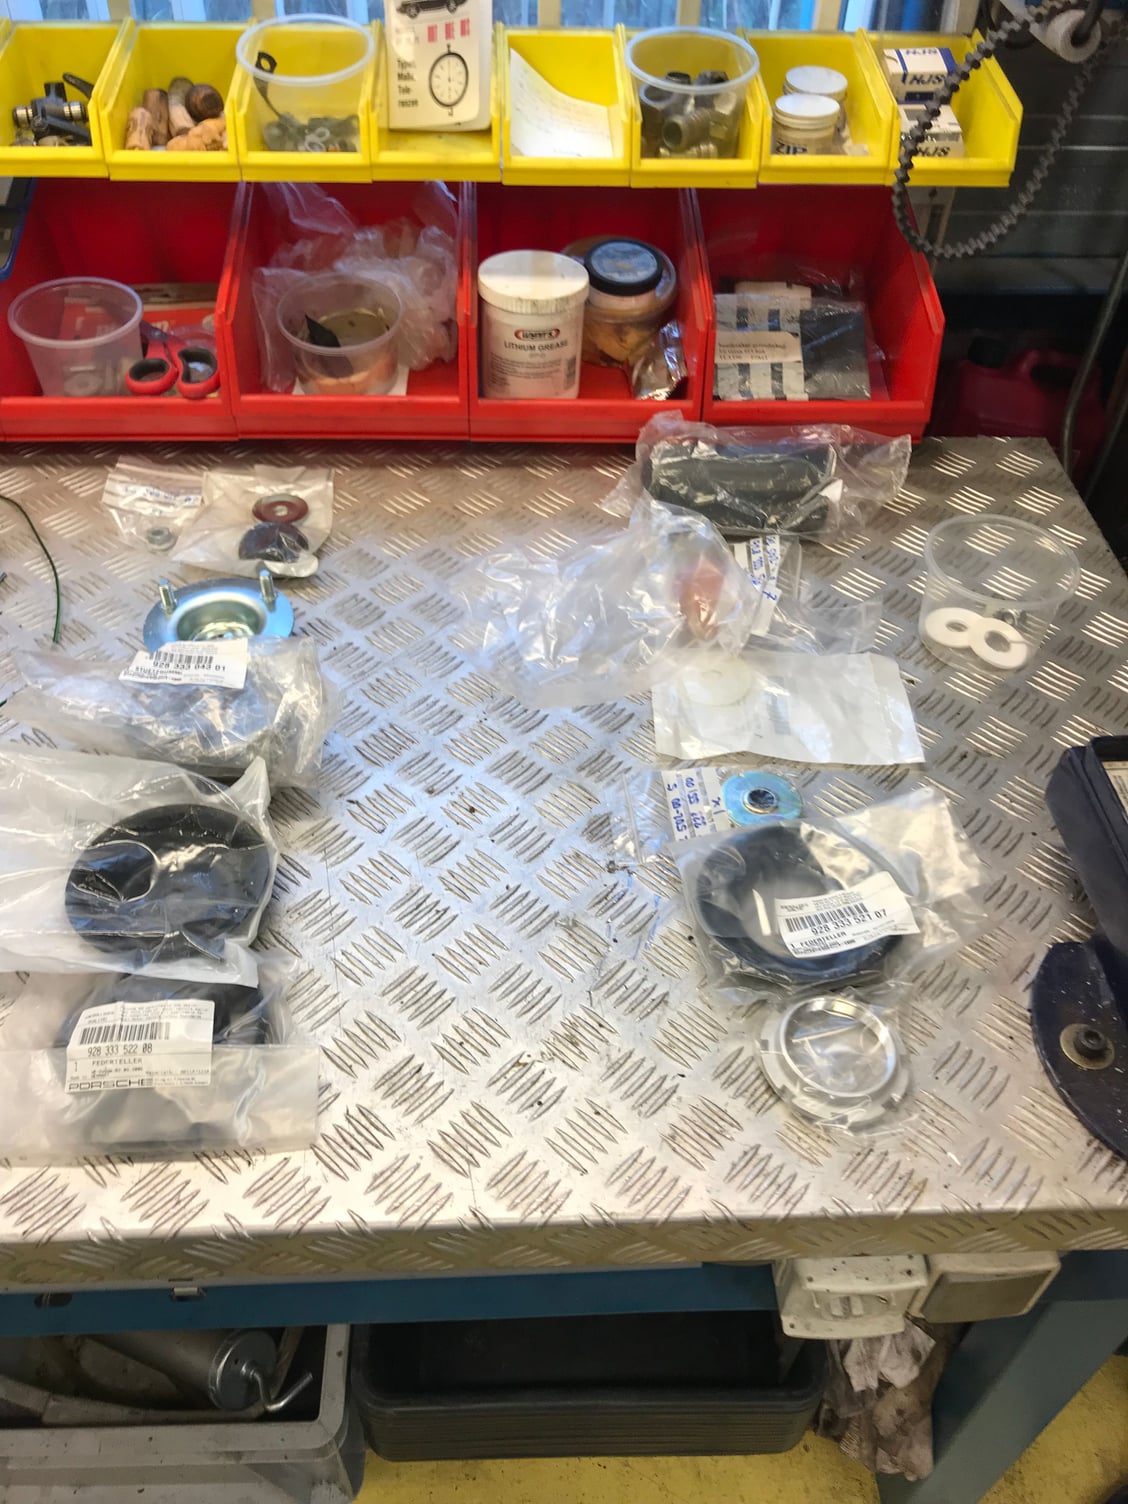
All the parts "in sequence" on the workbench:
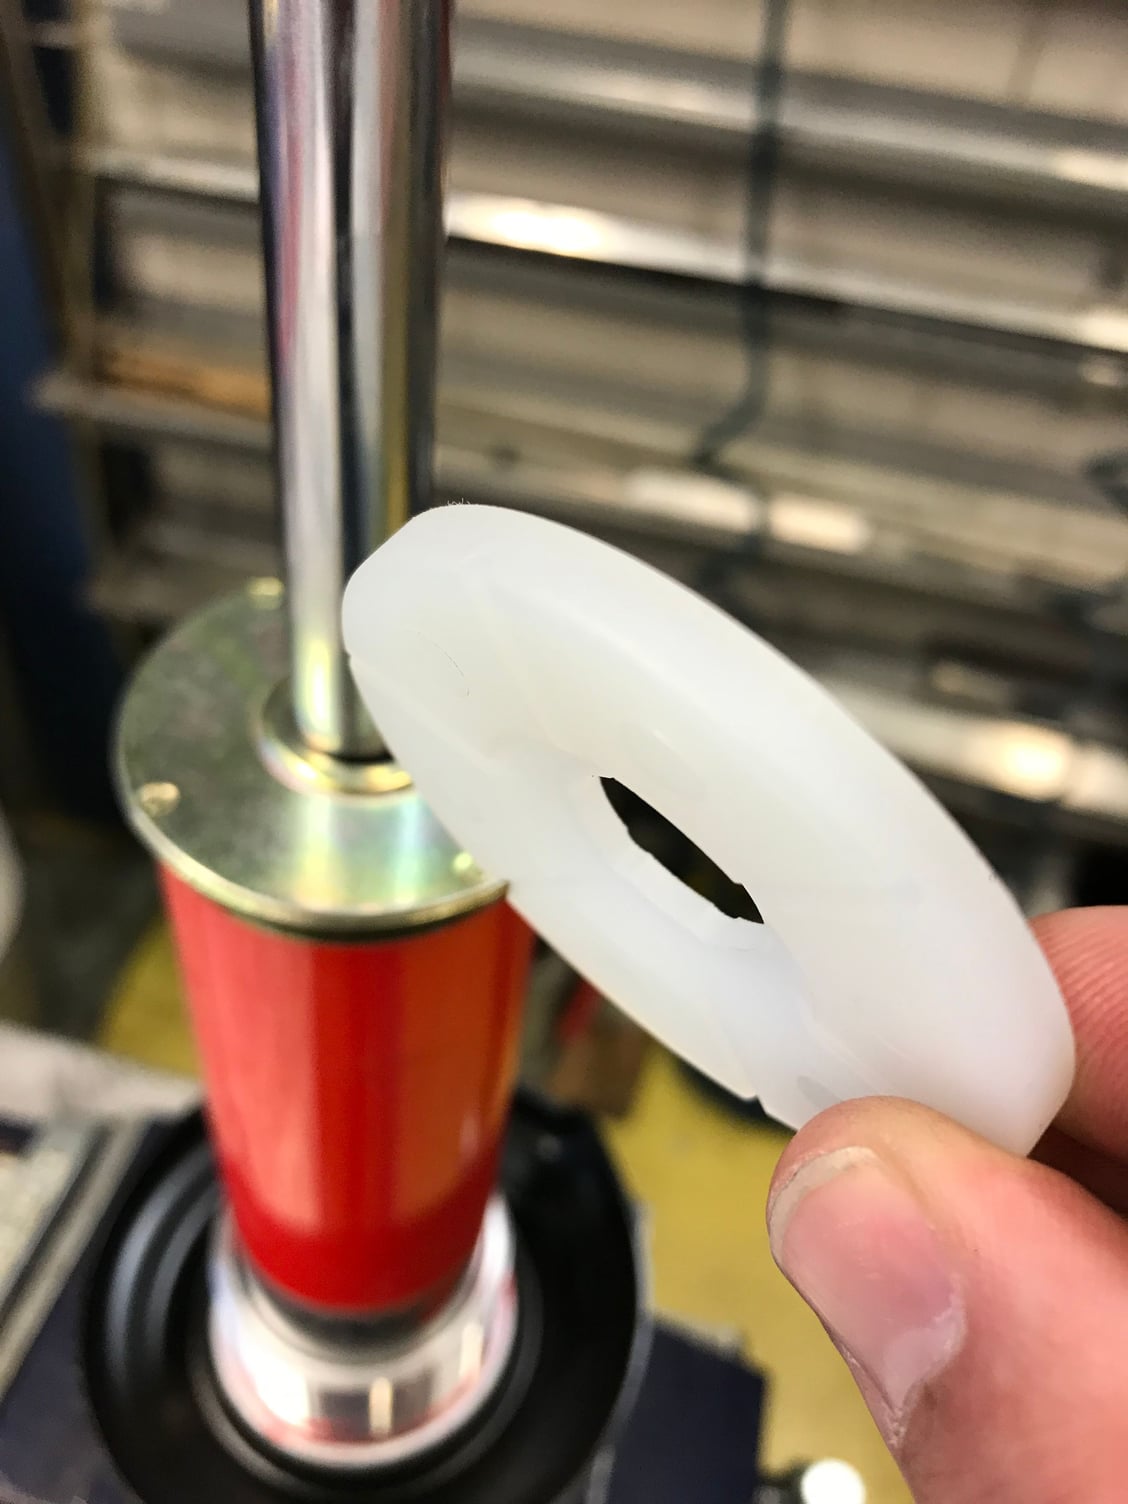
This washer has grooves on one side, and needs to be placed with the grooves down:
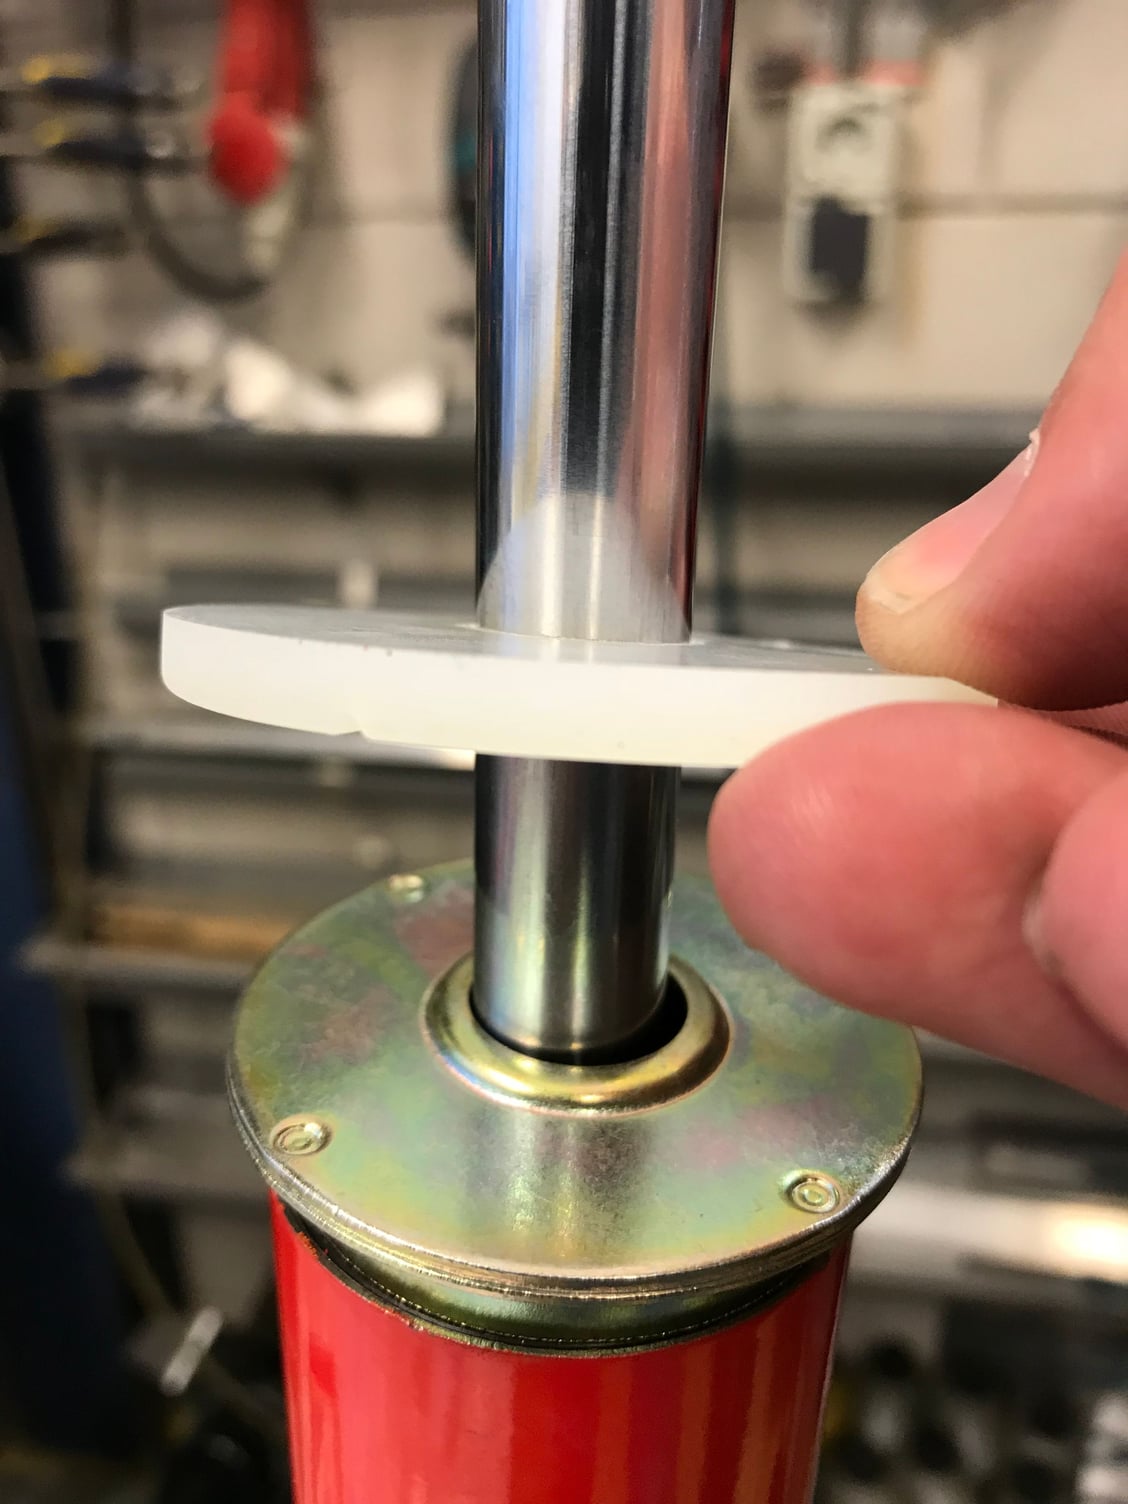
After compressing the spring, only these parts needed to go on top:
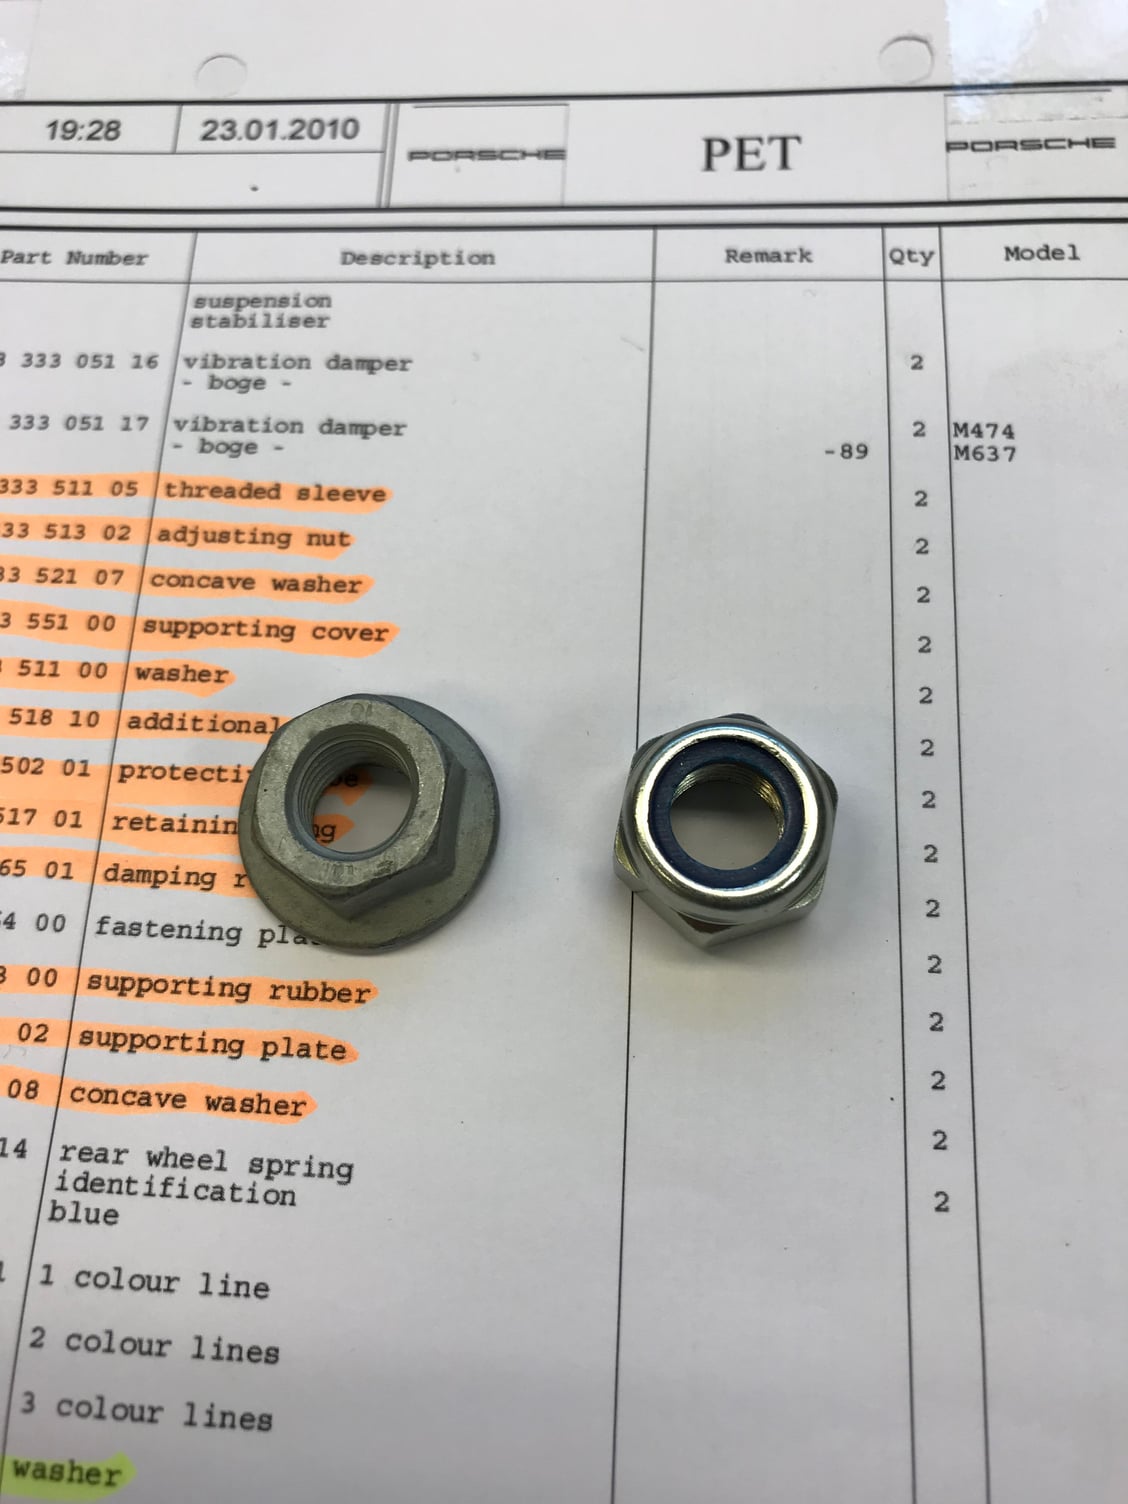
Unfortunately the screw that needed to go on top didn't fit the KONI shock (same diameter but different thread pitch). Luckily one was provided with the shocks:
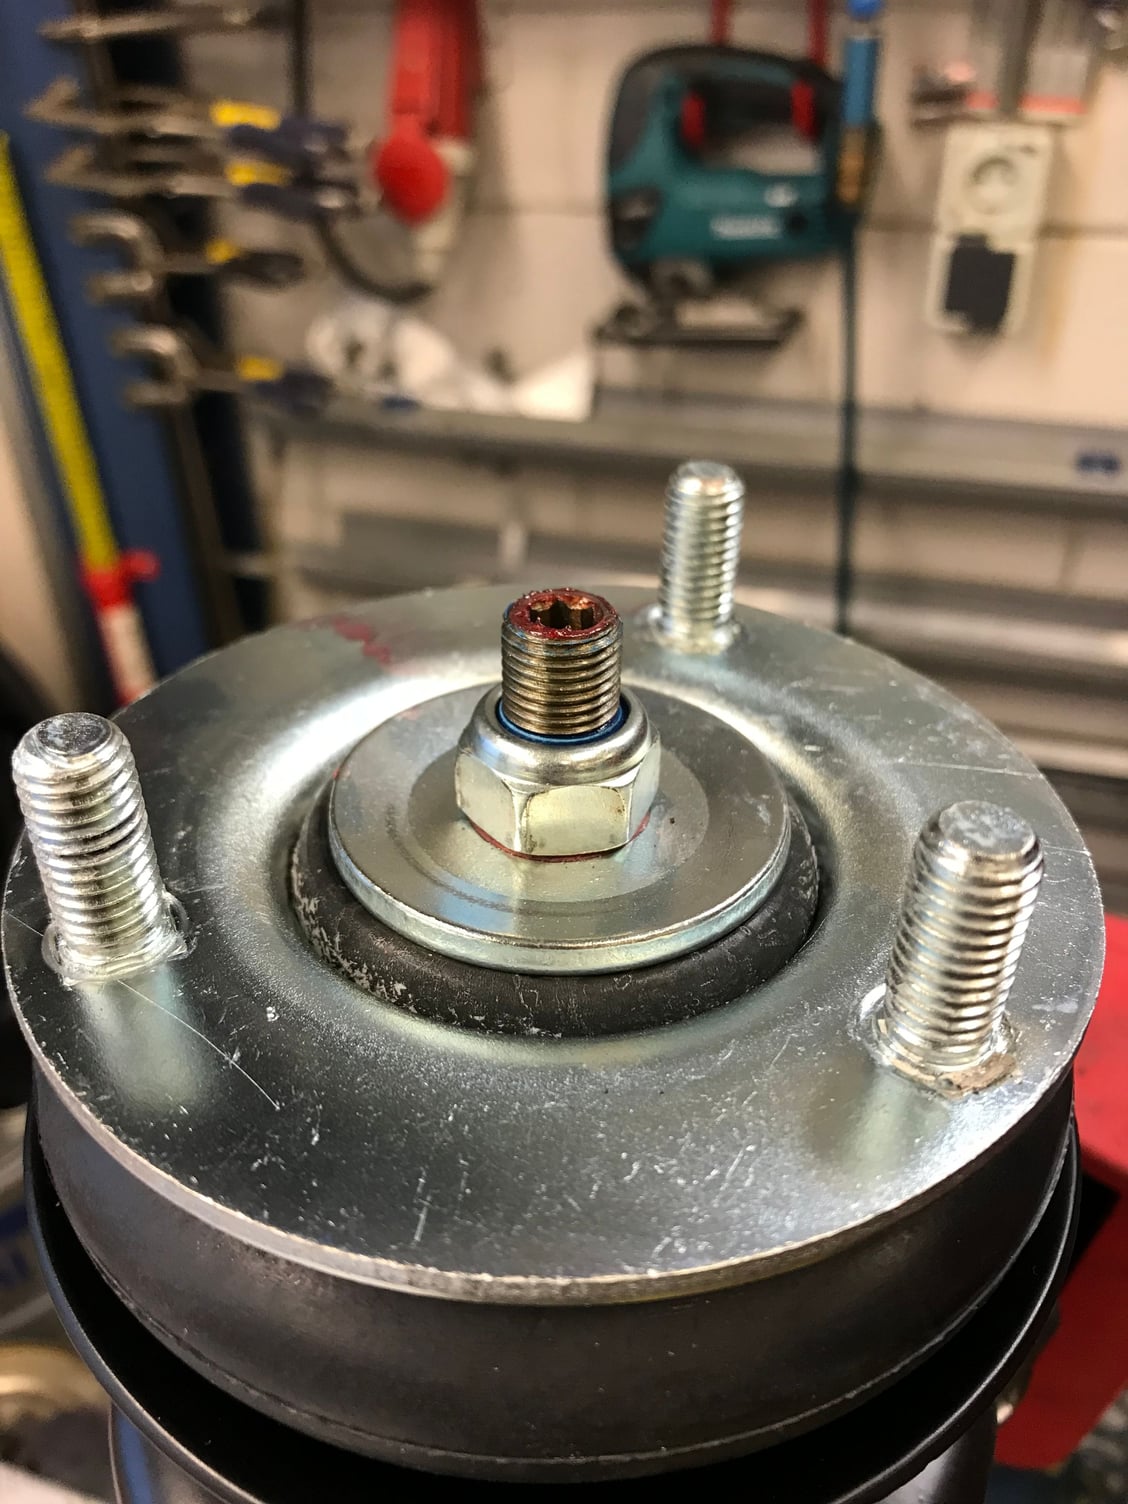
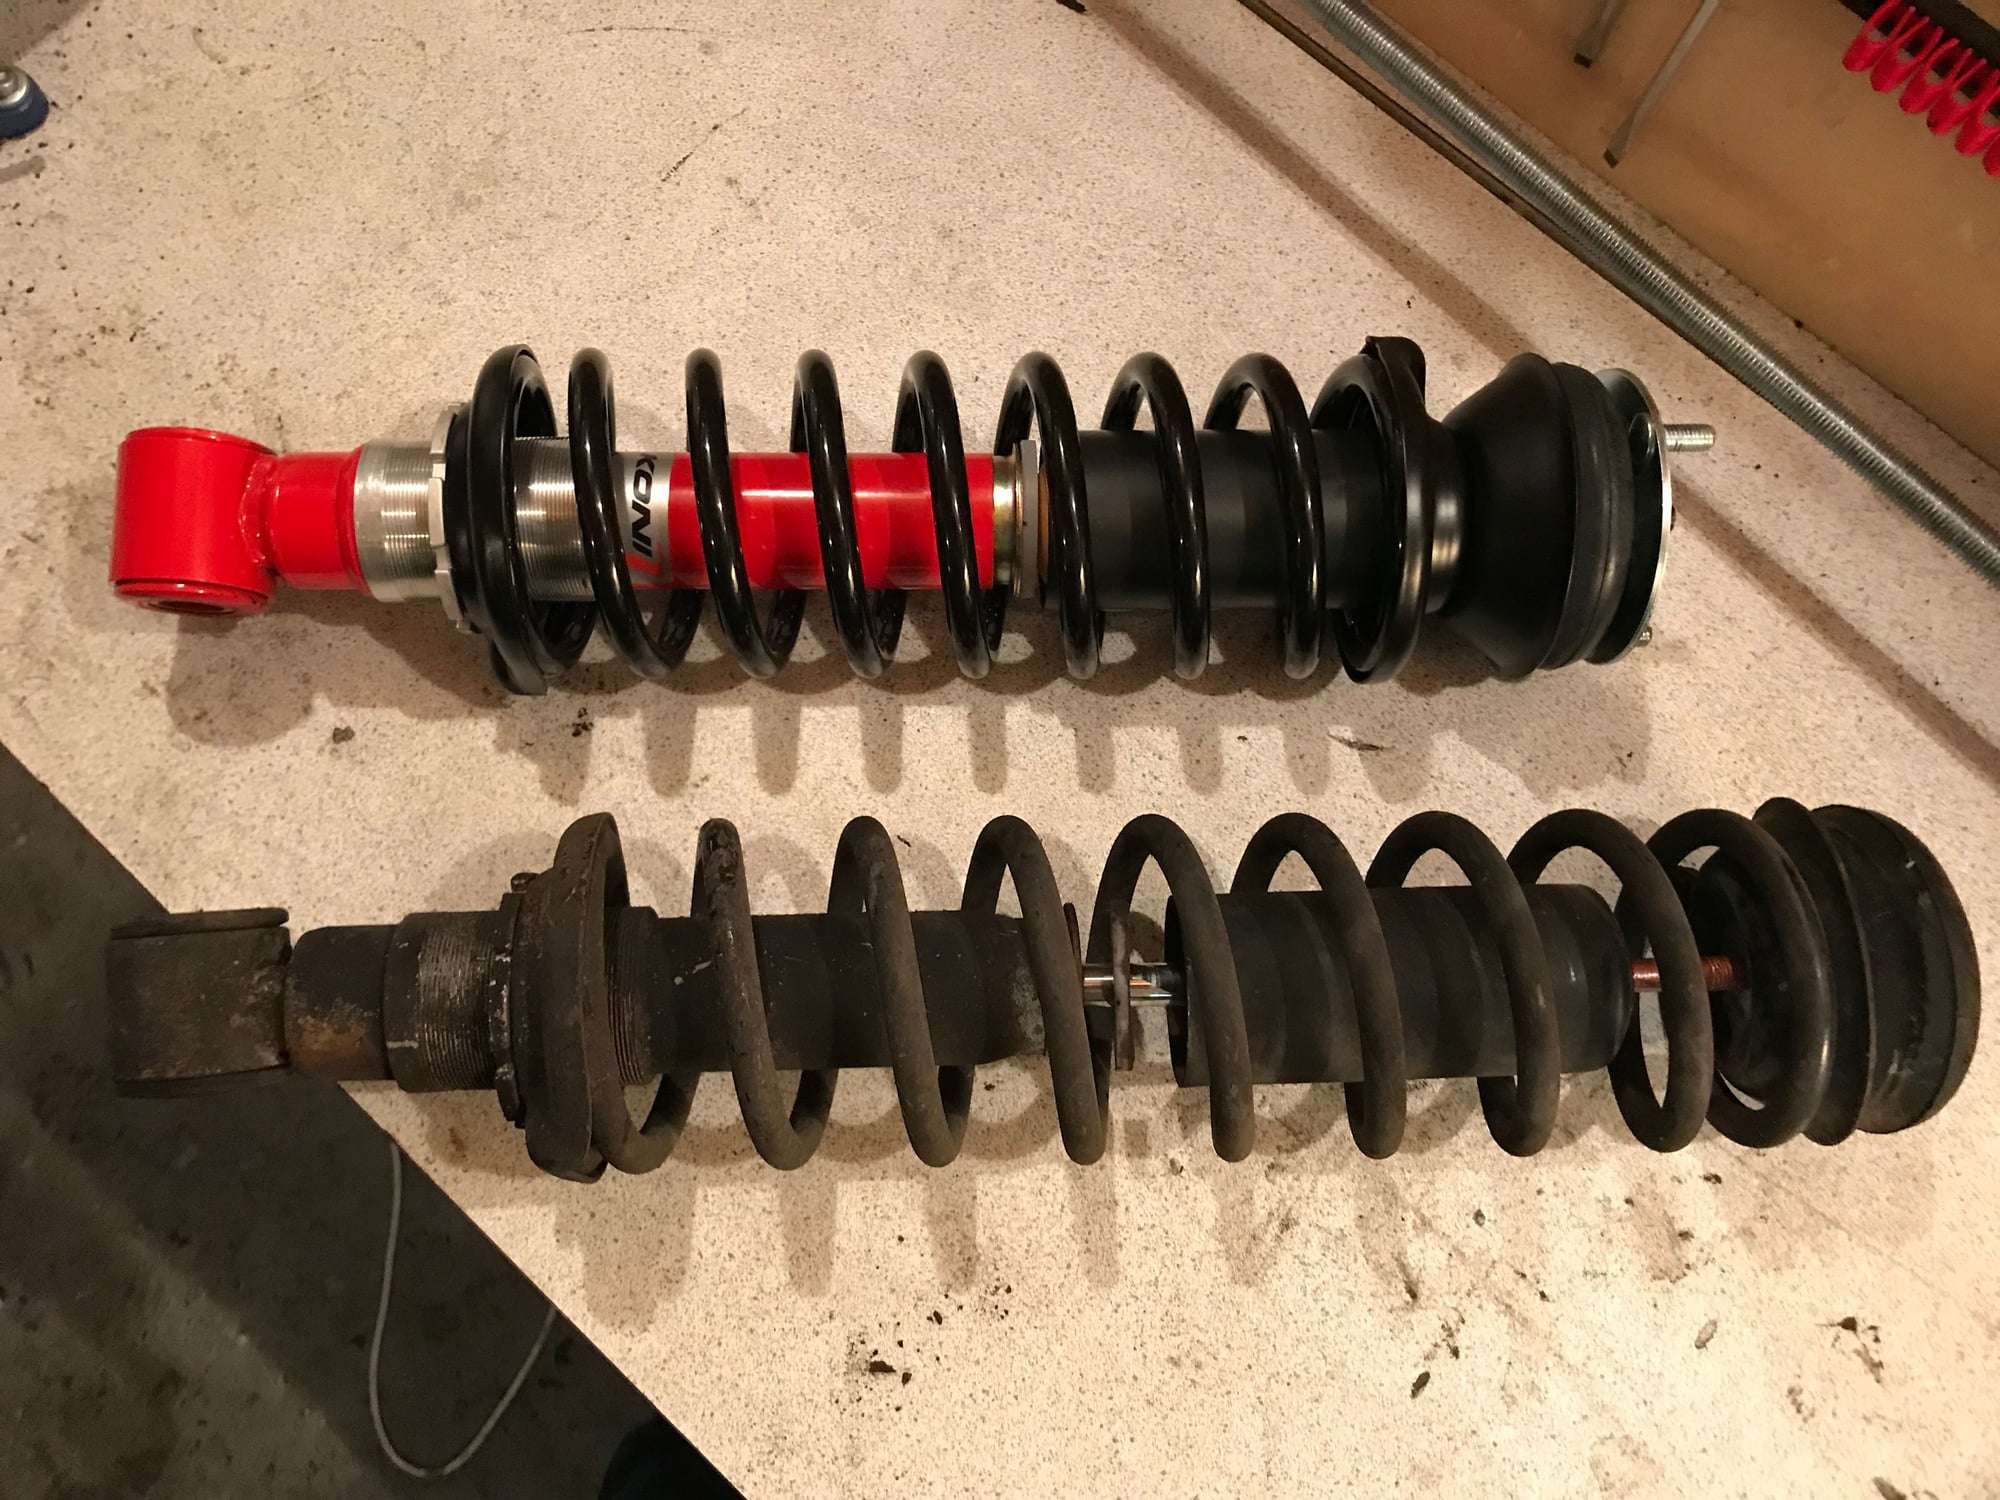
All assembled:
The new vs the old:
Next job will be putting everything together on the cross member.........
nice new parts looking good, this will ride like a new car when your finished.
NOTE the new shock adjuster collars appear to be free from any type of grease or antiseize,
I would suggest the threads be coated as well as the perch to nut interface, otherwise it will be very hard to make ride height adjustments
Hi Stan,
Thanks for the sharp eye! There is definitely grease on the collars, but it tends to become slightly transparent after being applied. Therefor it is not very well visible on the pictures.
It is a red colored type of grease, you can see some of it on the picture of the top of the shock, both just below the lock nut and on the top of the threaded rod as well.
Doh one other thing I didnt mention make sure the inner threaded rings are a press fit on the new shocks if not then the adjuster collar will spin the threaded .
Some have JB welded the inner threaded collar to the Koni shocks I think this was using the Boge collars on the Koni shocks.
Also a second NOTE,
now is also a good time to replace the transmission cooler flex lines Greg Brown makes a nice kit for this job, you get hi performance hydraulic line and a bunch of Oetiker Clamps
Also a second NOTE,
now is also a good time to replace the transmission cooler flex lines Greg Brown makes a nice kit for this job, you get hi performance hydraulic line and a bunch of Oetiker Clamps
I second that. I used Greg Brown's kit on the Red Witch and was very pleased. High quality, robust hose, and quite easy to use.
Doh one other thing I didnt mention make sure the inner threaded rings are a press fit on the new shocks if not then the adjuster collar will spin the threaded .
Some have JB welded the inner threaded collar to the Koni shocks I think this was using the Boge collars on the Koni shocks.
That is a good point Stan: the threaded ring was rather loose on the shock. It settled well when we put everything together, but adjusting the collar could indeed become a problem.
I have no experience with using JB: can it be applied directly to the coated surface of the shock?
Originally Posted by Mrmerlin
Also a second NOTE,
now is also a good time to replace the transmission cooler flex lines Greg Brown makes a nice kit for this job, you get hi performance hydraulic line and a bunch of Oetiker Clamps
I ordered the set already with Greg, but still thanks for the advice...!!!
Oh my, a refurbished torque tube is first on my list of things to do in my new garage. I see there is a major opportunity for mission creep. May I reserve a copy of your book?
You may have to resort to other means to secure the inner collars to the shock ,
if the fit is loose then JB weld might not be a good idea.
Essentially you will bond the collar to the shock tube
IIRC a few others also had this same issue, maybe they will chime in.
I like to use Bilstien shocks as they come with new lower perches and adjusters
That is a good point Stan: the threaded ring was rather loose on the shock. It settled well when we put everything together, but adjusting the collar could indeed become a problem.
I have no experience with using JB: can it be applied directly to the coated surface of the shock?
Originally Posted by Mrmerlin
You may have to resort to other means to secure the inner collars to the shock, if the fit is loose then JB weld might not be a good idea. Essentially you will bond the collar to the shock tube.
IIRC a few others also had this same issue, maybe they will chime in.
I've used JBWeld directly on the painted shock Koni tube with good results. With the threads on the adjuster sleeve and collar greased well, no issues with turning the sleeve on the tube after it was all cured.
The nuts: One one Koni refit project, the two brand-new rear dampers had different threads on the rod from each other. New nuts were included but were correct for only one side. Had to go shopping.
Thanks Dr Bob, ordered the JB Weld and the job was done over the weekend......
First I had to remove the spings again....
After taking off all the parts I ended up with just the shock and the threaded collar:
For reference I took measurements of the inside of the collar:
...as well as the outside of the schock. The collar actually slides over two parts of the schock. A larger part that is slightly smaller in diameter:
....and a small ring that is slightly wider at the bottom near where the collar rests on the shock:
Then I marked the area on the shock where the collar should be 'welded' to the shock. I lightly sanded the area (just to roughen up the surface) and then cleaned it:
Then it was finally time to mix the two components of the JB Weld. Make sure to mix it completely!
Sticky stuff....
....and without to much resistance the collar slid over the shock. The excess JB Weld on the bottom of the collar gave me the impression there was enough of it between the collar and the shock:
Last job was to assemble the shocks and springs again. Unfortunately one of the spanners wouldnt come off...... I had to use an airtool to get it off, but the force of that tool made the spanner move on the spring, damaging the powdercoated surface:
So I'm afraid I will have to take this one apart and have the spring powdercoated again. **** happens.....
Nice work! A point of clarity- unless your Koni's are different to mine they can be adjusted on the car - you just need a special tool to do it. I have the tool but have never used it- like you I set mine at the mid setting and have never felt a need to change it.
Nice work! A point of clarity- unless your Koni's are different to mine they can be adjusted on the car - you just need a special tool to do it. I have the tool but have never used it- like you I set mine at the mid setting and have never felt a need to change it.
Hi Fred,
Mine can also not be adjusted on the car, only prior to putting the complete coilover together. The only part we will adjust is the ring around the collar when the car is finished.
The guy that is helping me told me he will put my car on weight scales: as the car is basically a 'box' the scales will show what wheel pushes down more than the other, even when any misalignment might not be visually recognisable.
Makes sense now, but I probably never would have thought of that myself.....

 12-08-2017, 03:38 PM


 . I had to use an airtool to get it off, but the force of that tool made the spanner move on the spring, damaging the powdercoated surface:


