When you click on links to various merchants on this site and make a purchase, this can result in this site earning a commission. Affiliate programs and affiliations include, but are not limited to, the eBay Partner Network.
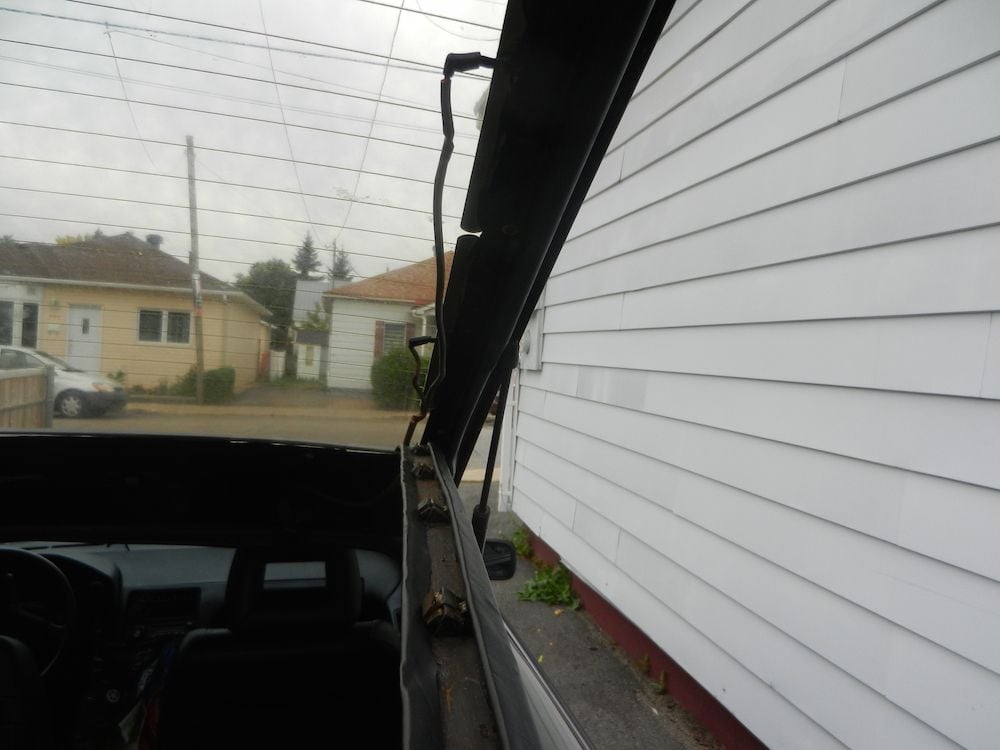
I assume the wires are routed on the left side of the clips in this picture. Also I would guess that the tabs for the window defogger connections should be bent to be hidden inside the lining.
Thanks for any tips.
My 89 has a 6 plastic tabs on the trim piece, and a hole at the end for a screw. I had to get a set of the clips from 928 International, along with the two trim pieces. Half of the plastic tabs were broken on the trim I had.
The best way I found was to make sure the leather was glued securely to the trim pieces, and put the clips on the trim and push the trim into place, and install the screw, and put the cap on the screw. Make sure the wires are tucked outta the way, and the defogger tabs are bent a little, and hidden when the trim is in place.
If you don't have everything ya need, it's best to call Tom, at 928 Int..
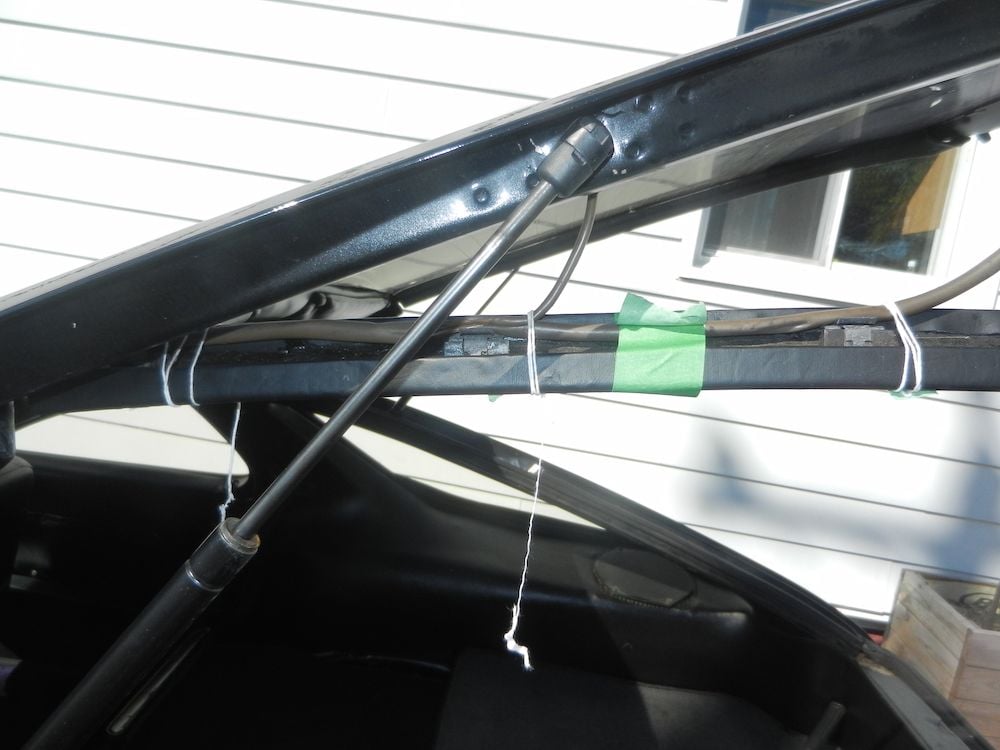
I got these pieces installed after a fair amount of fiddling. The biggest problem was getting the wiring to stay in place and away form the clips. What I finally did was to place the wires above the clips and hold it in place with some string. After the installation I was able to pull the string out.
The green tape was there to hold the piece up while I attached the strings, it came off before installation.
Mine uses plastic pins in the bottom end rather than screws.

 10-11-2017, 04:22 PM