When you click on links to various merchants on this site and make a purchase, this can result in this site earning a commission. Affiliate programs and affiliations include, but are not limited to, the eBay Partner Network.
When I bought my 928 the interior was a mess. It had been stripped at some point and then some parts replaced or “refurbished” by someone with limited skills, who didn’t recognize their limits. The Acura front seats were the least of the problems, at least they are in decent shape, although one is seated a bit high and the leg room is limited. But I am not tall so it works for me.
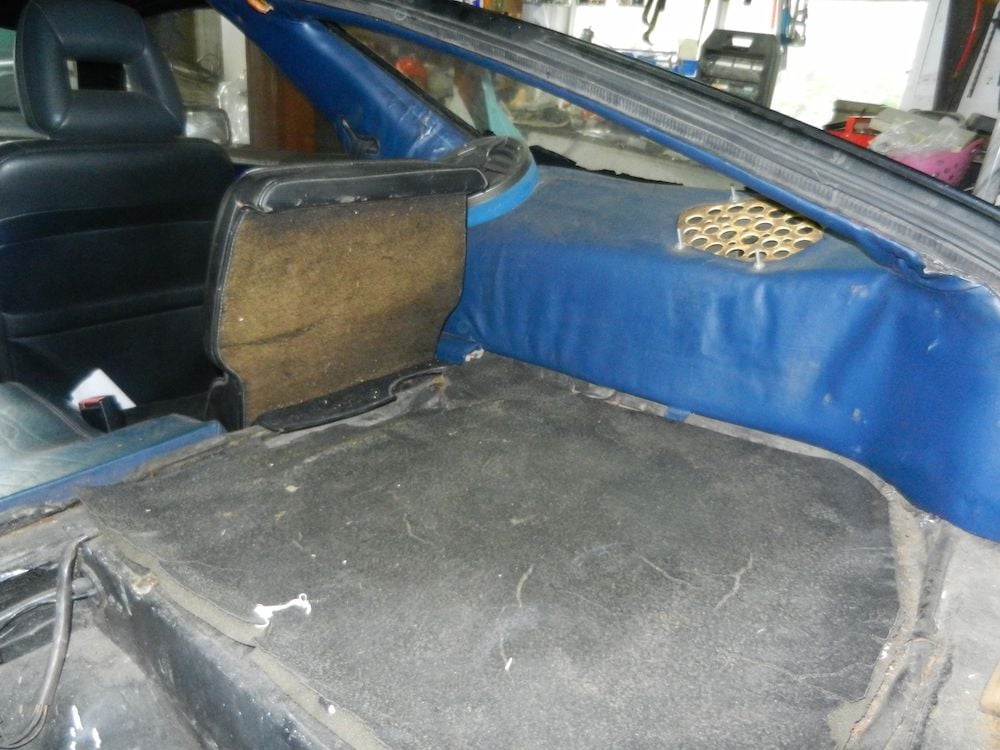
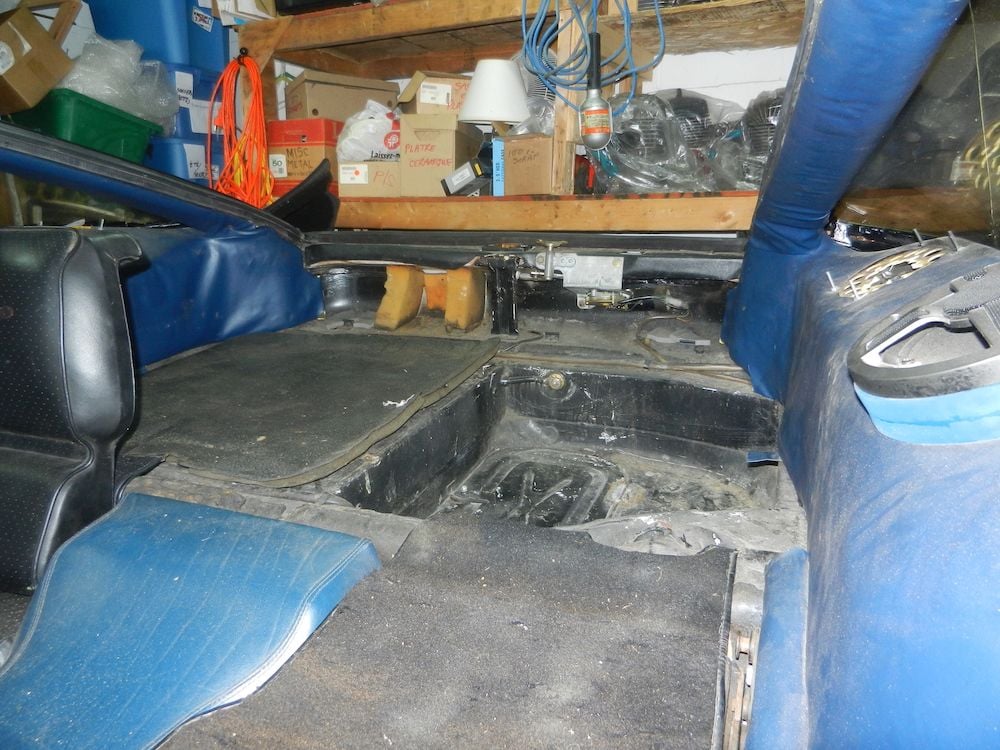
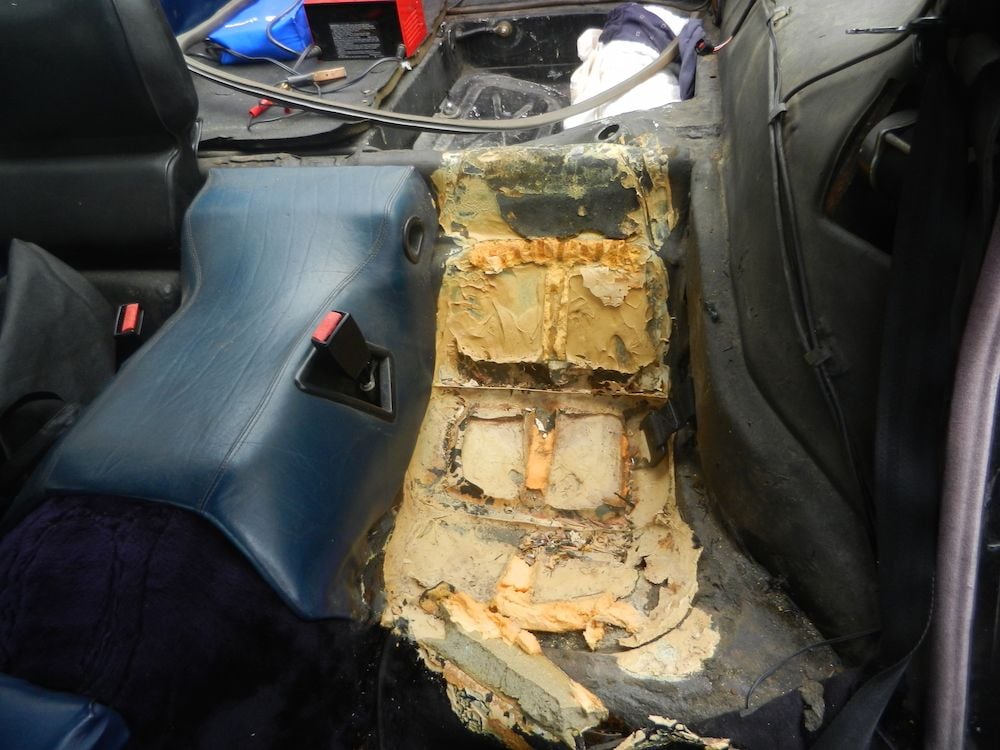
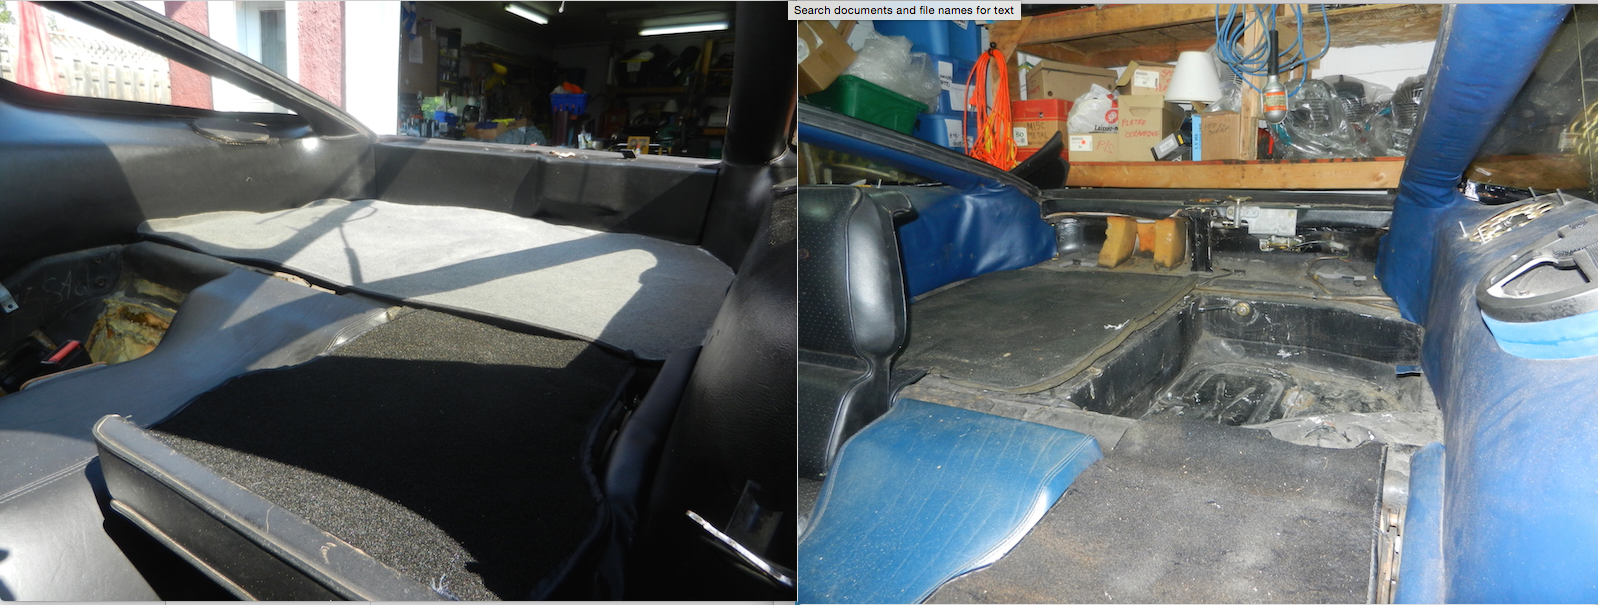
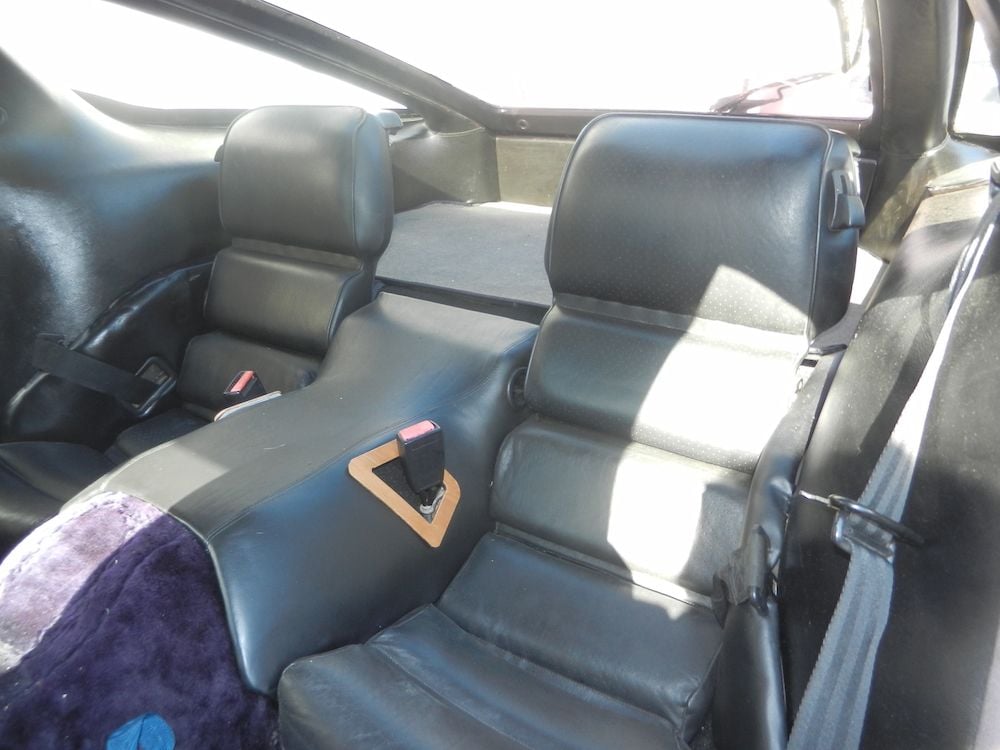
The rear was the real disaster area:
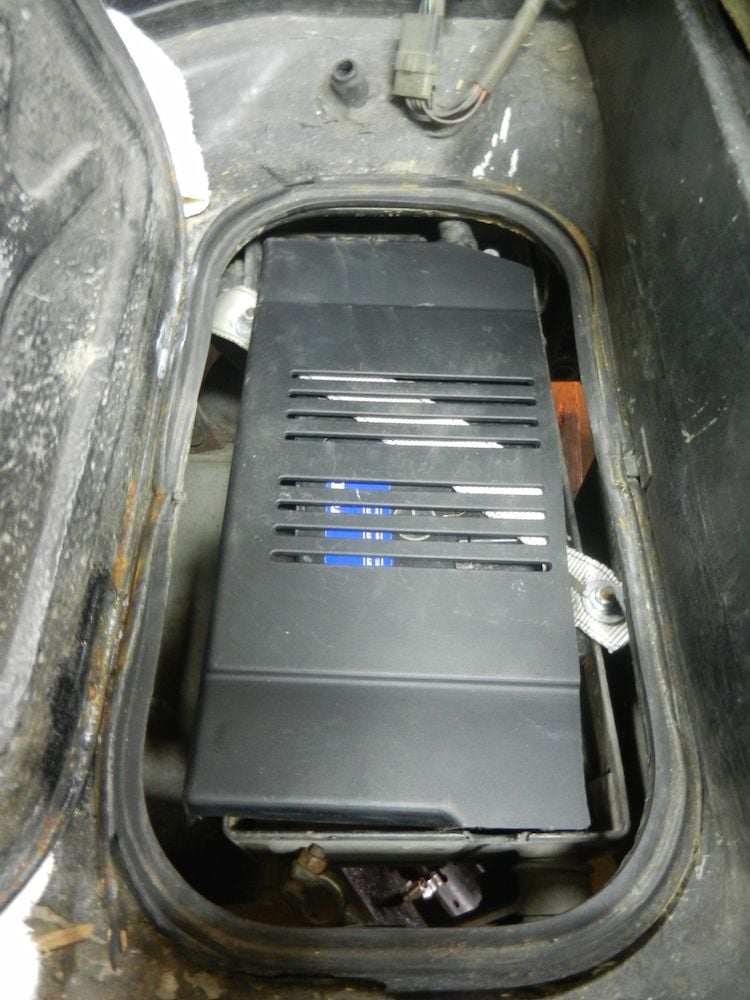
While I was back there I found that there was no battery cover or bracket and that the battery sort of rattled around in the box. One of the studs on the side of the box is broken. I used some wood to limit the battery movement and installed a nylon strap that should prevent the battery from jumping out of place… a more robust solution is coming… someday. Meanwhile I adapted a cover from a Mercedes which prevents shorting to the cover and looks kind of cool.
The idea of redoing the interior changed from someday to now when I found almost all the parts that I needed locally, at a reasonable price and in reasonable condition.
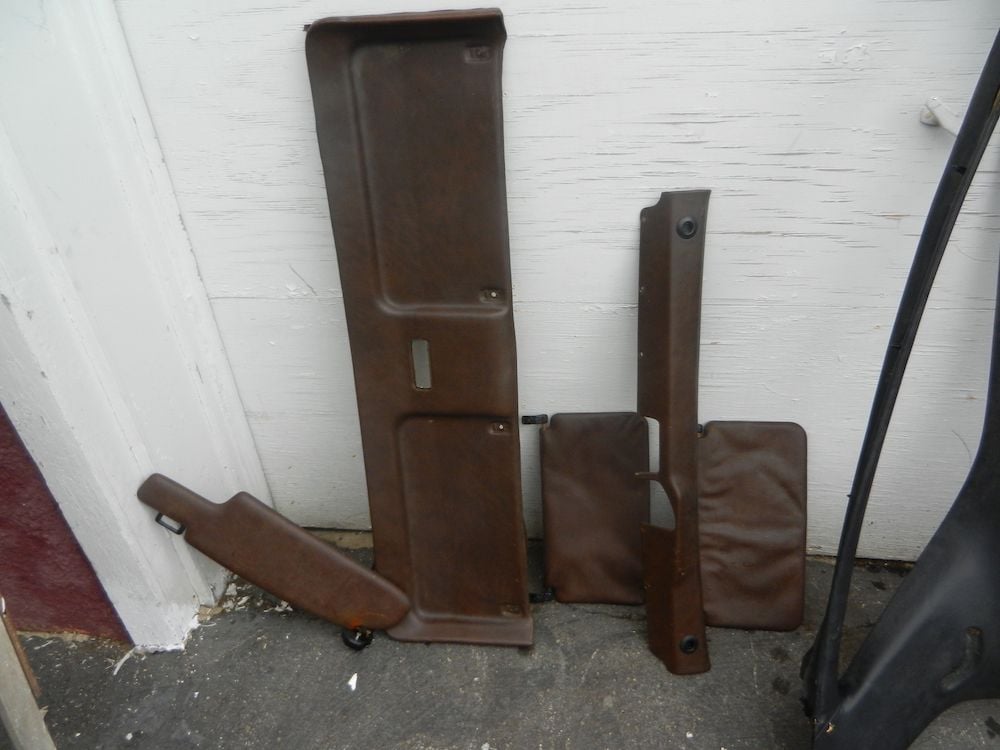
Some of the parts were brown, but I knew they could be recoloured.
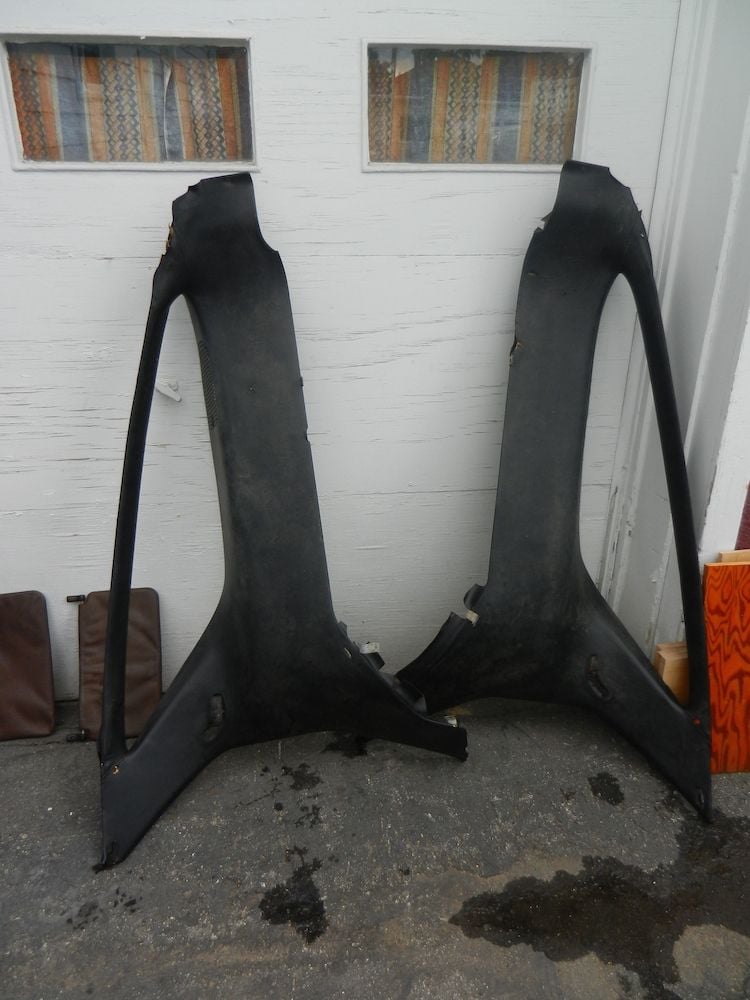
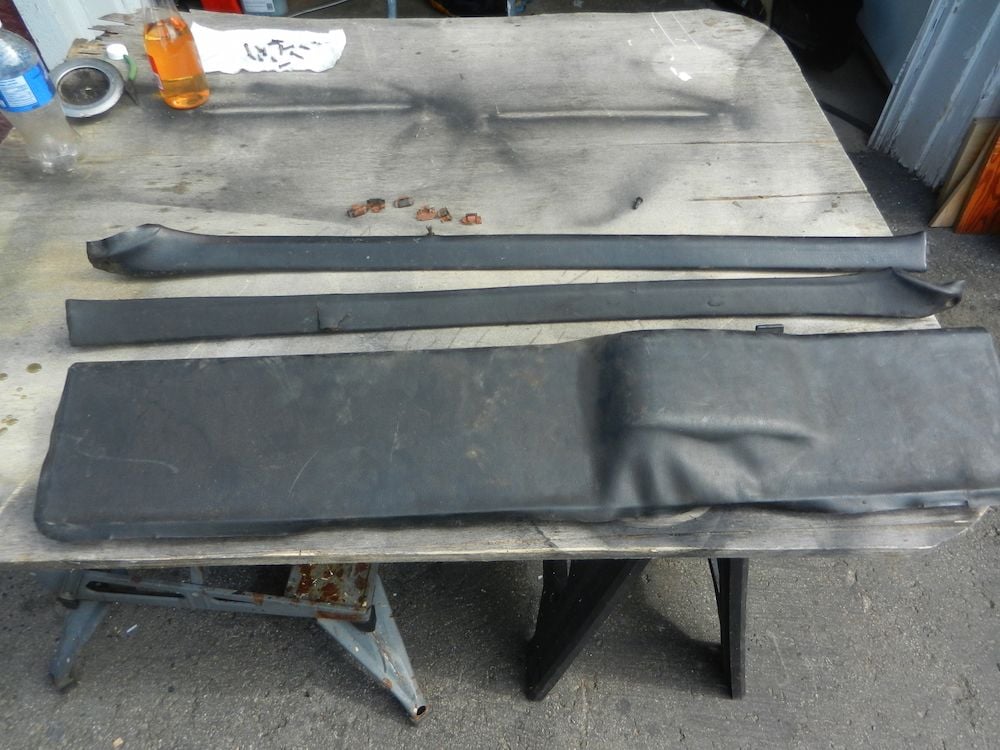
The quarter panels were black but needed to be fixed structurally and some tears fixed and the vinyl reattached properly.
The tool plate needed a bit of strengthening at a crack in the middle, reglueing of the vinyl and new clips. The hatch side linings needed recovering and a bit of fiberglass repair on one side.
Evidently during the disassembly some discoveries were made. The rear seats were set in some sort of glue which gave up the seat cushions after an epic struggle. Luckily the glue didn’t stick to the leather too badly so the cushions came out with only a few tears on the rear and the sides, where the repairs are out of sight.
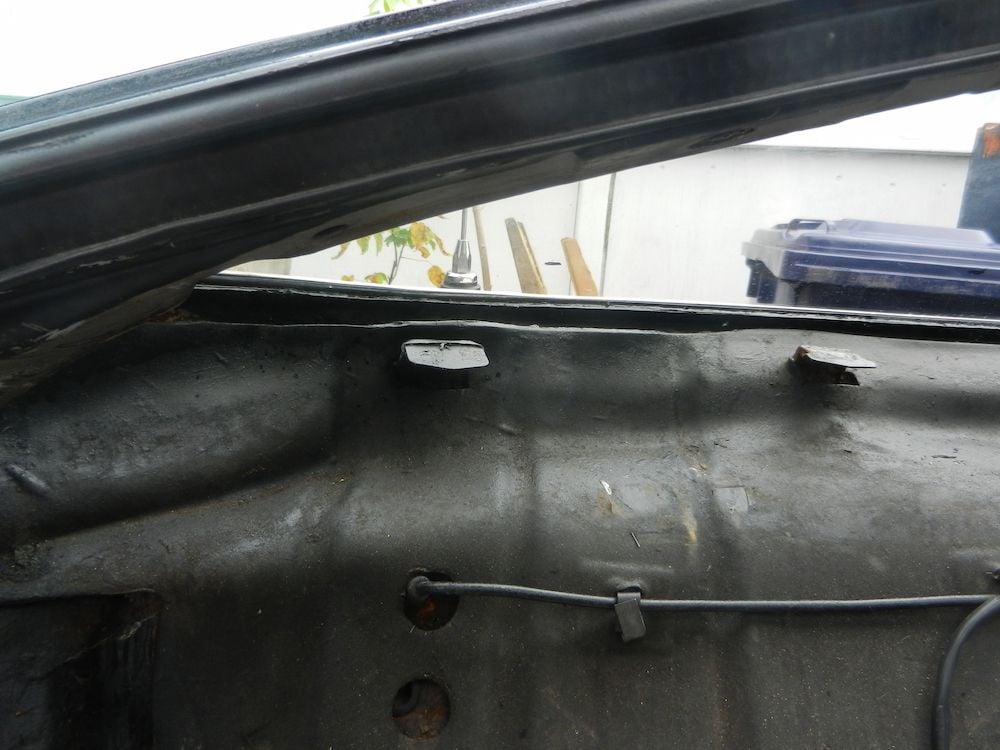
After removing the old quarter panels I found that the layer of semi-hard insulation under the quarter panels was deformed on the upper edges just under the windows. This is the left side, the right is worse.
Since there is a space between the window and the quarter panel this (deformed) layer is visible from the exterior. This results in an unfinished look even in a car that is in concours condition, in IMHO. I toyed with the idea of using heat to reform the insulation but had no confidence that it would look any better. My work around is to hide it with a mask of Plastidip on the bottom of the window.
The mask isn’t that evident on a car that is black on black and Plastidip is removable if some one wants to improve on it in the future.
My work around is to hide it with a mask of Plastidip on the bottom of the window. The mask isn’t that evident on a car that is black on black and Plastidip is removable if some one wants to improve on it in the future.
Good luck ! you can do it ! I'm just finishing off my 84's interior that I redid and switched to Black from Brown.
Get the SEM Dye/Paint for the Vinyl and Leather - works awesome !!
Also take a ton of Pics whenever you take apart anything- thats a mistake I made and bit me back when I was putting stuff back in.....
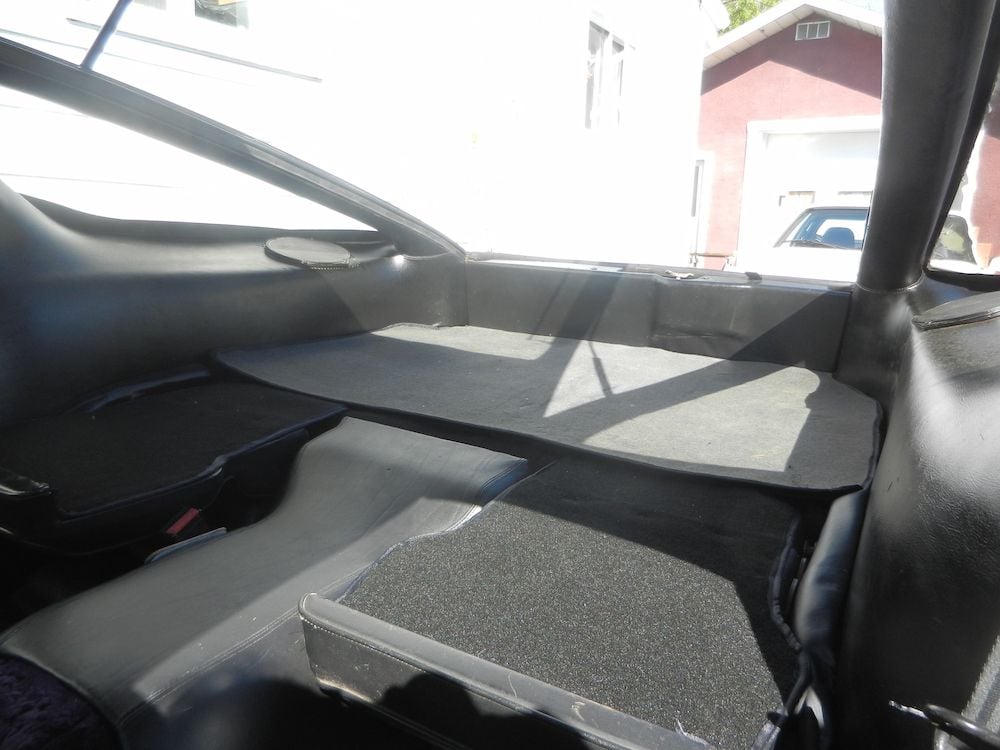
I've started installing my new/refurbished pieces... it is starting to look better. Here are some before and after pictures.
The right side rear seat is still a work in progress, I am currently installing new carpeting on its back. The "lining tunnel" between the seats is now black. The carpet (from a Kenny U Pull Mercedes) is grey and needs some adjustment. I may make a black one someday.
You have really got your work cut out for you. That rear seat glue - ugh. But it's coming along really well. BTW Acura seats rock though I understand why they don't work in a 928.
I personally love interior work because every time you look at the car its right in front of you. (Plus I am not too good at wrenching.)
I can't wait to see the before and after once you're done. In the meantime, good luck.
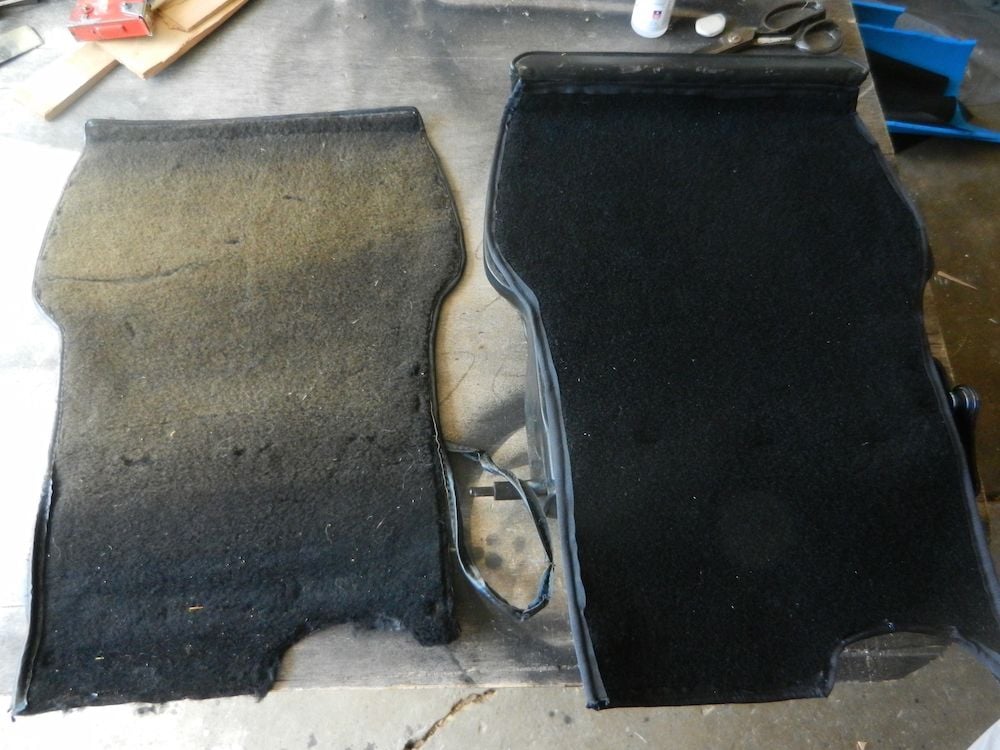
Here is the rear passenger side seat with its new carpeting beside the 39 year old original carpet. The sewing of the border is not perfect I admit...
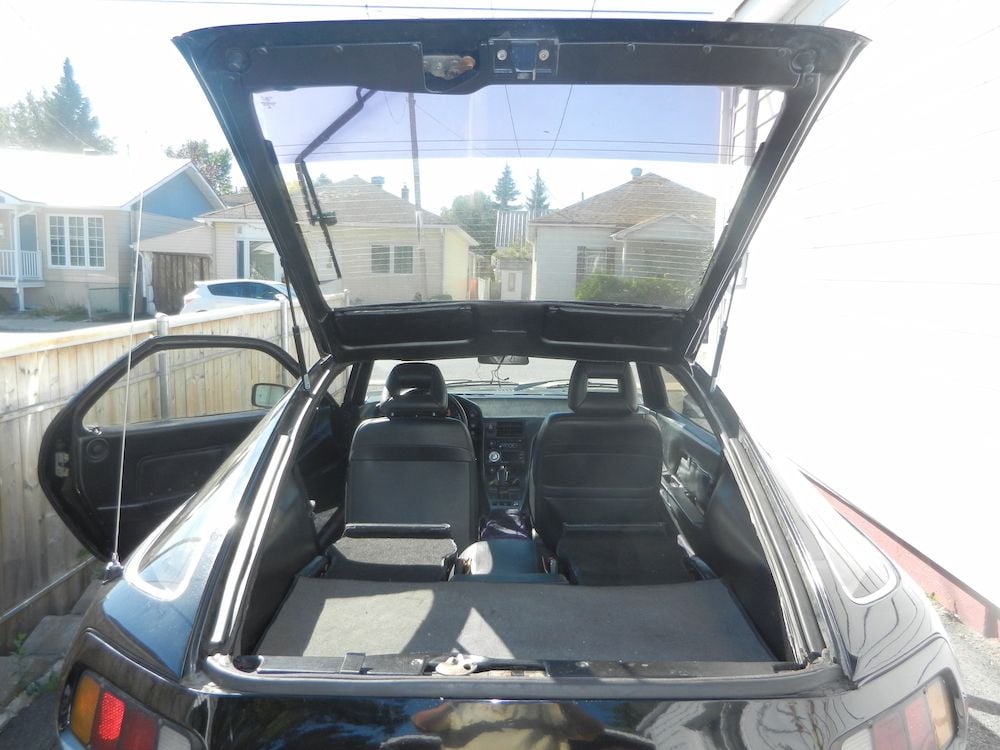
Here are some pictures as it is now.
I'm still not sure about the wood rosettes on the console, but it was the best I could do with available materials.
One problem I faced was the different materials (touched up original Porsche black vinyl, dyed original Porsche brown vinyl, dyed original Porsche blue leather, original Porsche black leather (the rear seats, that I touched up with dye) and non-original modern day vinyl. So there are evident differences from very shiny to mat.
I ended up removing the headliner and patching some cracks and tears before reinstalling it. It doesn't fit perfectly; partly because someone put a coat of epoxy on the rear of it so it is not very flexible and also I imagine the shape has deformed over the years.
My next projects are to remove and renew the front console, make up a piece of carpet to cover just the top part of the dash where the defrost vents are, which has almost all of the cracks. I think it will be a lot less conspicuous than the normal full size dash carpet that always looks like a badly fitted wig. Finally I want to replace the purple **** carpet that is in the front (which was originally black). I think I can make the new carpet myself using the same material that is on the rear seat backs.
Last edited by elgy; 02-12-2018 at 10:41 PM.
Reason: Grammatical errors...

 09-22-2017, 12:59 PM