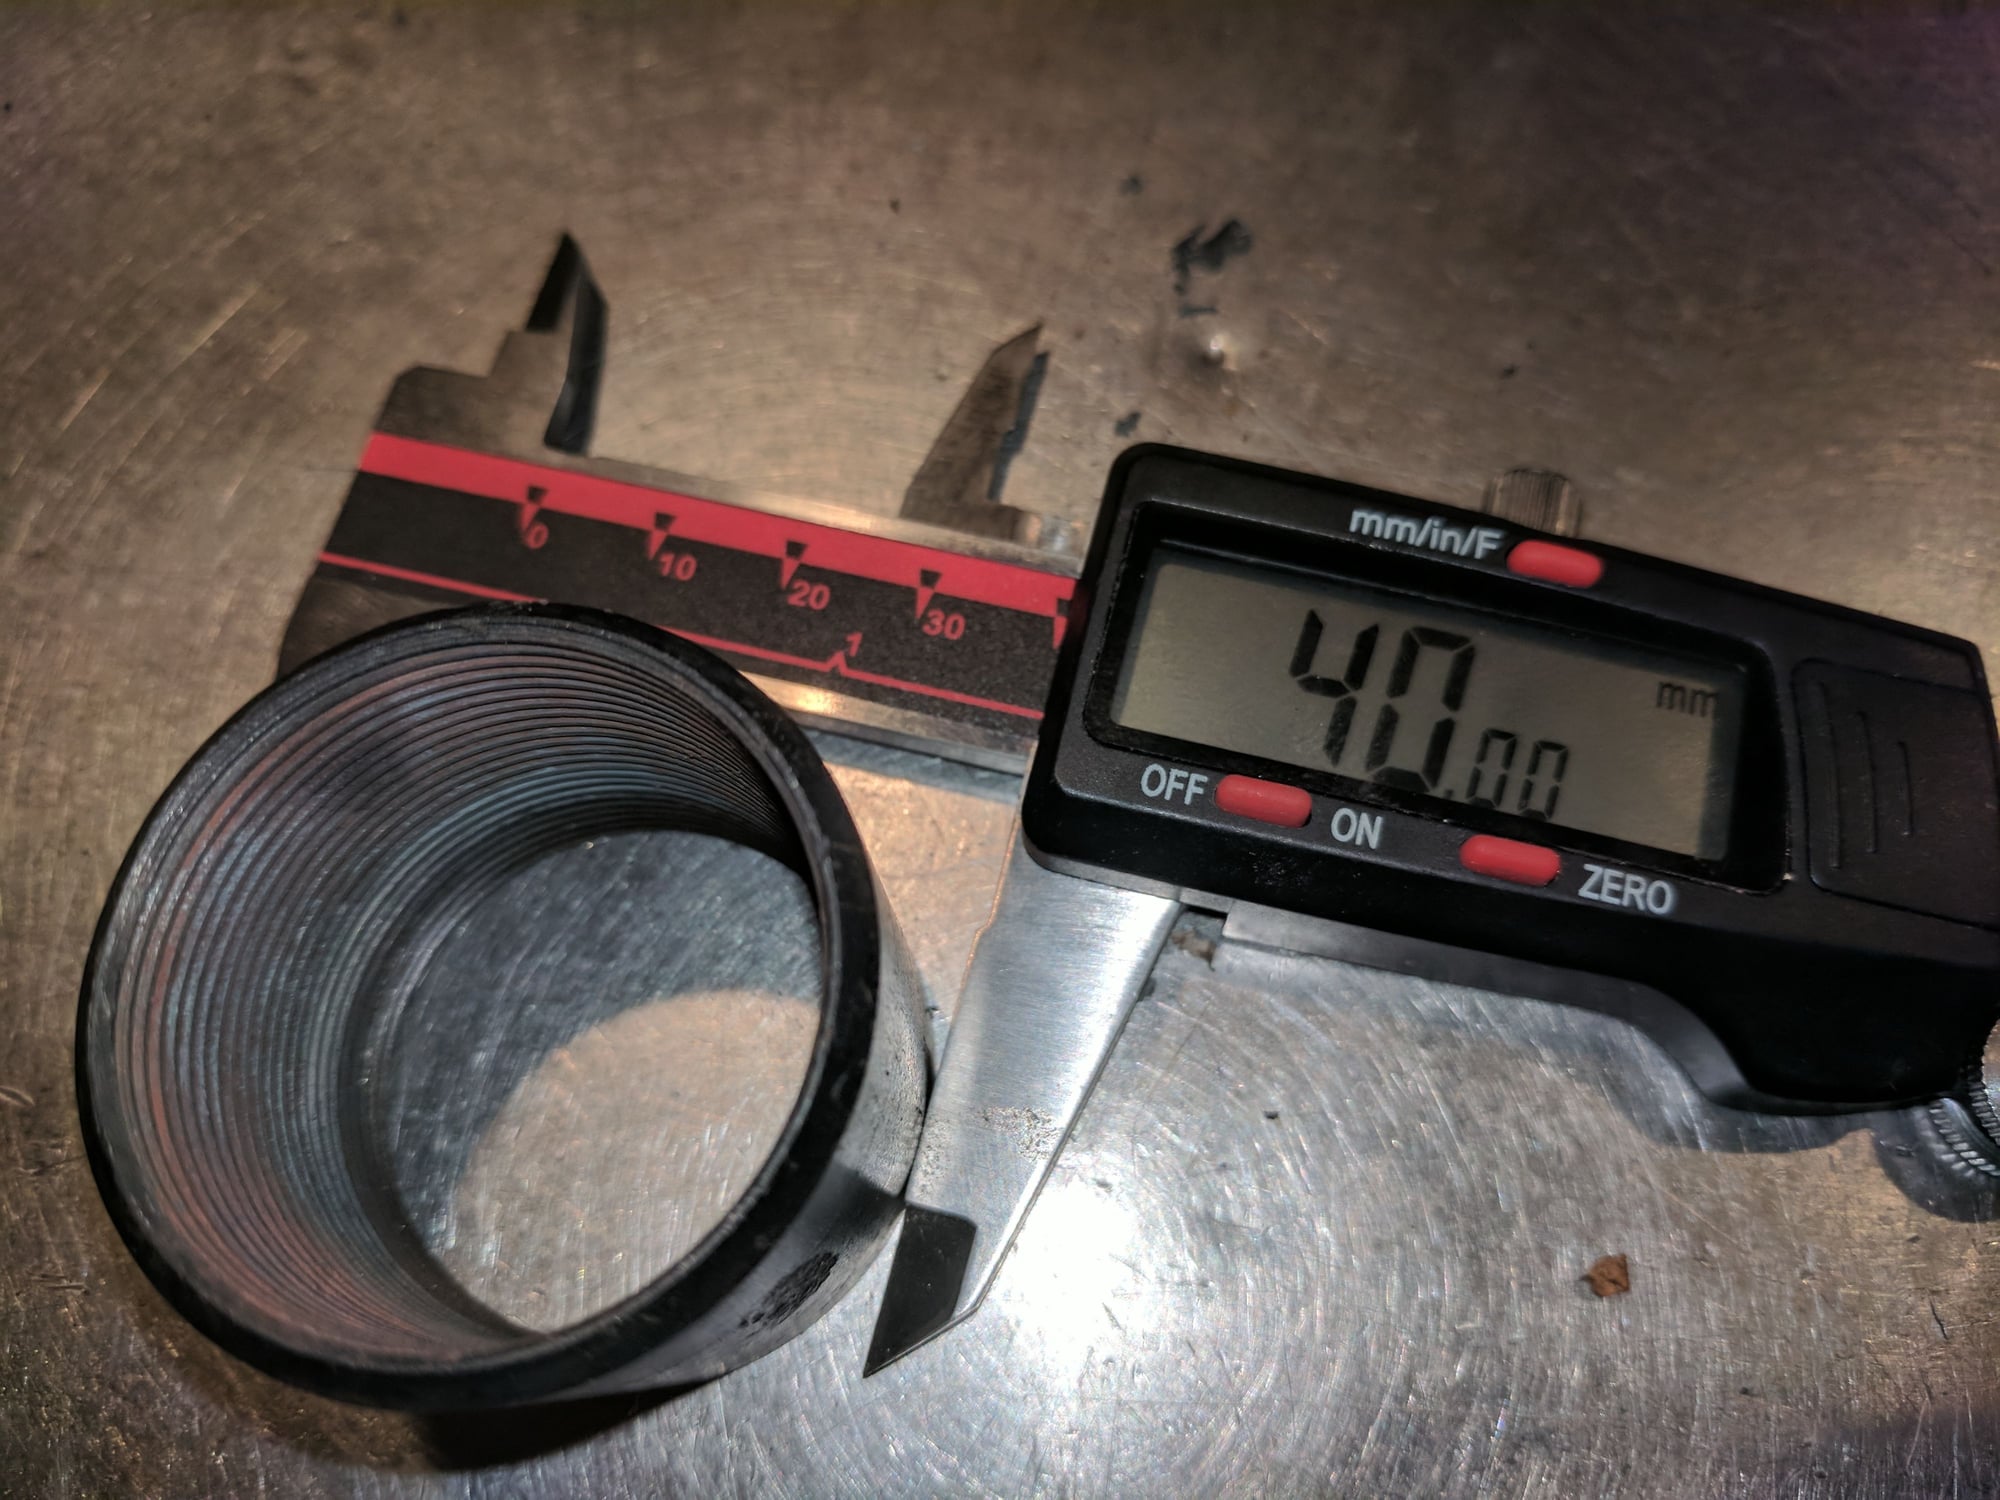
New Product - Fuel Tank Threaded Sleeve FIX
#1
Basic Sponsor
Rennlist
Site Sponsor
Rennlist
Site Sponsor
Thread Starter
New Product Hat Trick 


Thanks to a clever Rennlister we are pleased to offer a replacement for the dreaded "spin out" threaded boss in the tank outlet.
The threaded boss is located in the tank outlet from inside the tank. Has a seal to ensure no leakage from the internal joint. Allows the use of the standard fuel strainer or the internal pump. No epoxy needed.
Price will be $150 and includes the seal.
Will be available shortly and if you want to get on the waiting list please email me at Roger@928sRus.com.
__________________

Does it have the "Do It Yourself" manual transmission, or the superior "Fully Equipped by Porsche" Automatic Transmission? George Layton March 2014
928 Owners are ".....a secret sect of quietly assured Porsche pragmatists who in near anonymity appreciate the prodigious, easy going prowess of the 928."

Does it have the "Do It Yourself" manual transmission, or the superior "Fully Equipped by Porsche" Automatic Transmission?
 George Layton March 2014
928 Owners are ".....a secret sect of quietly assured Porsche pragmatists who in near anonymity appreciate the prodigious, easy going prowess of the 928."

#2
Gorgeous.
#3
Shameful Thread Killer
Rennlist Member
Rennlist Member
I seen it up close while I was gnoshing his food, drinking his wine, and razzing with his dog. It's nice. Well made from good Al. It's a perm fix to the dreaded problem.
Get one.
Get one.
#5
Pretty sure it's drawn in as you are tightening the strainer. Just have to get the insert lined up first. I saw another post where they used a coat hanger as a guide and slid the insert down. Having just done my fuel tank strainer/seal last year I can see how elegant this solution is and appears very well made.
#6
Rennlist Member
Yea baby! That is awesome! ...what a great product...and fantastic idea.
Now I have to take $15 a week out of my check and cram into the 928 jar...
Roger and all else involved...thanks for coming out with these great products...you are saving us all a ton of money, and saving sharks lives!
Now I have to take $15 a week out of my check and cram into the 928 jar...
Roger and all else involved...thanks for coming out with these great products...you are saving us all a ton of money, and saving sharks lives!
#7
Shameful Thread Killer
Rennlist Member
Rennlist Member
Alternately, substitute a shop-vac at the outlet port, and draw the floss from the inlet. Once through the tank, feed the fitting on the floss as above.
Trending Topics
#8
I used the threaded rod technique with washers and fishing line to get everything drawn into place. It, literally, took me about 10 minutes to do, start to finish.
I will try to get some photos of what I used and how I used it this week. Maybe that will help some.
I will try to get some photos of what I used and how I used it this week. Maybe that will help some.
#9
Rennlist Member
Just remove the fuel level sensor.
It's right above the filter screen and I'm sure anyone can reach their hands down that hole easily to put it in place.
It's right above the filter screen and I'm sure anyone can reach their hands down that hole easily to put it in place.
#10
Rennlist Member
This new insert looks like a great product..the inner seal probably doesn't hurt either...but does not fit 1978 tanks, right?
#11
Basic Sponsor
Rennlist
Site Sponsor
Rennlist
Site Sponsor
Thread Starter
but does not fit 1978 tanks, right?
Worst case the OD of the boss can be machined to the correct ID of the 78 tank outlet.
We just need someone with a 78 to be the test case.
#12
Rennlist Member
Jury is out on that one. I am not sure the threaded sleeve OD was any different to all the other tanks. We do know that there was a small difference in the thread size. So providing the ID of the tank outlet without the threaded sleeve will accept the boss you are in business and can use the later strainer and in-tank pump.
Worst case the OD of the boss can be machined to the correct ID of the 78 tank outlet.
We just need someone with a 78 to be the test case.
Worst case the OD of the boss can be machined to the correct ID of the 78 tank outlet.
We just need someone with a 78 to be the test case.


