When you click on links to various merchants on this site and make a purchase, this can result in this site earning a commission. Affiliate programs and affiliations include, but are not limited to, the eBay Partner Network.
When I went to move the 928 into the garage for the winter I broke the door handle, common problem it seems. The story is here: https://rennlist.com/forums/928-foru...or-handle.html
Once in the garage the first job was to fix the door handle, which was easy, easier than it should be because a lot of stuff is missing from the inside of the door. These threads helped a lot. https://rennlist.com/forums/928-foru...eferrerid=6055
and text only: http://www.nichols.nu/tip378.htm
Last time I tried to lower the window nothing happened when I actuated the switch. So before working on the handle mechanism I had to get the window to work. I hoped for a simple fix. With the door panel off I wiggled the wires where they are connected to the motor... and voila it worked. I tightened up the connectors and hope that was the only problem.
The main project for the winter and spring is to work on the fuel injection system. I started a thread last year but haven't done anything since. https://rennlist.com/forums/928-foru...is-system.html
I have started to refamiliarise myself with the material in the thread and I am a bit intimidated. Before moving the 928 into the garage I debated putting my Boxster in, to drop the engine and change the cam chain tensioners, but the 928 was closer to the garage door. I think the Boxster engine drop and install would be easier.
During the next months I hope to update the thread with my experience.
Well it seems that the injection system is going to wait for awhile. After changing the door handle I realized with the door panel off it would be logical to clean up the speaker wires and improve the sound system... currently the only speaker working is in the driver's door. So I decided to take the center console out to fix several problems in addition to the sound system including new window switches, fixing the auto shift gear indicator, find out why the heater doesn't work, fix the clock, install a lock actuator in the passenger door and general clean up under the console. First success is that when I removed the clock and put 12V on it it worked! So the problem is in the wiring.
One reason that contributed to my decision to put off the injection work is that I want to first clean the injectors and then see if the engine runs better and then test after each step as I work through the system. I won't be able to start it, let alone road test, till the spring.
Did we buy the same car, what's the VIN# ? Lol Keep up the good work and please who it matters most, you. Screw the Acceptable Level only minded only nay sayers. If the only way was theirs I'd find another road and DRIVE IT
I have started to reassemble the HVAC and found this thread with a very useful diagram: https://rennlist.com/forums/928-foru...79-owners.html
As mentioned in my post to the above thread I have to find out why I am not getting decent vacuum from the brake booster to the HVAC manifold. I should take the seat out so I can lay on my back and explore under the dash, Not looking forward to that so I'll finish the wiring for my radio while thinking about it.
Tracing the wiring led me to decide to remove the electrical panel (CEP) which is documented here: https://rennlist.com/forums/928-foru...questions.html
The electrical work has kept me busy so I still have not resolved the vacuum problem between the brake booster and the HVAC. Strange thing is that if I blow into the tube with the HVAC end closed off the tube seems to hold pressure, but when I try the vacuum pump it will not hold any vacuum. Could be a joint in the line that self seals under pressure but leaks with a vacuum?
So, what started out as replacing the driver's door handle has turned into step 2 of renewing the interior. Step one is mentioned earlier in this thread.
So far I have installed new speakers in the door panels, fixed some flaws in the panels, cleaned up the speaker wiring, installed new window switches, fixed the auto shift gear indicator, fixed the heater (I hope, to be tested), fixed the clock wiring, installed an electrical lock actuator in the passenger door, cleaned up under the console and did what I could to improve the Central Electrical Panel by removing four decades of poorly done repairs and hacks.
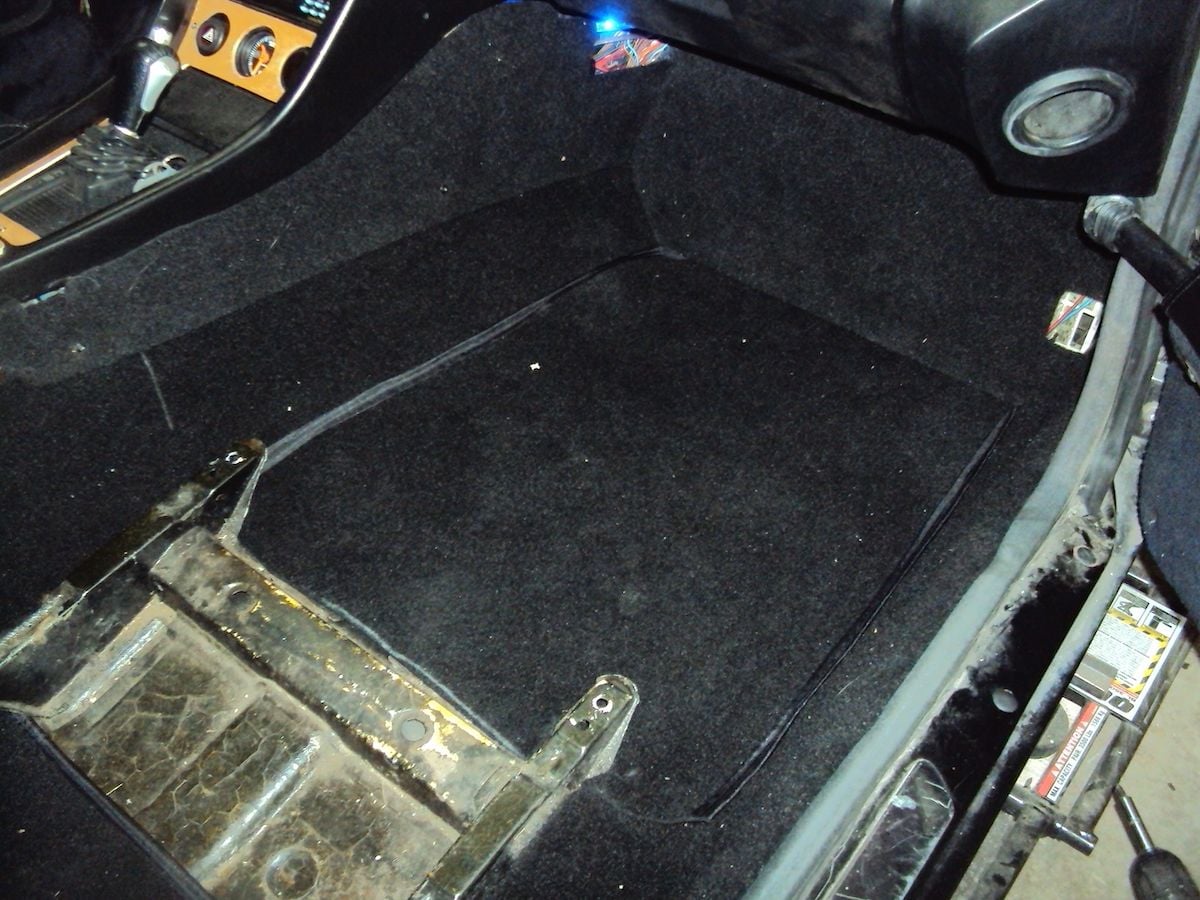
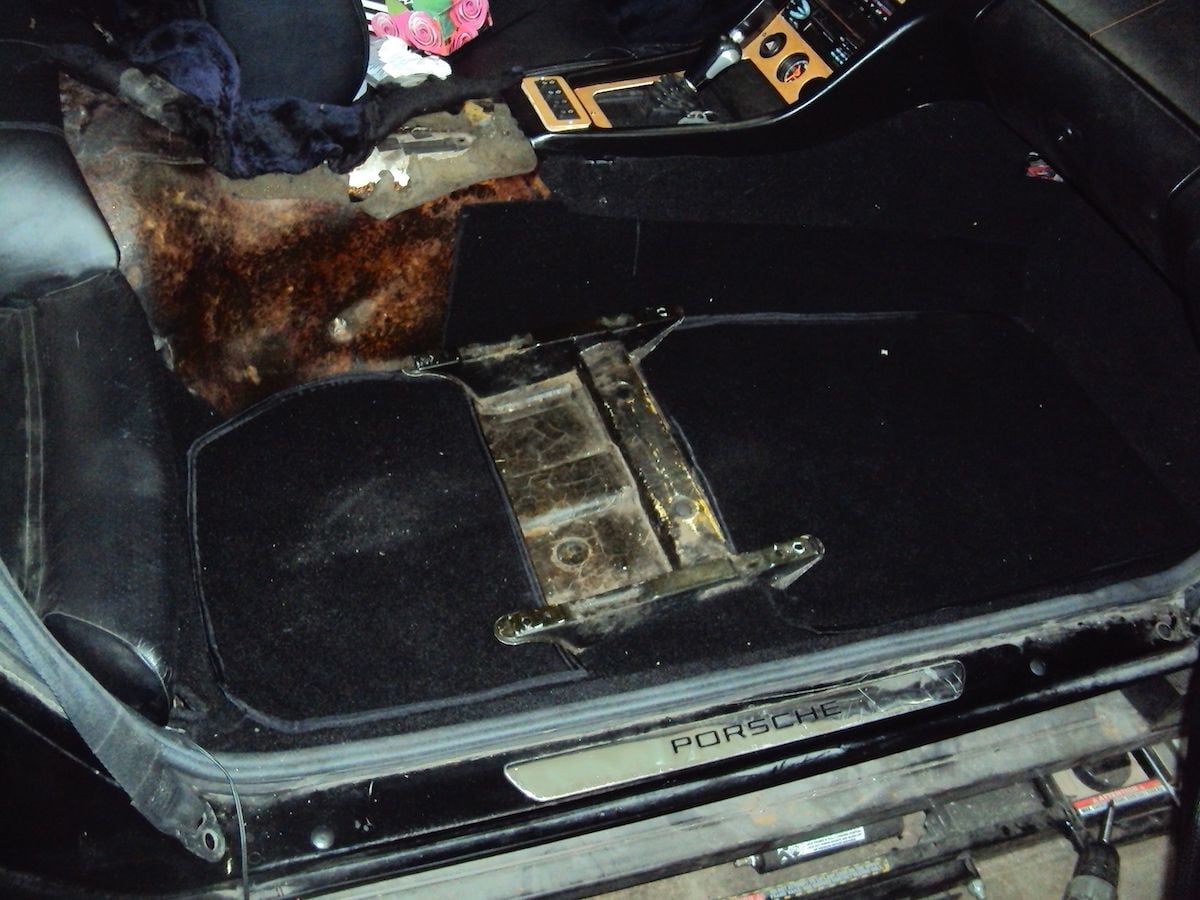
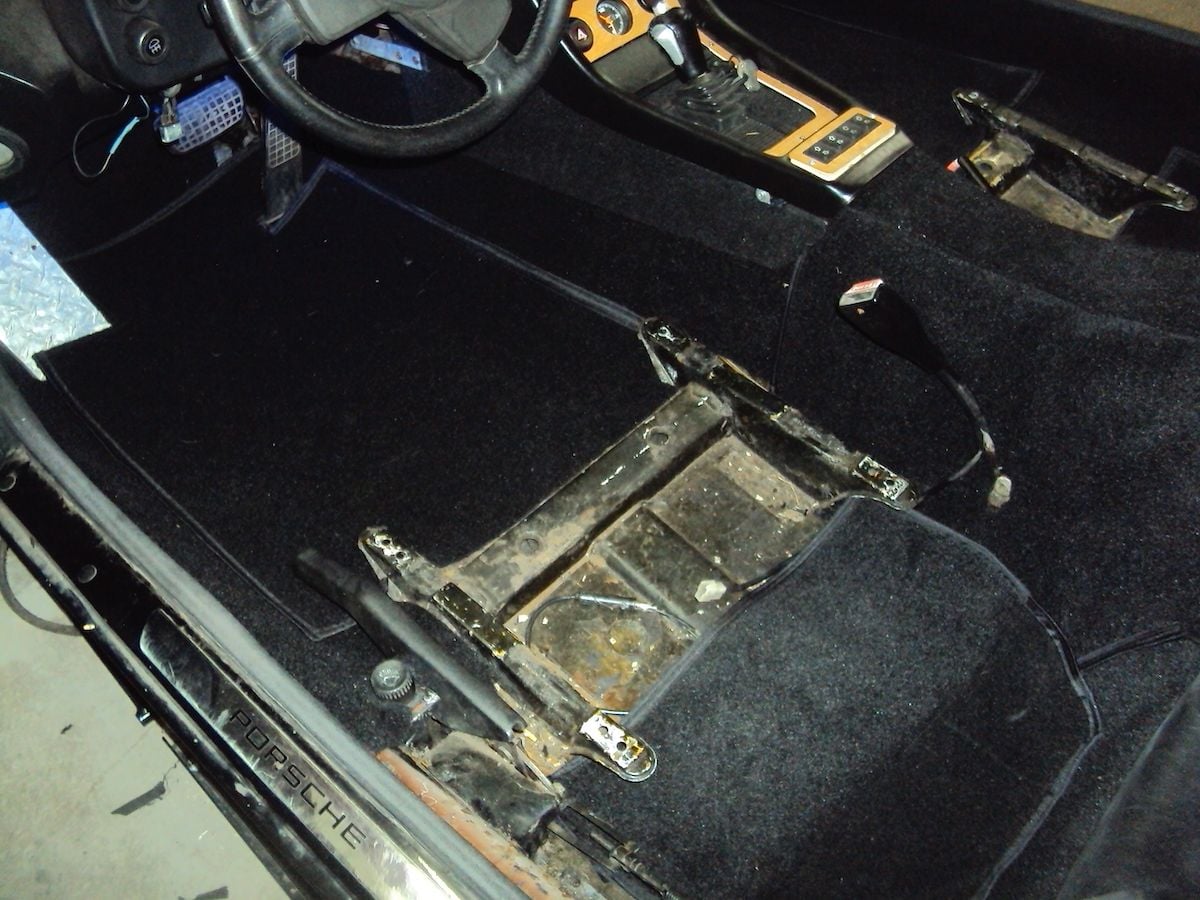
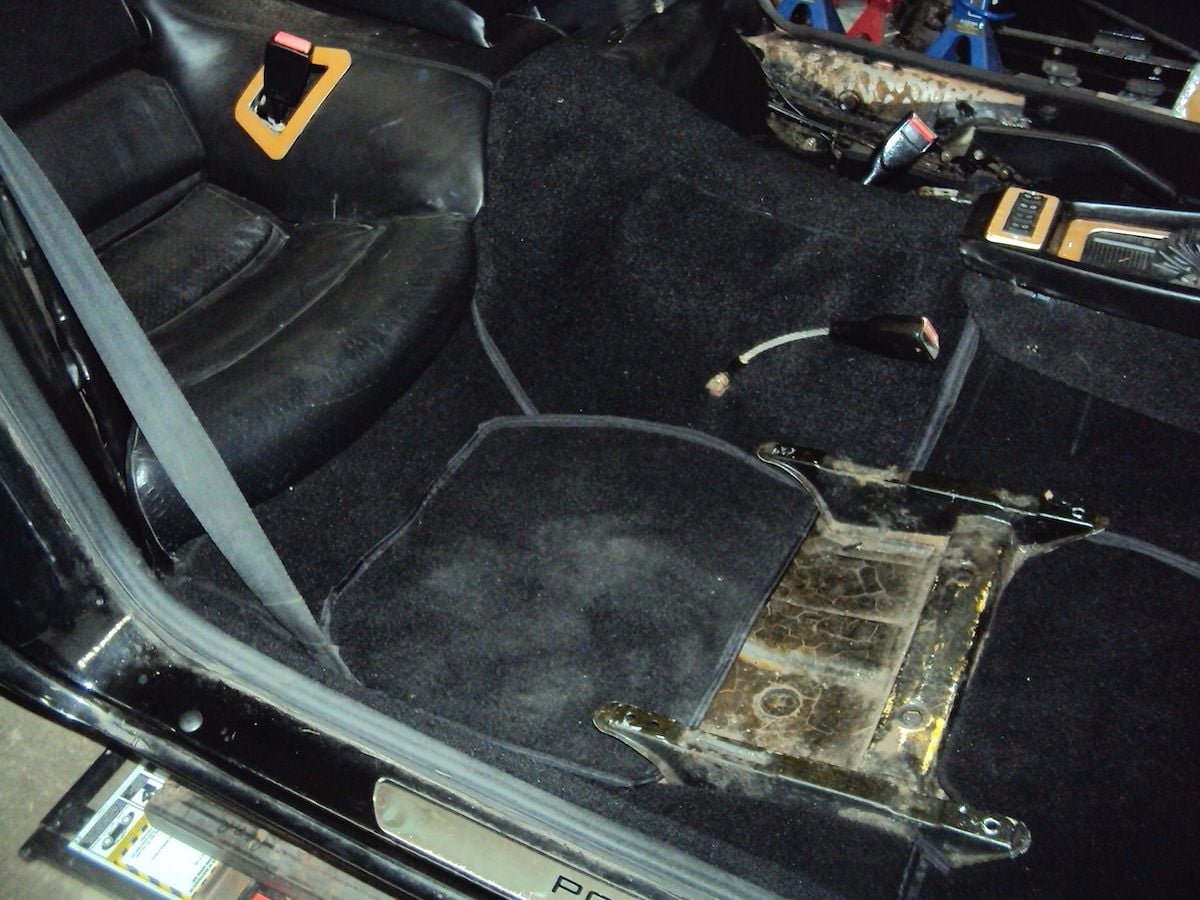
Since I had to remove the passenger seat to install my new console side panel I decided to do the carpeting. So far I am happy with what I have done. I am using a black exterior carpet that is thin enough that I can sew it on my machine.
The next challenge will be the rear part of the tunnel, that will take some cutting and fitting. I may be able to use the old carpet as a model.
My gear indicator repair needs some adjusting as it is about one gear position too far back, as can be seen in the last photo.
Do you have a binder foot?
Or are you doing it by hand?
Are you using the old pieces as patterns?
Or just trimming to fit?
Inquiring minds want to know.
No binder foot, so the ribbon seams are not too straight. My machine is an old run of the mill Necchi that is able to handle 2 layers of the thin carpet that I am using... but it is limit.
So far I have been trimming to fit as the old carpet is not original and it is a flimsy **** (!) material that is rather formless. Despite this I will try to use the old one as a pattern for the tunnel since it is the most complex fit.
I have finished my "customised" carpeting and am quite happy with the result. The piece covering the tunnel was easier than I expected, although it is not a perfect form fit. The seats are back in and it is a huge improvement.
Big disappointment is that the clock is no longer working, it was fine a month ago. I hope it is just a loose fuse.
It is not as yet glued down, if the various components don't move around perhaps I'll leave it like that. The only unfinished place is over the parking brake cable since I am missing the cover. Still thinking about what to do there, buy a cover as some have suggested, or make one myself.
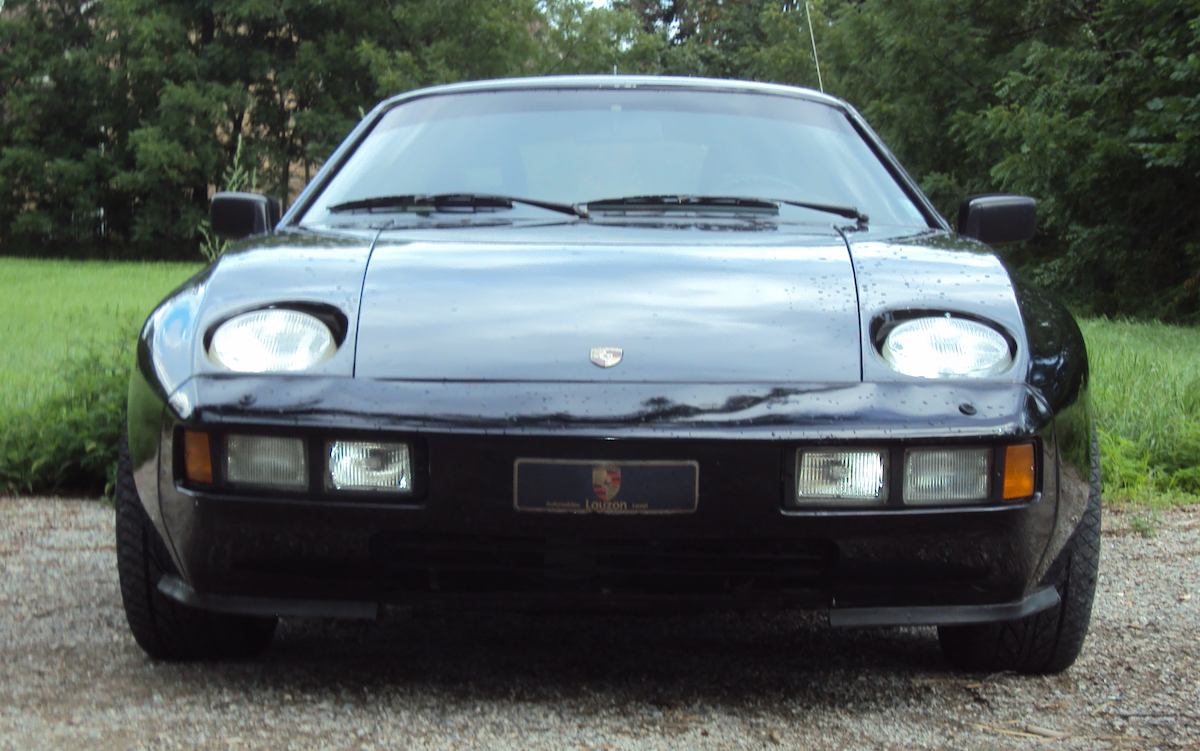
Meanwhile I washed it and took some pictures...
Good news! The clock is working again... a blown fuse. I hope that it was a bad fuse, seems fine with a new one.
My huge old battery finally died. It was old when I bought the car 7 years ago so I am amazed it lasted this long. It is a Crown Battery Direct Power. I replaced it with a Canadian Tire Motomaster 010-4100-4 for $167 CDN plus taxes.
BCI Group Size: 41
Cold Cranking Amps (@ -18°C): 650
Cranking Amps (@ 0°C): 800
Reserve Capacity Minutes (@ 25A): 100
3 year guarantee
The specs are equal to or superior to the OEM battery but it is smaller so I have a block of wood to keep it from shifting, Same width but a bit shorter. I just installed it so I will see how it functions. If it lasts as long as the last one I will be happy.
Last edited by elgy; 09-18-2020 at 02:57 PM.
Reason: spelling


 11-22-2019, 12:04 PM