When you click on links to various merchants on this site and make a purchase, this can result in this site earning a commission. Affiliate programs and affiliations include, but are not limited to, the eBay Partner Network.
Renewing rear rubber fuel line etc. '78 euro. Update and WARNING
When I saw fuel dripping from the front of the right rear wheel well I realised it was time to attend to the rear fuel lines. I had earlier done the engine compartment rubber lines. https://rennlist.com/forums/928-foru...-in-place.html
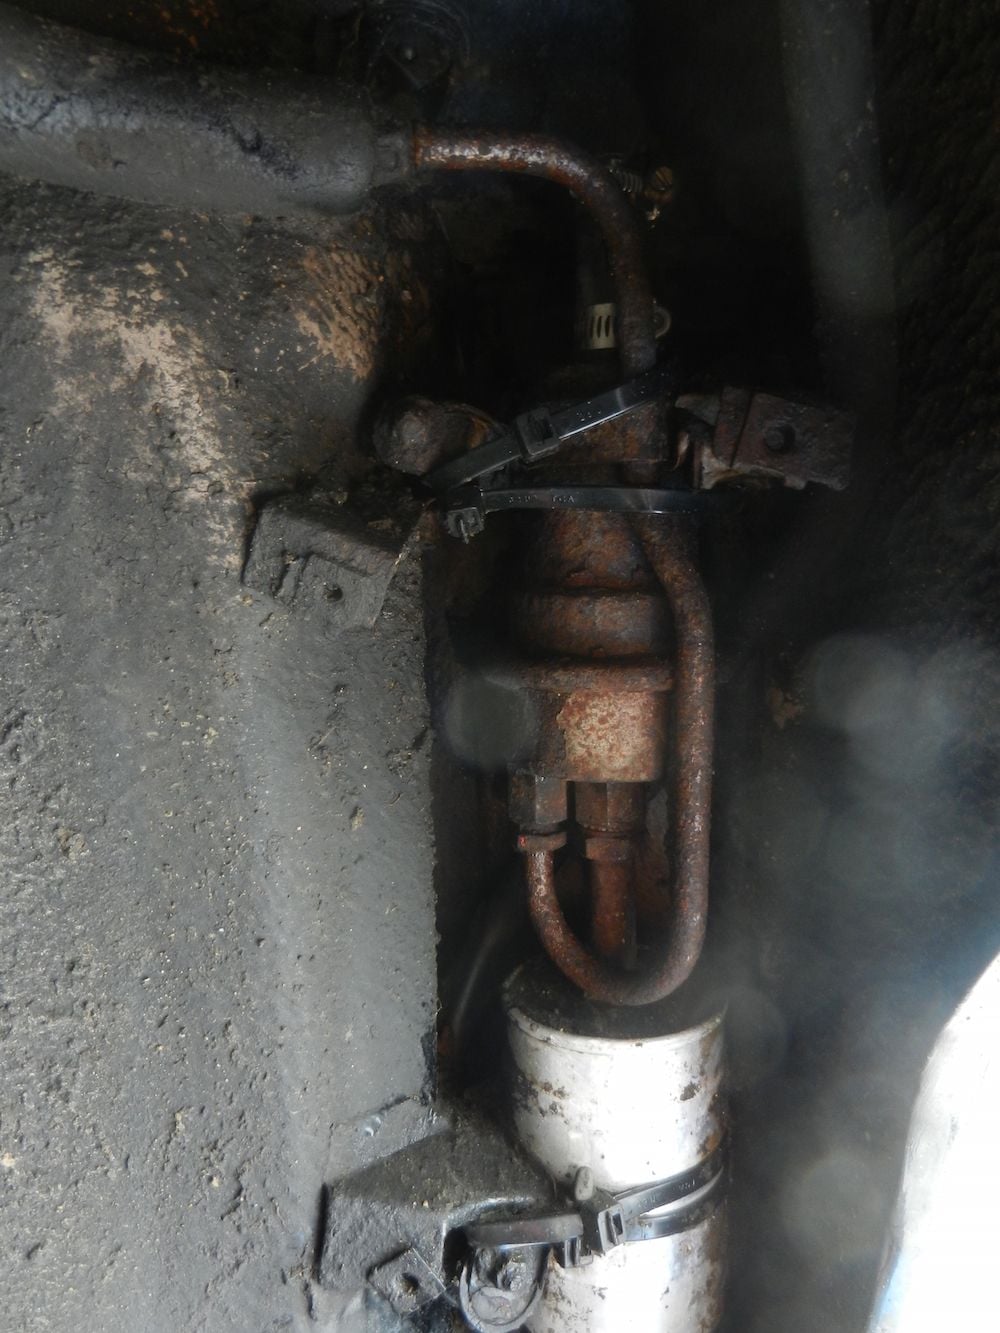
What I found was not pretty. The cover that is supposed to be mounted in the fender to protect the filter and accumulator was missing, so for years water and mud has been thrown in there. The accumulator was a mass of rust and the mounting hardware was rusted to the point of not being structurally sound. Not that that mattered because everything was held in place by tie-wraps!
The accumulator diaphragm is leaking and a previous owner had jury-rigged a cap on the top to seal it. This is where it was leaking. I tightened the cap and was able to run the car into the garage.
The strange thing is that when I removed the accumulator it maintained pressure in the top chamber even after the input and output lines where removed and until I removed the cap when a stream of very old dirty gas shot out. I�ve never had serious hot start problems, so it seems that the accumulator does hold some pressure.
A new accumulator is out of my budget at the moment so I looked at bypassing the accumulator, but decided to reinstall it as is, but with a more substantial cap to seal the top.
Note: I am interested in more info on exchanging the accumulator for a length of rubber fuel line... I have seen a couple of references but can't find them now.
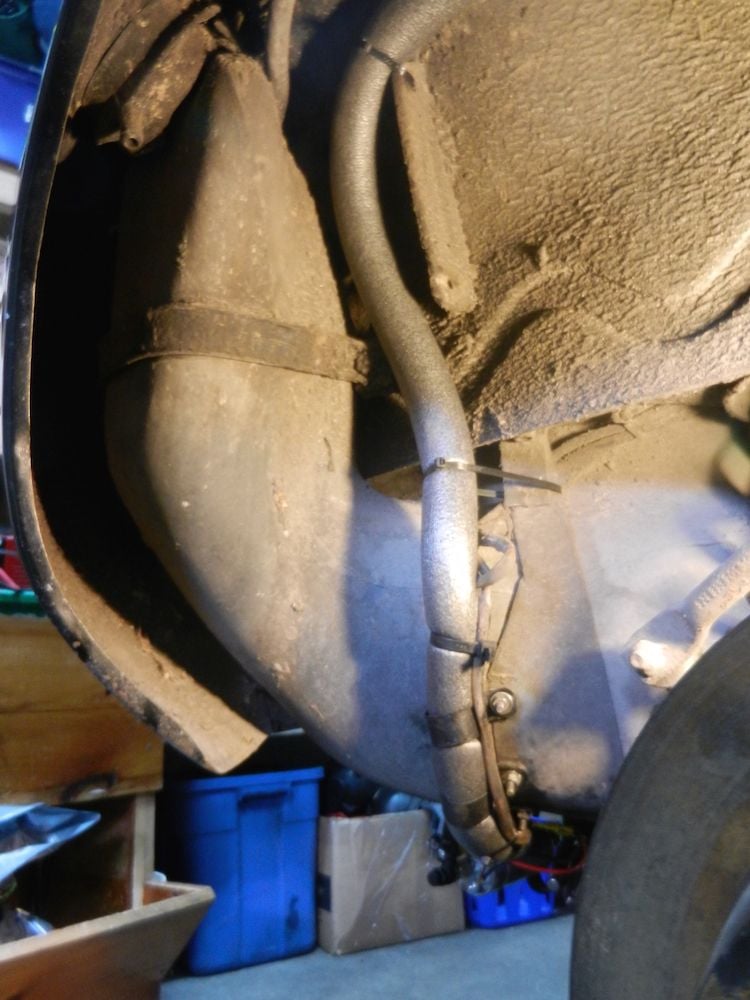
I built a new long line from the pump to the accumulator (300psi hose and clamps from a hydraulics shop, covered with hot water pipe insulating foam from home renovations center). The short line from the filter to the hard line was rebuilt using the same material that I used in the engine compartment. A new filter was ordered.
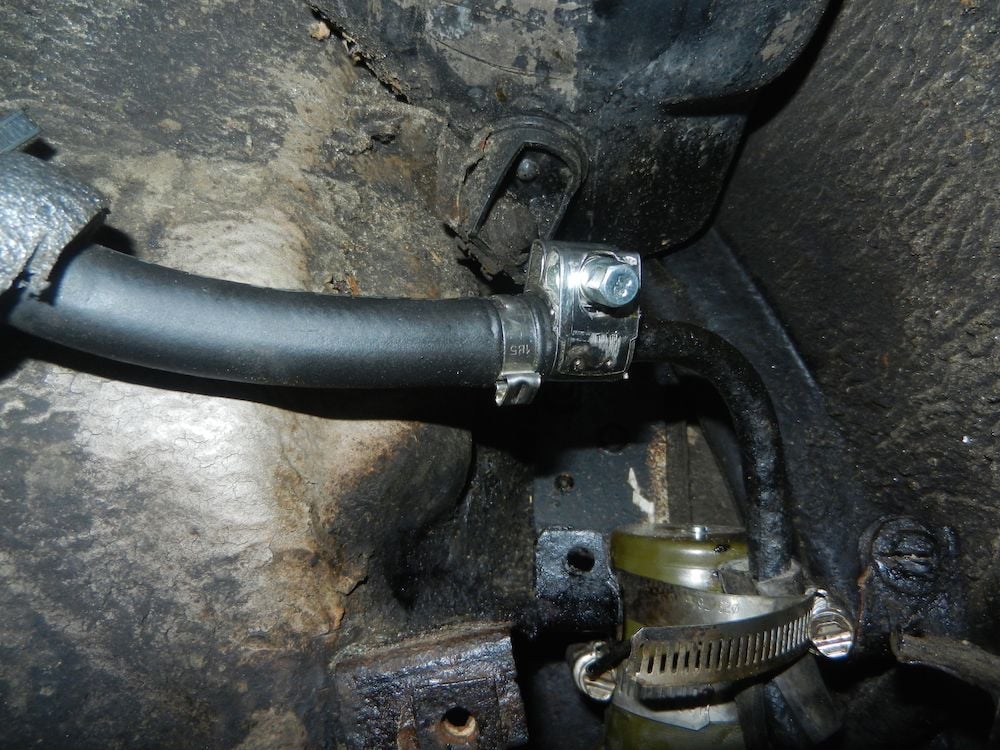
New long line;
New short line;
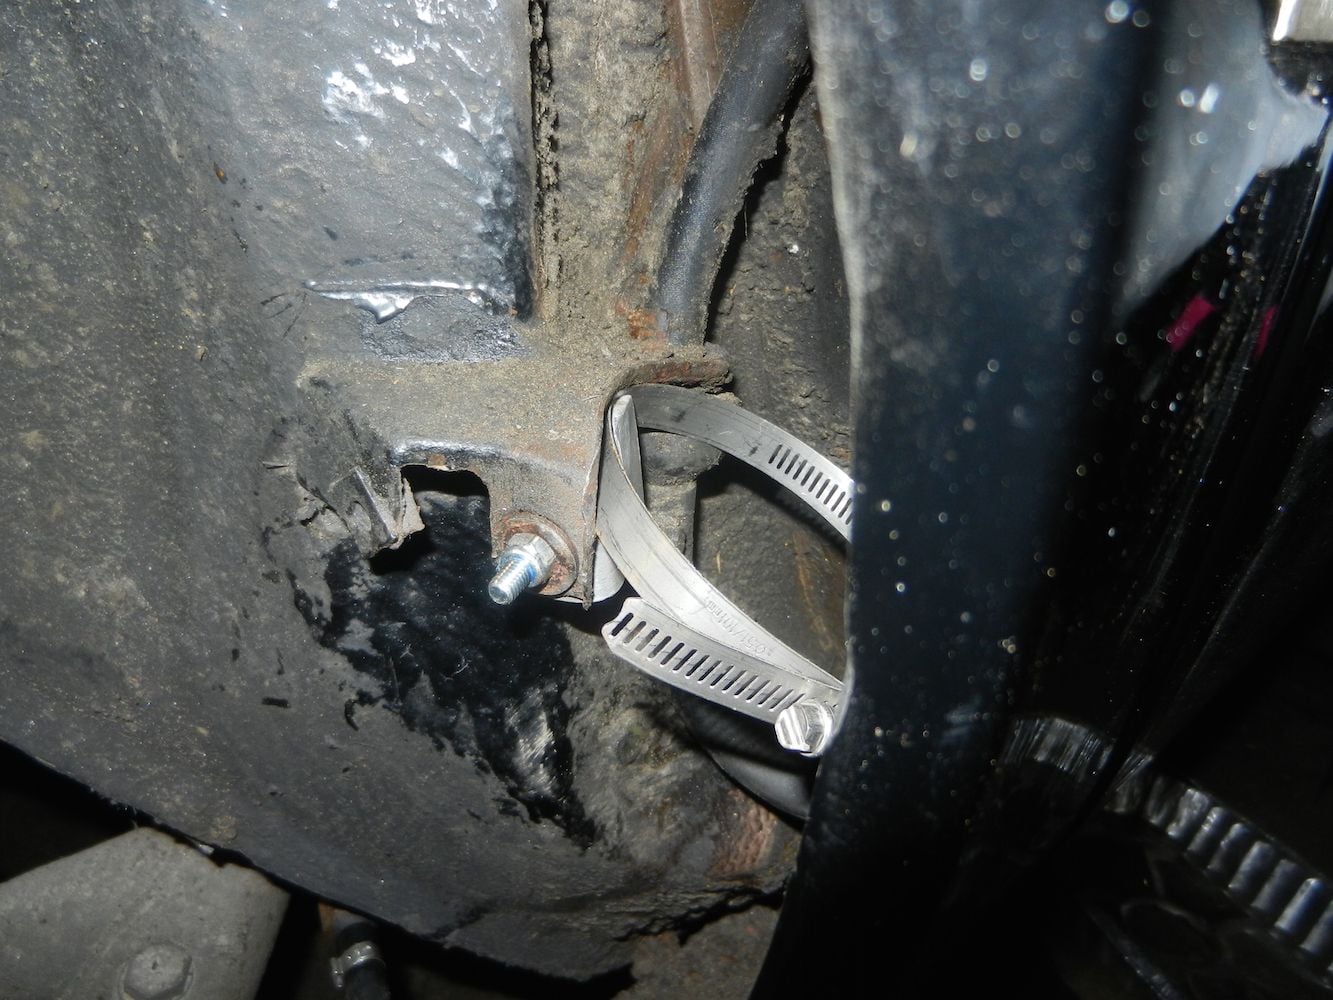
Clamp from hydraulic shop;
Next problem was mounting the accumulator/filter. I didn�t want to cut out the old mounts, perhaps some future owner can rehabilitate them. So I fabricated an aluminum plate that bolts to the passenger door striker backing plate and has a tab to which the accumulator can be attached with a common radiator clamp.
A second bracket was fabricated that uses the lower mounting structure (it is still in good shape) which allows the filter to be held by a second clamp.
A test fitting proved successful, everything fit and it was solid. Since the stock installation uses rubber insulators I am expecting some new noises from the pump to be transmitted to the body� we�ll see if it is a problem.
Eventually I will install a cover made out of a plastic boot tray that should keep most of the mud and water off the filter and accumulator.
I installed in line electrical quick connectors for the fuel pump which should allow me to switch pumps with less of a hassle.
Last edited by elgy; 09-01-2018 at 11:46 AM.
Reason: add warning
I drove the 928 out of the garage to use the pressure washer to finish cleaning under the fenders. Before starting it I did a pressure test on the system, using my switched relay jumper. It is long enough that I can turn on the fuel pump while I am observing the plumbing. Good thing, a bad washer on the accumulator caused a serious leak on the first try. New washer, all is good.
Originally Posted by hlee96
... What type of rust converter did you use? I assume your euro was a late '78 without the rear wheel fuel pump?
thanks-Hoi
I tried to get PlastiKote Rust Converter on most of the rusty surfaces, not easy working under the fenders (I am cleaning out the dirt and rust in the front of the driver side rear fender also). After I will shoot black undercoating everywhere before installing the covers.
Yesterday I was puttering through a shopping center parking lot when I heard a pop and the engine stopped. Tried restarting, heard the fuel pump but the engine showed no interest in firing I had a look around the car and found a puddle of gas at the front of the passenger side rear fender. Not good!
After pushing the car out of the way with the help of a passer-by I called CAA, before having a look under the fender. I found that the long rubber hose from the fuel pump had disconnected from the metal line above the accumulator (see the 4th picture in the first post, the hydraulic shop clamp had not let go, but had not held the line either). I was stranded in front of a Dollar Store so popped in and bought a $3 T-handle socket set and was able to get the line back on (with a bit of oil off the dip-stick for lubrication) and tightened it down with my new tools. The car finally started... after a lot of cranking. I had almost given up. I cancelled the tow and headed home with no further drama.
Once in the driveway I removed the line again and tried to understand what I had done wrong. Looking at the end of the metal line I appreciate that the barb is not very pronounced and it is rounded, unlike the barbs on the fittings in the engine compartment and the short line that exits the fender well. Also I see when studying the photo mentioned above I had placed my clamp on top of the barb rather than behind it which I believe allowed the rubber line to eventually slip off.
If I had this to do over again I would take that line to a shop and have the hard line crimped on. But I have decided to try to improve the installation that I already have.
After the barb there is a ring around the hard line that I assume is like a stopper for the original hose. What I decided to try was to push the rubber hose up to and over this ring then install 2 clamps, one just behind the barb and then one on the ring. I used an Oetiker clamp behind the barb and then the hydraulic shop clamp just beyond that so it is clamping around the ring of the hard line. Before installing the second clamp I started the car with just the Oetiker clamp and it held fine for an admittedly short test, so I am somewhat confident that my new installation will work for the long run. I will keep and eye on it.
I should have mentioned somewhere in this post, as I normally do, that I accept no responsability for the results if you try any of my fixes. This being an example why you do this at your own risk!
Last edited by elgy; 01-28-2020 at 03:38 PM.
Reason: spelling

 08-23-2017, 04:35 PM