When you click on links to various merchants on this site and make a purchase, this can result in this site earning a commission. Affiliate programs and affiliations include, but are not limited to, the eBay Partner Network.
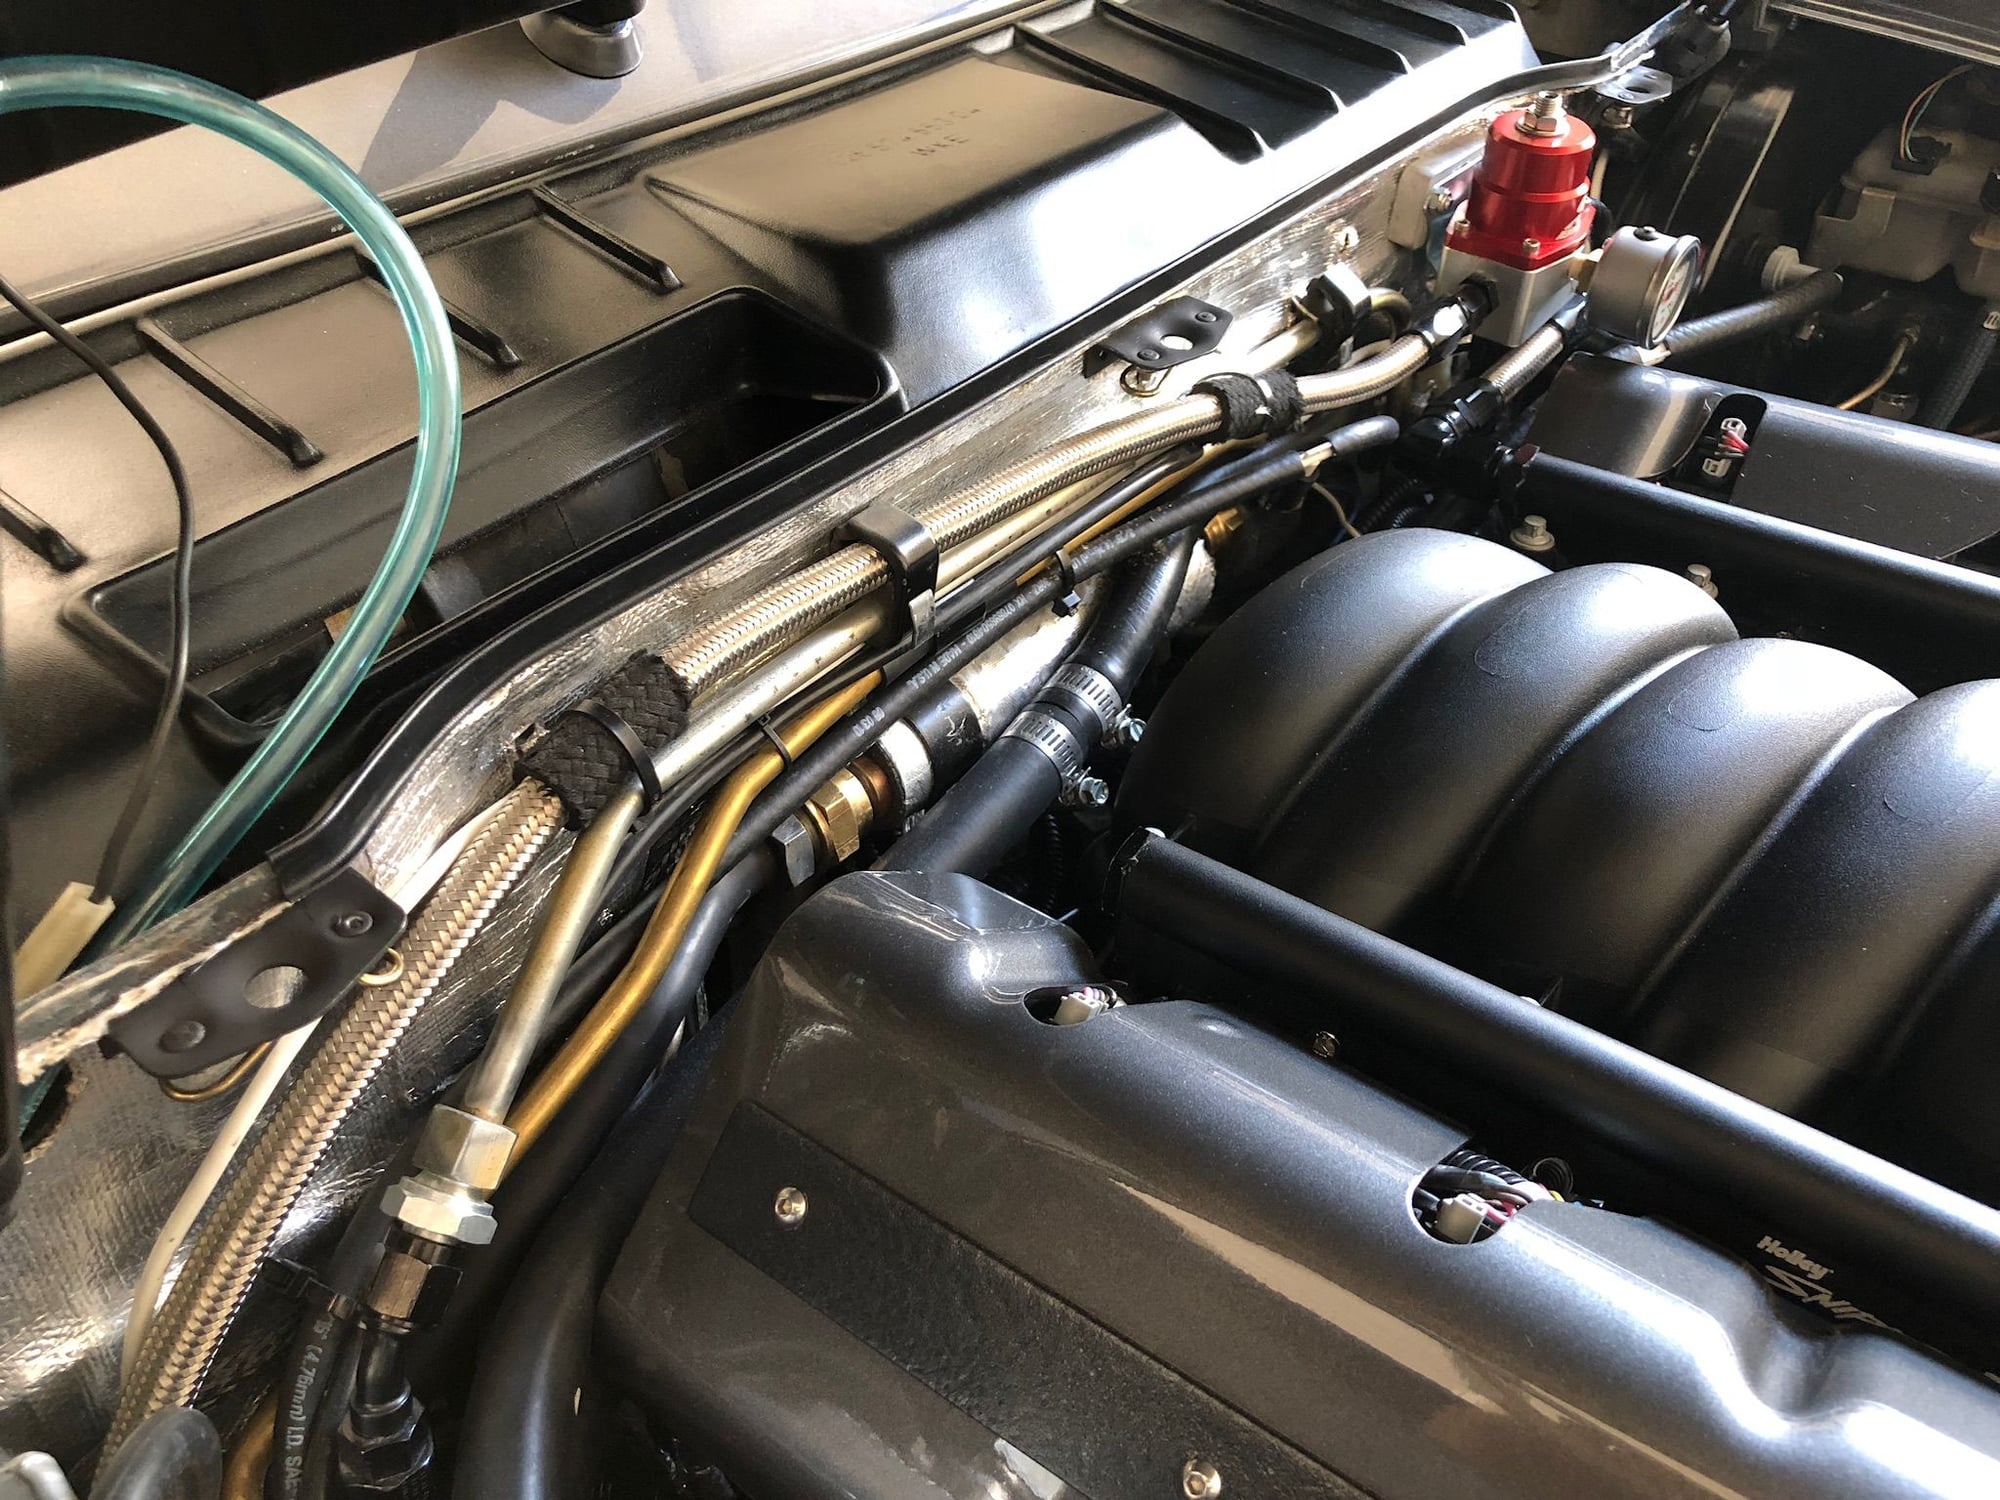
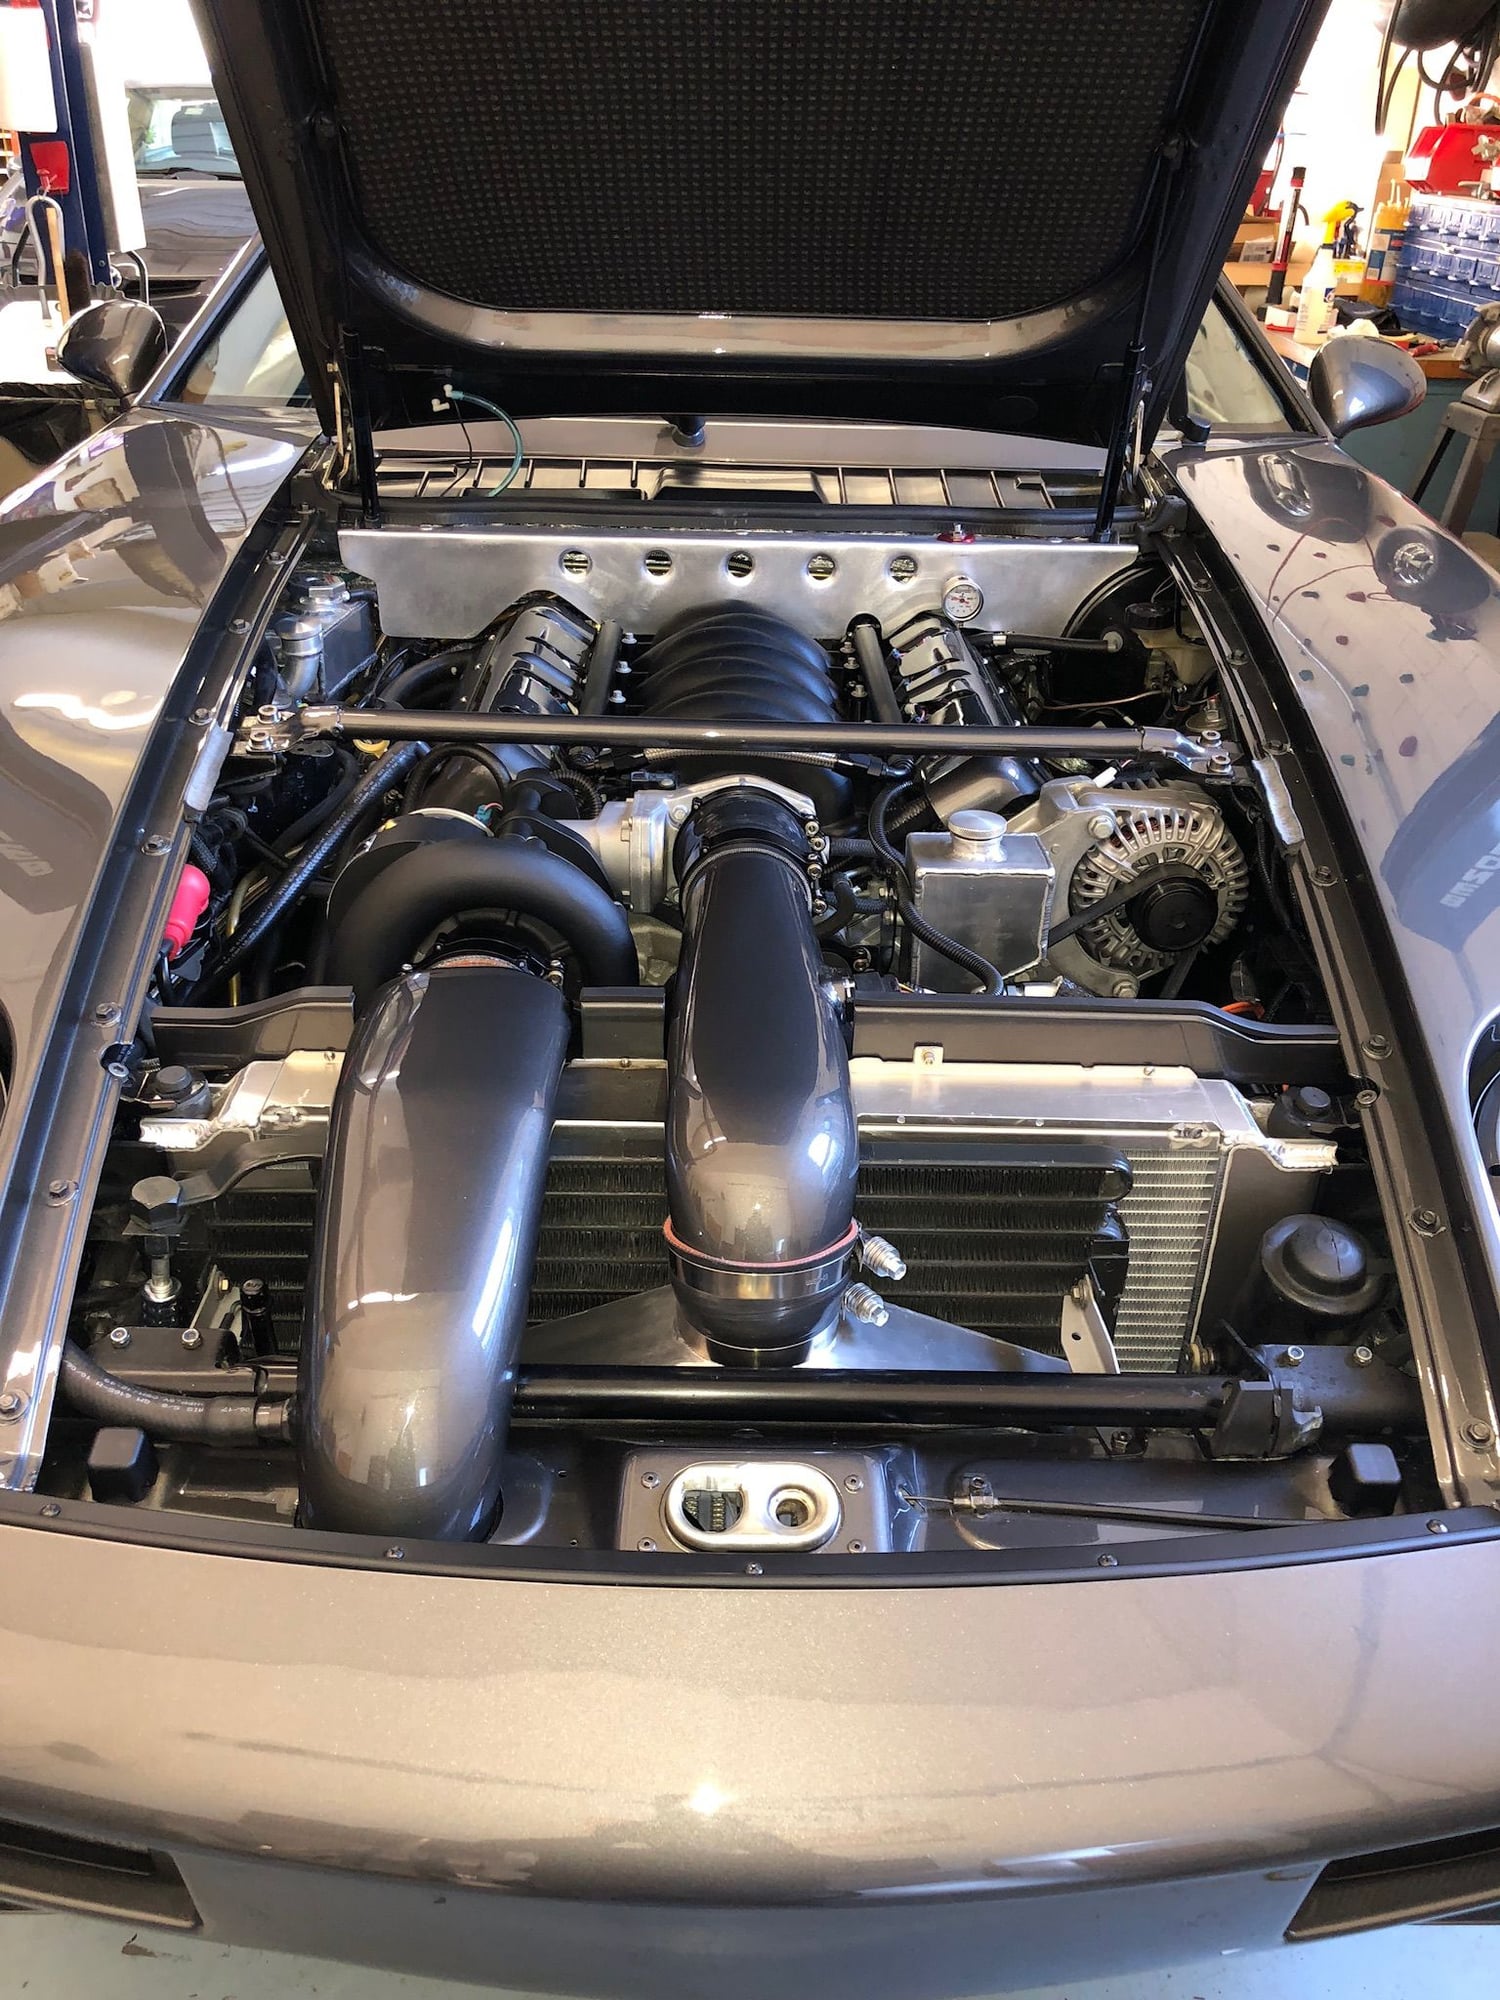
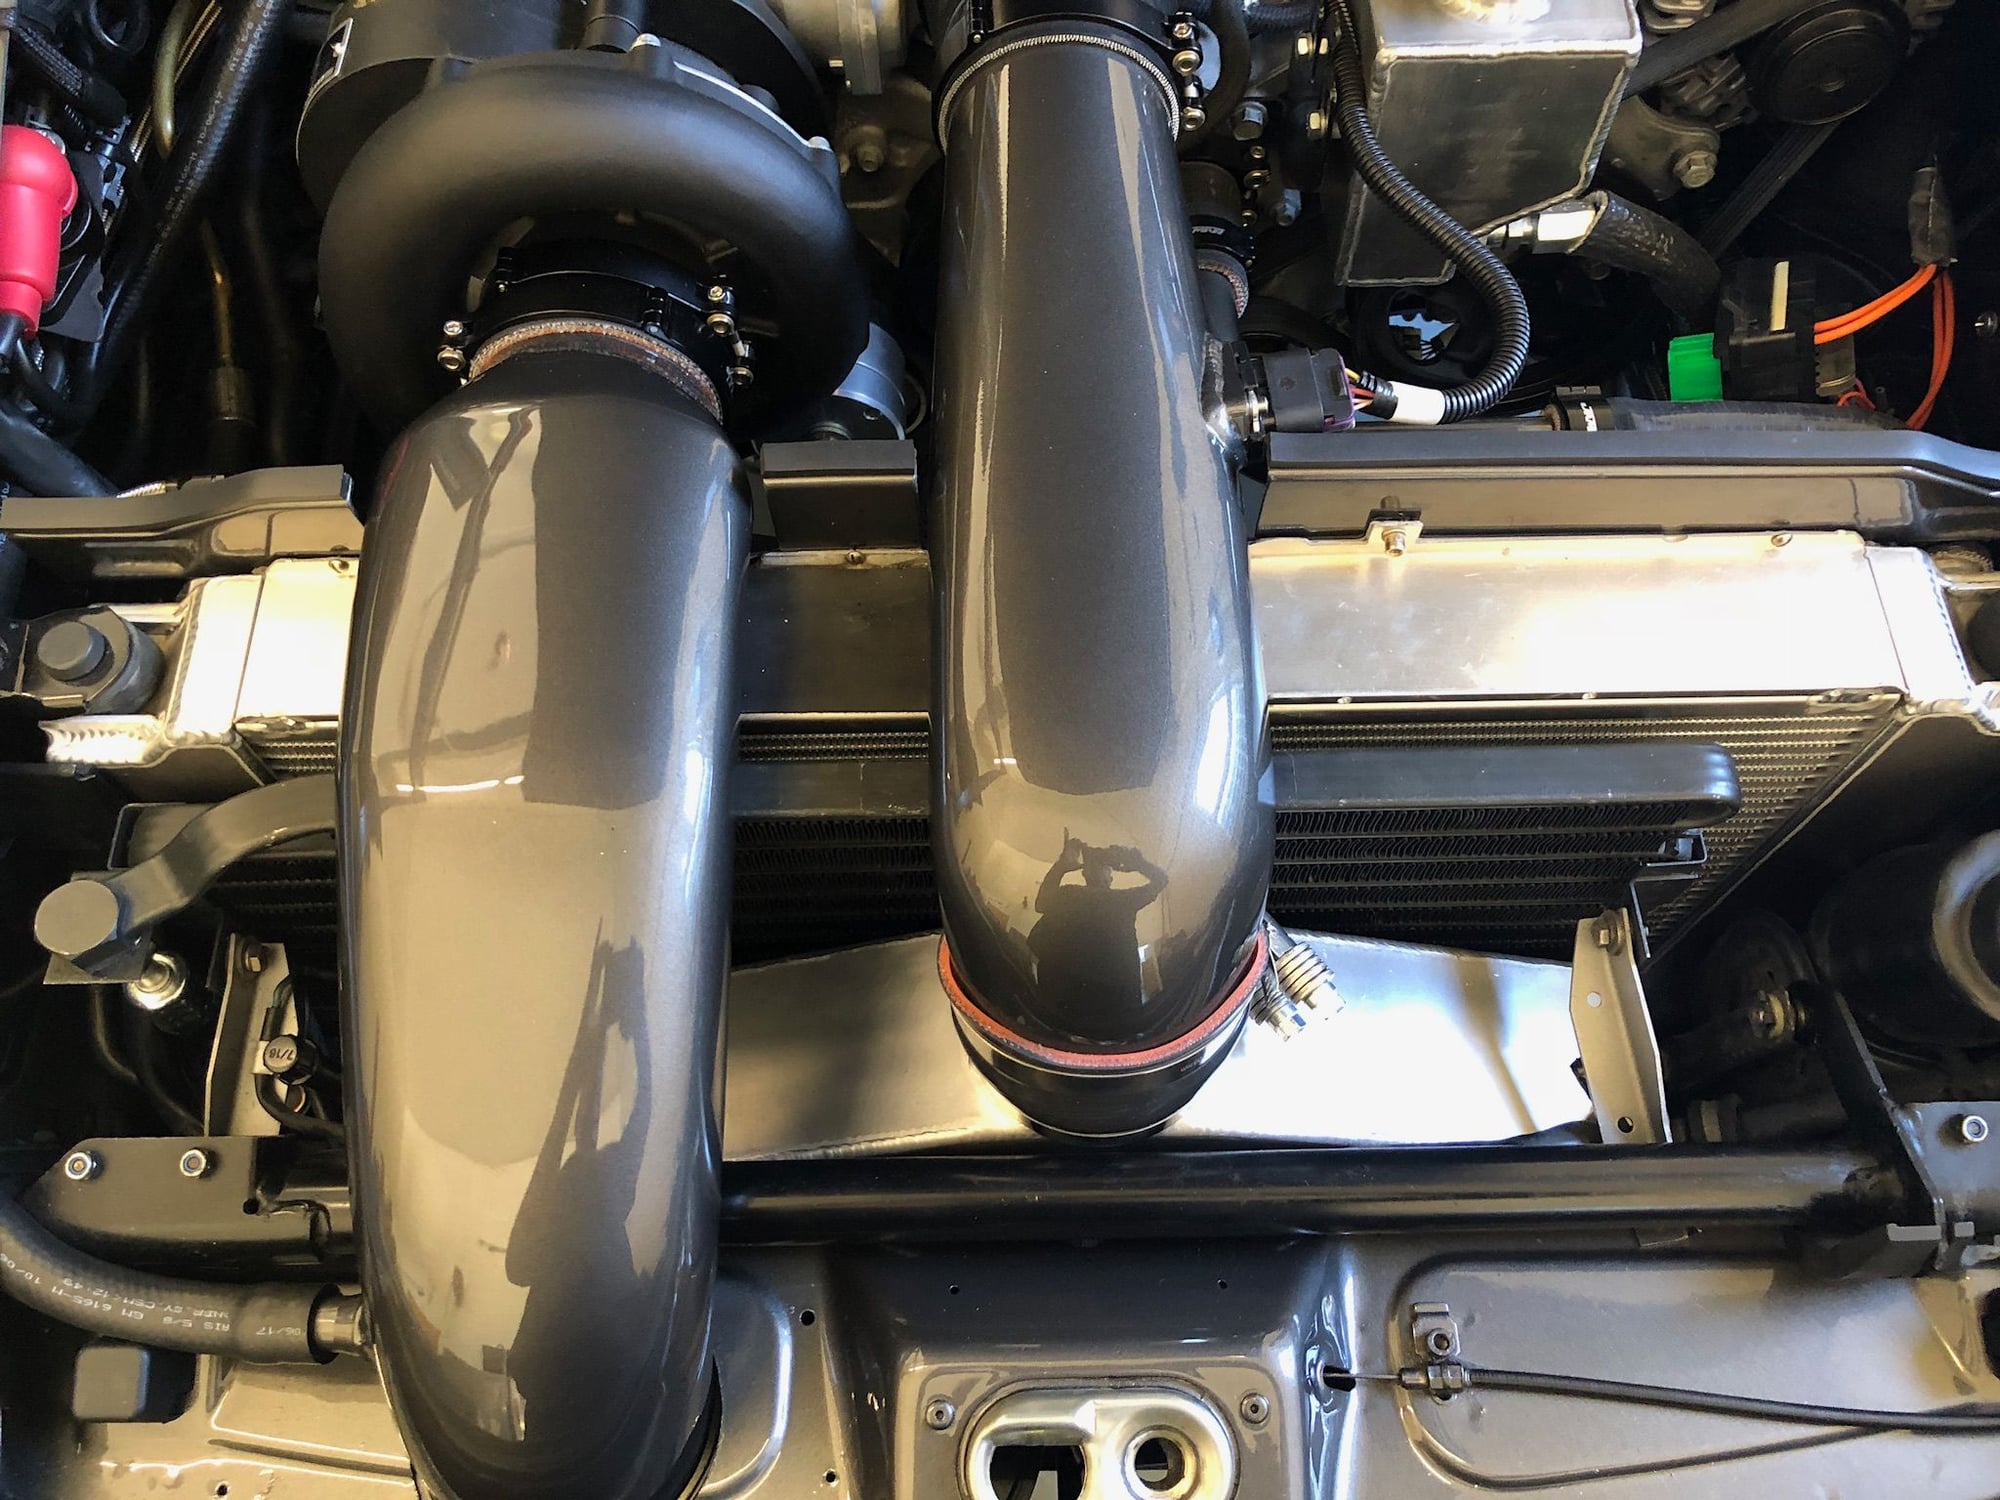
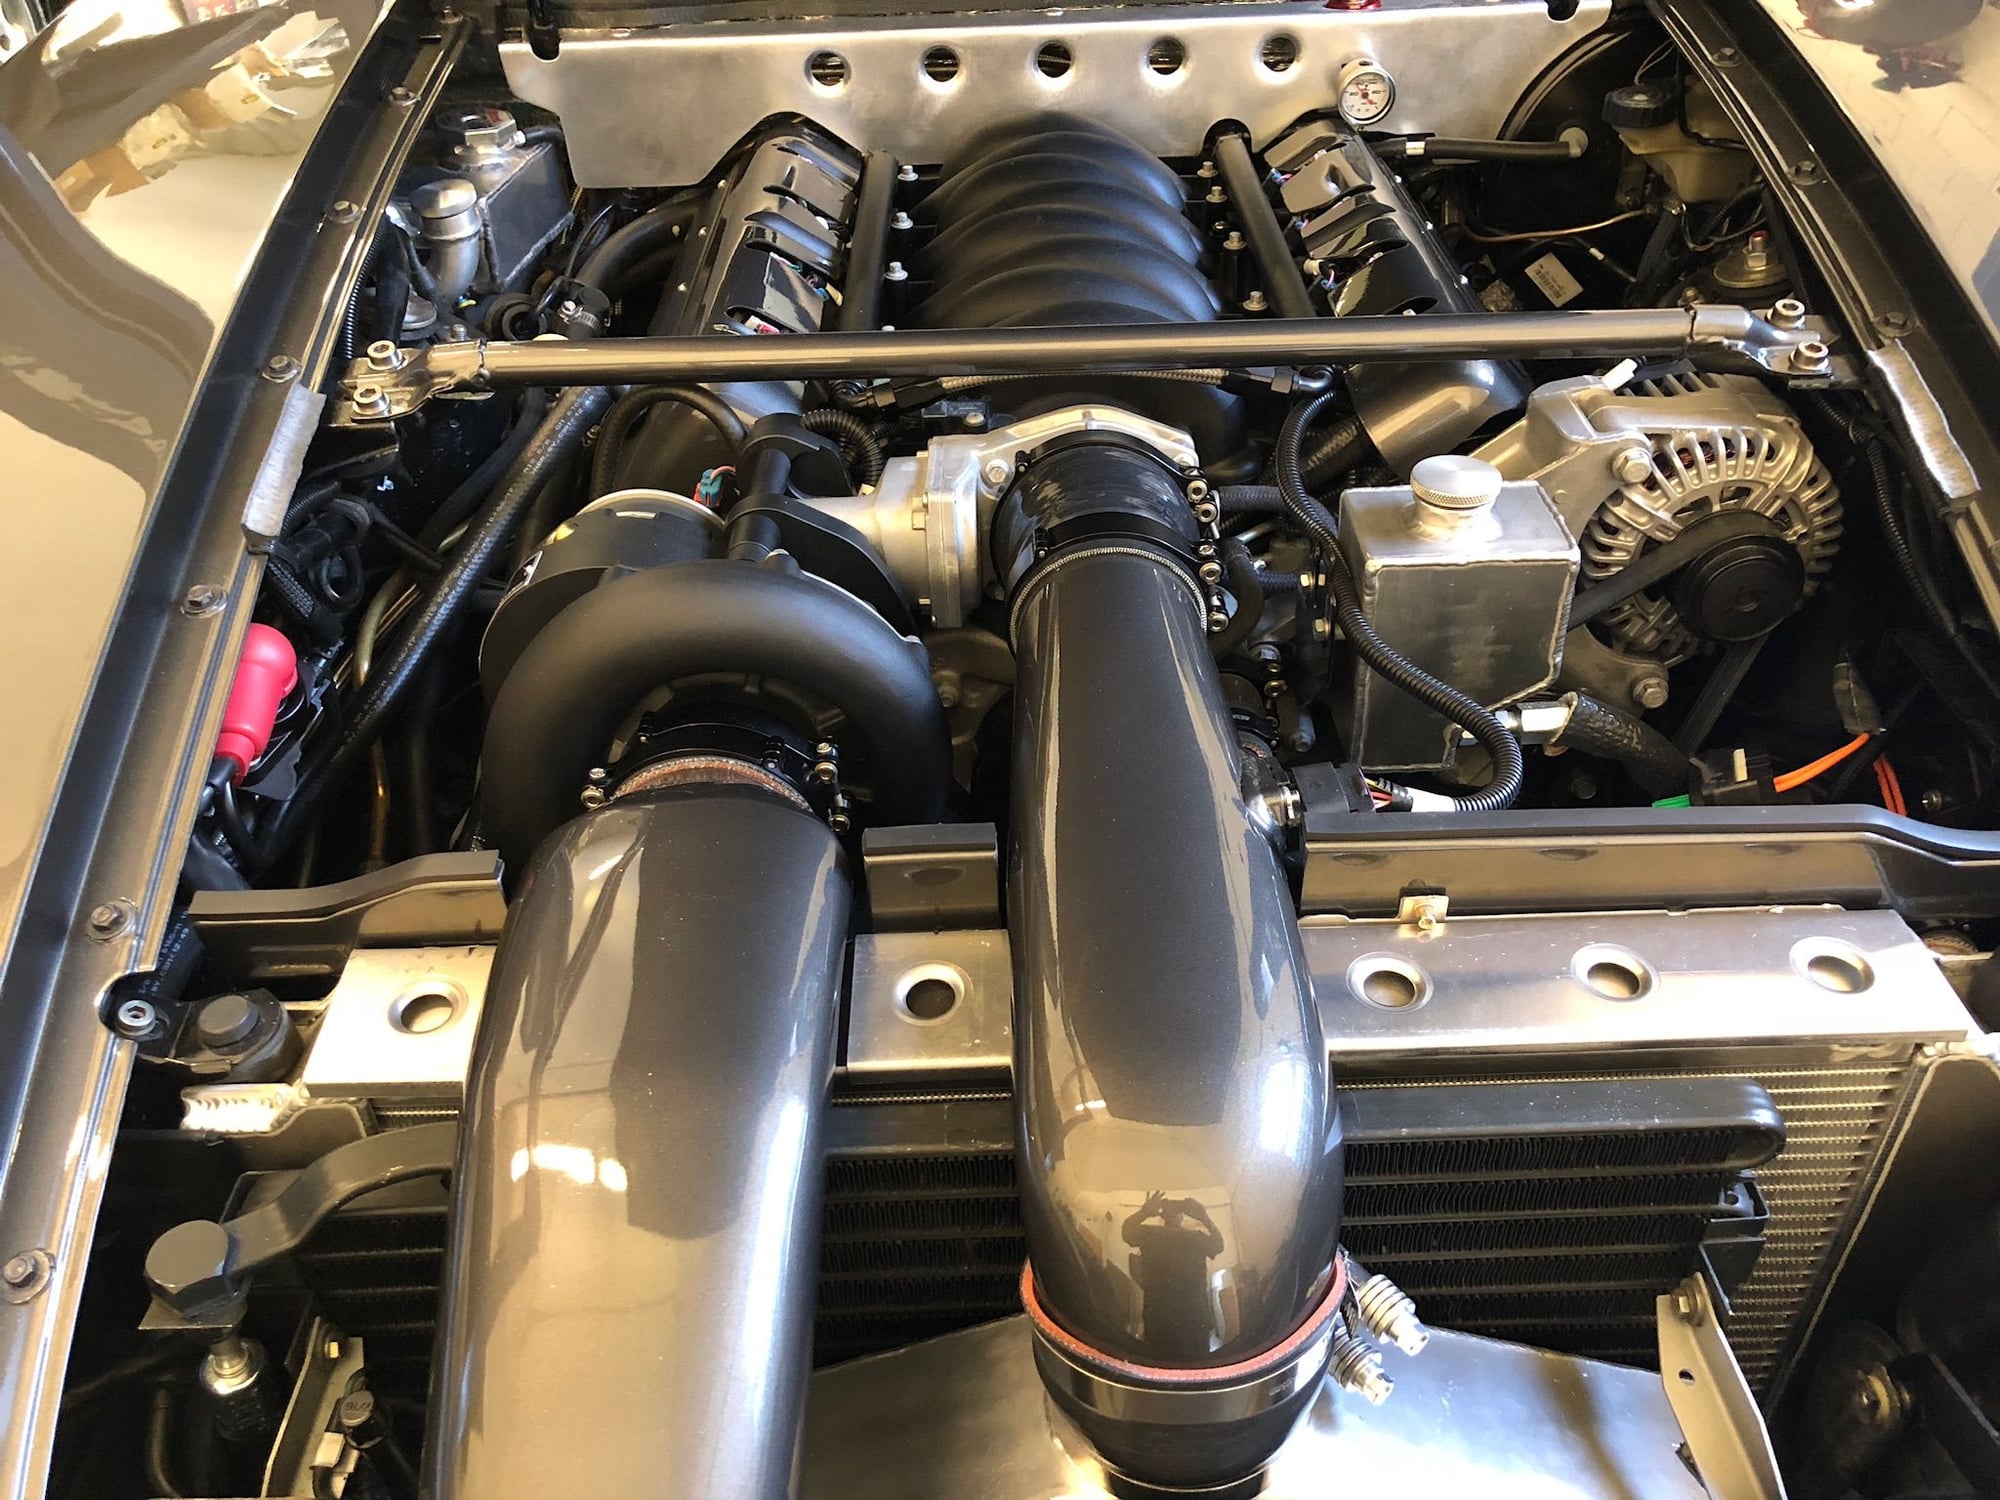
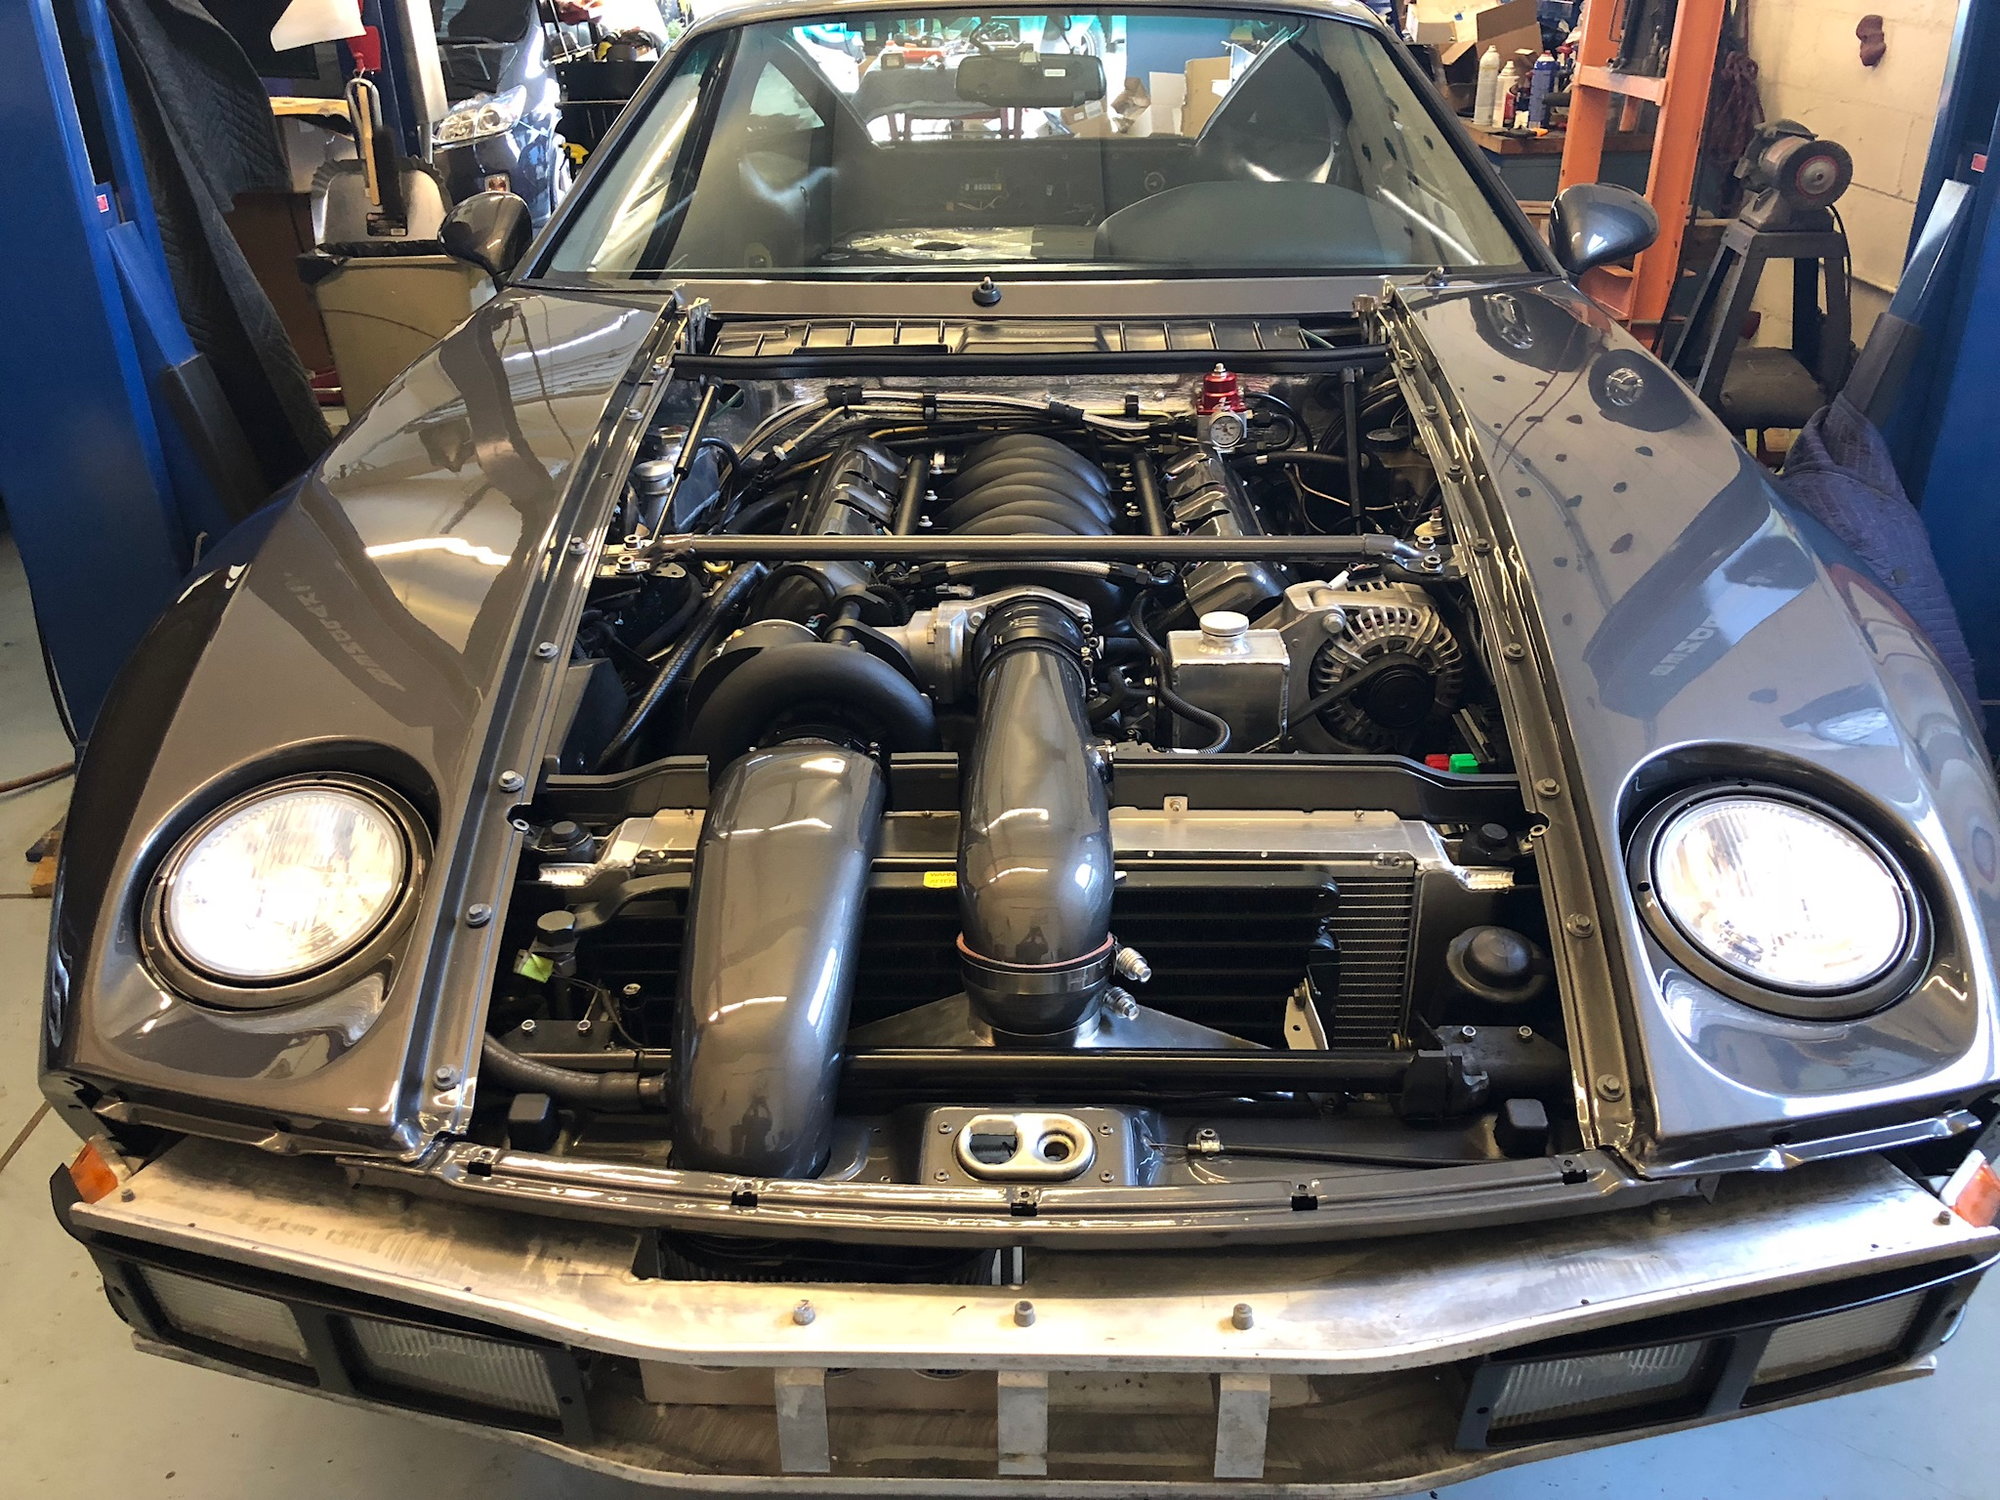
Another mile stone checked off the list. One would think a couple AC lines would be pretty straight forward......�NOT�.....at least for me.
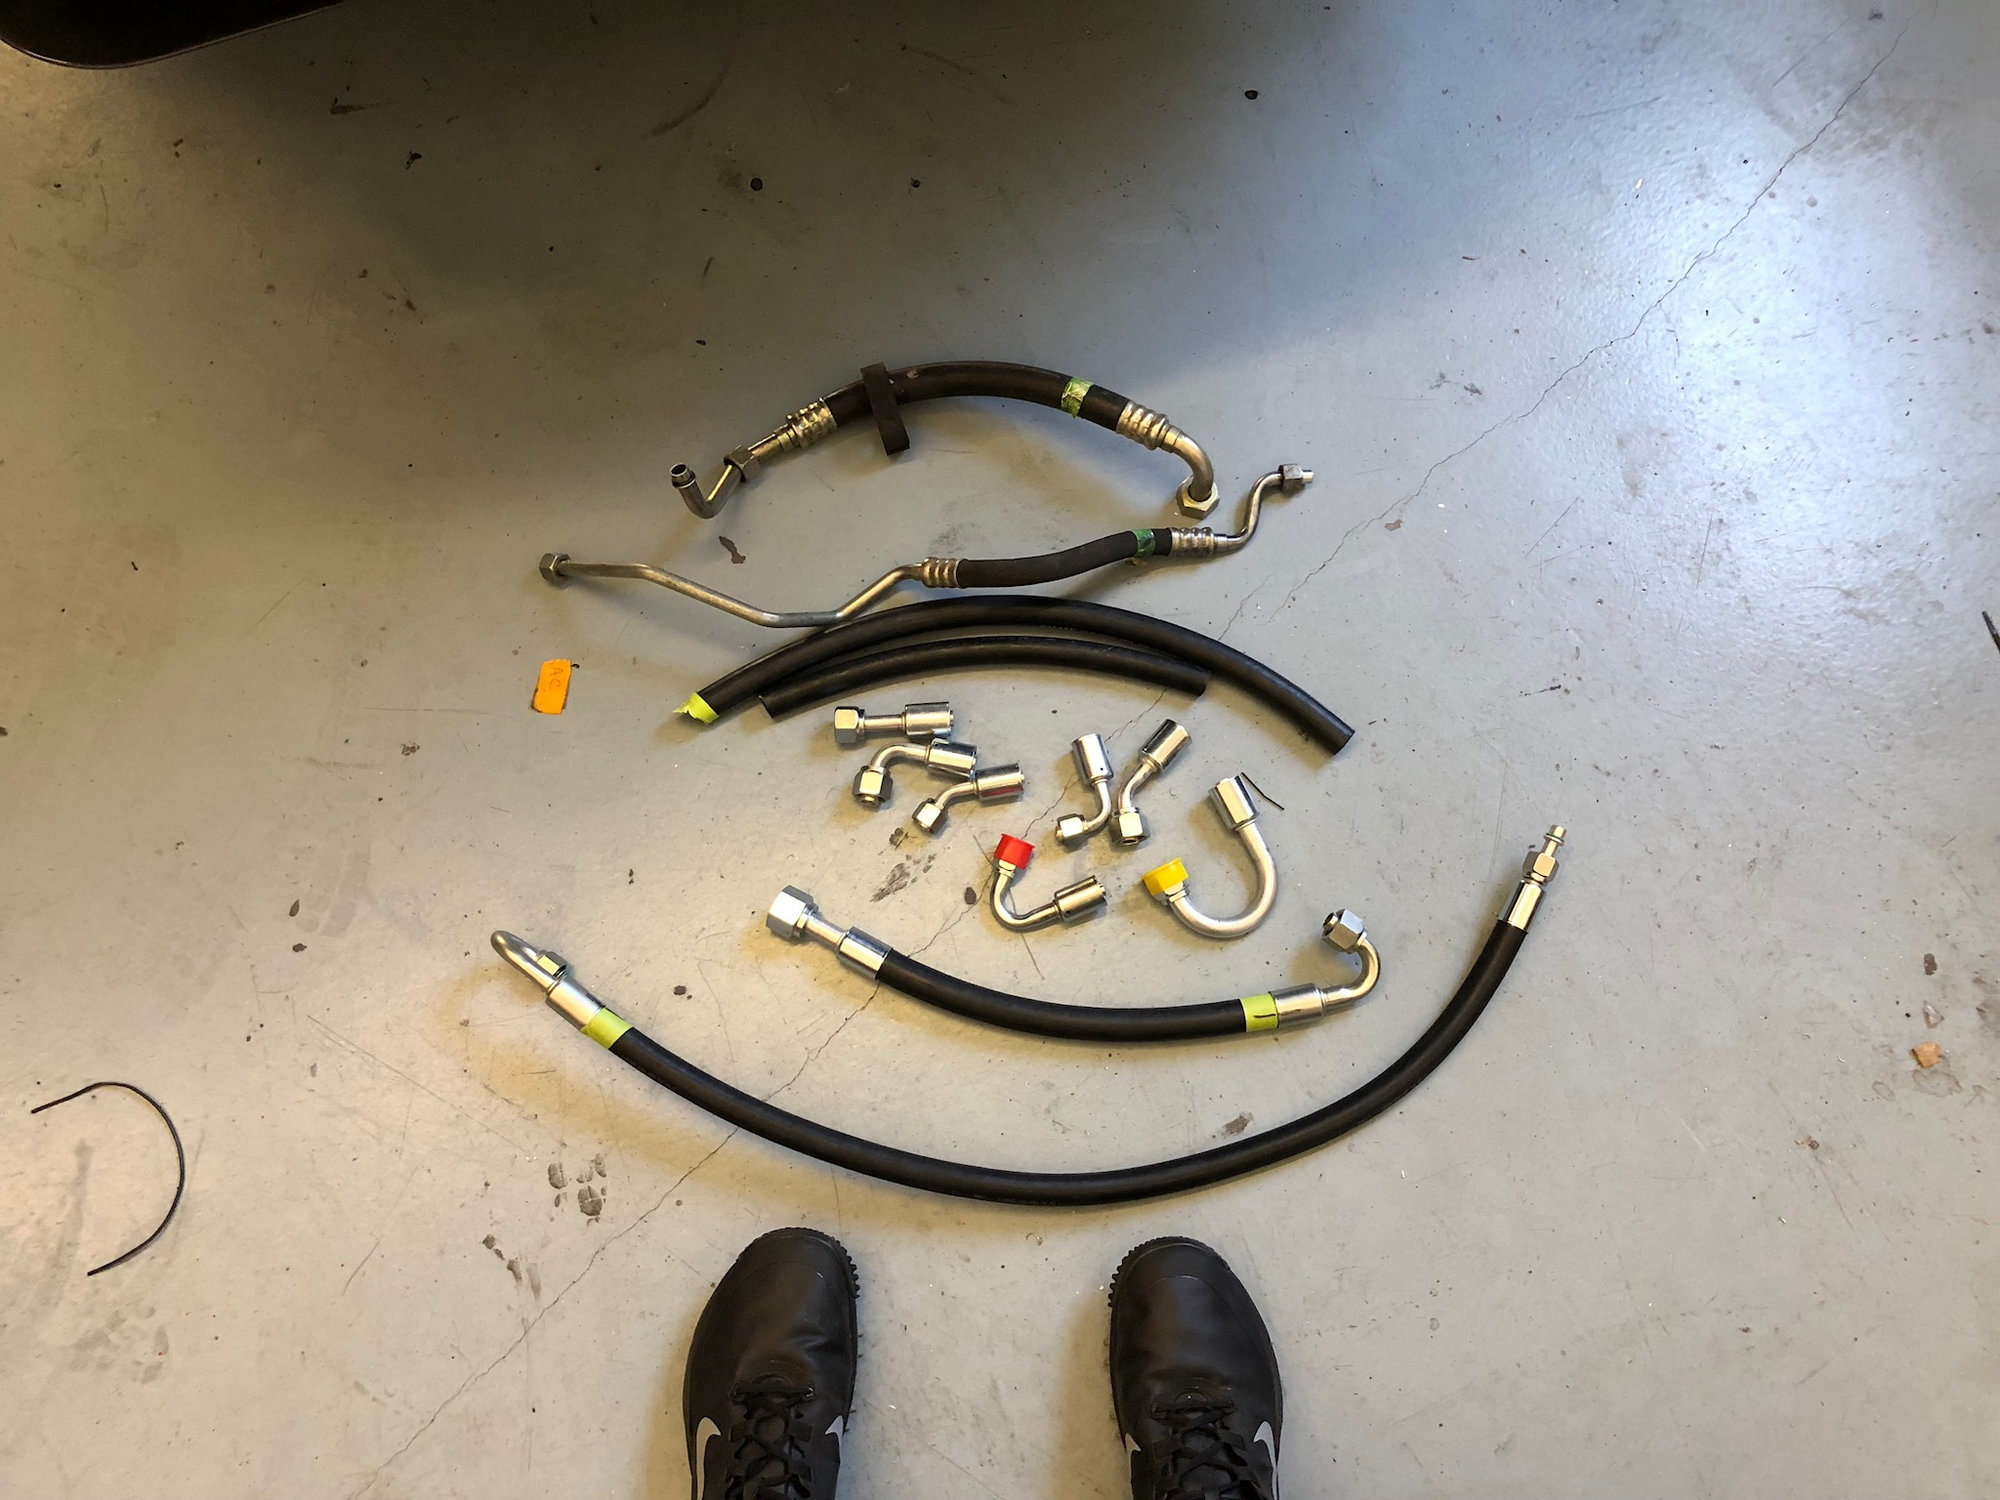
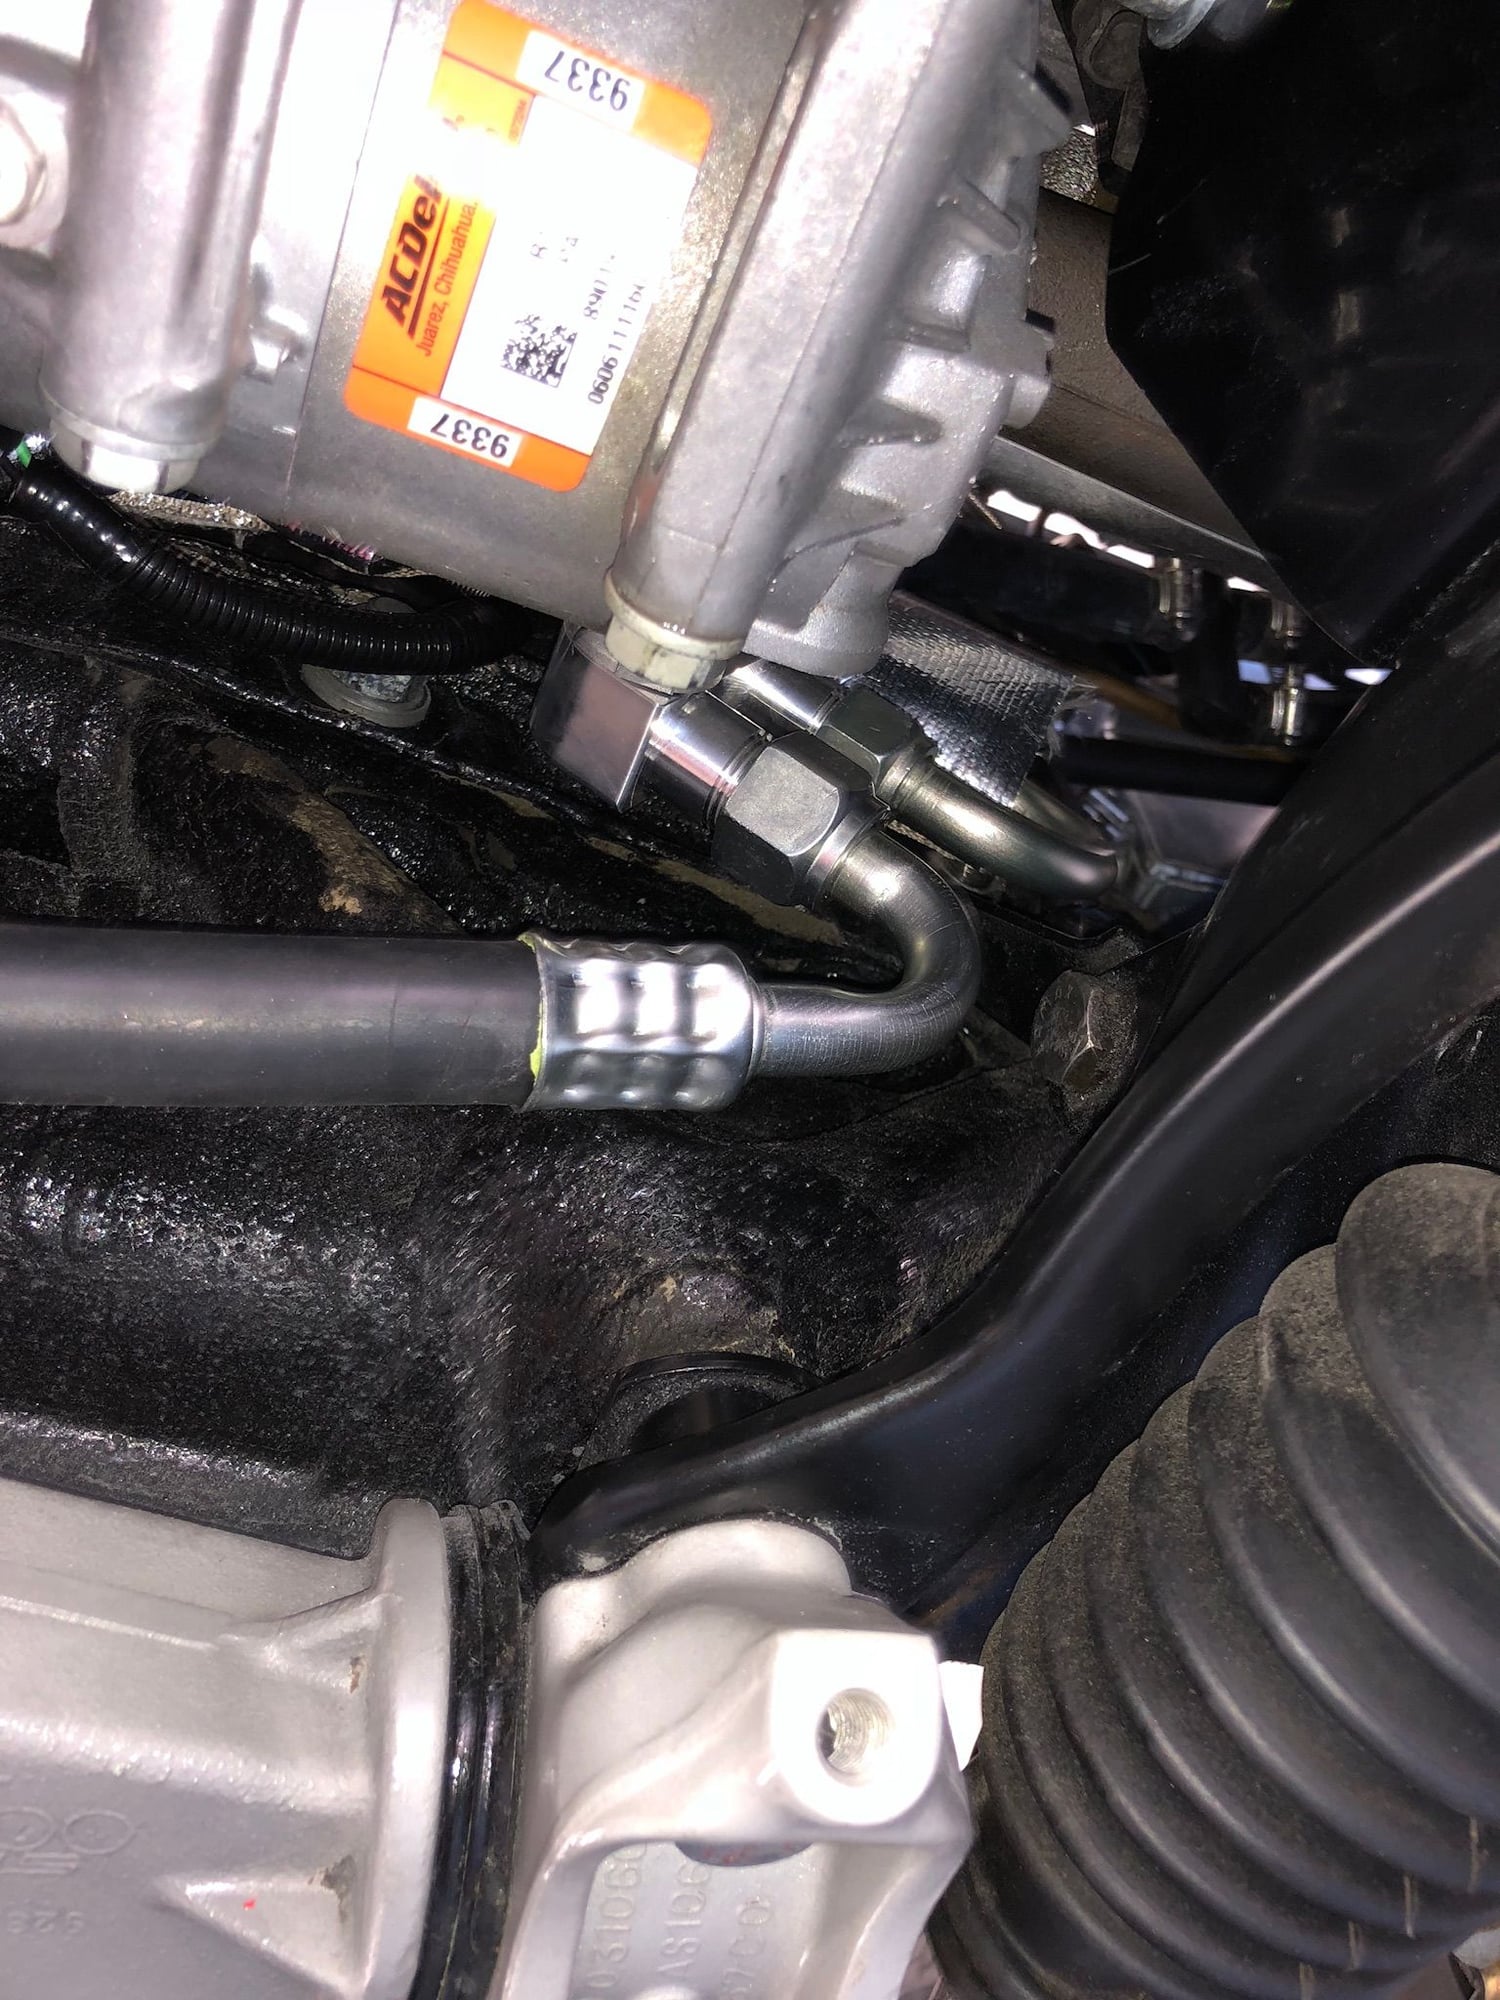
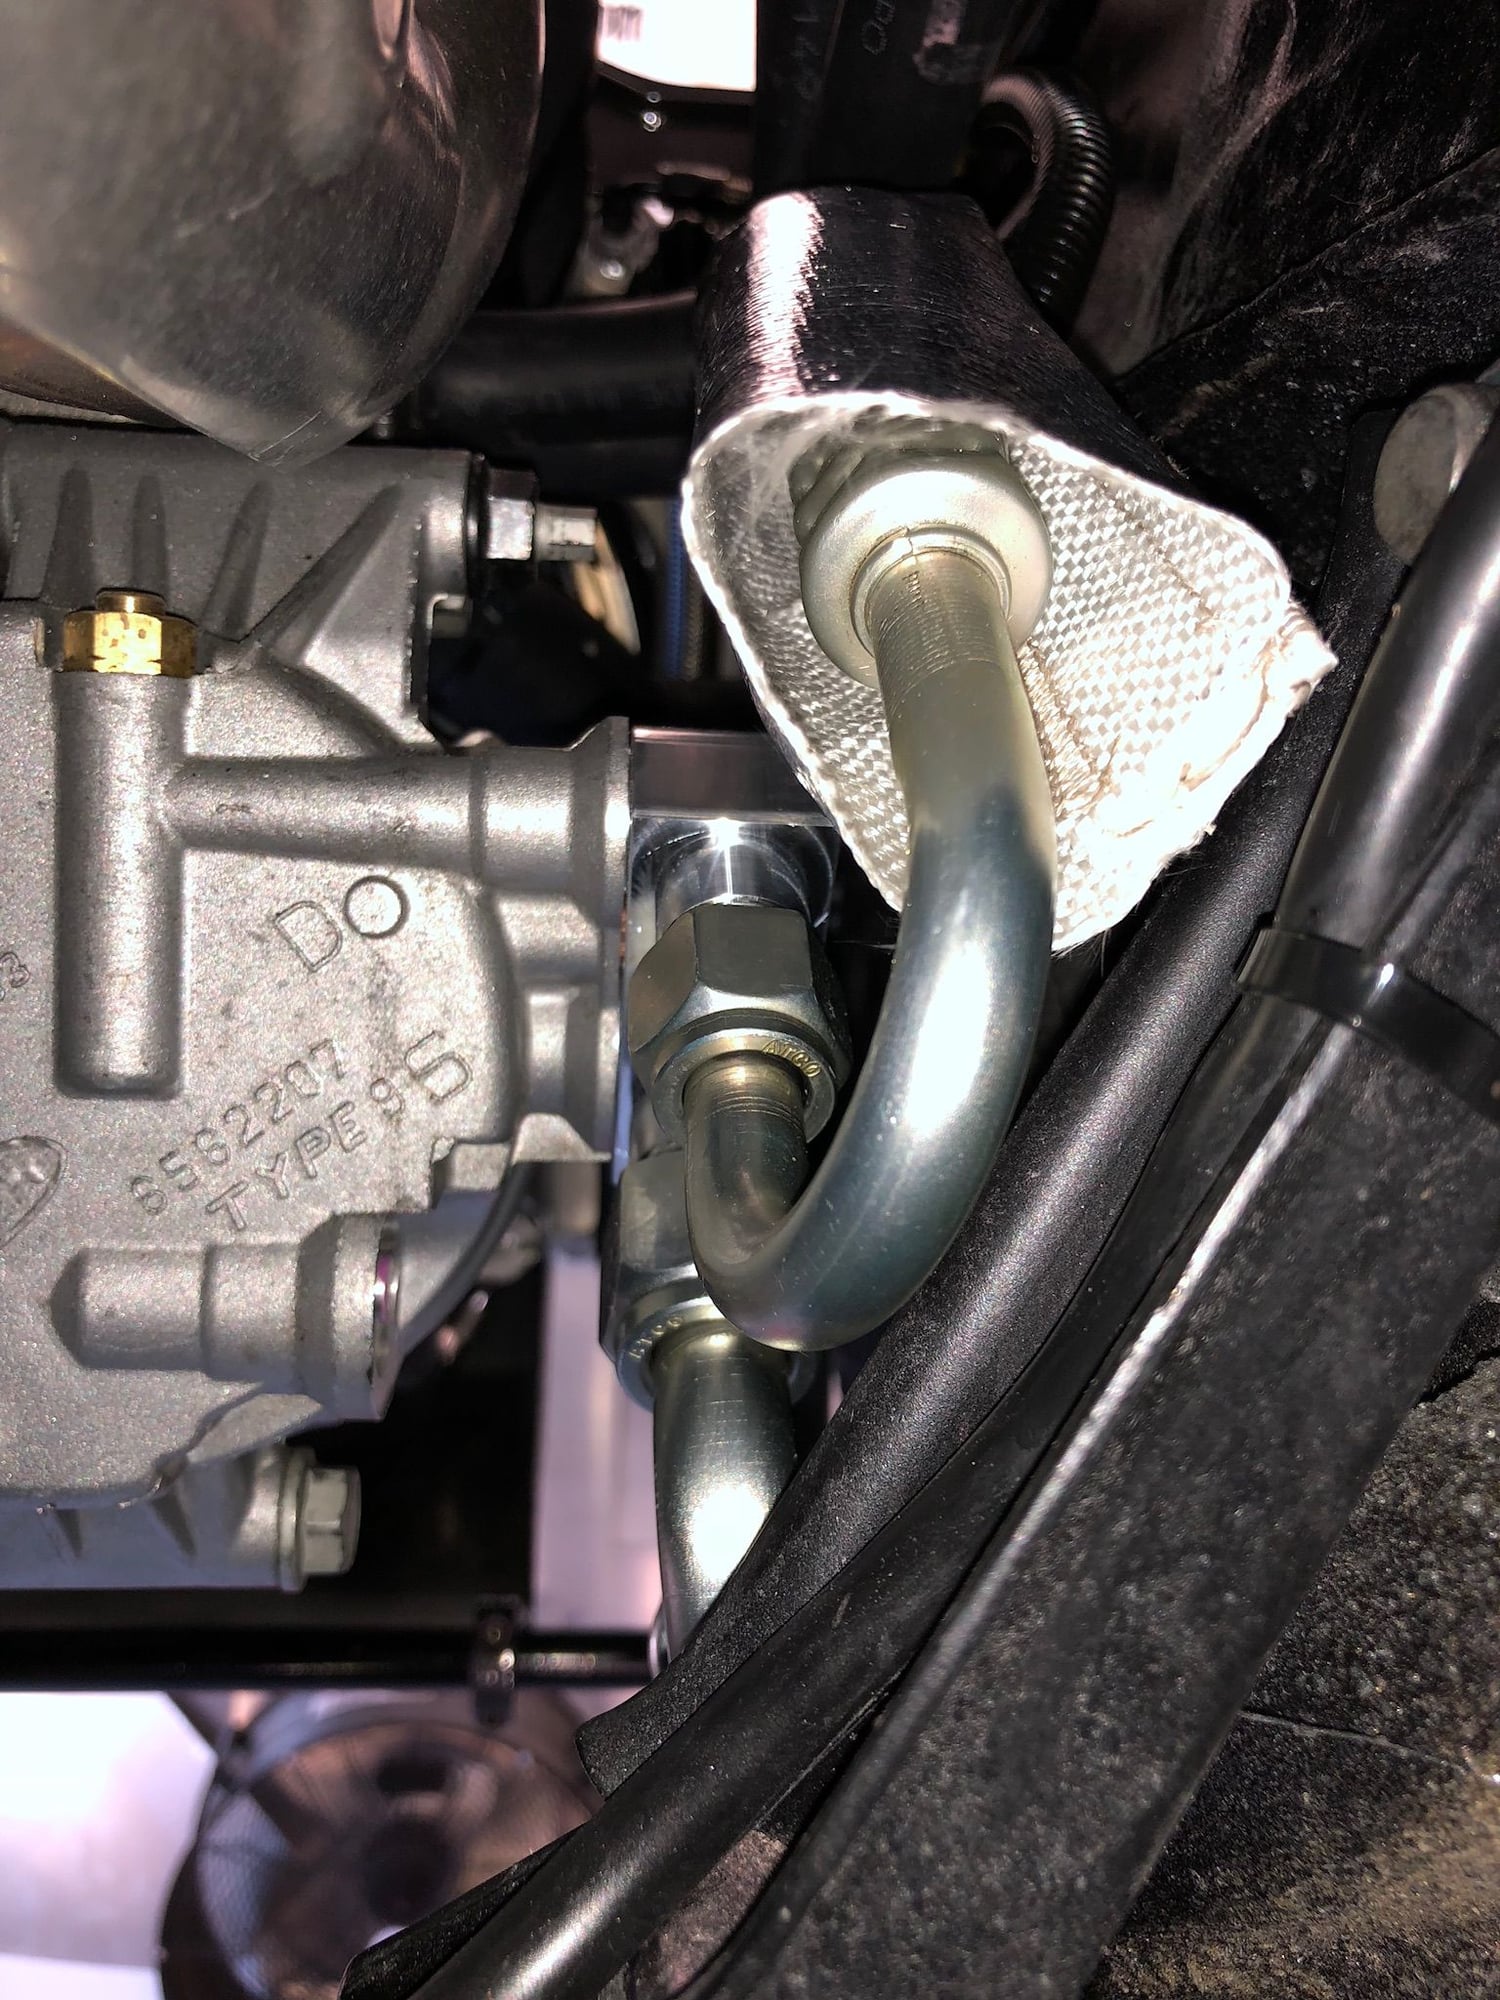
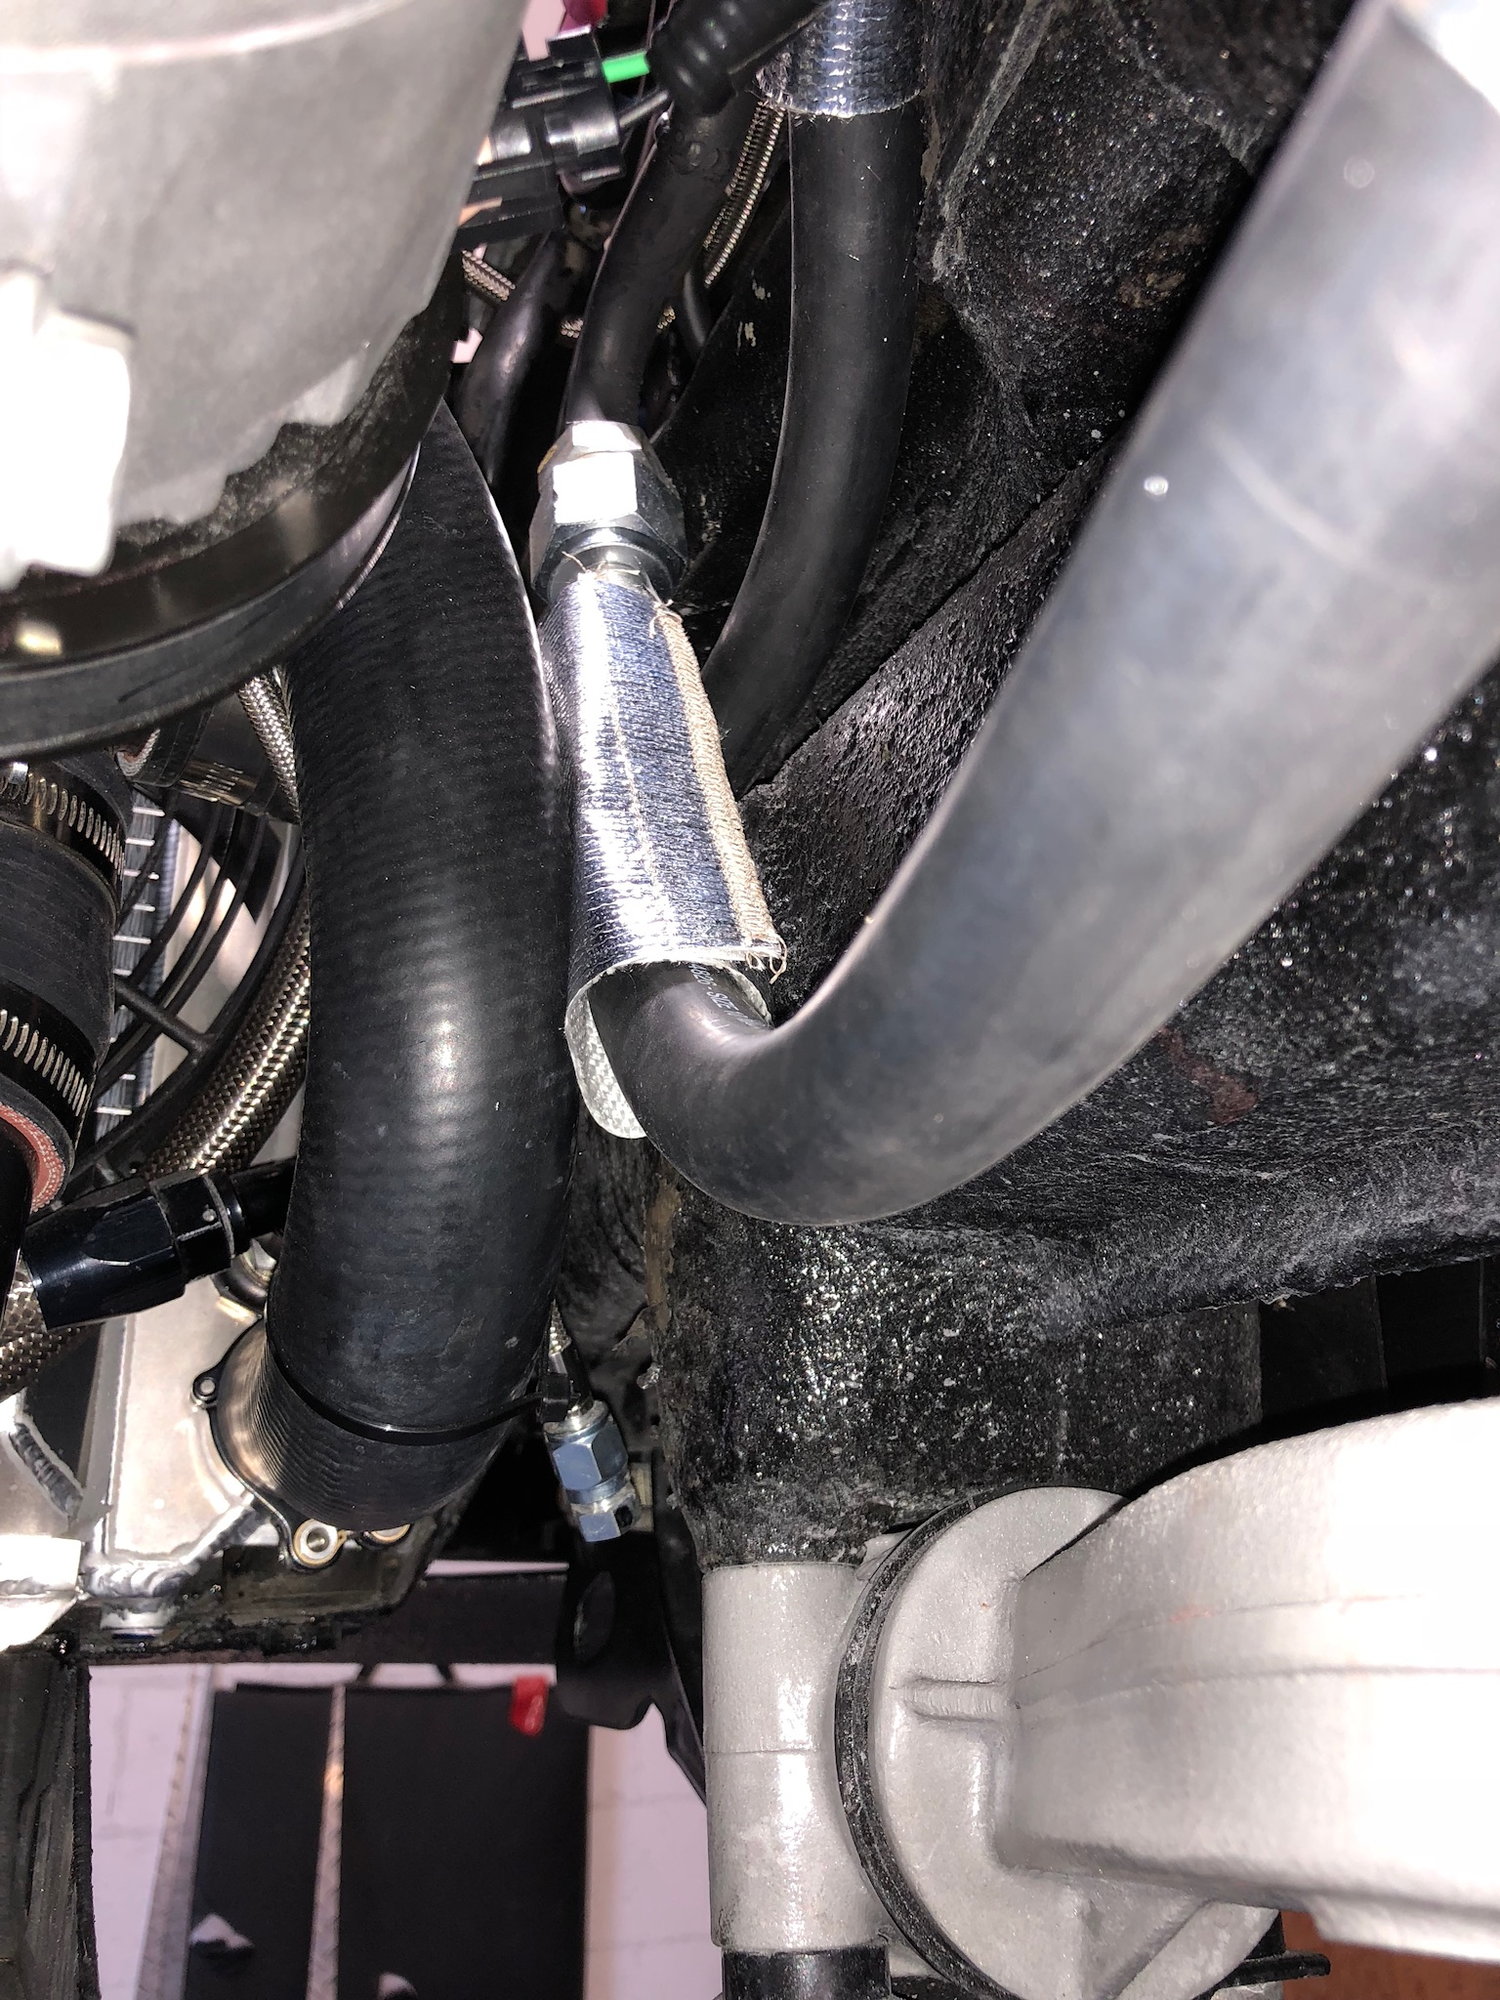
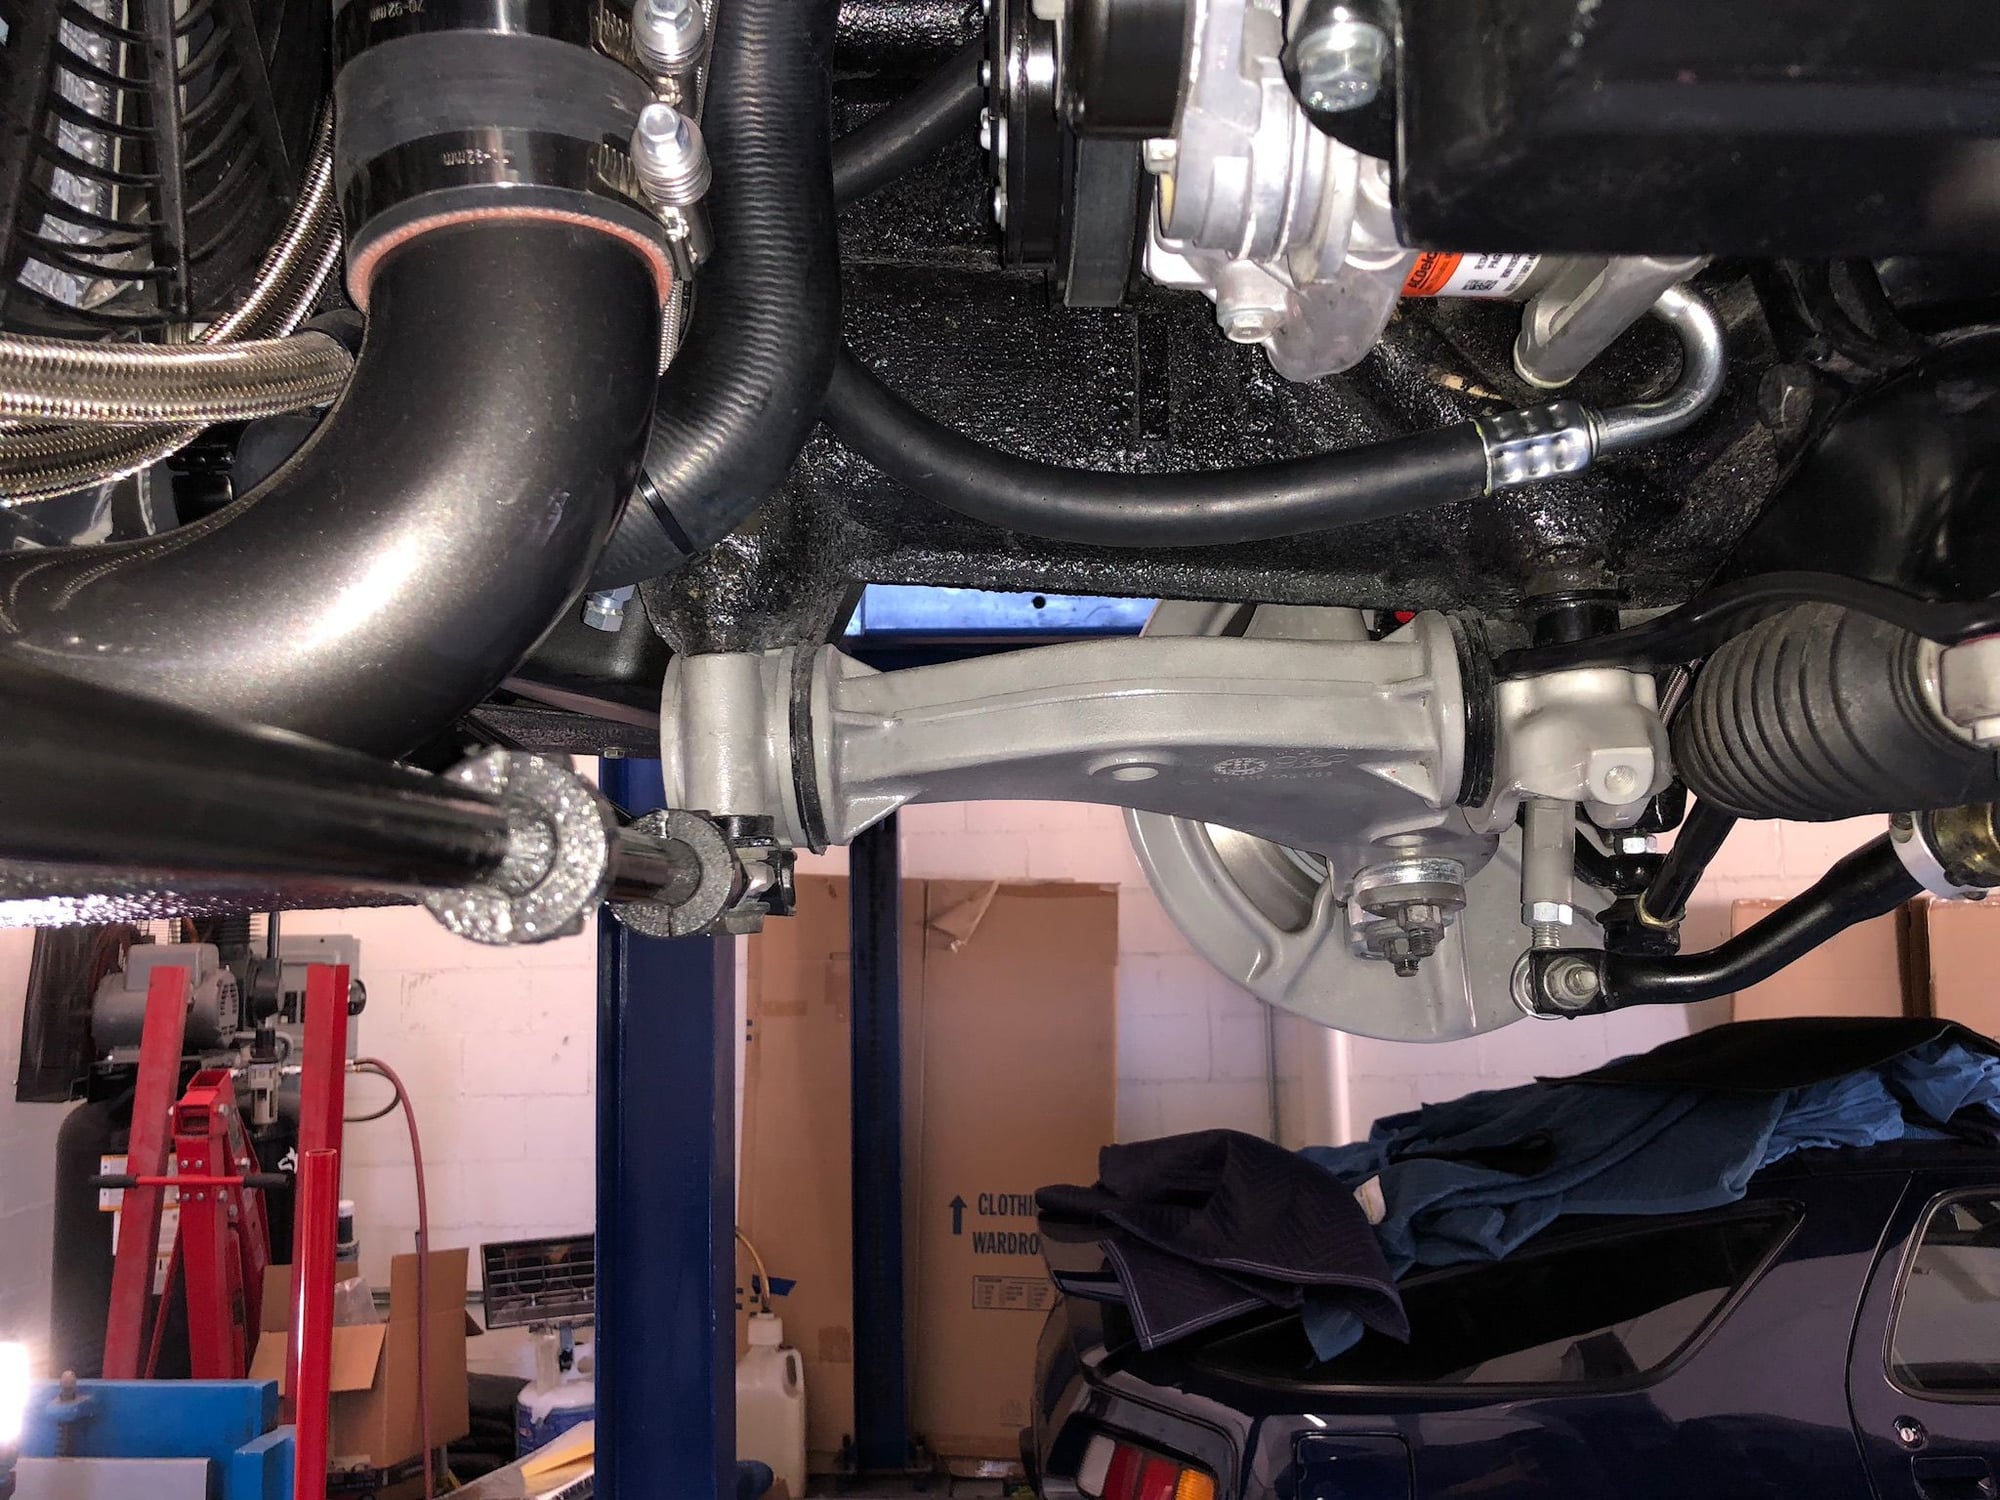
After several different compressor blocks, finally found a 90 degree block from Hawker performance that would work even though the 90 was not in the preferred direction. I diffently have a clearance issue with the compressor that came with accessory package. In the end with the help of Air Parts and numerous fittings I was able to get a nice setup. Note.....I did modify the orientation of the steel tube from the firewall.
oh, and what's the deal on the Euro in the background Long story, but was purchased a few years ago and have a love hate relationship with it.
Awesome, clear copy on all and thanks for the response!
I ended up in full acrimony with my own Euro....actually not entirely true but I did pack her off so some other sot could cover the alimony!! She just didn't perform satisfactorily in the context of her more modern peers, hahah.
And she was too nice, in my nascent eyes, to do a heart/brain transplant, even if I could've afforded it. Happy to live vicariously through your project, thank you for the excellent thread and taking the time to post photos, findings, etc!!
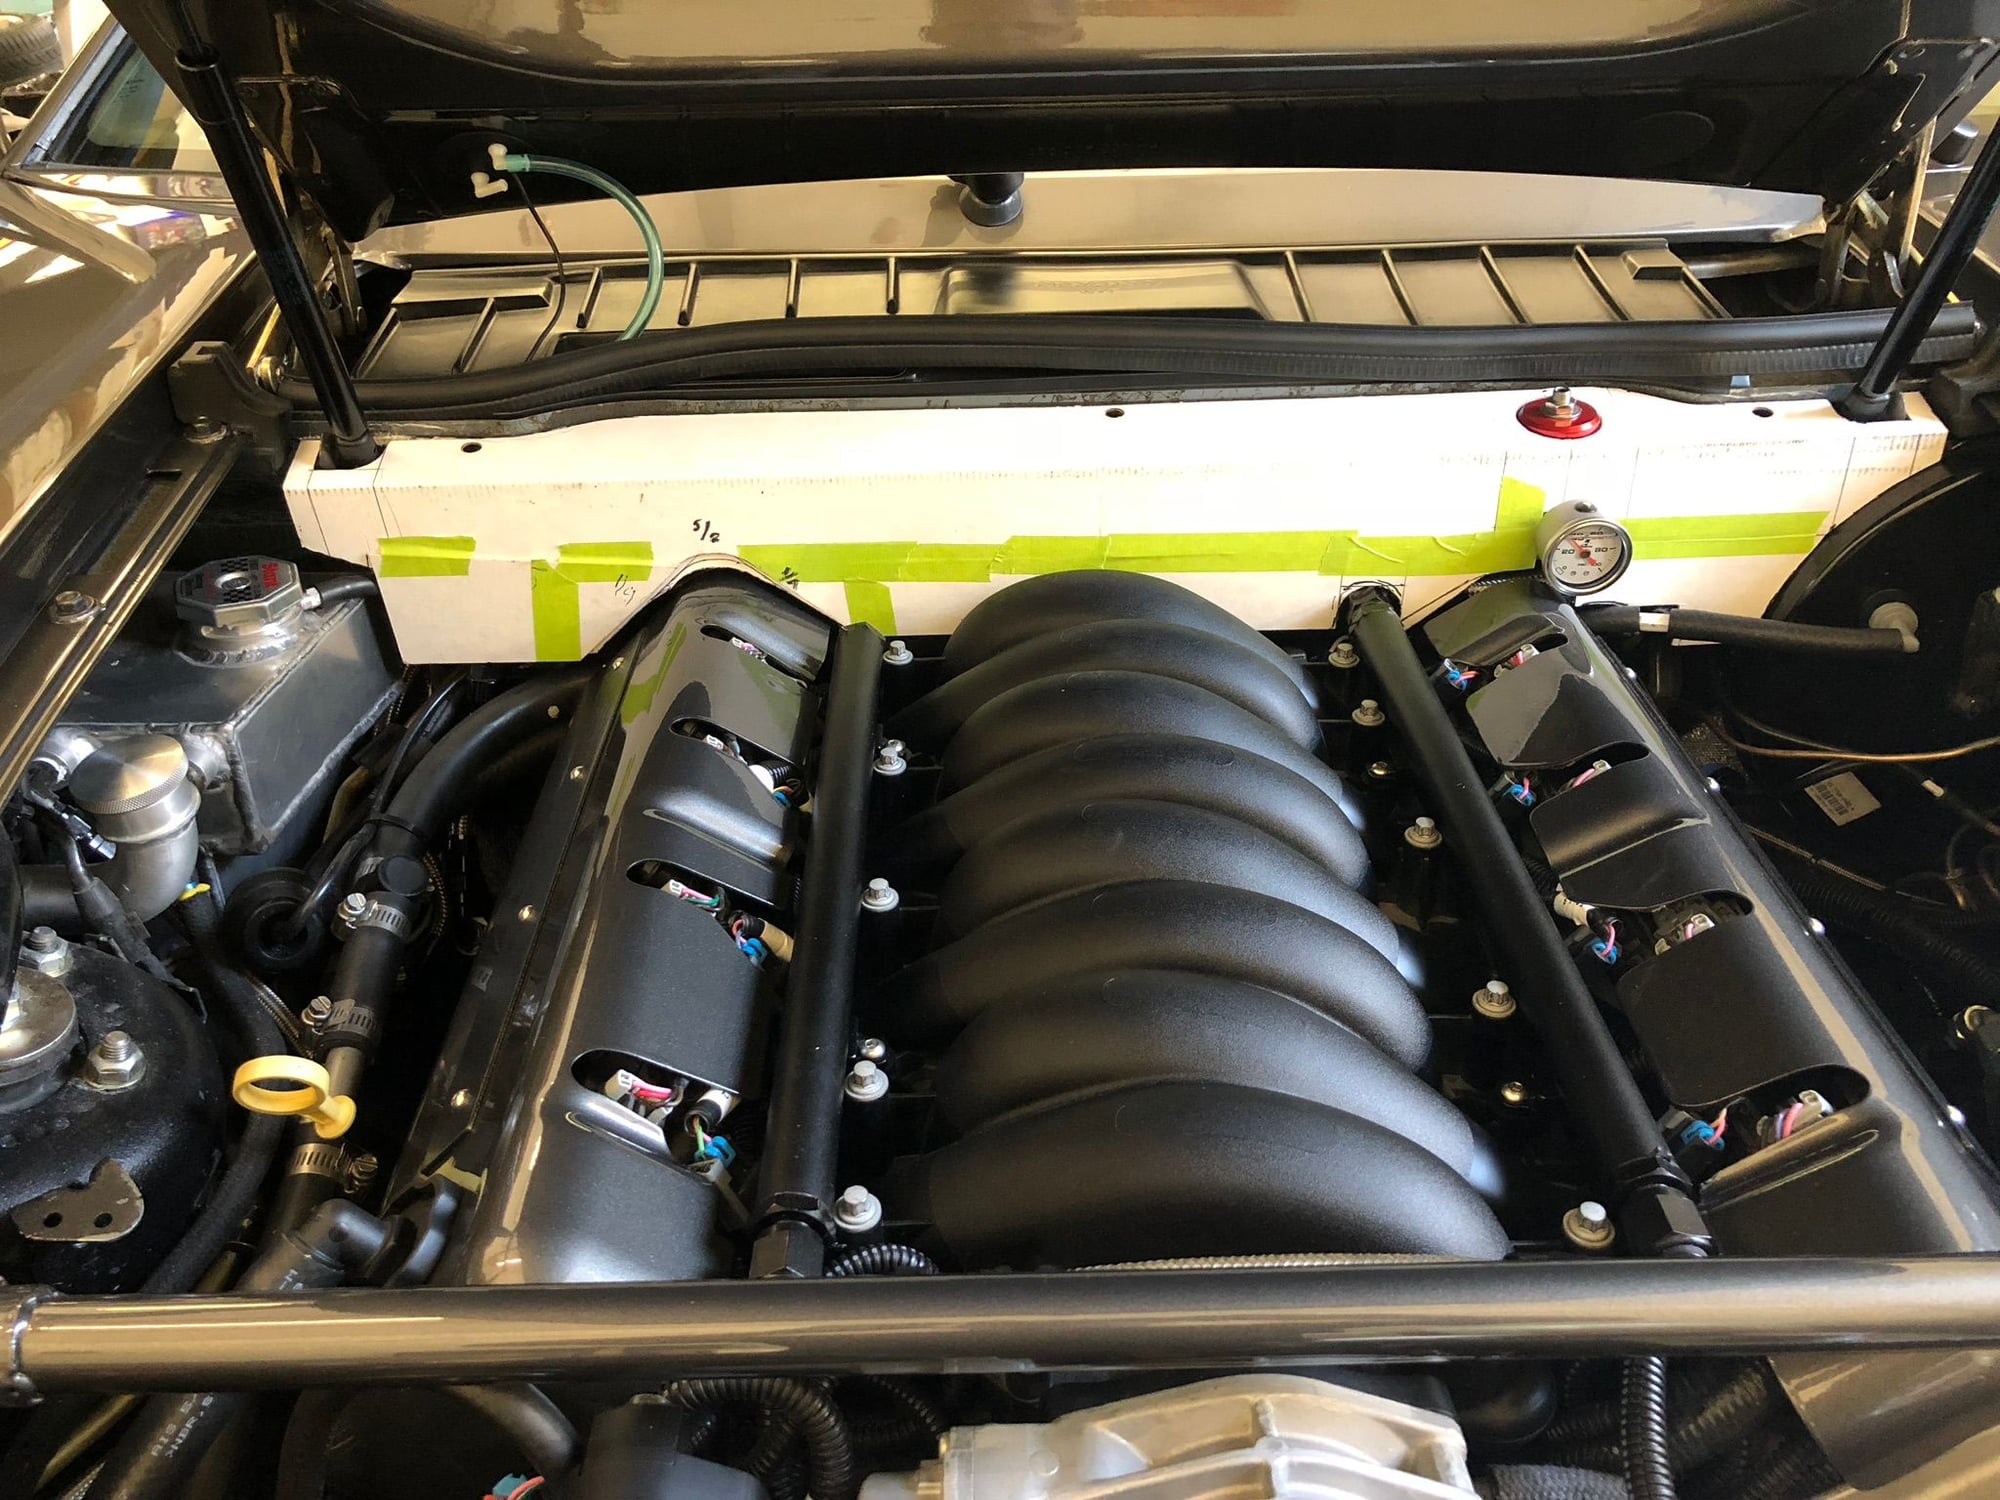
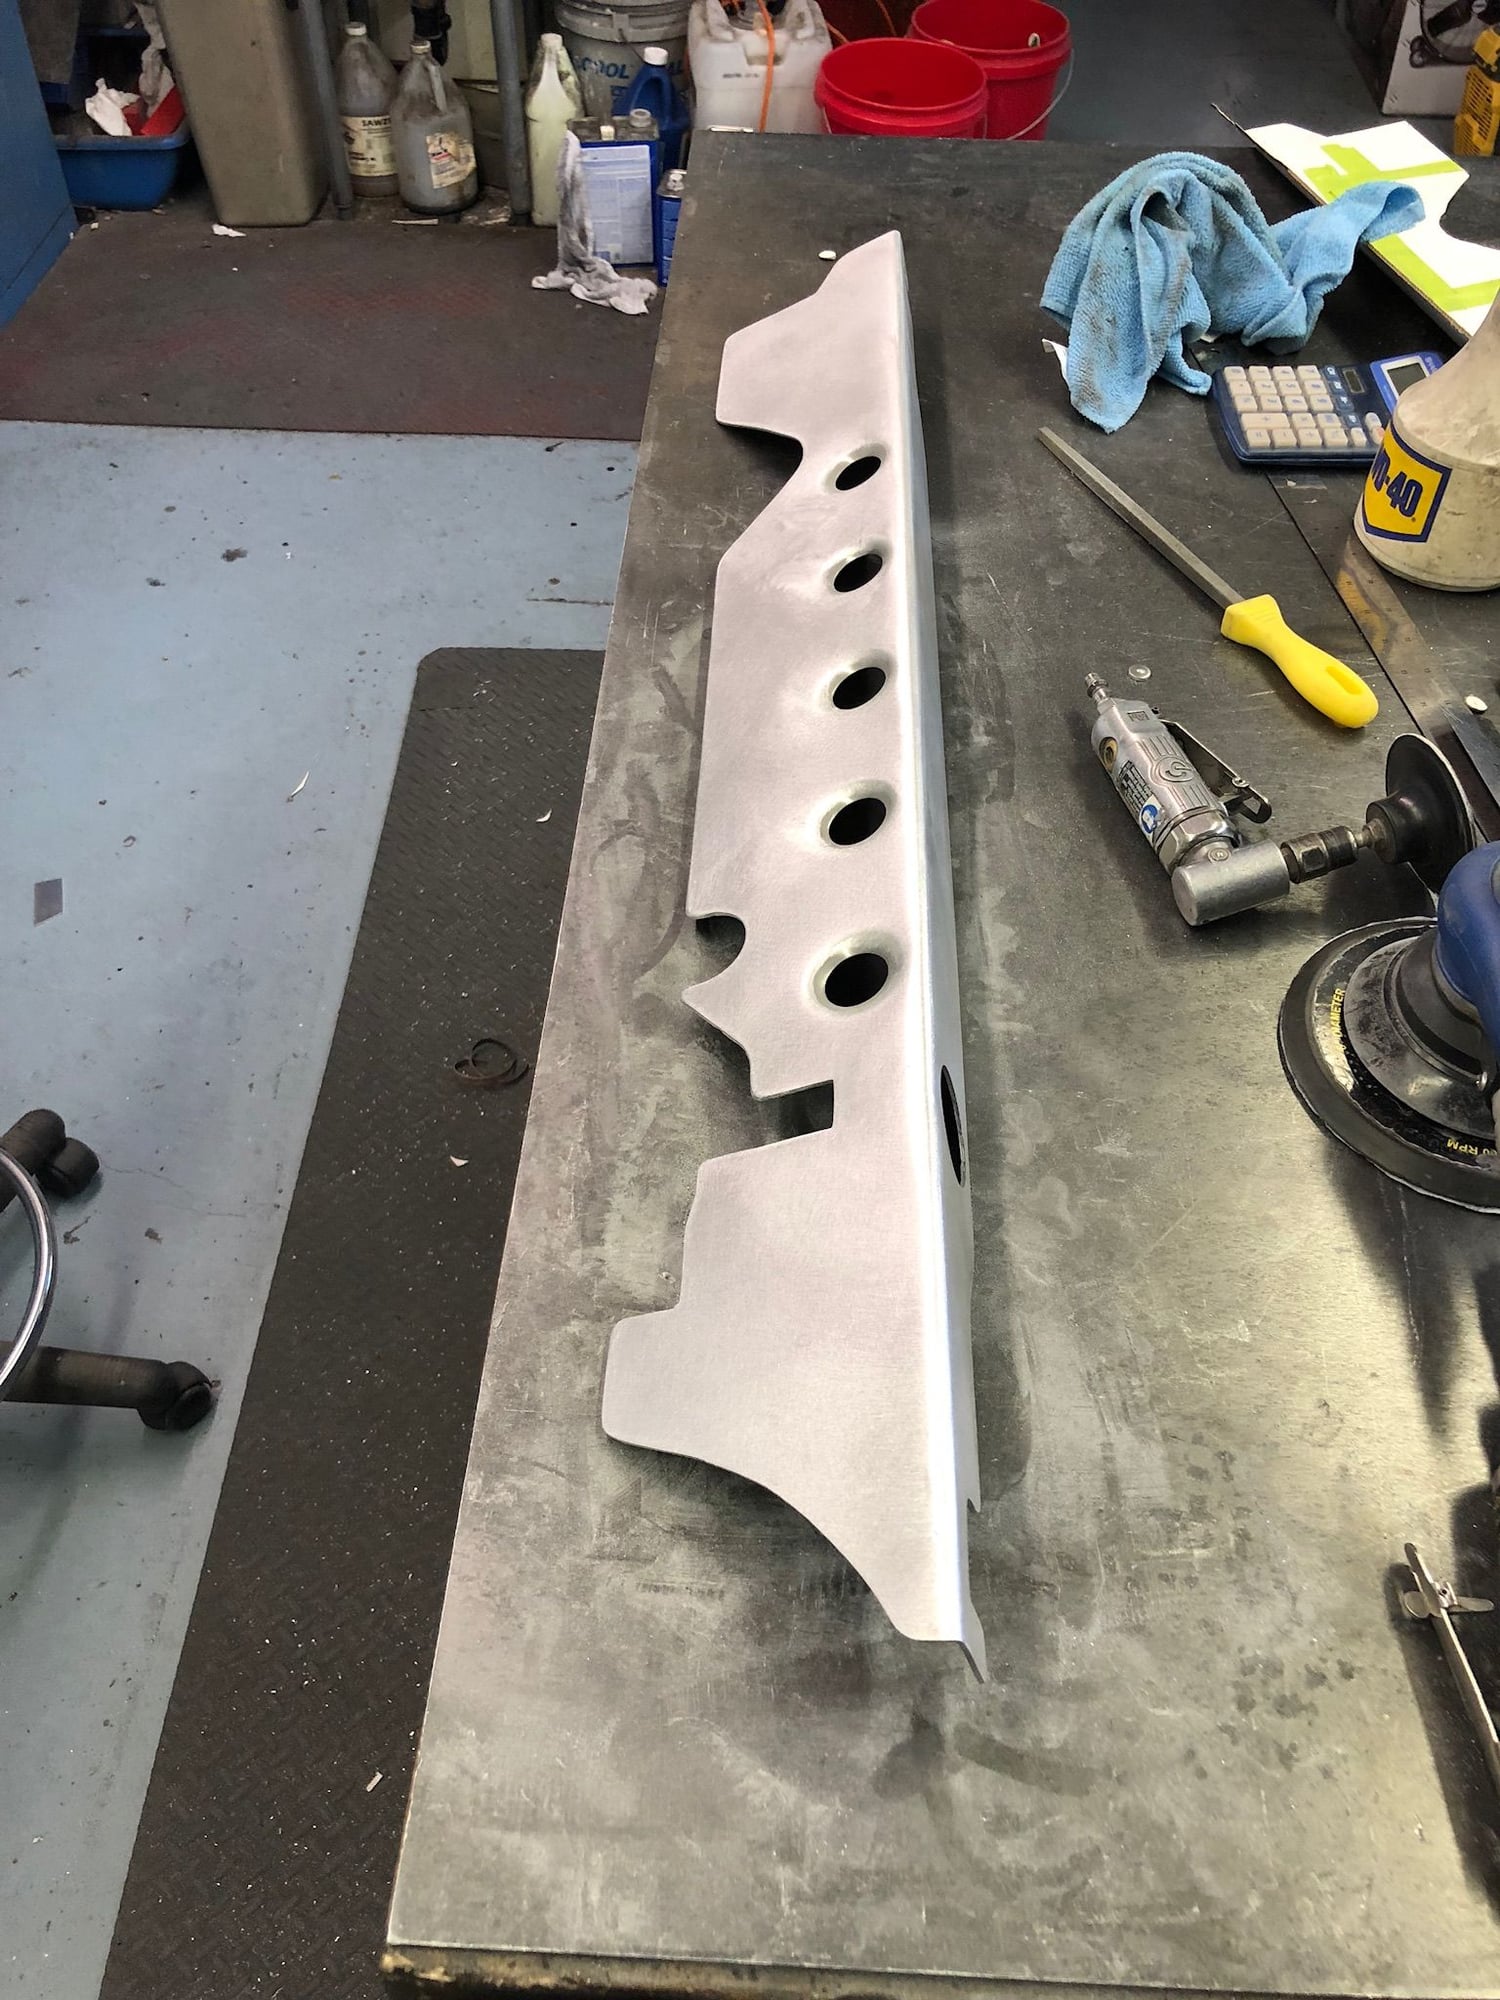
While I am waiting for the trans to come back, I decided to make a shroud for the firewall to hide a lot of the plumbing.
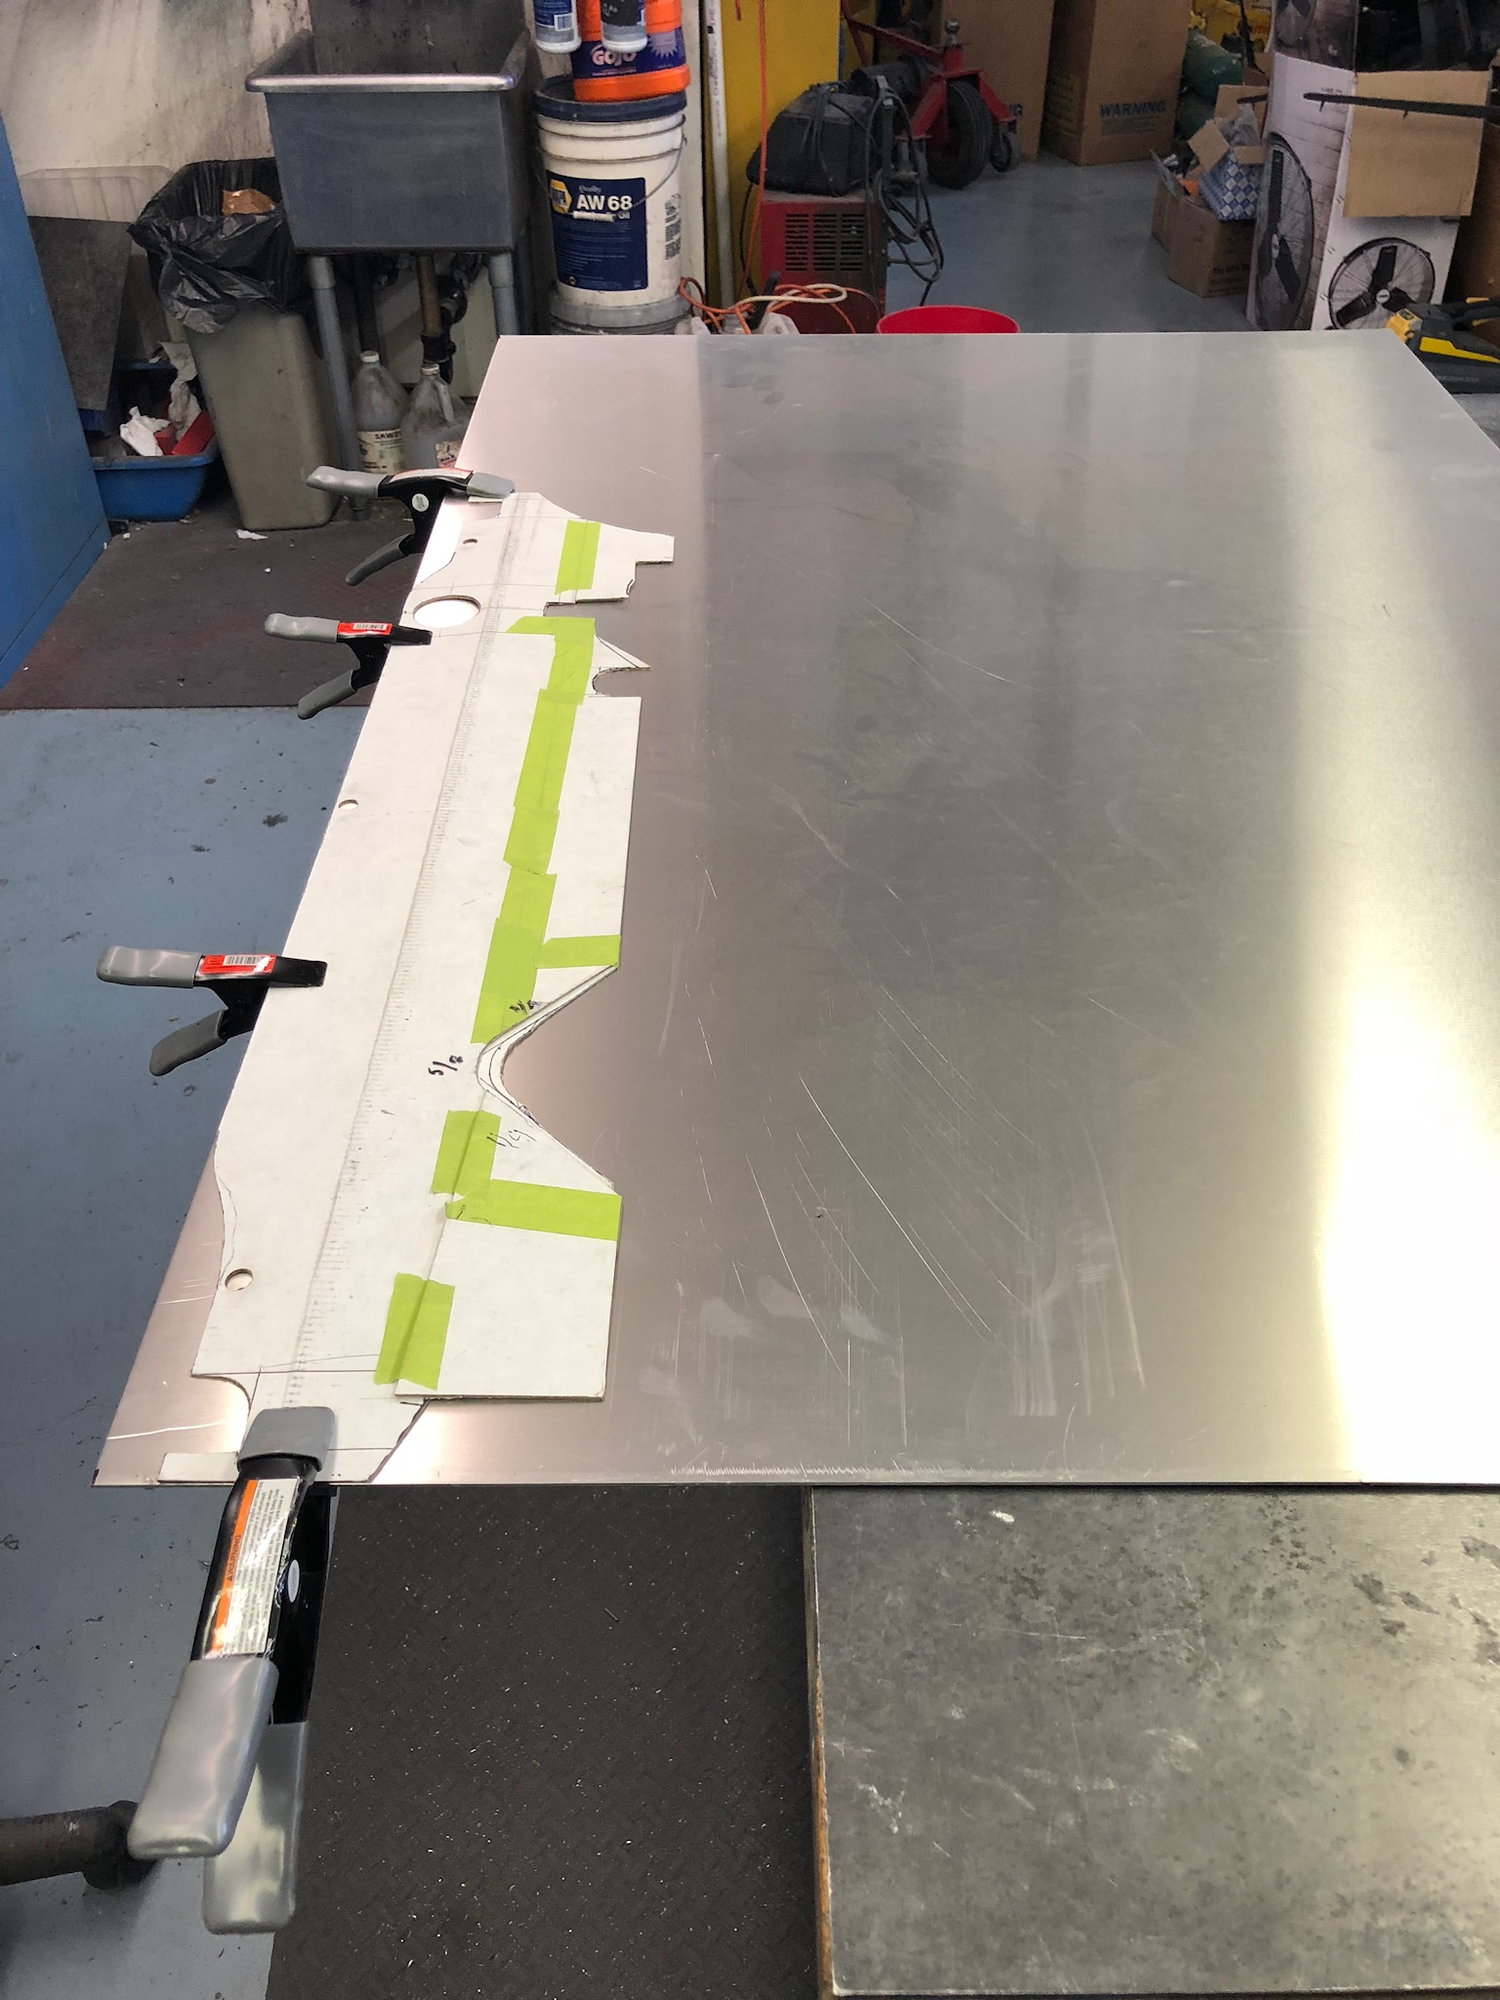
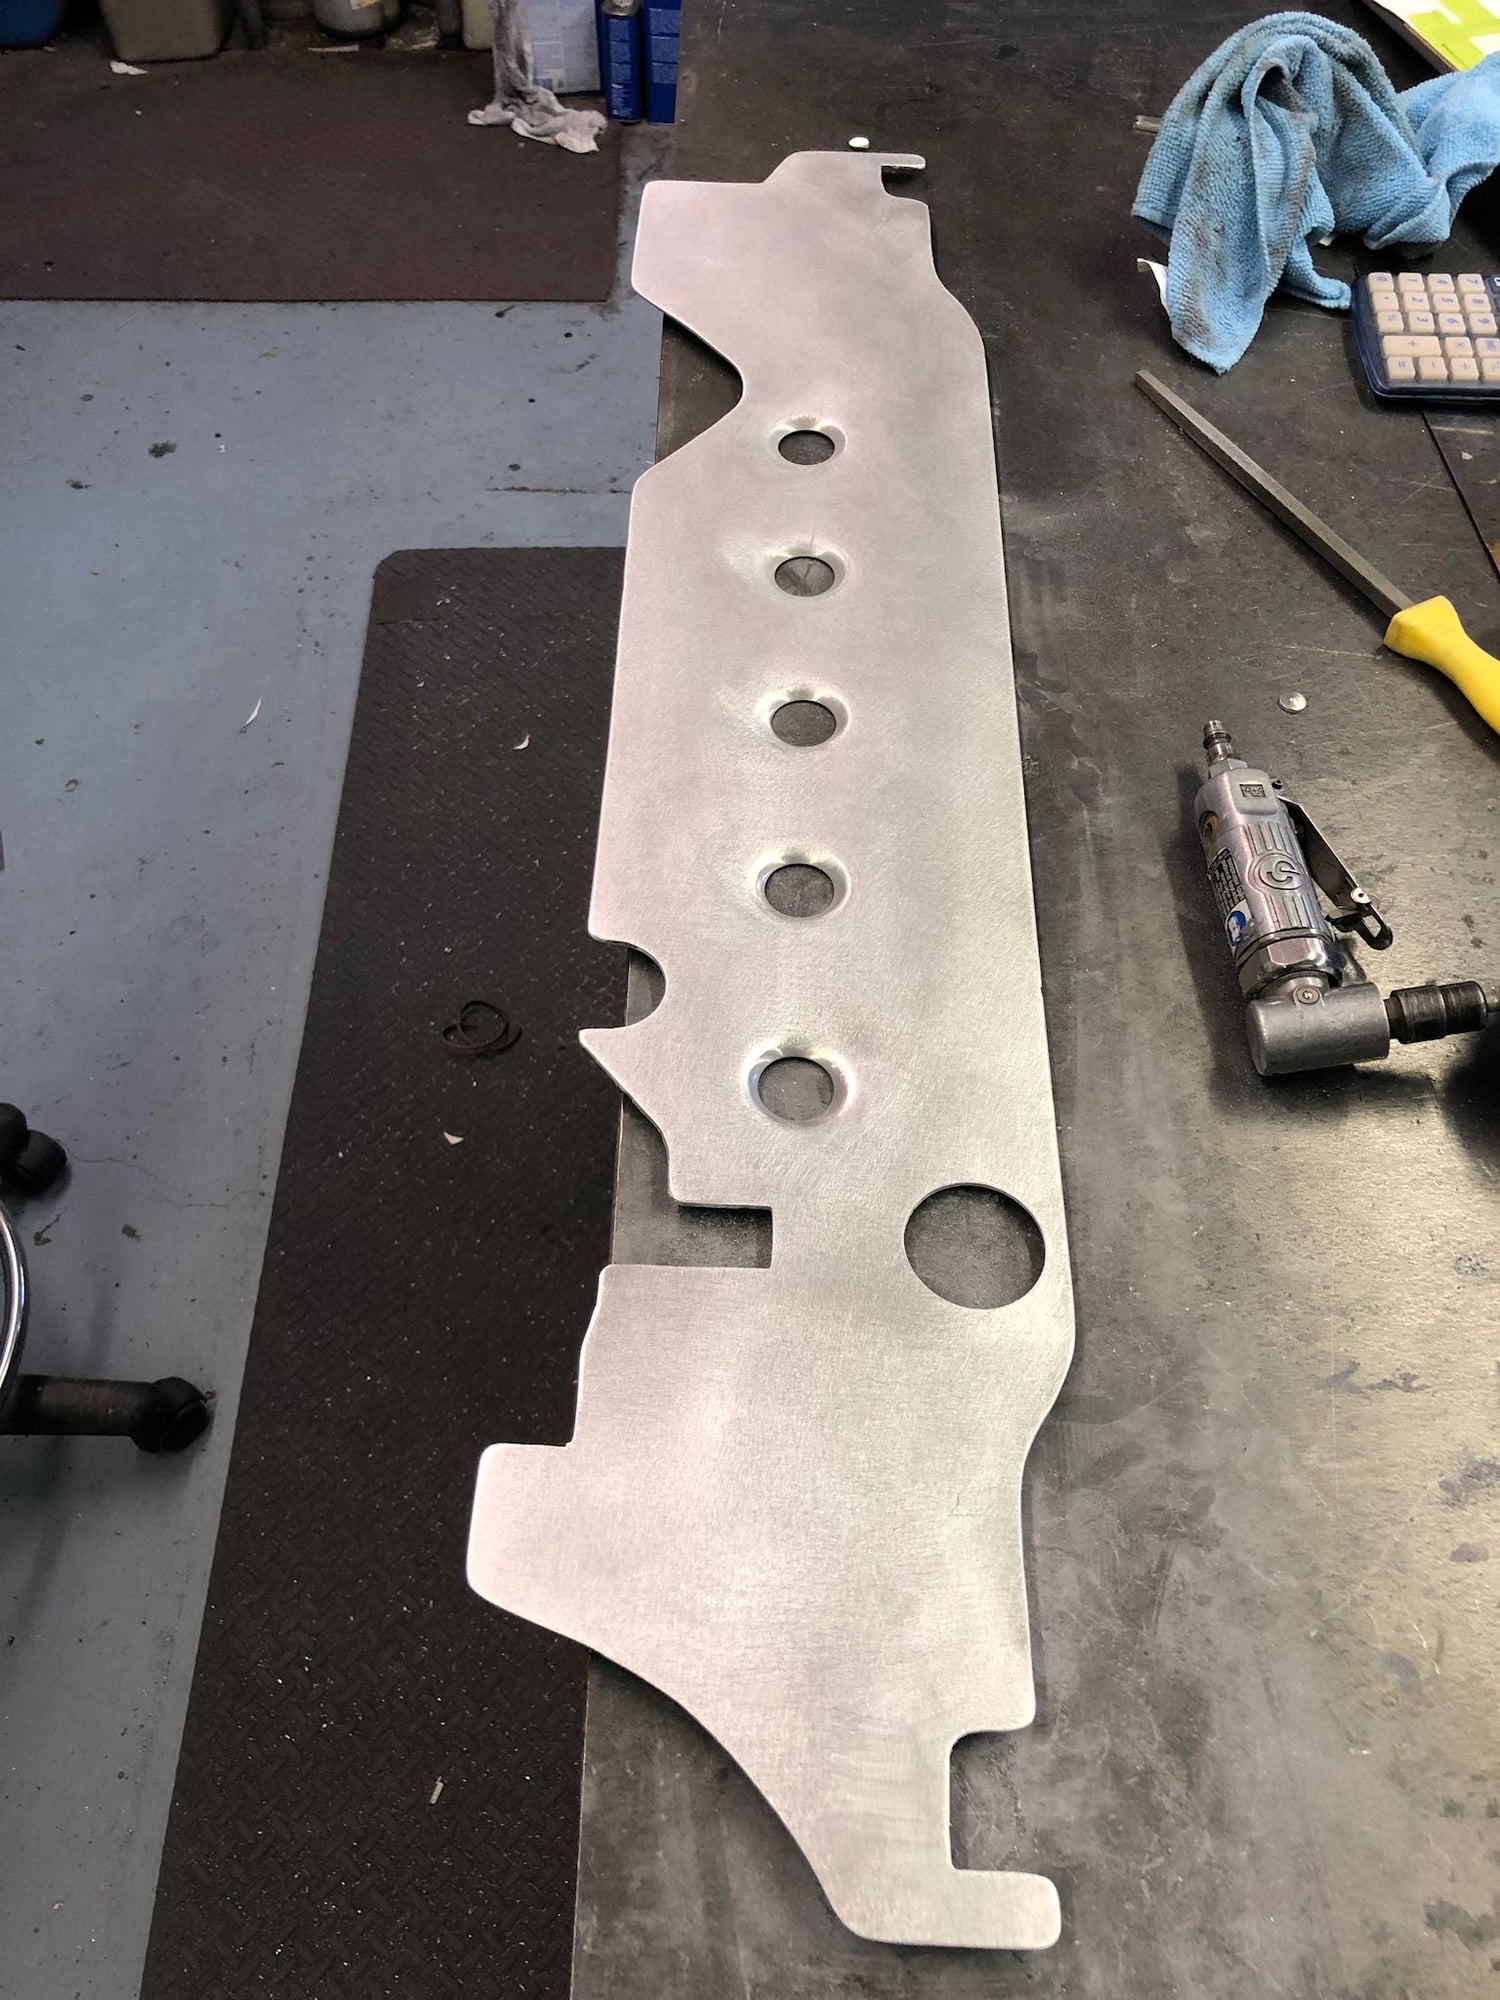
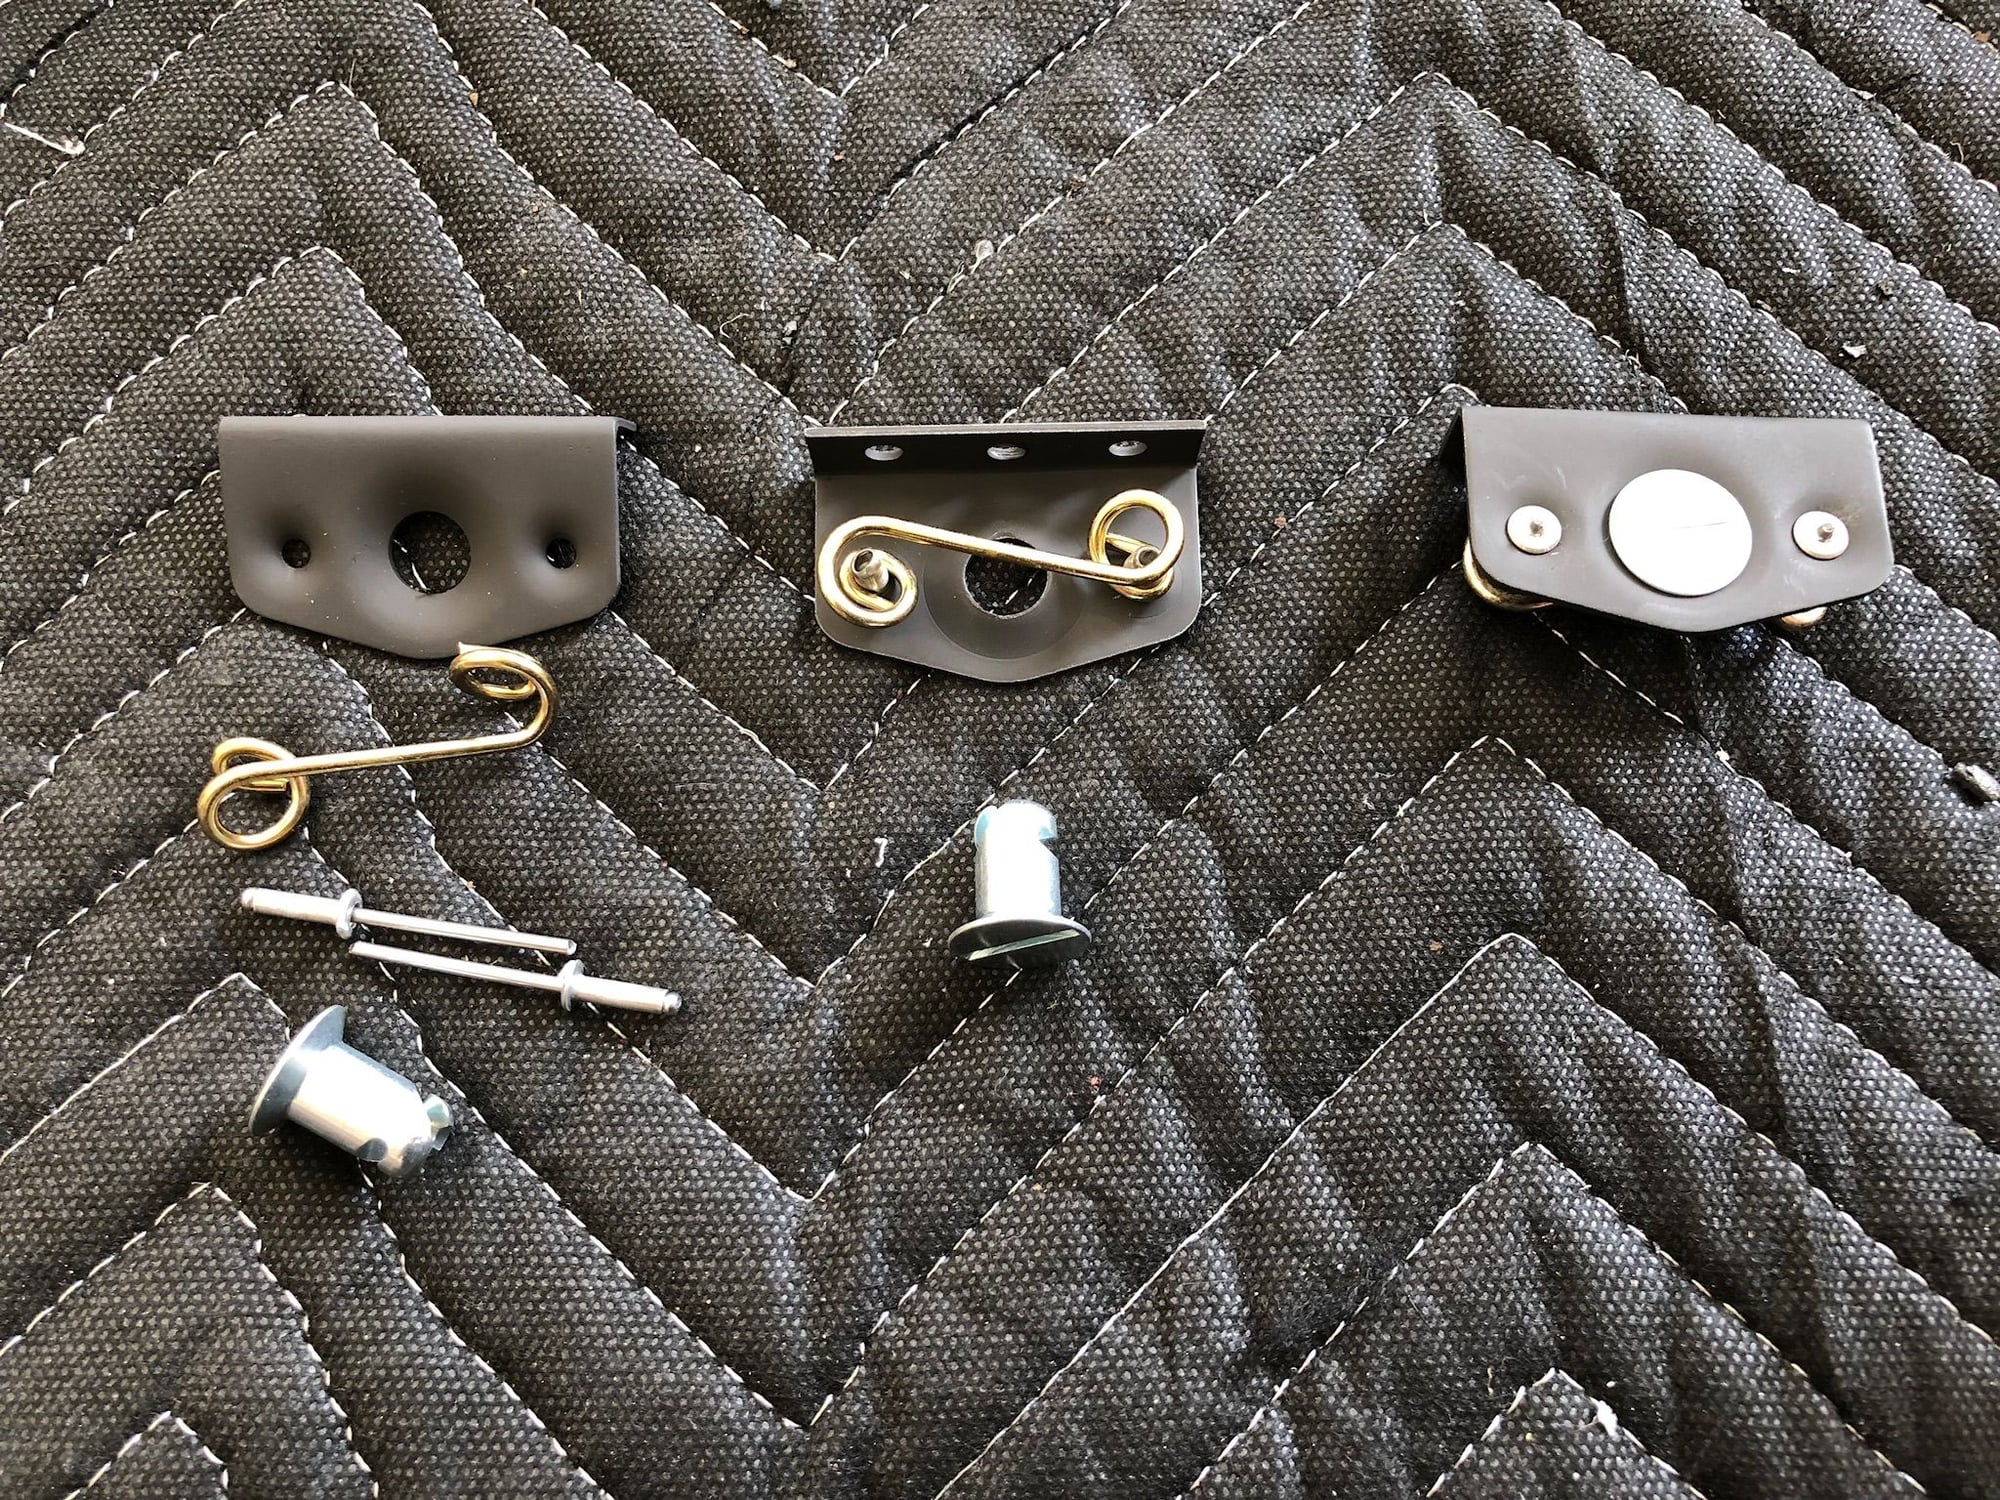
I fabed up some Zeus fastener brackets that just bolt onto the fire wall and then made a cardboard template and once happy with fit and look, transferred over to aluminum and added some flared dimple holes, which I am going to add a mesh behind in a Matt black finish. Will paint shroud in color of the car.
Stupid question maybe but have you closed the hood with this in place? Is there room for the hood struts to lay down without hitting this shield?
Good question......hood closed during the mock up with cardboard....have not tried with aluminum, will confirm before moving any further forward....thanks
Stupid question maybe but have you closed the hood with this in place? Is there room for the hood struts to lay down without hitting this shield?
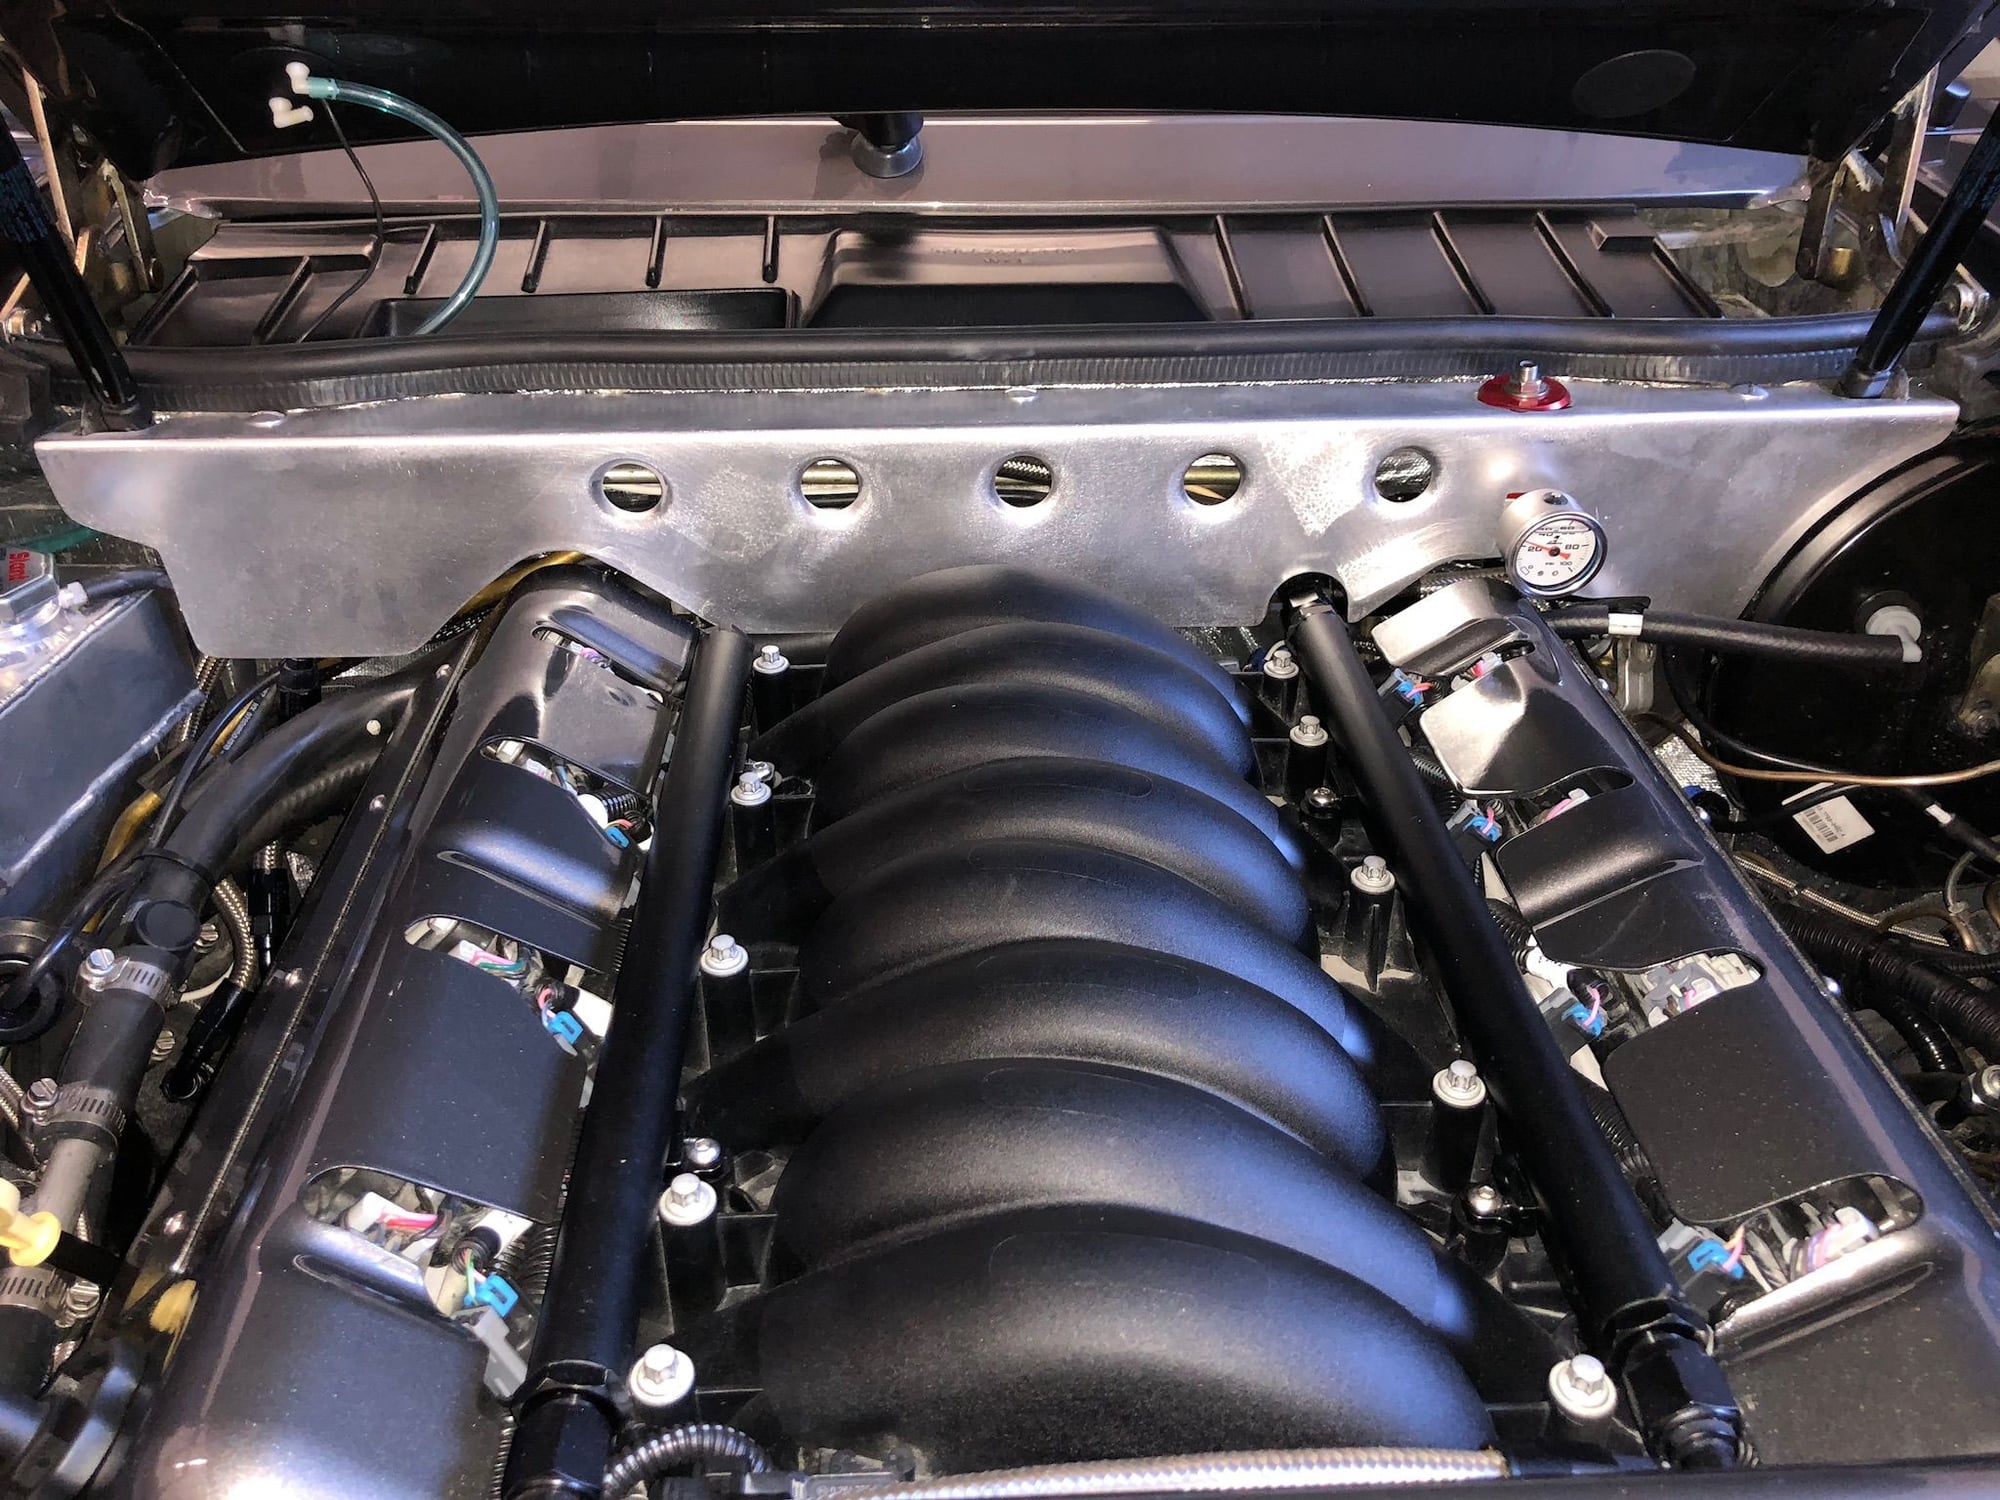
UNEEKONE......thanks for noticing the hood struts clearance, you were correct, the struts hit the top of the shroud, didn�t take much to clearance, but would have sucked if I had painted.
I hope I�m not getting carried away with adding too much in the way of dimpled / flared aluminum pieces. This is what happens when waiting for parts to come in. Made a few pieces to cap the top of radiator. Will paint metallic gray.
So once again, I have some down time and after both Tony and Dinsdale poking me to upgrade the brakes, I pulled the trigger and purchased the Wildwood calipers per XSCHOP write up. Dinsdale was very generous and kind to send me one side of front and rear mounts, so I could have a friend duplicate.
I am waiting for the machined parts, but in the meantime, I received the front calipers and ordered Porsche brake vynel decals, so I could get rid of the Wildwood logo and install the Porsche logo. I was able to find a high temp gray metallic paint to repaint the caliper and purchased a few different colors of high temp paint for the logo. I went with a muted silver.....I want a subdued look.
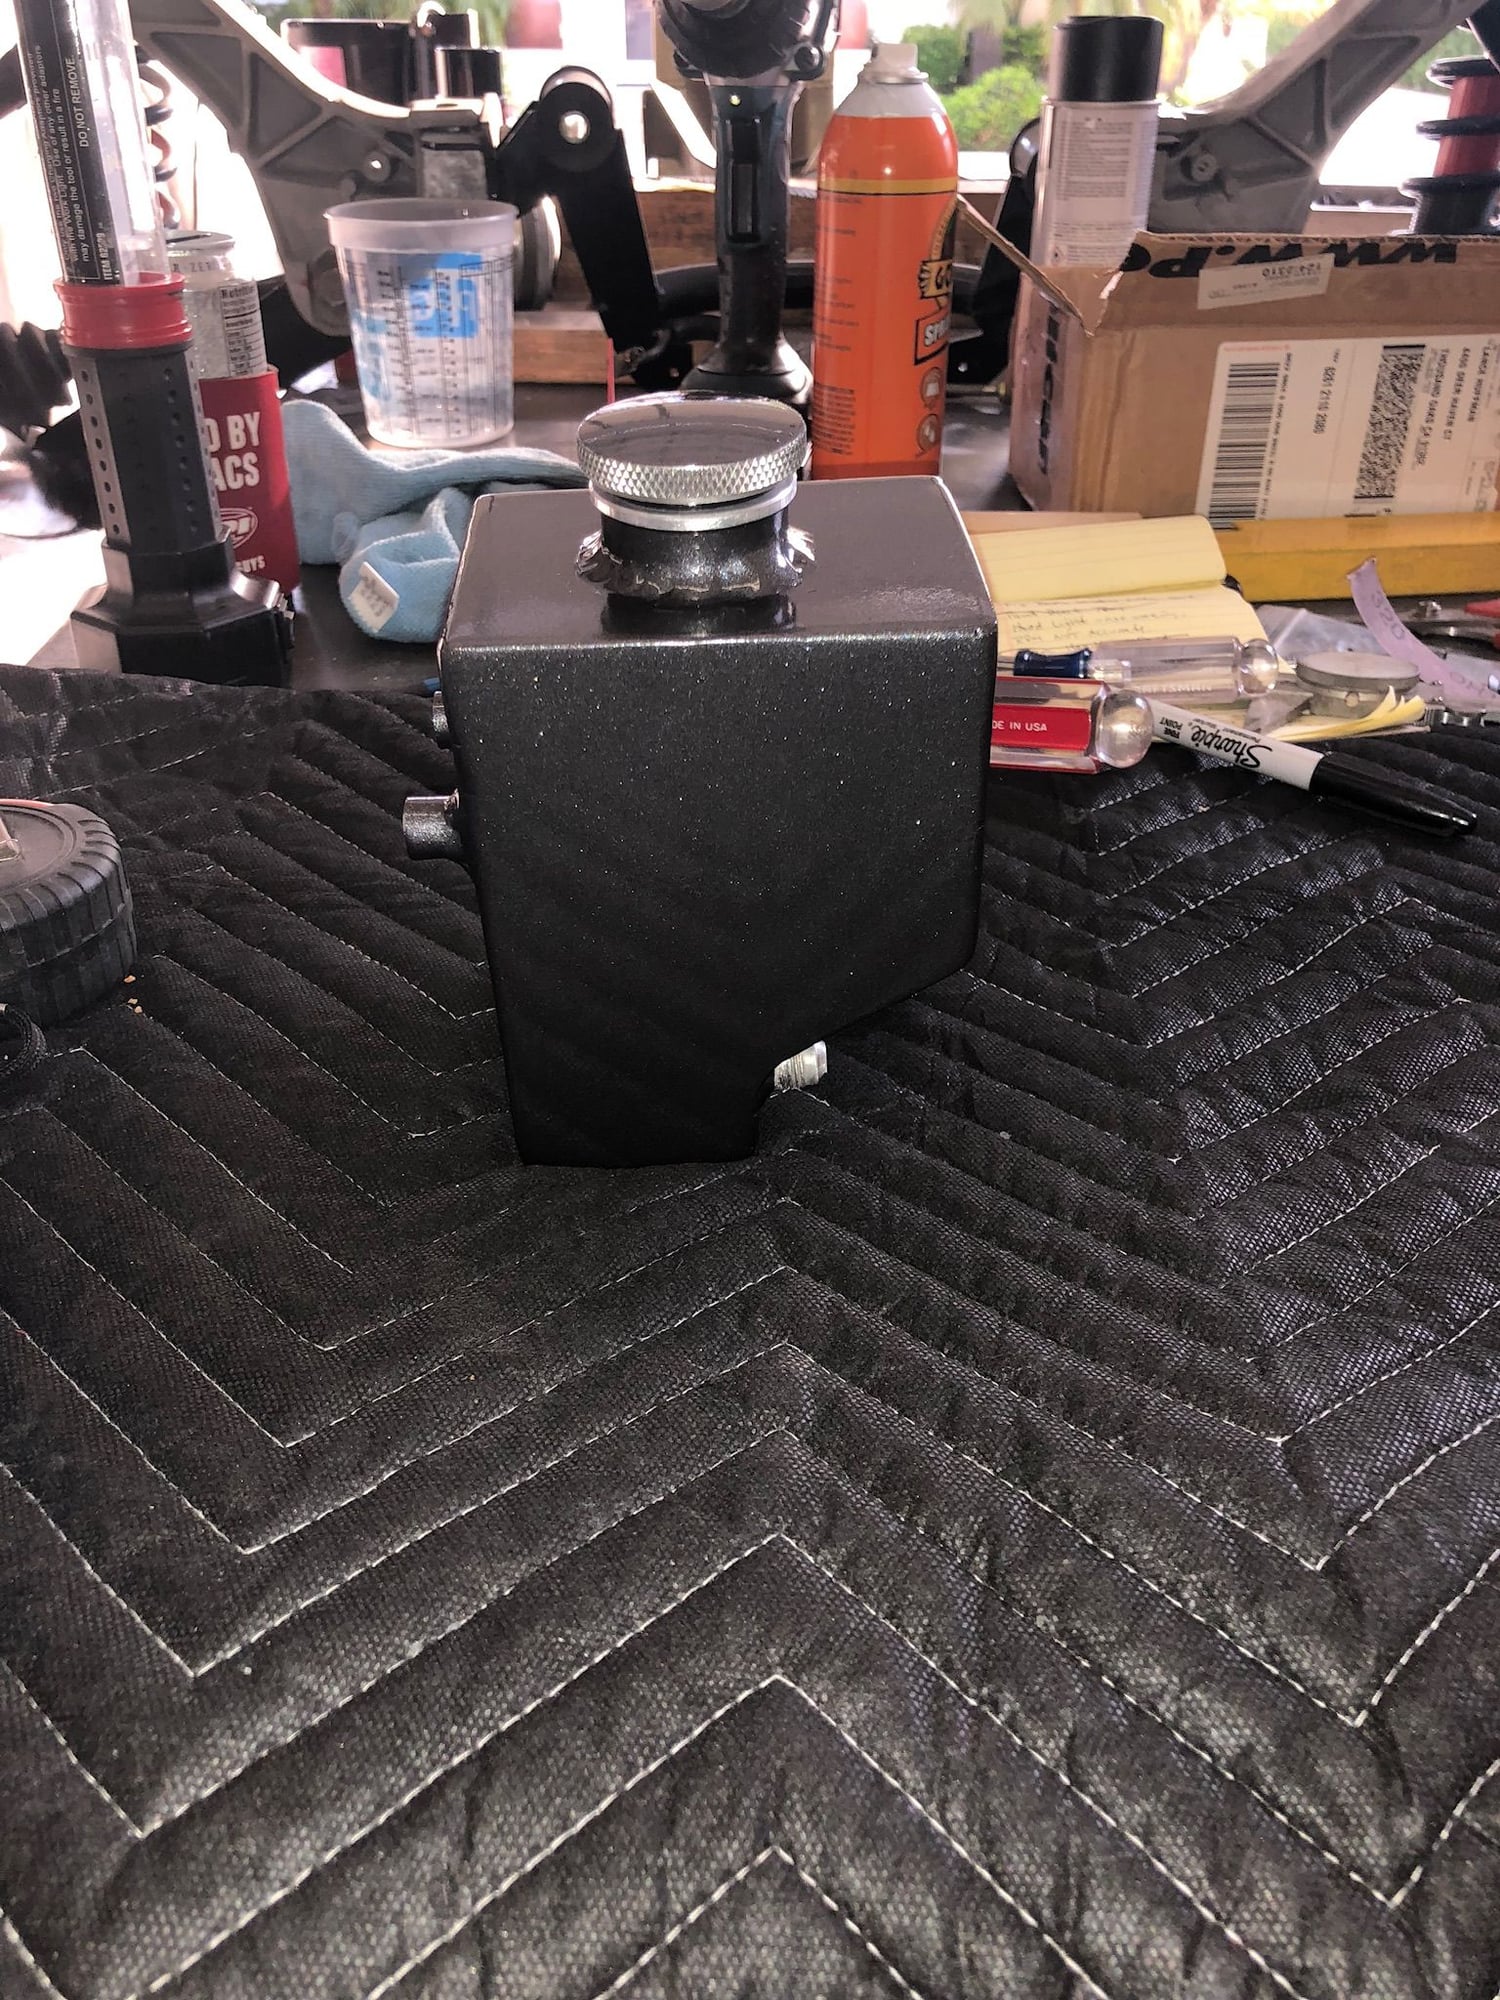
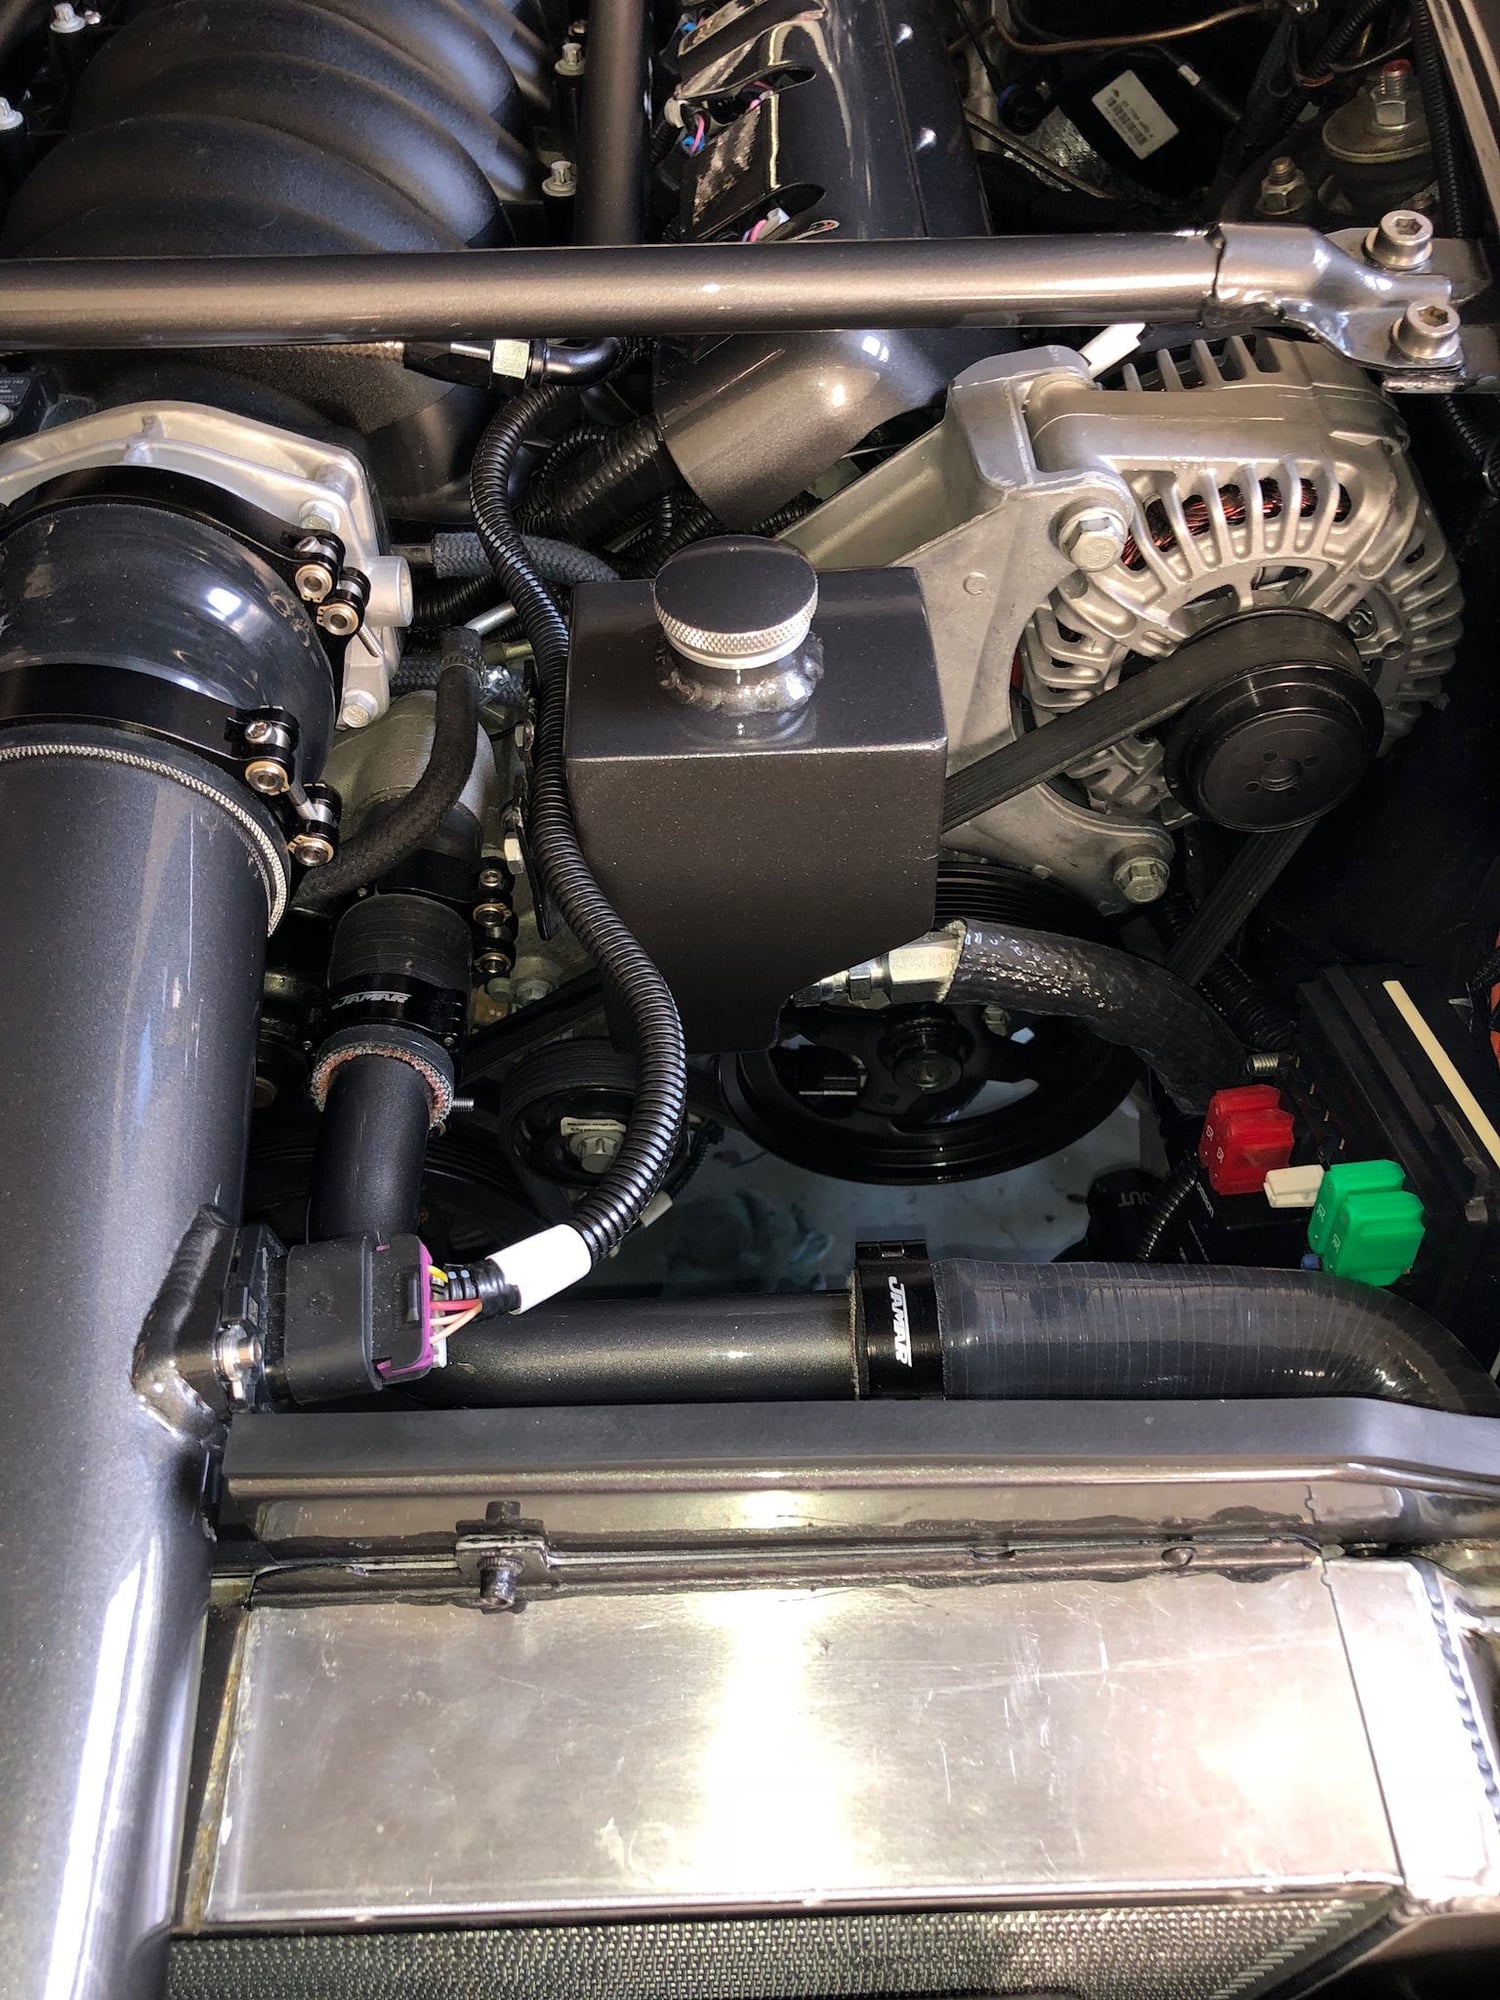
I have gone down a slippery slope with building the firewall cover. Now everything else looks bad. I smooothed out the welds on the power steering resivor and painted along with radiator tank and washer fill tube. Now the wiring and hoses over the wheel wells are stairing me in the eyes. Really need to get my trans back so I can drive the car Instead of redoing stuff.

 07-03-2018, 08:59 PM