When you click on links to various merchants on this site and make a purchase, this can result in this site earning a commission. Affiliate programs and affiliations include, but are not limited to, the eBay Partner Network.
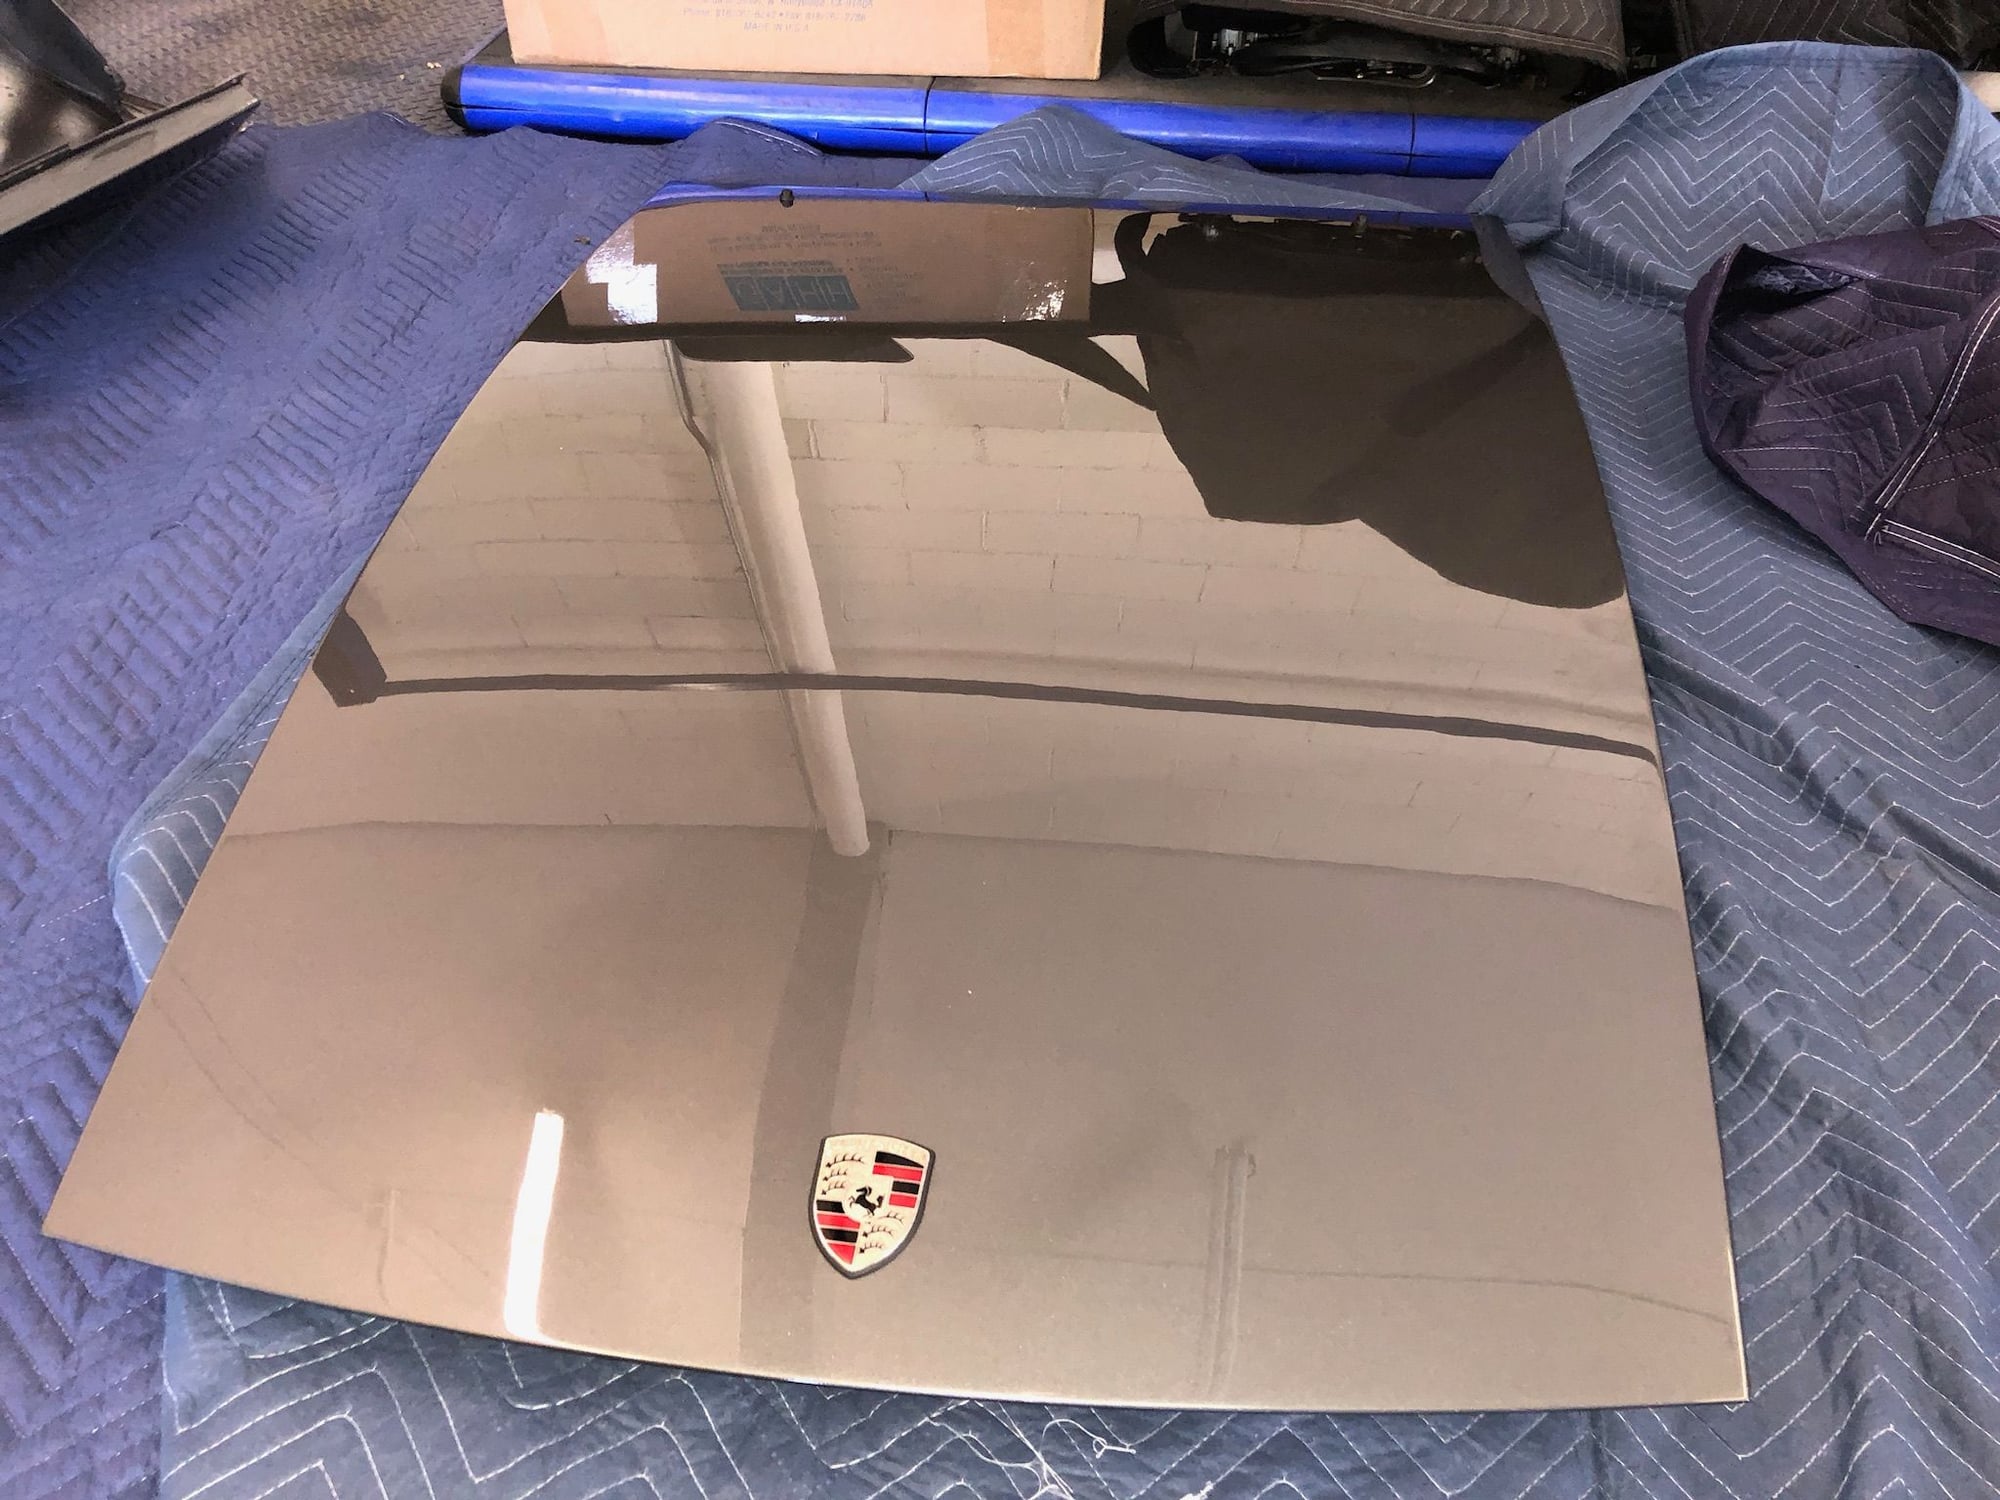
Picked upped passenger fender, hood and few other small pieces. Still waiting for drivers fender, front & rear bumpers and window trim.......hopefully soon.
I made up the hood hood and have stored out of the way along with fender. They will be installed towards the end, so not to scratch.
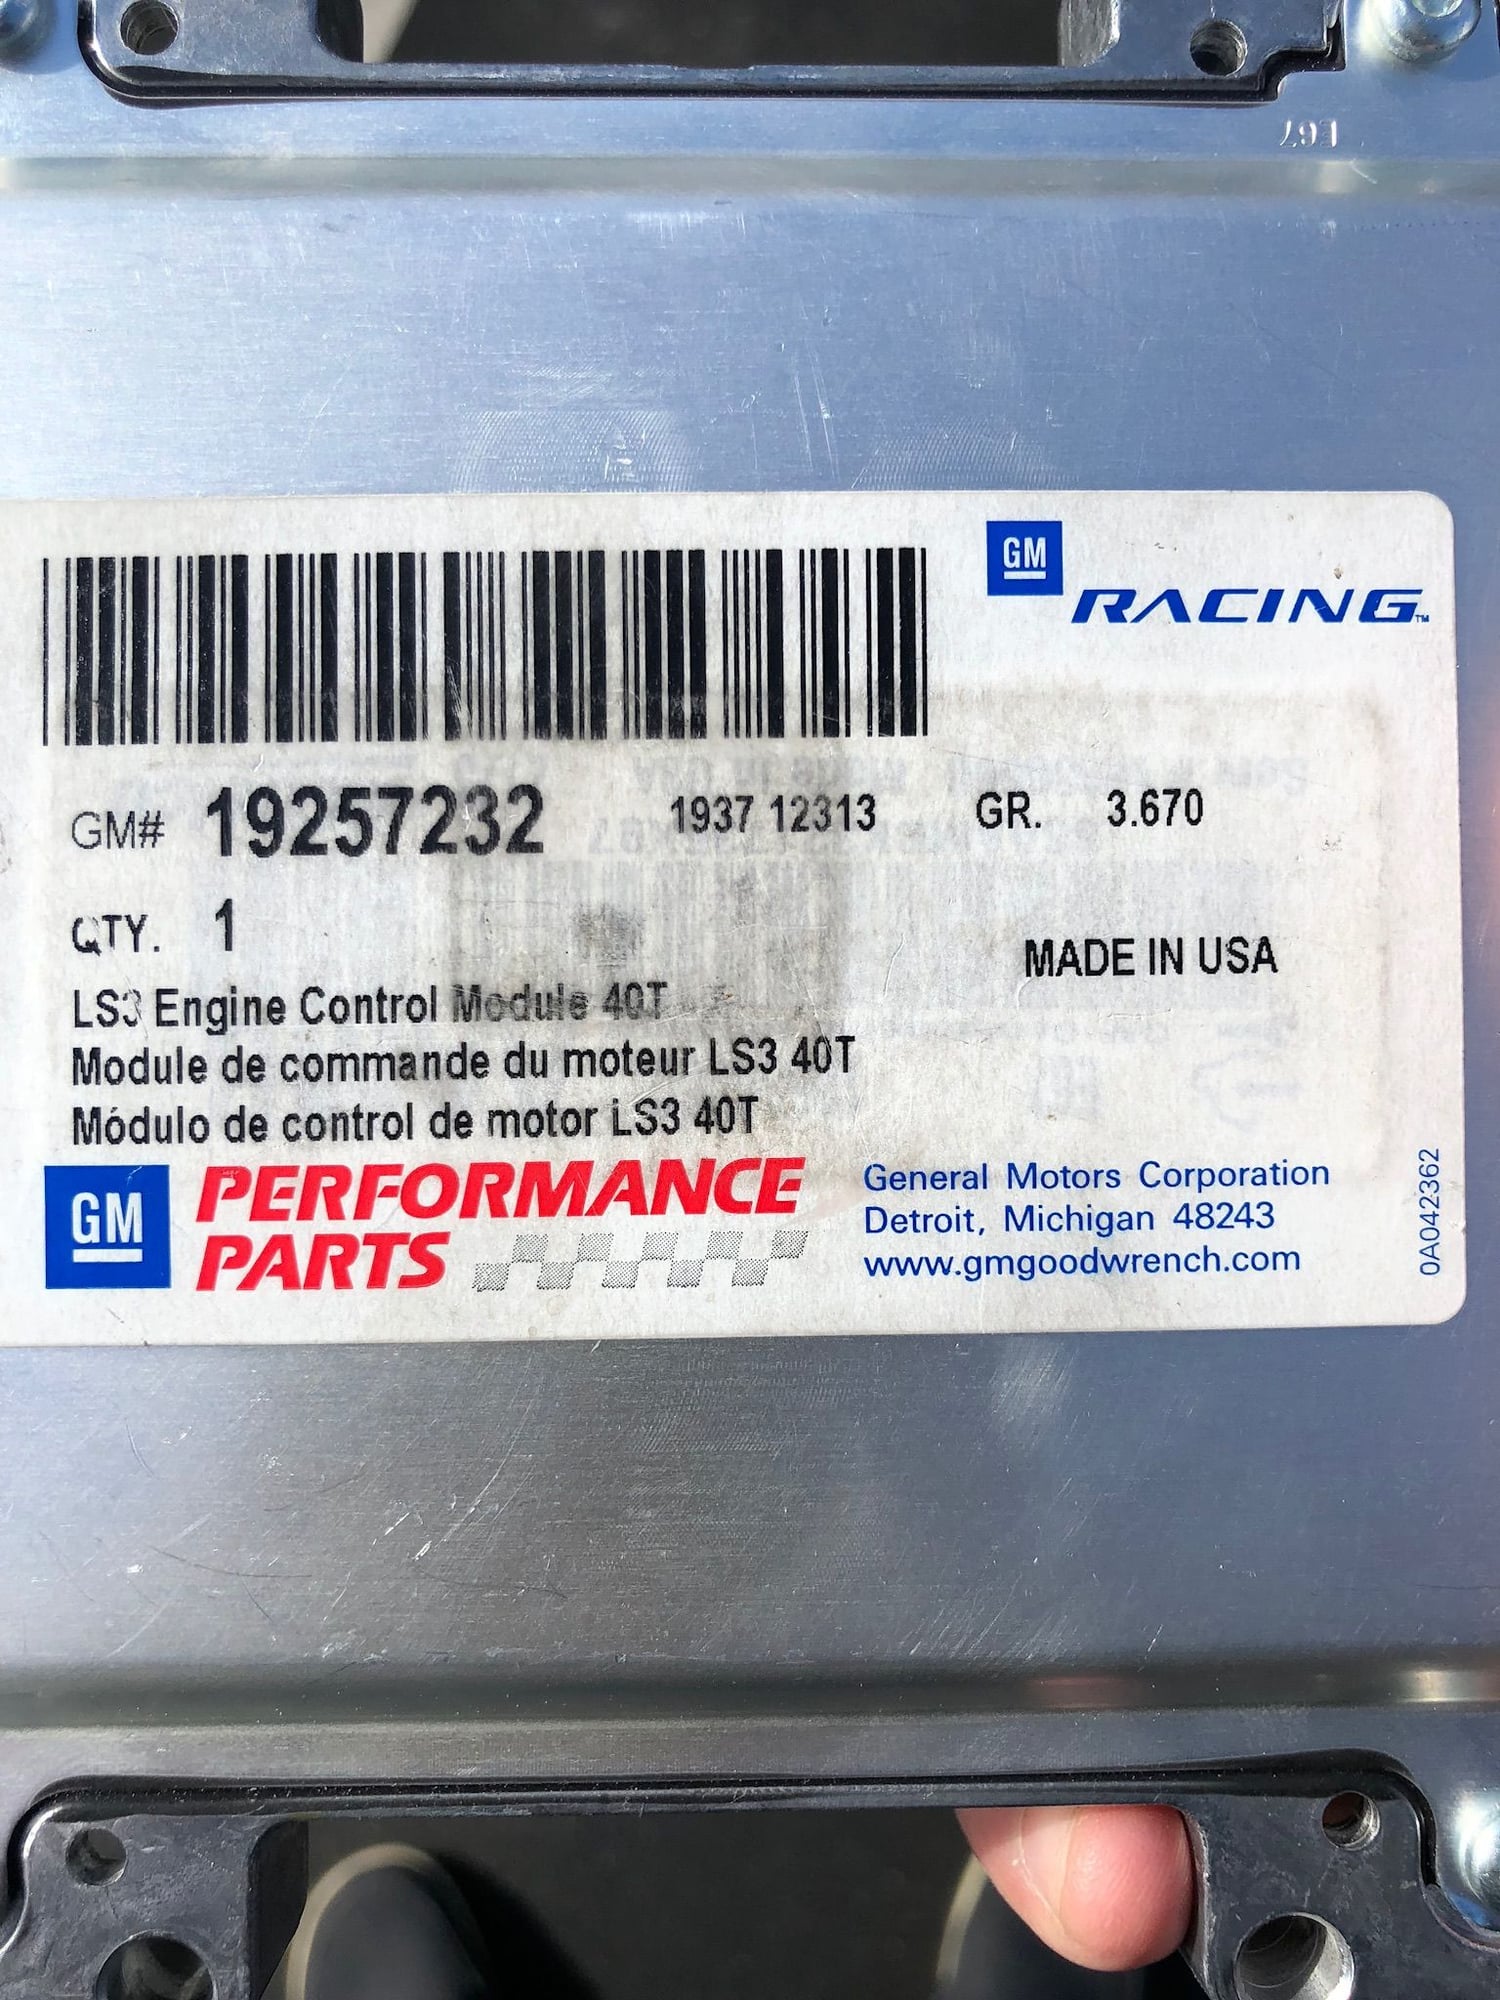
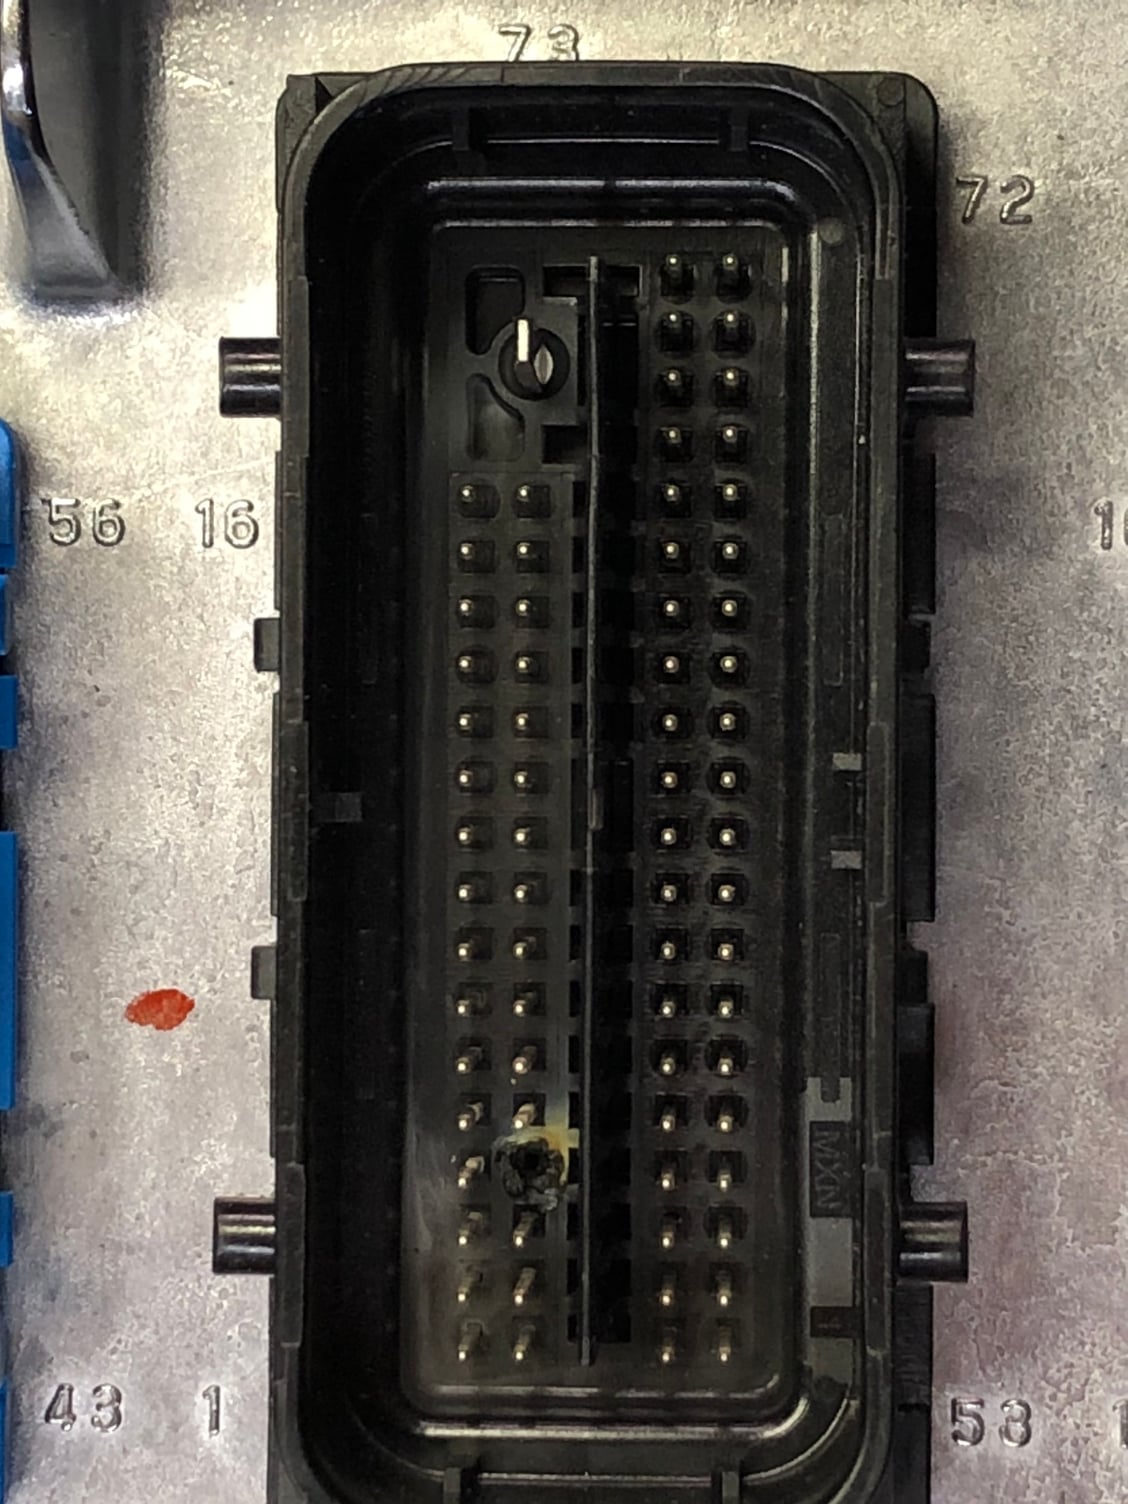
Haven�t posted in awhile but have been busy working on the electrical hook up between LS and Porsche. With the help of Dinsdale and a good friend, I was able to get the engine compartment wired and married with Porsche oil pressure, temp, rpm. Unfortunately, I gave my ECM to A&A Corvette to install a pre tune for the larger injectors and super charger. Ends up the E-rod ECM uses an extra pin in the connectors and the portable harness that was used shorted the ECm out......it vaporized a pin
I got with GM tech and ordered a new ECM and installed to find out there�s no program in it. After 3 days talking with different levels of techs and managers, I was finally approved to send in both my fried ecm and new ecm for programming. GM will keep my fried ecm and issue a new data sticker that tells the smog referee that the ecm is correct for the e-rod engine. I should have back in a week or so and then we will put the pre tune in through the OB port on the wire harness, so not to damage again.
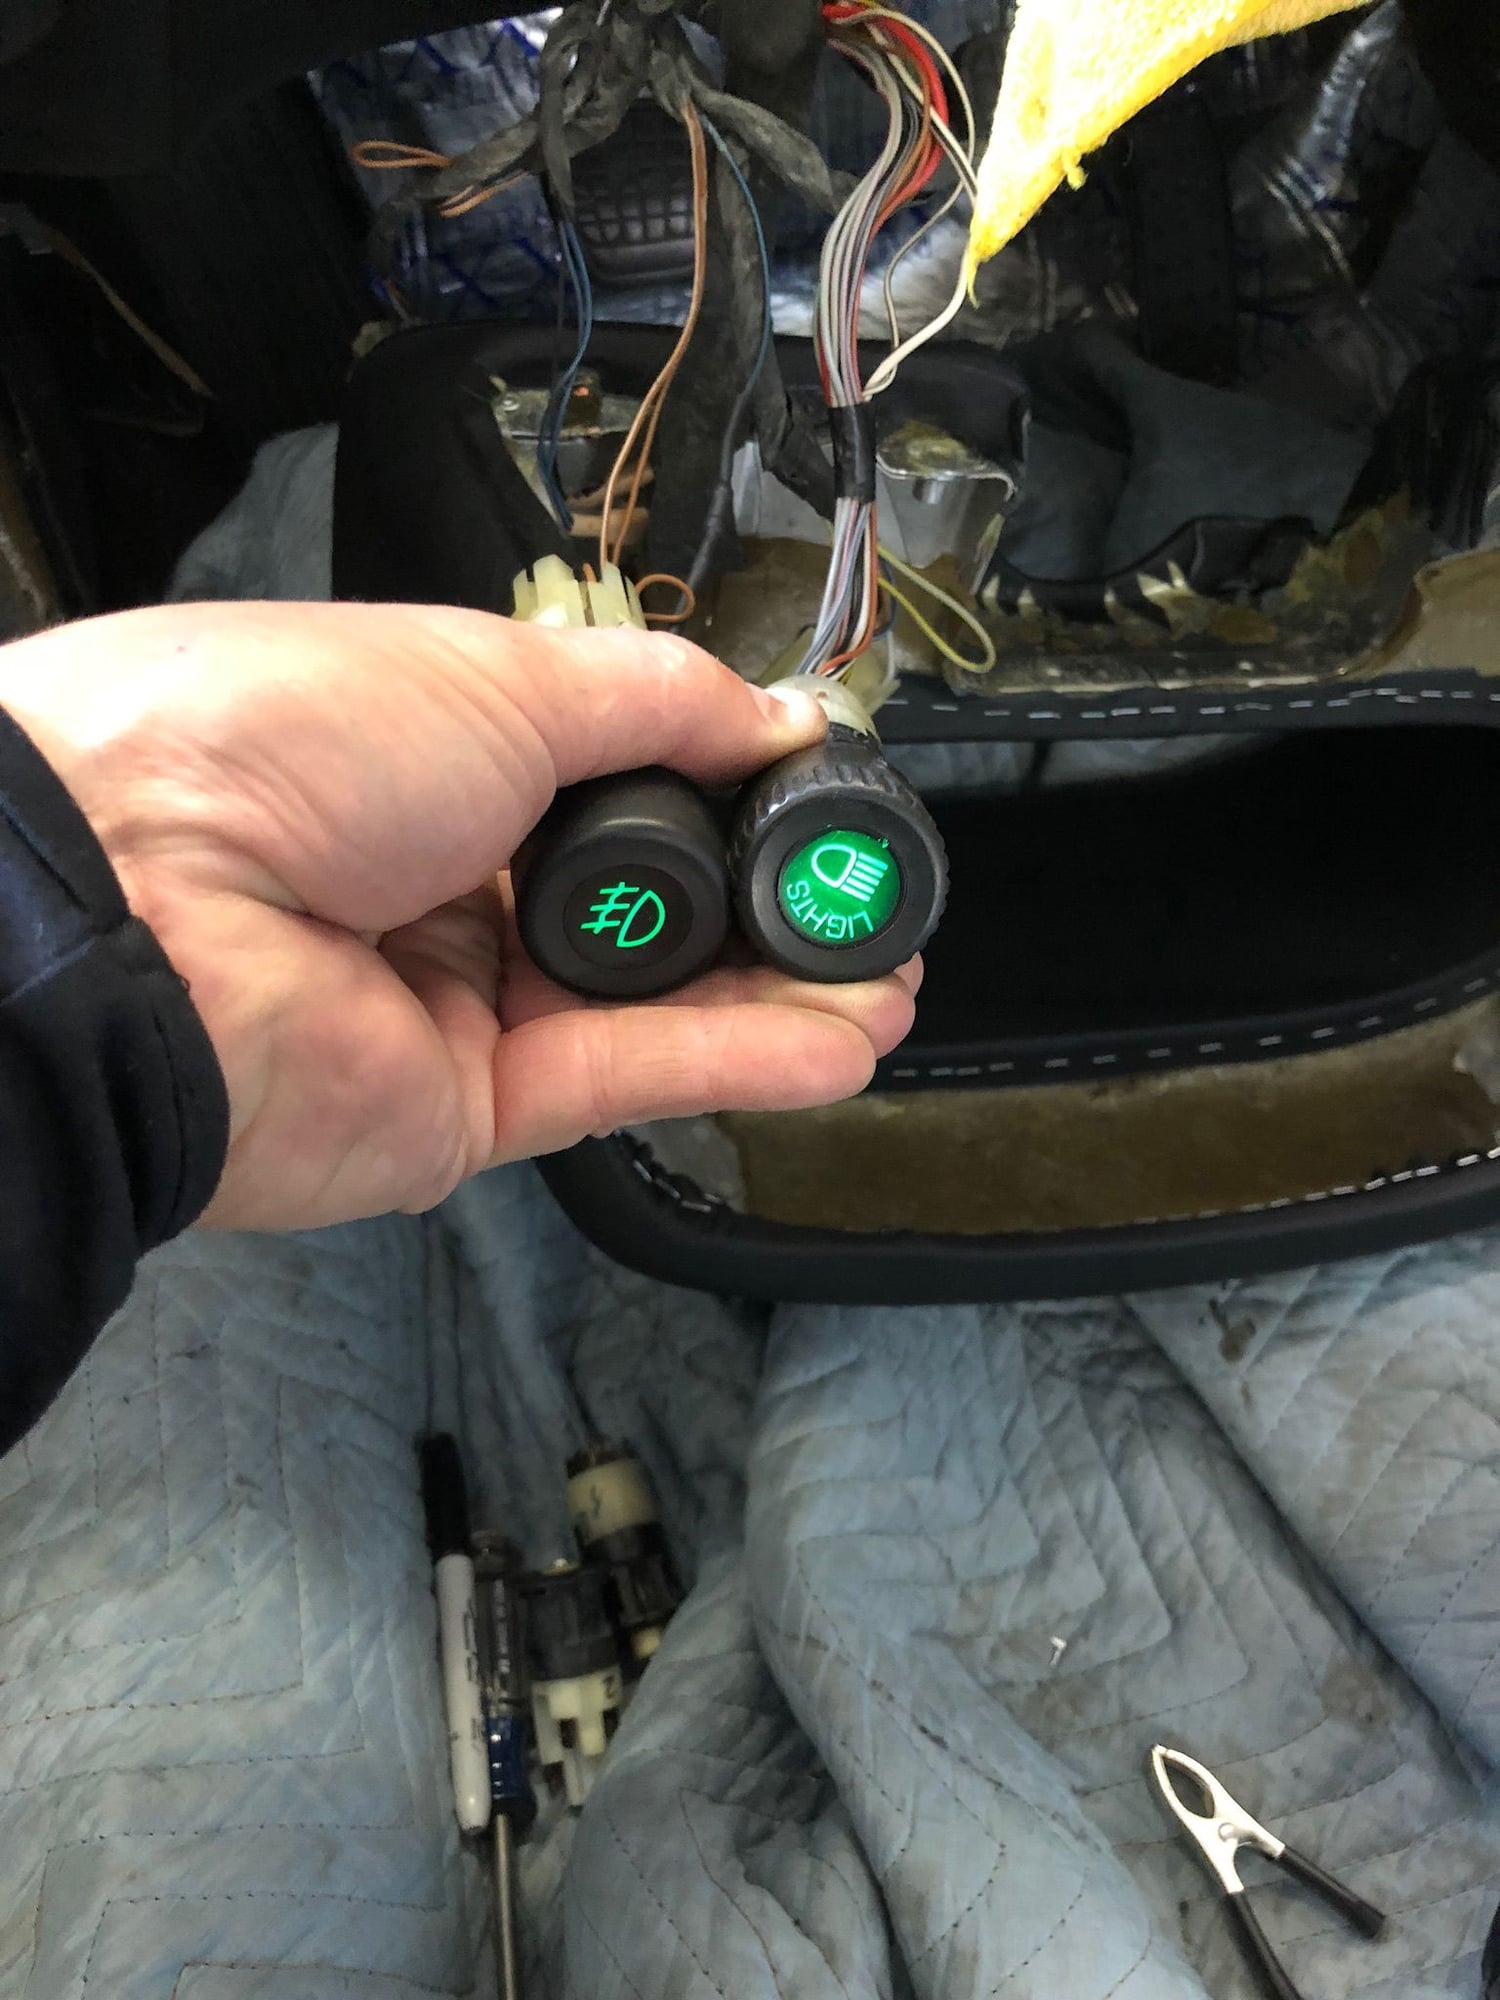
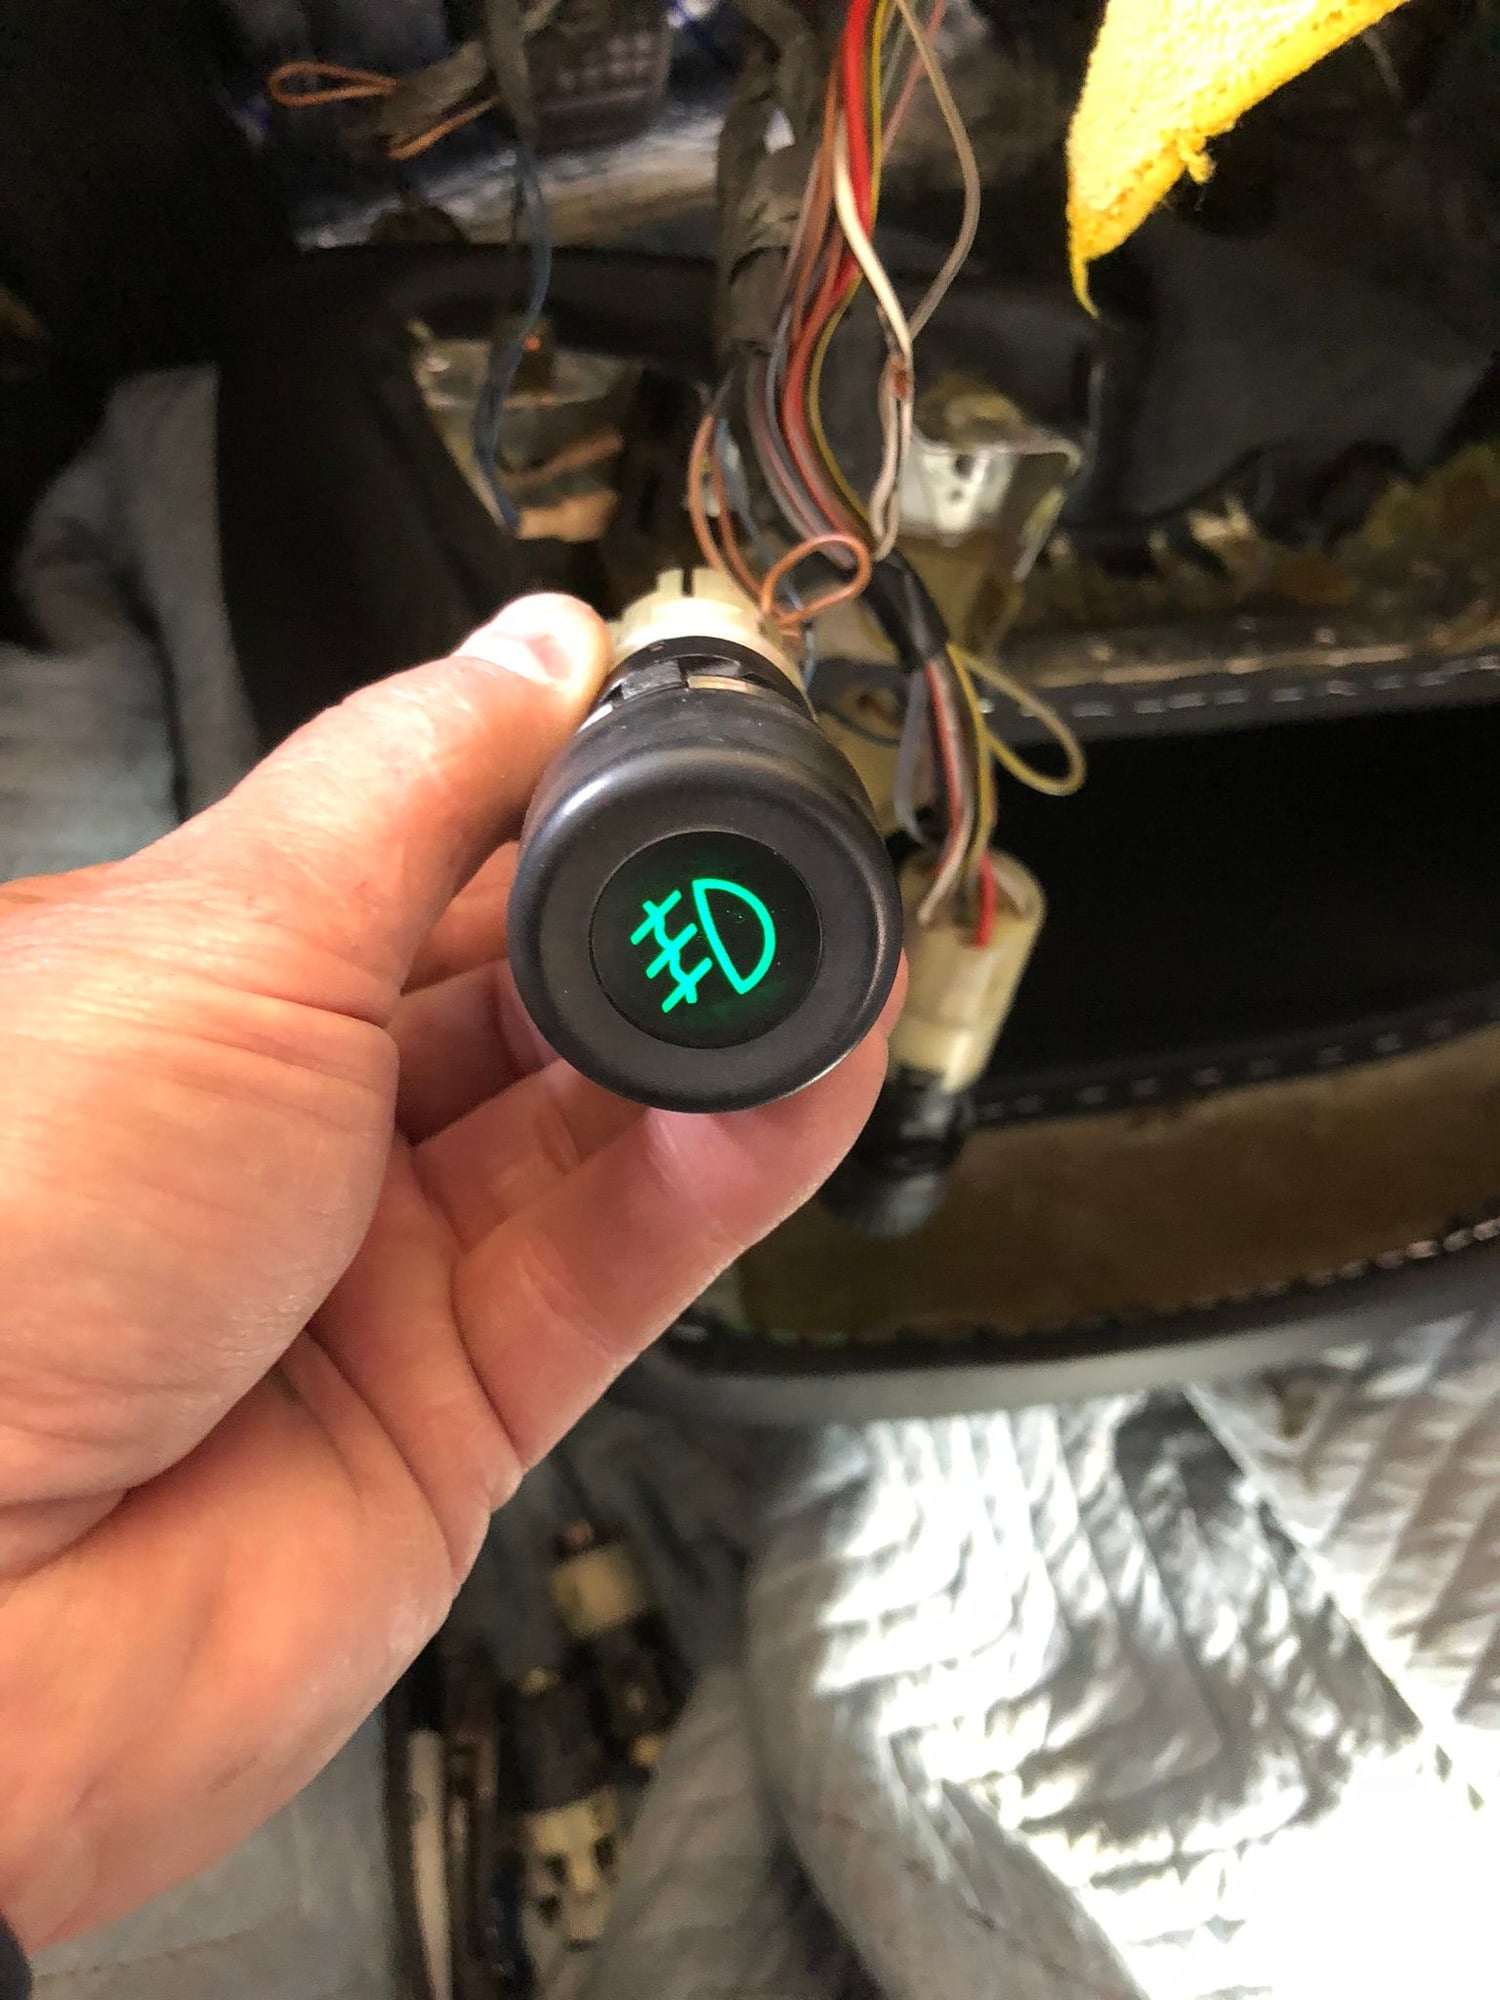
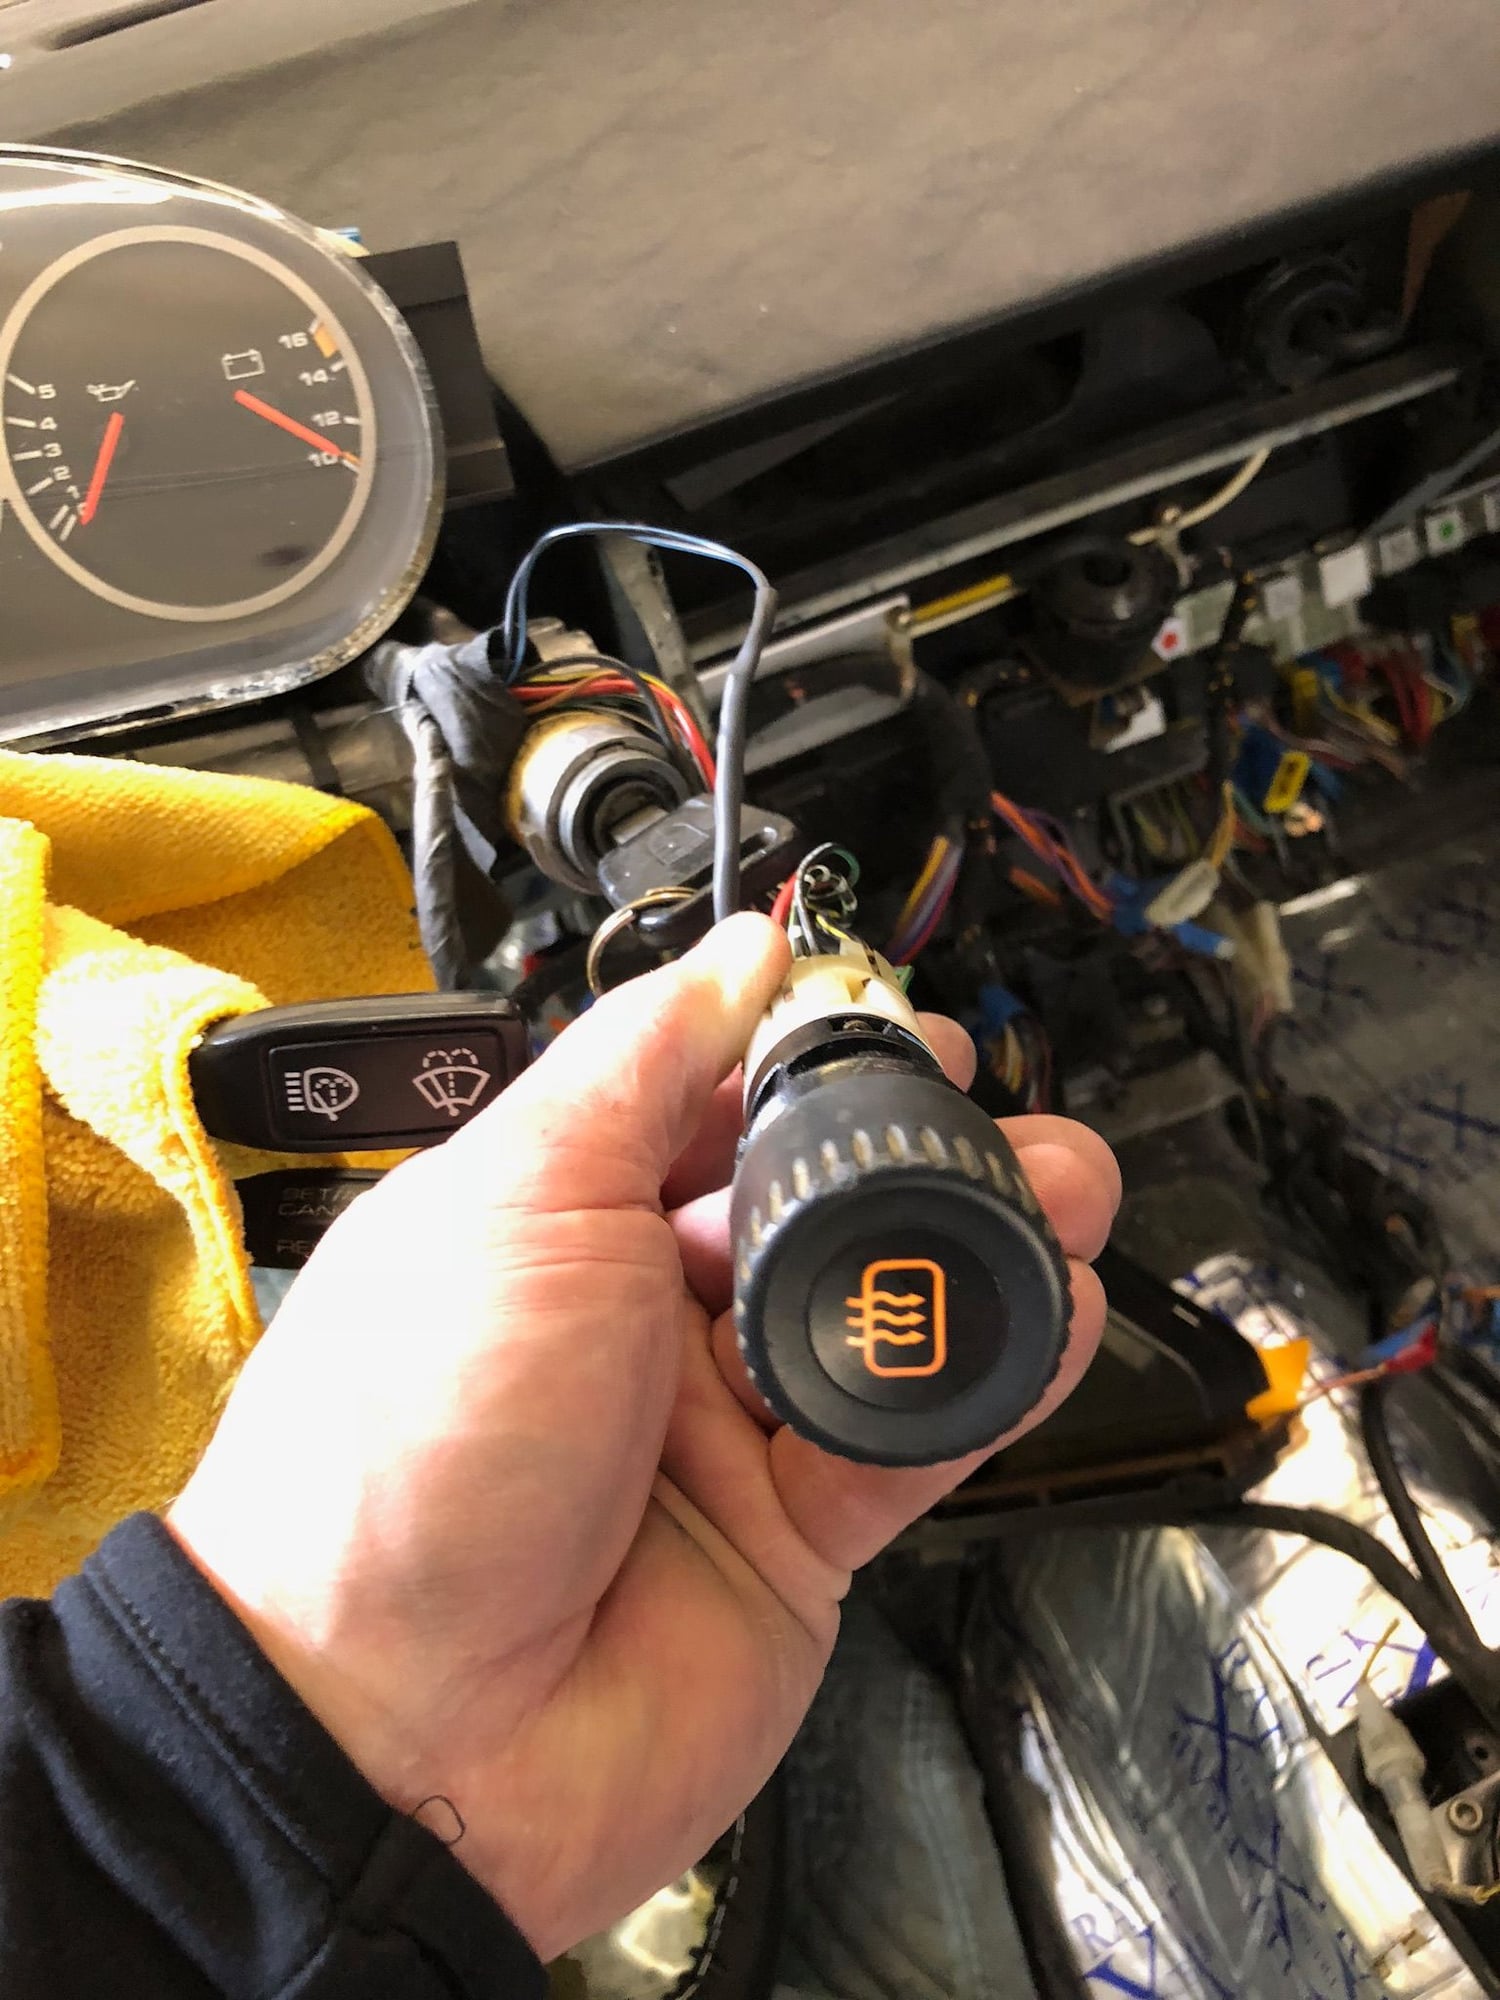
Installed resistors in the pod switches to mellow the brightness. Ends up my instrument circuit board has some issues. I cleaned the flexiable circuit board and adjusting the connectors, which helped with quite a few things, but I still don�t have back lighting and the a/c cluster doesn�t light. I called Roger and ordered one of his replacent instrument circuit boards, should have in a few weeks.
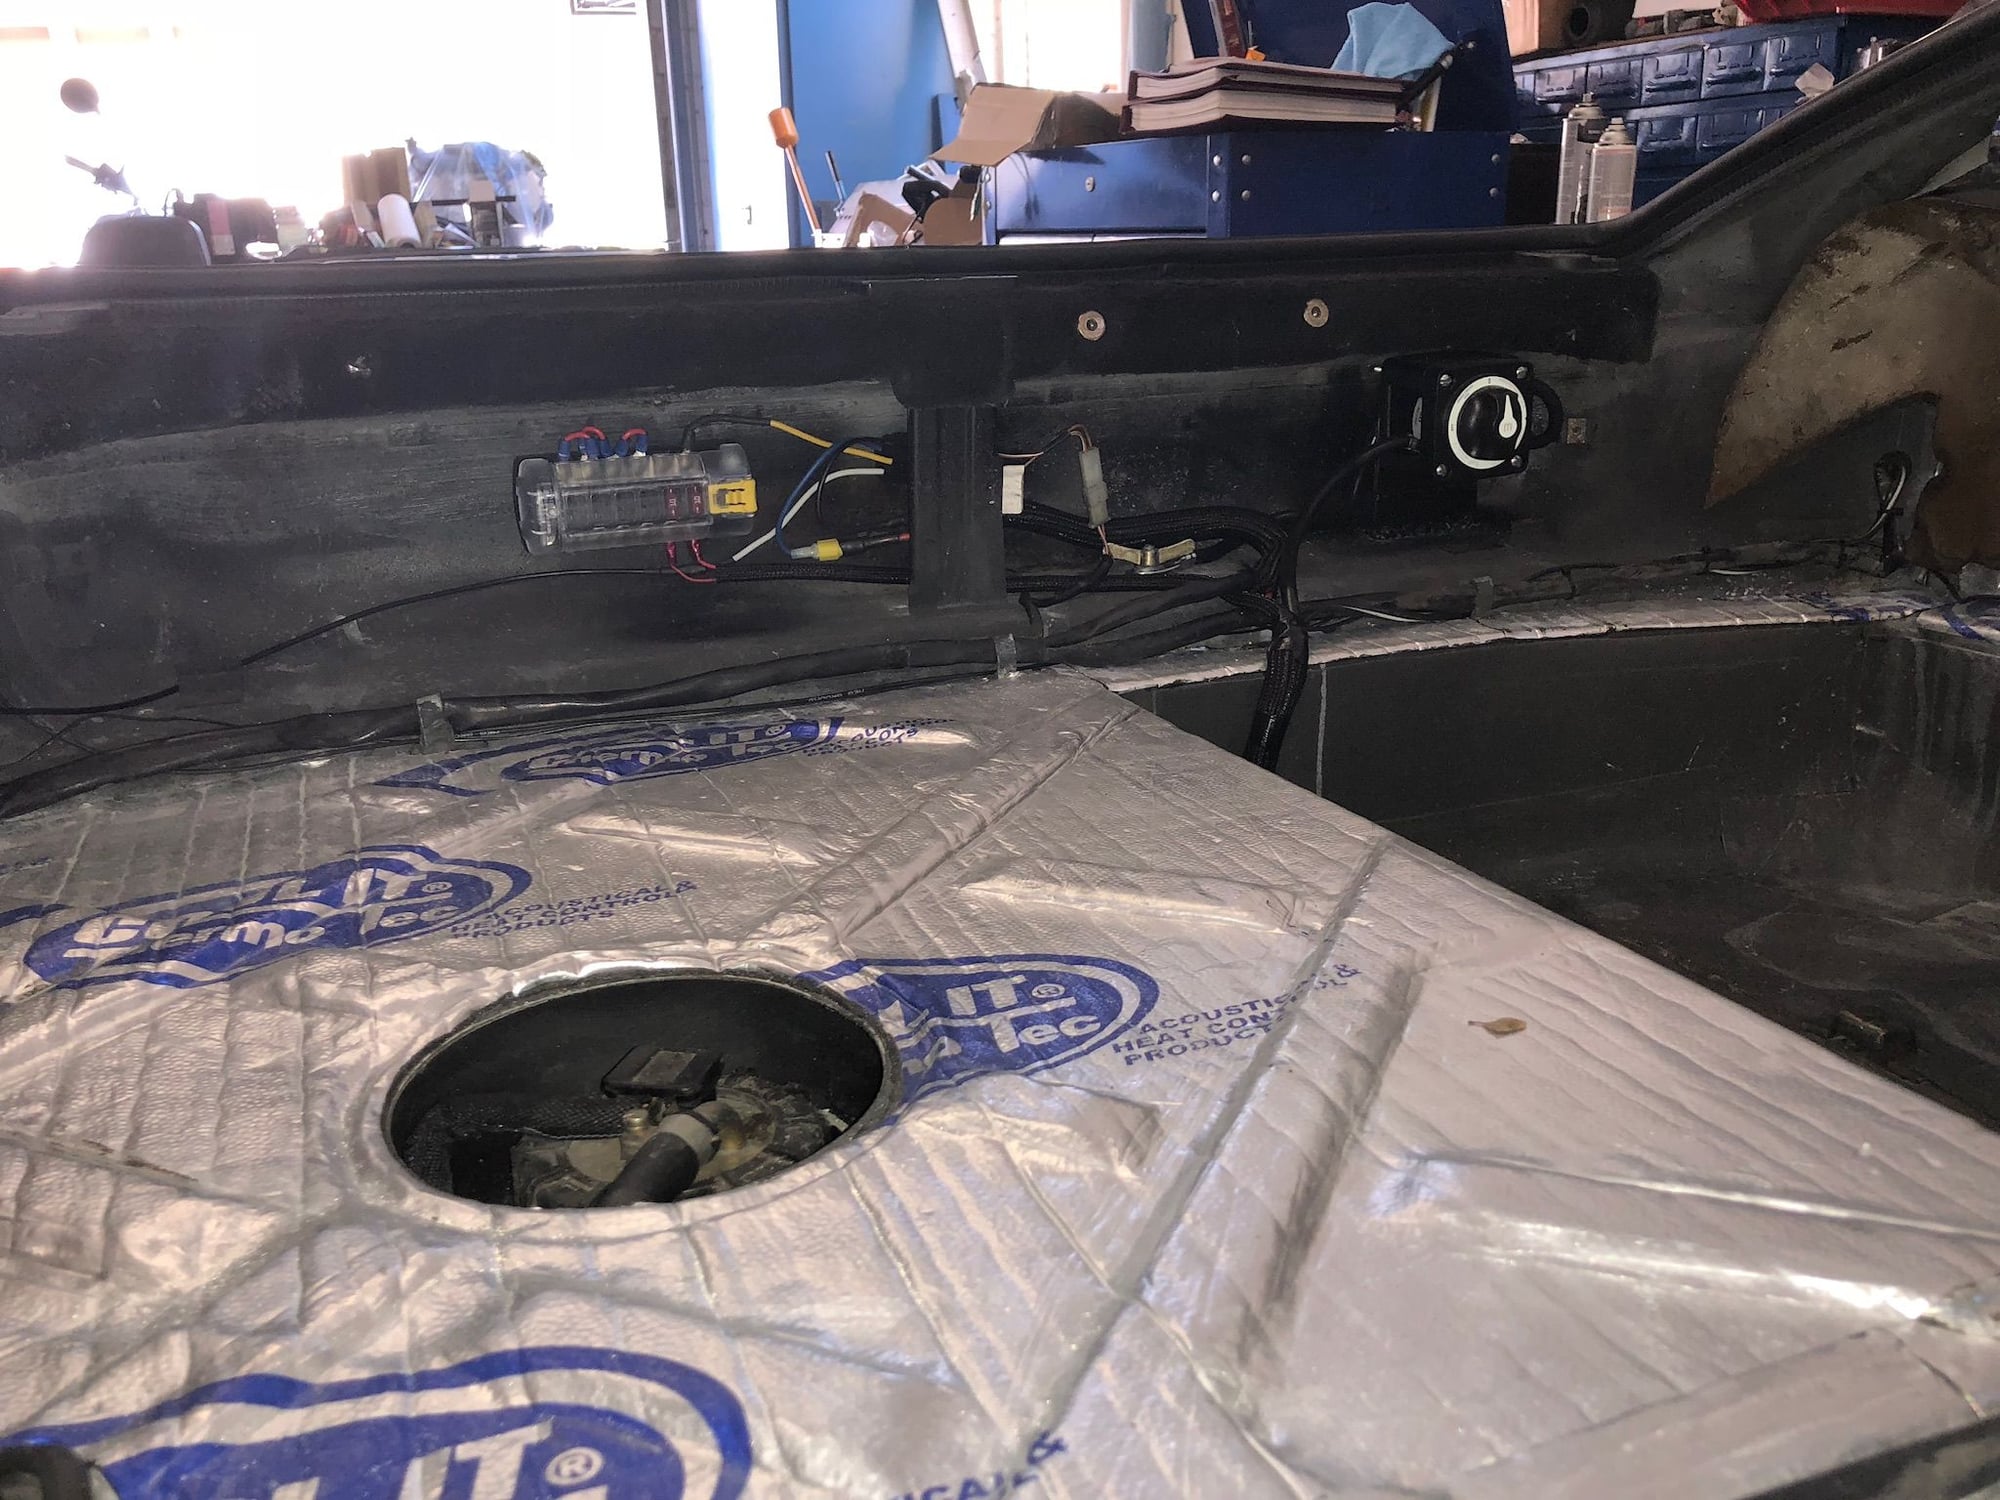
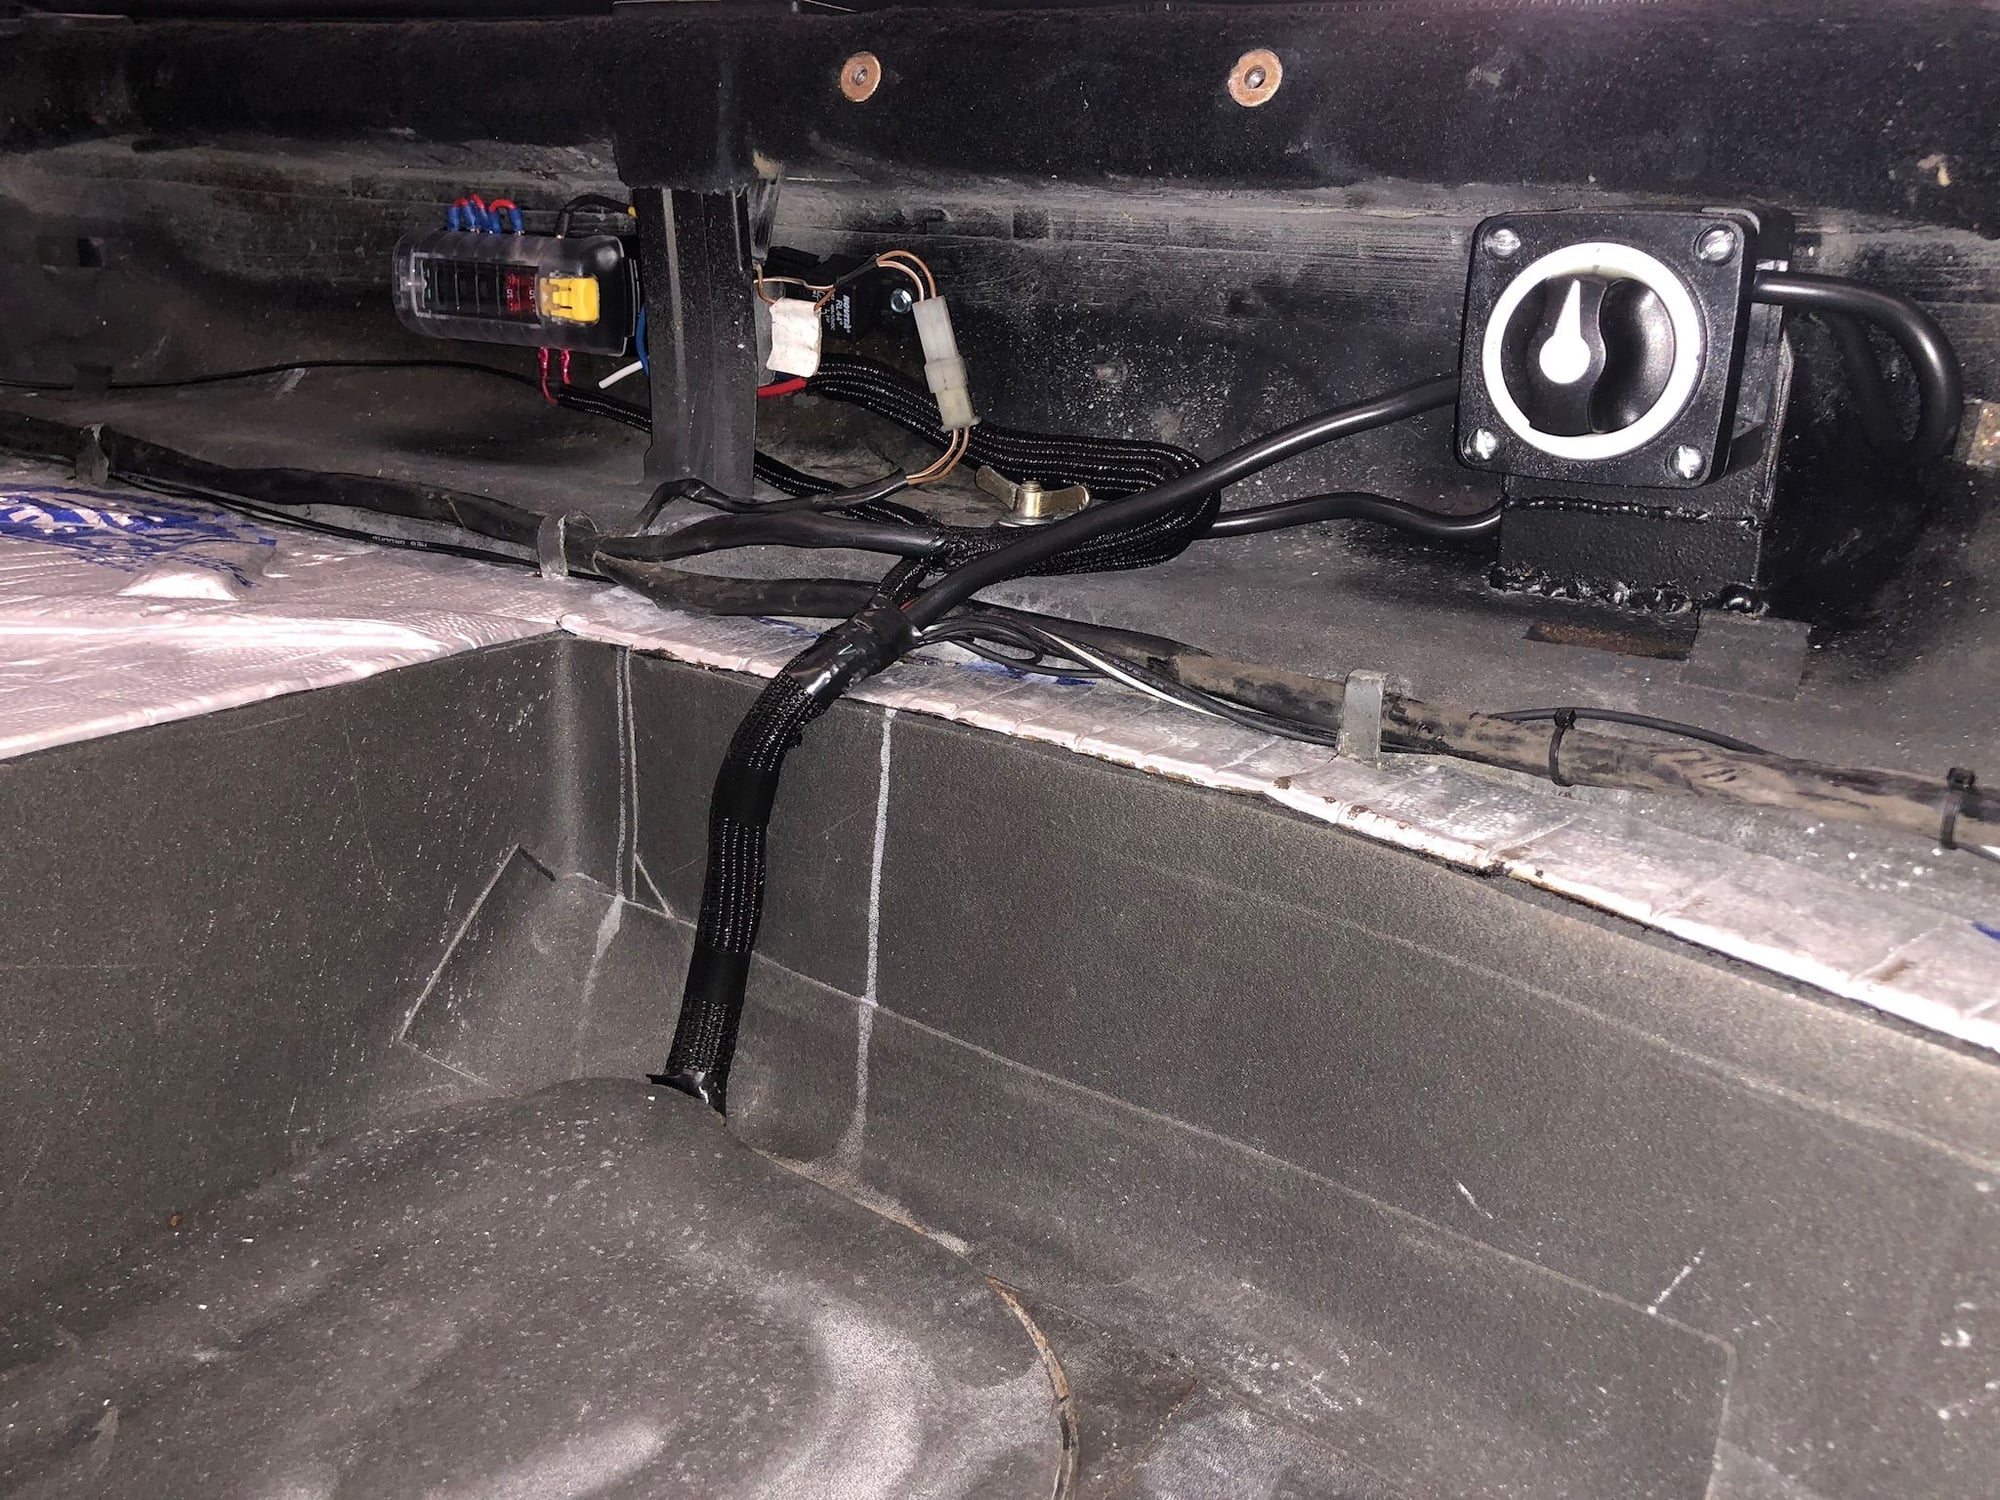
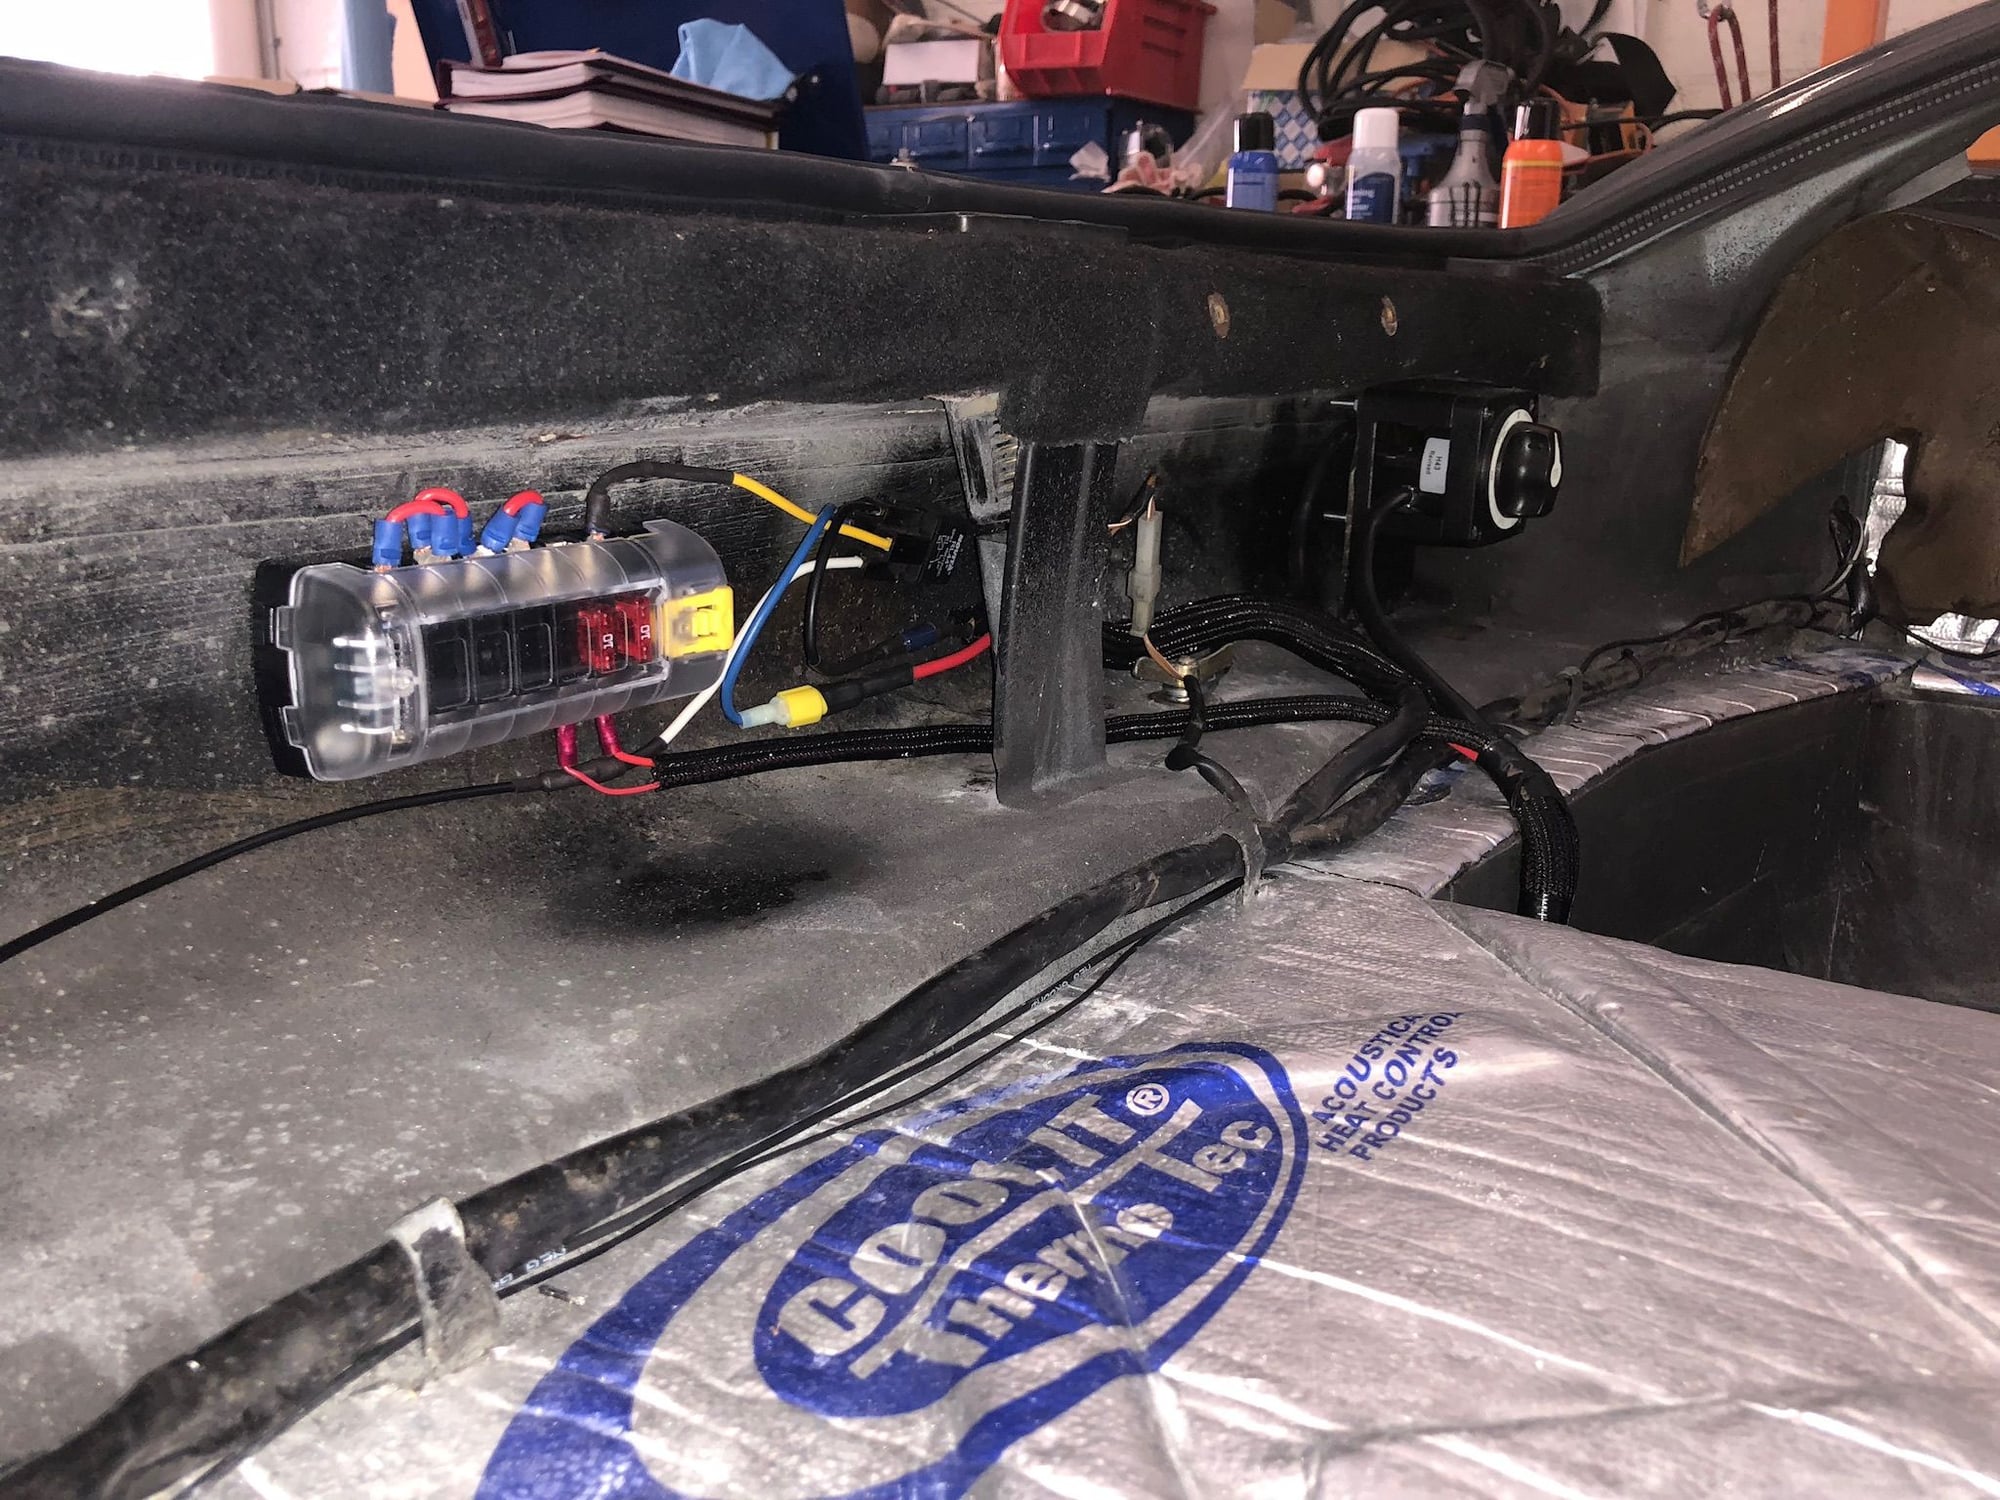
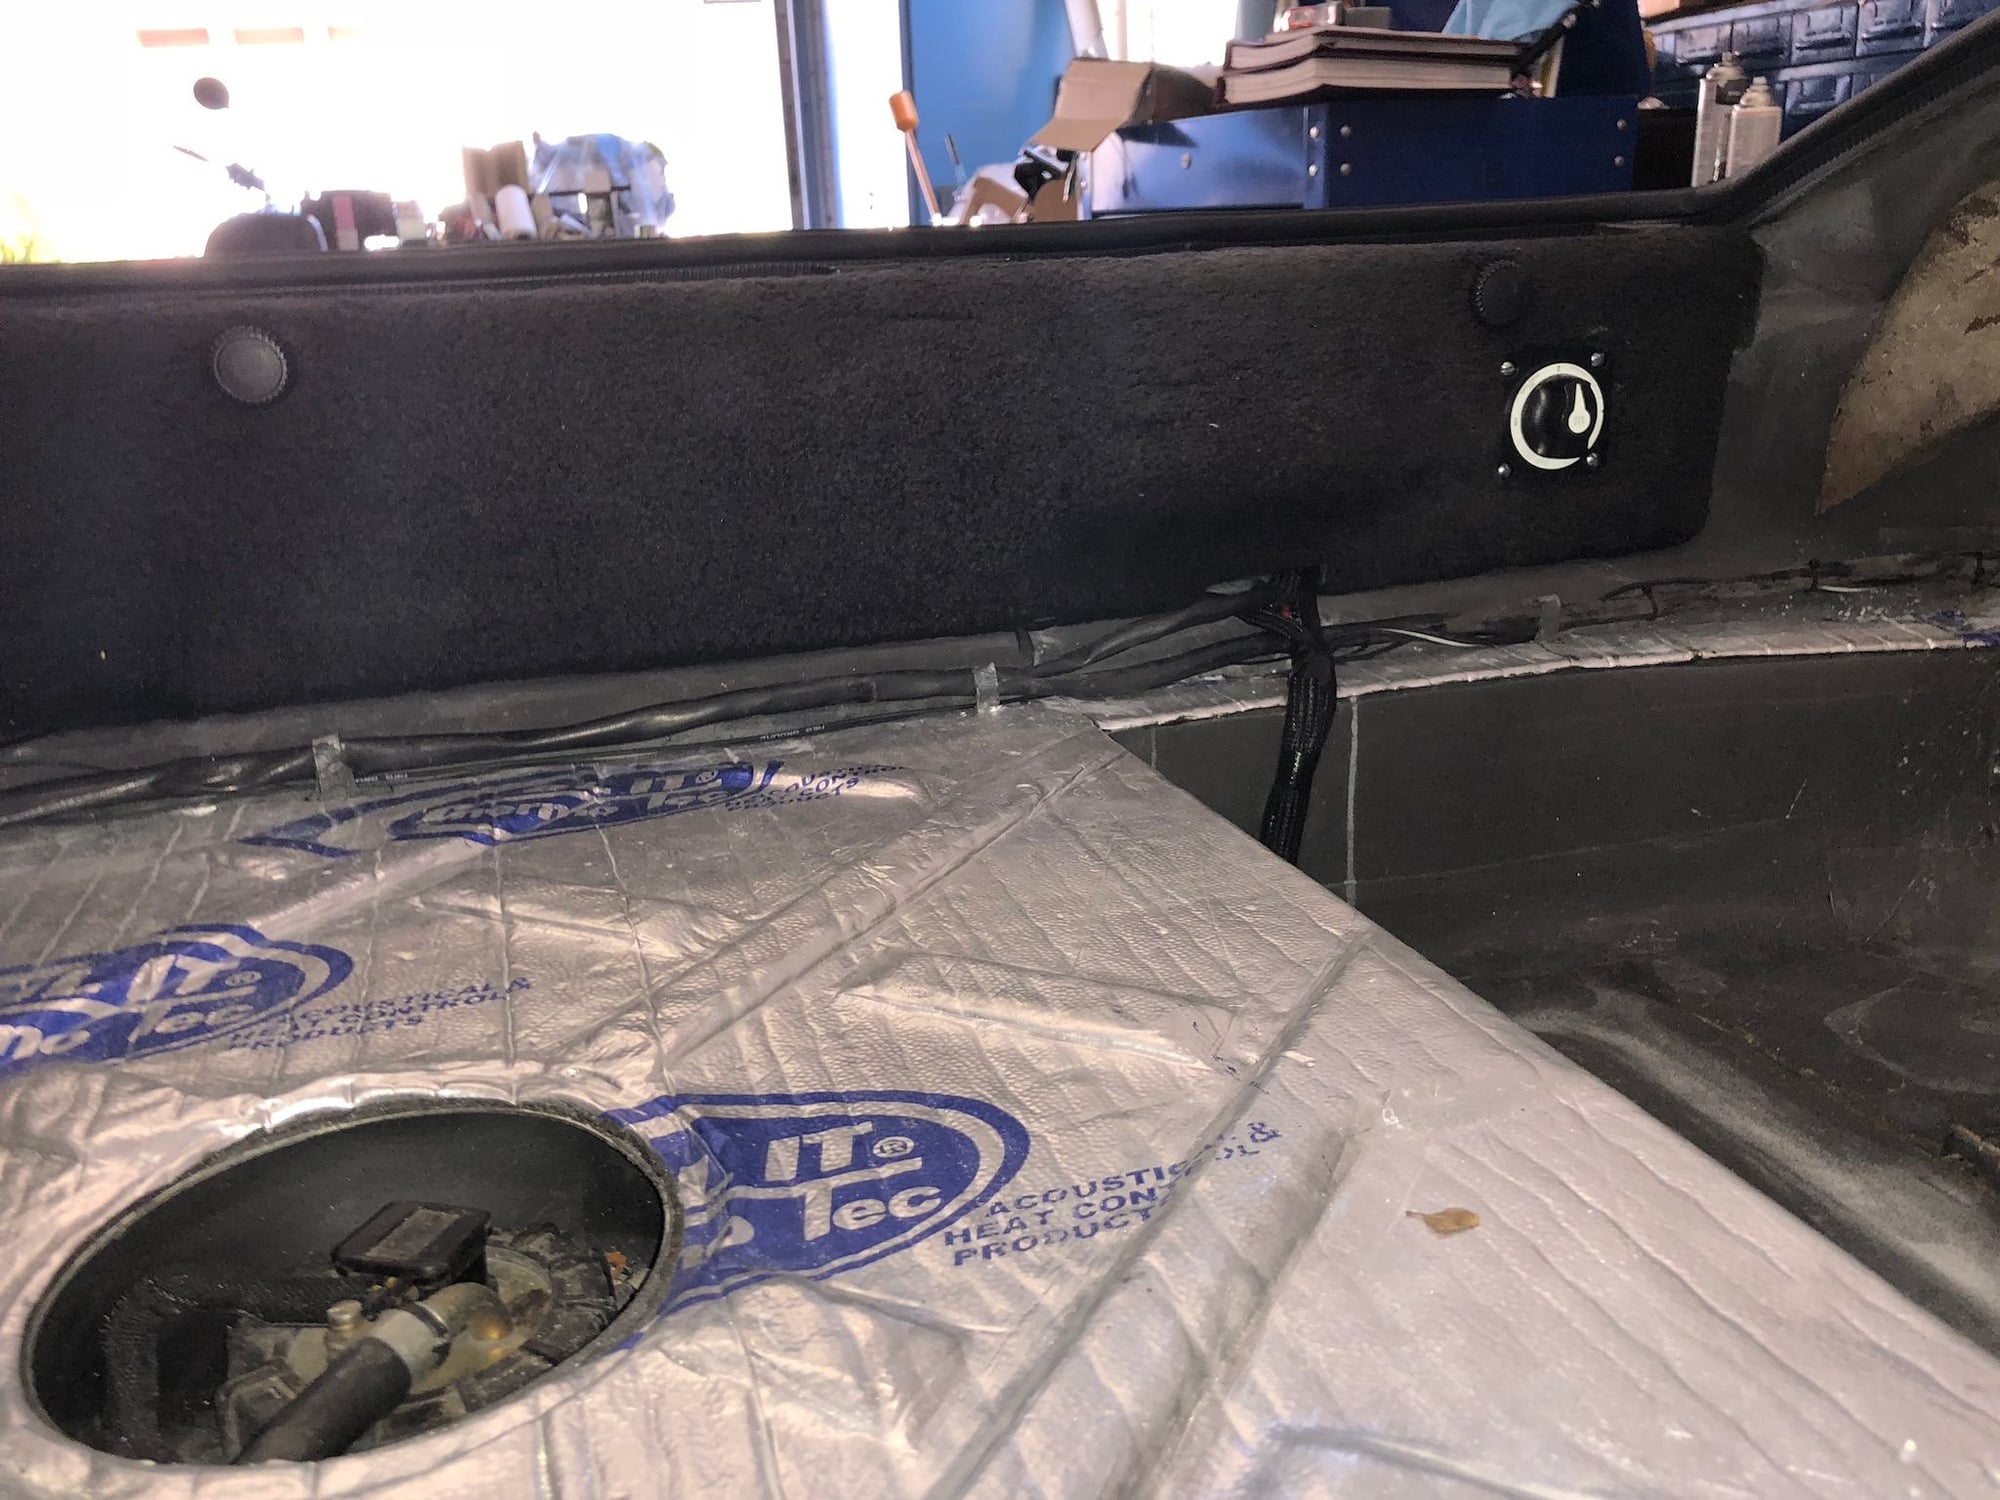
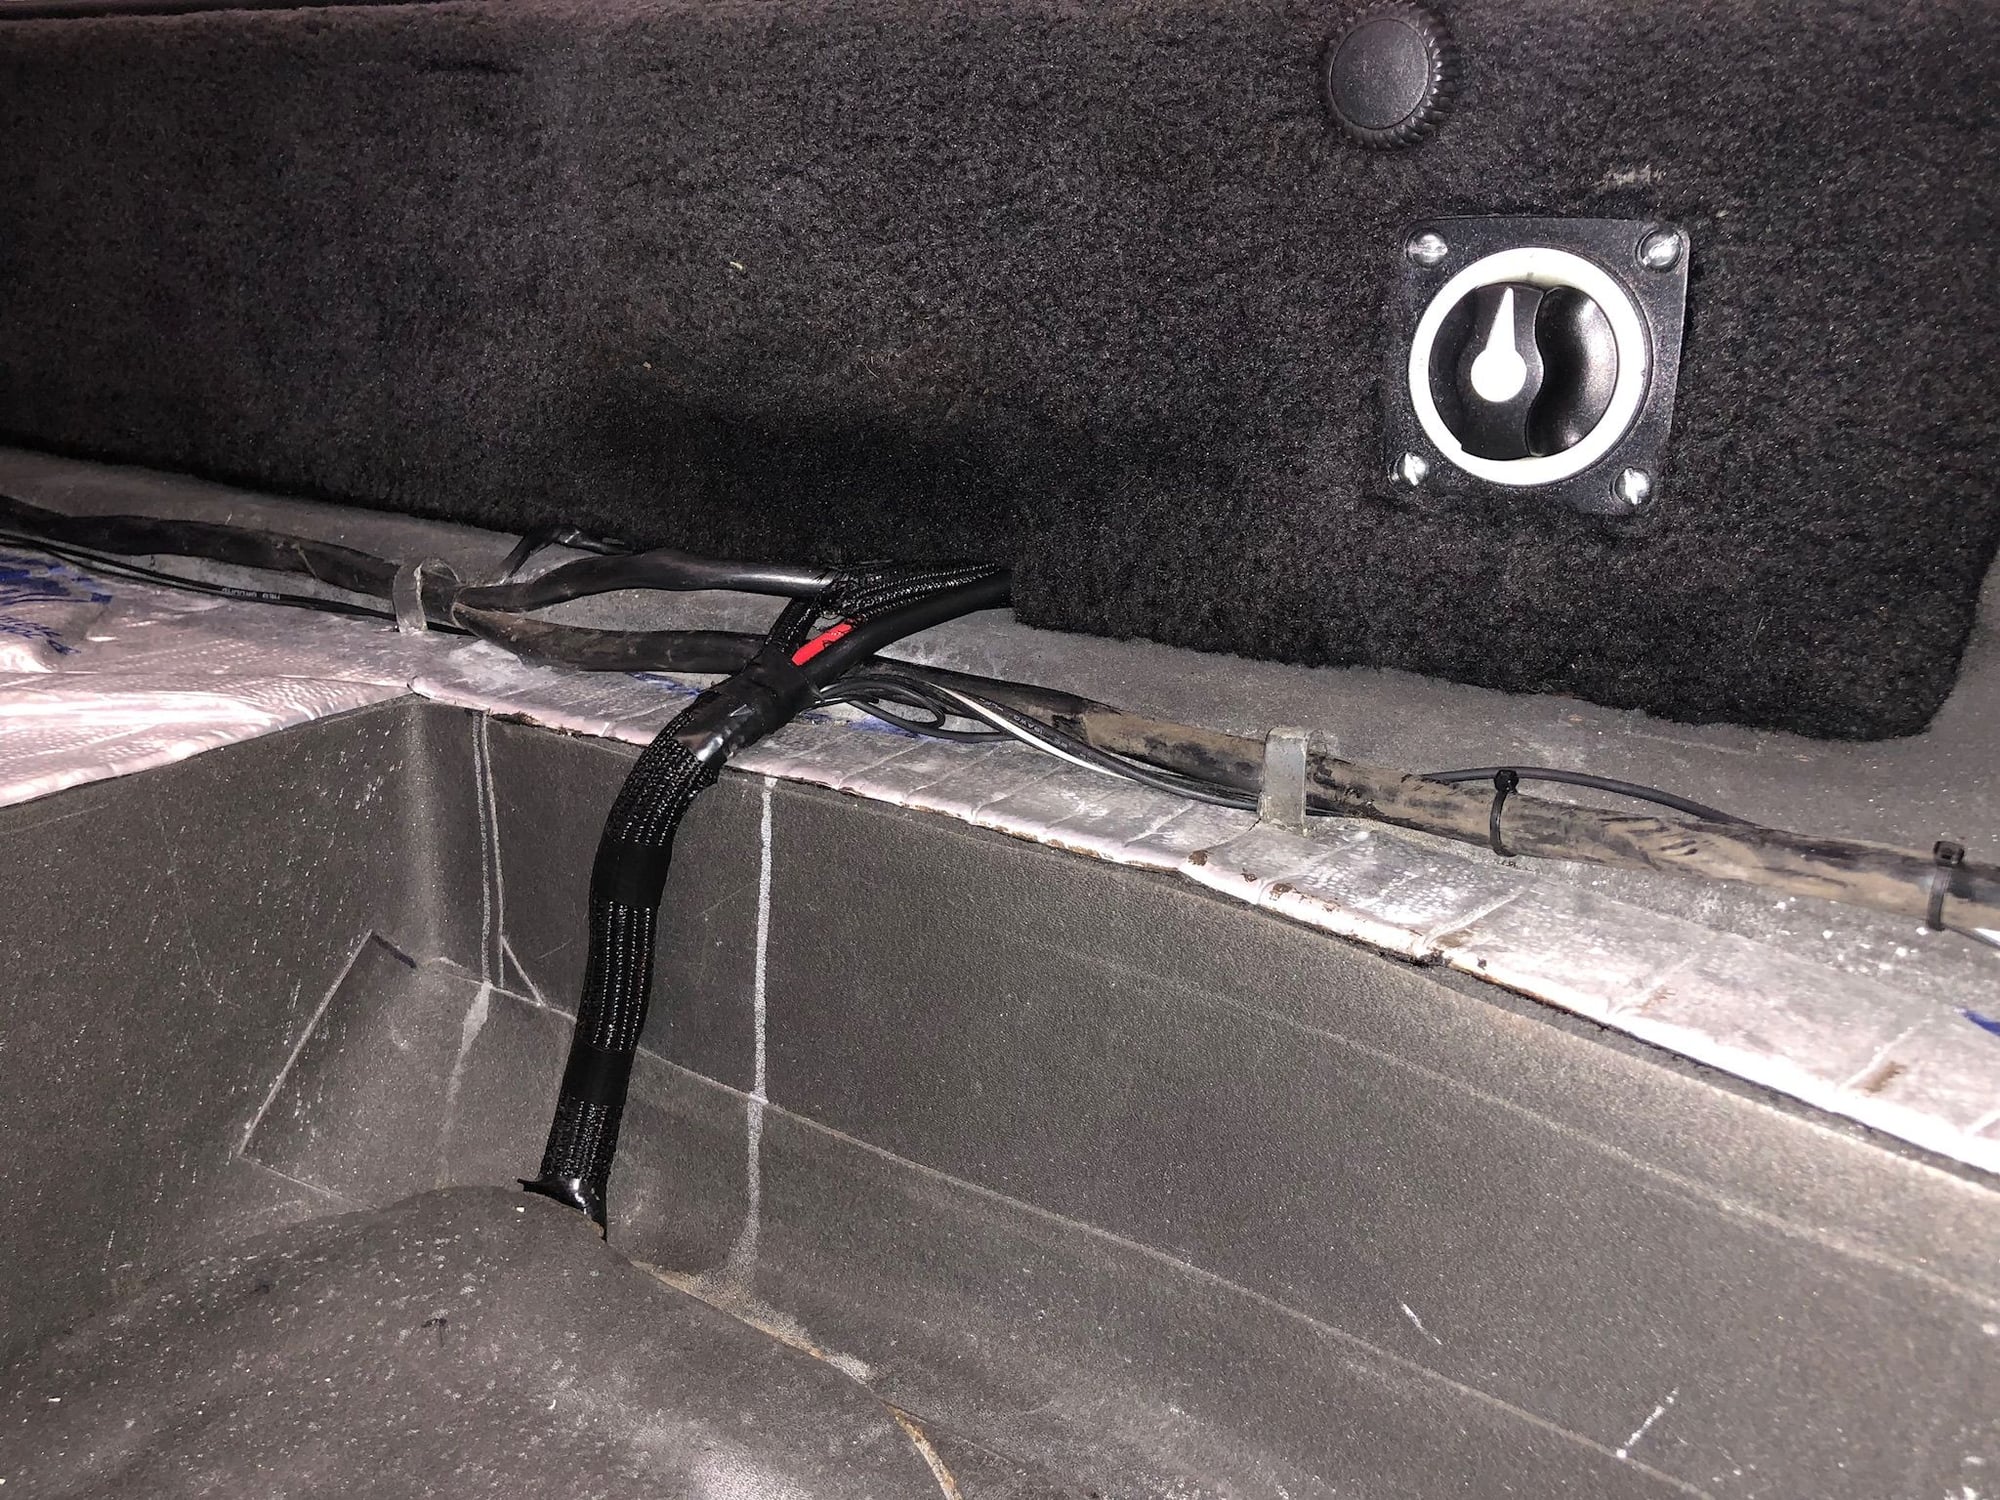
Installed battery cut of switch and fuse box in the back of the car. I used the switched ignition power to the wiper motor throug relay to power fuse box.
wiring will get fasteners and all be hidden.
Installed reverse lockout, which works great, it is tied into the gps signal for speedo and under 5 mph the lockout is disengaged. Also, got the reverse lights working, brake, running and blinkers, which are all led. I added the 25 ohm resistors to the rear blinker lights along with the led flasher relay. Blinkers blink a normal speed and dash light blinker works normal as well.
installed window trim and new seals.......Installing the lower exterior window seal was pain in the ***. I watched the videos and taped my fingers and still cut them up. Can’t count how many times I had to start over after the rubber lip popped off.
You should set that odometer gear to 0, This is going to be better than a brand new car...
I was debating rolling the numbers back when I had everything apart. I would imagine it wouldn't be any different than replacing a broken odometer, DMV has the mileage on record from when I registered it. I think I will roll them back when upgrading the circuit board, unless someone has a really good reason not too.
For what you have done I see no reason not to start at zero on the odometer. I have been following closely and you are doing an incredible job! I would love to see it someday! I wish I had your skill set.
For what you have done I see no reason not to start at zero on the odometer. I have been following closely and you are doing an incredible job! I would love to see it someday! I wish I had your skill set.
Beautiful work your doing, a hint for the pod leather around the switches,
remove the switches then peel the leather out of the holes ,
then take a dremel with a sanding drum and at low speed,
gently sand down the bottom side of the leather work at slow speed so the drum doesnt damage the leather,
this will thin it out so you can glue it into the switch holes and the ***** will function.
I had to do this on a car that had a recoverd pod, its a bit tedious but it works.
NOTE thats sort of how they do it at the factory though they have tools that remove a very thin layer of leather till they get the desired thickness
thank you for the insight. Now that I have everything apart, I will address the leather in the switch pods per your info
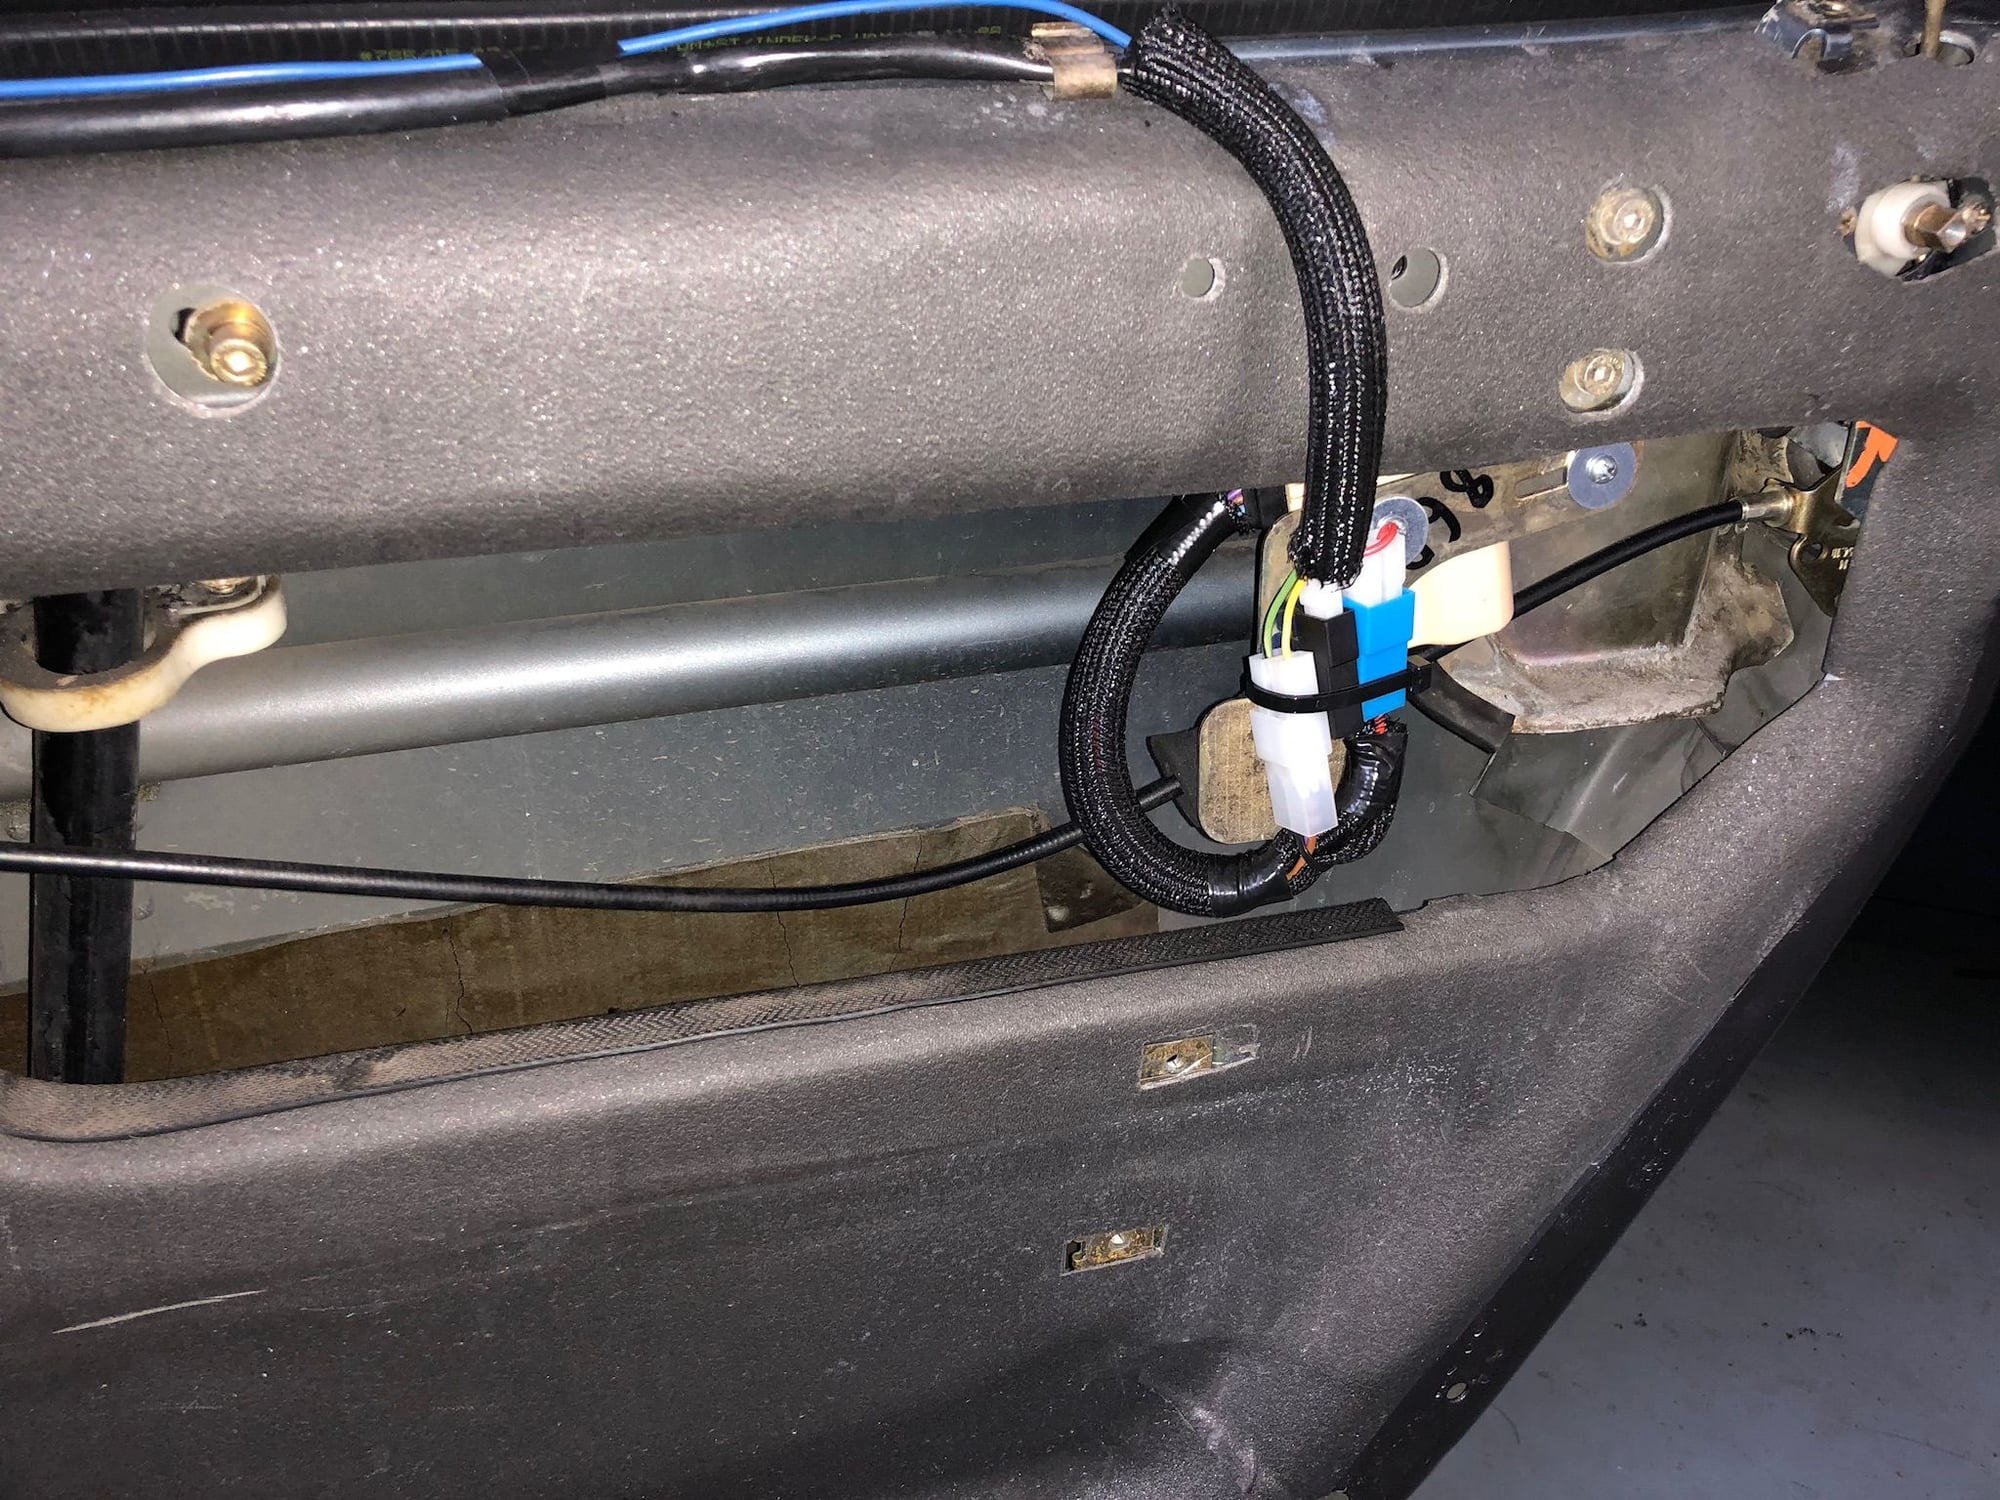
Hooked up the wiring for the electric door locks and keyless entry. I was able to mount the relays and transmitter above the fuse panel. I will have a door lock switch in center console where the rear wiper switch was and the wireless button on key chain.
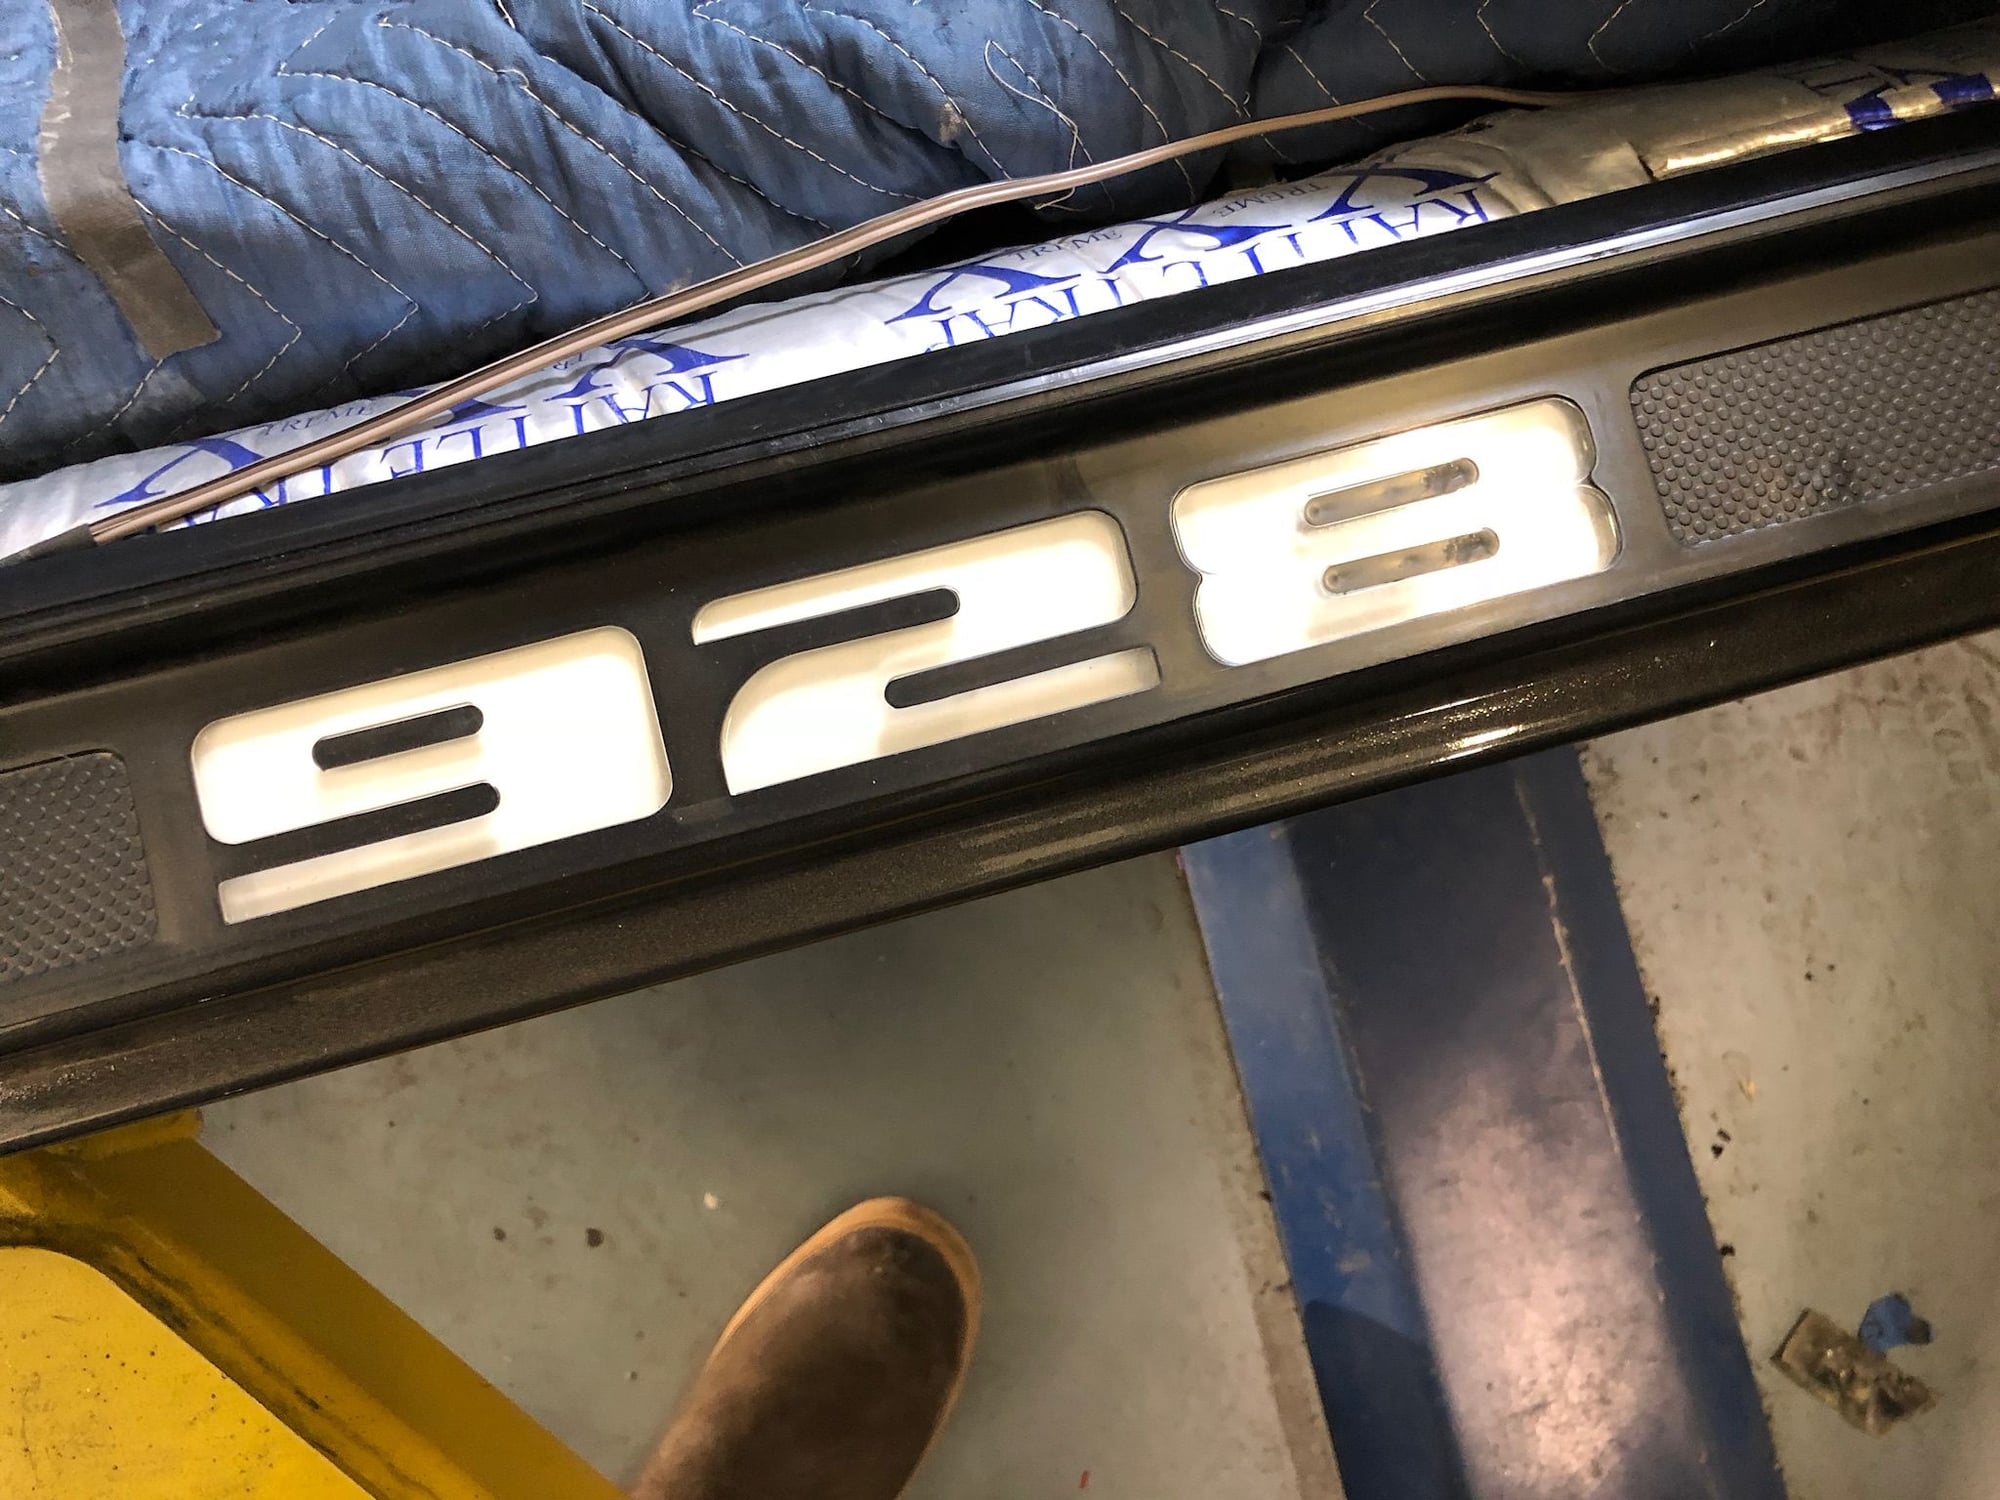
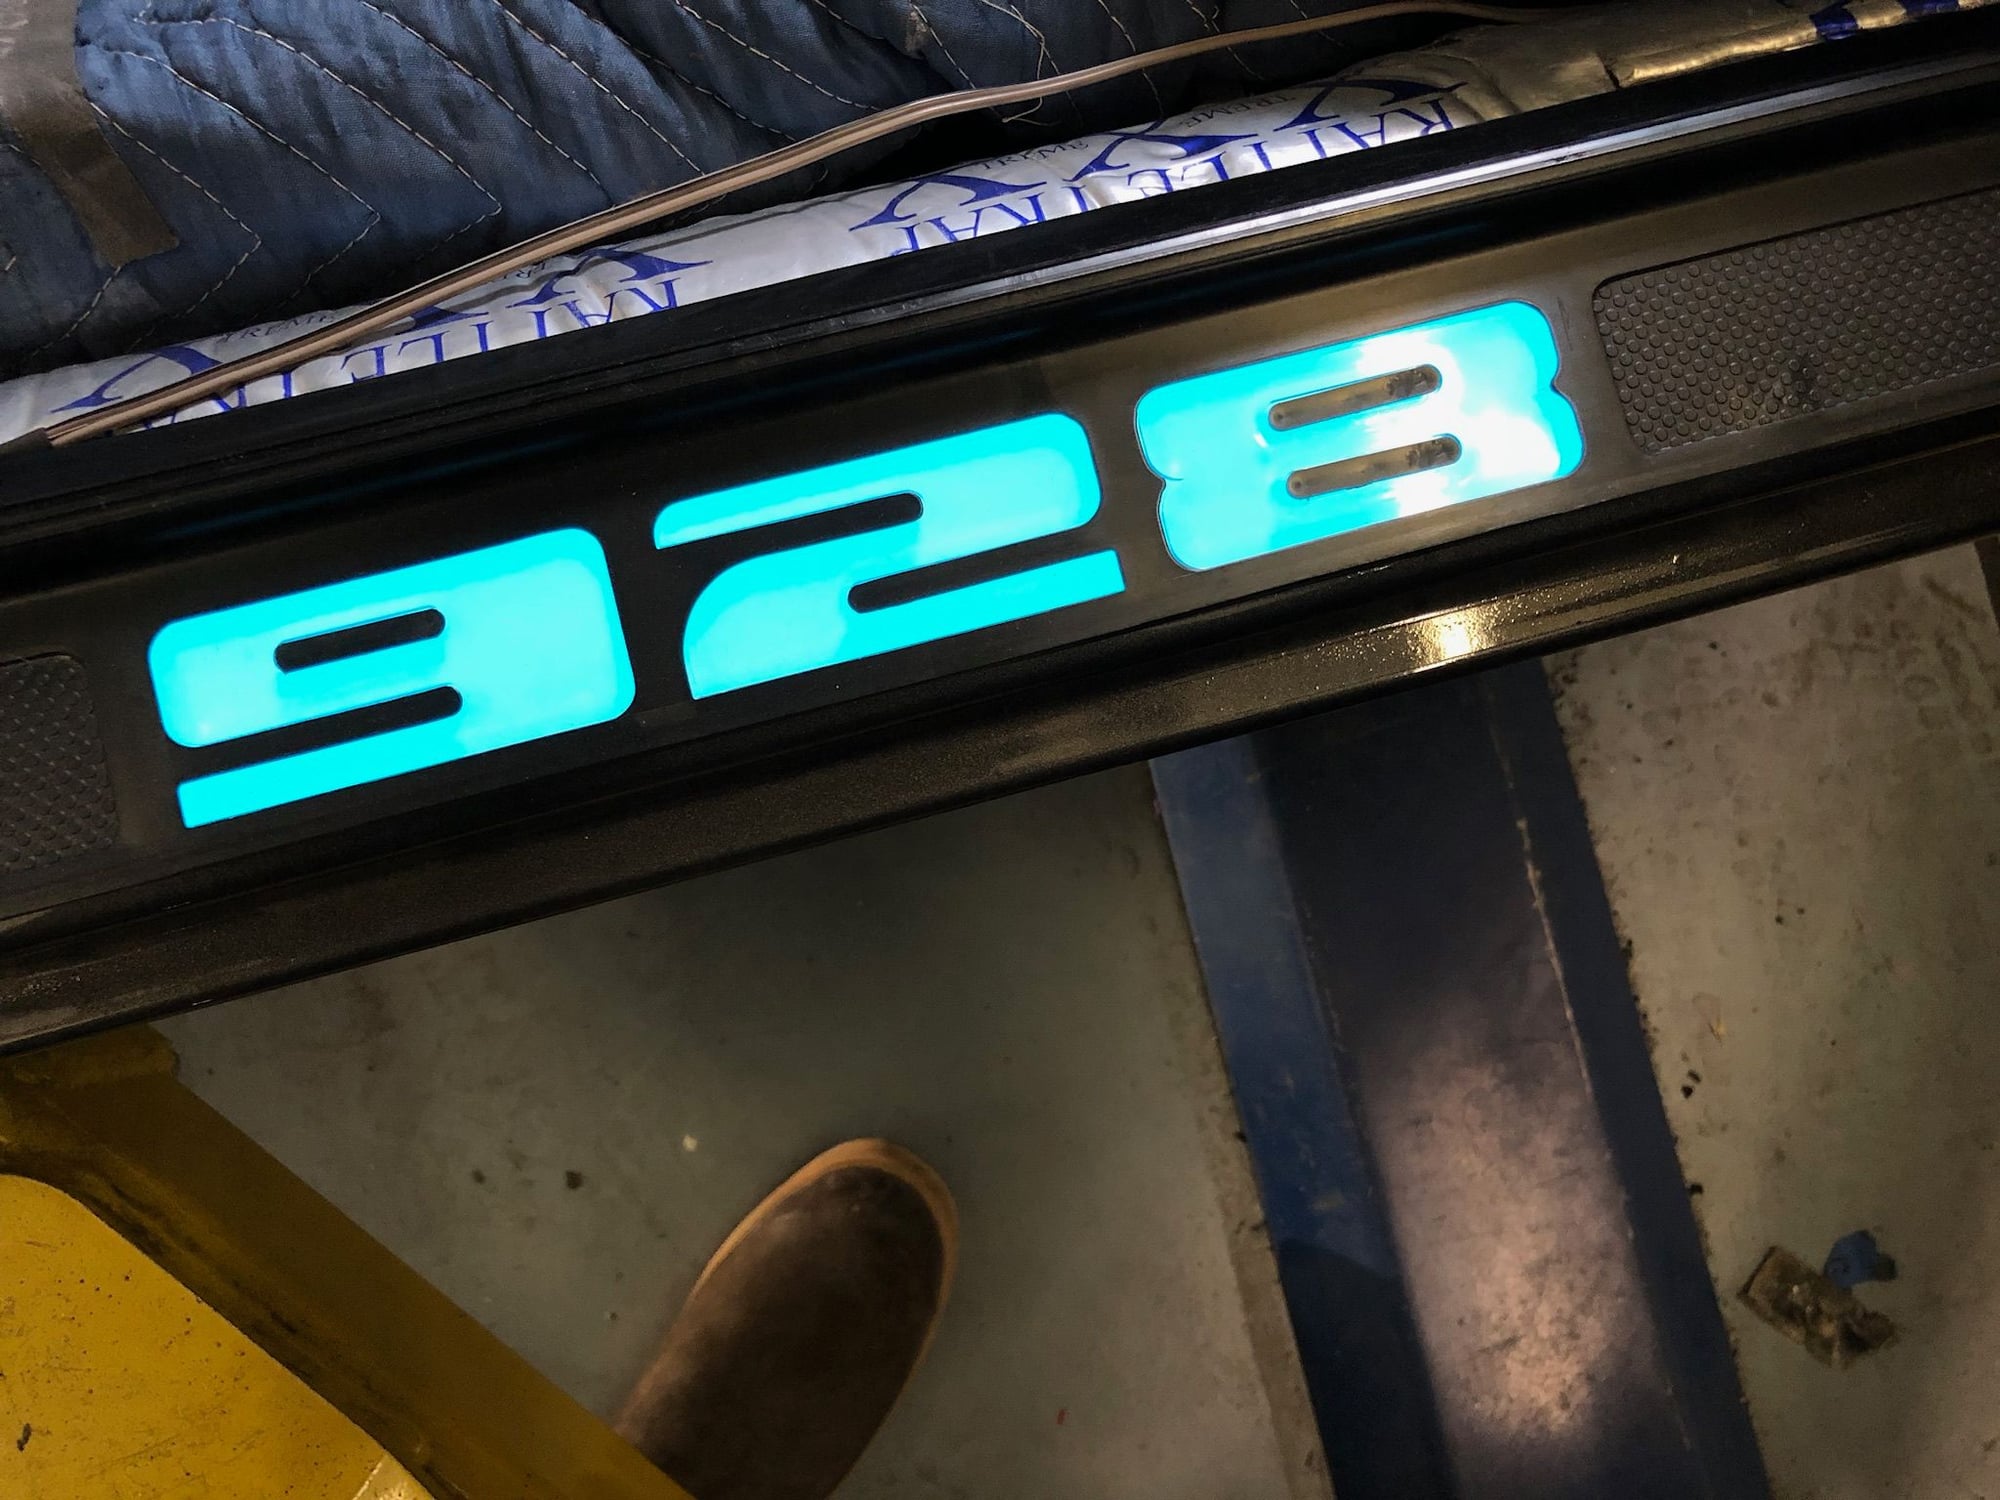
I deleted the door jamb light and used the wires in the plug to light the 928 threshold when the door opens. Worked out great.

 04-23-2018, 09:04 PM


 and a good friend, I was able to get the engine compartment wired and married with Porsche oil pressure, temp, rpm. Unfortunately, I gave my ECM to A&A Corvette to install a pre tune for the larger injectors and super charger. Ends up the E-rod ECM uses an extra pin in the connectors and the portable harness that was used shorted the ECm out......it vaporized a pin


 T
T