When you click on links to various merchants on this site and make a purchase, this can result in this site earning a commission. Affiliate programs and affiliations include, but are not limited to, the eBay Partner Network.
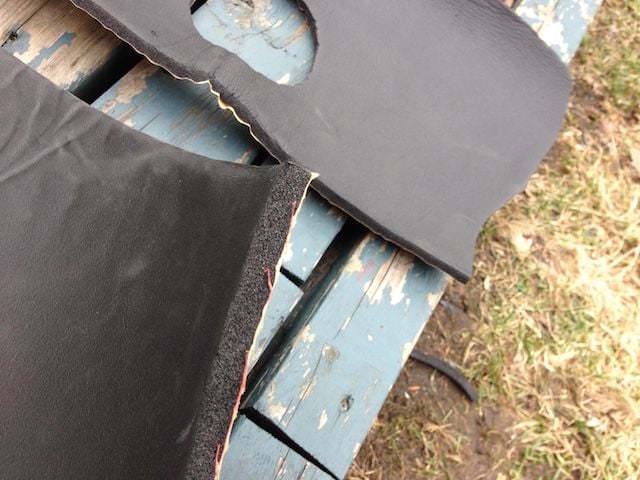
It is only about half the thickness of the old liner and a smooth foam finish… but for $20 I had little to lose.
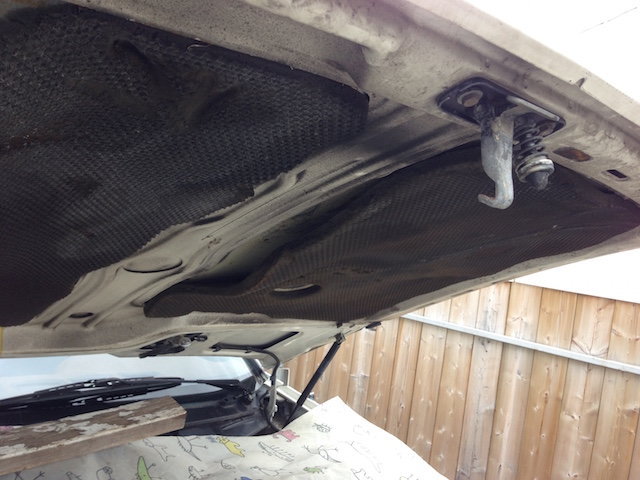
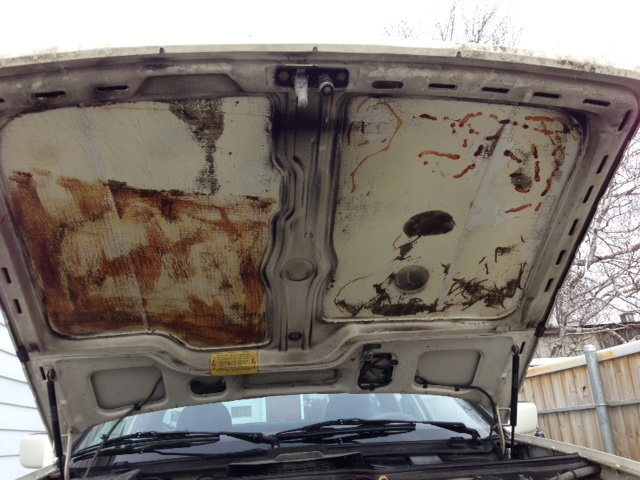
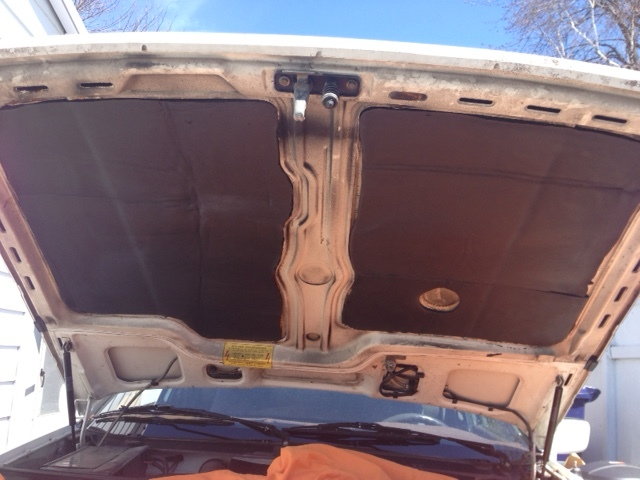
The old liner came off easily… I didn’t get carried away with scraping the old glue off figuring that the foam would hide the what was left.
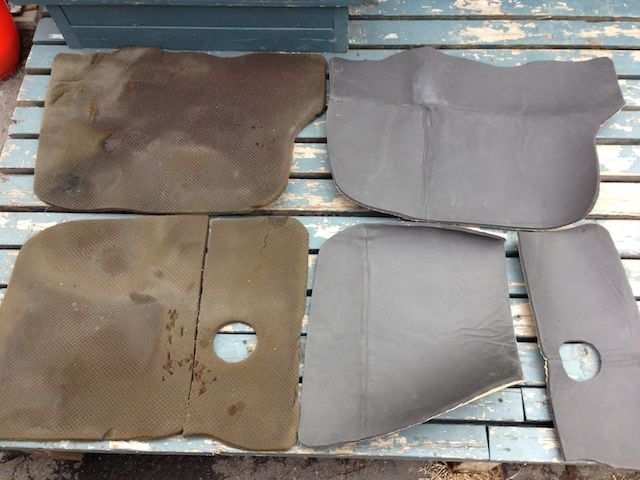
The old liner came off intact so I could use it to cut the new pieces. The 40” square wasn’t quite big enough to cut the replacements in two pieces, so I split the drivers side panel towards the rear and reproduced it in two sections.
When it came to installation I found that the new pieces seemed to have changed dimensions since having been cut… the passenger side was OK, but the larger part of the driver side was a bit narrow. I could have stretched it into place but once it is stuck it comes off with difficulty and can tear easily.
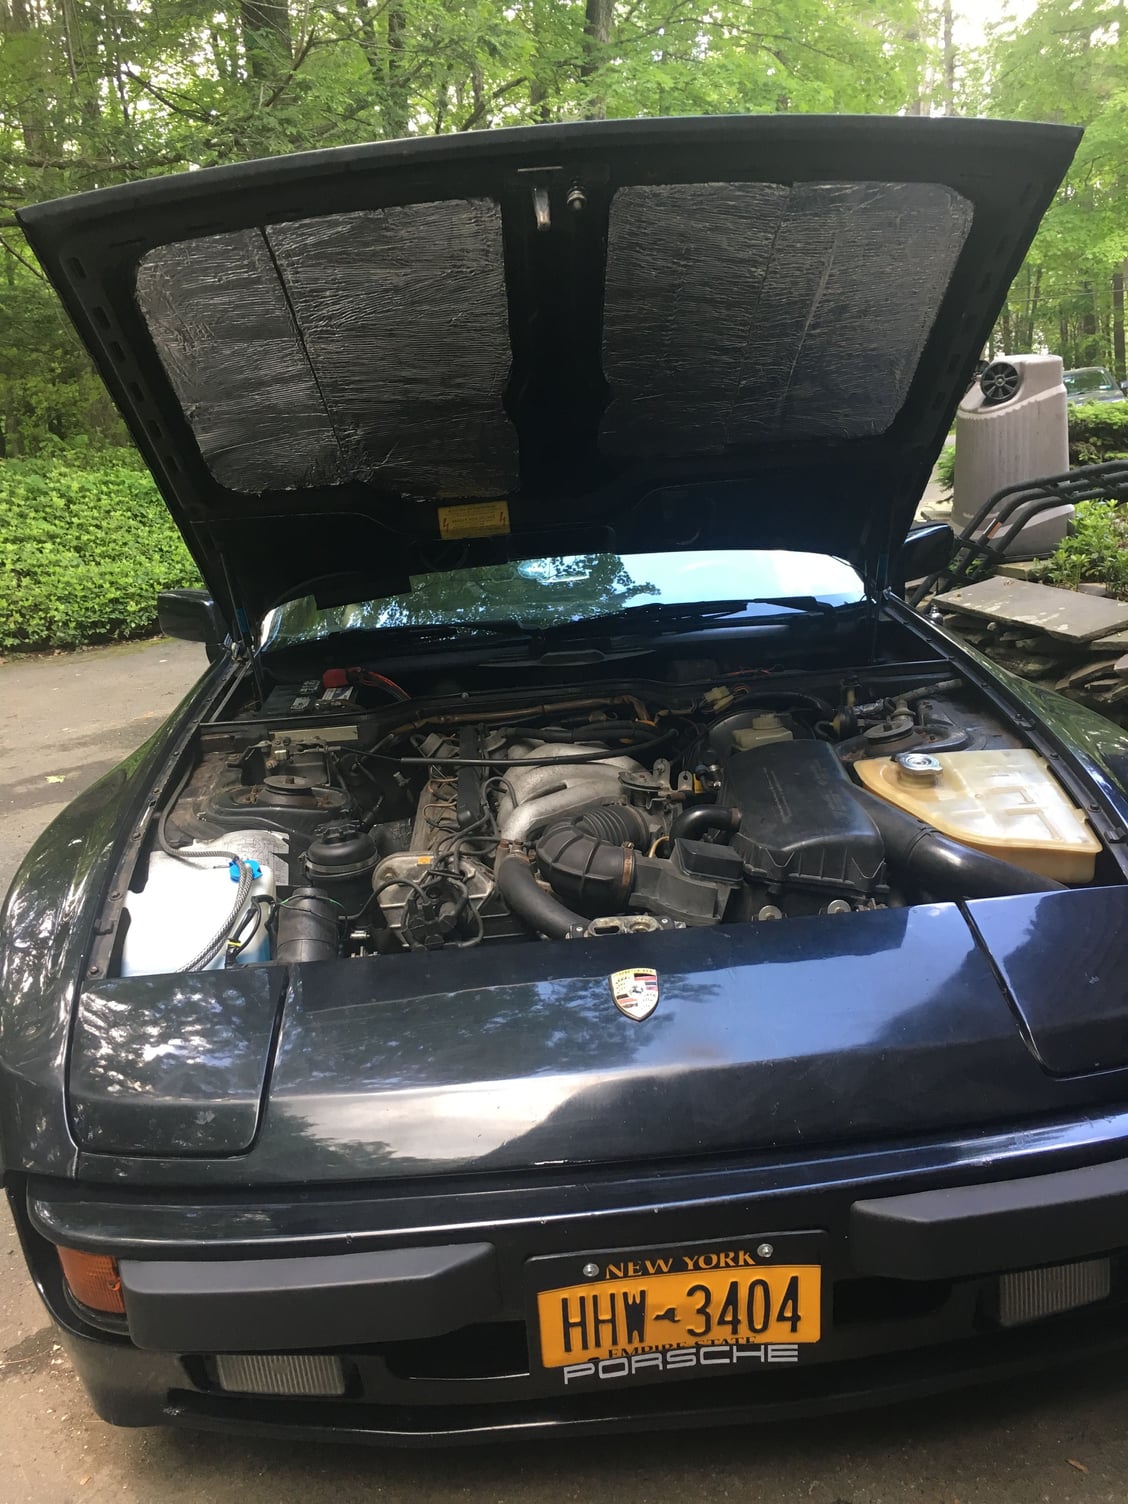
Here is the new liner…
The marks where the material was folded for shipping are rather evident, hopefully they will go away with time and heat. Time will tell if it stays in place.
Conclusions…
Did it turn out as well as I hoped - no
Did it turn out as well as I should have expected – yes
Is it an improvement – YES
Would I do it over again – probably, but a bit more carefully.
Interesting. The powder and holes are an issue for me too.
Is the new foam self adhesive?
Is the foam and adhesive (if any) heat resistant?
Is the foam fire resistant?
Where did you get it?
Just how expensive are the pukka Porsche replacements?
It is self adhesive, and seems very sticky. There is a link in my original post to the product on Amazon. It is supposed to be useable for hood liners amongst other applications. I did a test with a match and a left-over piece and it does not burn at that temperature and does not seem to melt. In a serious engine fire who knows, but it's too late than.
Paragon has the liners for about $106 US for the two sides which is about $130 CDN... the foam I used was $20 CDN...
By the way, I ran for a couple of days without the liner and didn't notice any difference in sound or vibration from the hood. It doesn't look pretty but is perhaps better than covering the engine in the dust from the old disintegrating liner in the short term.
What is the purpose of the hood liner? Keep the hood paint cool?
That and noise reduction, in some markets where it was required.
If you've removed your liner and the hood paint is good, it must be the original paint.
Hoods that are repainted tend to develop crazing when the liner is not used.
When replacing, the best way to remove the old liner is to vacuum it off at a car wash facility. Then use solvent to remove the glue, and reapply the liner on the cleaned finish.
What kind of solvents have folks used? I tried a year or so ago, but I did nothing but start to take paint off the underside. It did nothing to the glue.
It looks great, man, way better than the stock stuff that's falling apart. I'll probably do the exact same thing for mine since my hood liner is shedding all over the engine too.
Two months later and the liner seems to be holding up fine. There are a couple of minor places on the edges where it is not well stuck down, probably because of my not having properly cleaned the residual glue, but it is not getting worse. The material has so far resisted the heat of the engine, although it has been a very mild spring and beginning to the summer. I'll update if the situation changes.
I replaced the under hood liner recently, as well, but I used thin duct insulation as recommended in another thread. I'm pretty happy with the results but I have to say that getting the crumbling old stuff off was a real PITA. Anyway, here is the result
 04-23-2017, 02:44 PM