When you click on links to various merchants on this site and make a purchase, this can result in this site earning a commission. Affiliate programs and affiliations include, but are not limited to, the eBay Partner Network.
I started a project to rebuild a 944S some years ago, but it was put on hold while I worked on a 1985 911 Carrera (started as a battery area repair, but turned into a full-on refresh, including a full engine rebuild… the story is here: https://rennlist.com/forums/911-foru...-surprise.html)
That car actually turned out pretty well, so now I am back to the 944. The body is done, as is most of the suspension. Right now, the task at hand is putting together the engine.
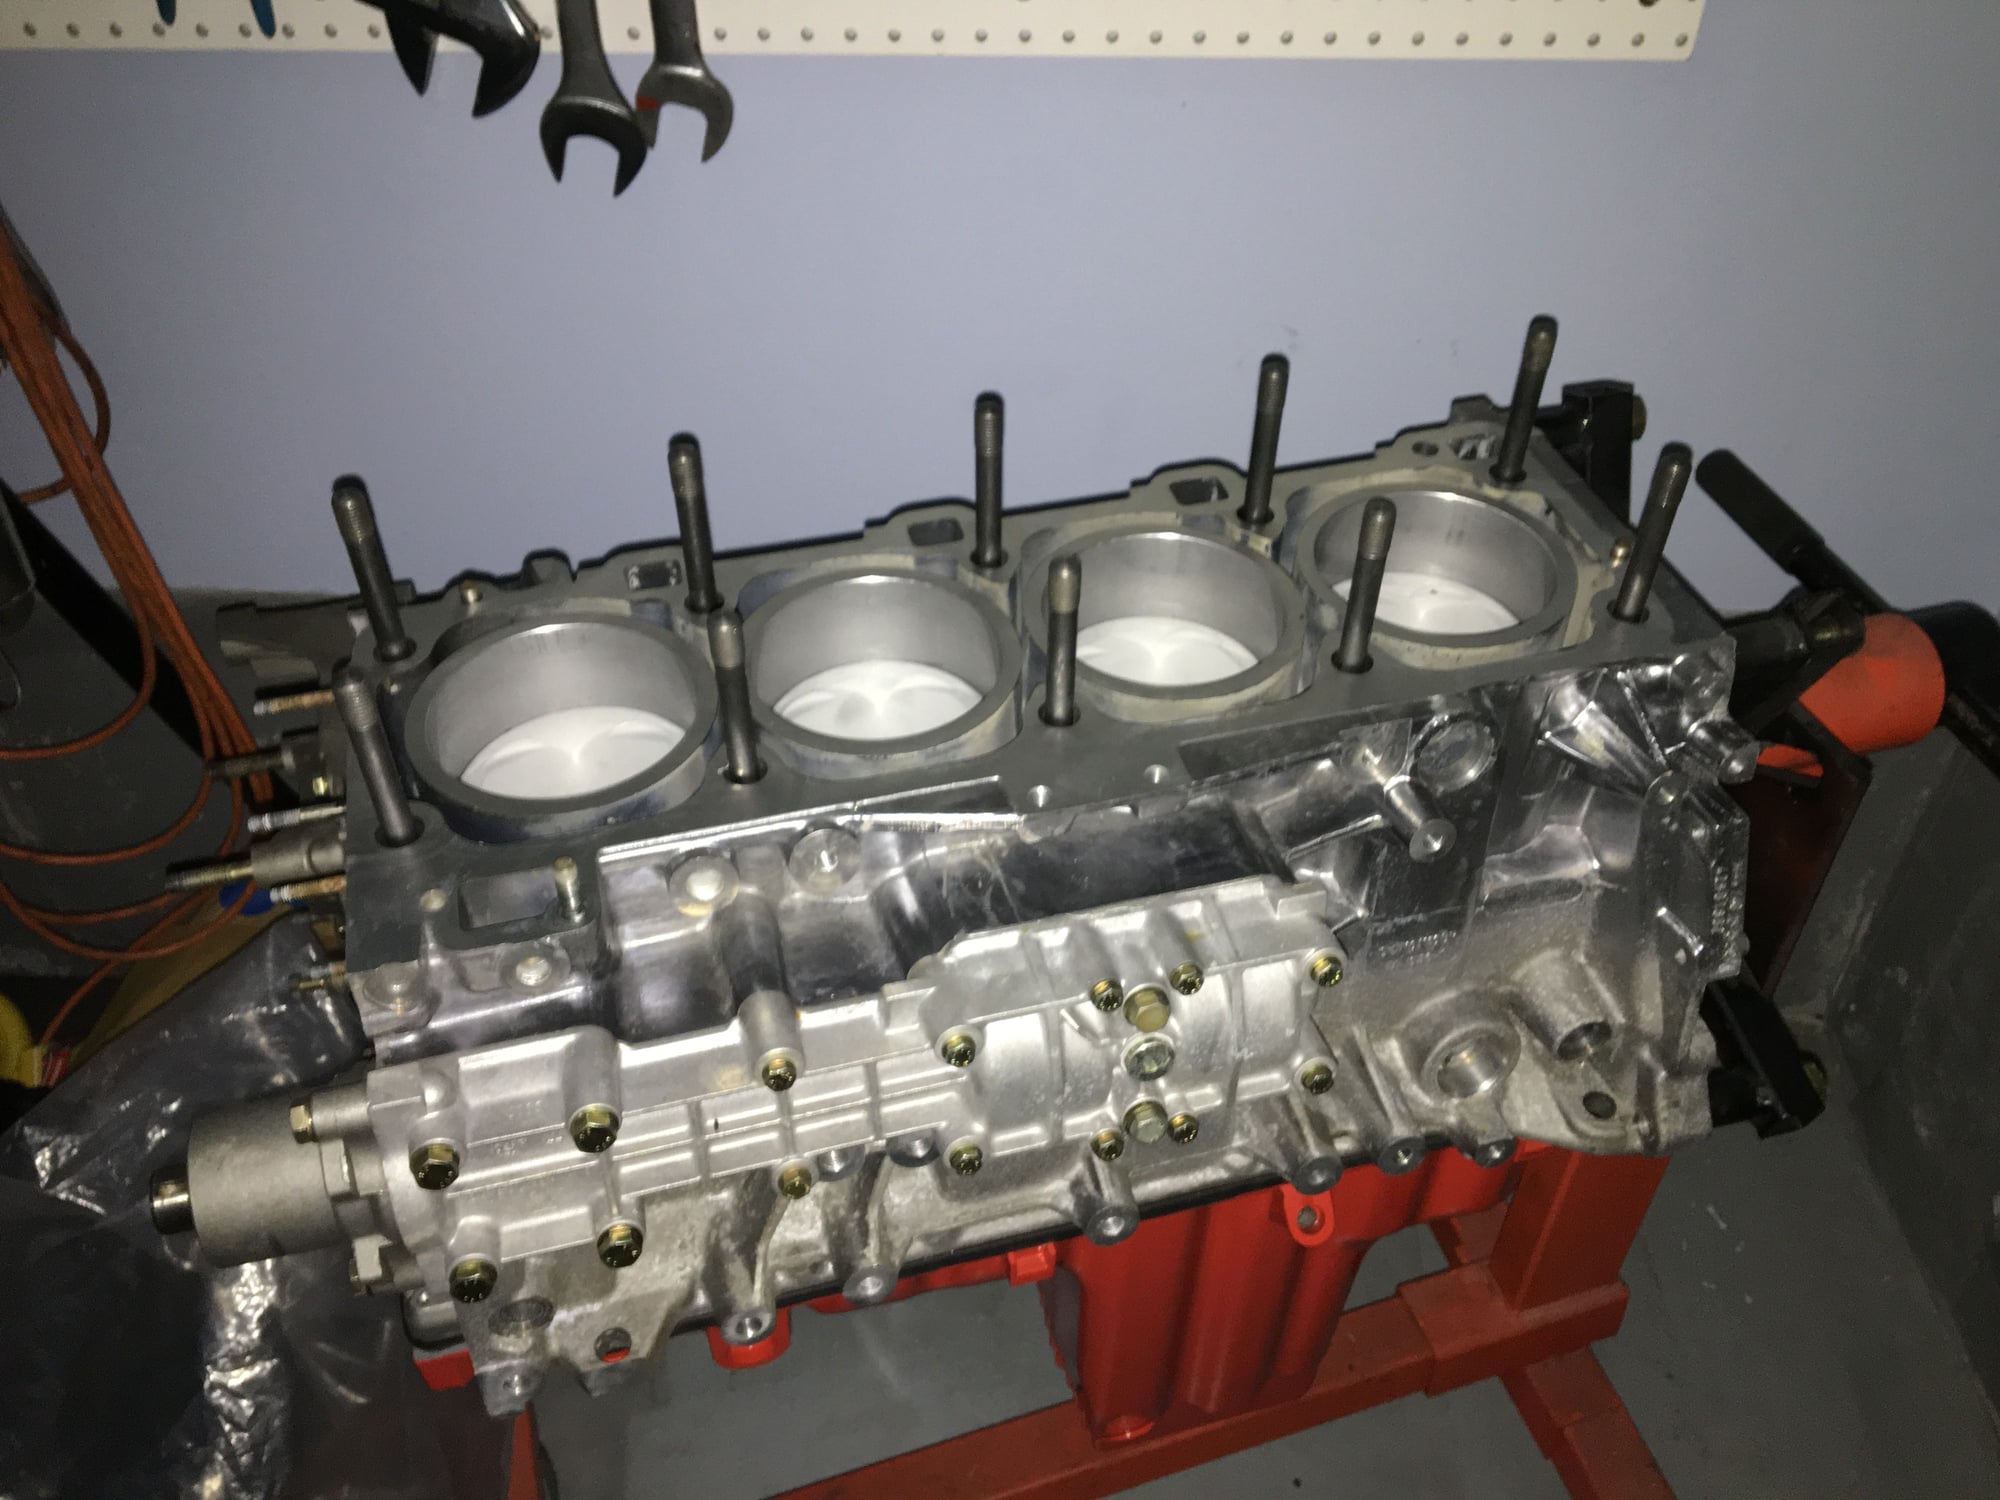
Everything is being kept stock with the exception of the pistons. I had the block bored 0.5 mm oversize by an Alusil-expert shop, and picked up a set of Wössner pistons.
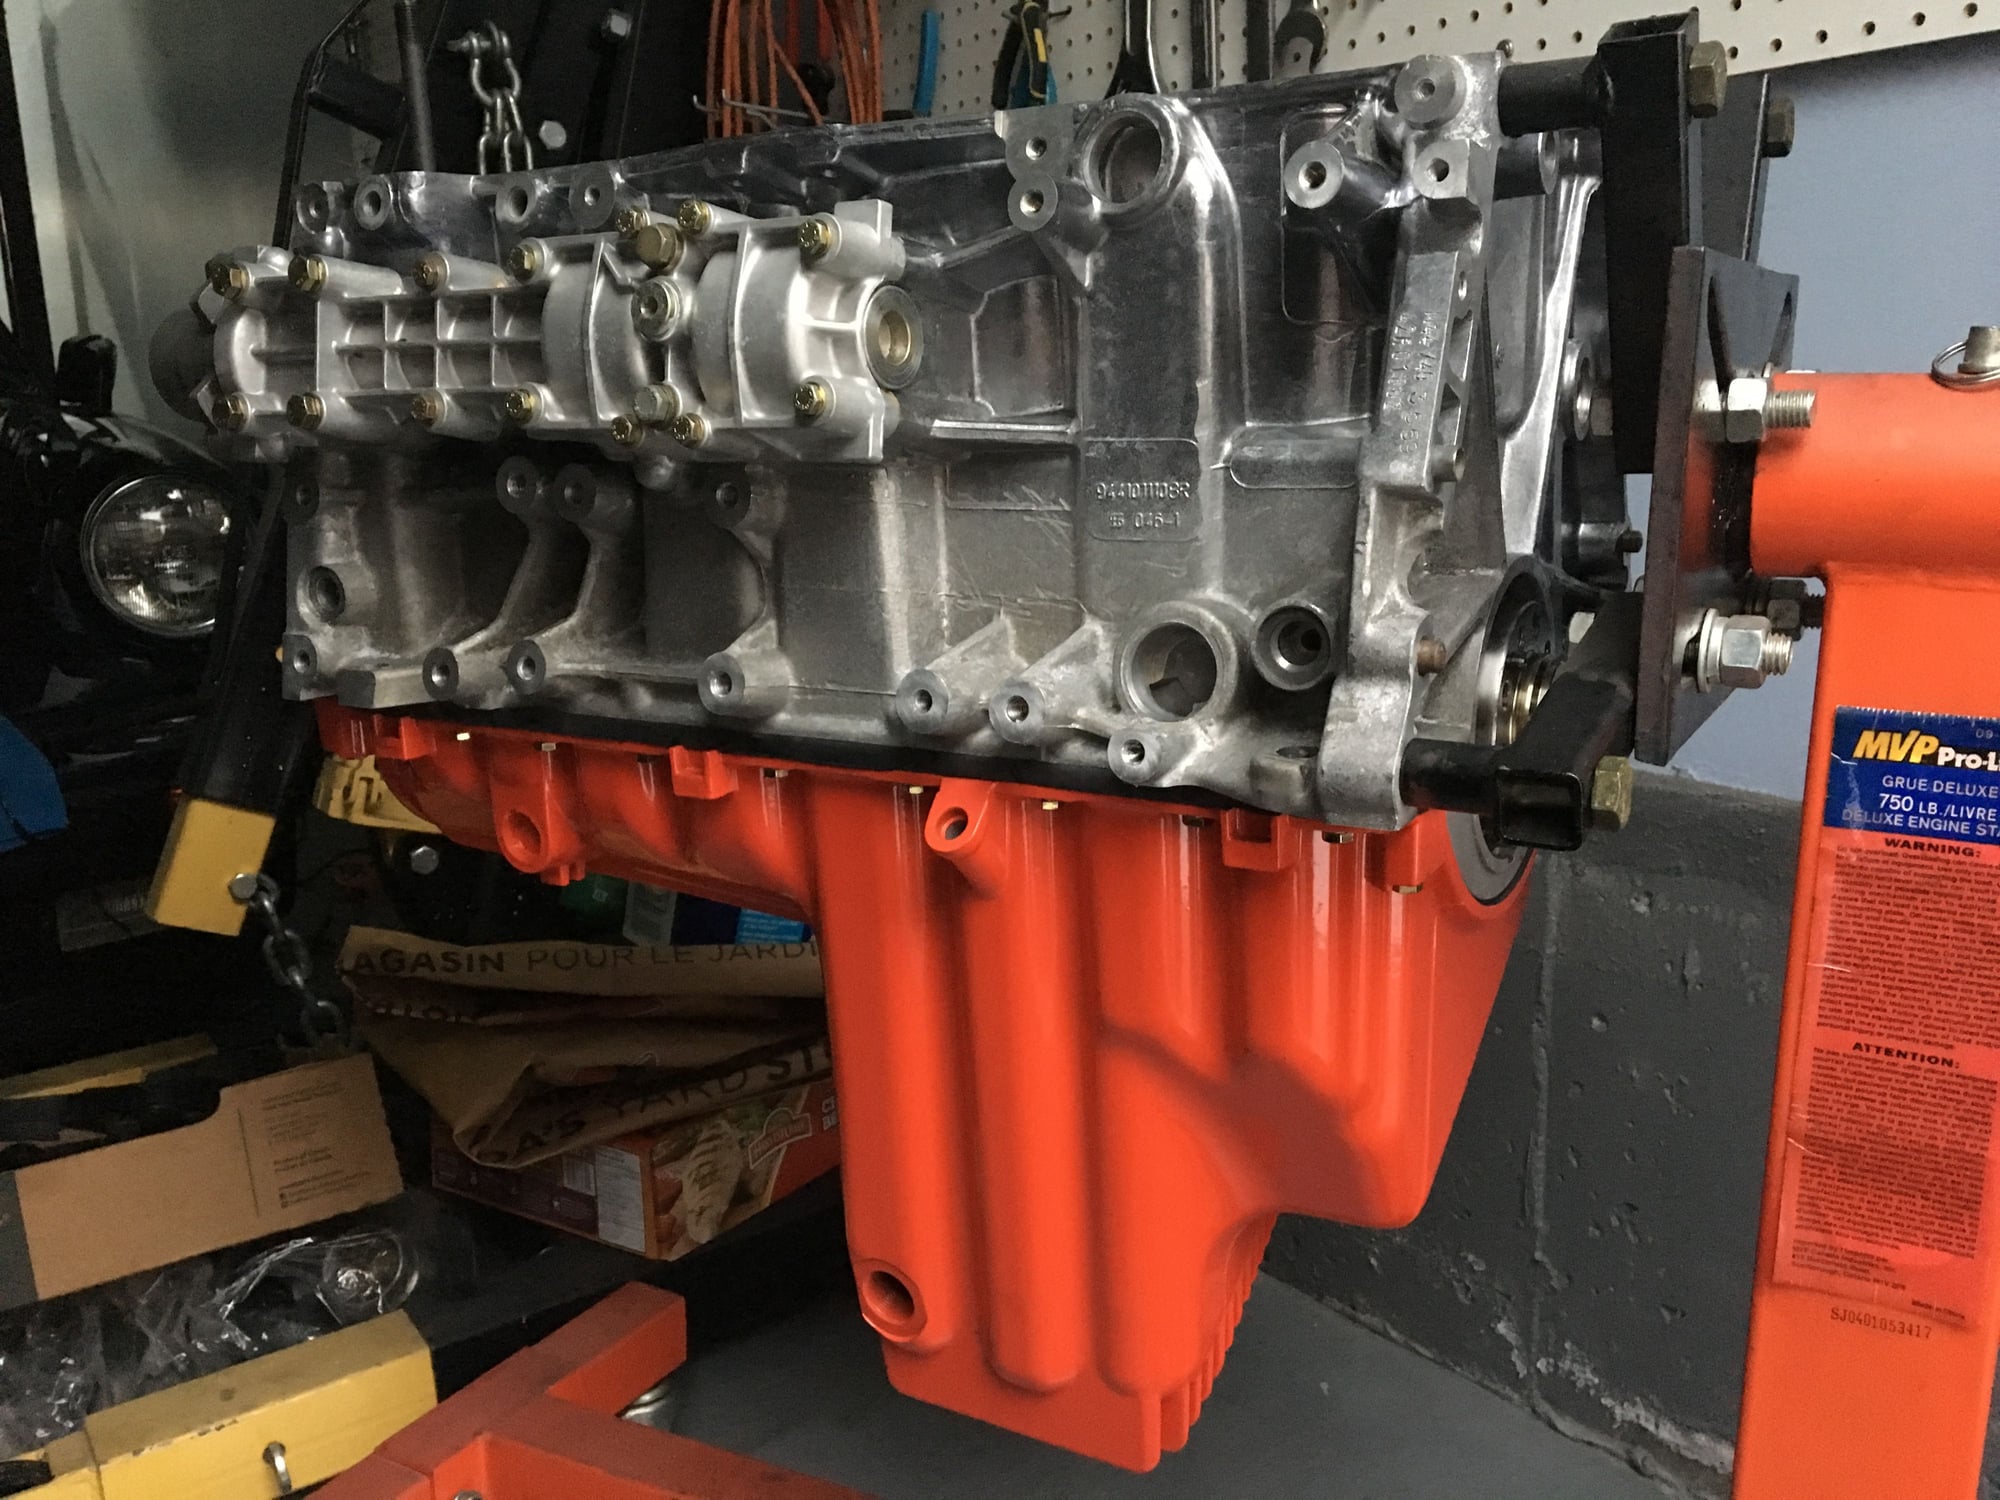
All the usual machine work was done (e.g. re-sizing and re-bushing the connecting rods) and I am replacing a lot of parts such as the oil pick-up tube (which can rarely fail at high mileage). This is the bottom end after piston installation:
Typically, I am very slow with these projects, but I will try and post updates from time to time…
Was this a project from about ten years ago? Black/Black 944S painted in your garage, had a young son and moved in the middle of the project? Always wondered what happened to that car. Enjoyed watching your work.
Was this a project from about ten years ago? Black/Black 944S painted in your garage, had a young son and moved in the middle of the project? Always wondered what happened to that car. Enjoyed watching your work.
Yes, that was it!! Getting wrapped up in the 911 meant that this project was mothballed. I felt like a real idiot for a while, with two projects in process at the same time. Luckily the 911 is done, and turned out well, so that has increased my confidence for this one.
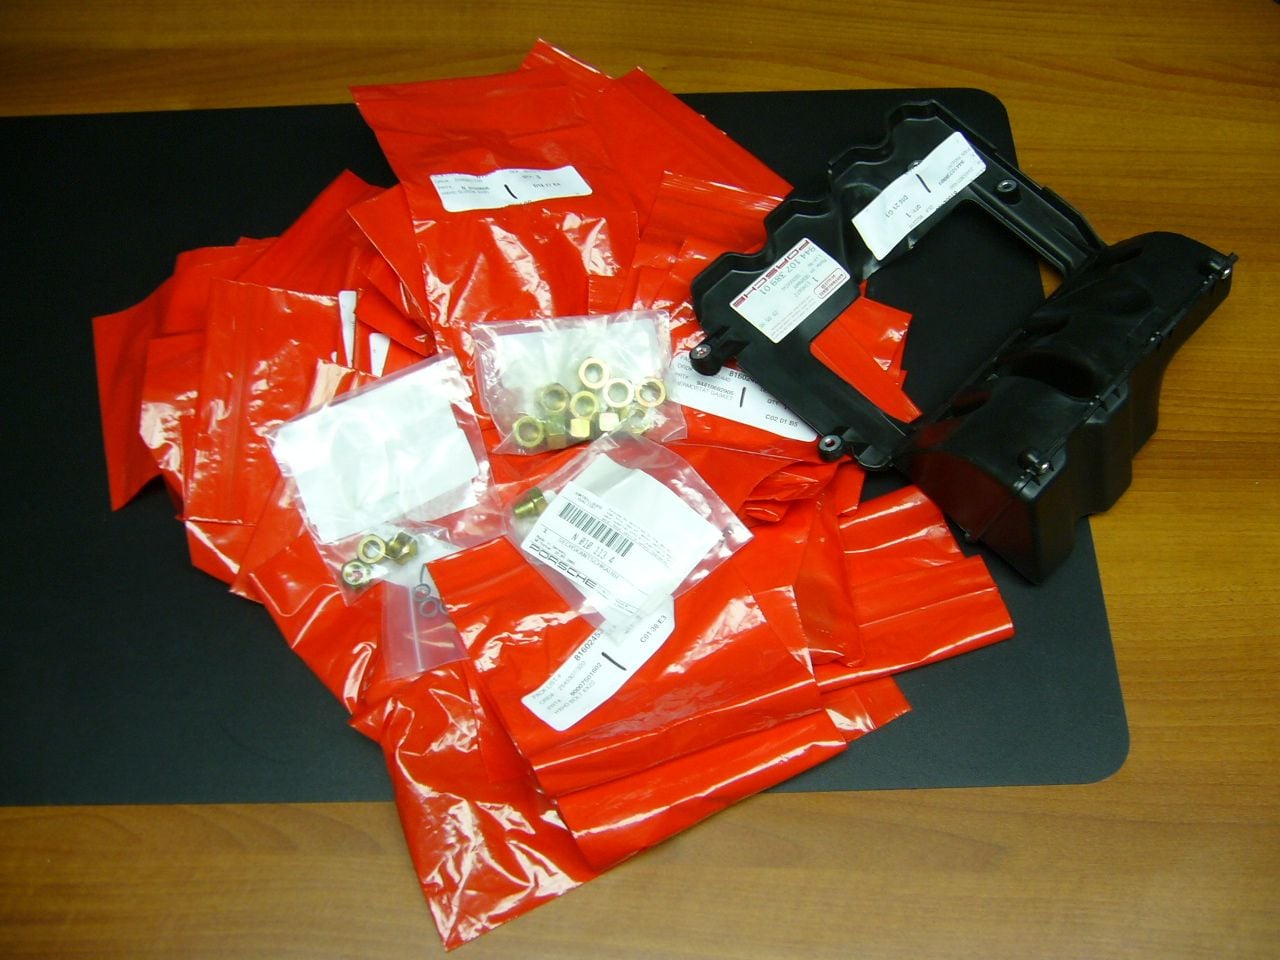
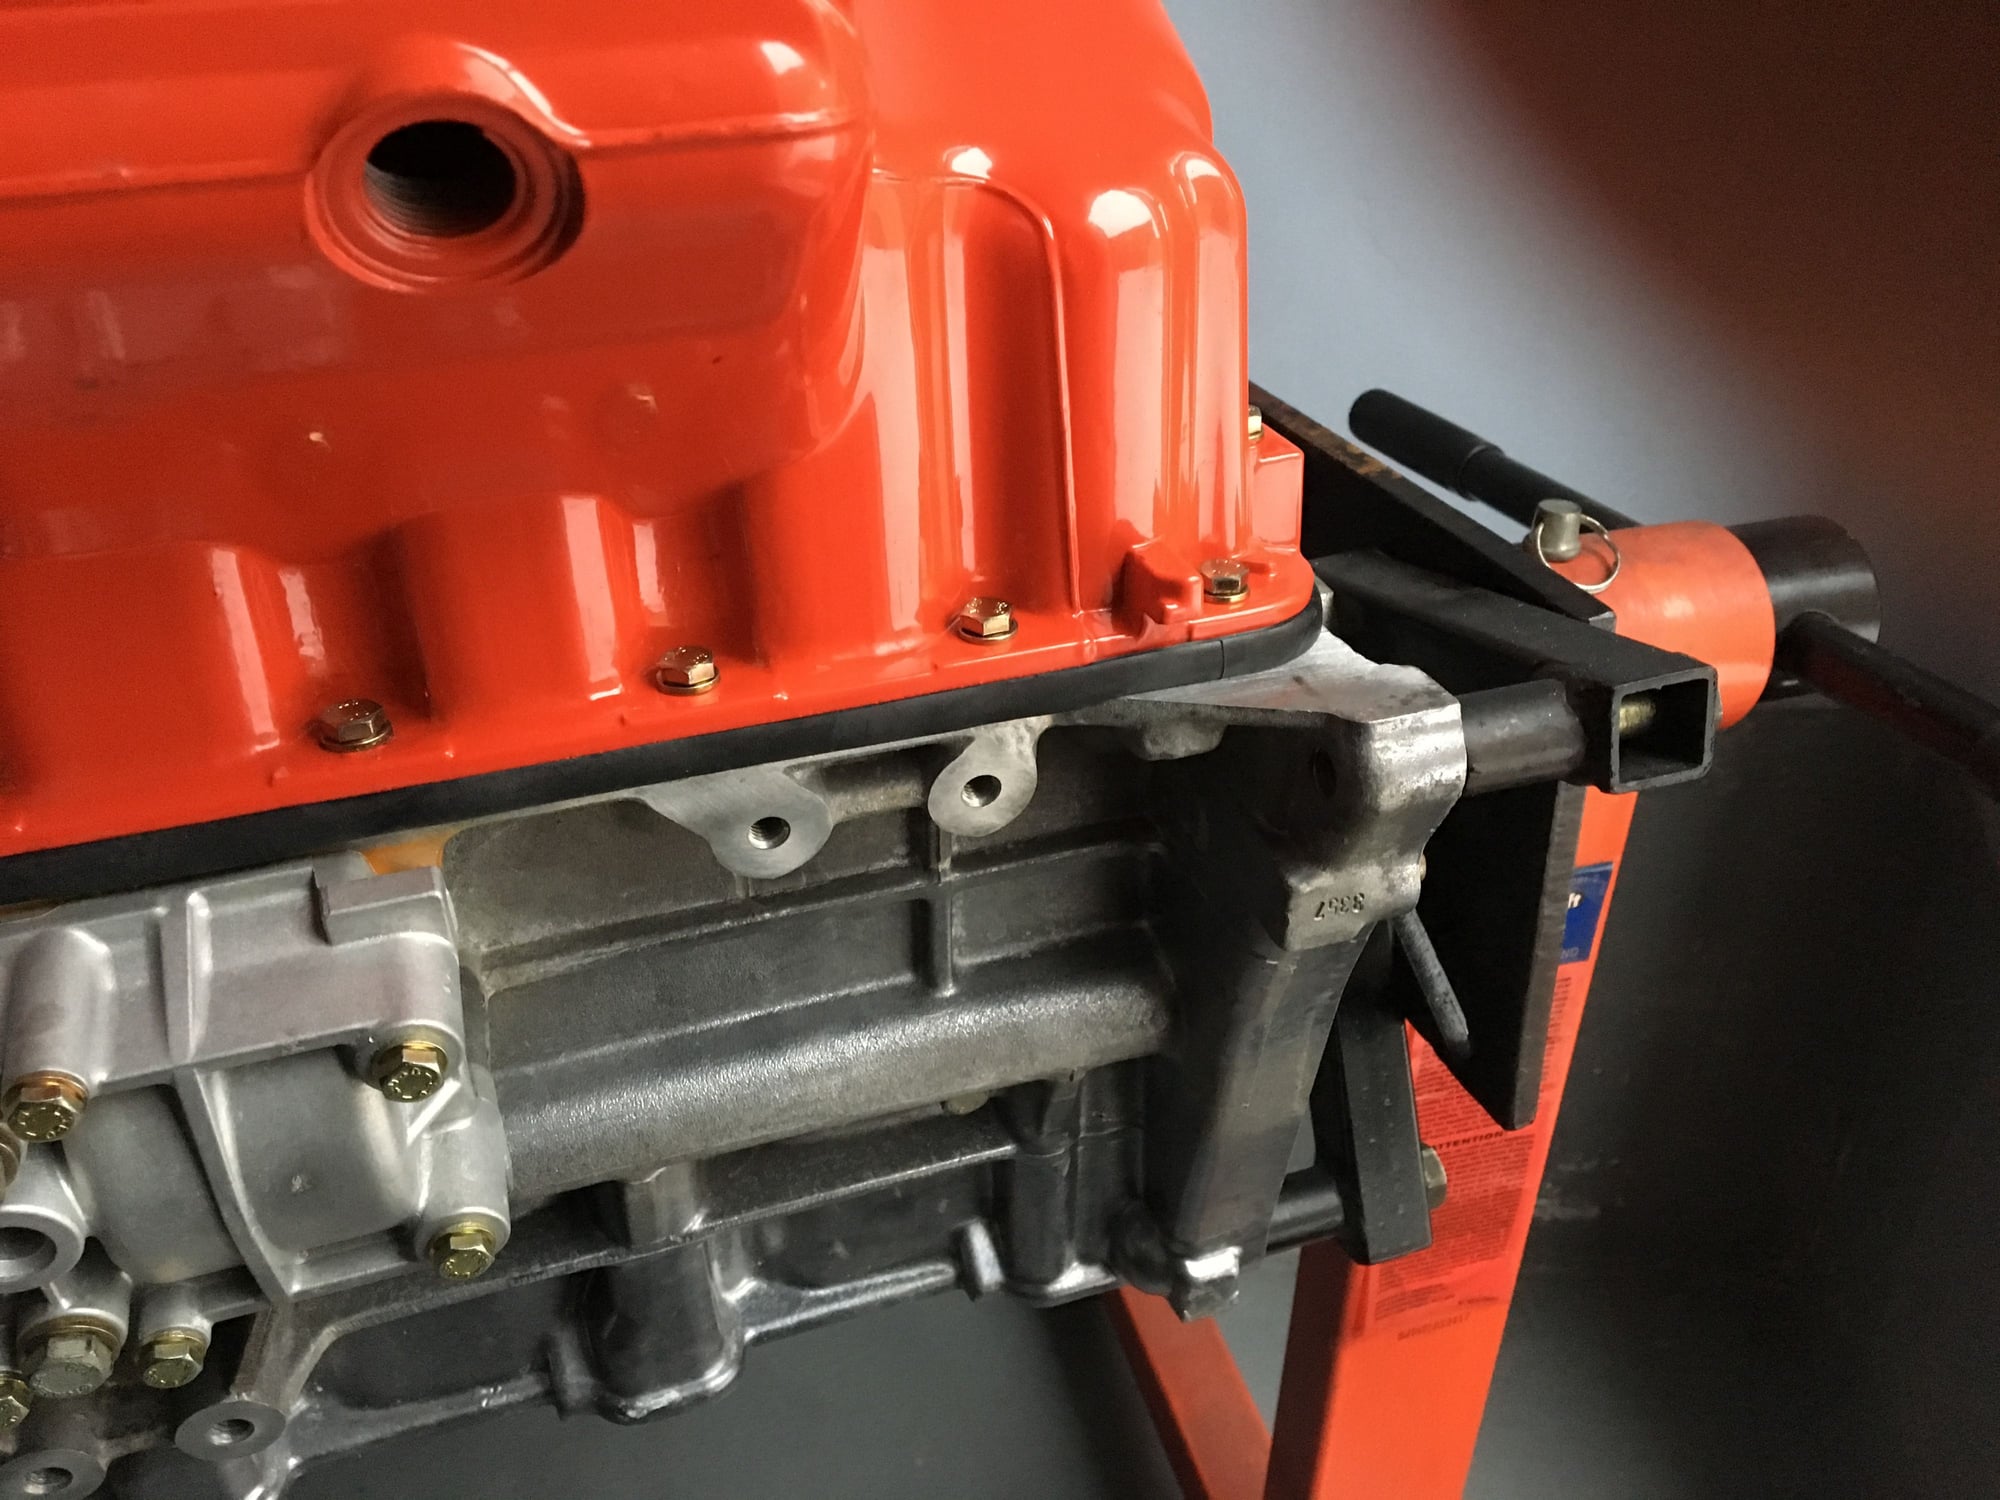
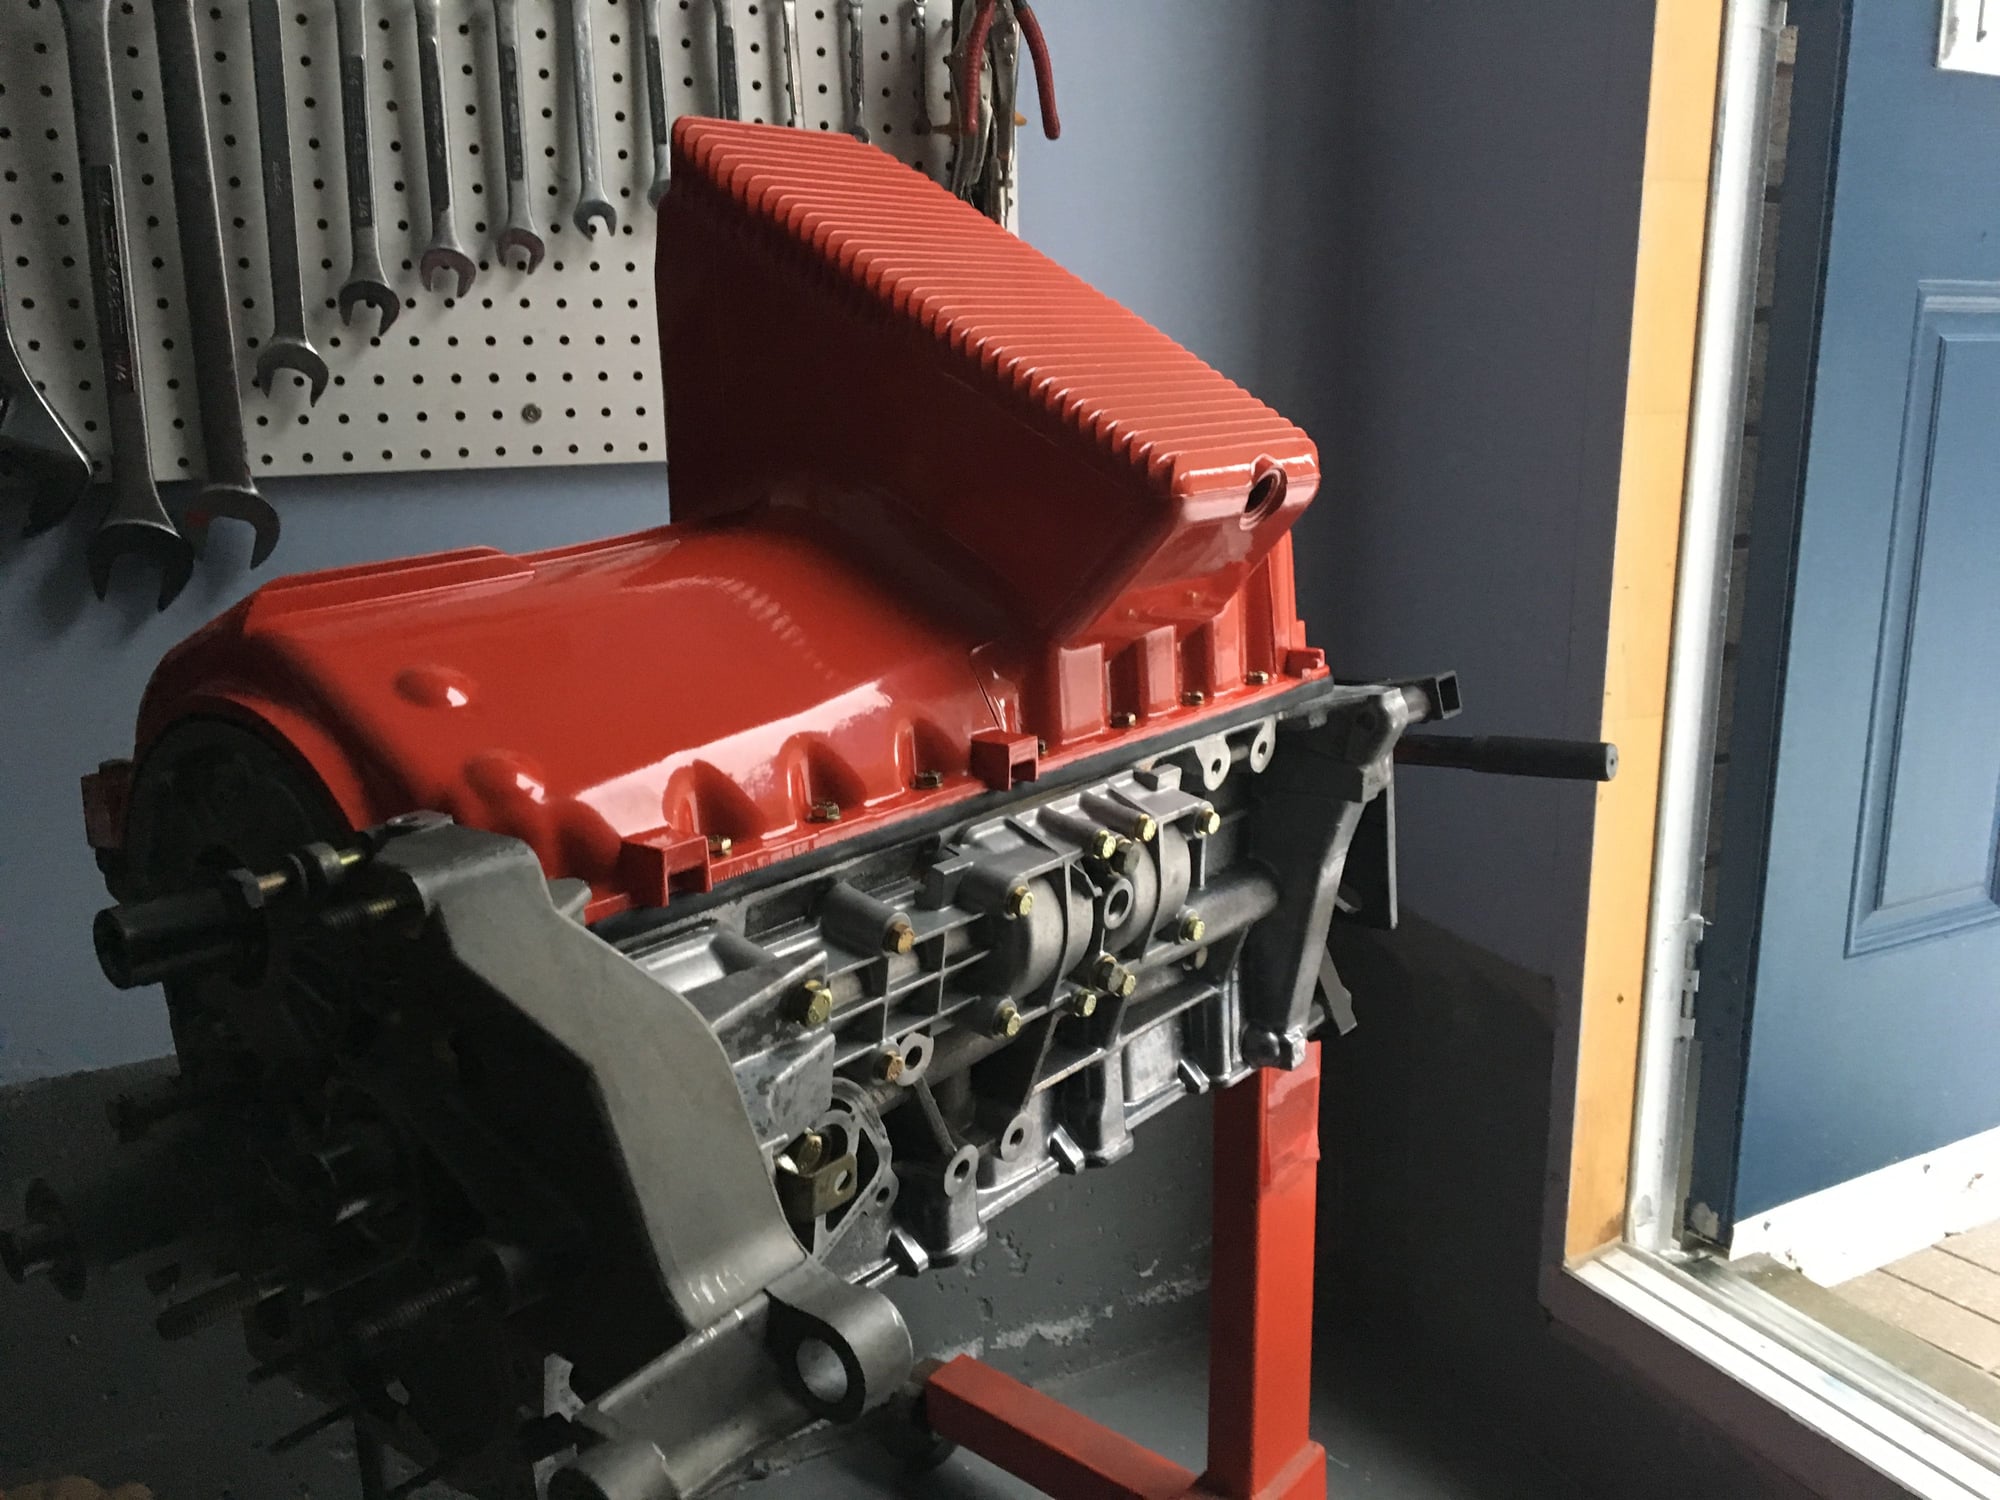
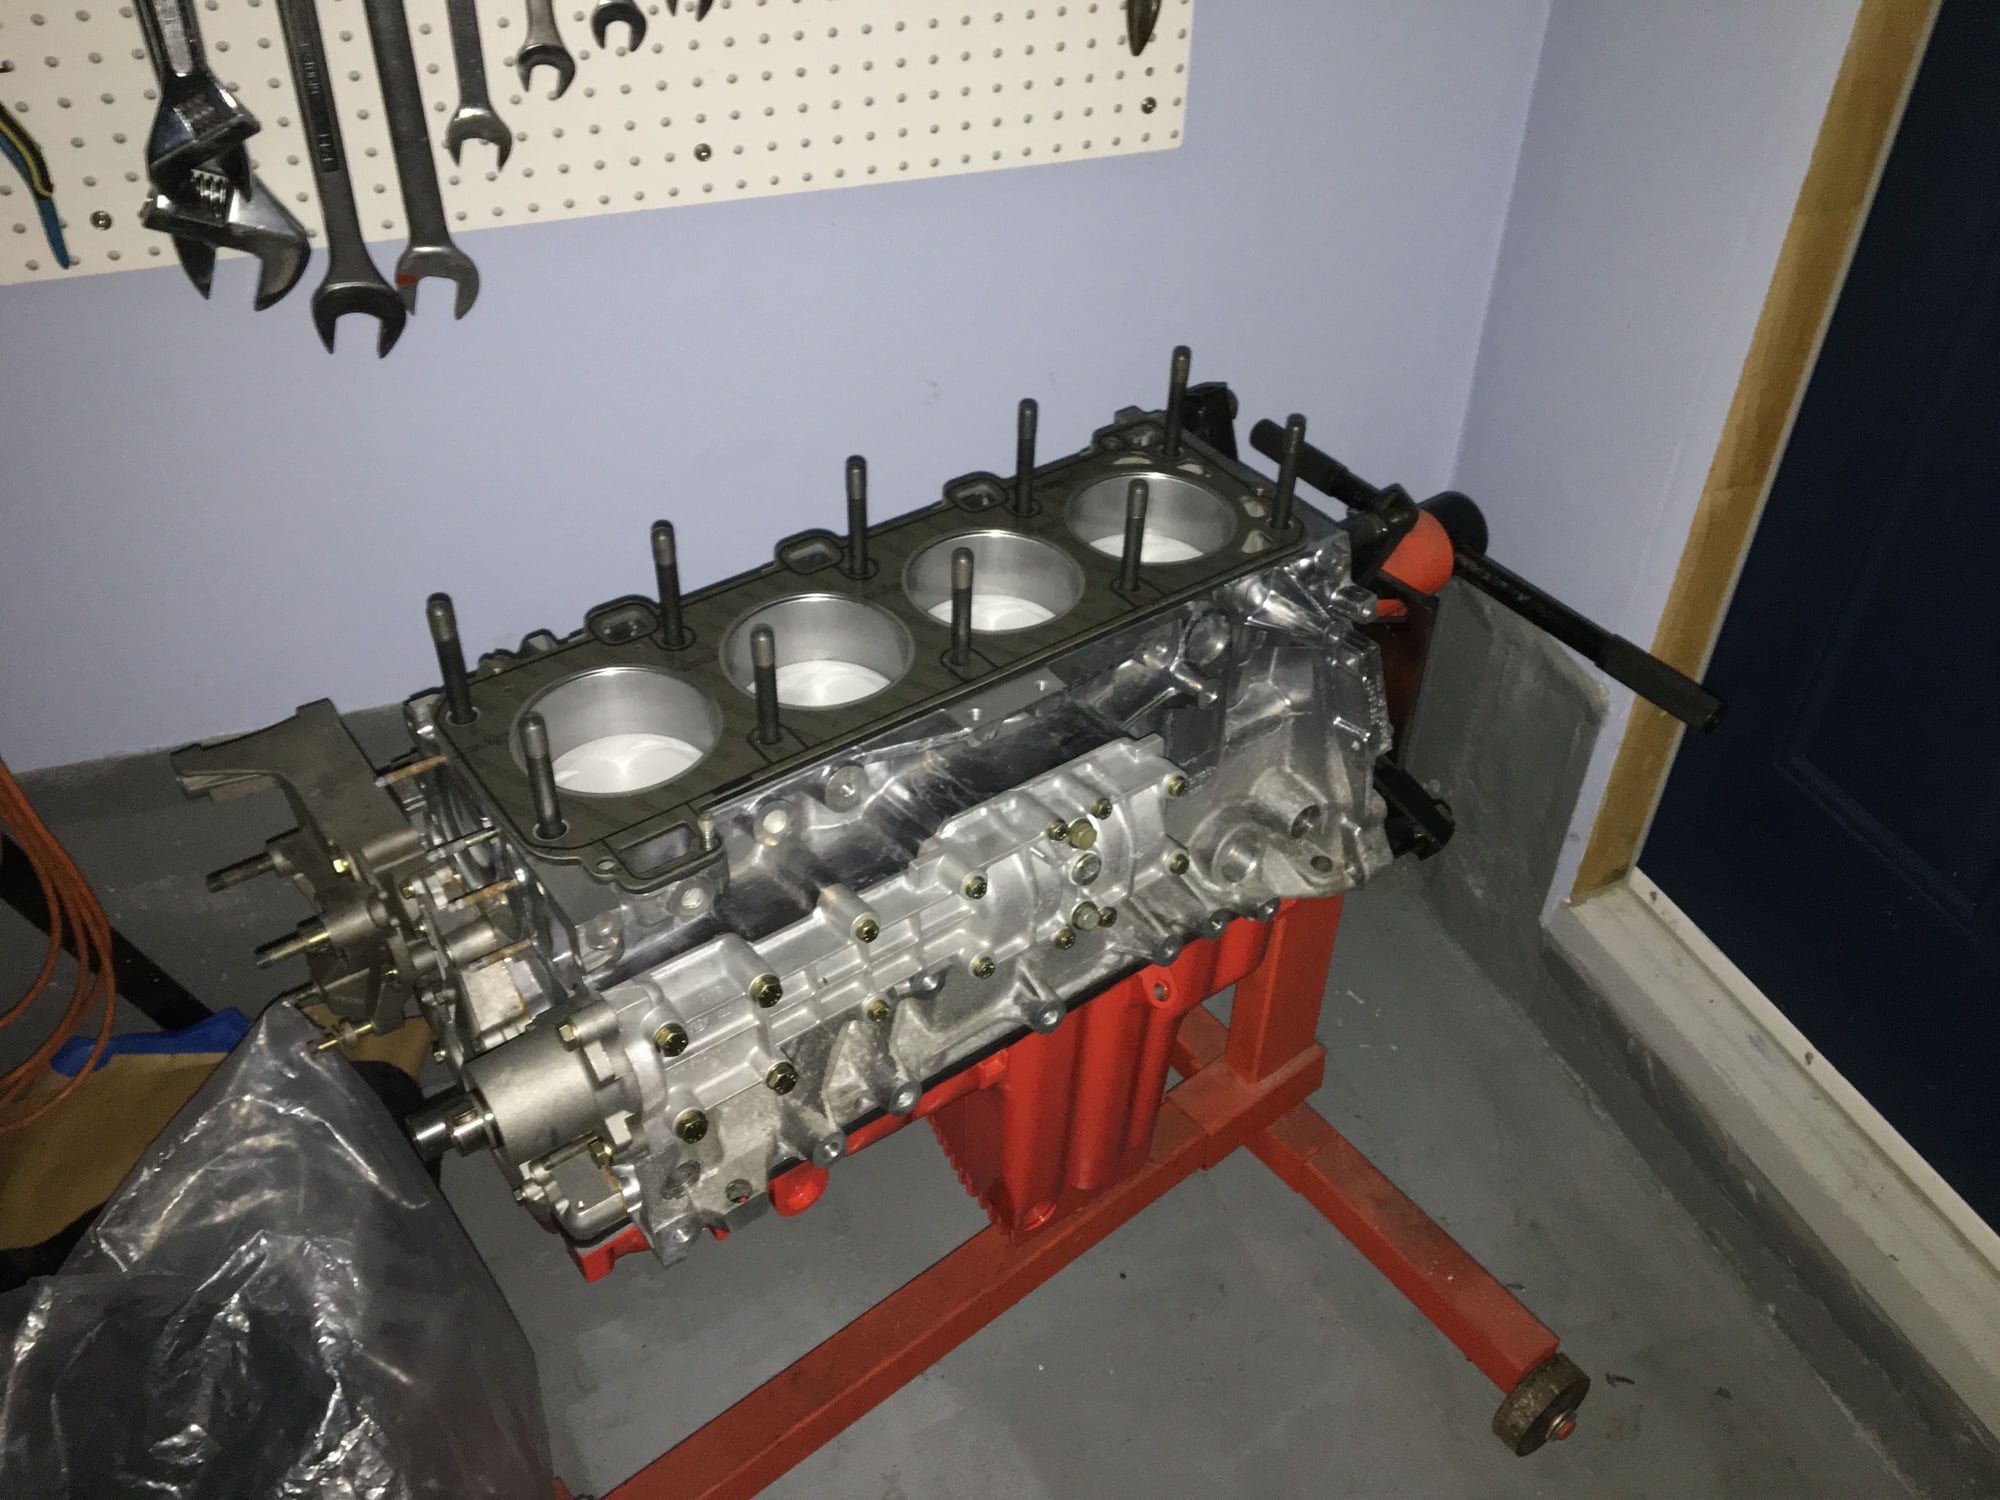
All I did over the last week was get the oil pan mounted. I had the original pan powder coated. To be safe, I ordered the gasket from the dealer (some say the OE part is better than the one that comes with the normal Victor Reinz bottom end gasket kit). The plastic insert in the oil pan was cracked, so I also obtained a new one of those, as well as nice, shiny hardware!
Mounting the pan was straightforward, just had to keep track of that extensive bolt tightening sequence. I did an extra stage between finger tight and the first stage torque (4 Nm) just to be cautious. It all looks good though...
immaculately clean...
how much were those wossners ?
Thanks!
The Wössners are a 0.5 mm oversize fitment for the 944S. The company I purchased them through was Mantis Racing, in Oakville, Ontario, Canada: http://www.mantissport.ca/
I purchased the pistons in 2015, and at that time the cost was CDN 750 for the set.
Go back in a few days and double check the torque on the gasket, i think you'll find that its not at spec anymore.
Thank you. I did as you recommended. It turned out the torques were still @ 8 N-m. Was your suggestion based on it being typical for this to happen with this gasket, or was there something in what I wrote, or the pictures, that suggested this may have happened in my case specifically? Thanks!
Last edited by 500; 03-19-2018 at 11:37 AM.
Reason: typos
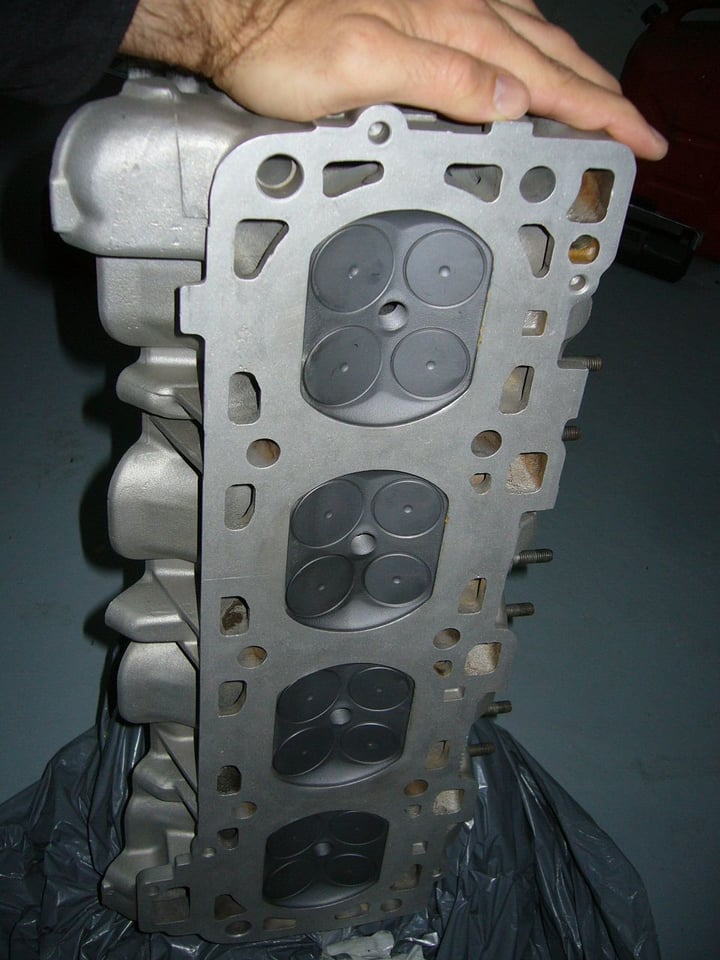
This weekend I will put the cylinder head on. I have new factory head studs, nuts and washers. Since I will be using Loctite on the studs, I need to make sure I have enough working time to set the studs in position and get the head on and torqued to the first stage before the Loctite sets. I usually have very limited time on weeknights, so I must leave this job to the weekend!
I had the cylinder head fully reconditioned with the normal valve job, new valve guides etc. The head thickness is slightly above the minimum for a standard gasket. However, the block was also slightly decked when the bores were re-done, and I am not sure how accurately I am measuring the deck height. Plus, the Wössner pistons are another variable. For these reasons, I have elected to be conservative and go with the thicker factory head gasket (1.4 mm versus the standard 1.2 mm). I'd rather have a little less compression but a greater safety margin. More experienced builders probably would be able to evaluate this more sharply.
Very interested in your build, and thanks for sharing the photos.
Couple questions - on the overbore, what process did the alusil shop do after overboring? You have to remove a layer leaving the silicon hard surface, correct?
What coating did you put on the pistons and combustion chamber? Do you know how thick the coating is?
I'd say with 10.6 pistons and a thin/normal head, I'd go with the standard head gasket. I don't think you'd run into issues unless you started advancing the timing pretty far. Thats fine though, with the thicker gasket you'll have more room to play with the timing.
The shop that did the overbore (and supplied the pistons) was Mantis Racing in Oakville, Ontario. They have all the necessary Sunnen equipment and have a lot of experience doing this with 944 blocks in particular (although Alusil is used by various other manufacturers too). You are correct, the last step is to use a special paste applied by a honing tool with felt pads. The paste slightly etches away the aluminum surface leaving the silicon particles "proud" (on a microscopic level). This is important for ring seating and is why many suggest re-ringing used Alusil bores may not lead to optimum ring seating and compression.
I don't know what the coating on the side of the pistons actually is, but it was developed specifically for Alusil and is approved by BMW for use on Alusil. All the research I did seemed to confirm that Wössner pistons are reliable in 944s. There is also a ceramic coating on the top of the pistons which was optional. I did not order it, but Wössner provided it by mistake. Mantis was very gracious and did not change the price from the original quote, so I got a free upgrade!.
I am no expert on pistons, but I did put new Mahle pistons and cylinders in my 911 rebuild, so I have seen first hand their great quality. To me, the Wössners exhibited great quality too. Very precise machining and visibly flawless.
The combustion chamber is uncoated. The valves and head domes were glass bead blasted (I think) and the resultant surface shows up dull in the photo.
Small world, I grew up in Oakville Ontario. Nice work on restoring your 944S! Makes my 944S track car
look like @$$** Also have mint 78 911SC...somewhat close to your Carrera. No Cayenne
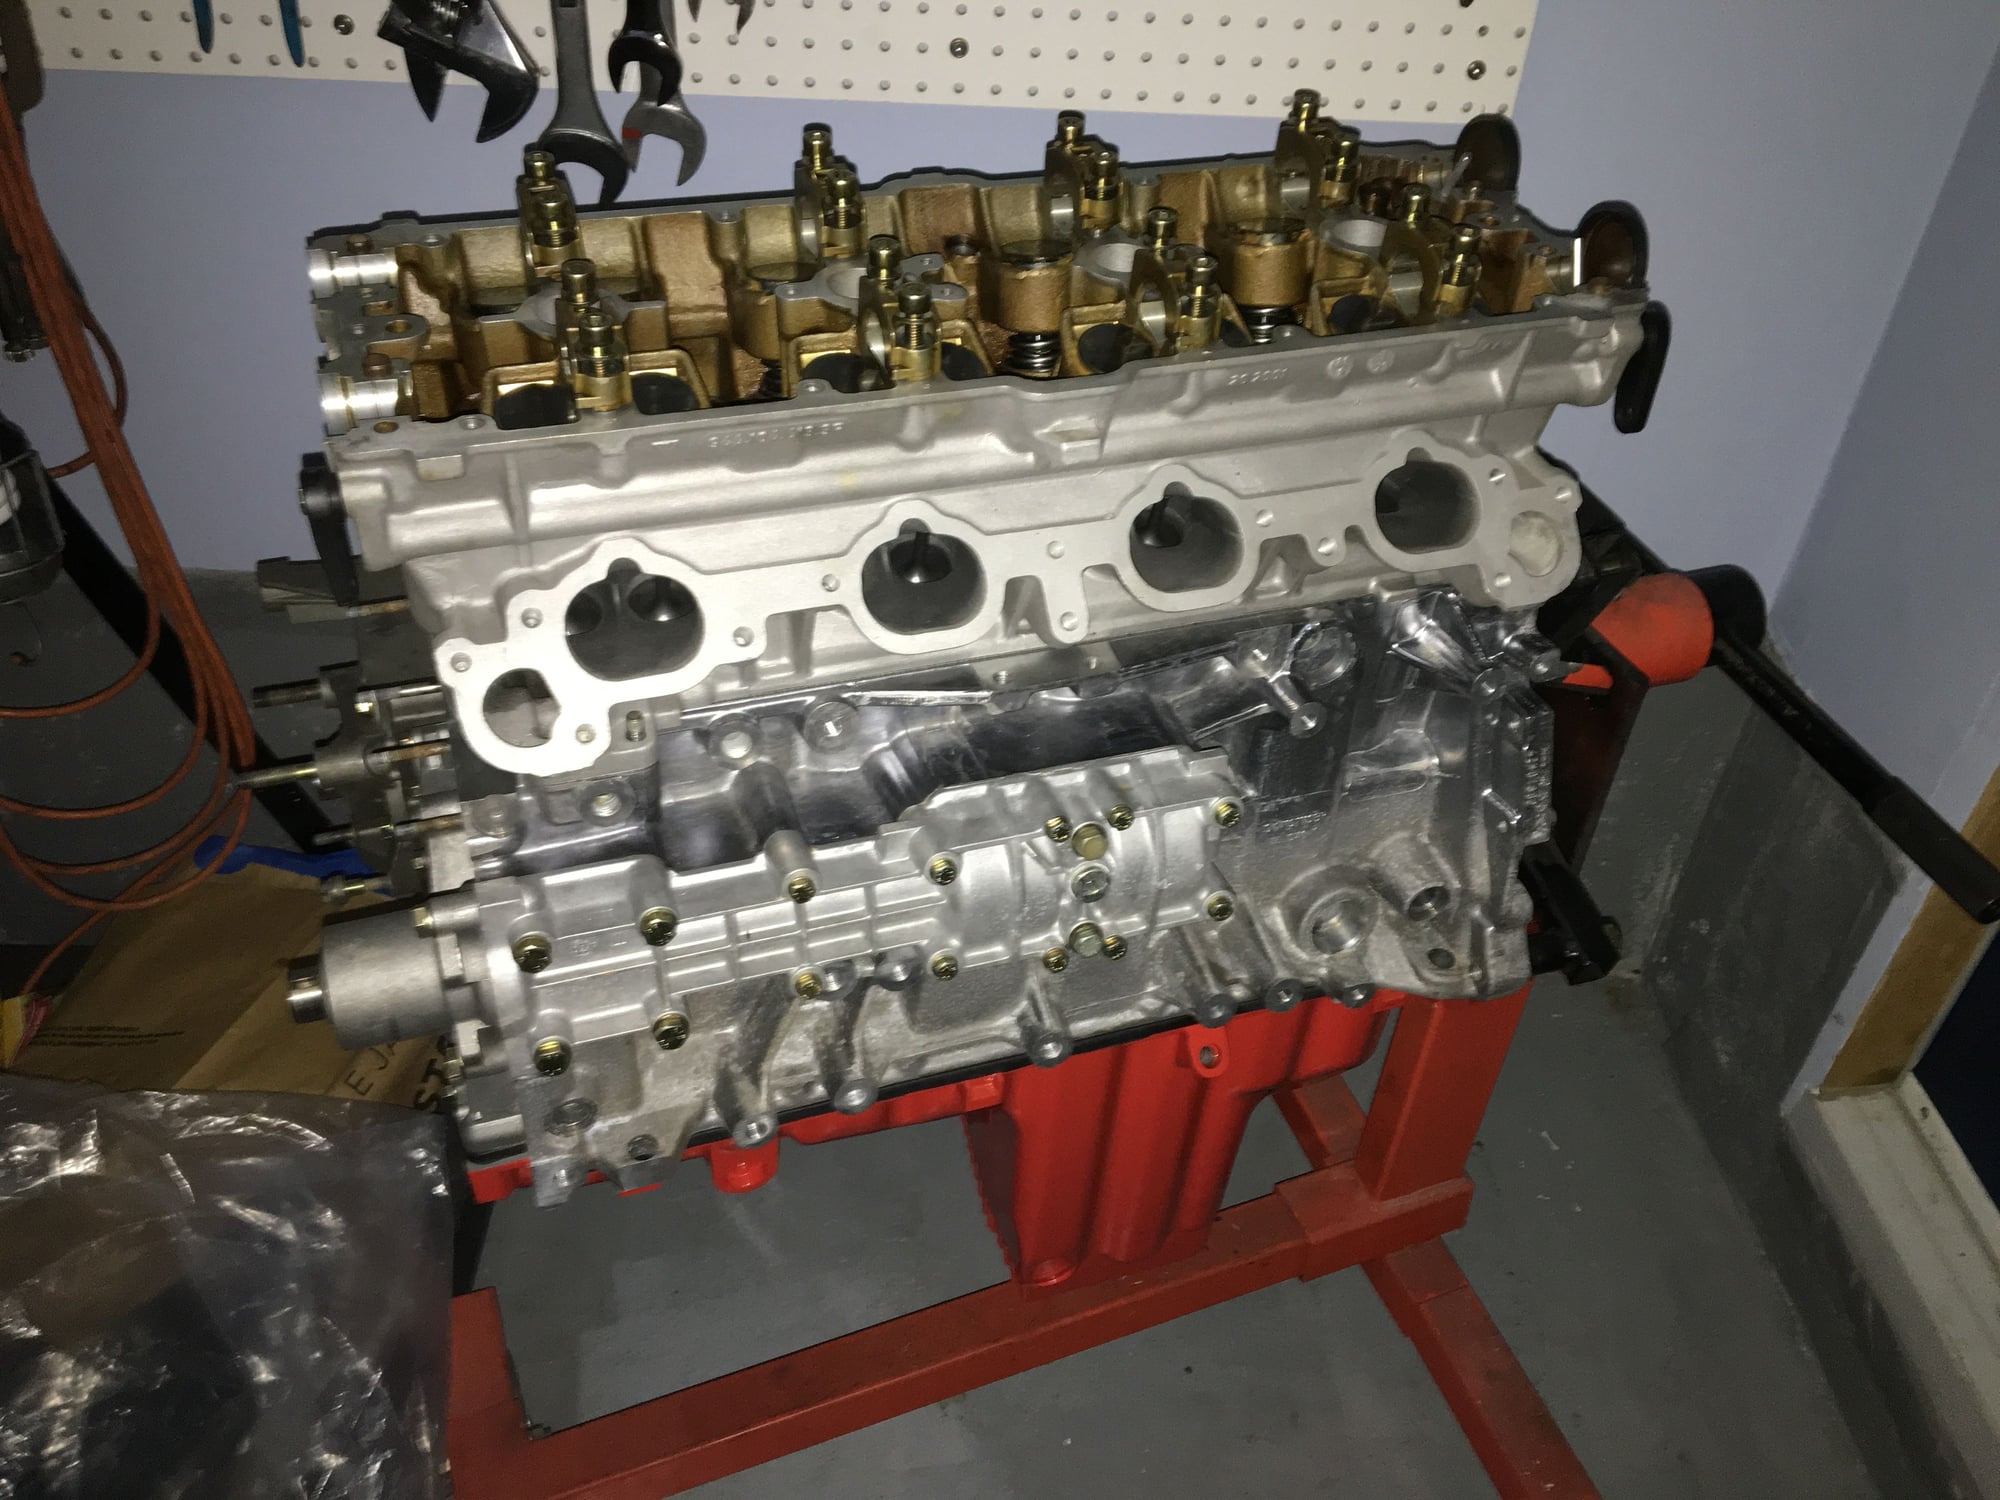
Took me a while to find a clear window to install the cylinder head, but I finally got it done.
When the block was prepped for the 0.5 mm oversize pistons, I had to first remove all of the factory head studs (as the block was also decked). Although it seems that the 944 head studs (at least in non-turbo applications) never give any problems, I decided to install brand new factory studs, bolts and washers, as they were not that expensive.
Nothing tricky to installing these, but like with most engine building situations, it is the patience to clean and prep everything that is most "difficult". In this case it was cleaning out the threads to a good standard as I was using Loctite 261 to set them. Once the threads were ready, I simply set the studs (with Loctite) to the correct depth (73 mm).
I worked quickly to get the new 1.4 mm gasket and head on, and the nuts and washers torqued to the first stage (20 Nm IIRC) before the Loctite would set, so that the studs would be pulled firmly into tension first. I left things in that condition overnight. The next day I completed the second and third torque stage (90 degree torque angle for each).
Next up will be some of the bits and bobs on the front of the engine (water pump, balance shaft sprockets etc.)
 03-20-2017, 06:44 PM