When you click on links to various merchants on this site and make a purchase, this can result in this site earning a commission. Affiliate programs and affiliations include, but are not limited to, the eBay Partner Network.
Weekend update: I am not getting any power to pins 1,2,3,4,5 at the 14 pin connector at the brake booster. When I jump the DME still no power to the coil. I think its an alarm issue.
Any thought?
Update. I pulled the interior from the gold car and put it in the red 951, dash and all. It wasn`t until I got it apart that I realized the gold car has split folding rear seats that are not easily installable into the red 86 which has a single bench rear seat. So that means it has to come out and the blue interior from the parts car must go in. That means replacing the burnt fabric center sections. Ill go with black dash top, blue lower pads, blue door cards, and blue carpets. Ill trim the seat centers in black.
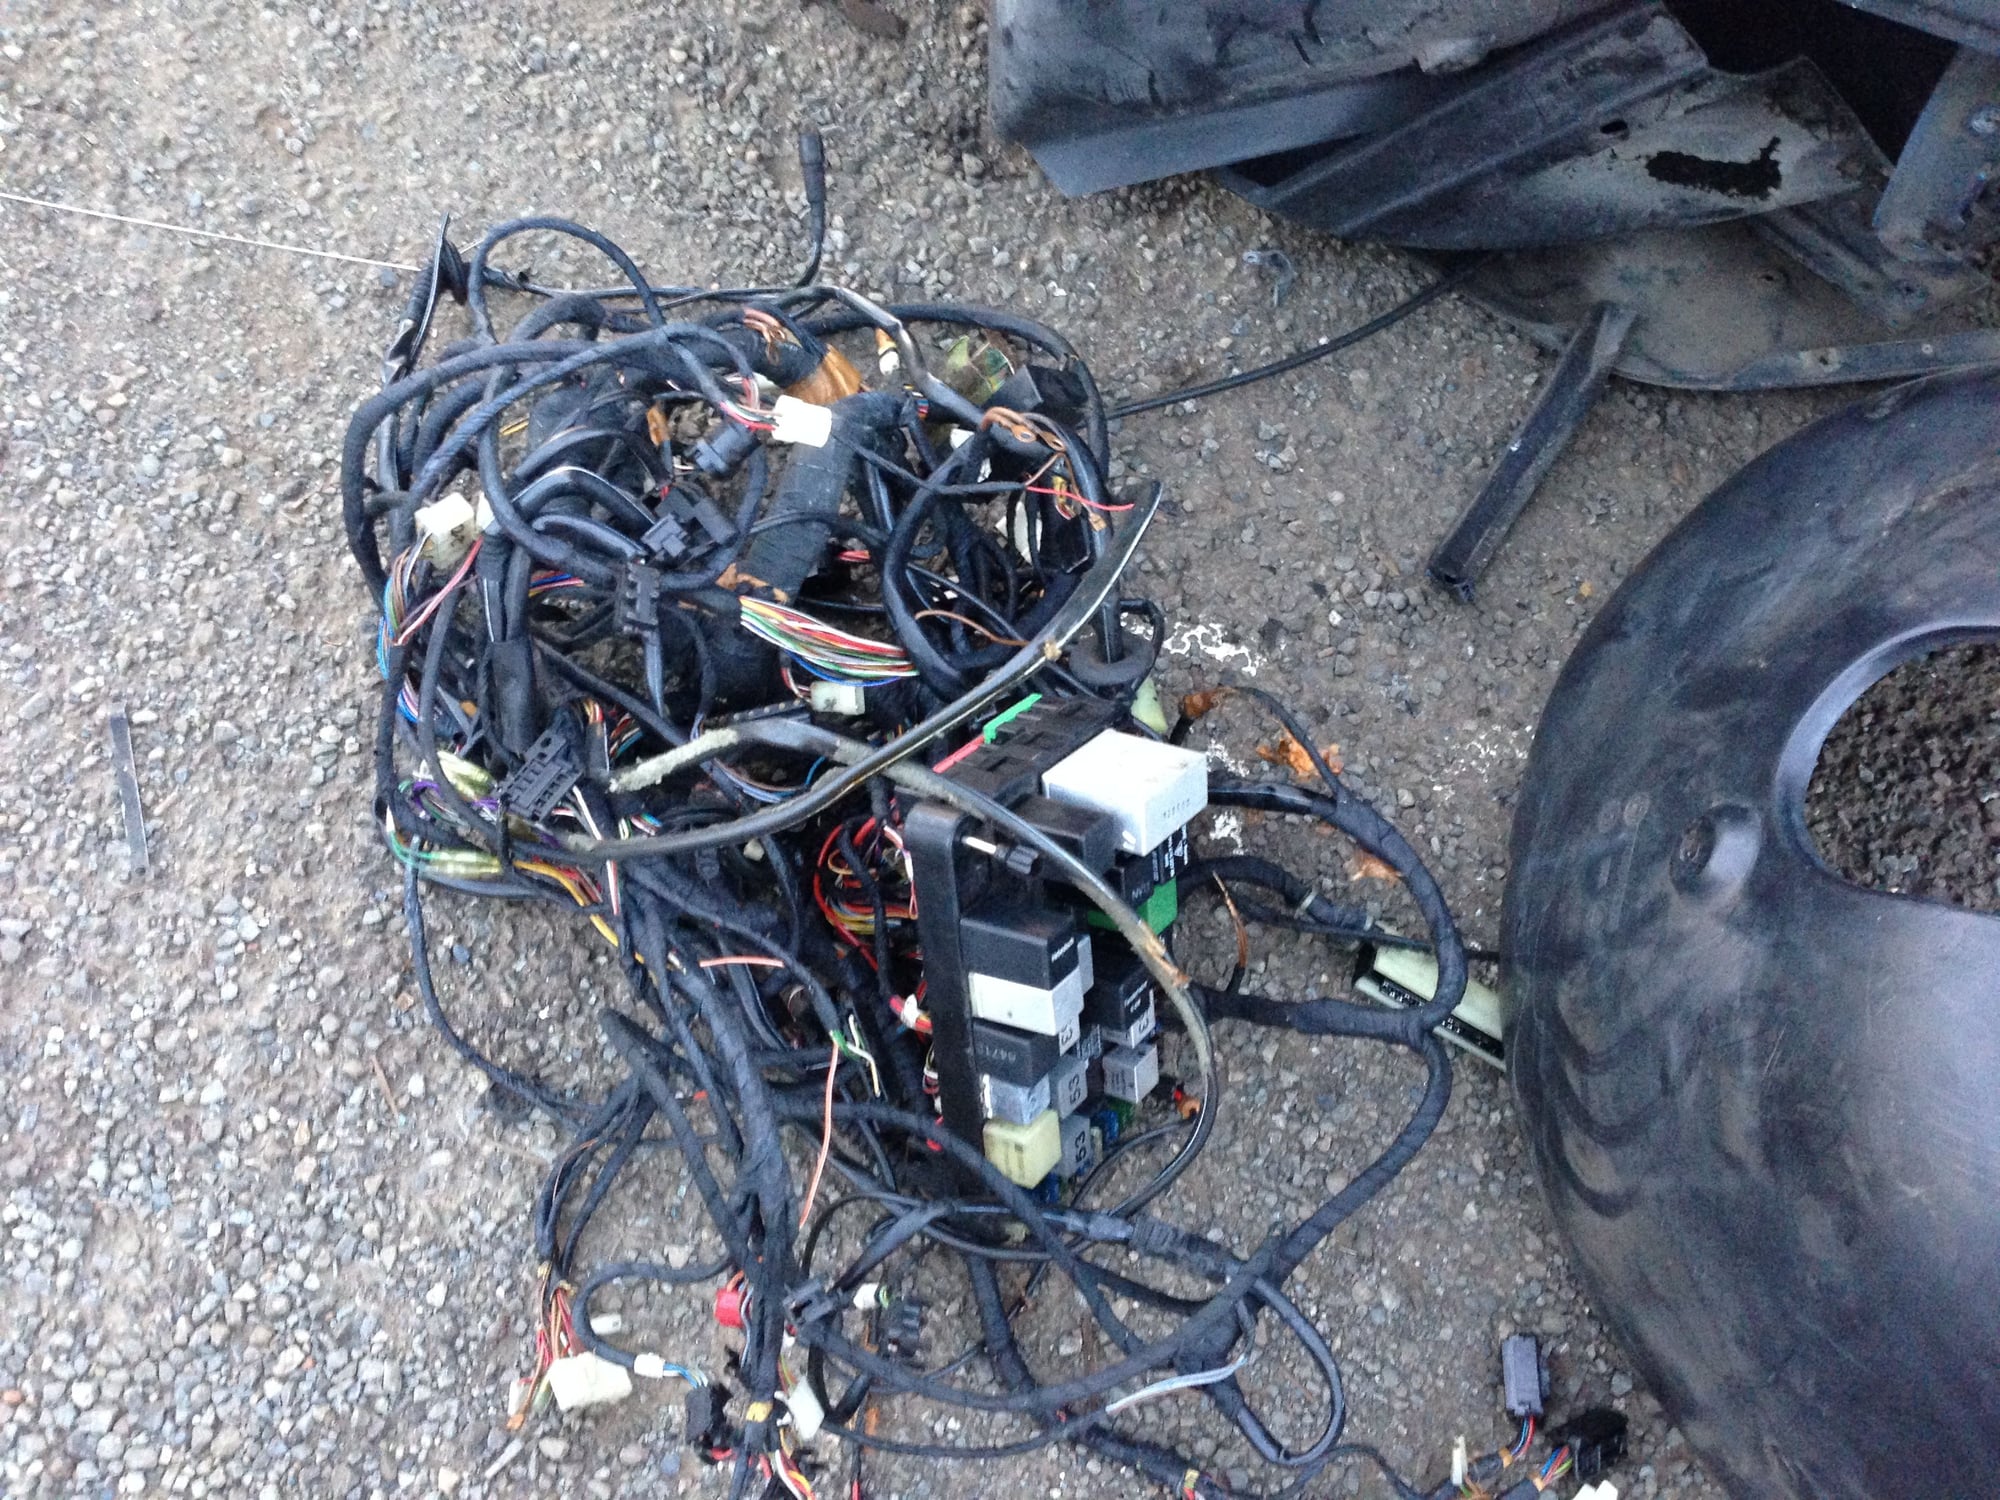
I pulled the entire interior wiring harness out of the parts car and the gold car. This weekend the gold car gets the factory S2 wiring harness and its original interior back. The red car with get the blue interior.
Got a lot done this weekend. Even the girlfriend helped with flashlight duty, enabling me to work until 11 Saturday night.
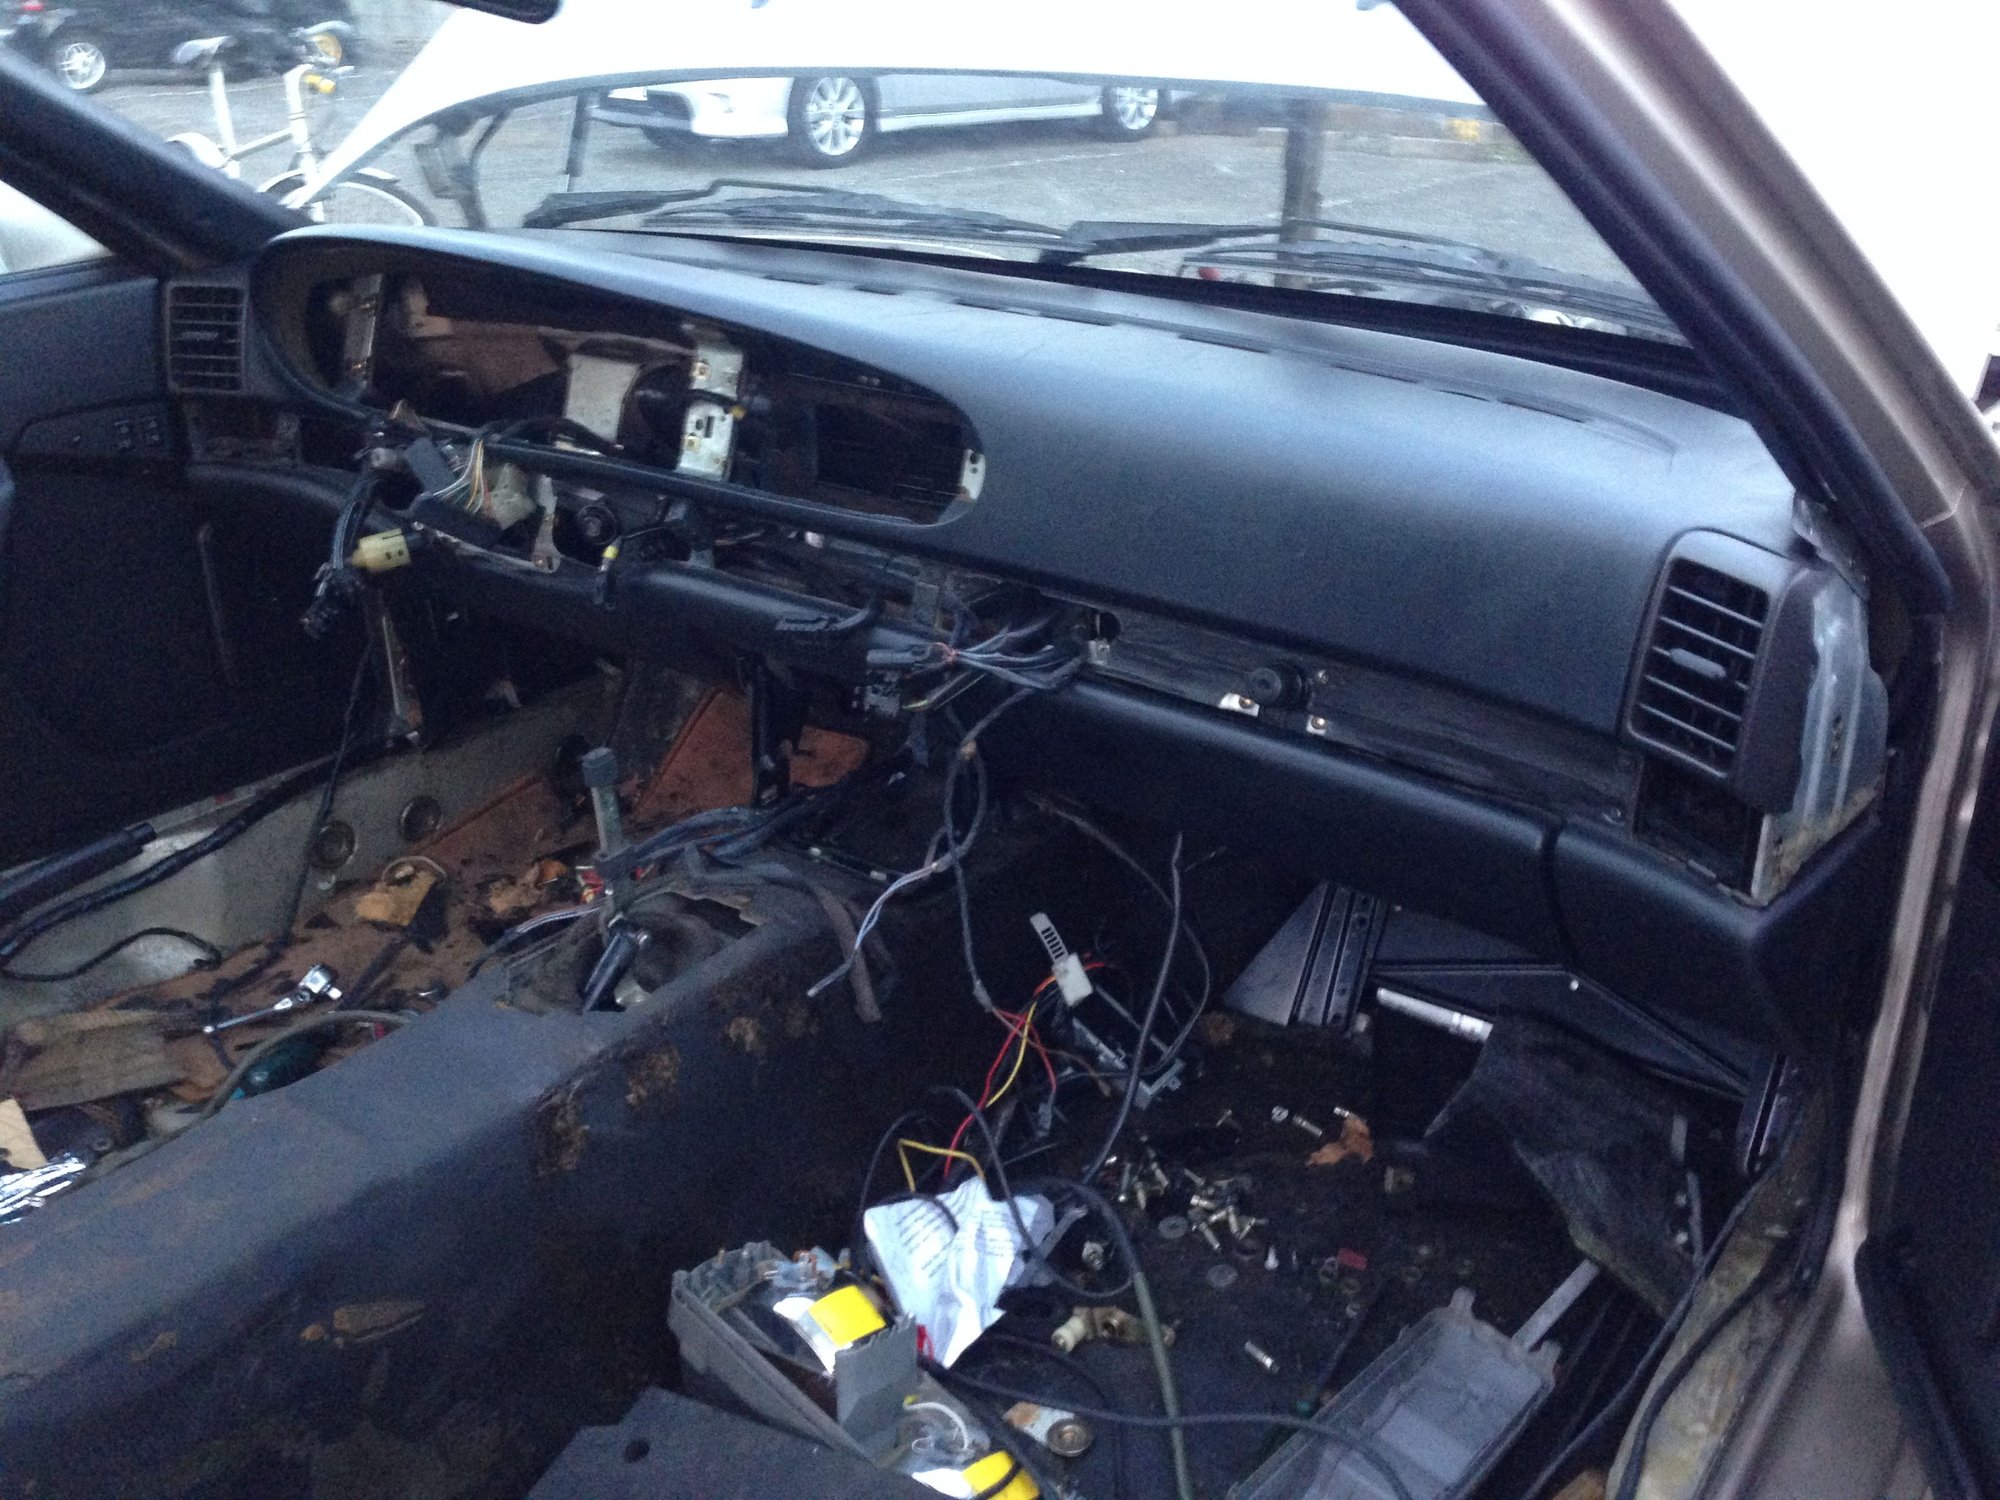
I got the original S2 wiring loom in the gold car. Pulled the dash from the red car put it in the gold car. I`m getting good at it. I can do it 30minutes now. Swapped carpets and even shampooed the seats. The interior is almost done. I pulled the blue carpets out of the parts car, shampooed them installed in the red turbo, no sound deadening.
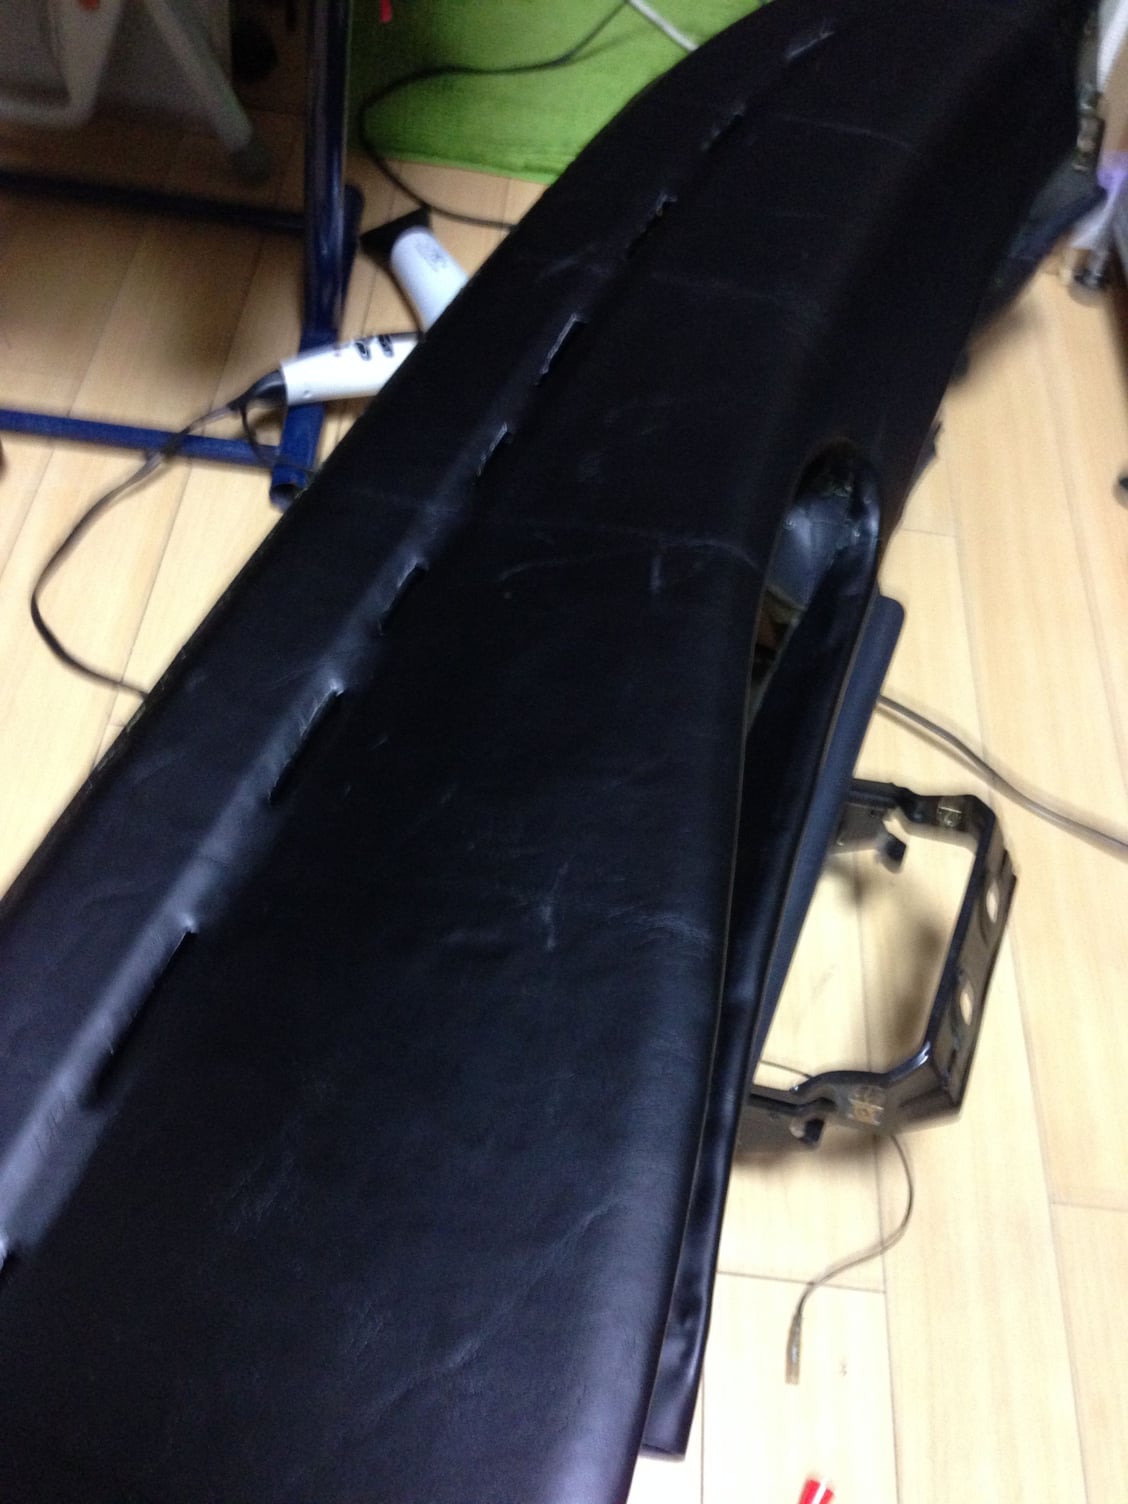
I am trying the foam filling on the dash. Going to cut the excess and sand tonight. Still thinking about how best to recreate the leather effect.
Just got back from Toronto for 2 weeks. Ready to tuck in a slay these beasts. S2 interior and engine harness and front harnesses are in. Now the tach bounces when it cranks, but there is no power at pin 1 at the brake booster. I can hear the fuel pump. I checked the harness at the igniter and there is power. Could it be there no coolant in the engine?
I feel I'm in the home stretch.
Please advise.
I got a very weak spark and wet plugs. In the home stretch. Will do the vacuum lines and check all connections.
The GF helped to wrap the dash for the 951. I used a very thick and expensive imitation leather vinyl. It turned out so well. The hardest part was the left side of the instrument hump between the vent. A little heat from hair dryer, gentle pulling and lots of glue and it formed quite nicely.
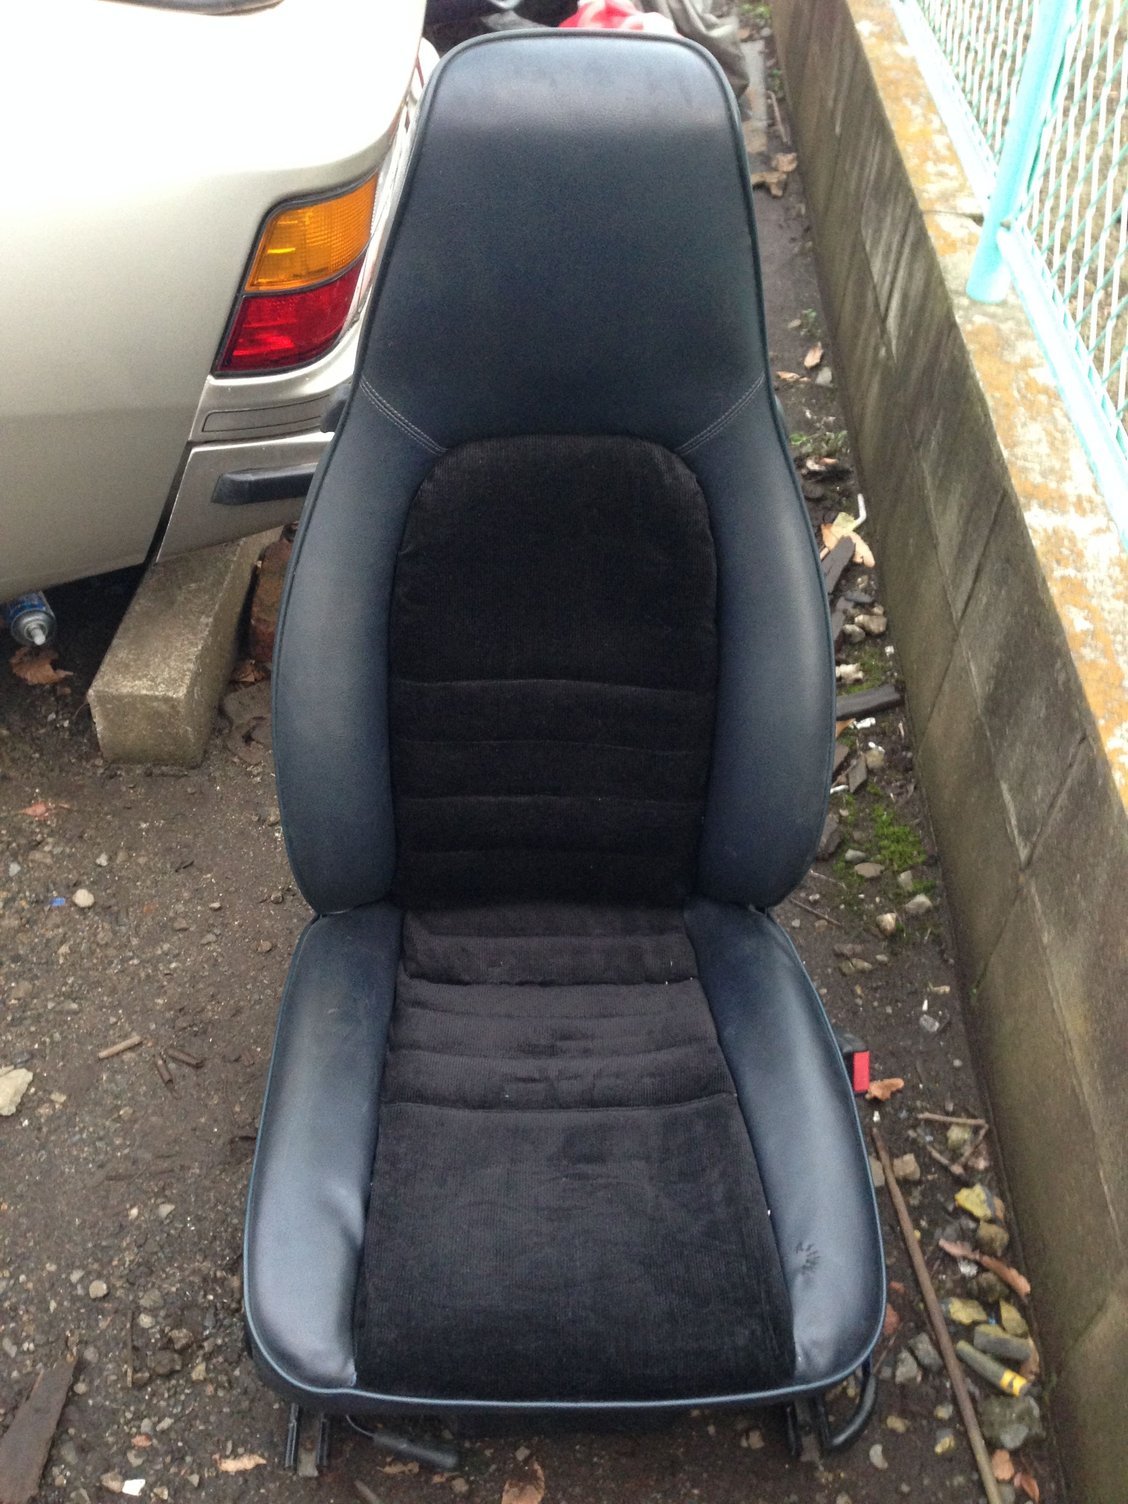
This week: sewing new black corduroy inserts in to the blue seats. Start the S2 then do the timing belt and water
pump.
Got some stuff done this weekend despite the rain.
It would fart but would not start even after swapping with a coil I knew to be good.
So I decided the do the tbelt and wpump. Good thing I did, because even though the belt looked good, every roller bearing was bad, and the waterpump was completely seized. Waiting now for those parts.
On the good side the interior is done.
Now on to the 951, it has developed an oil leak from the cam cover running down on to the exhaust.
I got the dash done and the passenger seat looks pretty good,
Where did you get the vinyl for the dash, if you don't mind me asking? I have a late dash I've already prepped, the thin 3M vinyl didn't go well at all. Need something thicker.
I got the vinyl from a local fabric store. I got most expensive, thickest, leather-like vinyl I could find at about $30/m. I am sure you can find something cheaper stateside.
Dear Sausage Hacker: Noticed your pic of the 944 on stands with the torque tube and tranny out. My engine is at the shop being "refreshed". Since this is my first 944,and it was acquired partially apart, I have some questions about the front apron. I have most of the parts for the apron attachment, but I 'm not exactly certain as how they all fit together. Apron arrived inside the car when I picked it up. Is the V-shaped brace on the passenger side horizontal? What does it attach to?..the exploded parts diagram doesn't show much, and I can only presume that it attaches to the semi-circular apron reinforcement piece between the apron and the fender on the pass side. If you could post some pics it would sure be a help. Also about the radiator scoop under the radiator, and how that all goes together would be a great help too, as the radiator and the scoop were both missing when I got the car..not sure how this goes together with the lower radiator mount...Thanks, Tiger 03447
Dear Sausage Hacker: Noticed your pic of the 944 on stands with the torque tube and tranny out. My engine is at the shop being "refreshed". Since this is my first 944,and it was acquired partially apart, I have some questions about the front apron. I have most of the parts for the apron attachment, but I 'm not exactly certain as how they all fit together. Apron arrived inside the car when I picked it up. Is the V-shaped brace on the passenger side horizontal? What does it attach to?..the exploded parts diagram doesn't show much, and I can only presume that it attaches to the semi-circular apron reinforcement piece between the apron and the fender on the pass side. If you could post some pics it would sure be a help. Also about the radiator scoop under the radiator, and how that all goes together would be a great help too, as the radiator and the scoop were both missing when I got the car..not sure how this goes together with the lower radiator mount...Thanks, Tiger 03447
Wish I could be more useful here, but I'm not familiar enough with the structure in that area of the car to be of any use. The pic I posted wasn't mine, IIRC I posted it just to show a method by which the entire driveline could be pulled at once.
Got the timing belt, rollers and water pump done yesterday. Before doing it I got fuel but a weak spark. After finishing the job I get a strong spark but no fuel. For a while I had both but it still did not start. I played with the alarm bypass and now I get no power to the DME, no spark no fuel, no tach bounce.
I have read a lot on this bypass issue. Clarkes Garage says jump 1 and 4, others say 1 and 3 if you have the 928 alarm module as I do. I realized that if I jump 1-4 there is power at 3 anyway but if I jump 3 no power shows at 4. Should the module stay plugged in? Is 7-8 bypass necessary.
Any suggestions?

 10-12-2014, 09:50 PM