Cracked Dashes: Alternatives?

 11-01-2012, 09:18 PM
#17
Drifting
Join Date: Jul 2009
Location: Caraquet-- New-Brunswick-- Canada
Posts: 2,728
Likes: 0
Received 2 Likes
on
2 Posts

 11-01-2012, 10:16 PM
#19
Racer
Join Date: Oct 2008
Location: Tucson, Az
Posts: 346
Likes: 0
Received 0 Likes
on
0 Posts
I've had my gauge cluster out multiple times, and every time it gets easier, just like any other job that seems intimidating.
Trans R&R #1 - 3-4 hours
Trans R&R #3 - 45 minutes.
But the day I rip my dash out that far is the day my interior gets changed to this:
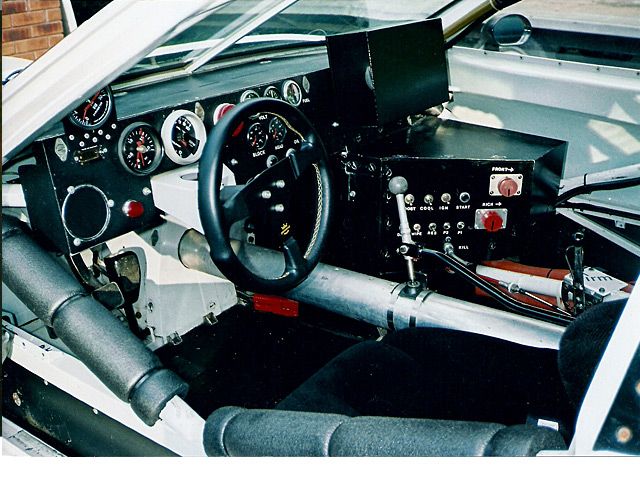
Just kidding, of course. Looks great, nice to know I won't have to live with the cracks if I choose not to!
Jeff
Trans R&R #1 - 3-4 hours
Trans R&R #3 - 45 minutes.
But the day I rip my dash out that far is the day my interior gets changed to this:
Just kidding, of course. Looks great, nice to know I won't have to live with the cracks if I choose not to!
Jeff
11-01-2012, 10:24 PM
#20
Rennlist Member
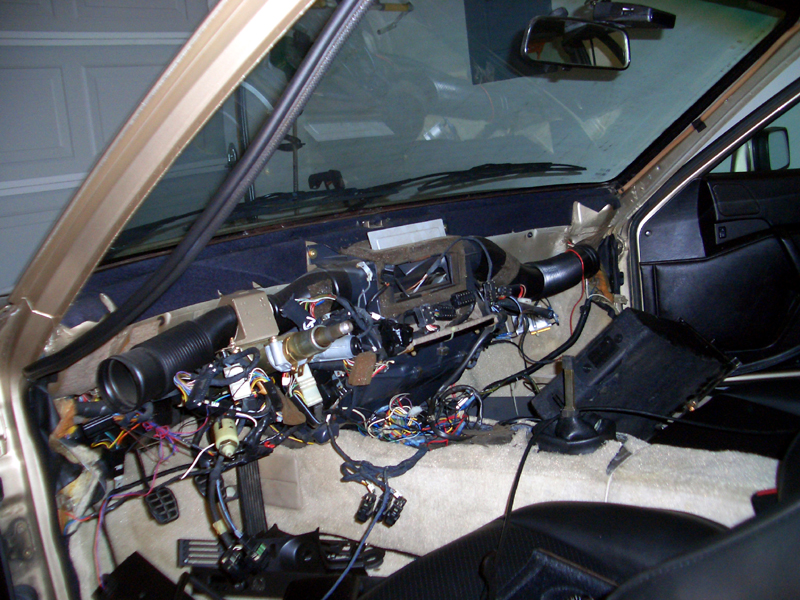
The question that enters my mind is what's under the finish layer on a 944? Sadly, I don't know. In the case of the 928, it's another layer of leather. Boy was I glad to see that! It's just like new! So, my first thought was stain it and I'm done. However, I decided to recover it instead. So it was off to the local leather shop and $45 later I left with a very close match that I know I will be happy with.
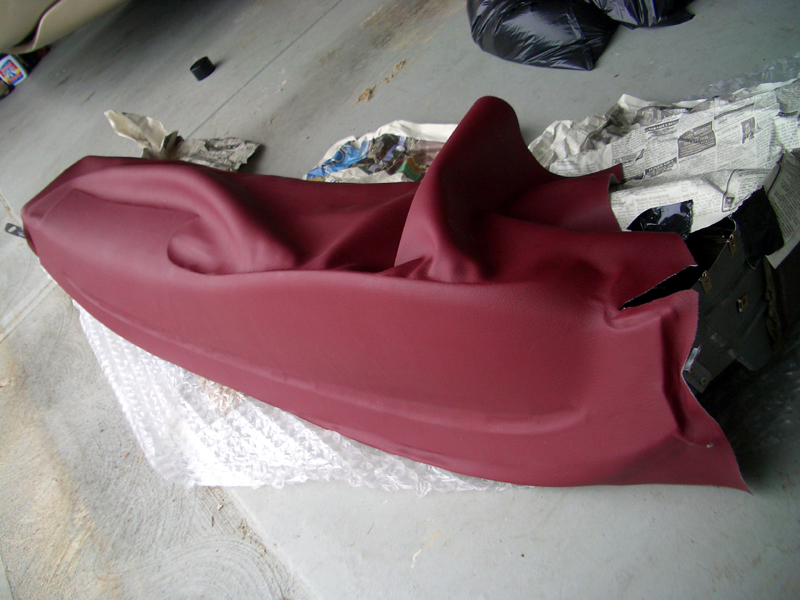
At this point, I've removed the old leather, sanded the old adhesive off, cut the leather to fit and hope to glue it up one of these weekends. I chose a leather glue that doesn't set like contact cement. I've got about a 20 minute window of opportunity to get it right.
Pictures of the finished product will make an appearance one of these days. Or next spring.
Last edited by curtisr; 11-04-2012 at 10:12 PM.
11-01-2012, 10:56 PM
#21
Pro
Mine is cracked, I am going to try the fibernew.
11-03-2012, 05:00 AM
#22
RL Community Team
Rennlist Member
Rennlist Member
I've always wondered if flocking fleece would look good on a dash. Since it's not a single piece of upholstery, it wouldn't be hard to cover those compound curves, and it wouldn't ever crack! It may not look as good as other options, but it beats a cracked dash.
11-03-2012, 11:26 PM
#24
RL Community Team
Rennlist Member
Rennlist Member
11-04-2012, 10:36 AM
#25
Check www.928leather.com Pics Gallery #4
07-03-2014, 01:35 PM
#26
Burning Brakes
This 944 guy just peels the old vinyl off and glues on a new cover.
Doesn't need to remove the dash or windshield from the car.
I suspect use of vacuum (if it could be easily applied from the vents) would be very helpful.
07-03-2014, 04:27 PM
#29
 07-04-2014, 05:43 AM
#30
Burning Brakes
Well, from the looks of it, removal of the dashboard is not necessary, so why bother? Or, if better access to the very front edge of the dashboard is preferable, maybe the dashboard could be loosened a bit without having to disconnect all the guts and wires under it. Or this procedure could be done when the windshield is being replaced. However, careful application of contact cement and use of a flexible spatula or foam brush to position and hold the leading edge of the vinyl to the leading edge of the dashboard, might work fine.
Further thoughts: 4-way stretch vinyl does just that--stretches 4 ways, whereas typical fabric-backed vinyl has warp and weave such that it may stretch well in one direction, but not another. In that case, best to orient the stuff however it best conforms to the shape of these dashboards, which fortunately are pretty simple convex curvature. Or, use thinner vinyl material and/or stuff that has no fabric backing, since such backing is not really needed because the dashboard itself holds the material, which just sits there, unlike, say, seat covers which take a lot of stress.
Heating the stuff in the sun or with a hair dryer or heat gun really helps its workability and strechability. Vacuum forming a heated and tailored piece would make it conform to the shape, and hold it with uniform pressure while the glue sets. Given the relatively simple convex shape of our dashboards, maybe the glue only needs to be applied at the perimeter of the vinyl sheet, leaving the midsection free to flex a bit with thermal expansion and contraction--i.e., no stress points.
Could add a thin layer of foam between dashboard and vinyl sheet cover, for impact absorption in a crash, noise reduction, etc.
Avoid black or dark colors, which get too hot and act as pretty efficient solar collector and heat up the cabin, and then later crack, as we all know. If your seats are tan, why not use matching tan vinyl for the dashboard cover, window sills, and the roll-up cargo cover? Car will be a lot cooler inside on sunny days, and the lighter color will last longer than dark due to less thermal stress.
Using essentially the same technique as shown in the video, all this could be done for less than $50, in an afternoon. Would spending lots more money and time get any better result? Have another look at the video: I'll bet that guy used less than 1/2 yard of 54" wide material. Googling for fake-leather textured vinyl, one finds that it generally costs less than $30 per yard, or maybe $10-$15 worth. Contact cement is not expensive, especially when brushed or rolled on, so I guesstimate the video guy has less than $20 in this project. If you go first class and use marine grade upholstery vinyl, the cost would be marginally higher. But, this is not a stressed part like a motorcycle or boat seat, so the cheaper stuff should be fine.
Think about it. And, for further info on how plastics can be worked, go on YouTube and watch a few videos on thermoforming, which is surely how the Porsche factory applied the textured vinyl skin to the dashboard substrate.