Fix Ball Joint on the Car?
 03-03-2012, 10:35 PM
#1
Racer
Thread Starter
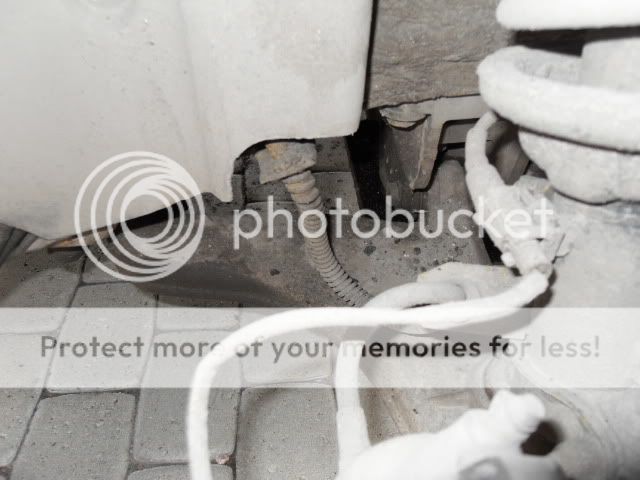
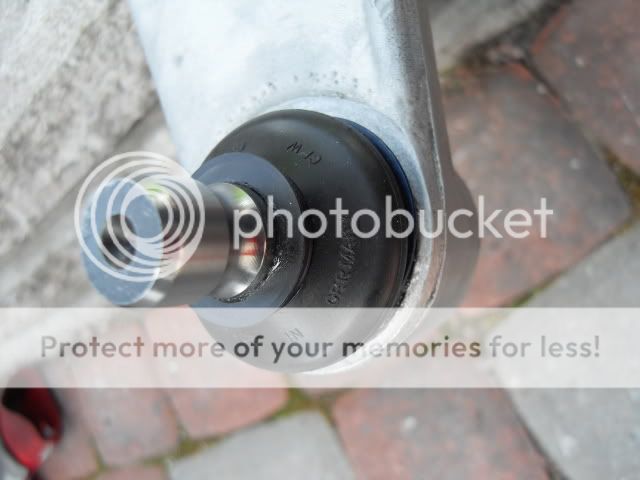
I have read almost all the threads I searched, back to 2002... I have one torn boot - I also have no idea if the ball joints were ever changed so replacing the boot only, seems to be specious - I will order the Rennbay kits, but why do I have to take out the arm? Apart from spending more time on my back on the ground, couldn't I just 'pickle' the ball joint and do it on the car? The glue is held in with a special washer til it sets.
 03-04-2012, 12:08 AM
#2
Burning Brakes
I thought you were selling your car? Anyways....Just take the arms off the car, it will be much easier to peplace the bjs. Here's the best instructions Ive found: http://www.texasblake.com/porsche/tech/controlarms.html
03-04-2012, 09:44 AM
#3
Racer
Thread Starter
I don't want to. I may not. I have been finishing up the projects I had started before it got cold and I found a torn boot. I couldn't sell it like this unless it really only is a torn boot. I'm not going to sell it. Anyway it gets a new Rennbay ball joint no matter what. Thanks for replying.
03-04-2012, 11:52 AM
#4
Site Sponsor
Lifetime Rennlist
Member
Lifetime Rennlist
Member
Join Date: Aug 2002
Location: A great big building in the woods, FL.
Posts: 6,527
Likes: 0
Received 3 Likes
on
2 Posts
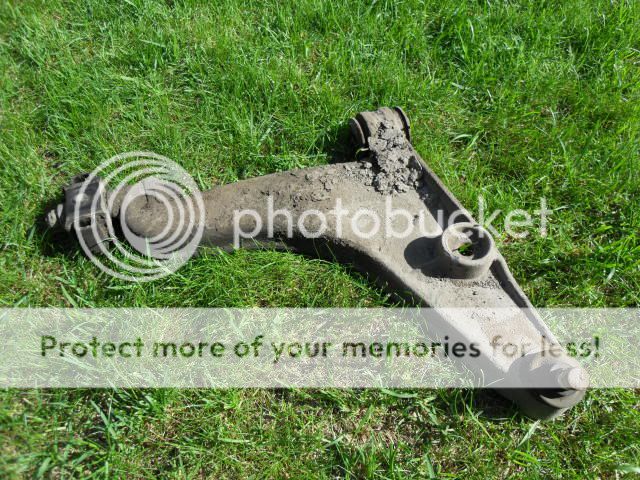
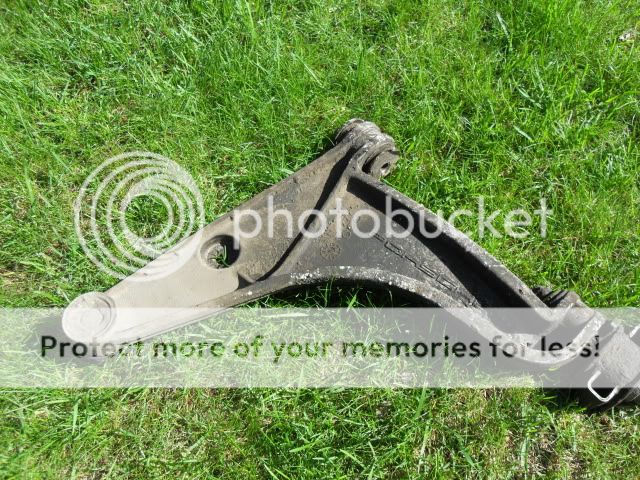
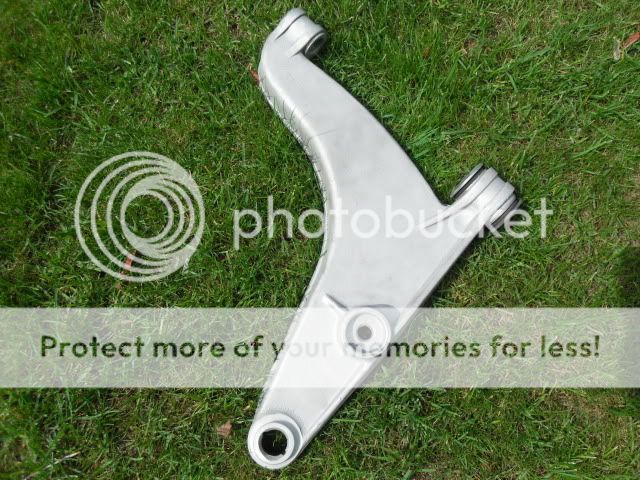
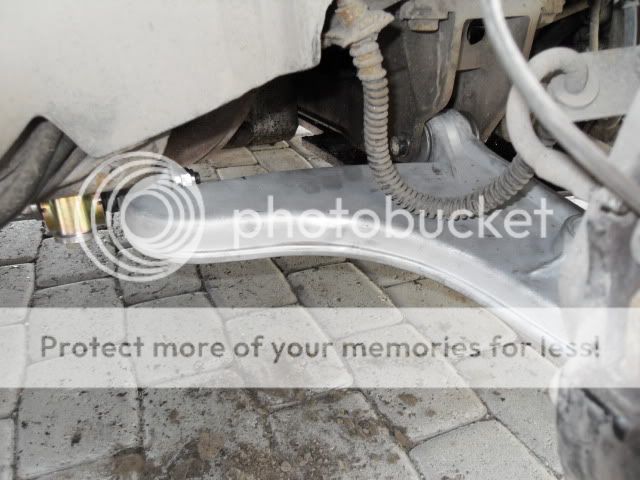
Removing the arms is a pretty easy job. I have found that the best way is as listed below.
Remove front bolt
Remove two rear caster block bolts
Rotate the arm off of the sway bar
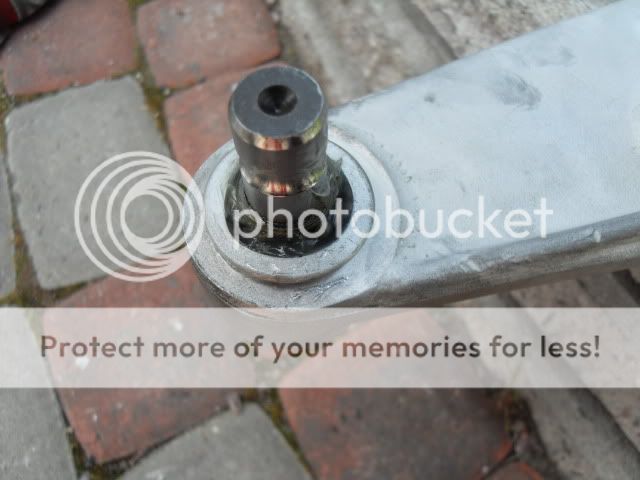
Remove pinch bolt and ball pin from spindle.
By leaving the ball joint / spindle connection for last lets you use the leverage of the arm to slide it off the sway bar. It will also allow you to leave the sway bar drop link attached to the arm (one less step).
Remove front bolt
Remove two rear caster block bolts
Rotate the arm off of the sway bar
Remove pinch bolt and ball pin from spindle.
By leaving the ball joint / spindle connection for last lets you use the leverage of the arm to slide it off the sway bar. It will also allow you to leave the sway bar drop link attached to the arm (one less step).
03-04-2012, 12:49 PM
#5
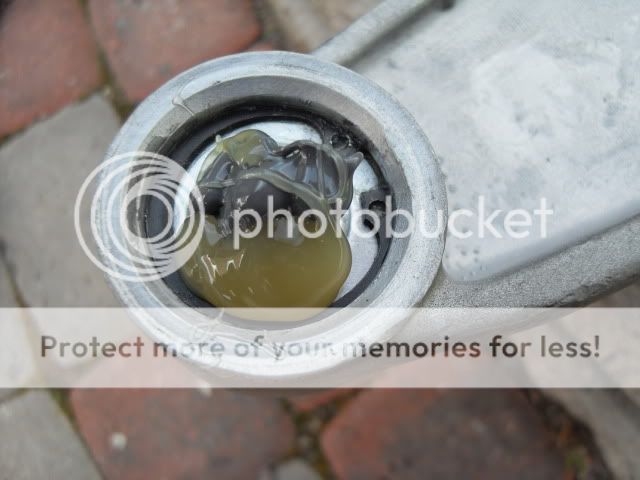
How would you get the epoxy to set up with the control arm still in place? You mentioned a washer but I can't picture how to do this. The grease fitting sits higher than the flange of the control arm. FWIW, I did mine off the car. The longest part of the install was waiting on the epoxy to set up.
03-04-2012, 01:37 PM
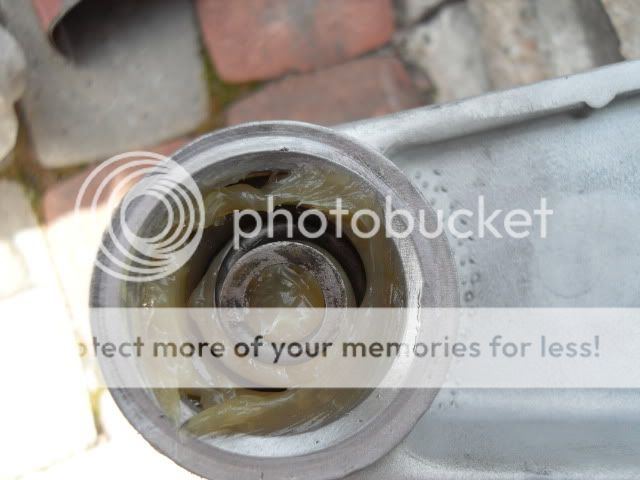
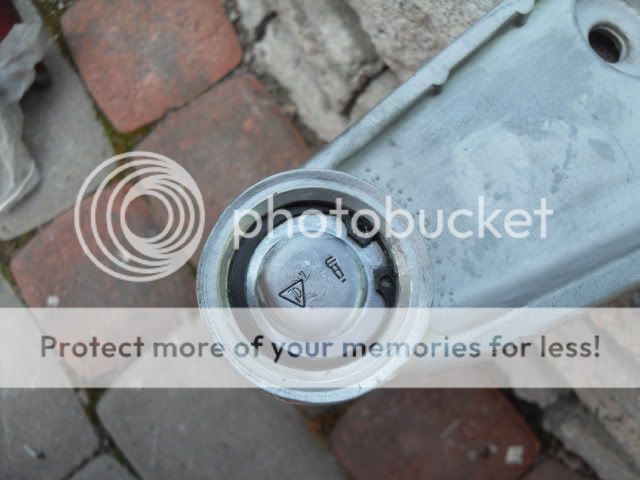
#6
Nordschleife Master
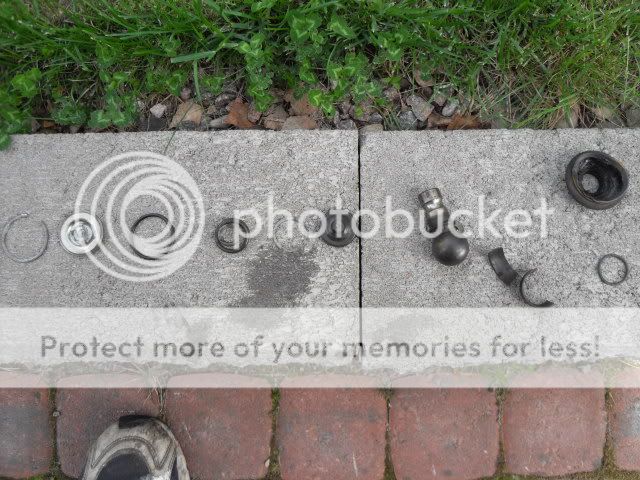
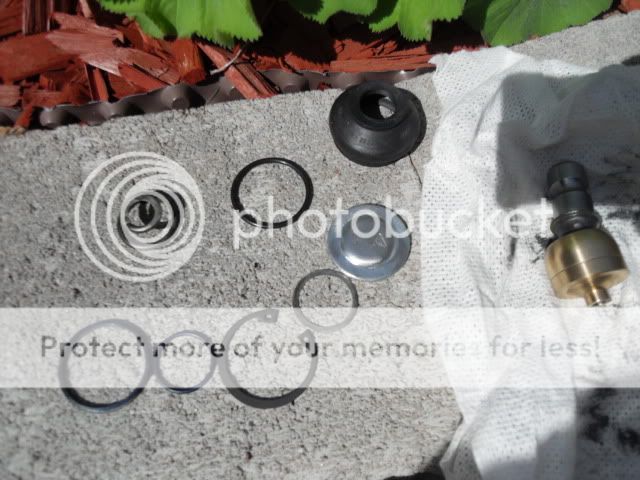
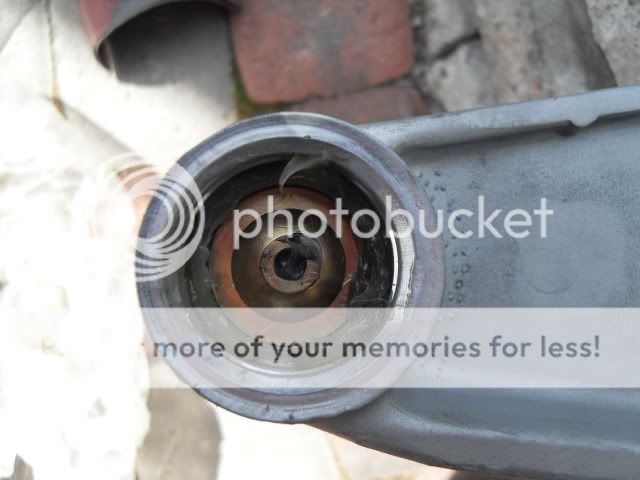
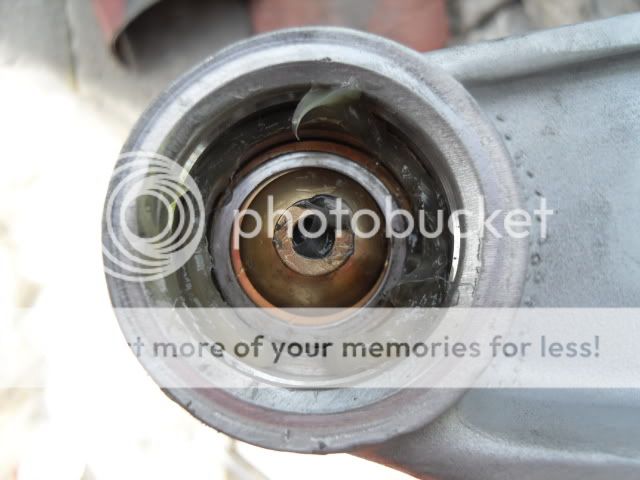
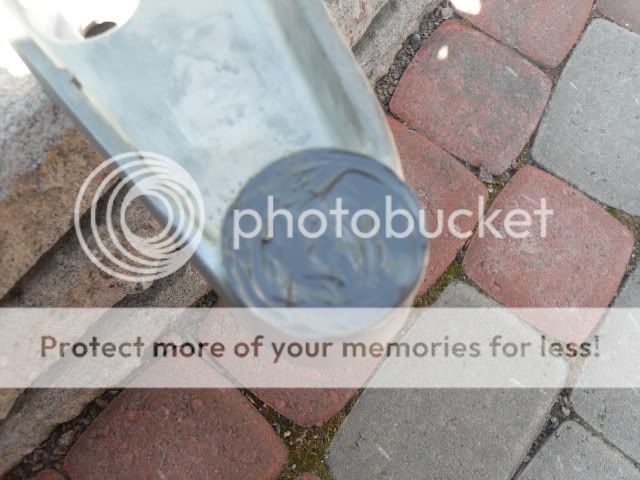
I don't see the point of the epoxy on those kits. There is a metal disc protecting the ball joint and the only way water/dirt can get in is if it finds it's way around the circlip holding that disc in place. I used a bead of clear silicon sealant around the circlip area only and it seals fine. It's been there over 3-years and I cannot see any sign of corrosion of the circlip under the silicone. Plus it's much easier to remove if you have to do the job again.
03-04-2012, 04:26 PM
#7
Rennlist Member
I don't see the point of the epoxy on those kits. There is a metal disc protecting the ball joint and the only way water/dirt can get in is if it finds it's way around the circlip holding that disc in place. I used a bead of clear silicon sealant around the circlip area only and it seals fine. It's been there over 3-years and I cannot see any sign of corrosion of the circlip under the silicone. Plus it's much easier to remove if you have to do the job again.
Trending Topics
03-05-2012, 03:22 PM
#8
Racer
Thread Starter
All I've heard is the epoxy is to hold the circlip in place, not a corrosion concern. Also, they provide a 'washer' which presses onto the wet epoxy an holds it in place, giving it a "finished" look (for those who get judged on the looks of their ball joints)...