When you click on links to various merchants on this site and make a purchase, this can result in this site earning a commission. Affiliate programs and affiliations include, but are not limited to, the eBay Partner Network.
I know that this is an old thread but I stumbled across it in the course of getting as much done on my car as possible while I have everything disassembled. It looks like a really solid process and is one that I will be doing in the course of my rear main seal replacement.
For those in the US that are looking for more options than what McMaster offers for urethane you can look here: https://www.reynoldsam.com
There are a couple of nice things about that site and what they offer. First, you can order urethanes or silicones in a wide variety of durometer hardnesses. Maybe more importantly, they offer small, trial size kits for lower cost than what I could find at McMaster. Least importantly, though I sort of like the idea (and I know that no one will really ever see it), they offer tints for urethanes and silicones so you can customize the color of the compounds. I can't deny that there's an appeal to that for me, ridiculous as it is.
This site has been a trove of helpful information and people, so I hope this helps folks in the future.
go with the lighter durometer specs. It’s pretty stiff once it all cures. I did it 4 months or so ago
Azerite: I ended up ordering the 50A kit. I know that others recommended the higher hardness materials but I figured that the car is already sort of rattly (I have to figure that out still), so maybe I can save myself some noise and 50A is still stiffer than air. I'll post pictures once I'm done but I anticipate it'll be a little bit. It's good to get more input on the process though, so thanks.
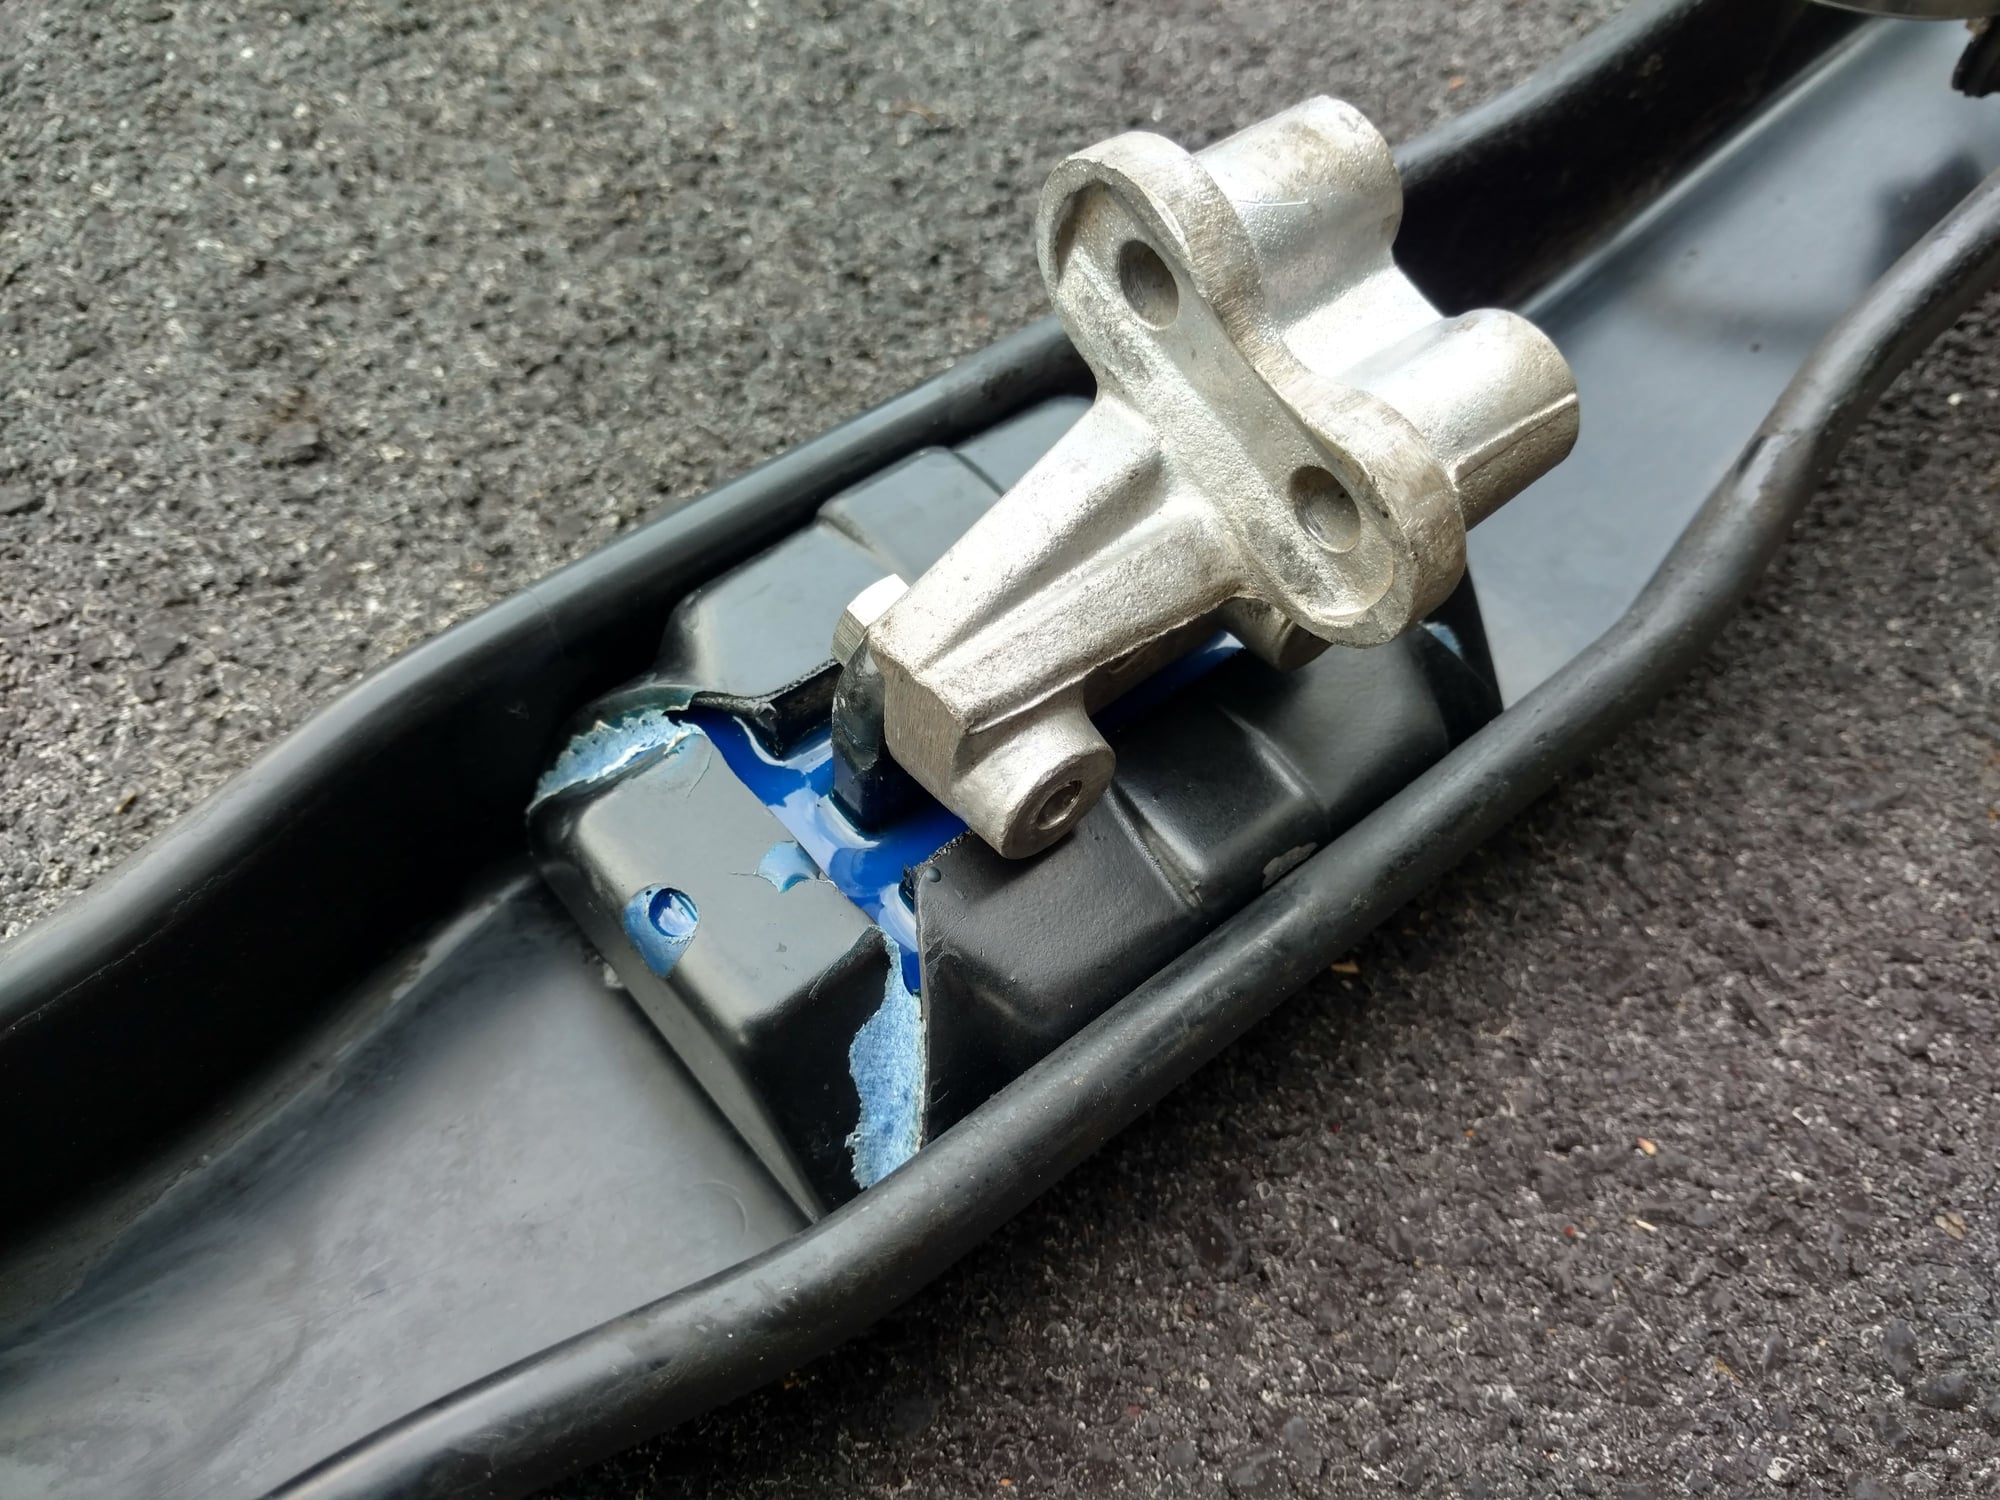
Here's pictures of how mine came out. I didn't do the dam method shown below (though that looks great!) as I worried about, for whatever reason, having to remove the thing in the future (probably a pointless concern, granted).
On the ground, you can see some of the masking tape that I couldn't quite remove from the urethane in the corner gaps of the mount: Installed in the crossmember
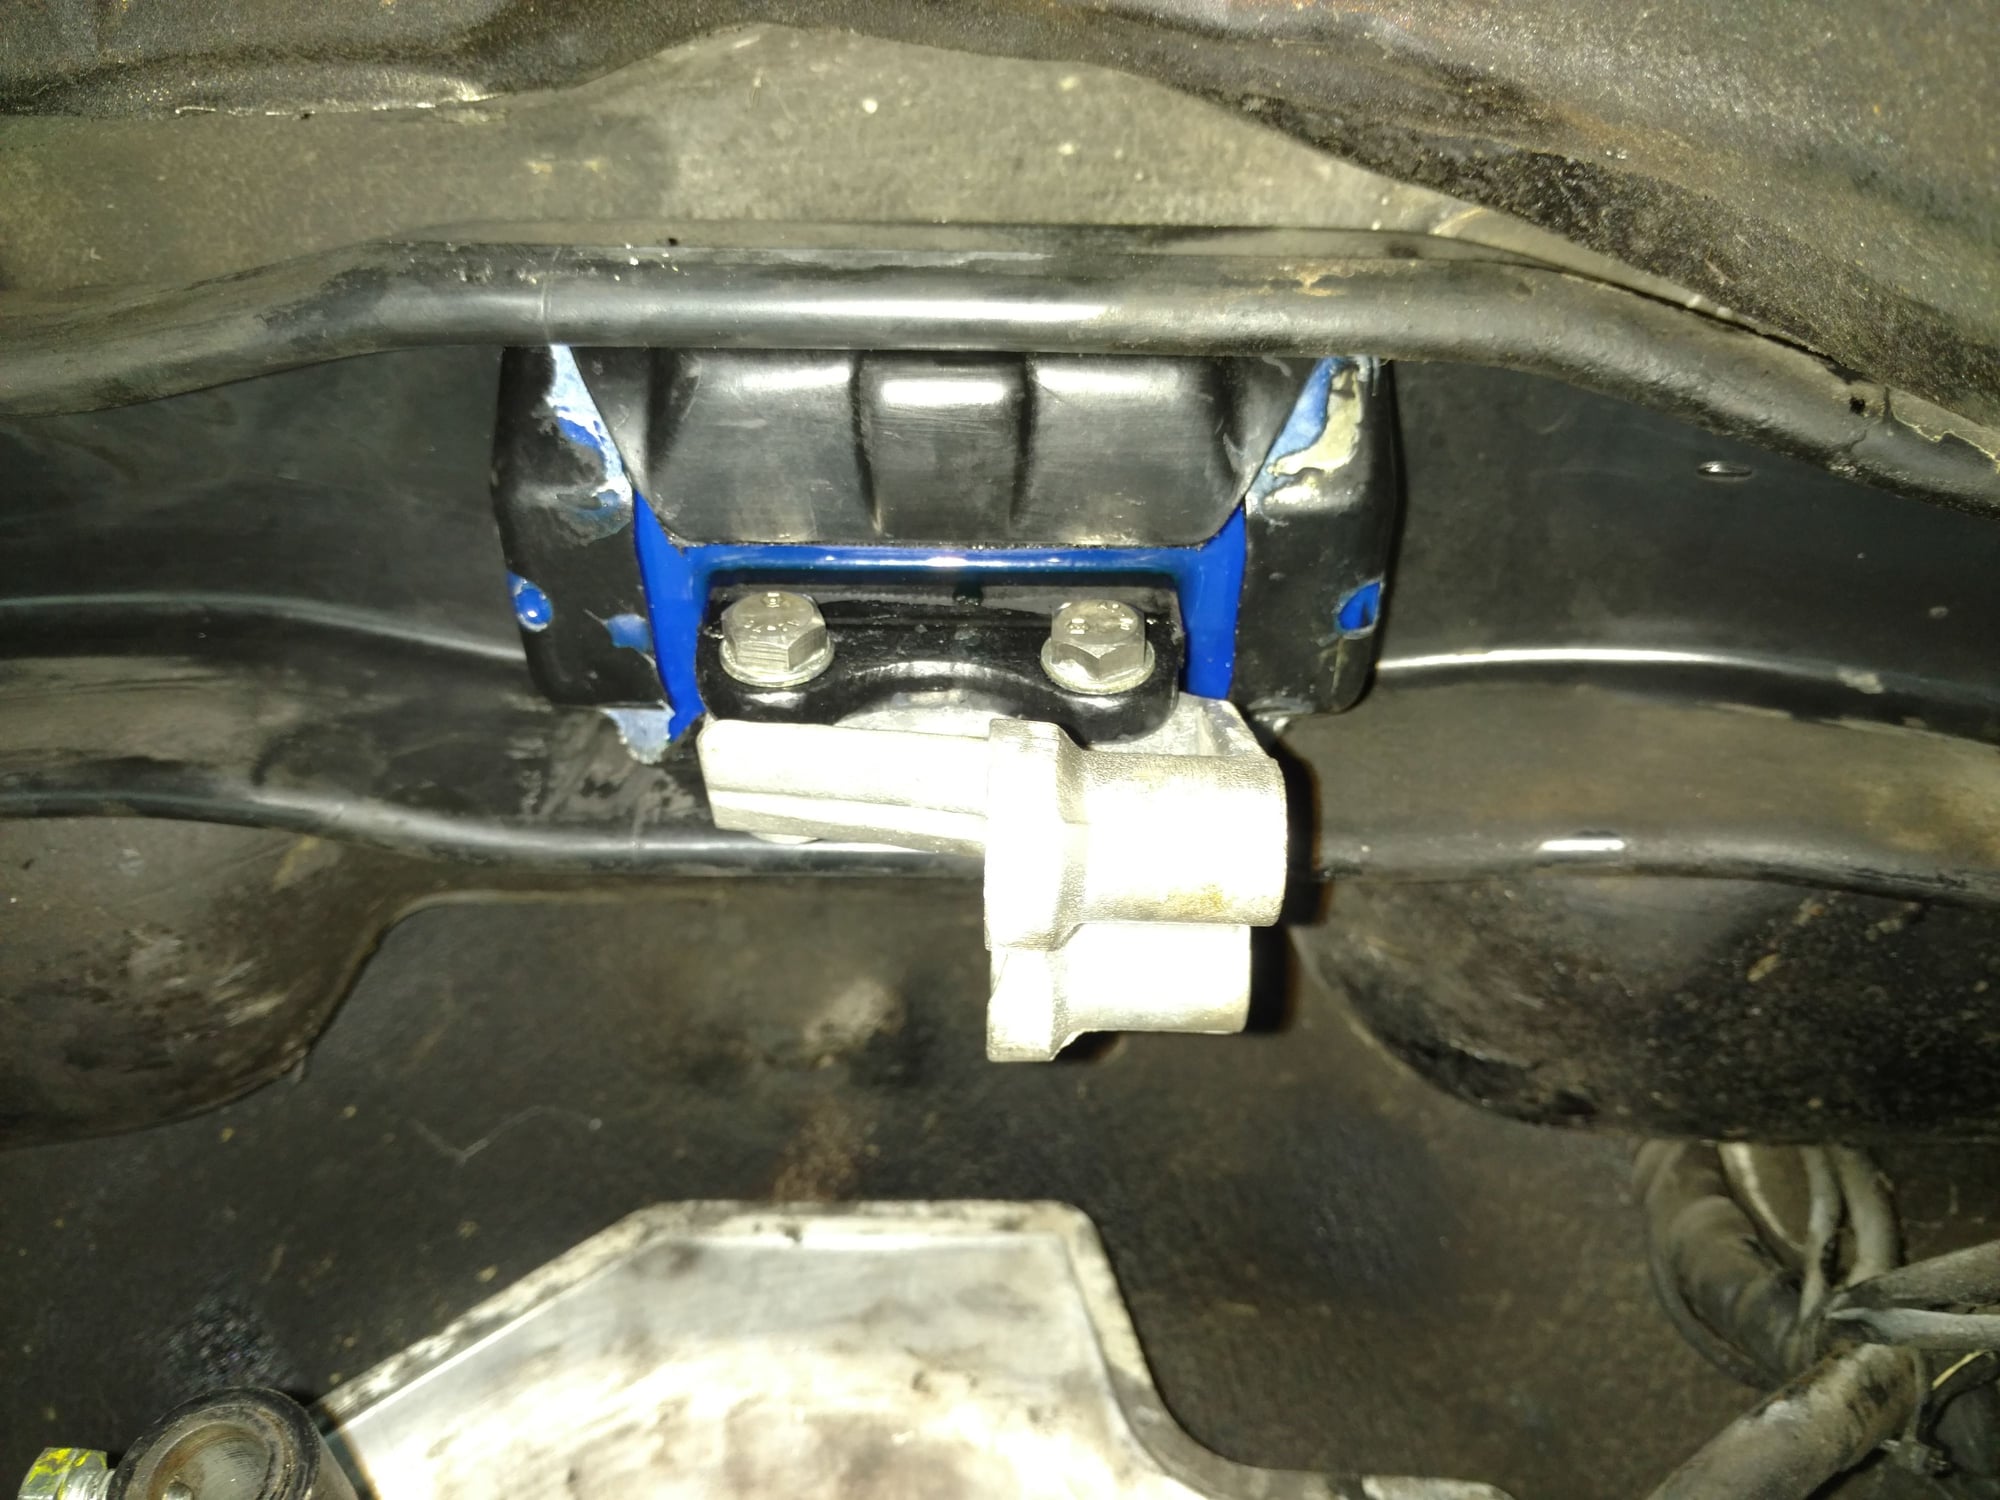
And here it is in the car: It's a nice bright blue that will be very hidden
Thanks again to everyone that has contributed to this thread, I think it looks great and can't wait to see how it's changed the car's feel.
Last edited by Zirconocene; 05-09-2019 at 02:35 PM.
Reason: Added reply to, Added pictures
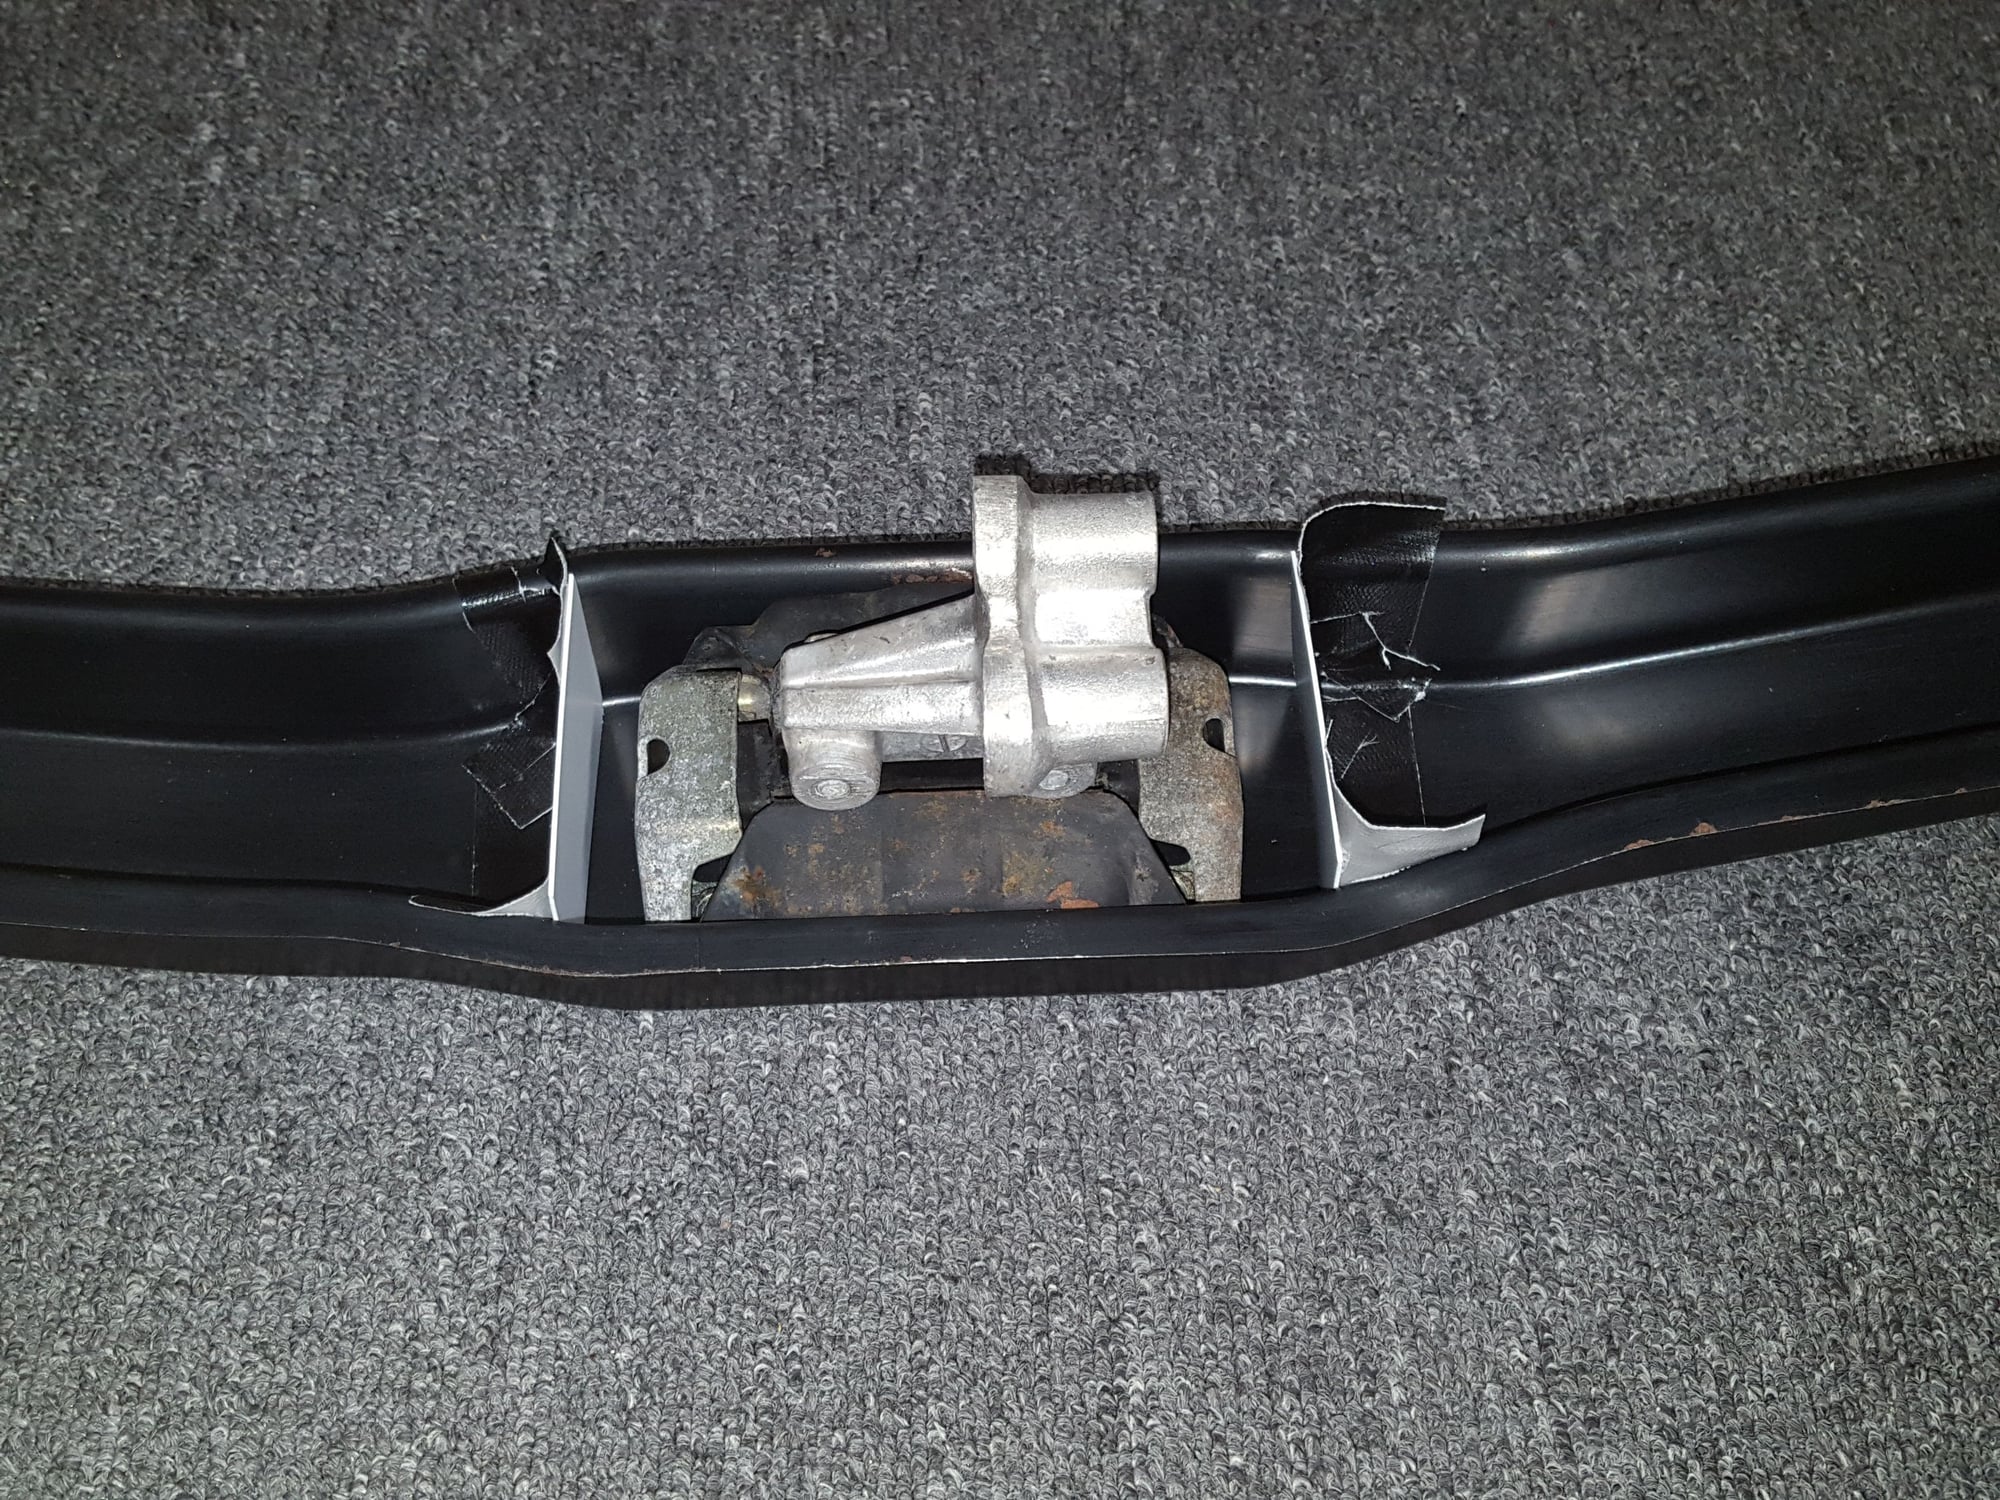
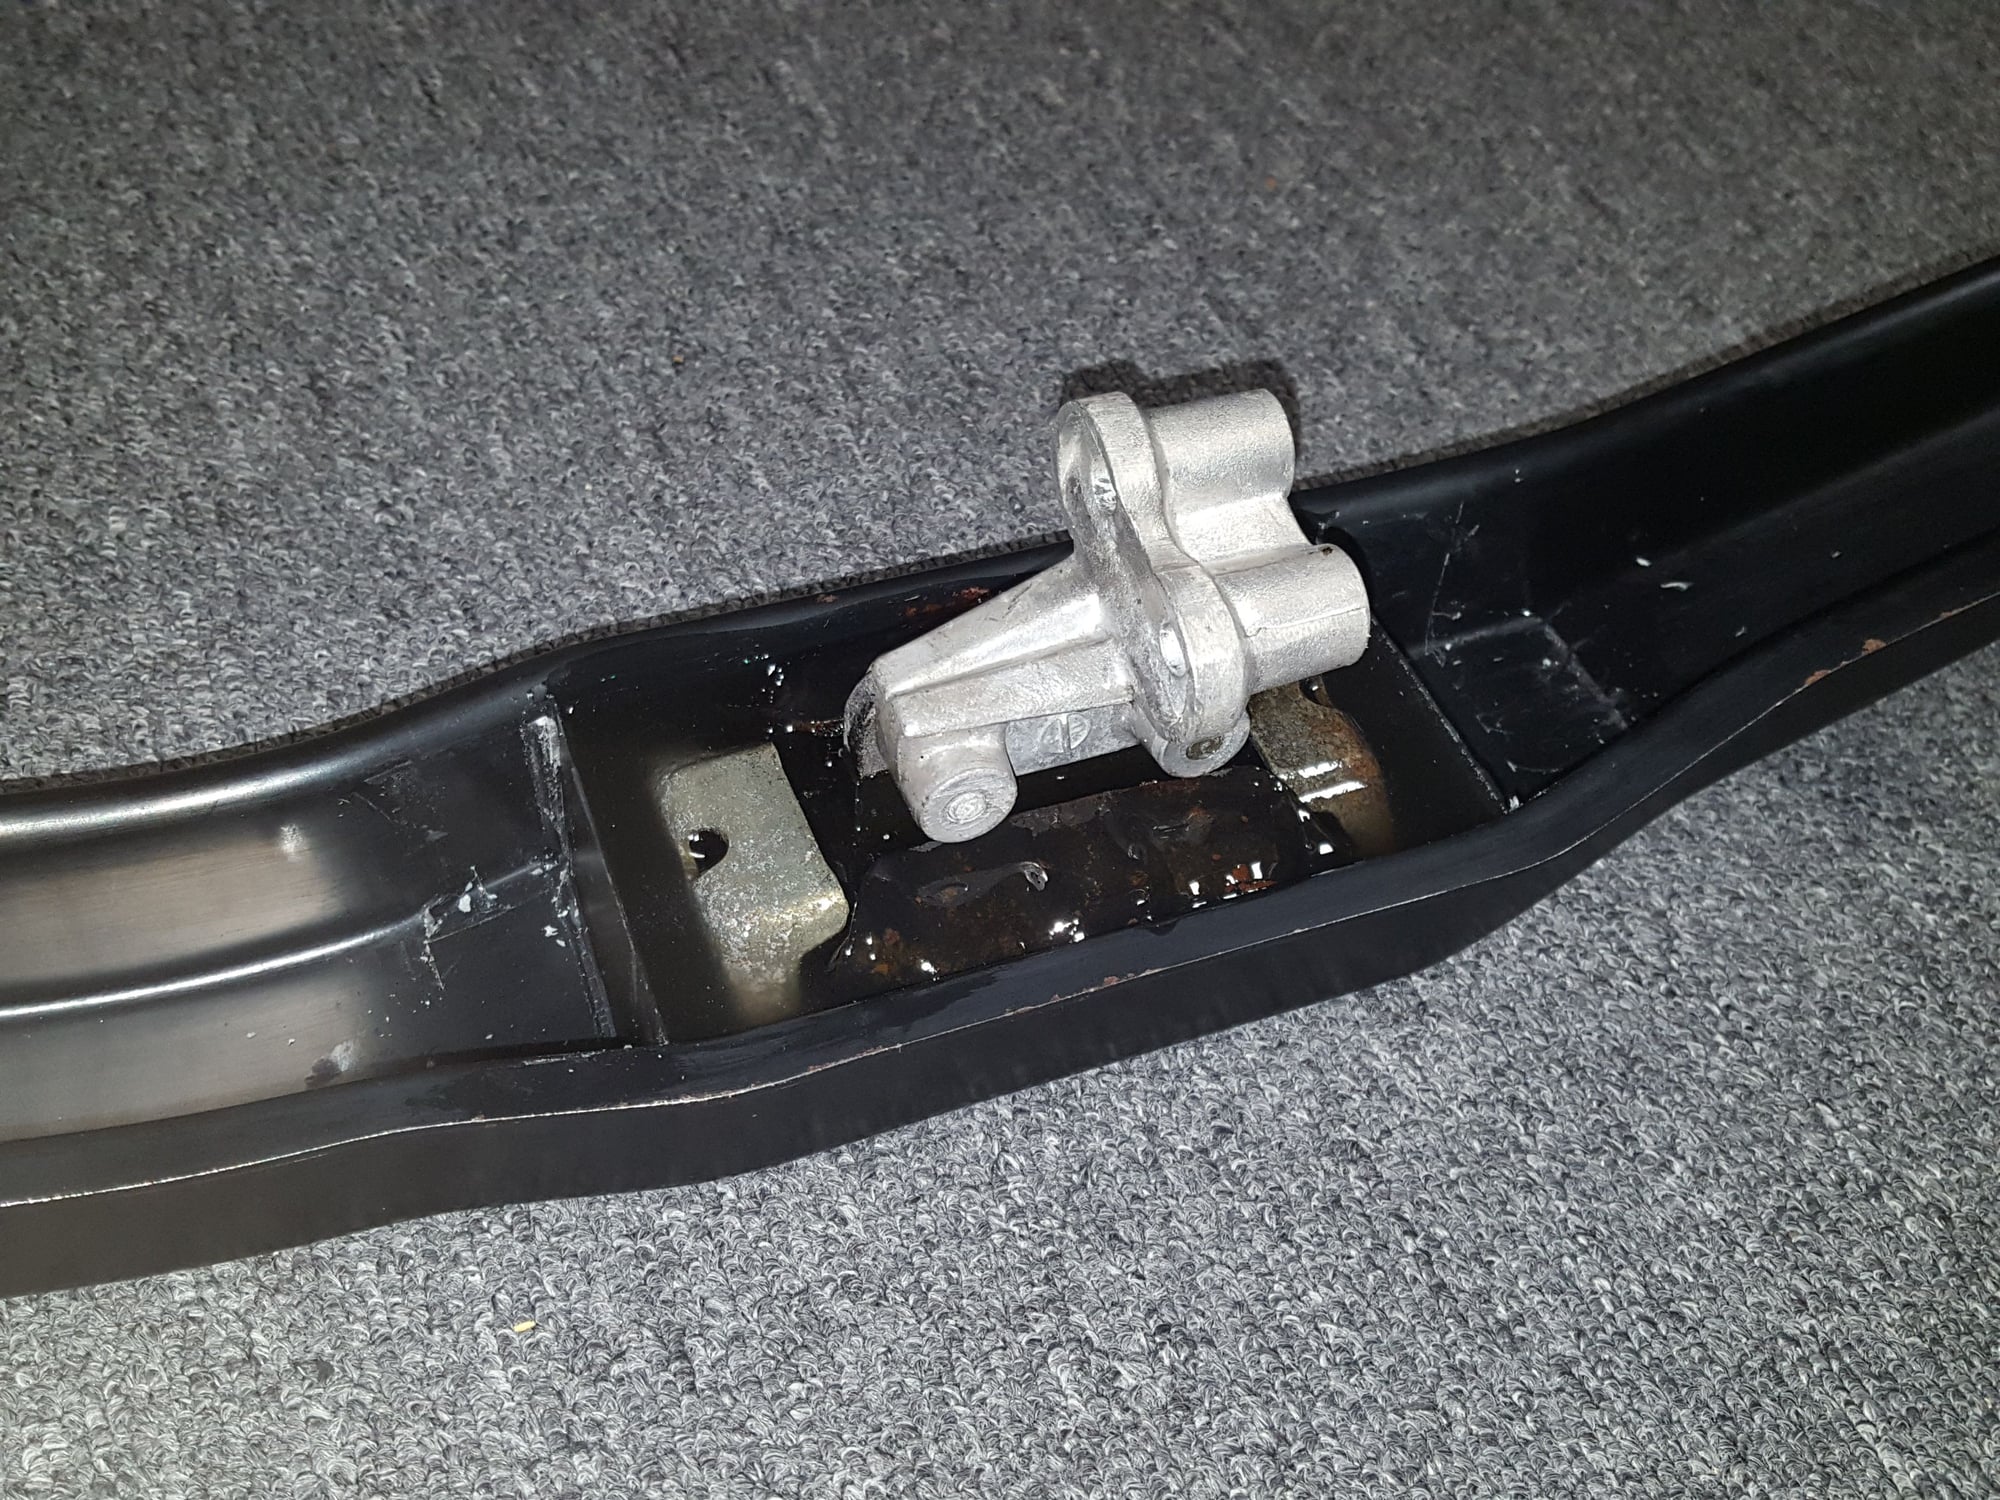
I just did this modification and attached the mount to the crossmember and built a dam on either side of the mount. I chose the 60a which has a 7 day cure time.
I contacted Forsch Polymer and asked them about speeding up the cure time. They said to put it in front of a space heater for 2-3 days and it would fully cure. After two 3 hour heat cycles it is very solid.
I don’t see a need to go any firmer than the 60a as it is quite firm and still will retain the better dampening properties.
Did this last year also.
I used some hard plastic sheet stock cut to the profile of the bar and taped it in with Gorilla Tape.
Had some seepage but that cleaned up just fine after sitting for a day.
 04-03-2019, 10:36 AM