My History And The Building of my "LS44"

 03-05-2011, 10:23 PM
#32
Drifting
Thread Starter

I may take you up on the spare harness mod later....and Ugggh NO, the Cayenne 330mm rotor will not fit inder the 951 calipers without grinding the calp crossover arches to toothpicks 
I finished the adapter bracket design for the Wilwood Superlites to bolt-up to the NA with the Cayenne rotors already. Just need time to pretty them on the CNC.
Make sure that you ground both heads and the LS1 block because the gasket material in not very conductive and you can get misfires...BTDT
I finished the adapter bracket design for the Wilwood Superlites to bolt-up to the NA with the Cayenne rotors already. Just need time to pretty them on the CNC.
Make sure that you ground both heads and the LS1 block because the gasket material in not very conductive and you can get misfires...BTDT
Keep me updated on the brakes.
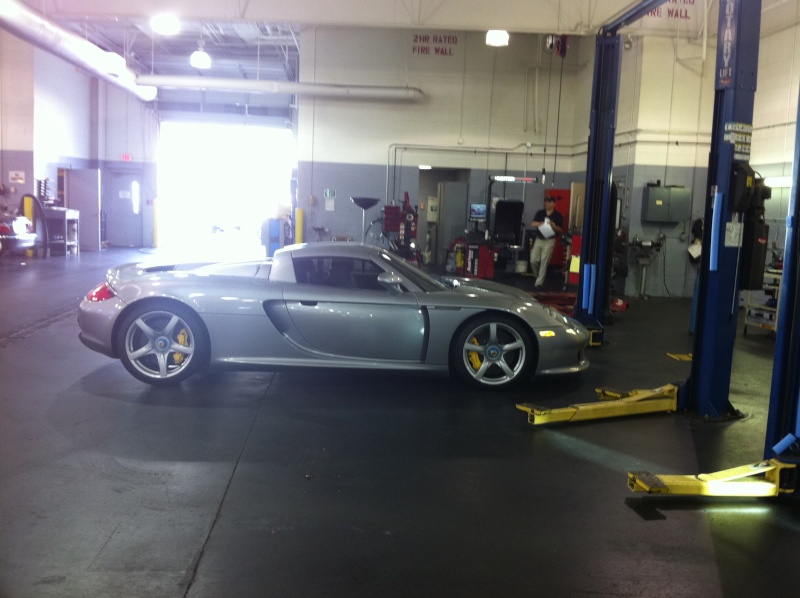
A fried of mine did his LS1 conversion years ago and is utilizing the brake system shown here
He has a decent conversion write up on Porschehybrids.
He has a decent conversion write up on Porschehybrids.
I would like to avoid the hydroboost just for powersteering pump and lines...
Thanks for all the questions I really do appreciate all of them!!!
Mark
03-05-2011, 10:42 PM
#34
Rennlist Member
Most guys are making 340rwp, I had to do a cam swap to hit the 372rwhp. If you do 1 7/8" long tubes and a good set of ported 243s you should be able to hit 400rwp.
06-02-2011, 10:42 PM
#36
Drifting
Thread Starter
Sorry for the lack of updates, I have a bunch of stuff to add but....
It's Alive!!!
I primed the oil system with 20psi of oil through the remote oil filter using a pressure brake bleeder, primed the fuel system and it seriously cranked up IMMEDIATLY!!!!
http://www.youtube.com/watch?v=vaI_uEOt6p4
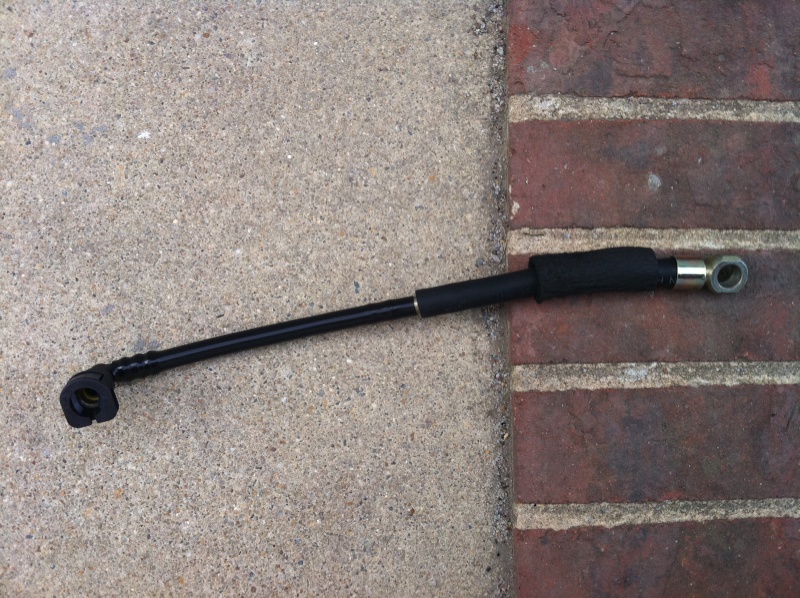
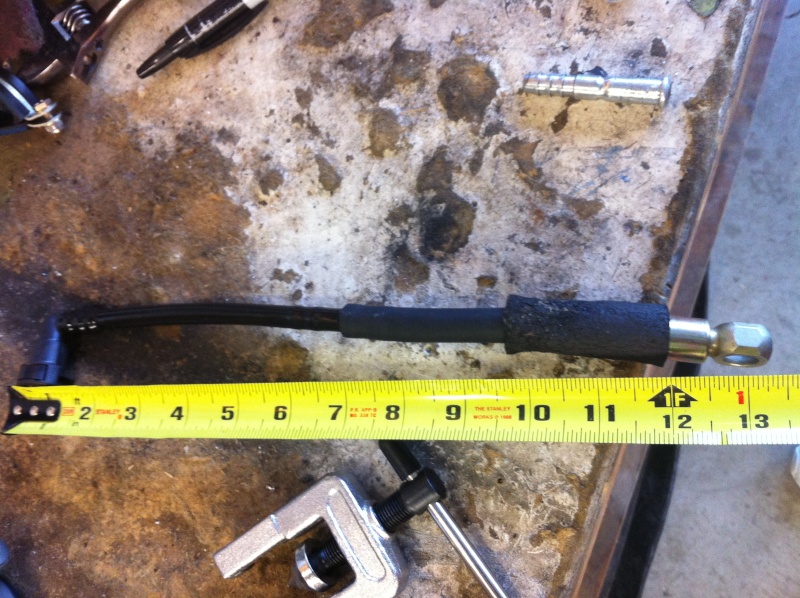
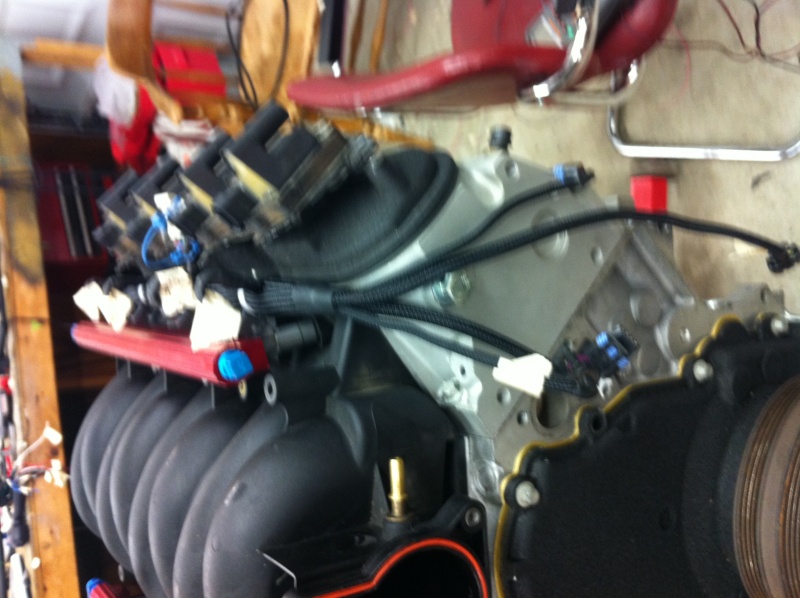
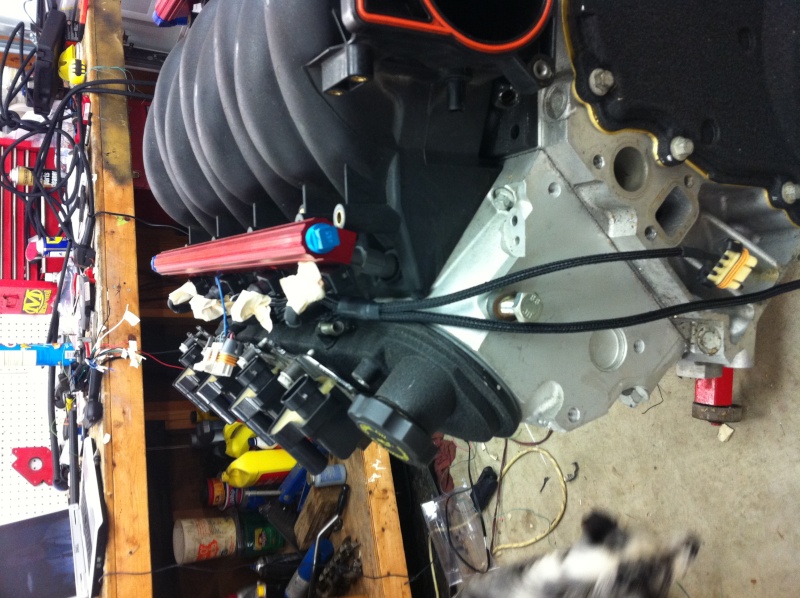
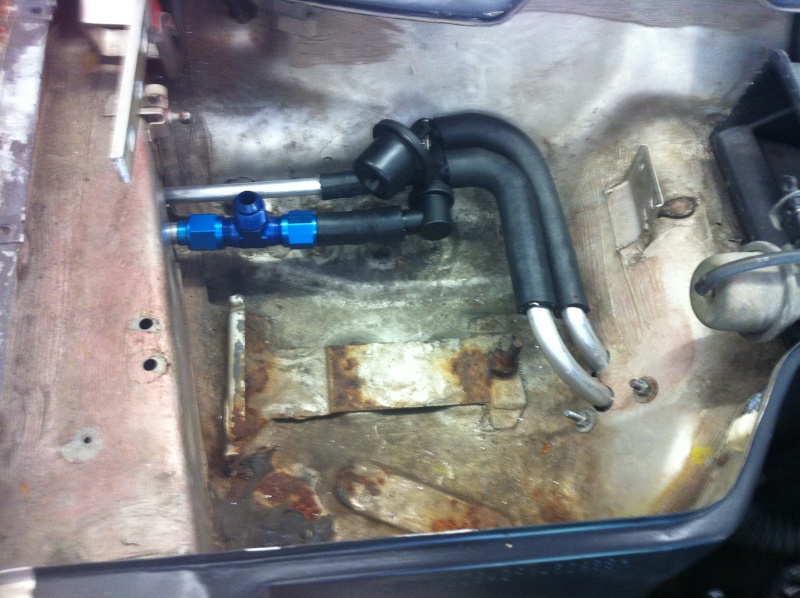
Here is how i connected my Walboro 255 to the GM Filter/regulator, I used one of the fuel line repair kits from dorman, the 3/8's with a 90' end, cost like $12 I think, took my factory fuel line from the pump to the filter, removed the end that went into the filter, its just a barbed fitting, trimmed it back slightly to get fresh plastic to push it into and used the barbed piece in the repair kit, boiled it in hot water for like 10 minutes and pushed it all together. Works great and no signs of leaks.
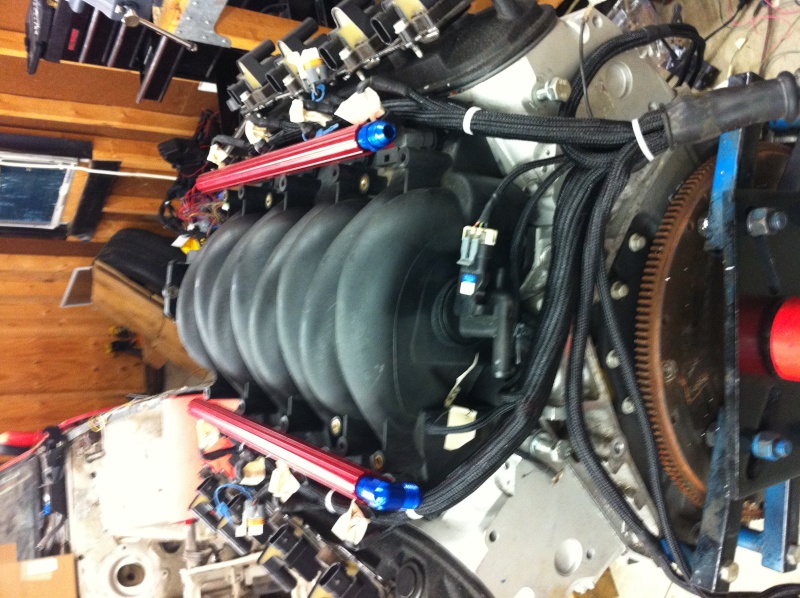
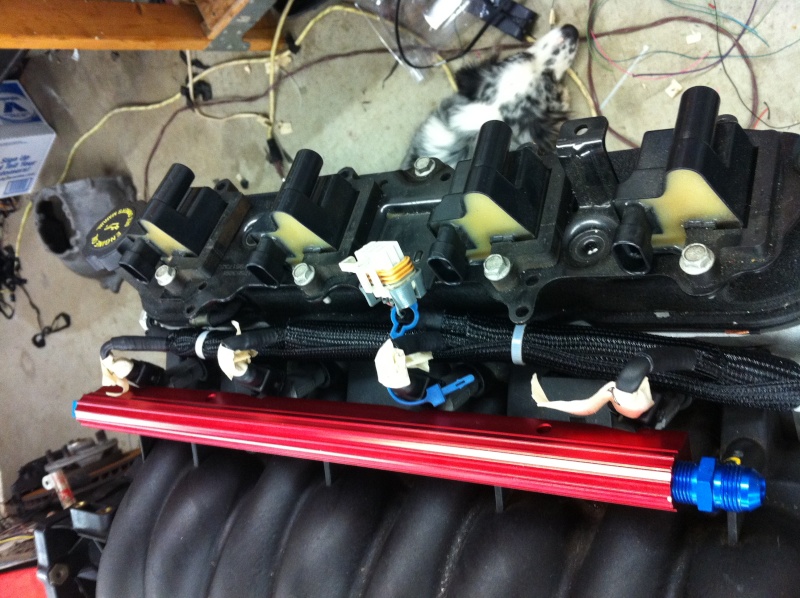
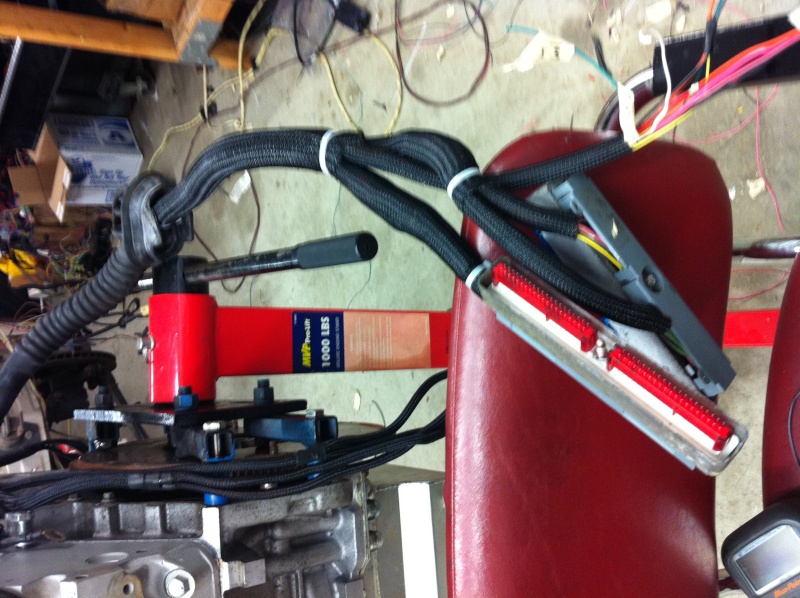
Kinda OT, but here are pics of a harness I built for a guy on here, turned out better than mine...

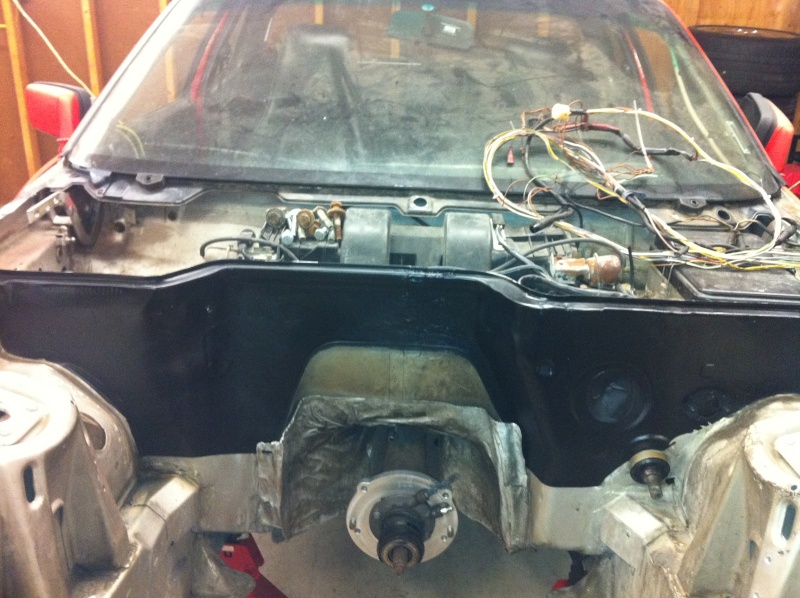
Here is what my firewall looked like...
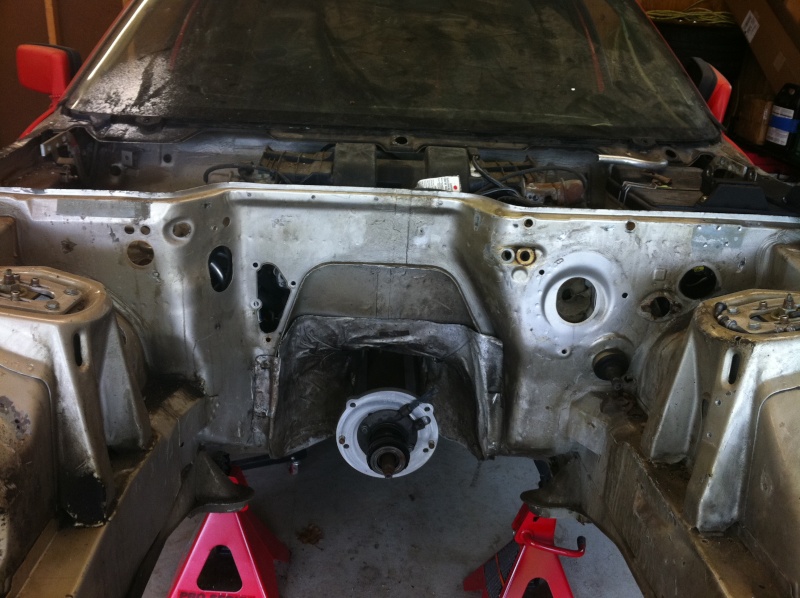
And after, much better with the holes filled...
Another boring day at work...
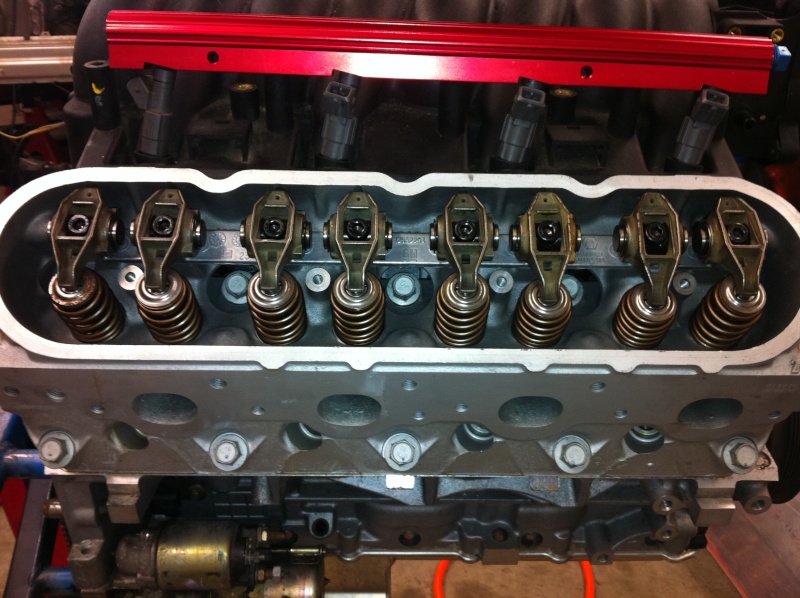
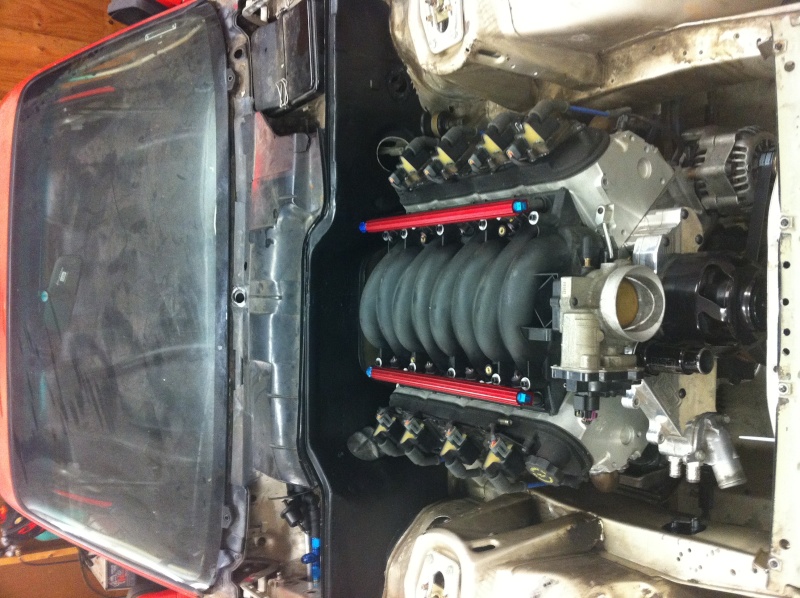
I went back and forth a million times on what springs to run... Double or beehive... the added saftey of the double is nice... but the added weight isnt... these springs are supposed to be the best for a beehive, untill recently I hadnt seen a single failure, PAC 1518
I replaced every exterior bolt to black allen button head, coil pack, front cover etc. I figured it was going to cost me $75 for the factory bolts i was missing, and it only cost me $80 for like 5x more bolts than i needed it was an easy choice...
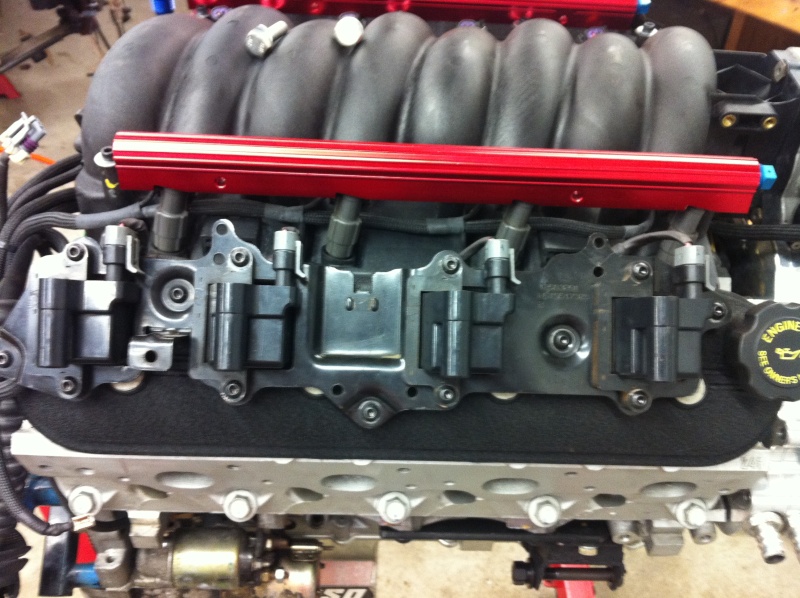
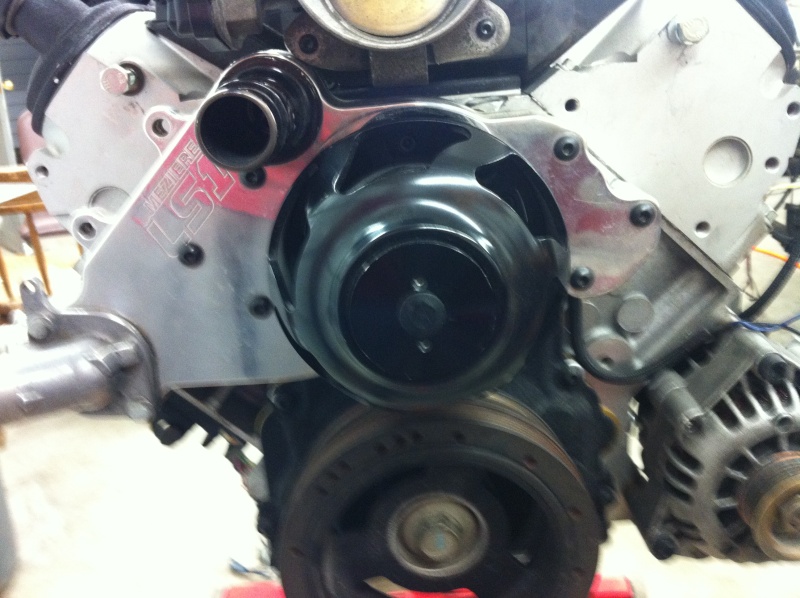
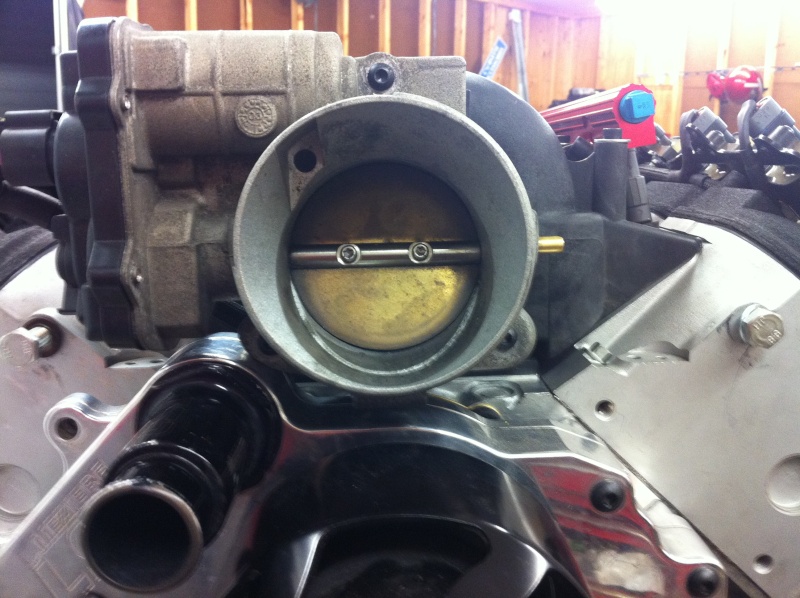
Didnt have button head for the alternator or the intake so i had to settle for regular black allen bolts
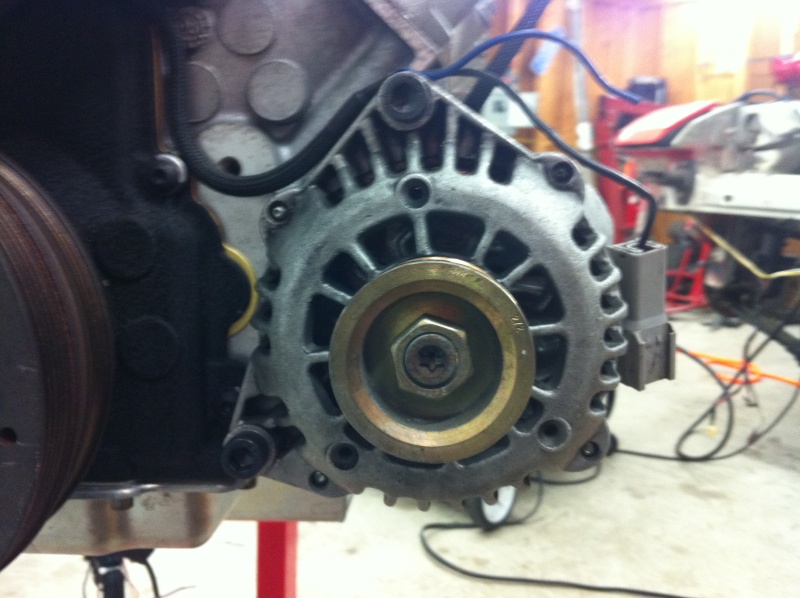
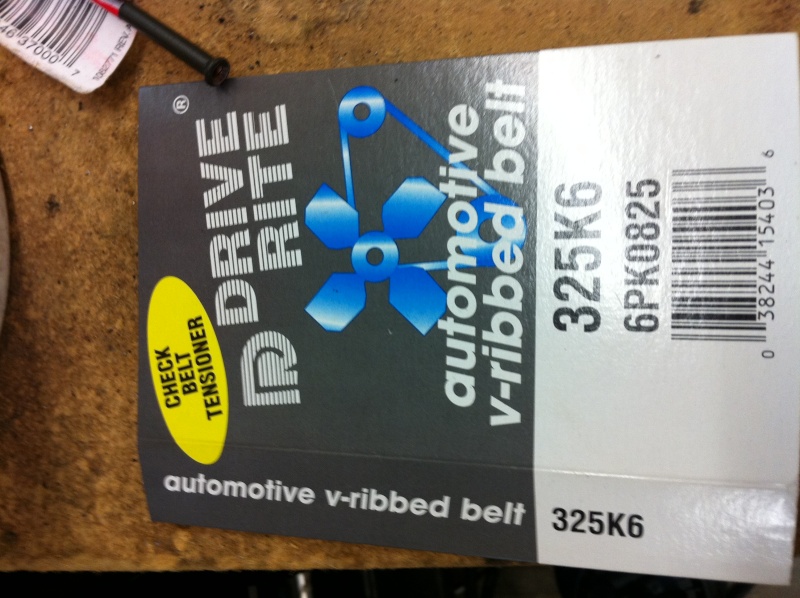
The belt i used for a solid mounted alternator... looped it around the alternator then half way around the crank and used a socket to spin the crank and the belt popped on... almost perfect, it could be like 5mm longer...
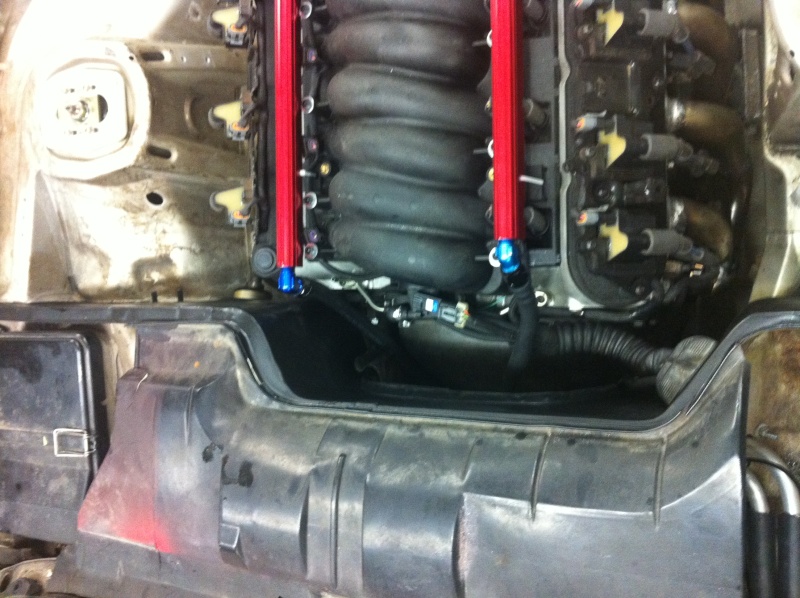
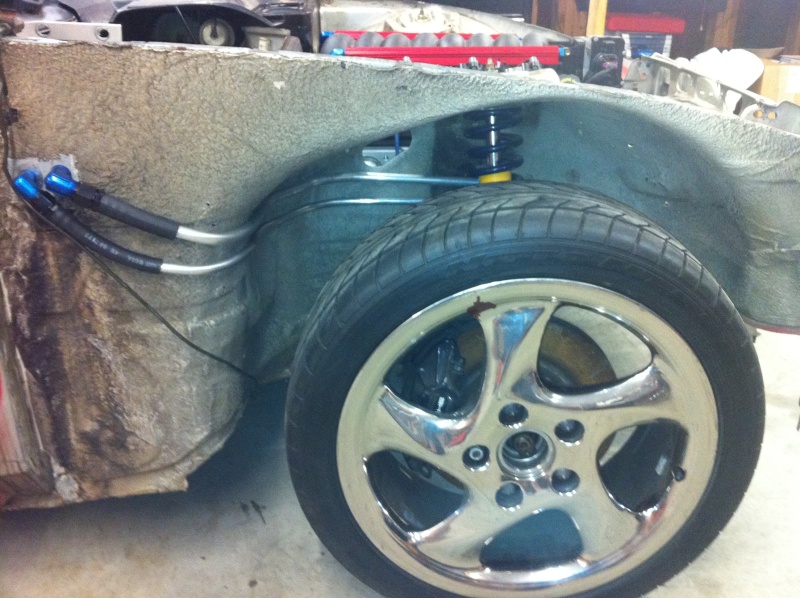
updated setup under passenger fender...
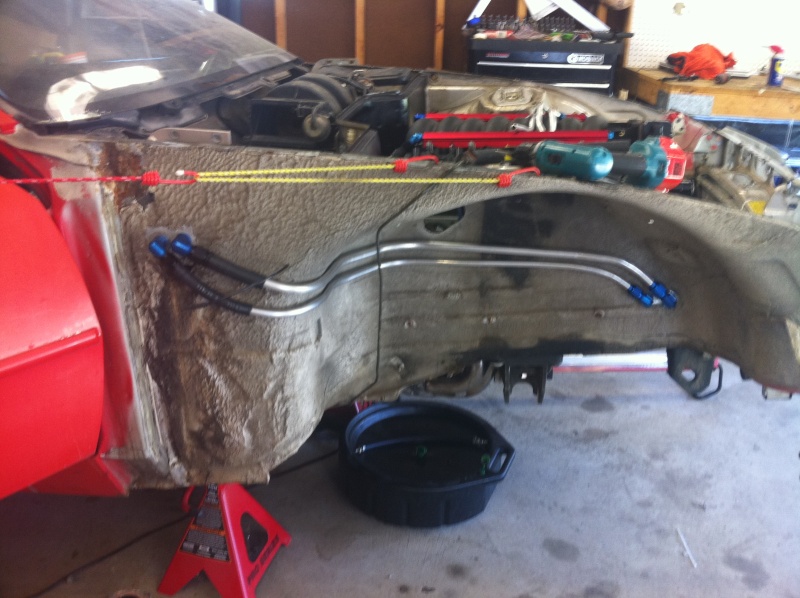
To make for less plumbing i moved it here... if i would have left it under the fender I would have needed to drill another hole for a 3rd bulkhead fitting into the battery tray so my coolant reseviour could "T" into the return heater line BEFORE the heater control valve. I will be fabbing up a cover for this area...
I forgot how low this car sits... ITs actually back on all 4 wheels... Ugly wheels.... but beggers cant be choosers...
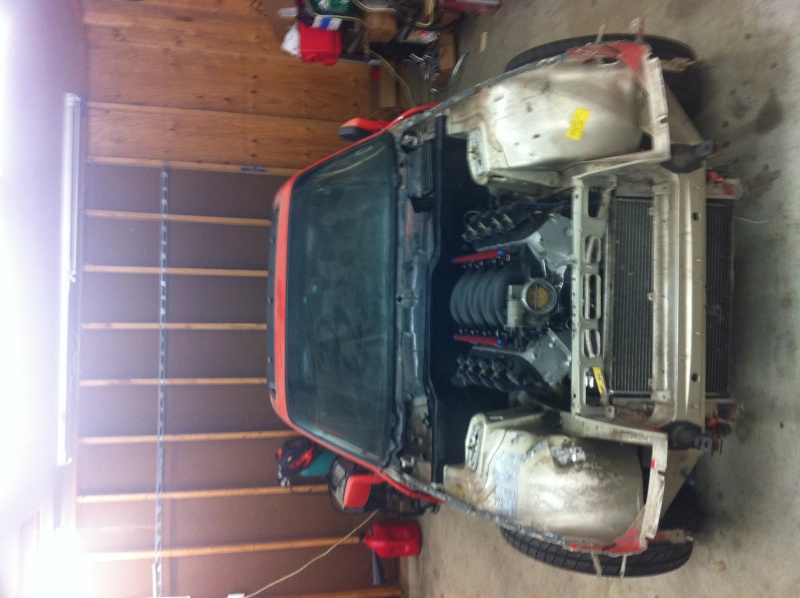
This is about 95% of it... just waiting on the brake and clutch master cylinder's, and radiator hoses... Steering shaft....
This shows ground clearance... my front suspension is currently as HIGH as it will go, so the car was sitting lower... not sure i will go that low again, but its still plenty low...
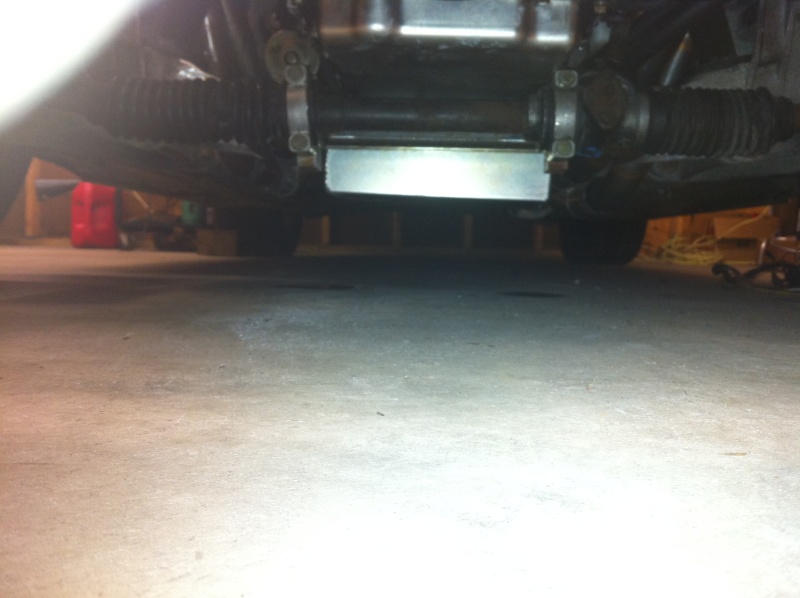
This picture is decieving, it makes the collector look very low, but you can see in the previous pic they dont sit below the body of the car, tucked up NICE!!!
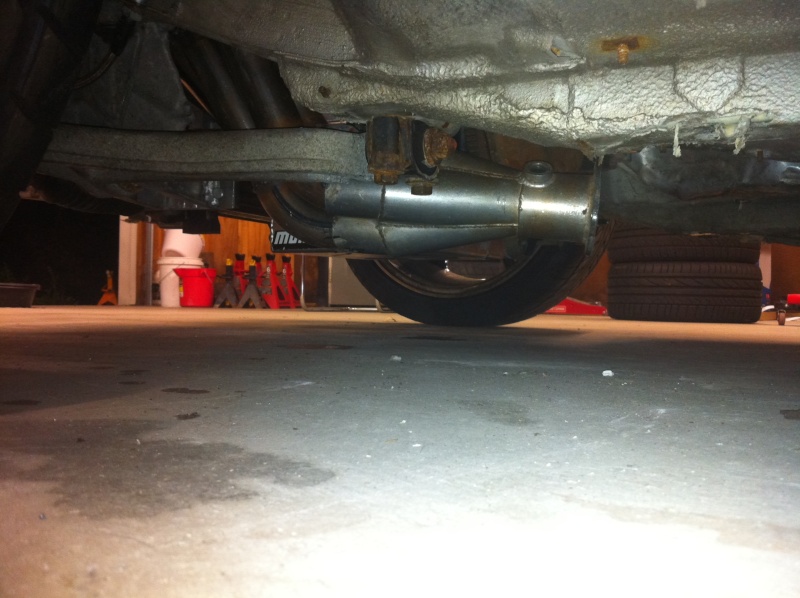
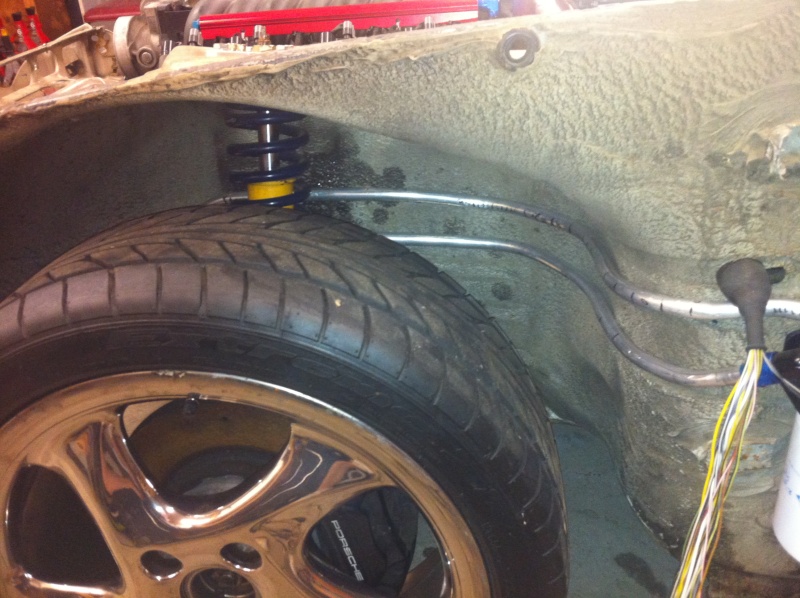
This shows it better... please ignore the brake line, its just pulled up out of the way till i get my new lines, and the nasty caster blocks are going to be replaced with either Elephant Racing monoballs or complete control arms...
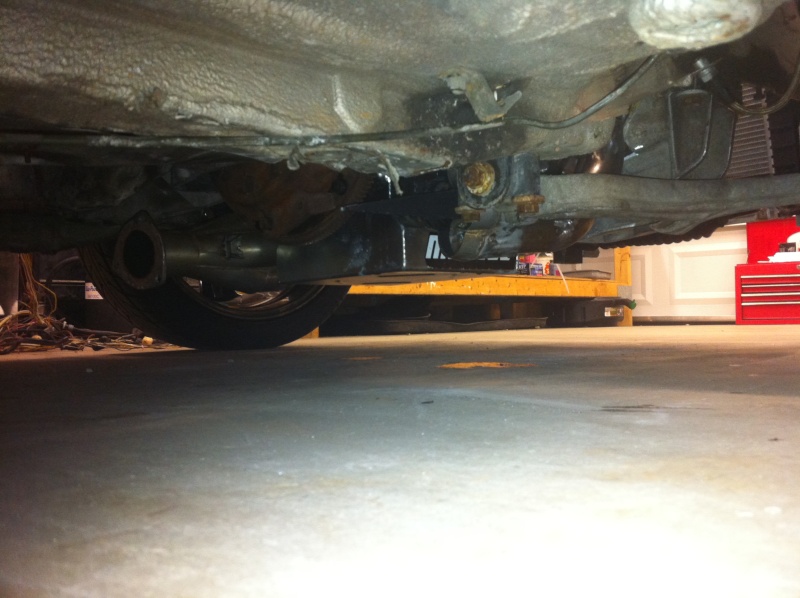
And these two make me feel MUCH better about my lines, there is no way the wheel is going to hit them, now i just need to setup my wheel well liners and shield the lines.
So I am currently waiting on my reseviour, I decided on a VW res its shaped like a soccer ball, came with the cap and coolant sensor for ....... $16 shipped new on ebay.... And my brake and clutch master's and the braided -3 lines i ordered to keep the M/c's clean. And i need to stop at advance and pickup some 3/8 line for coolant for my vent tubes to the overflow, solid vac line to feed the HVAC stuff, radiator hoses, and a cap for the fill port on the N/A radiator.
I have also contacted "Howe Racing" and was quoted a custom radiator according to the Turbo Dim's with AN -16 fittings, dual pass, both fittings on the passenger side, with a drain plug in the bottom, and mounting tabs across the top and bottom, ( I will remeasure before ordering as i plan to cut out all the factory radiator brackets so i may have more room to go wider) for around $400...
Feed back is welcome!!!
It's Alive!!!
I primed the oil system with 20psi of oil through the remote oil filter using a pressure brake bleeder, primed the fuel system and it seriously cranked up IMMEDIATLY!!!!
http://www.youtube.com/watch?v=vaI_uEOt6p4
Here is how i connected my Walboro 255 to the GM Filter/regulator, I used one of the fuel line repair kits from dorman, the 3/8's with a 90' end, cost like $12 I think, took my factory fuel line from the pump to the filter, removed the end that went into the filter, its just a barbed fitting, trimmed it back slightly to get fresh plastic to push it into and used the barbed piece in the repair kit, boiled it in hot water for like 10 minutes and pushed it all together. Works great and no signs of leaks.
Kinda OT, but here are pics of a harness I built for a guy on here, turned out better than mine...
Here is what my firewall looked like...
And after, much better with the holes filled...
Another boring day at work...
I went back and forth a million times on what springs to run... Double or beehive... the added saftey of the double is nice... but the added weight isnt... these springs are supposed to be the best for a beehive, untill recently I hadnt seen a single failure, PAC 1518
I replaced every exterior bolt to black allen button head, coil pack, front cover etc. I figured it was going to cost me $75 for the factory bolts i was missing, and it only cost me $80 for like 5x more bolts than i needed it was an easy choice...
Didnt have button head for the alternator or the intake so i had to settle for regular black allen bolts
The belt i used for a solid mounted alternator... looped it around the alternator then half way around the crank and used a socket to spin the crank and the belt popped on... almost perfect, it could be like 5mm longer...
updated setup under passenger fender...
To make for less plumbing i moved it here... if i would have left it under the fender I would have needed to drill another hole for a 3rd bulkhead fitting into the battery tray so my coolant reseviour could "T" into the return heater line BEFORE the heater control valve. I will be fabbing up a cover for this area...
I forgot how low this car sits... ITs actually back on all 4 wheels... Ugly wheels.... but beggers cant be choosers...
This is about 95% of it... just waiting on the brake and clutch master cylinder's, and radiator hoses... Steering shaft....
This shows ground clearance... my front suspension is currently as HIGH as it will go, so the car was sitting lower... not sure i will go that low again, but its still plenty low...
This picture is decieving, it makes the collector look very low, but you can see in the previous pic they dont sit below the body of the car, tucked up NICE!!!
This shows it better... please ignore the brake line, its just pulled up out of the way till i get my new lines, and the nasty caster blocks are going to be replaced with either Elephant Racing monoballs or complete control arms...
And these two make me feel MUCH better about my lines, there is no way the wheel is going to hit them, now i just need to setup my wheel well liners and shield the lines.
So I am currently waiting on my reseviour, I decided on a VW res its shaped like a soccer ball, came with the cap and coolant sensor for ....... $16 shipped new on ebay.... And my brake and clutch master's and the braided -3 lines i ordered to keep the M/c's clean. And i need to stop at advance and pickup some 3/8 line for coolant for my vent tubes to the overflow, solid vac line to feed the HVAC stuff, radiator hoses, and a cap for the fill port on the N/A radiator.
I have also contacted "Howe Racing" and was quoted a custom radiator according to the Turbo Dim's with AN -16 fittings, dual pass, both fittings on the passenger side, with a drain plug in the bottom, and mounting tabs across the top and bottom, ( I will remeasure before ordering as i plan to cut out all the factory radiator brackets so i may have more room to go wider) for around $400...
Feed back is welcome!!!
06-02-2011, 11:03 PM
#37
Burning Brakes
Been watching your thread on ls1tech. Lots of work you've done, hope you enjoy every second of driving. Ls1 f body are great fun but the chassis leaves much to be desired. Can only imagine how it is in a944. You using the na tranny iirc?
 06-03-2011, 09:24 AM
#40
Drifting
Thread Starter
Thanks Matt, that means alot coming from you!
Mark


