When you click on links to various merchants on this site and make a purchase, this can result in this site earning a commission. Affiliate programs and affiliations include, but are not limited to, the eBay Partner Network.
Long time Watercooler Rennlister on the 928 forum, new to the 944 world.
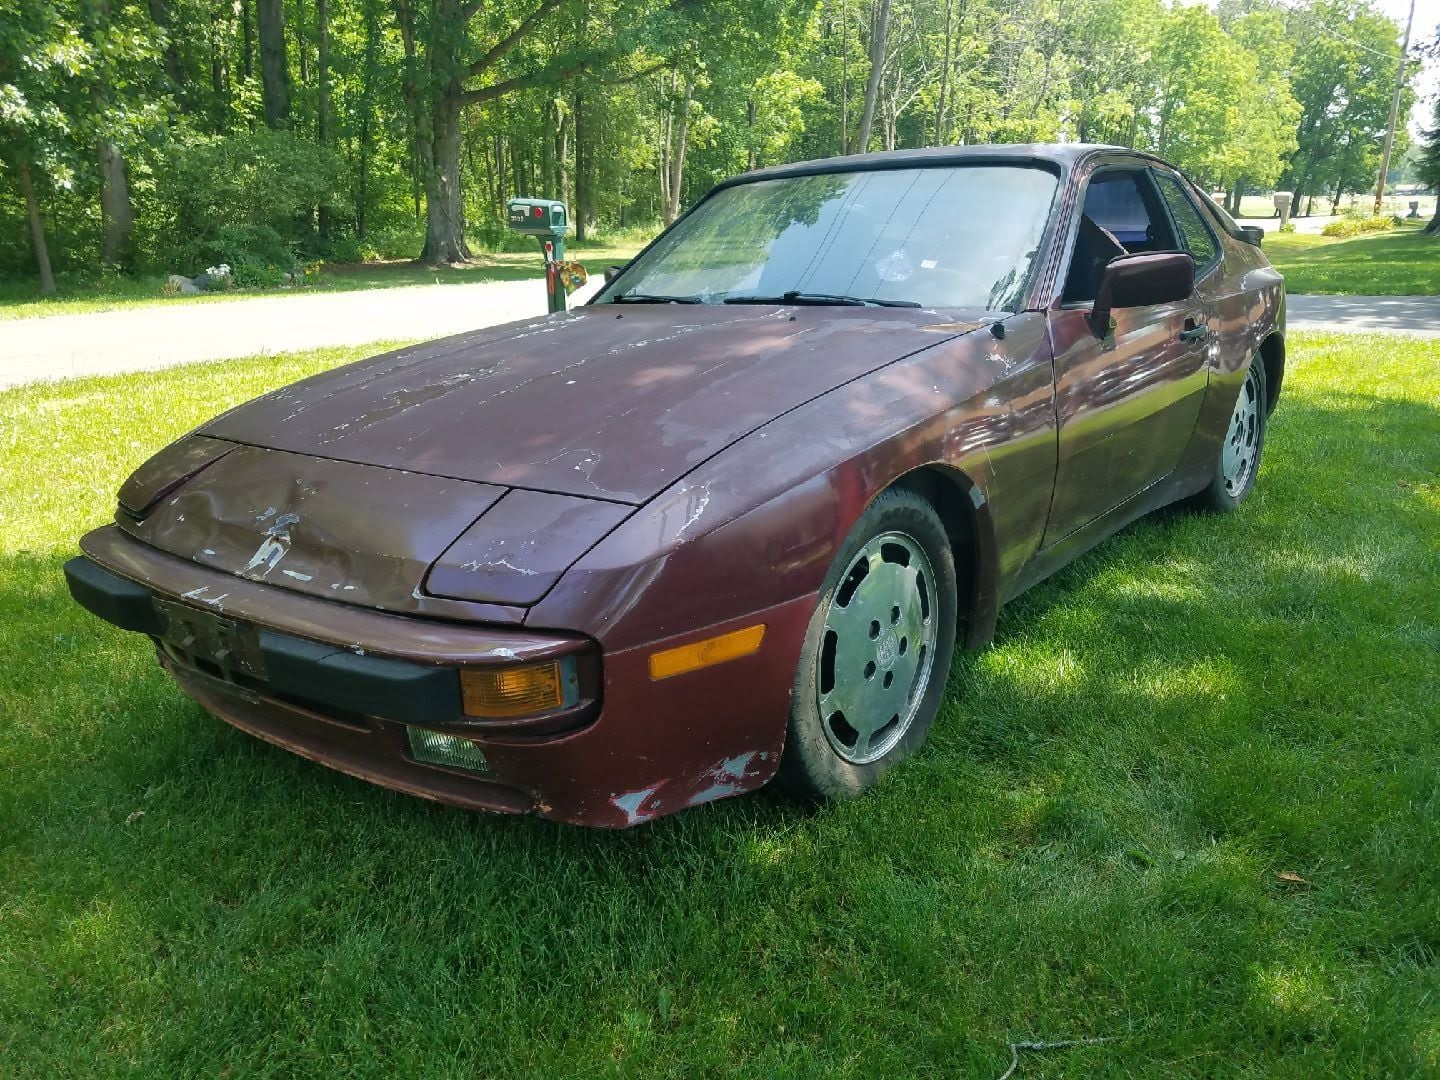
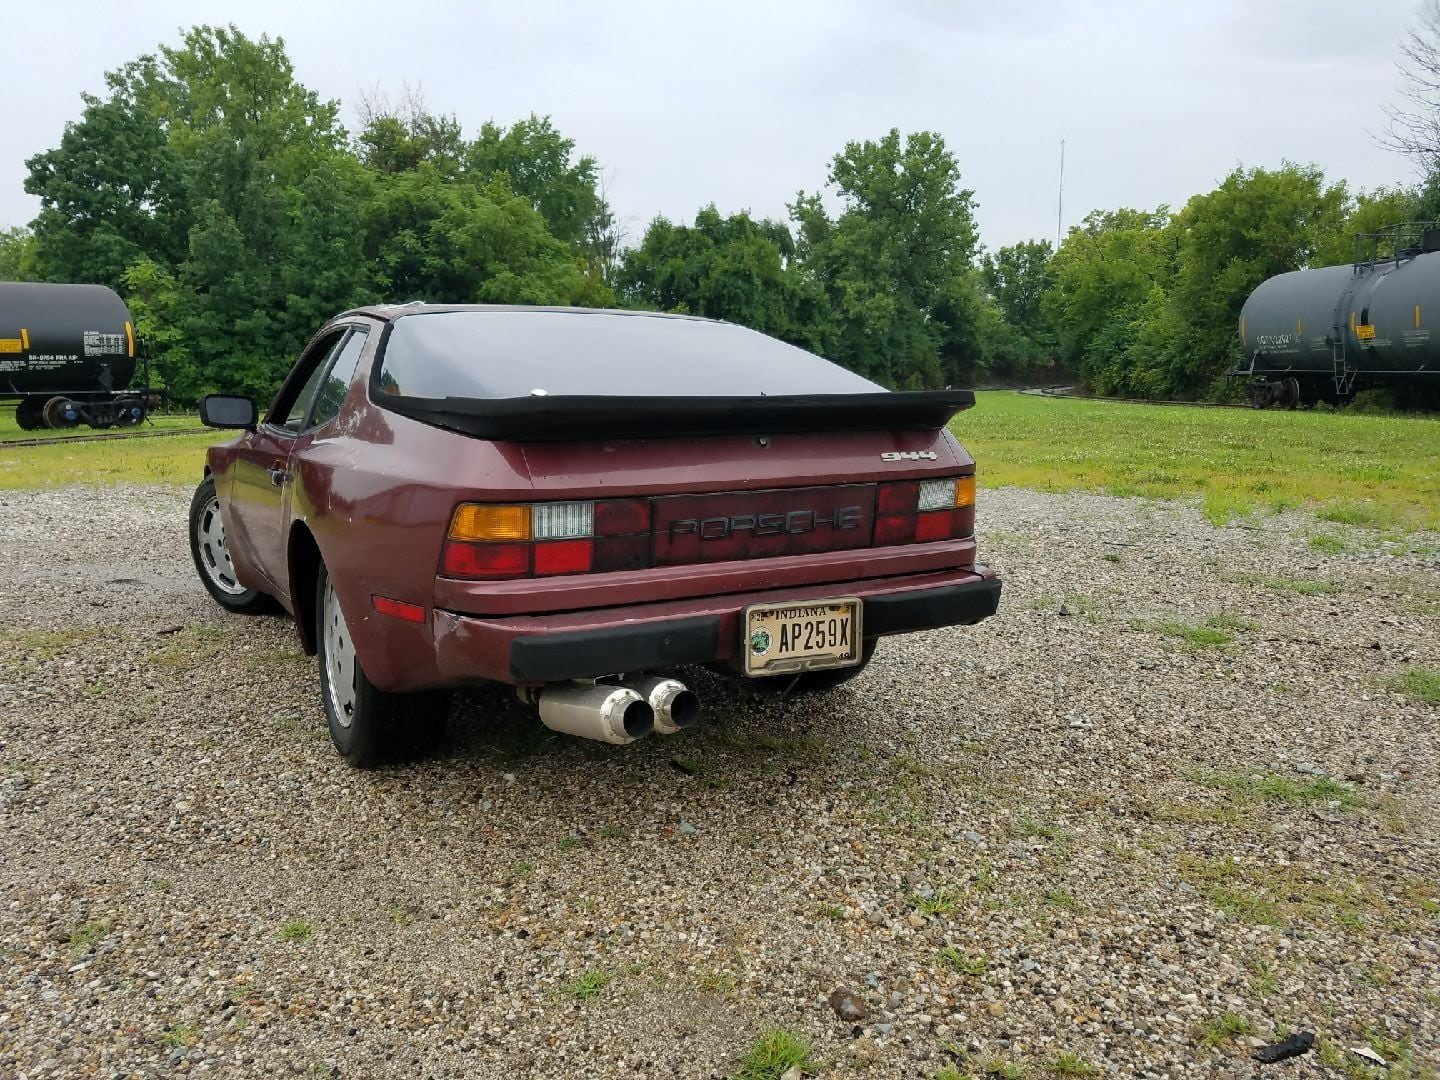
In the next few days I will be trailer home a 1983 944 NA. It is currently stuck in reverse, starts right up, and drives backwards no problem. Hoping it's something to do with the linkage and not the transmission. The other big problem is the sunroof is missing, it blew off when he was trailer it home after backing on a trailer.
Any wisdom on where to start on the linkage aspect such as pictures, diagrams, links to threads where other solved problems would be much appreciated.
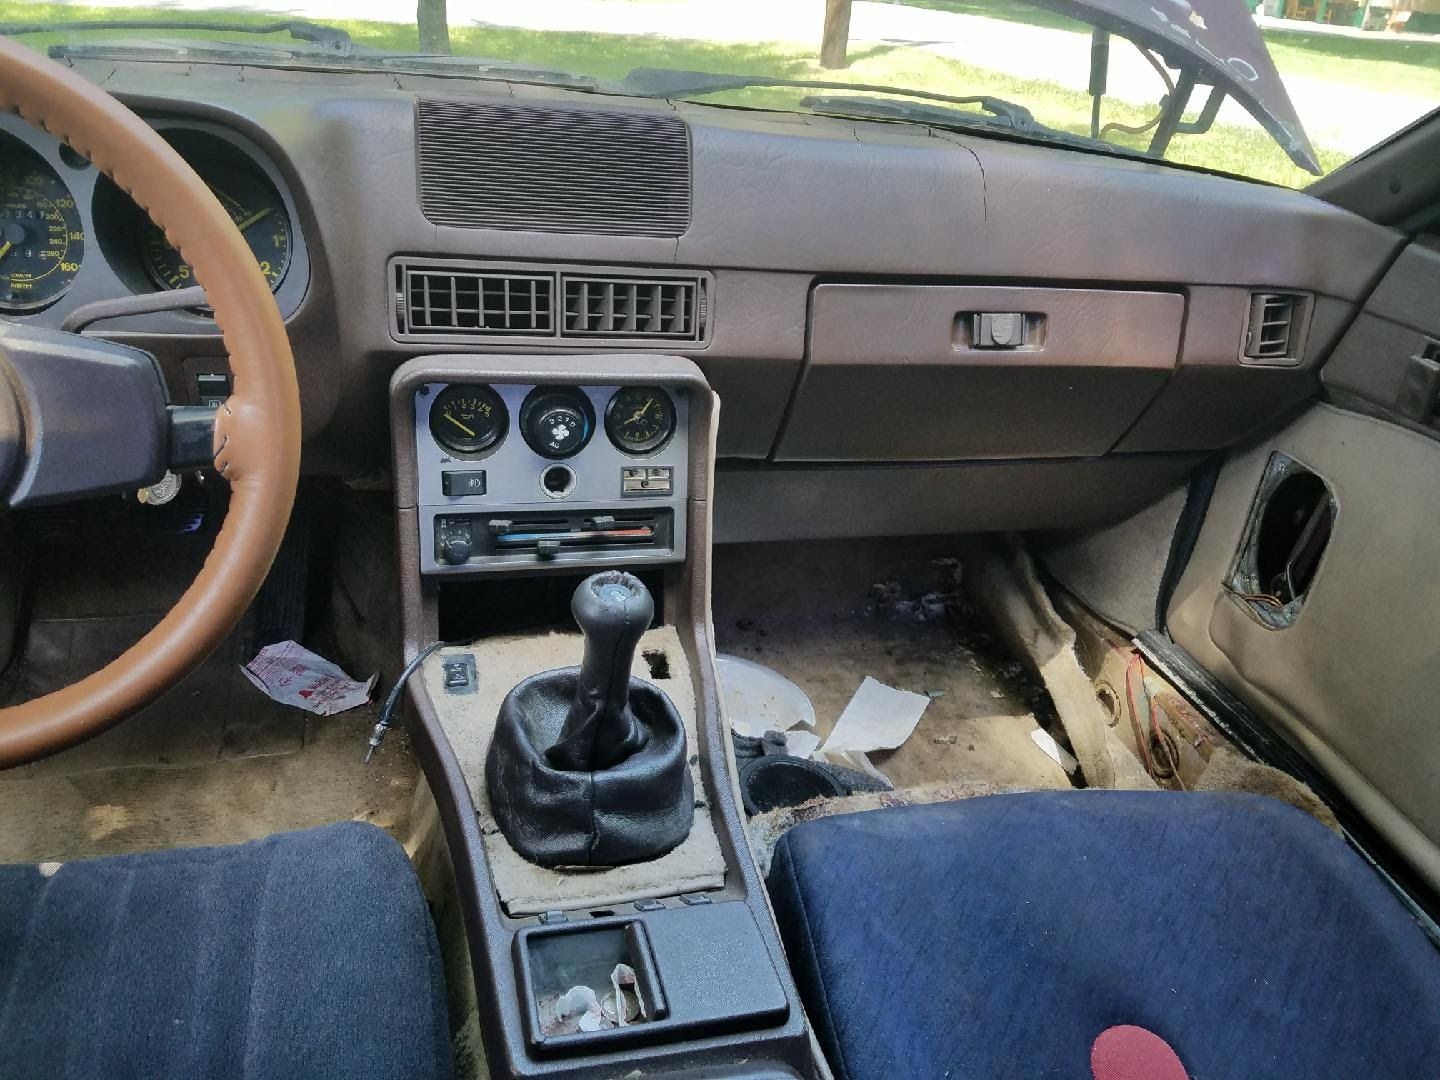
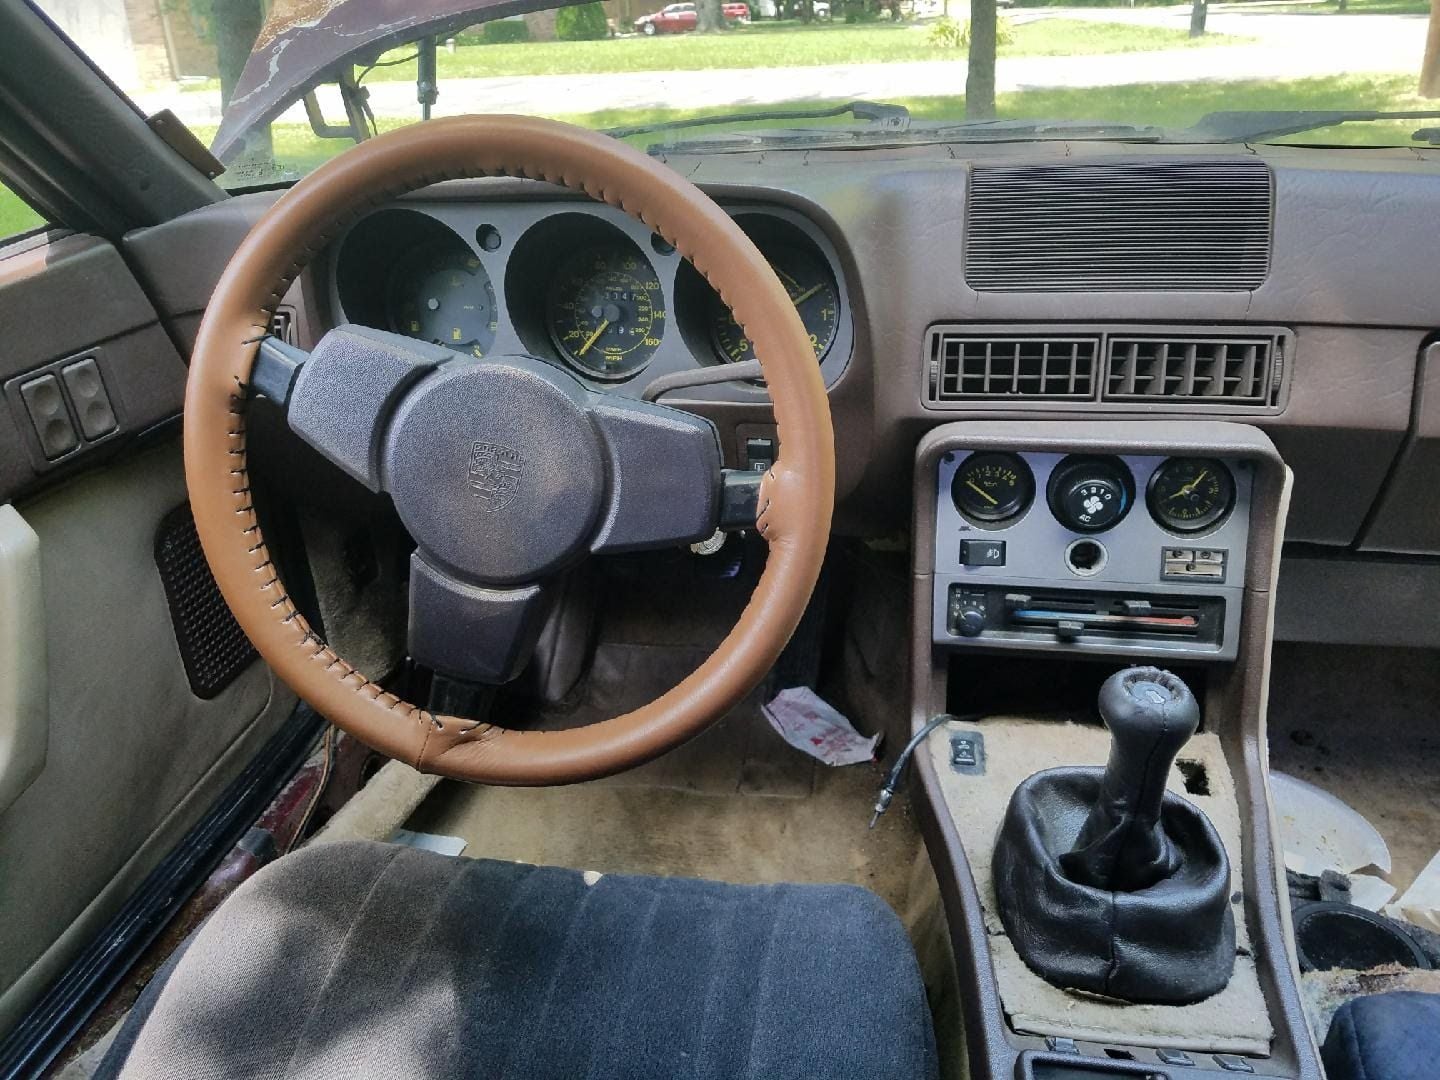
Also, any ideas on where to source reasonable priced used 944 parts. I certainly need a sunroof and possible front seats.
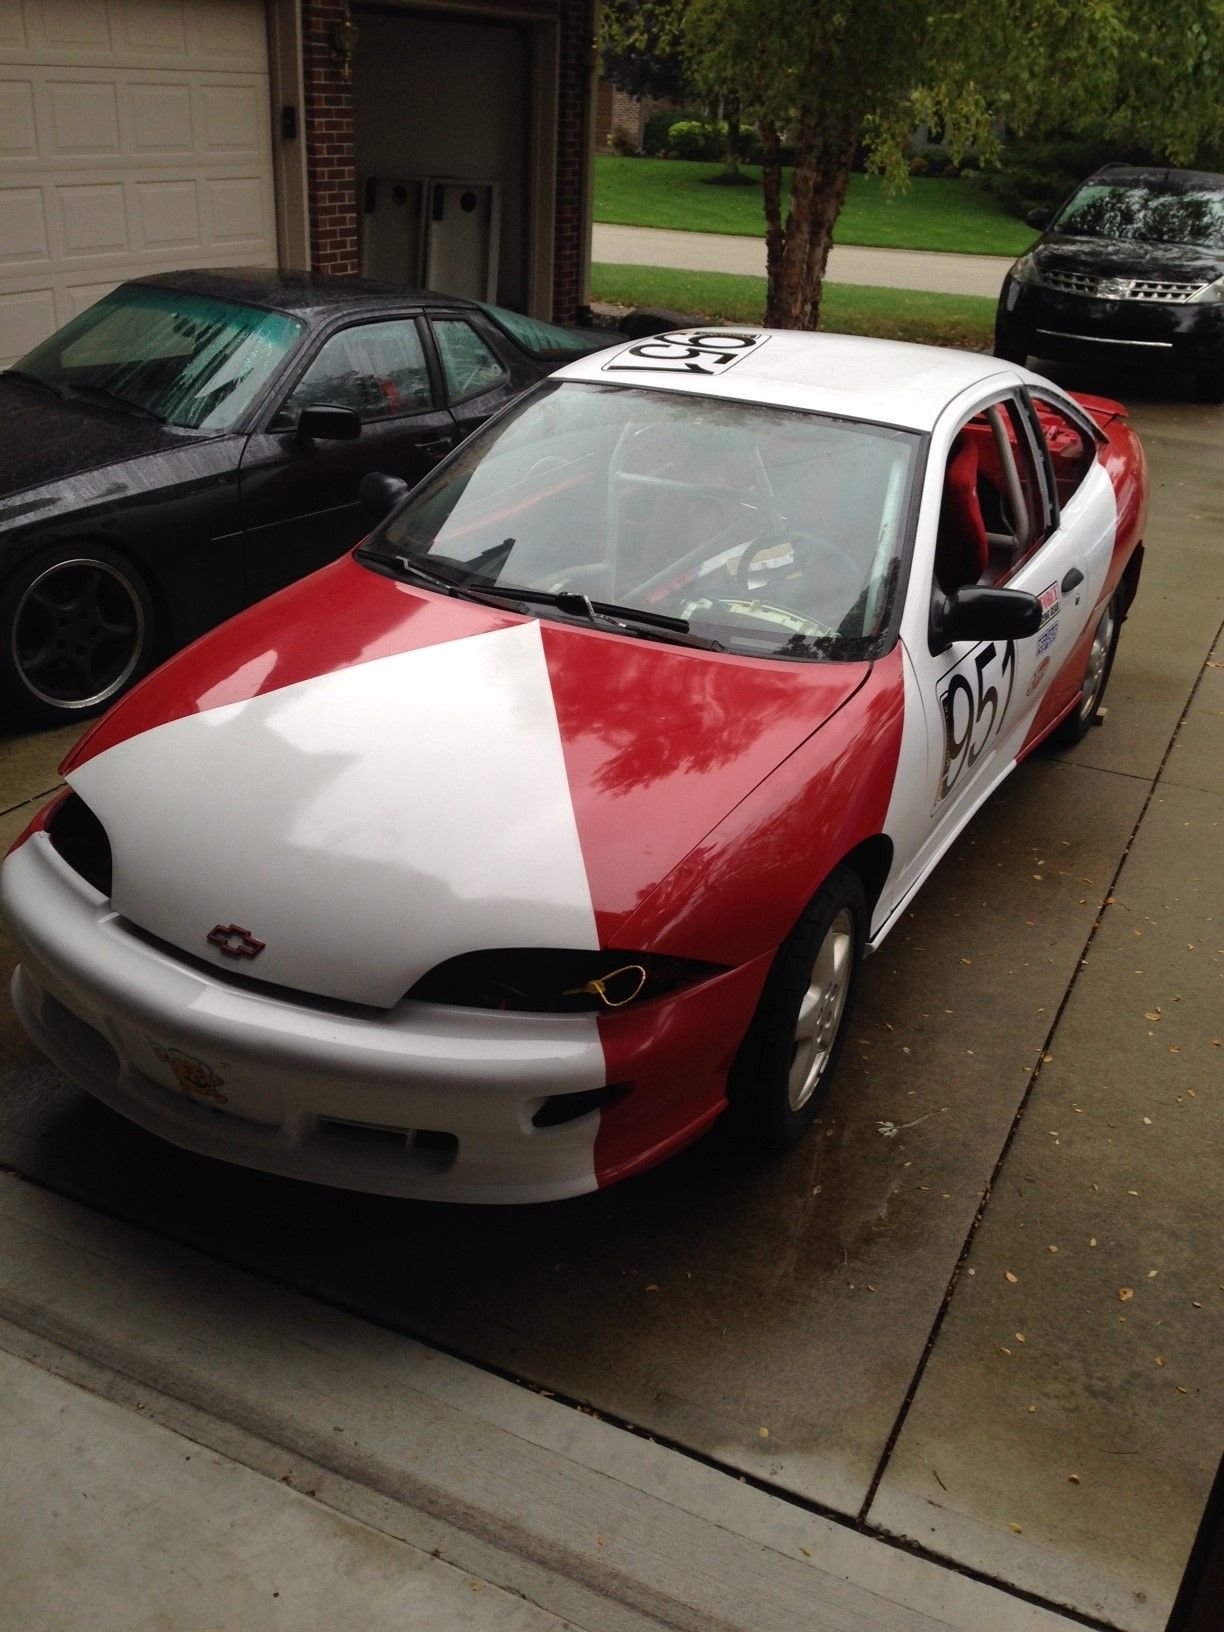
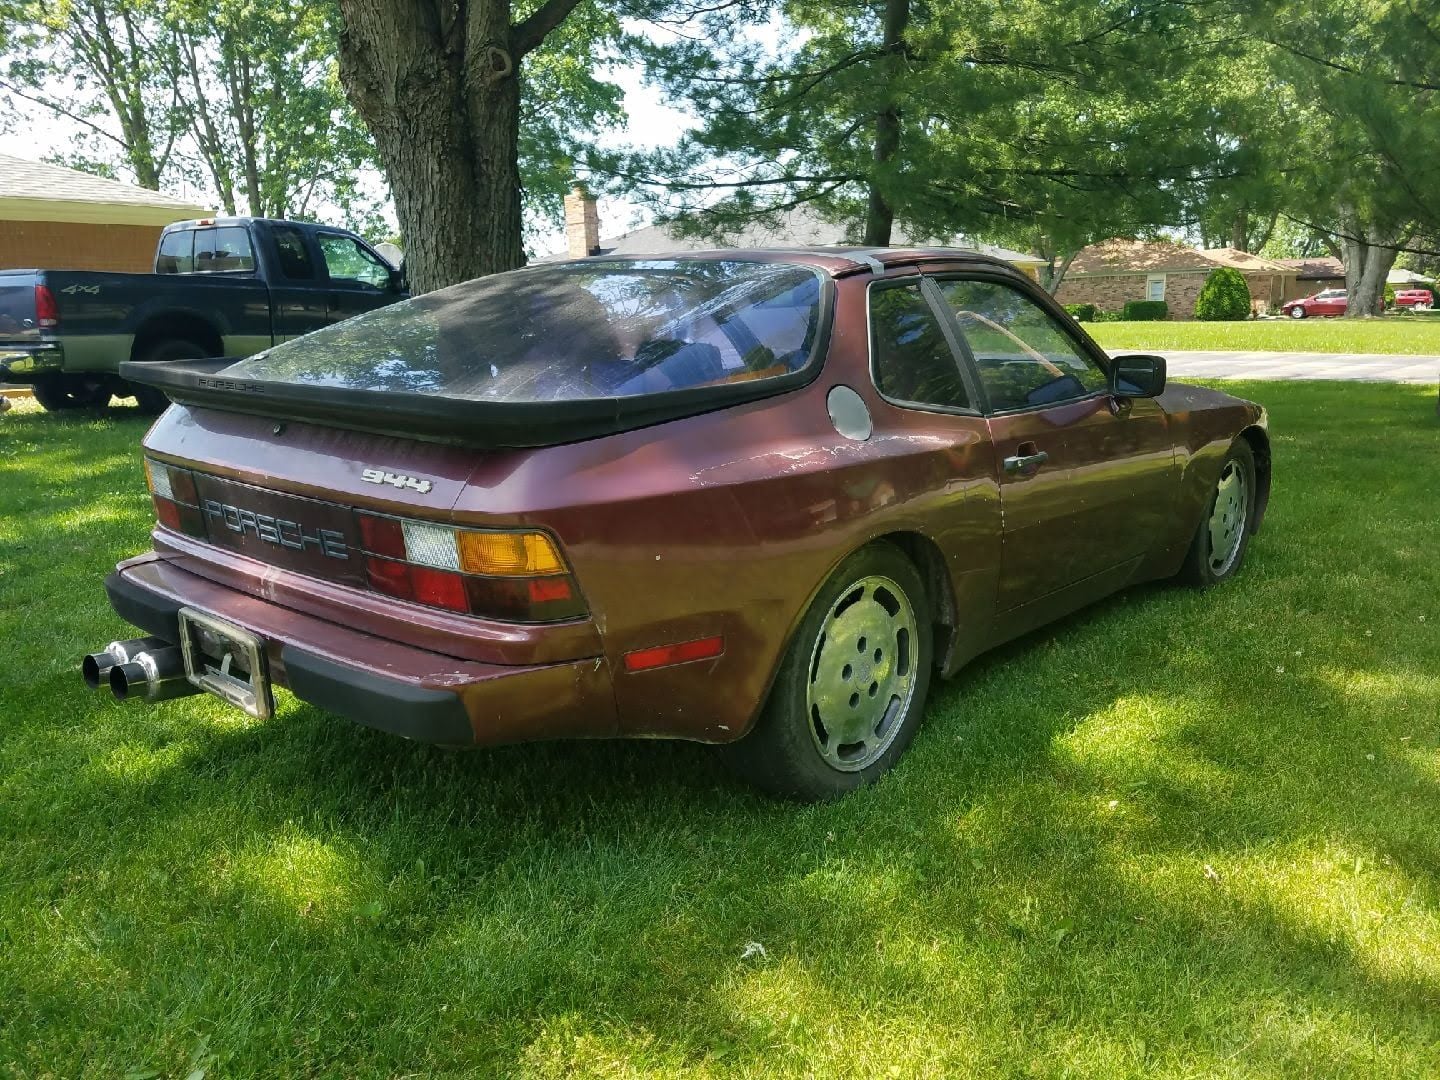
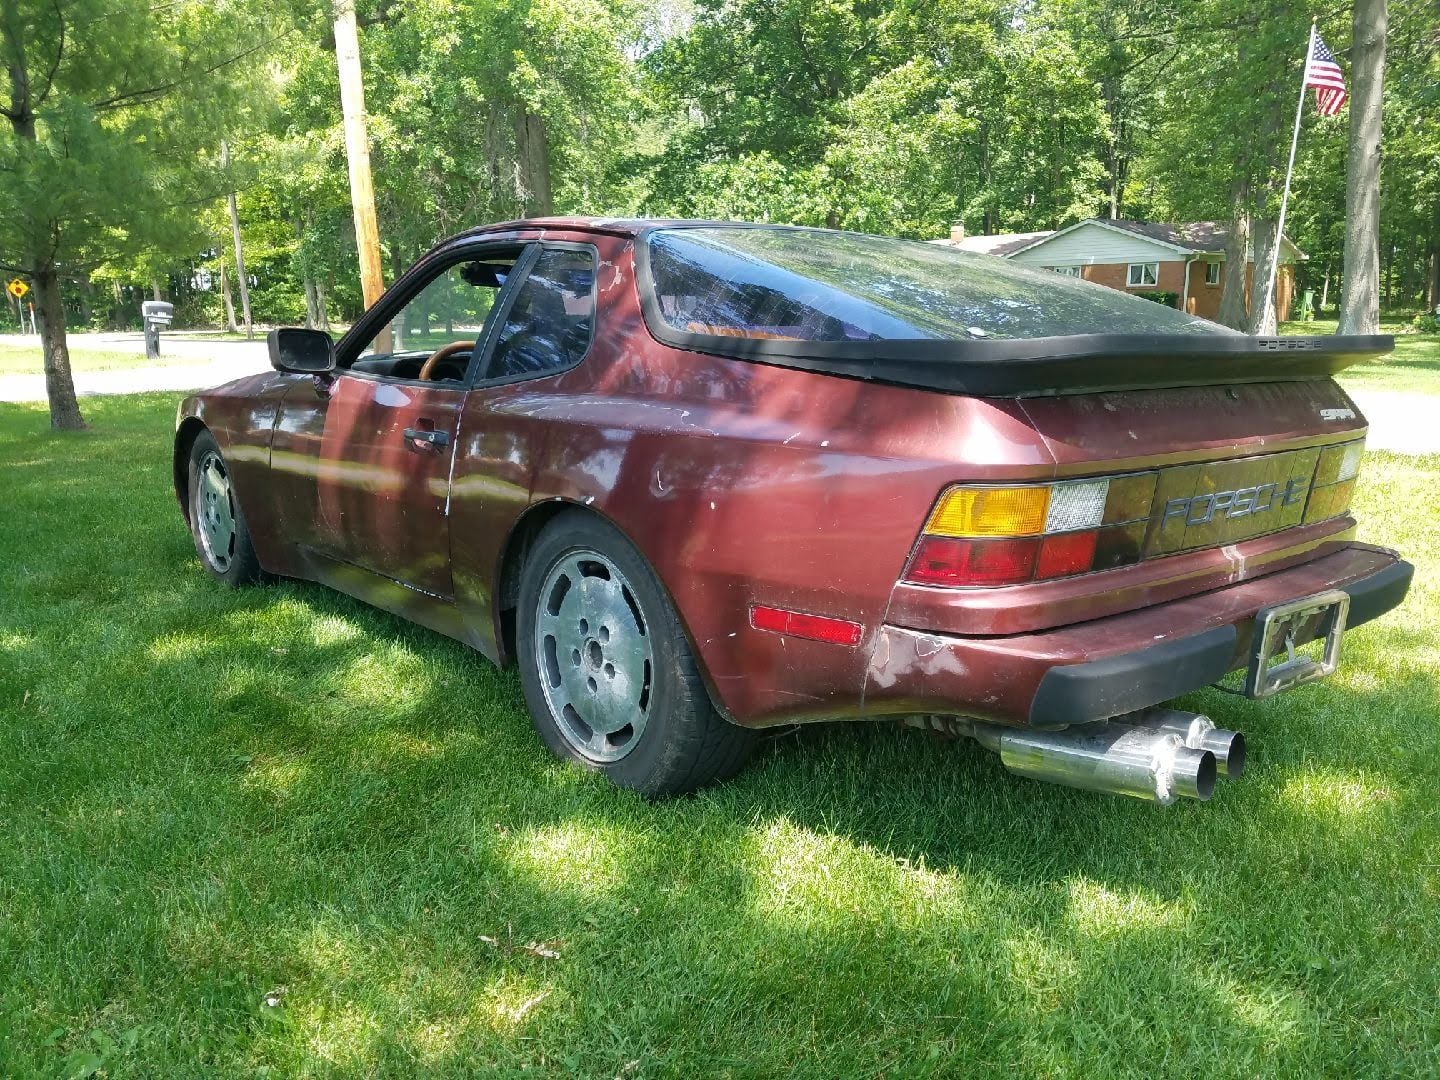
Adding a few pictures just for fun. See who picks up first whats wrong with the "gravel" pictures.
Helluva way to purchase some of the 928 manhole cover wheels. I'm actively doing a build with one of my kids (you probably remember them from SITM - or not depending on level of Sobriety )
There doesn't seem to be a Big Three like we see in the 928 world. It's actually interesting/exhausting to find parts. Interesting because there are MANY niche vendors in this space and exhausting as choice creates confusion for me.
I like https://www.944online.com/ for new parts but also will shop Pelican, Vertex Automotive and others. I haven't tried but I'll be Roger is a good source for 924/944/968 parts.
Ebay and DC Auto (www.dcauto.com) have been my sources for used parts as I haven't found an equivalent to 928 International.
Good Luck!
Last edited by jej3; 12-04-2017 at 01:22 PM.
Reason: clarification
Actually the forged flats are made in 944 offset also (late 944) so they could be 944 wheels, although they are late offset wheels and appear to not be fitted with the spacers needed for an early offset car like that. It kinda looks like those are 928S4 offsets though, front 944 7" flat dish wheels have a little dish to them. The 928 7" has a bit of a bulge and the rear 8" have a bit of a dish.
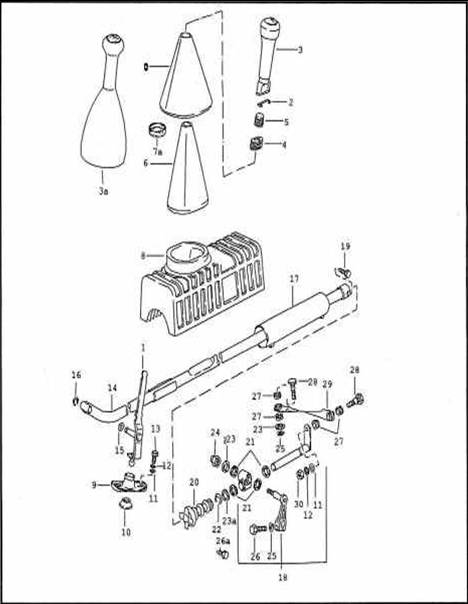
IntroductionSloppy or difficult shifting on a manual transaxle is normally the result of shift linkage adjustment or worn shift linkage components. The follow procedure will describe how to check the shift linkages for 944s and 968s. We'll also look at repairing a worn shifter. Refer to the pictures below for shift linkage component locations. The locations are given in the procedures below within parenthesis with 944 parts shown first.
944 SHIFT LINKAGE
944 Shifter / Linkage PartsShifter PartsPart NumberDescriptionDrawing ID
477 711 205 DShift Lever
1
N 012 437 3Lock Washer
16
944 424 229 00Bearing Shell
10Transaxle Linkage
944 424 013 00Intermediate Shift Lever
18
477 711 147 ABall Pin (2 required)
28
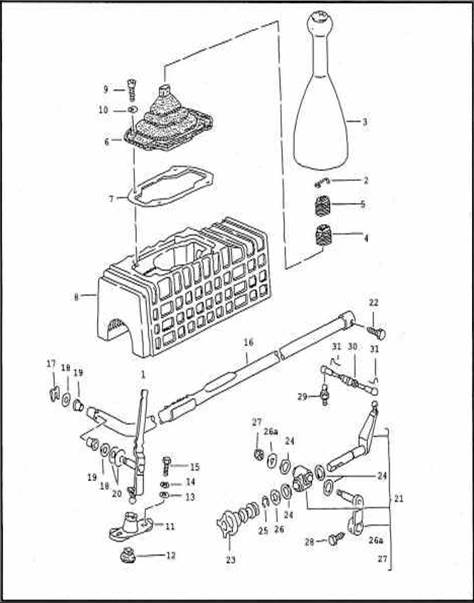
968 SHIFT LINKAGE
968 Shifter / Linkage PartsShifter PartsPart NumberDescriptionDrawing ID
944 424 015 02Shift Lever
1
N 012 648 2Spring Clip
17
944 424 231 00Bearing Shell
12Transaxle Linkage
944 424 013 01Intermediate Shift Lever
21
999 167 046 00Ball Pin (2 required)
29
944 424 041 02Articulated Shaft
30
Removing and Checking the Shift Lever
Sloppy shifting can be the result of a worn shifter (1) pin or a broken bearing shell (10, 12). On the 968 shifter, there's also two bushings (19) for the shifter pin which may be worn and need replacing.
On early 944s with carpet on the console underneath the shift lever perform the following (Refer to 944 Shift Linkage Drawing for Location Numbers):
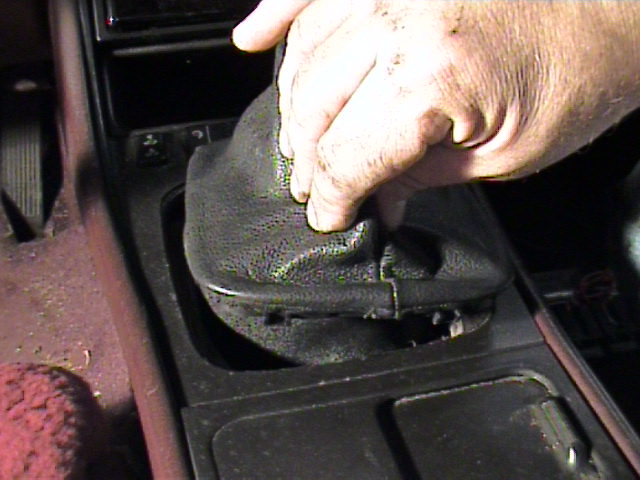
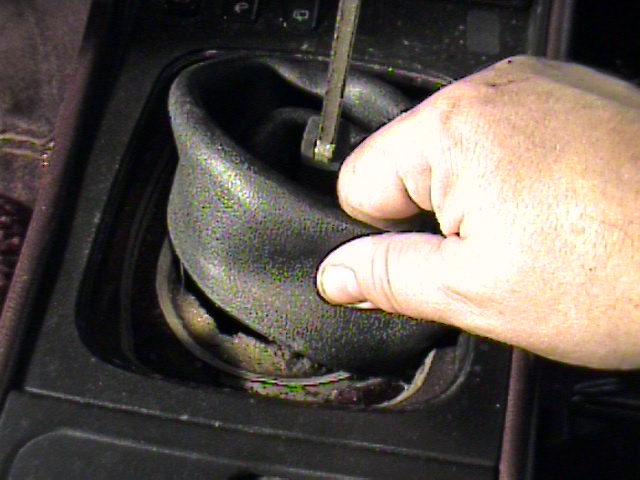
Pull up on the bottom of the leather shift lever boot (7) to separate it from the rubber inner boot (6).
Pull up the carpet around the rubber boot.
Slide a small flat tip screwdriver under the edge of the trim piece at the base of the rubber boot. Push on the clips with the screwdriver to remove the trim piece.
Pull up on the rubber shift boot to separate it from the shifter sound absorber (8).
Using a probe or small flat tip screwdriver, remove the clip (2) which holds the shift **** (3) to the shift lever (1).
Pull up on the shift **** to remove the **** and boot from the shift lever.
Remove the rubber inner boot from the shift lever.
Go To Step 4.
On later 944s with plastic trim around the shifter boot perform the following (Refer to 944 Shift Linkage Drawing for Location Numbers):
Using a flat tip screwdriver gently pry around the base of the shifter boot (7) next to the console. Be careful not to damage the boot. This will separate the boot and inner trim ring from the console.
Using a probe or small flat tip screwdriver, remove the clip (2) which holds the shift **** (3) to the shift lever (1).
Pull up on the shift **** to remove the **** and boot from the shift lever.
Pull up on the rubber inner boot (6) to separate it from the shifter sound absorber (8).
Remove the rubber vibration dampener from the shift lever.
Remove the rubber inner boot from the shift lever.
Go To Step 4.
On 968s with plastic trim around the shifter boot perform the following (Refer to 968 Shift Linkage Drawing for Location Numbers):
Using a flat tip screwdriver gently pry around the base of the shifter boot next to the console. Be careful not to damage the boot. This will separate the boot and inner trim ring from the console.
Using a probe or small flat tip screwdriver. remove the spring clip (2) that holds the shifter **** (3) to the shift lever (1). Then pull up on the **** to remove it from the lever.
Remove the four M6 cheesehead screws (9) that hold the shift lever bellows (6) to the top of the shifter sound absorber (8). Slide the bellows up and off of the shift lever.
Go To Step 4.
Disconnect the shifter rod (14, 16) from the shift lever as follows:
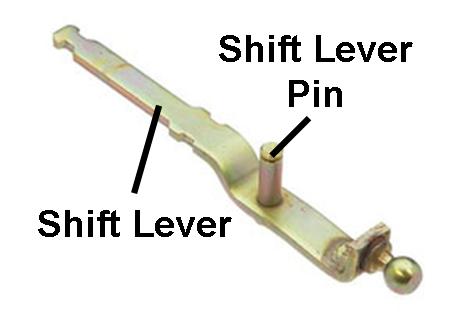
On 944s, remove the "C" clip (16) from the groove on the shift lever pin. Be careful not to drop the clip. Then, slide the shifter rod off of the pin. Remove the washer (15) from the pin and set aside.
On 968s, remove the spring clip (17) from the groove on the shift lever pin. Remove the washer (18) and bushing (19) from the shifter rod. You may have to slide the shifter rod off of the shift lever pin to remove the bushing. Remove the other bushing from the shifter rod and the remaining washers from shift lever pin.
Inspect the shift lever pin for wear. If it is excessively worn, the pin will be tapered instead of the same diameter along it's entire length. If the pin shows excessive wear replace it. On 968 shift levers, it is more likely that the shift lever bushings (2) will be worn instead of the pin. Check the bushings by sliding them onto the shift lever pin and looking for excessive play. If the bushings show excessive wear replace them.
Next remove the shift lever from the vehicle by removing the two bolts (13, 15) that hold the bearing bracket (9,11).
Lift the lever out of the sound absorber and inspect the plastic bearing. If it is cracked, broken, or the shifter comes out of the bearing easily, the bearing should be replaced.
Installation
If the plastic bearing is to be replaced, apply a small amount of Moly grease to the inside of the bearing and slide the new bearing into the bearing bracket.
Push the shift lever ball into the bearing. It will be difficult to push into the bearing. That's normal. Use firm, steady pressure but, don't be overly aggressive as you can break the bearing.
Install the shift lever into the sound absorber using the two retaining bolts (M8 x 12).
Attach the shifter rod to the shift lever pin using the "C" clip (944s) or spring clip (968s).
Check the shift lever alignment using the procedure in the following section.
On 944s, install the rubber boot onto the shift lever and work the bottom of the boot onto the lip of the sound absorber opening.
On 968s, install the bellows (6) onto the shift lever and attach it to the sound absorber using the four M6 x 16 screws.
Install the shift lever **** and boot onto the shift lever using the spring clip. Attach the bottom of the boot to the console.
Adjusting the Shift Lever
There are two adjustments for the shift lever. One is for the inclination toward the front or rear of the car. The other is for the side-to-side inclination. In the factory shop manuals, this is referred to as lateral inclination or transverse inclination. Unfortunately, in the 968 Manuals, it refers to the side-to-side inclination as transverse inclination, and in the 944 Manual, it refers to it as lateral inclination. So, to avoid confusion, we simply won't use those terms.
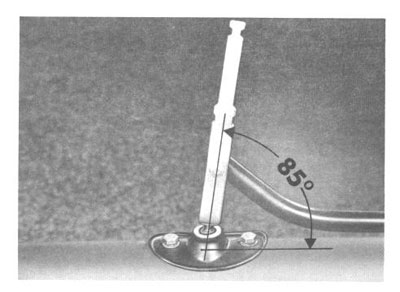
With the shift lever set to neutral, the shift lever should be inclined toward the rear of the car at an 85� angle.
If the shift lever is not at the proper angle, loosen (but don't remove) the two bolts for the shifter bearing bracket and slide bracket forward or backward as necessary to obtain the correct angle on the shift lever. Then tighten the two bolts.
Also, with the shift lever in neutral, the shift lever should be no side-to-side inclination. In other words, it should not be leaning to the left or right. If so, the side-to-side inclination must be adjusted at the transaxle.
To adjust the side-to-side inclination on a 944, perform the following:
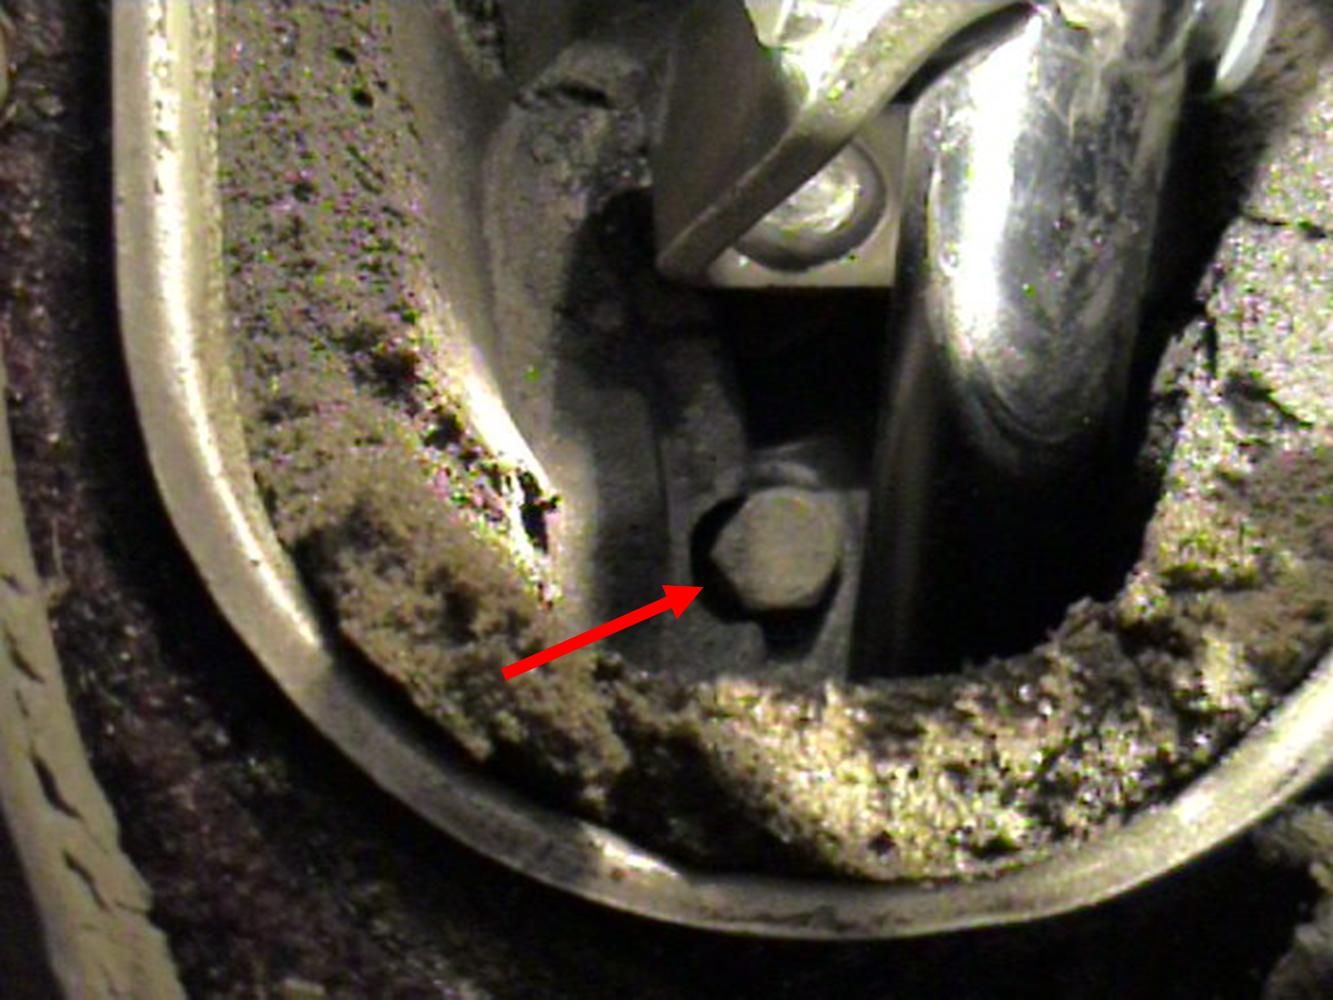
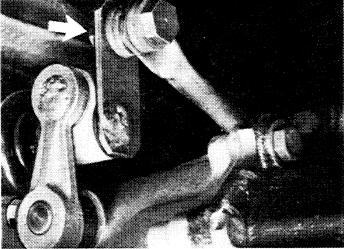
Loosen the lock nut on the intermediate shaft linkage (see picture below).
Move the intermediate shift lever to the left or right to change the inclination of the shift lever on the console. Moving the intermediate shift lever to the driver's side of the car will incline the shift lever on the console more toward the driver's side. Moving the intermediate shift lever to the passenger's side of the car will incline the shift lever on the console more toward the passenger's side.
When the console shift lever is at the correct side-to-side inclination, tighten the intermediate shaft lock nut.
To adjust the side-to-side inclination on a 968, perform the following:
Loosen the locknuts (no. 1) on the intermediate shift lever adjustment turnbuckle and turn the center piece (no. 2) until there is no side-to-side inclination at the console shift lever (no. 3).
When the shift lever is properly adjusted, tighten the turnbuckle locknuts.
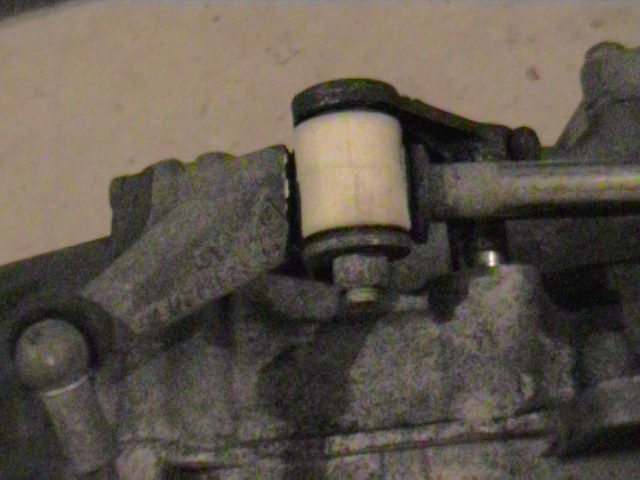
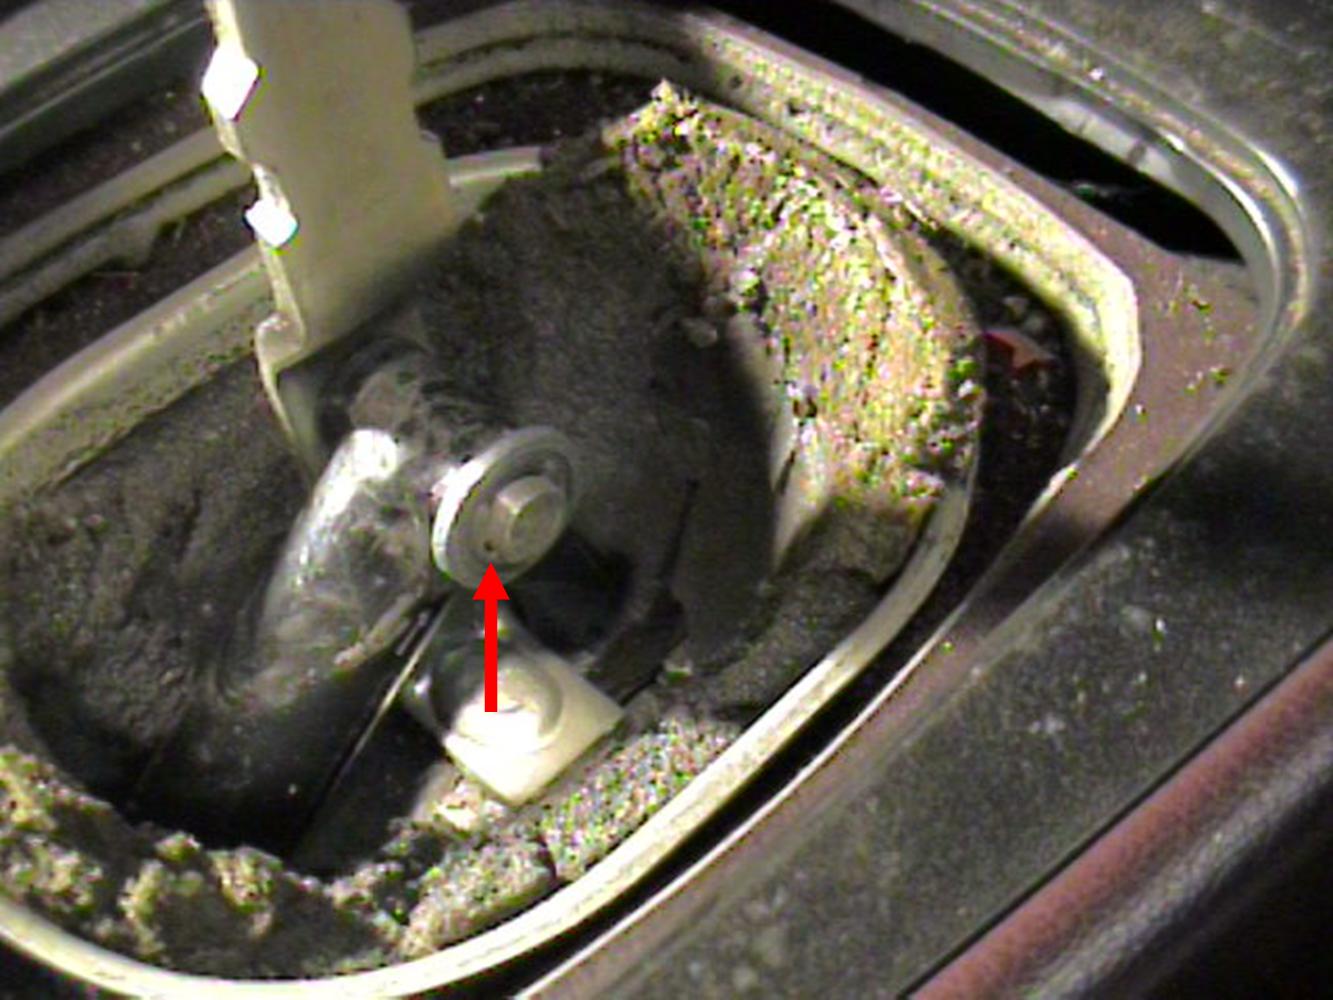
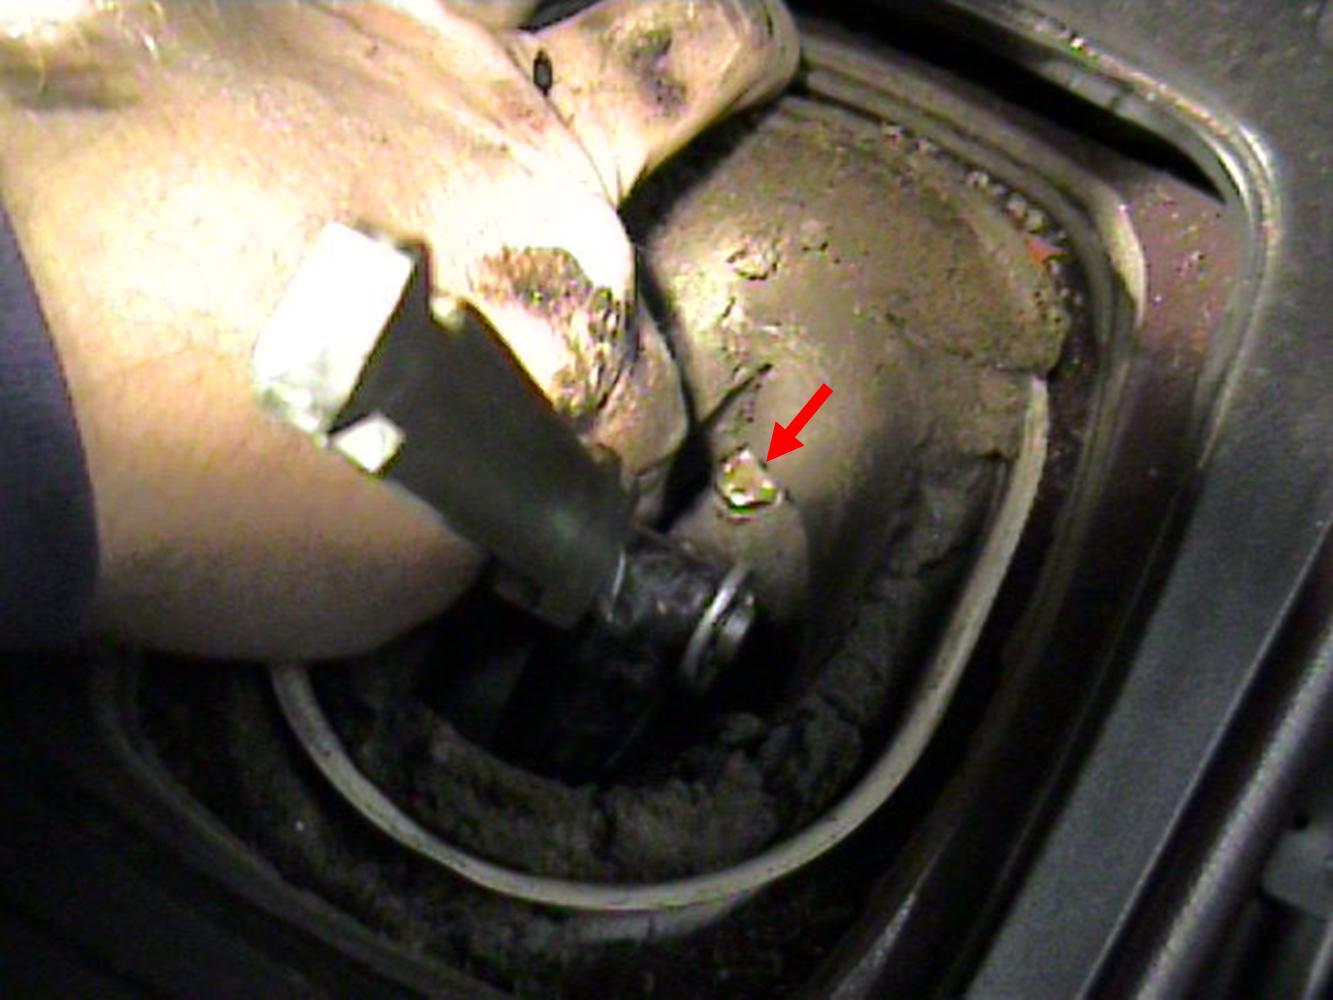
Checking the Transaxle Linkage for WearThe intermediate shift lever at the transaxle shift linkage is partially made of hard plastic (white part in the picture below). Over time the plastic can wear out causing the shifting to become sloppy. If you have already checked and/or replaced the shift lever and shift lever bearing or shift lever bushings (968 only) and there still seems to be some sloppiness to the shifting, inspect the intermediate shift lever for excessive play.
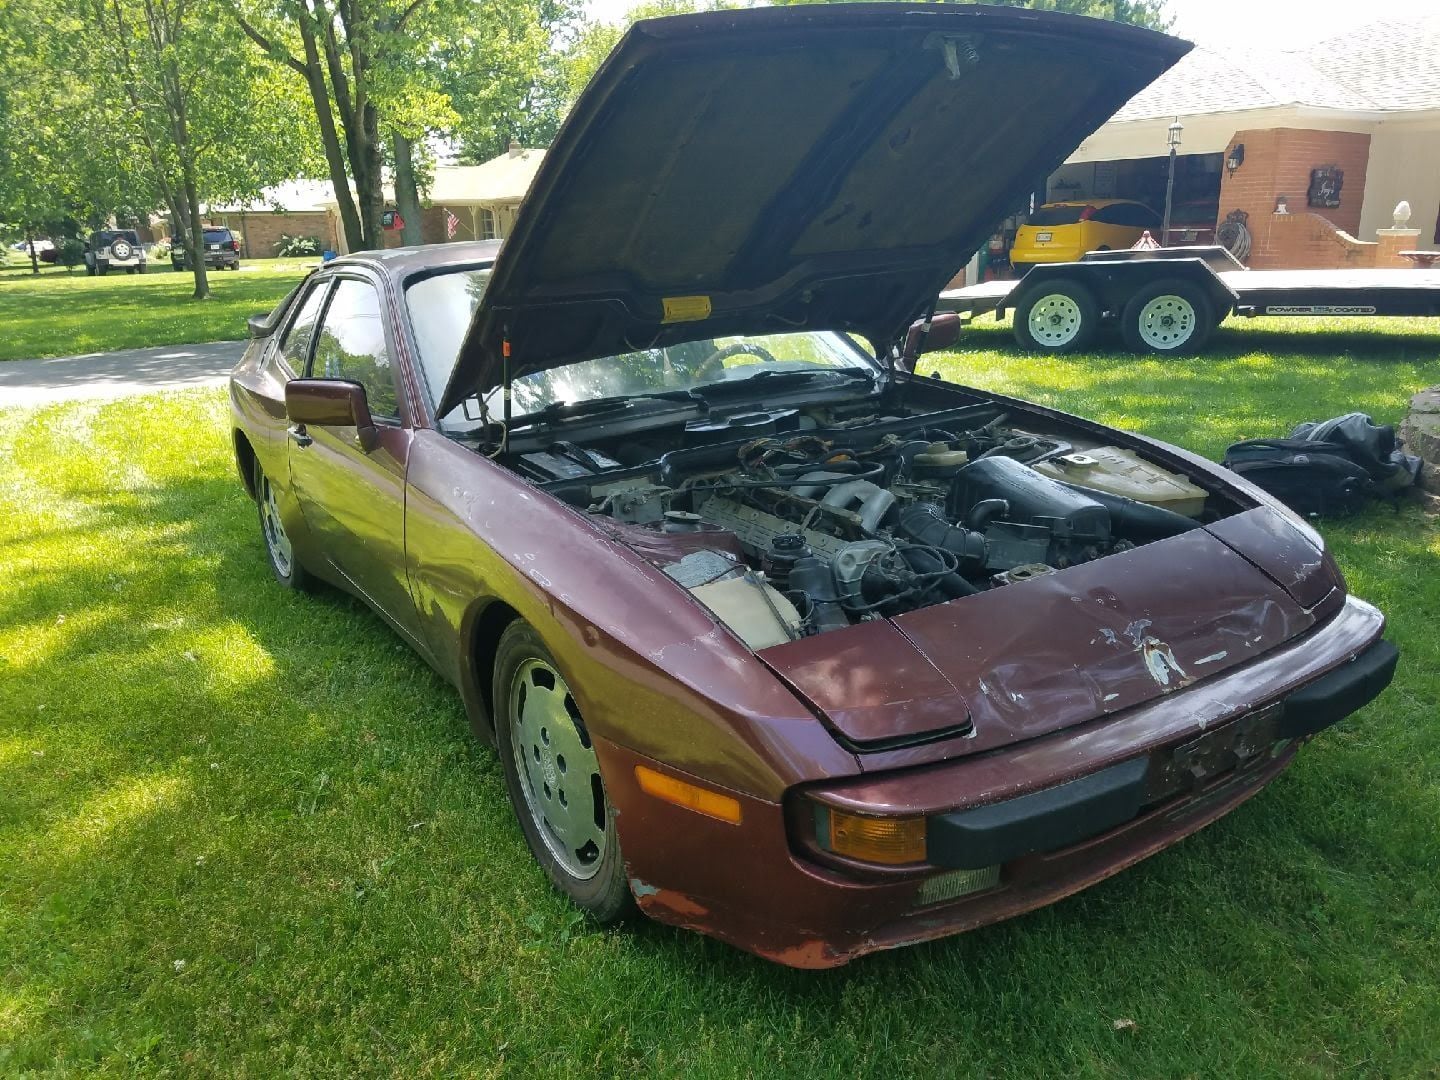
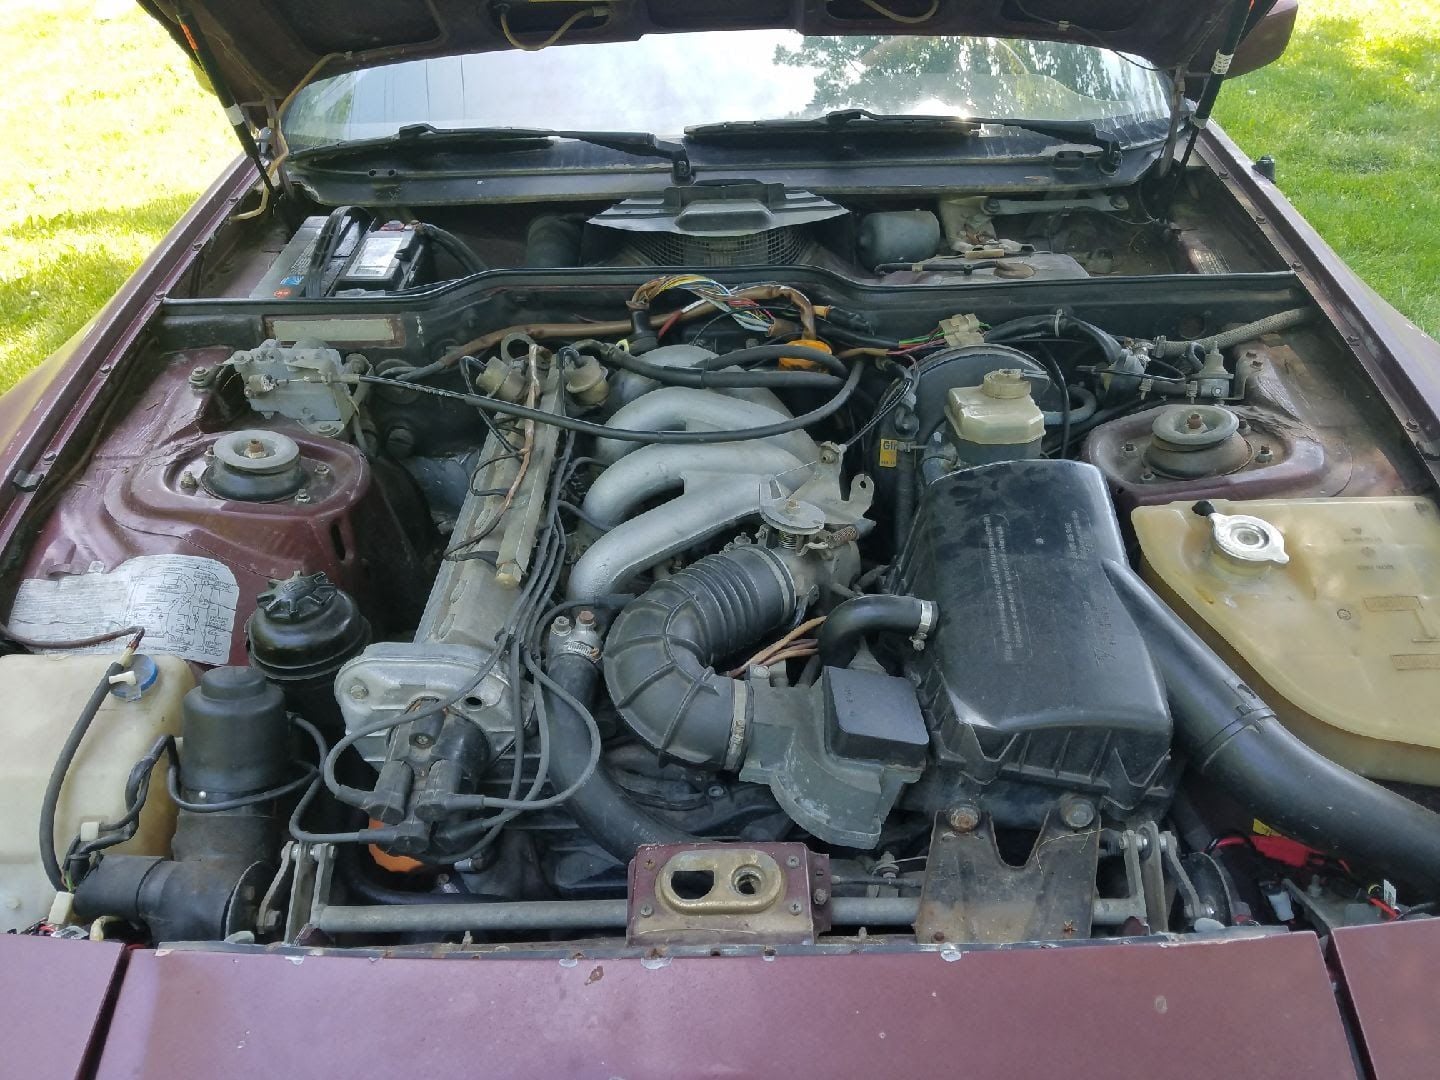
First of all, welcome. I hope you got it cheap... that looks like a serious a project! If you don't know the history, change the timing and balance shaft belts, it's and interference engine so broken belts = bent valves at least. While in there check or change the water pump and belt rollers.
I am on both 928 and this board... the good thing with 924/944s is that, as mentioned, Clark's Garage is great centralised resource for how-tos. Parts are less centralised so, as others have said, you have to search a bit harder. Another used part source is larts on eBay http://stores.ebay.com/Larts-Porsche...p2047675.l2563
Also check locally on Craigslist... there a lot of 944s out there and lot of people with spare parts laying about in the garage.
Good luck and have fun!
Thanks Sam, wouldn't be at all upset if it falls off while loading it on your trailer today. LOL, I bet someone on ebay would actually pay real money for it. Original exhaust, a used nose, and a new water pump are all in the hatch.
Originally Posted by elgy
First of all, welcome. I hope you got it cheap... that looks like a serious a project!
I'm trading for a car I have $400 and 4 hours time into that is realistically worth $900... so yes, probably over spending
However, don't feel bad putting a young man into a reliable Honda who doesn't know how nor can afford to keep an old Porsche on the road. Might even get him a job where I work.
Originally Posted by Jfrahm
Wheels are on the wrong ends of the car on the gravel, no so on the grass.
Ding, Ding we have a winner!
Not sure I'll plate it for winter driving or just track/chump it off a trailer. If it runs decent, I may have to take a stab at wrapping it. yea, excellent wrapper... or maybe plasti dip?
For now I'll park in my land for misfit toys so my wife doesn't see it. Need to find a cheap lid (sunroof panel) to keep the snow out.
Nice find! You may not know this, but I have an embarrassingly large parts collection at the house from parting these things out over the years. So there is a pretty good chance I have some of what you need.
Wraps can be pretty pricey, just for material alone. If I were you I would go Rustoleum with a foam roller. That's how I did the white on the ChumpCar. Turned out pretty decent just rolled on, no sanding, etc.
Congrats on the new ride! To help you get more familiar with the 944 platform, I'm including a link to our site's DIY tech articles. Please let us know if you have any questions or if we can assist with any part needs. Thanks!
 12-04-2017, 11:46 AM


 )
)