When you click on links to various merchants on this site and make a purchase, this can result in this site earning a commission. Affiliate programs and affiliations include, but are not limited to, the eBay Partner Network.
Today I made some wins with the rebuild on my '83.. With the help of a buddy, we installed the metal gas tank and placed the Torque Tube into the car. Hooking up all the hoses that lead to the tank and getting the filler neck properly installed can be a chore. Some of the original hoses had rotted off and had to be replaced. But it's mostly done now....Now for the rear suspension install...followed up by the transaxle install. I might ACTUALLY RUNNING by this coming summer! fingers crossed!
From the "why the heck didn't I do this sooner" department...
About a year ago, shortly after I bought my car, I removed the front sway bar to replace the bushings which were trash. I found that not only that, the bushing and mounting hardware were all wrong and mismatched, and the replacements I had ordered weren't going to work. I left the bar off, since after a bit of test driving, I didn't notice a huge difference anyway. Fast forward, and I've acquired a 25.5mm 951 bar, and delrin bushings which happen to fit the mounting hardware I already had. Finally installed it all today. While I was in there, I re-torqued the caster block bolts, as that area had been giving a clunk on stops and starts. Gone now! Took the car for a drive, and everything felt - and sounded - so much better. Not surprising, as this was the first time I've driven it with a real functional sway bar.
Now if I could only find a permanent fix for the squeaky hatch.
Since the internet was down in my area due to the fires I could figure out where to lift the car in order to replace the fuel lines with a Rennbay kit. I didn't want to damage anything.
So I installed a set of 7 inch Cibie H4 headlights, and the cutoff is so much better than the sealed beams the car had on it.
Now to wait a month for the parts to redo the top of the engine to get here from Germany and install a LR catch can that I am venting back into the intake.
I hate the smell of blowby and the oil burning when I drive above 70 mph. The next owner is going to love me lol.
Installed hatch pin seats and throttle response cam from Only944 today. Wow, these have got to be the biggest bang-for-your-buck mods you can possibly do for improving the driving experience. I knew my hatch rattled and squeaked, but I didn't realize it did that much. As an added bonus, it allowed me to align my hatch pins properly, which has made the hatch release button work for the first time in...well, ever. Both of these things took less than 20 minutes each to install.
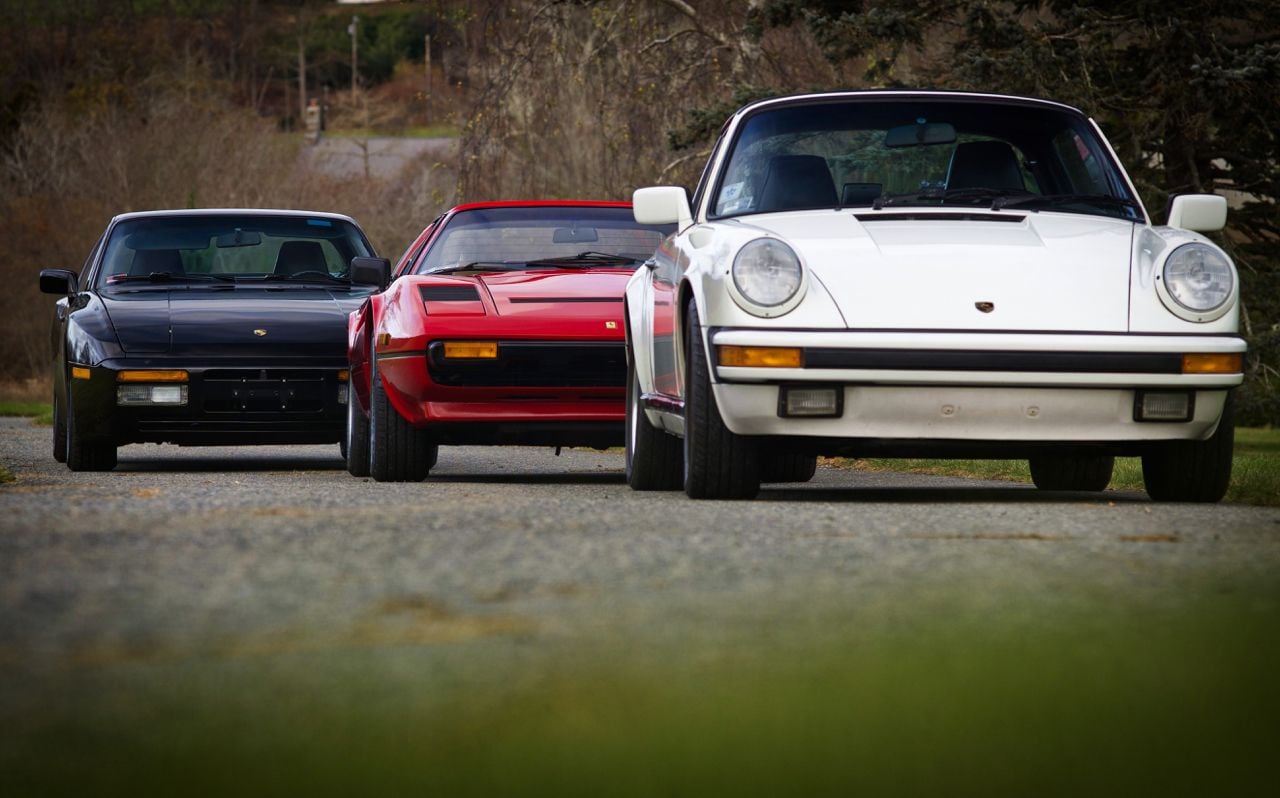
Mopped up the power steering fluid leak and tightened a clamp left lose by the sloppy mechanic who got it ready for sale by the previous owner. Then brought it out for a stable mate shot under cloudy skies.
Yesterday I got switches wired up to control the Turbosmart Eboost1 set points. I can push either button and go directly to a different boost setting(set point). Higher boost if its cold, or I just feel like dialling it up
Finished the custom carbon fibre panel. The Zeitronix ZT2 display is showing boost/vacuum, exhaust gas temperature, air fuel ratio, and lambda. I also dimmed the white LED lights in the billet switches. It's hard to see the gloss in pics but it looks pretty nice in person.
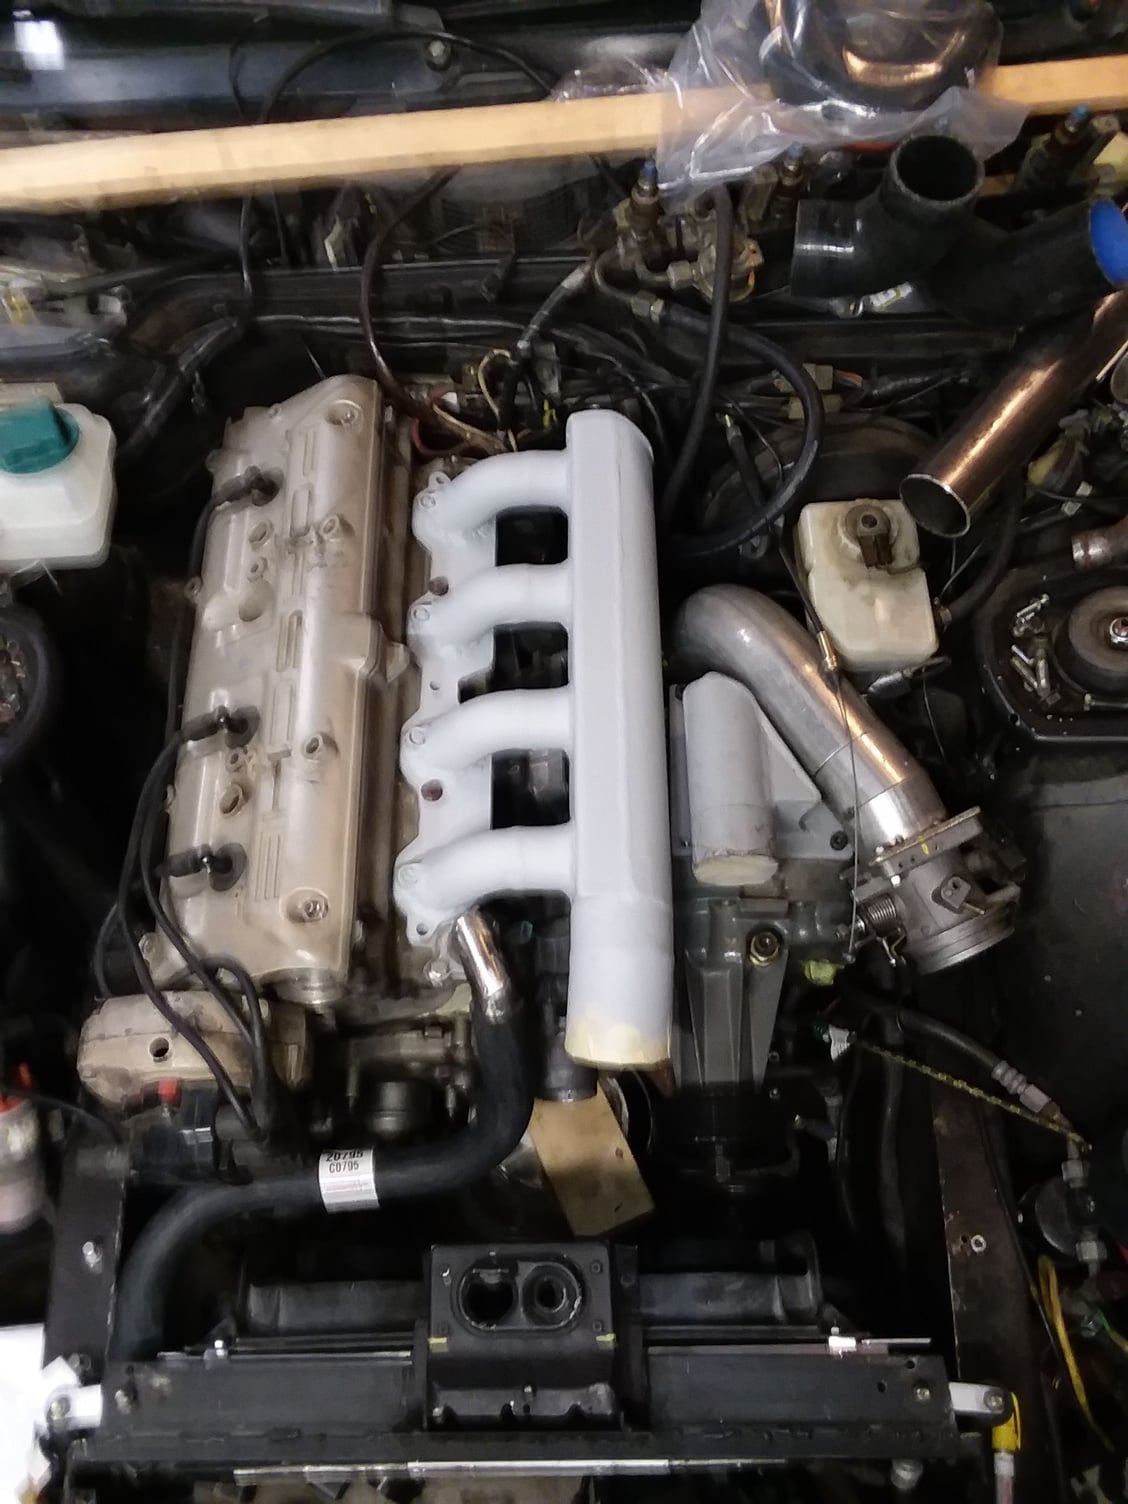
Finished my intake manifold and threw some primer on it. Eventually the sc plumbing and maybe valve cover will be matching silver. Up next will be making intercooler pipes.
Hard to see here, but there's a 30 degree 'turndown' at the entrance to the manifold to clear the hood line.
Finished my intake manifold and threw some primer on it. Eventually the sc plumbing and maybe valve cover will be matching silver. Up next will be making intercooler pipes.
Hard to see here, but there's a 30 degree 'turndown' at the entrance to the manifold to clear the hood line.
 11-06-2018, 10:30 AM