When you click on links to various merchants on this site and make a purchase, this can result in this site earning a commission. Affiliate programs and affiliations include, but are not limited to, the eBay Partner Network.
Speckles on instrument panel (1990 S2) (with photos...)
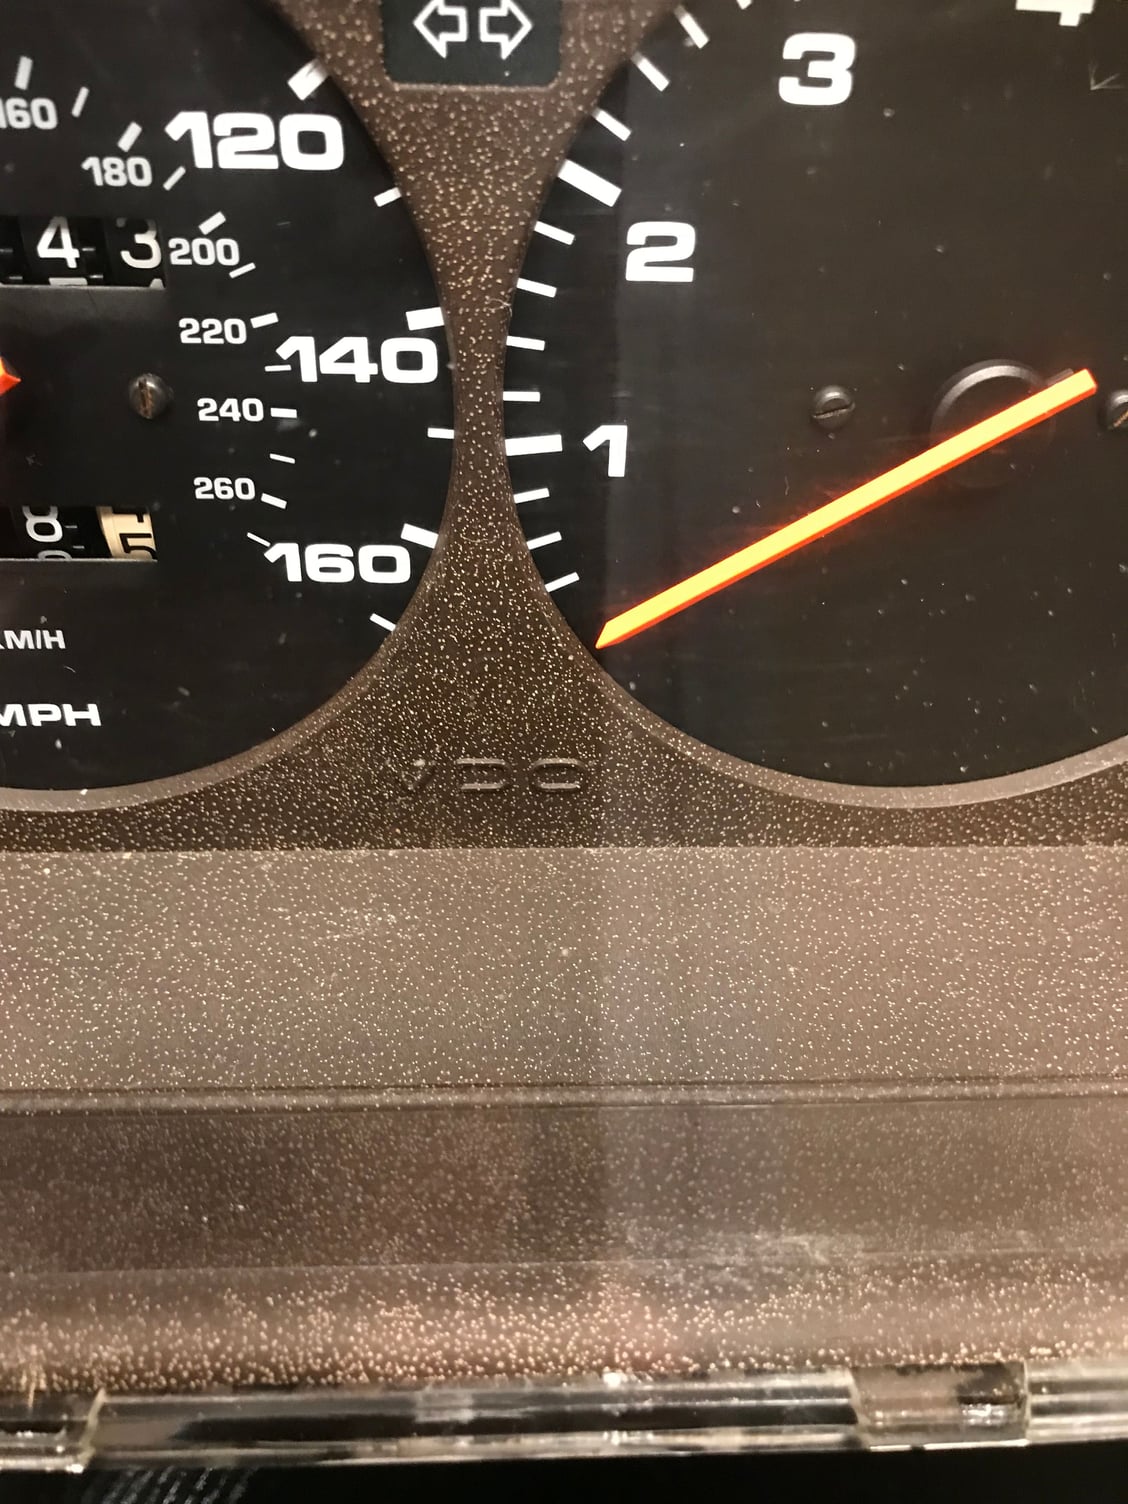
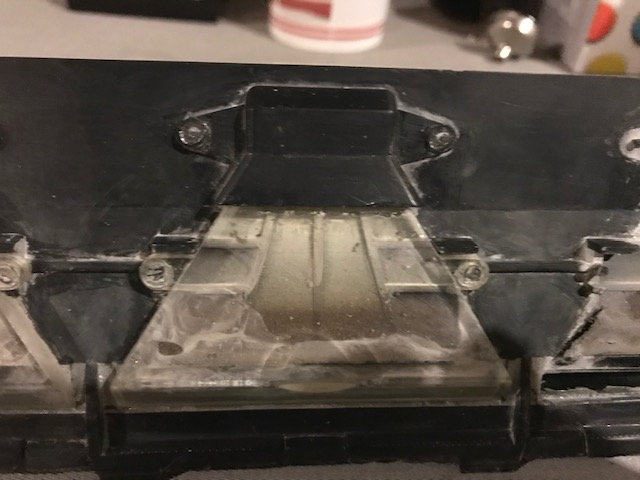
I've pulled the instrument panel on my 1990 S2 so that I can update the bulbs behind the gauges.
Now that it's pulled out of the car and I can see it close up with good lighting, please notice the spots or speckles in these close-up photos how the faceplate behind the clear front. See all those little light-brown speckled spots? I'm trying to understand if those are original design and perhaps Porcshe was going for some kind of pattern or textured look, or is it just some decay or degradation of the paint or other oxidation because the case is almost 30 years old.
Can y'all compare this to your cars and let me know if this is a common thing?
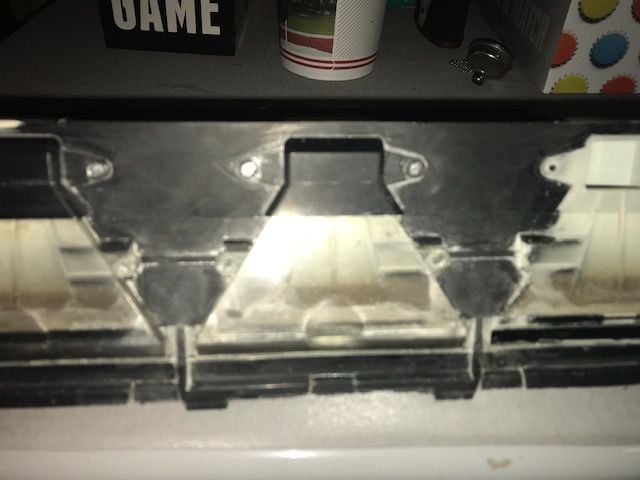
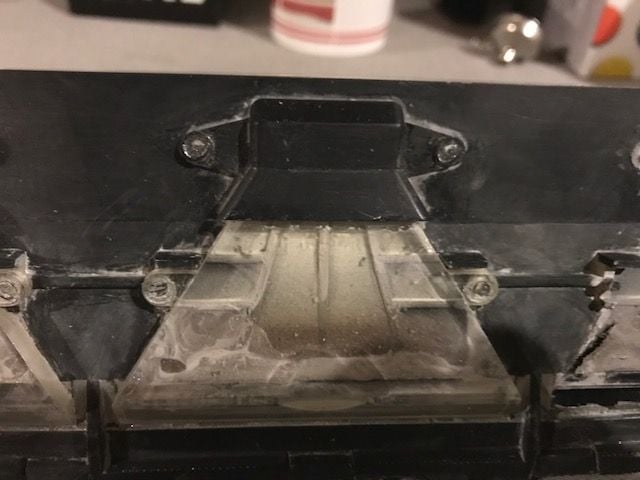
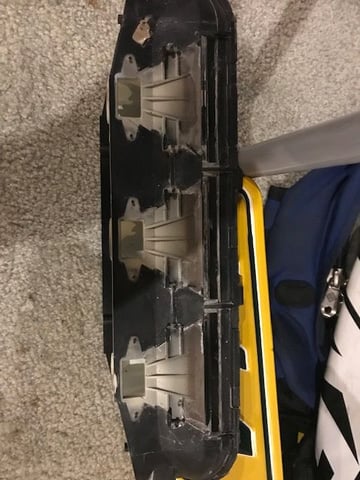
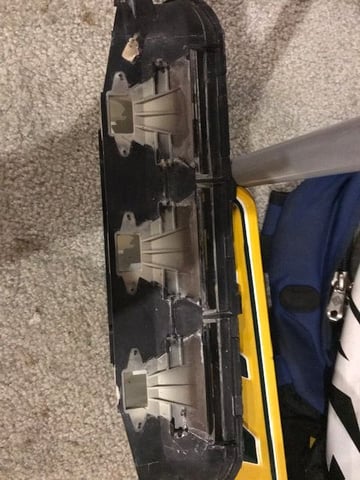
Not a design feature. If you also notice, behind the speckles, the background color is kind of a brown-black. I solved this issue on my 968 by VERY carefully splitting the clear plastic front from the remainder of the housing. Wet sanded with 400 grit, then primed and painted with a flat black rattle can. I will try to find the pictures I shot and post them up. The glue that holds the front to the rest of the housing may be loose in spots, but likely isn't that way all around the outside. I used a sharp wood chisel and light taps from a tack hammer to separate the pieces.
Unfortunately far too common. I�ve watched several of my cars slowly develop this over time. Seems to be related to being in high humidity environments. Not thrilled to try and remove the clear lens, but I have several instrument clusters so at least I have some backups if something goes wrong.
Not thrilled to try and remove the clear lens, but I have several instrument clusters so at least I have some backups if something goes wrong.
Cliff
The way I removed my lens was I could see all the places where the black adhesive was visible, and I used a razor blade and a tiny �hammer� the tap the top of the blade down between the lens and the plastic frame. You can hear it break lose most times.
Go really slow. I worked at my kitchen table with the in instrument panel placed on a towel. Be sure you have really good lighting and wear some reading glasses as you work.
Not a design feature. If you also notice, behind the speckles, the background color is kind of a brown-black. I solved this issue on my 968 by VERY carefully splitting the clear plastic front from the remainder of the housing. Wet sanded with 400 grit, then primed and painted with a flat black rattle can. I will try to find the pictures I shot and post them up. The glue that holds the front to the rest of the housing may be loose in spots, but likely isn't that way all around the outside. I used a sharp wood chisel and light taps from a tack hammer to separate the pieces.
Amazing what we owners have to go through to address Porsches cockup.
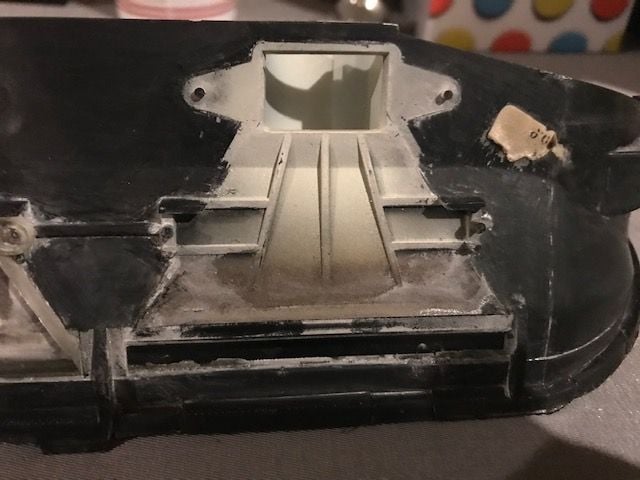
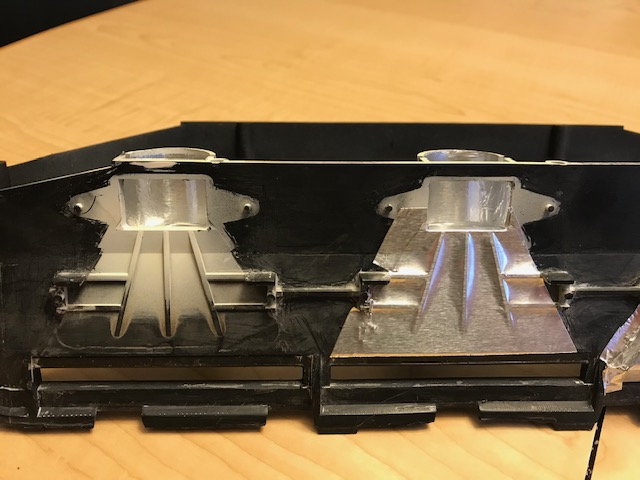
I used aluminum tape to get reflectivity underneath lens tunnel What isn't shown is that I also covered the top of the lens tunnel with the same tape as well as the inside of the black pieces at the back of the tunnels to get maximum reflectivity.
Looks good! Did you redo the light tunnels as well? I think mine got probably a minimum 100% increase in light transmission, although there's no way to prove that.
 07-17-2019, 11:36 PM