When you click on links to various merchants on this site and make a purchase, this can result in this site earning a commission. Affiliate programs and affiliations include, but are not limited to, the eBay Partner Network.
Well, great, thanks a lot for ruining my life! JK, that�s why I�m posting this thread here, for the voice of reason and experience. I do feel like I�m going to end up doing the head gasket and all that that implies. Now where did I put that offset ground crank, Mitsubishi rods and SBC JE pistons? Go big or go home, isn�t that what they say?
I get so jealous when I see these clean looking mechanicals on US cars - we get a lot more corrosion in the UK and like someone else said your motor looks to be in very good condition. The crank bolt and concave washer looks brand new! mine is looking pretty old but still functional
I've almost completed my front end reseal, pump and belts job, I'm putting off the rear main seal, clutch, rod bearings, sump gasket and other crap until next winter - need to get this car on the road...
Subbed to your thread - looking forward to the updates! and it looks so much better having the engine on a stand!
Thanks! Now that the engine's out, it's a pleasure (to my twisted mind, at least) to work on. Getting it to that point was not very fun! And yes, especially in the dry Southwest US, the climate keeps corrosion to a minimum, but the trade off is sandblasted windshields, sun-faded paint, and dried out rubber seals.
And yes, especially in the dry Southwest US, the climate keeps corrosion to a minimum, but the trade off is sandblasted windshields, sun-faded paint, and dried out rubber seals.
In Southern Ontario, Canada we get the corrosion PLUS all the rest. Never a dull moment keeping thirty year old cars going here lol
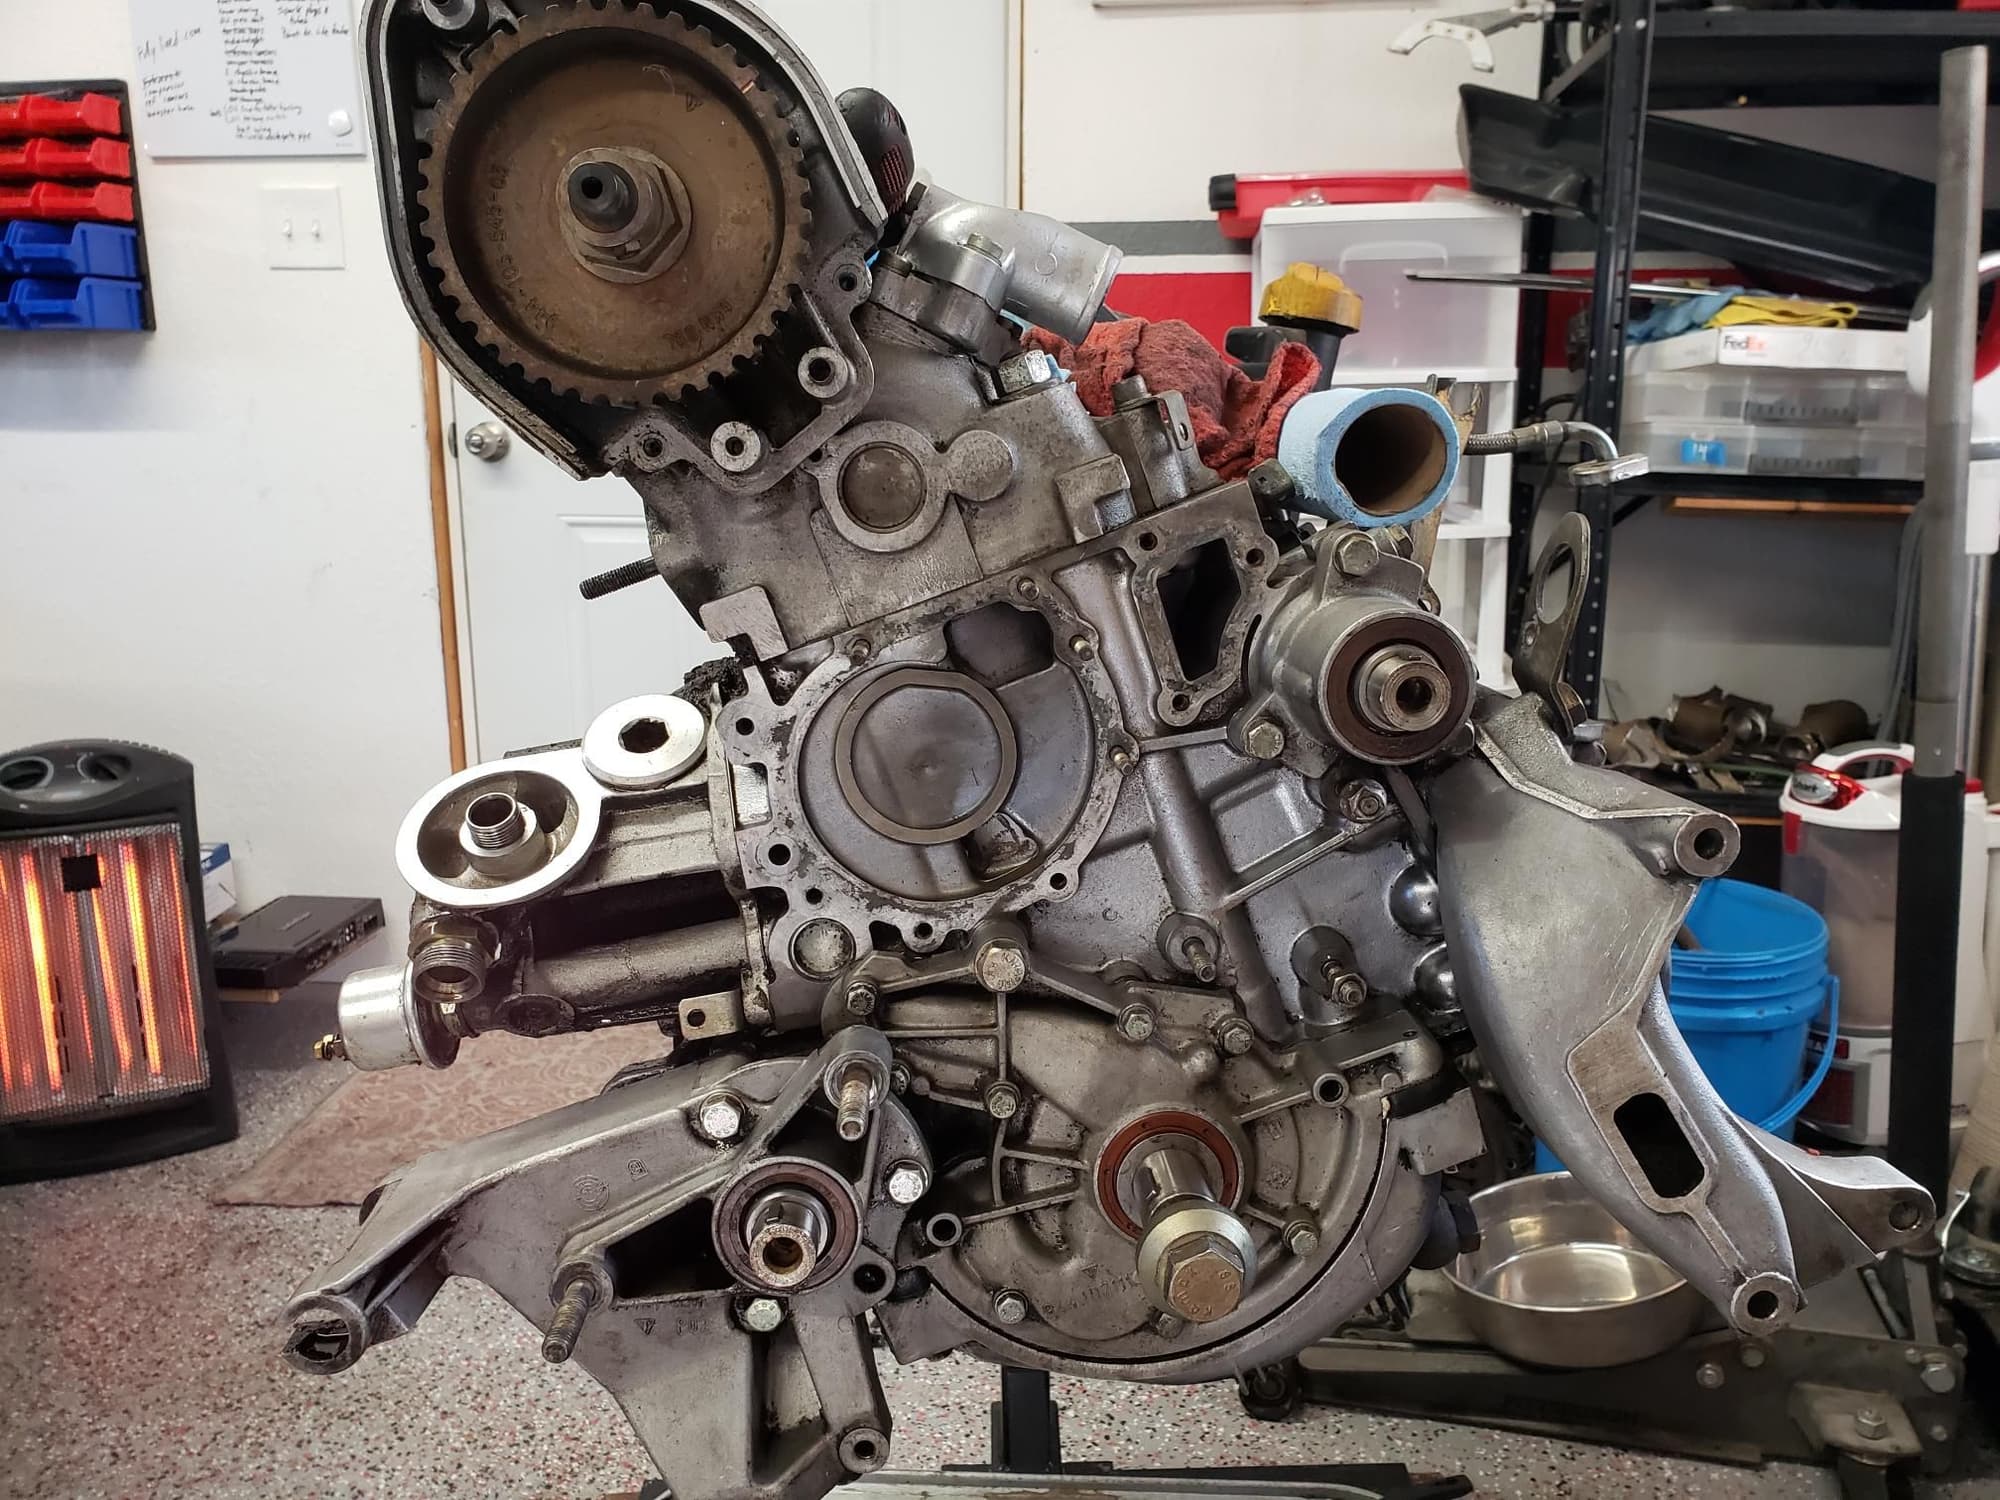
A little more progress today. Starting to look spiffy:
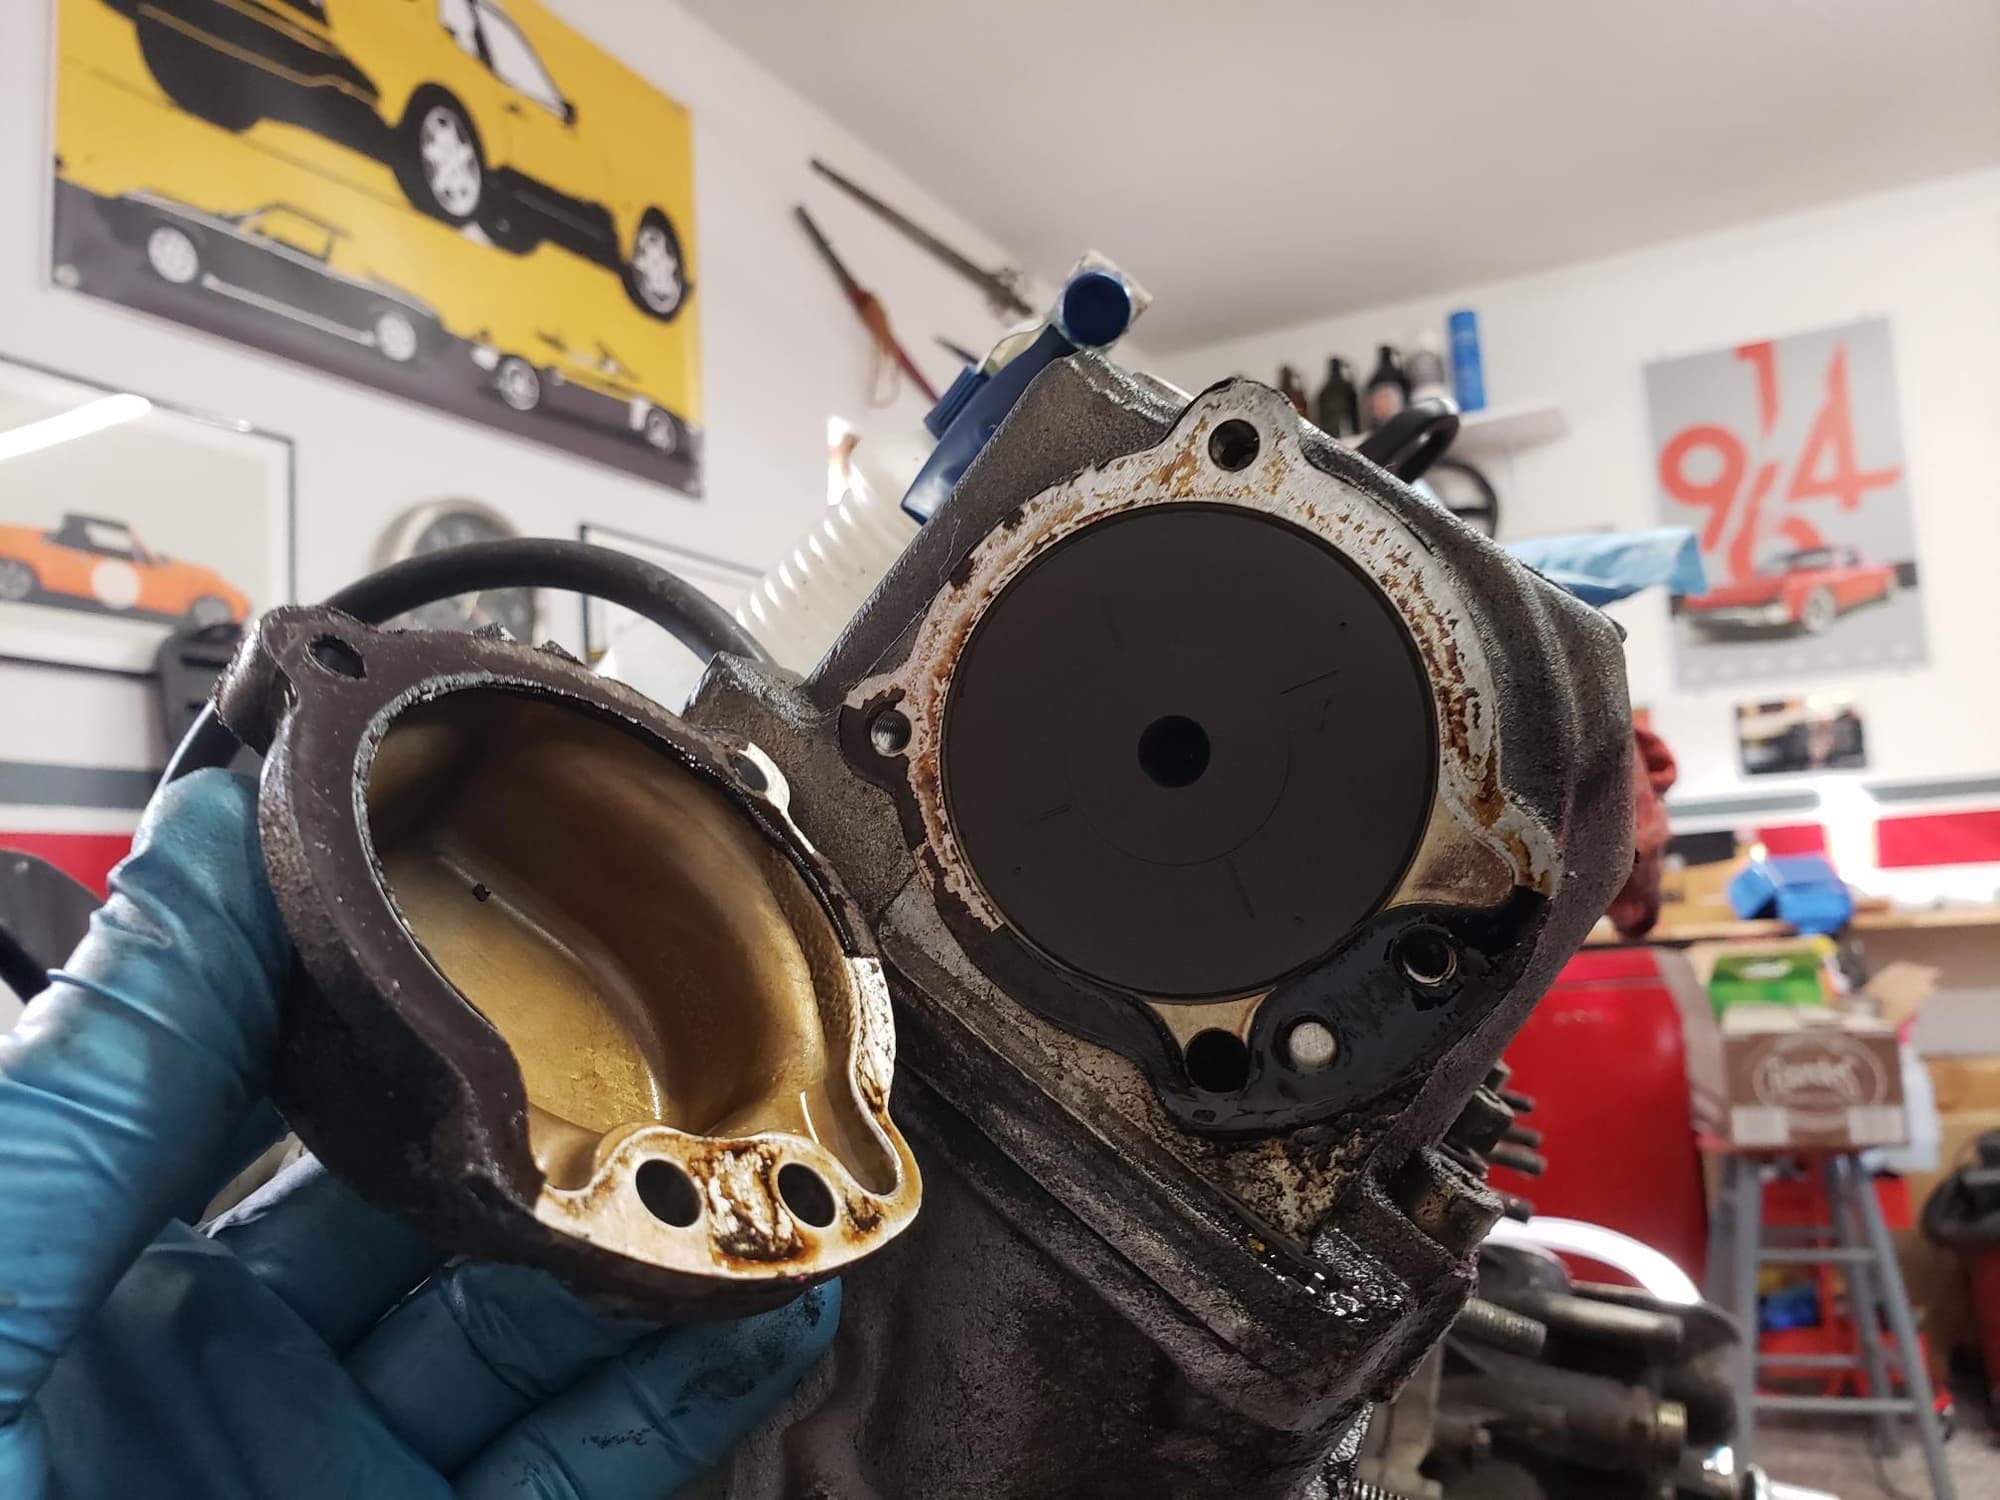
Evidence of one of my most annoying oil leaks. And only two bolts holding it on. Luckily, the hot exhaust manifold would catch most of the oil!
This is the rear cam cover, BTW.
Do these oil return hoses leak often? It seems like most of this is from being blown from the front of the engine, not from the hose itself...
Not sure about the hoses question. Say, what's your method of cleaning off leftover gasket material from mating surfaces?
Afraid to use a razor myself, I've been using something a machinist recommended: a "stone". Basically, these are small flat rectangular abrasive blocks of varying grit. Picked up a couple different sizes from KBC tools (metal trades supply). Liberally spraying WD40, the flat stones do nice work safely cleaning up the surfaces while ensuring even coverage and keeping things straight
Problem with using a stone or anything abrasive is you have to meticulously clean everything afterwards. If that WD40 with abrasive particles in it gets anywhere inside your engine it will spoil your day big time. What�s even worse are the particles that come off those abrasive green acrylic pads.
I'm aware of the particles issue, of course, but in reality--and having "stoned" my engine block among other parts--I don't think it's as dangerous as it sounds. I haven't seen any indication of a problem and I've been driving daily since the work.
I would imagine a razor must also result in "particles" from the scrapping action? I understand that officially, the direction is to clean mating surfaces "chemically" only. Yeah, right. I bought some fresh gasket remover, sprayed it on, waited.. and waited.., then worked to remove gummy residue and not a lick of gasket material.
Exactly what chemical do these manufacturers recommend? And where can an average Joe buy this stuff?
I used a razor to clean the gasket off my rear cam cover, you don't need to use huge pressure just gently glide the razor over the surface and the gasket material should pop right off without too much effort.
Those oil cooler pipes don't leak often from what I can tell but the air oil separator which is above it does and also the balance shaft housing.
brand new super sharp razor used very gently works well...should be as close to parallel to the surface being cleaned as possible.
light scraping and then i like to use green scotch brite...yes it makes dust and particles but you should be plugging oil holes beforehand, and brake-cleaning afterwards anyways just for dust/dirt in your garage.
again, go very light pressure on the scotch brite because it is abrasive and will dig into/remove the aluminum if pushed too hard,
I haven't started cleaning up gasket surfaces yet, but I appreciate all the suggestions.
As a school teacher, I had the pleasure of waking up this morning to a snow cancellation (those of you in snowy climates would laugh at the little bit of snow that cancels school here, but we just don't have the infrastructure to deal with it). Regardless, I'm not complaining about having my three day weekend extended. Here's this morning's work:
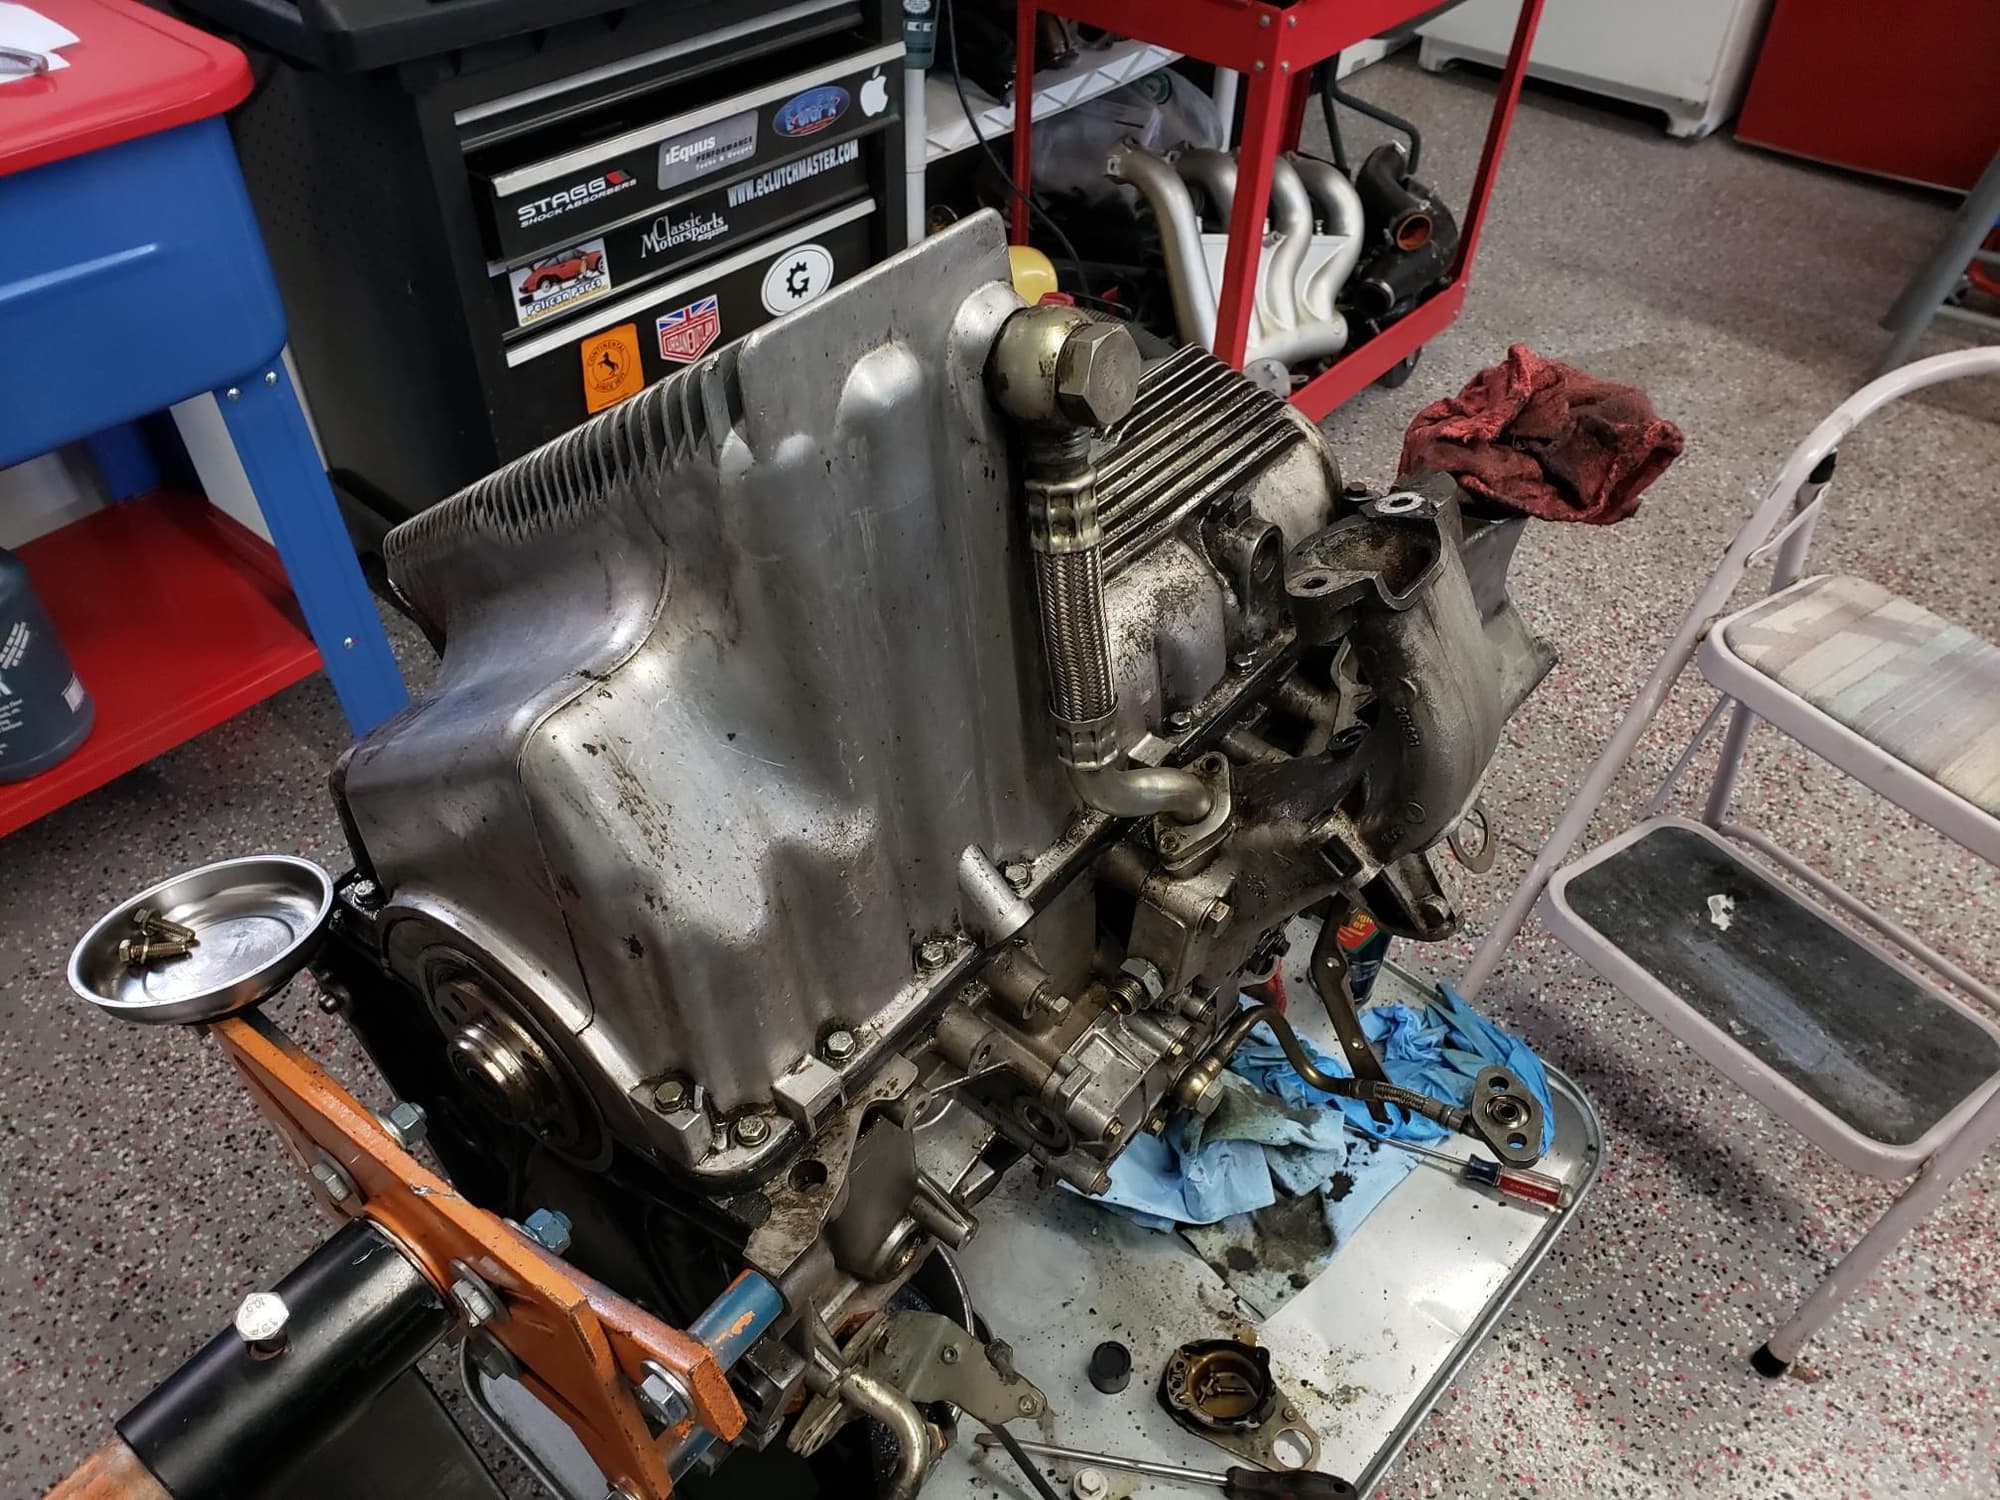
Removed the AOS the flipped the engine and did a little cleaning.
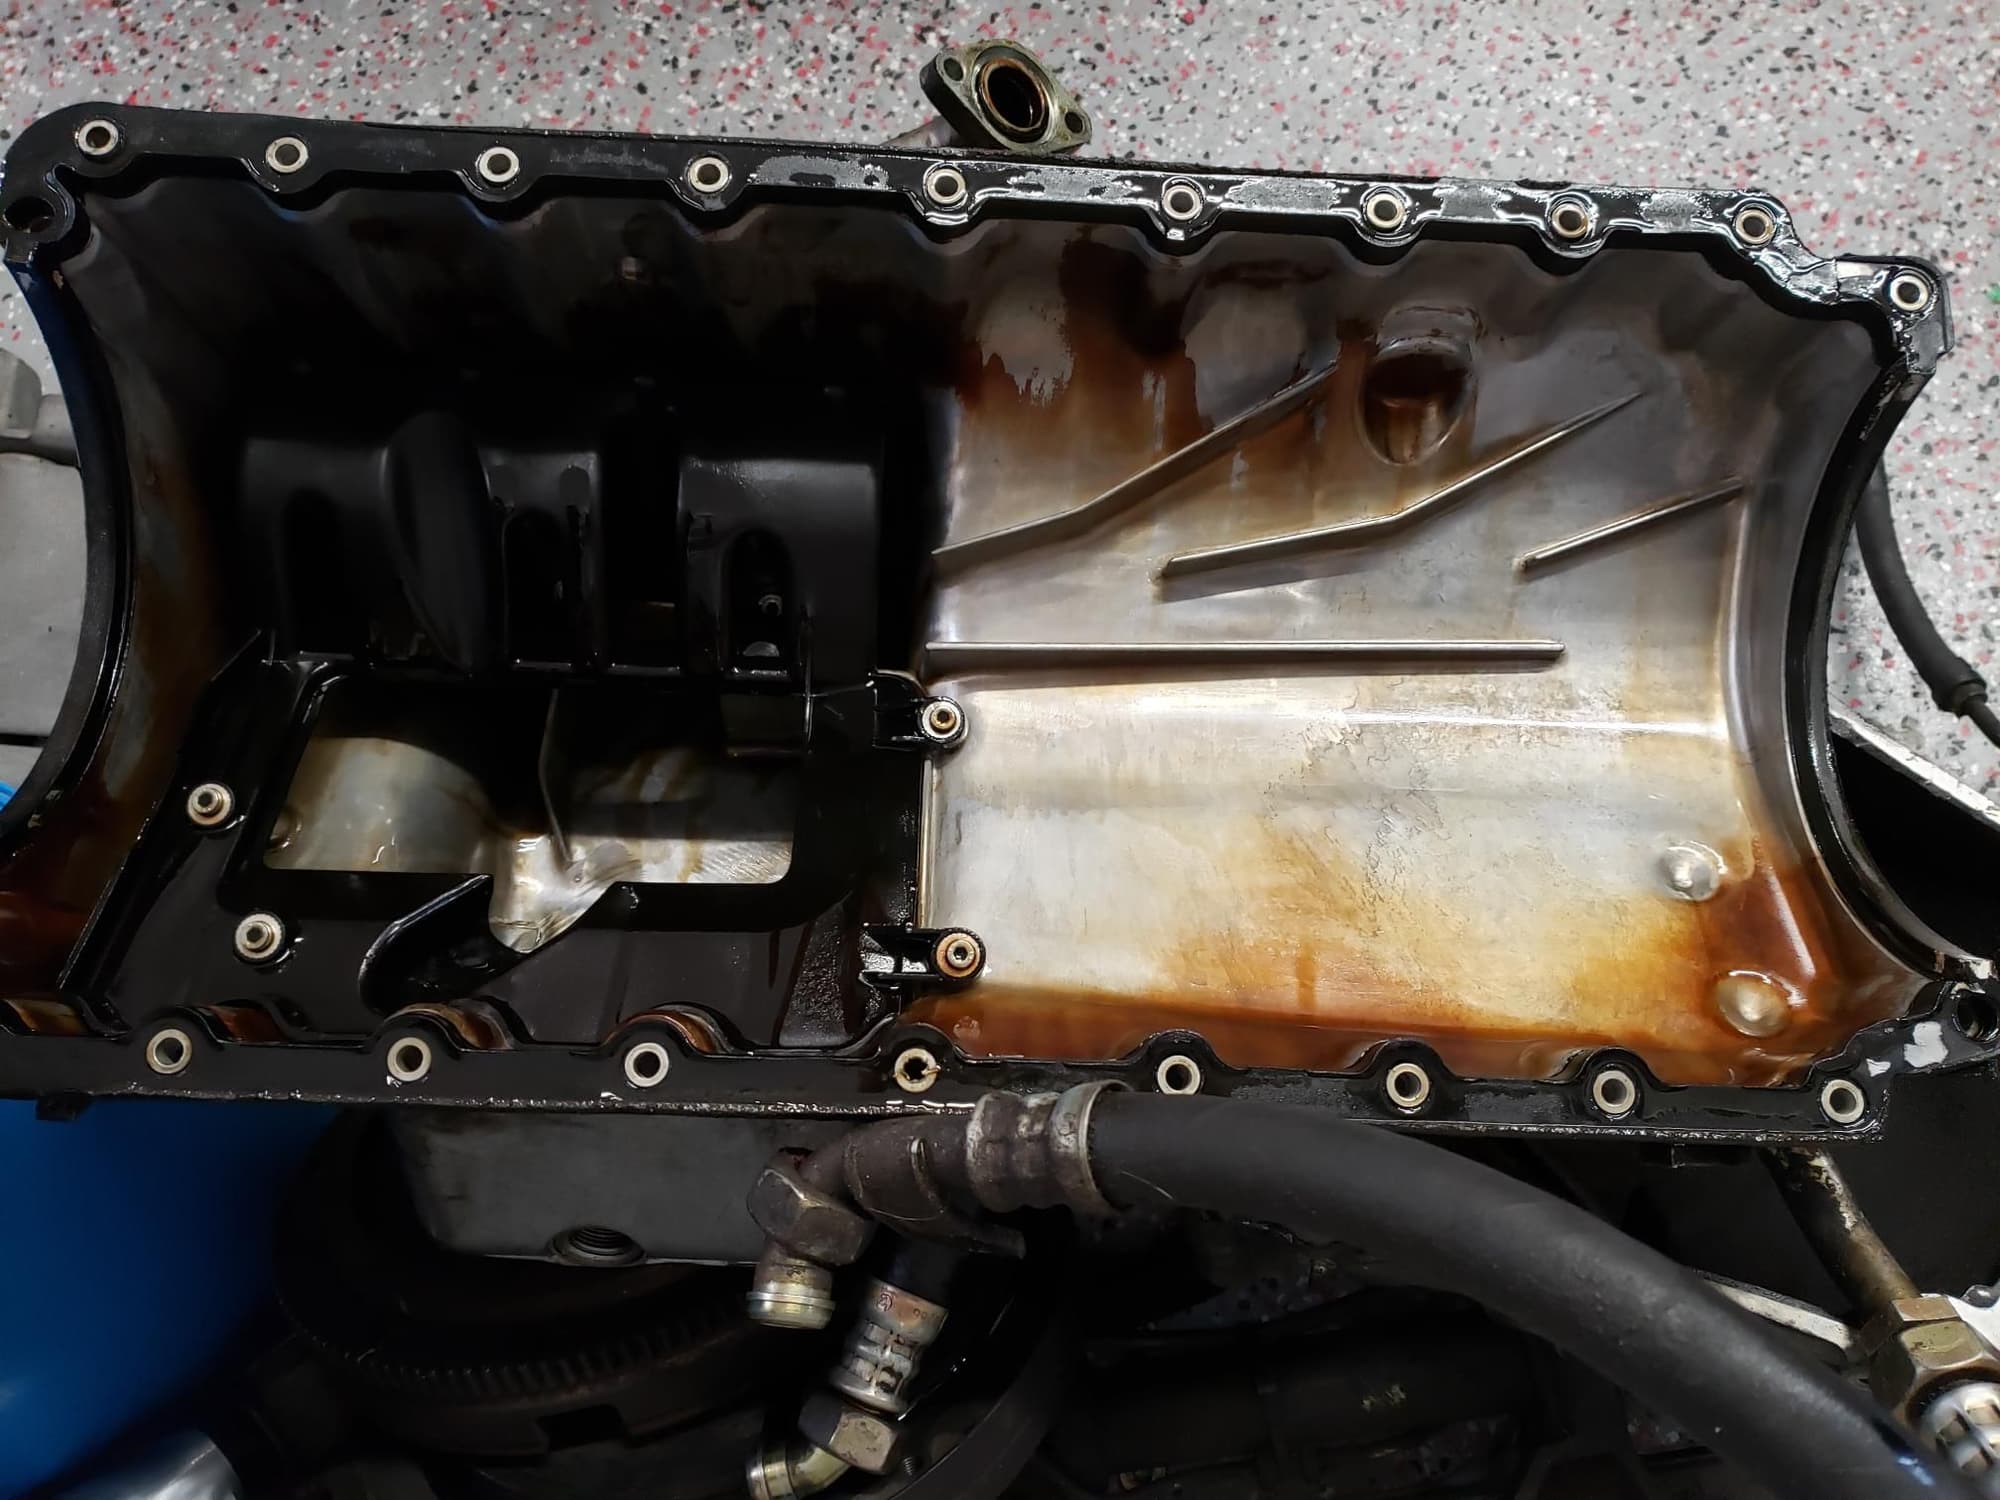
Then I removed the oil pan. I have to say, things seem pretty tidy inside.
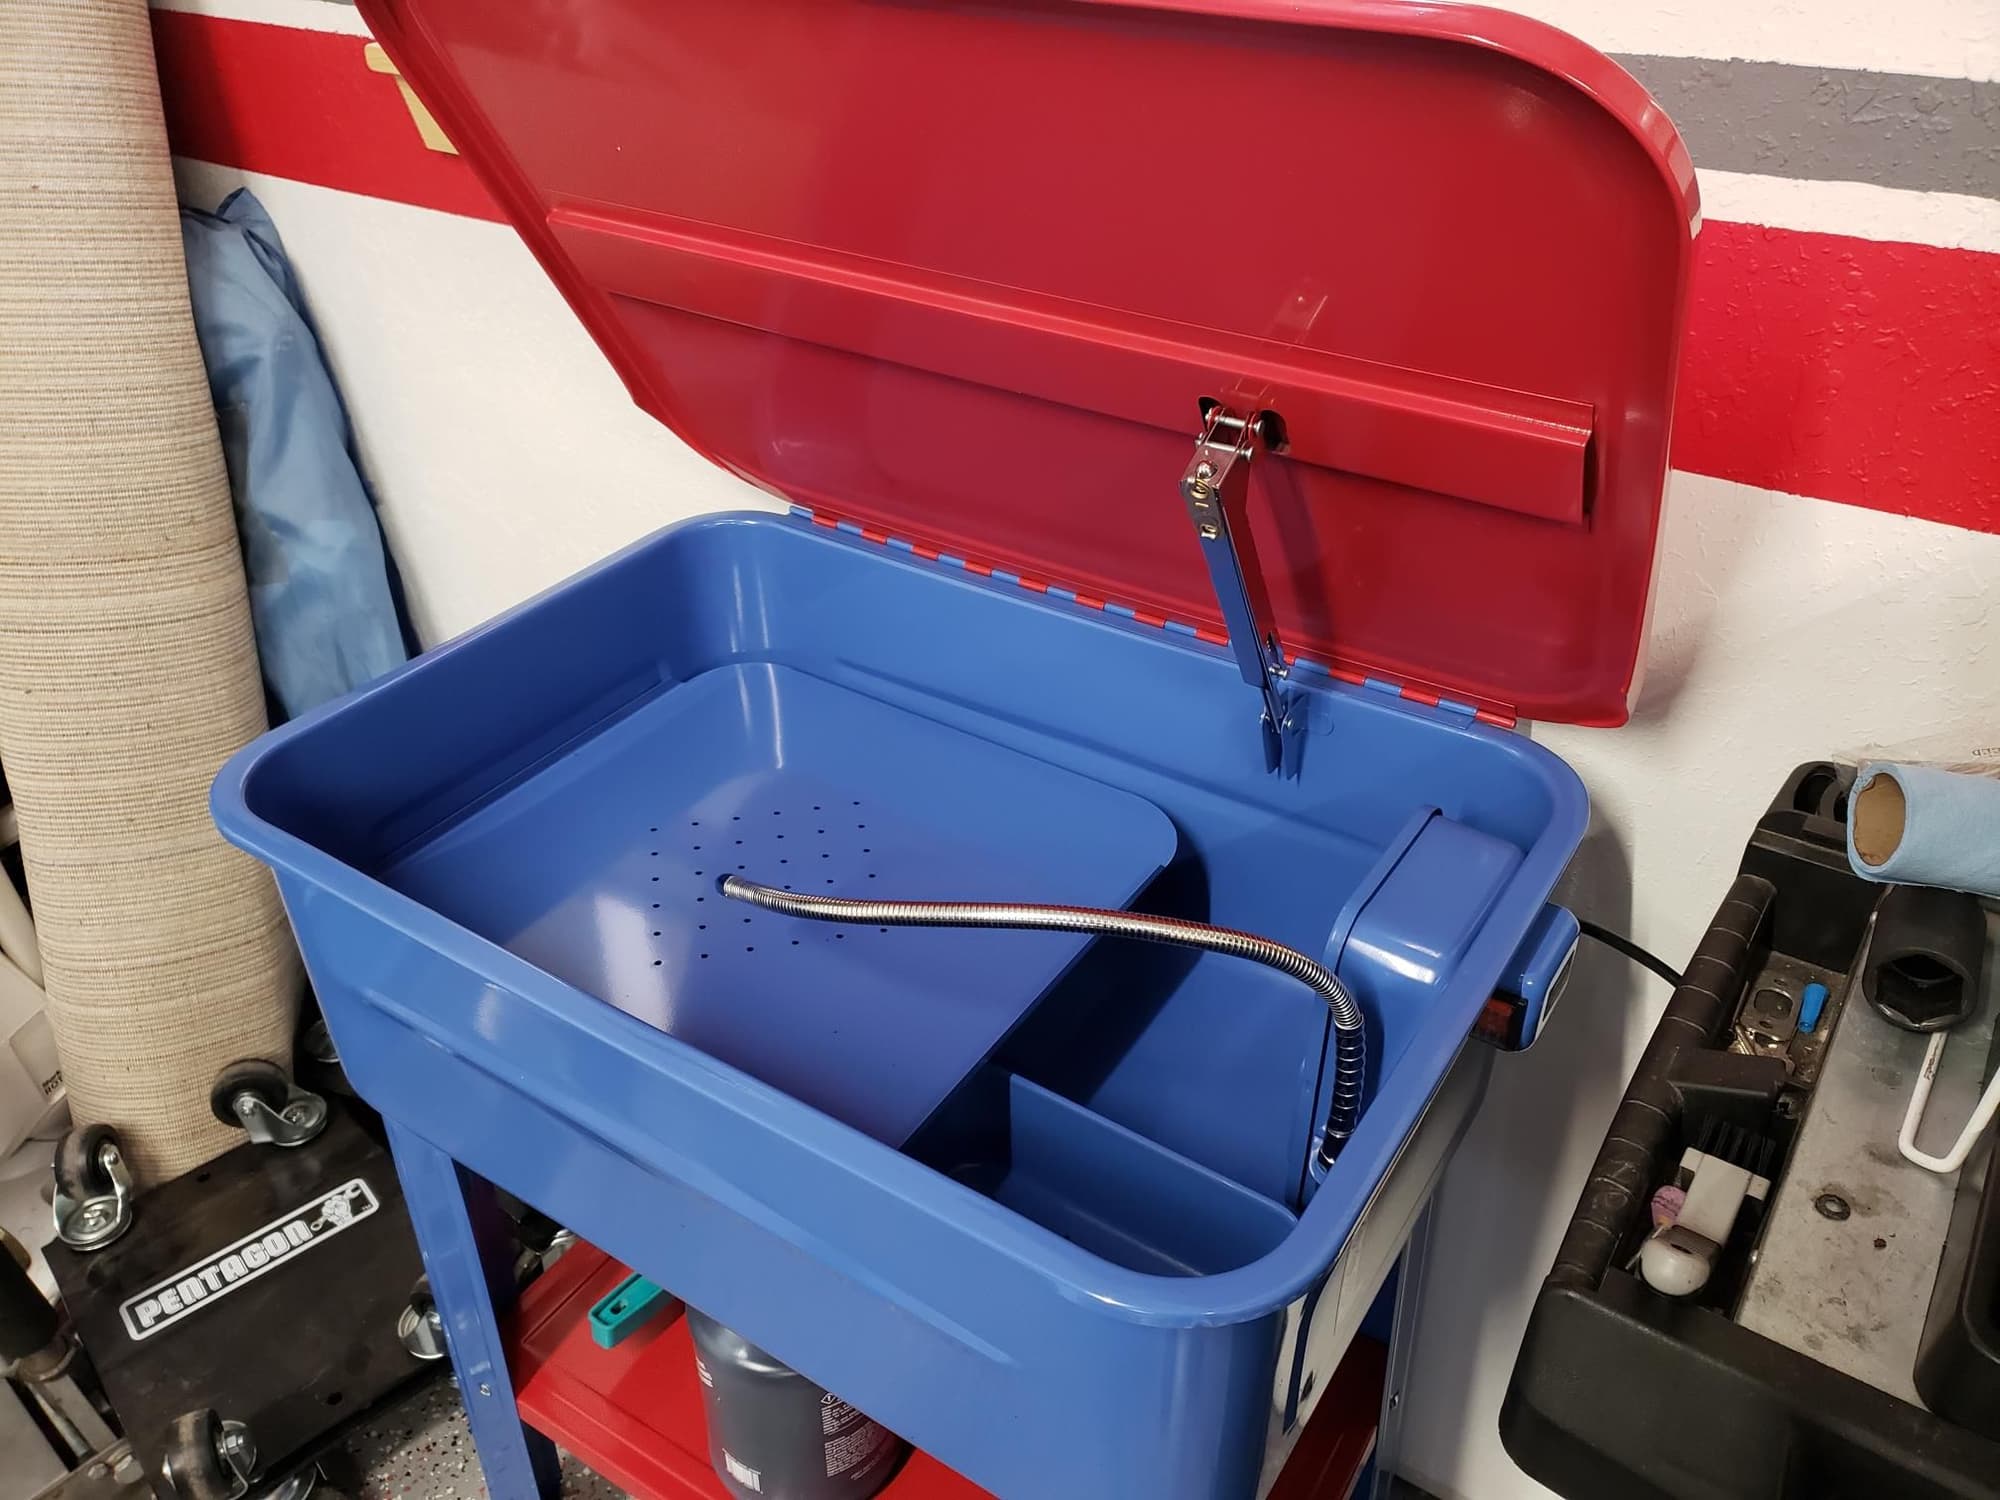
I also finished assembling my super fancy Harbor Freight parts washer.
Oh Man! Love the parts washer. I seriously have to get one of those
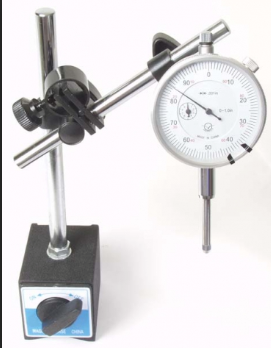
Check your crankshaft end-play: pull on it and see how much it moves. You can find the max spec online. What you find might help you decide how much further to disassemble.
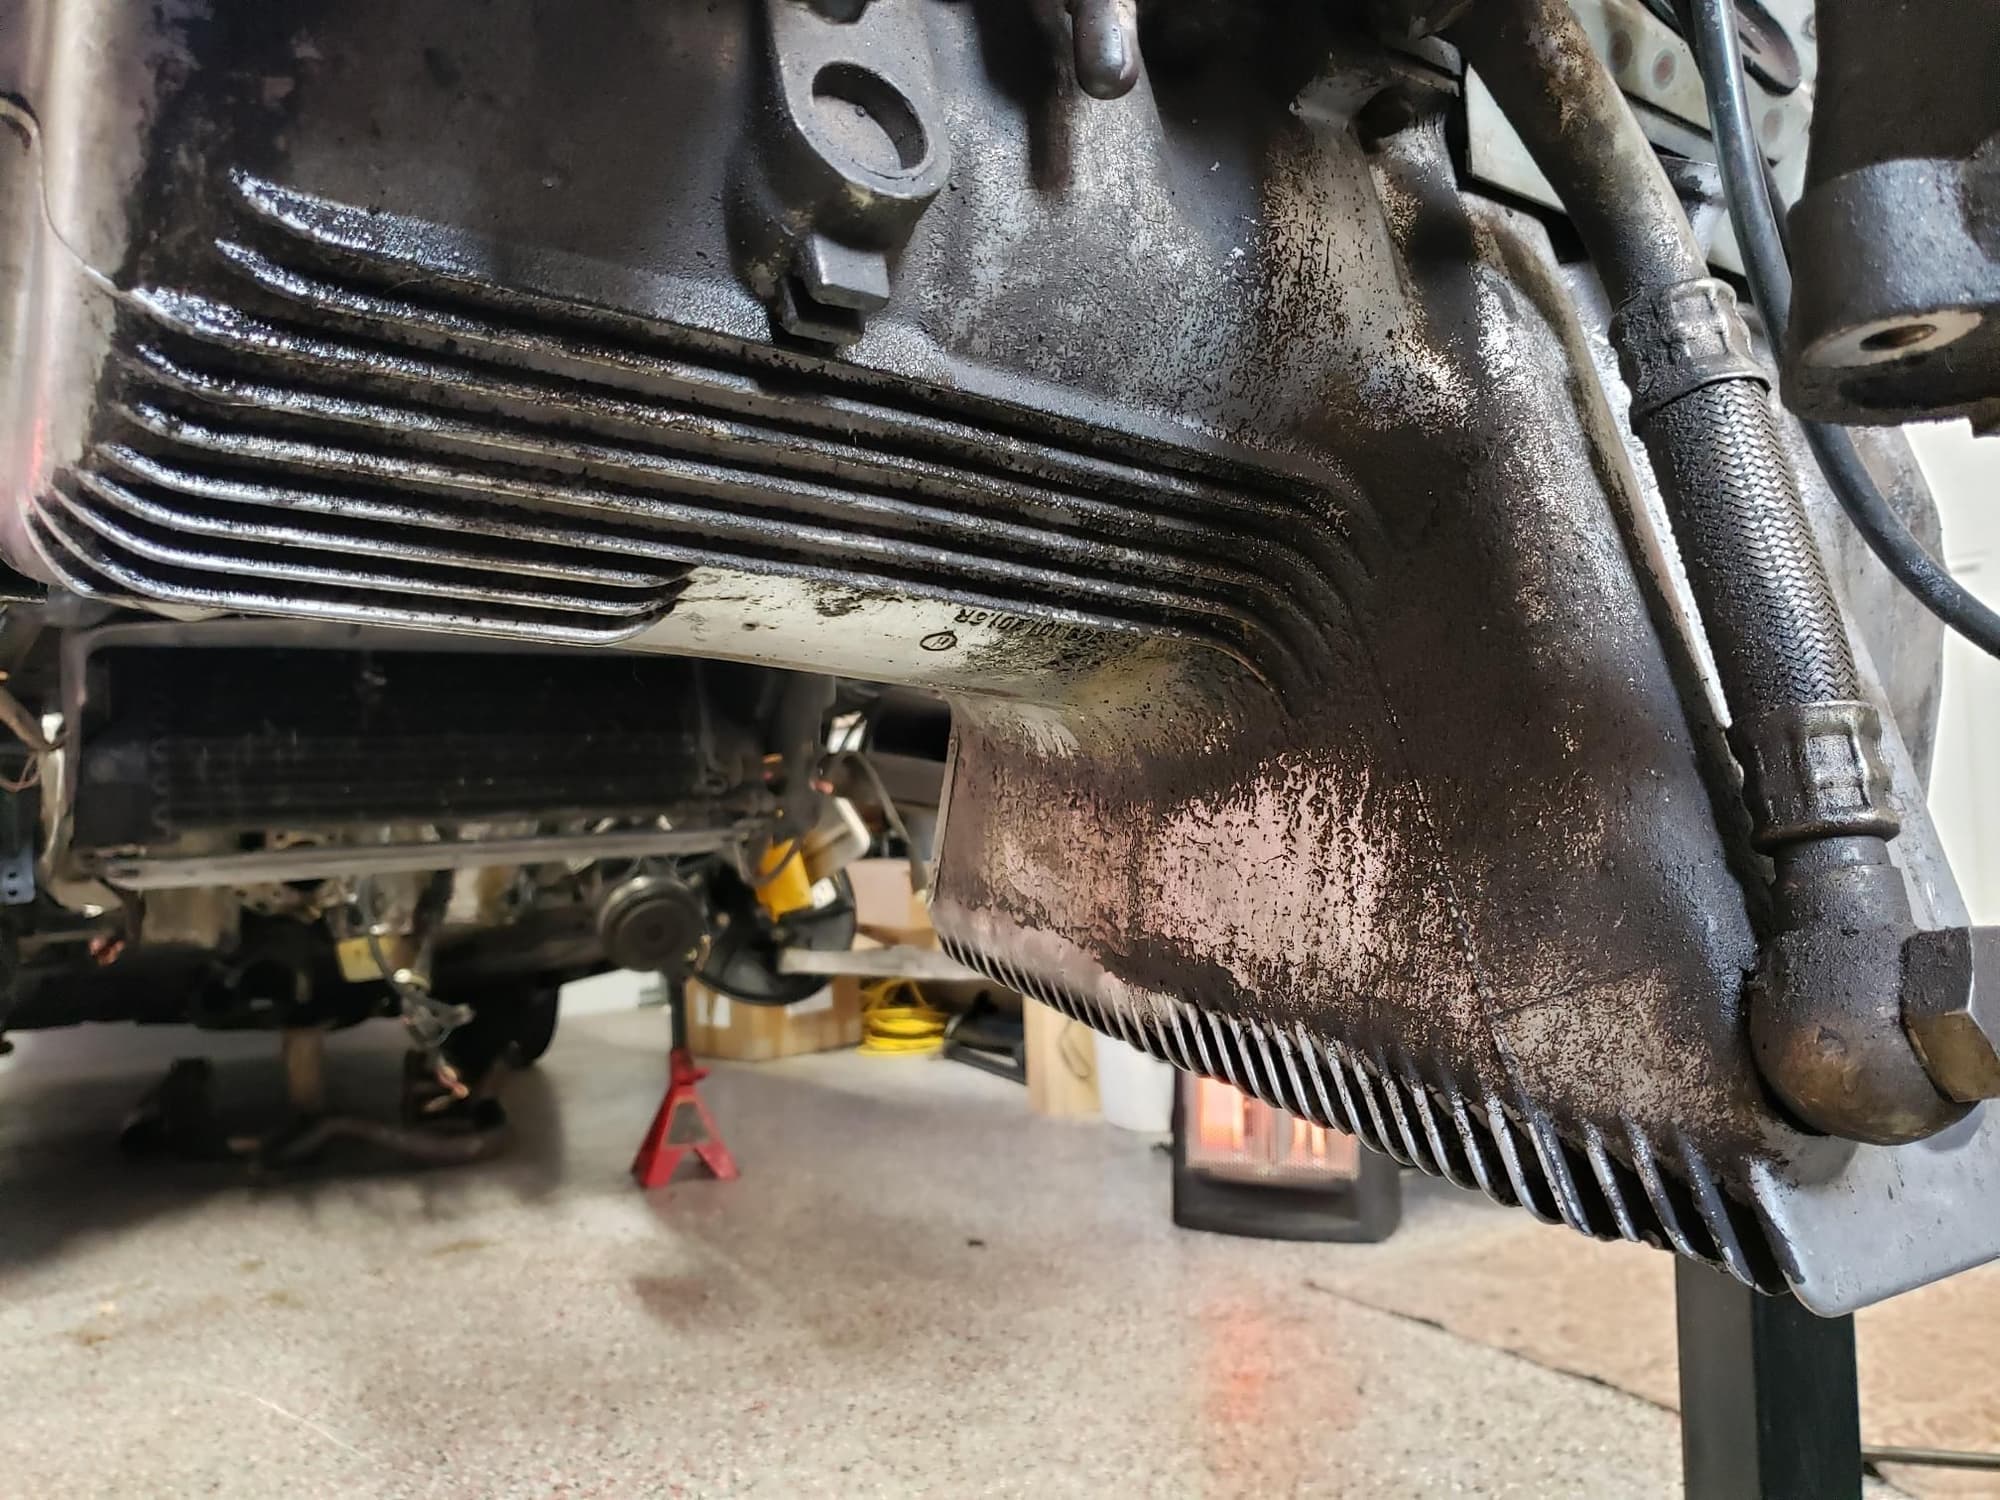
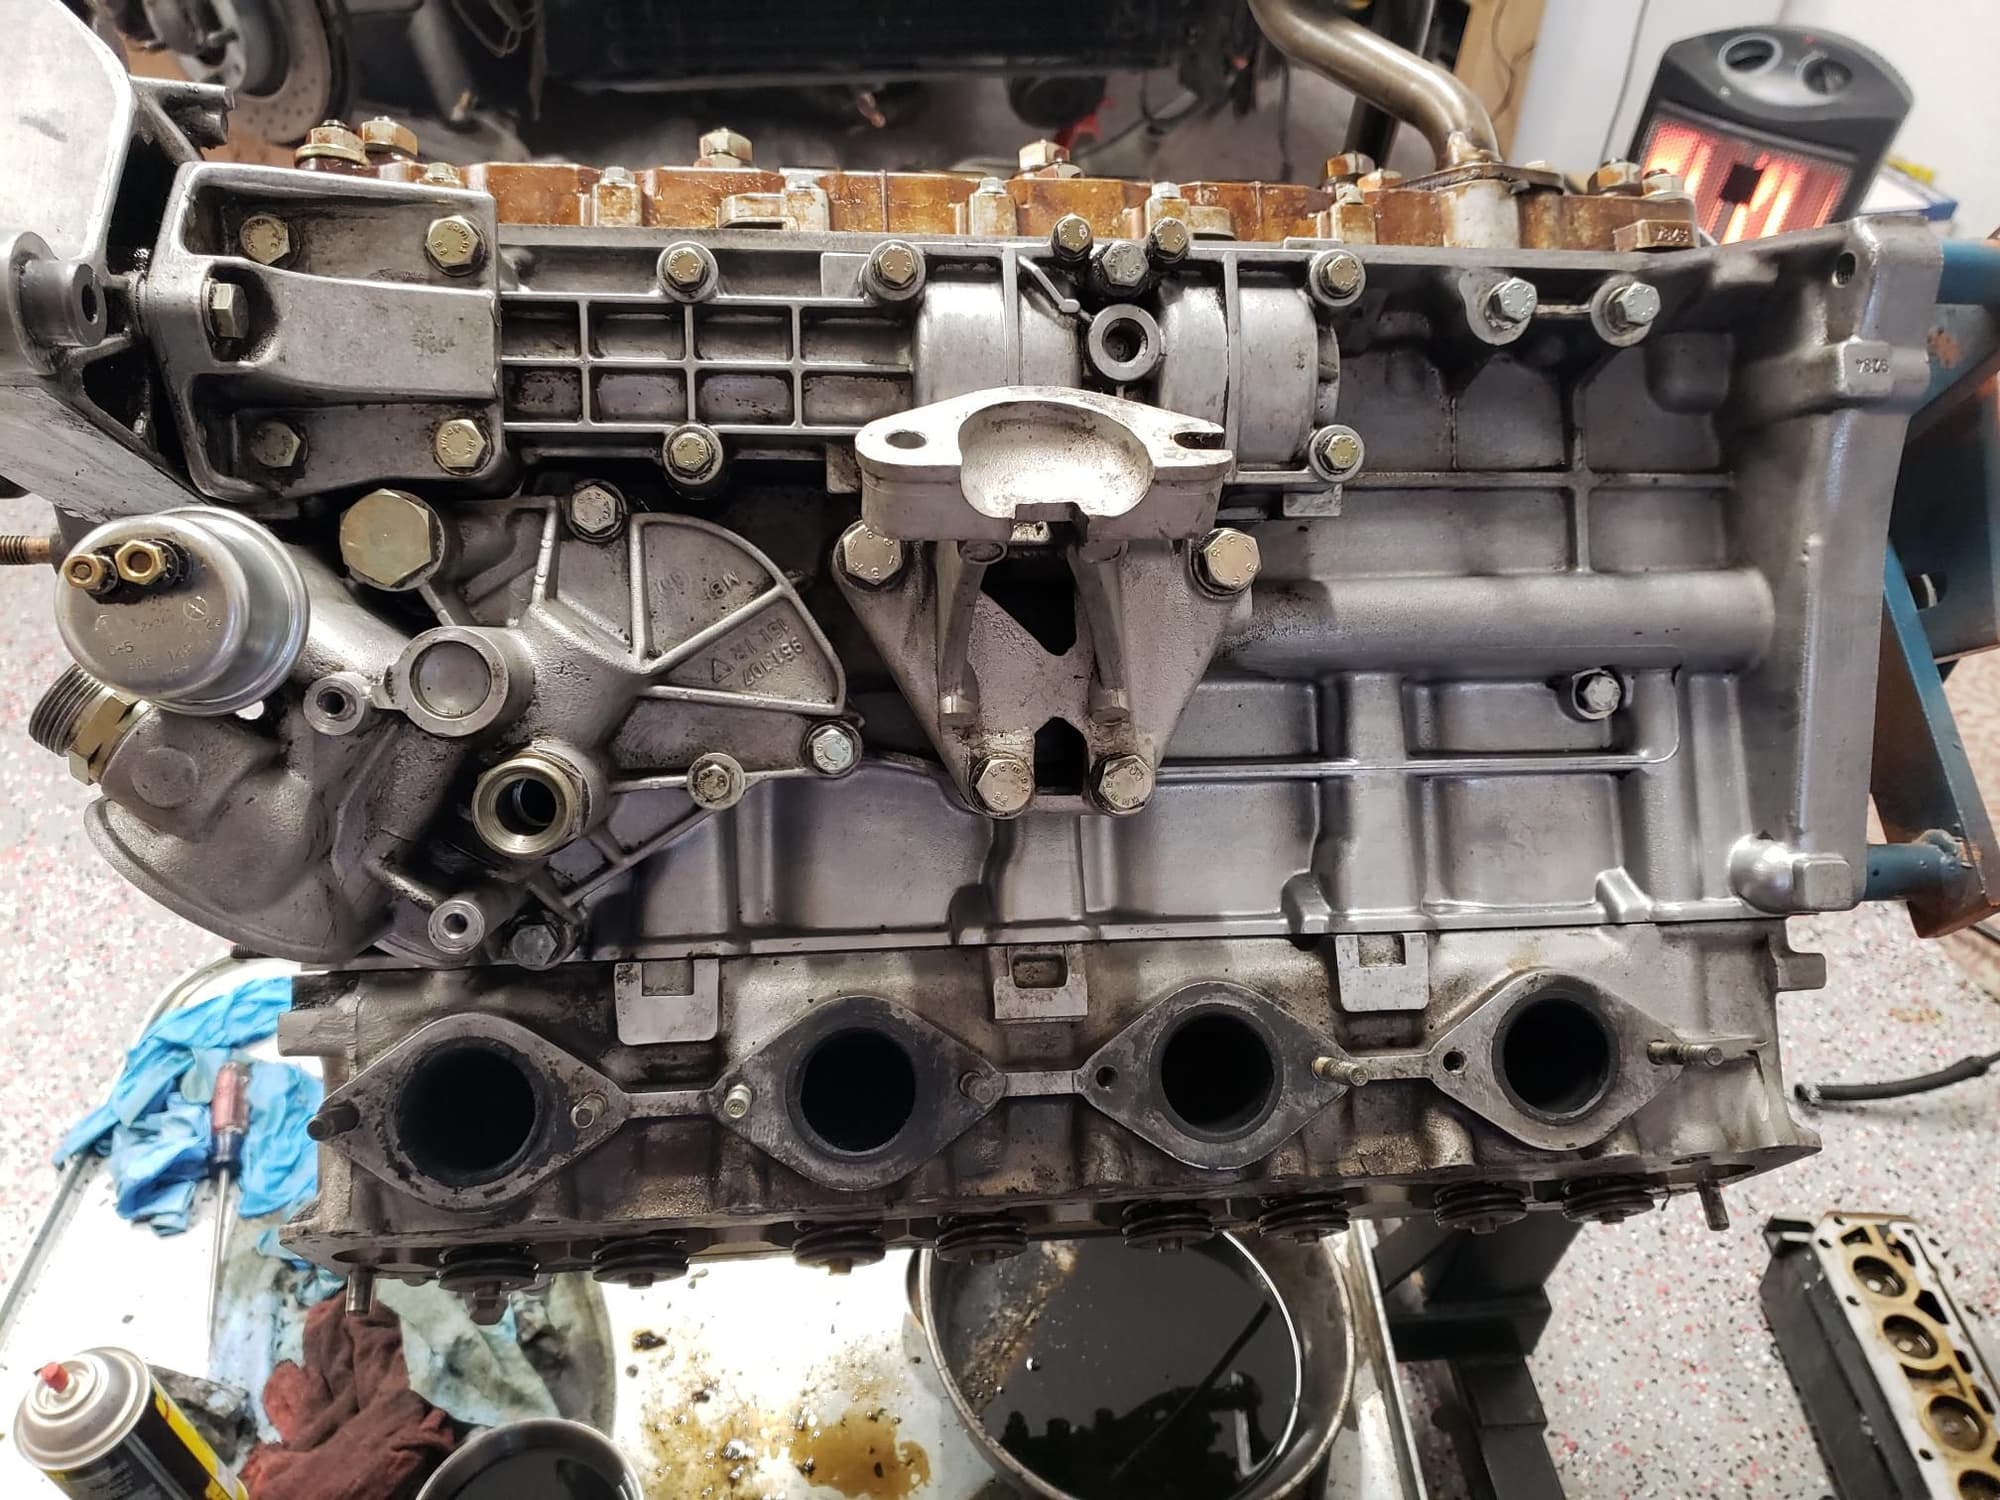
A little update here. I've been mostly just cleaning the engine and it's starting to look better. But the 944 block has the most complex surface of any engine I've worked on! It takes a lot of time to get into every crevice, but I find it kind meditative and a good time to catch up on my podcast listening. Nerd alert!
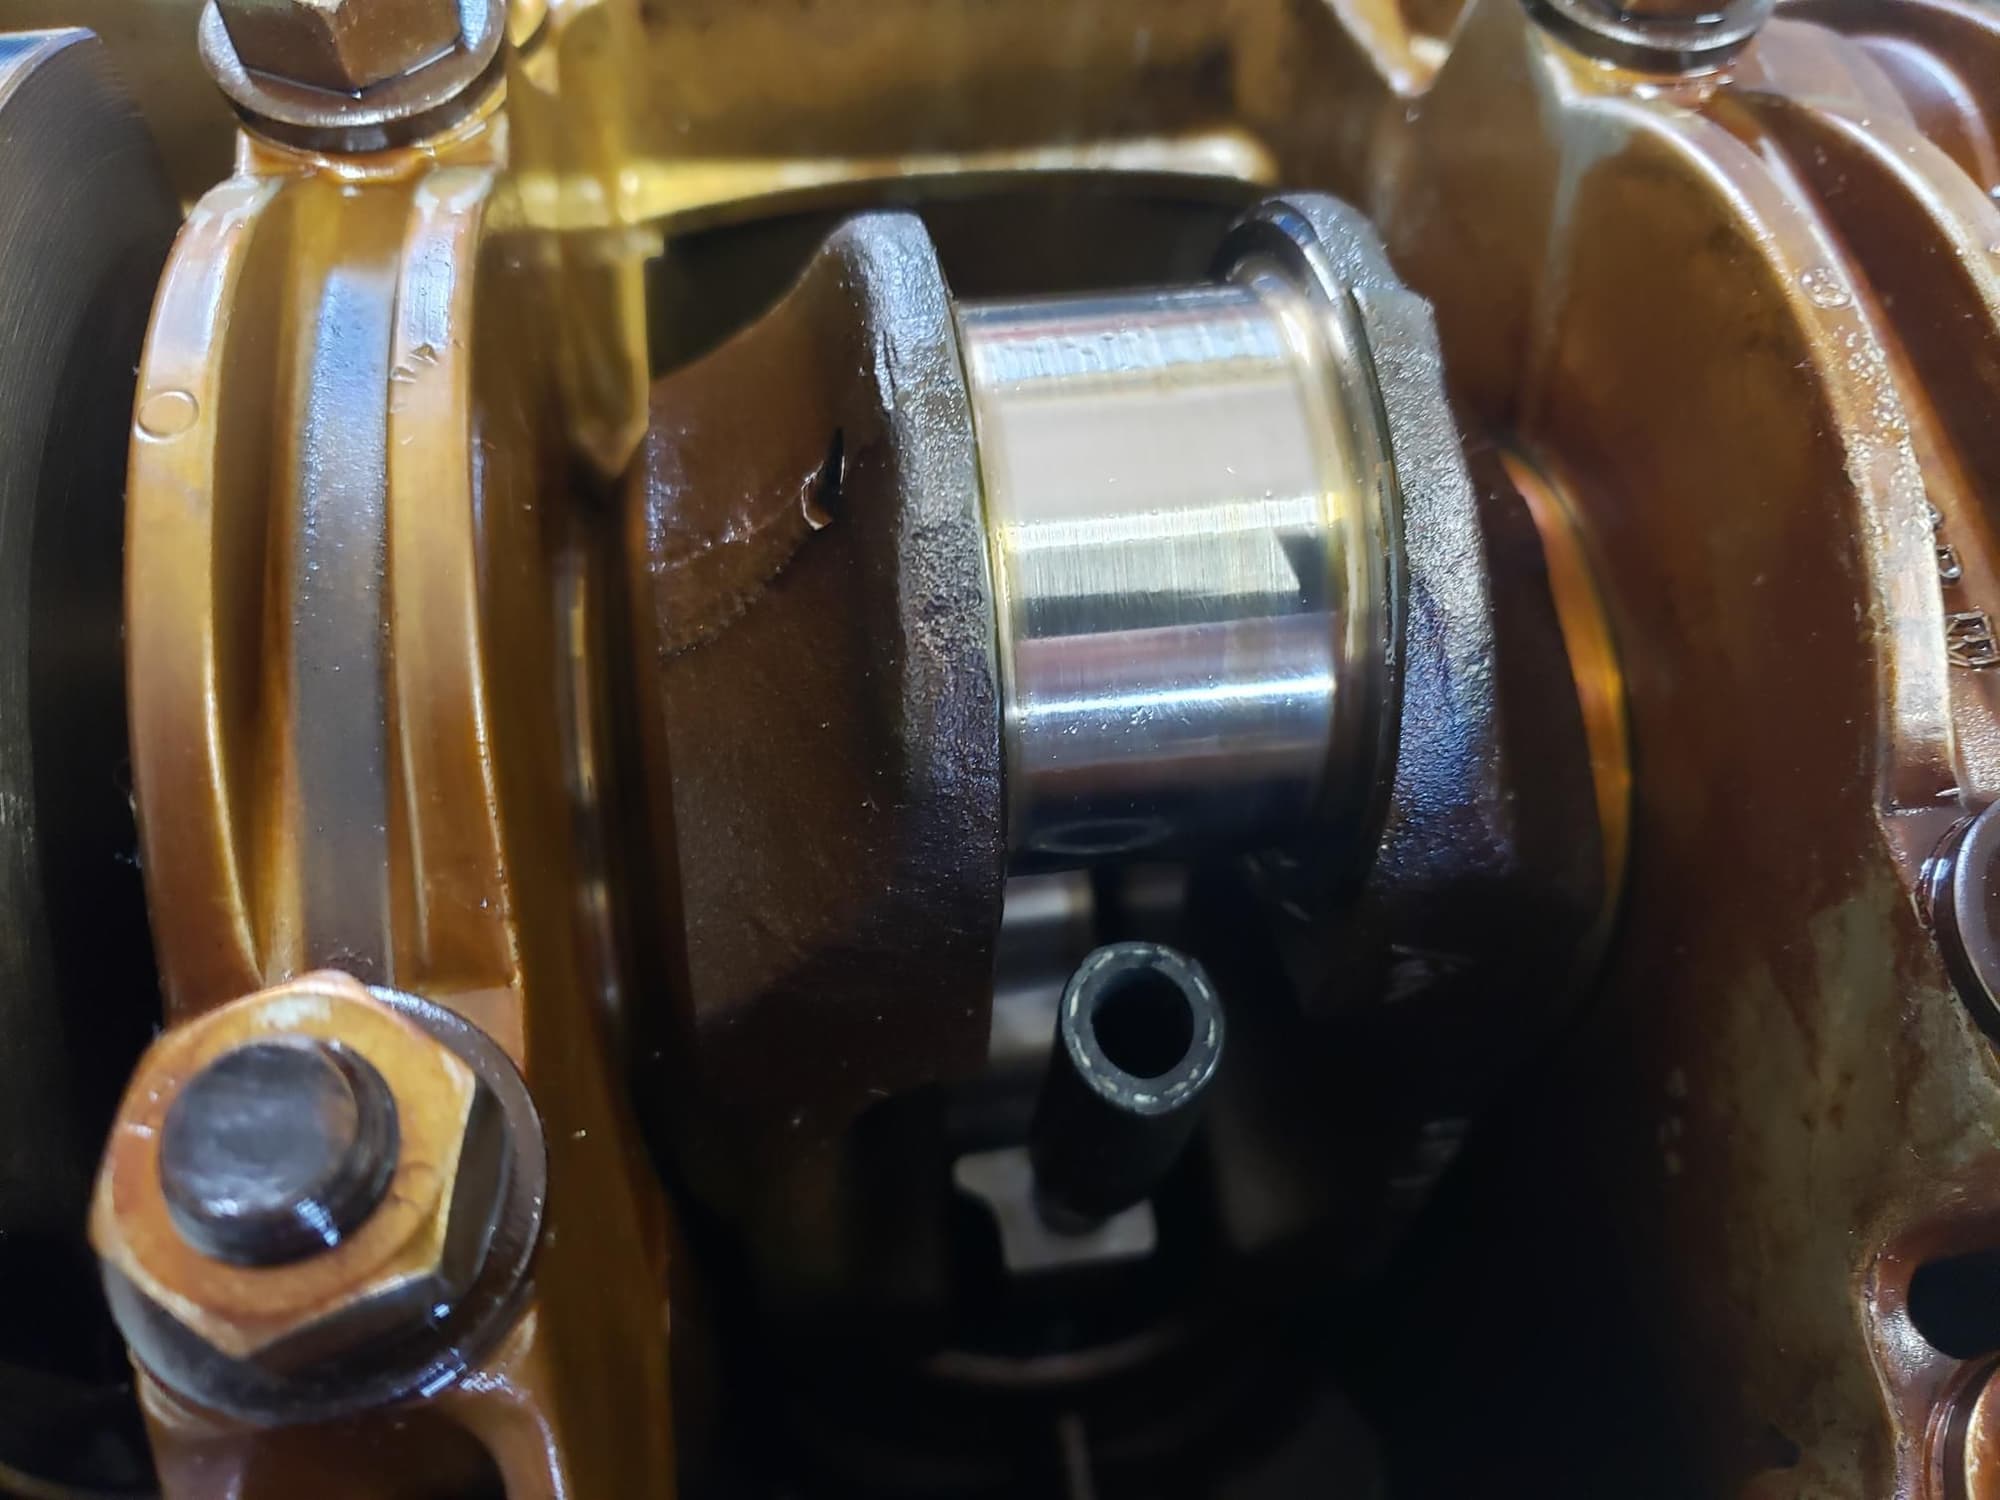
I also got my rod bearings in the mail and I picked up some plastigauge and assembly lube.
I decided to remove the number one rod bearing cap to see how the procedure would go. A bit fiddly the with crank in the block but not too bad. That bearing actually looks pretty good and the rod journal looks perfect. Hopefully the rest will look like that good. Note the little piece of hose covering the rod stud threads; don't want to scratch that beautiful looking journal! BTW, neither the journal nor bearing have been wiped clean yet, so the distortions and lines in the photos are oil. I need to get some more lint-free cloths.
I also need to order new rod nuts before I move ahead with replacing the bearings.
My next big debate is whether to pull the head and replace the gasket and have the head gone through. I'm getting concerned about budget, but maybe it's better to just do it and take longer to finish the job.
Excellent thread, hoping to do this one day as well.
Regarding the head, when I cut corners on projects (auto or other) I typically regret it. You're right there.
 02-18-2019, 04:23 PM