When you click on links to various merchants on this site and make a purchase, this can result in this site earning a commission. Affiliate programs and affiliations include, but are not limited to, the eBay Partner Network.
What you did there re. the bumper hole fill will "work" but over time it's going to show some shrinkage at the intersection of the original bumper material and your filler.
I do something similar when converting the rear bumpers to "smooth" when deleting the rear rubber bumperettes.
What you want to do if possible is epoxy in aluminum disc shaped on a grinder or file to press fit in the space with thumb pressure.
Recess the filler slug about the thickness of a dime below surface.
Dress the area around hole, including scratches in the aluminum slug with 120-180 grit roloc.
Cut 1 piece of matt/cloth the size of the hole and one the size of your sanded area in the bumper surrounding your slug.
Epoxy in both your cloth/matt pieces starting with the one sized for the recessed hole then the larger one.
Sand flush, prime.
All material shrinks, some way less % than others, this way, the bulk of the void that used to be a hole is filled with the metal disc.
Less filler, less shrinkage.
Brian, here's some old pics of the instance I was describing.
The fitted aluminum filler piece is threaded in this case, a bolt head ground almost completely off, threaded into the filler part to make a stud that later mounts the bumper end cap for the rear.
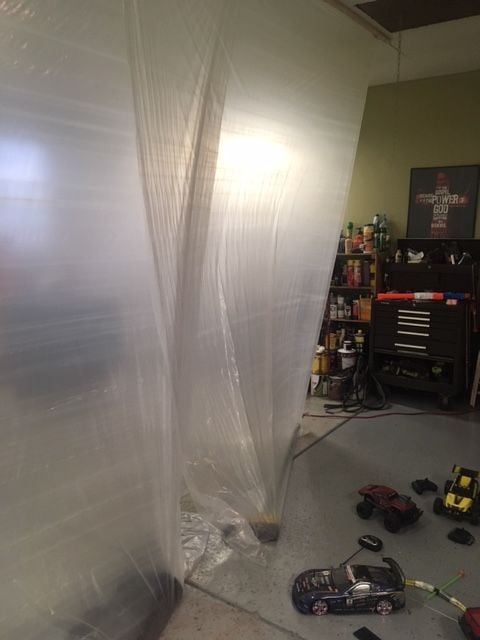
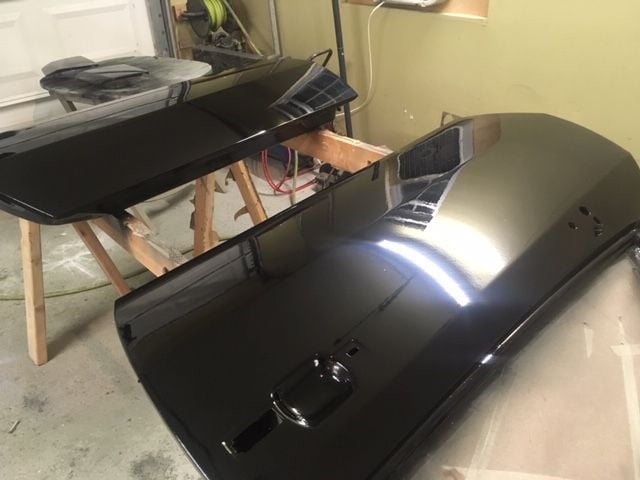
Hey guys, so just a quick update on the paint work.
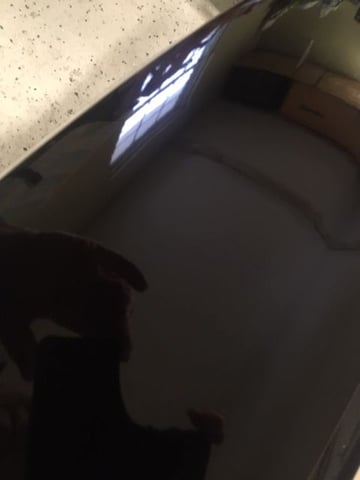
first pic I took was to show you the draft created in my diy booth. you can see how much that plastic is being sucked in. Draft is our friend when painting.. best friend
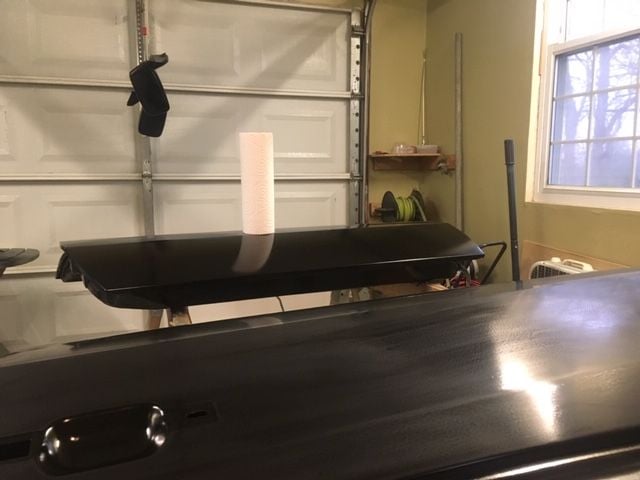
next pic down shows one door wet sanded with the one behind it not wet sanded so you can see the contrast. If you look you can see the highs of the orange peel in the closest door sanded down. this could have been sanded more and painted a few more times but the owner isn't trying to get a $10k paint job lol
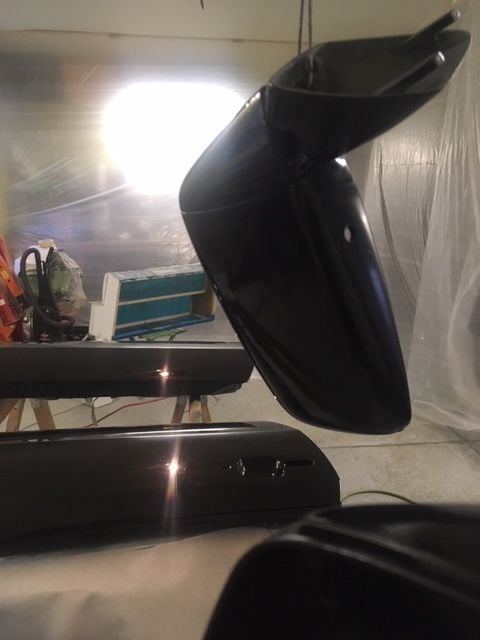
the pics following were taken right after clear coat applied. the orange peel in the clear is noticeable but this is before it had a chance to relax and smooth out.
They came out pretty good. there is some particulates in the clear that can be taken out if the owner wants the paint job buffed(that can be a big job) but for the most part I think they came out looking quite nice. look at the reflection in the mirror pic.
still working on the front bumber lol ...sssttupid bumper lol i'll post as I get work done.
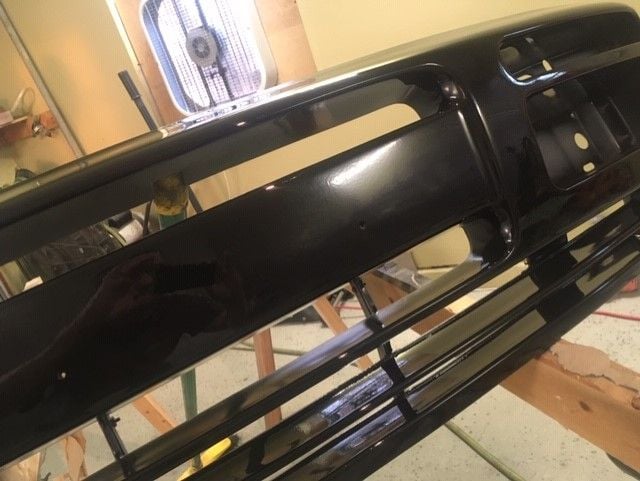
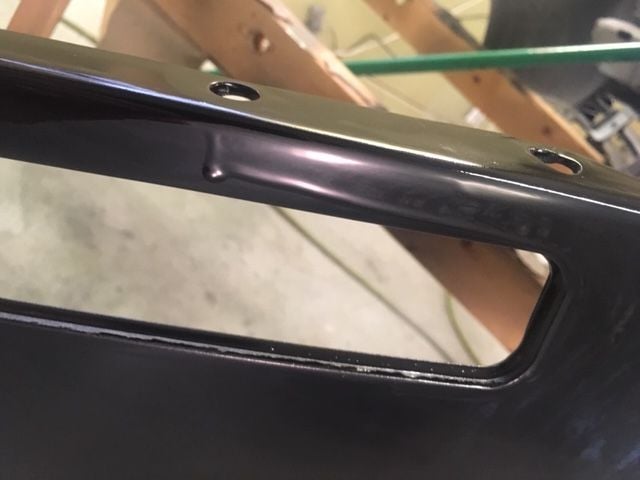
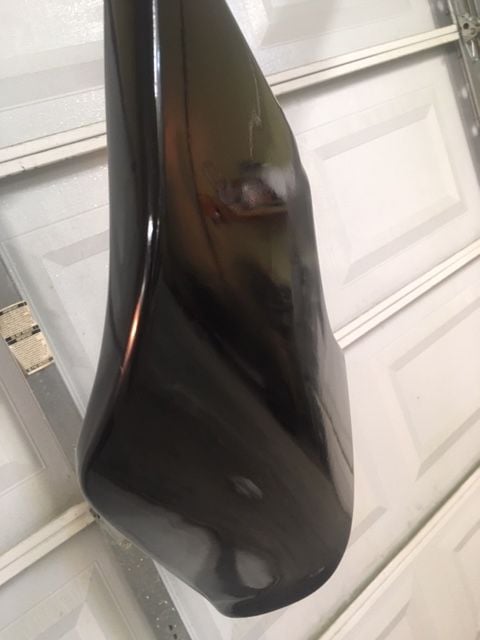
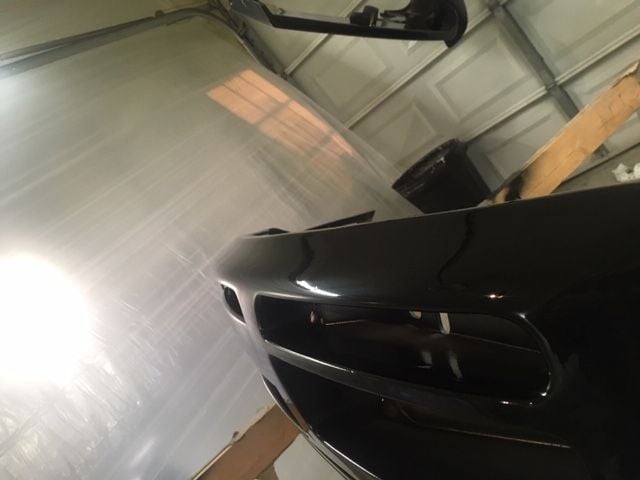
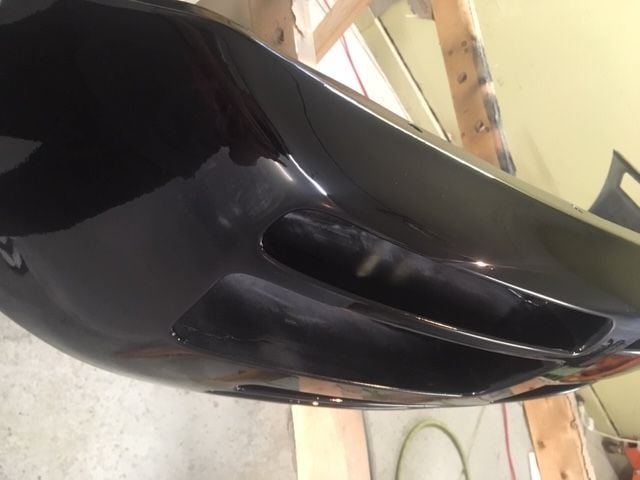
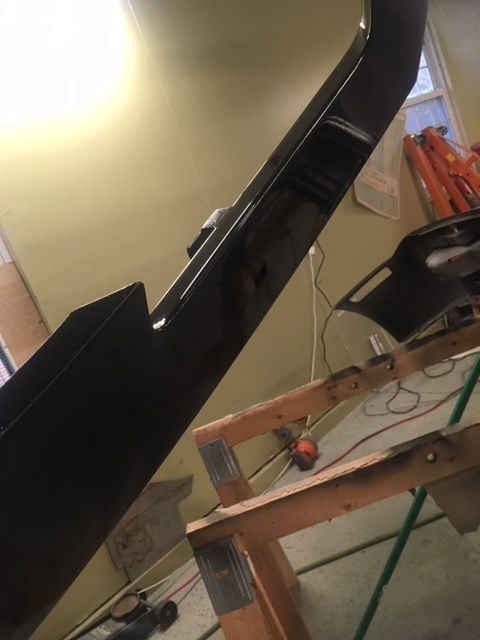
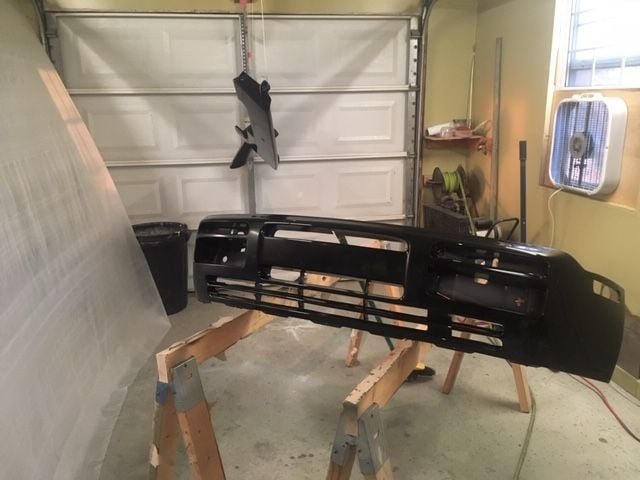
quick update, put quite a few layers on this front bumper being its a track car and will get a lot of abuse. had a couple small runs due to it being nice and thick. I showed a run in one of the pics so if anyone else runs into this.. don't fret it. runs happen all the time and they are easy to fix. block sand with your wet sanding process. they will come right out and you shouldn't need to repaint that area, just take your time and be patient with it. you can watch tons of vids on youtube about runs and getting them out.
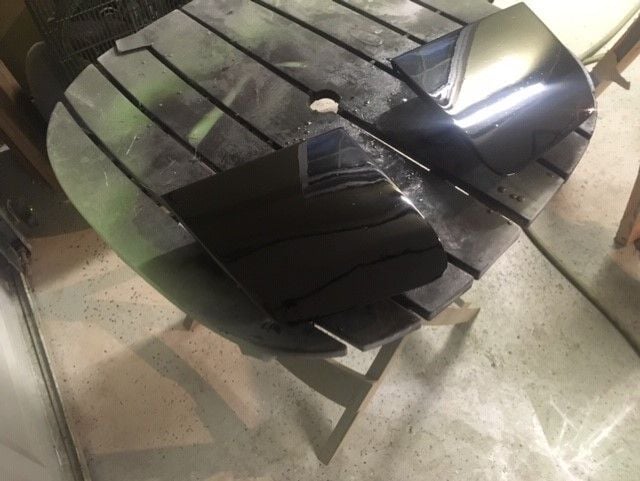
these parts pictured in this post surprisingly came out pretty good. these were the most beat up parts for the car. this front bumper looks like someone took a rock blaster to it and the rear diffuser was equally beat up. as you can see in the pics if you zoom in on that bumper it came out really nice. with some back breaking elbow work, loosing your fingerprints from sanding and swearing(I don't swear) as you think why in the world did I agree to this !!! you to can have a nice bumper too lolol just kidding, most front bumpers are headaches for paint shops... comes with the job.
I'm heading off to florida for a few days for a little relax time so no more updates for about a week.
thanks for watching guys.
oh ya these pics are fresh after painting so the paint is still relaxing and these have not been wet sanded or clear coated yet. I will post up more after I sand and clear.
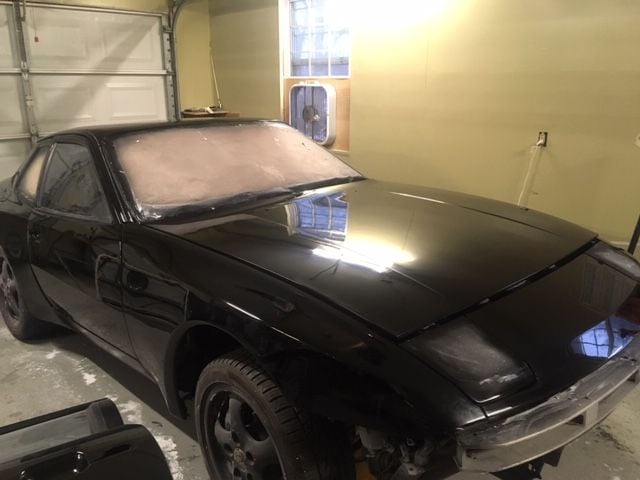
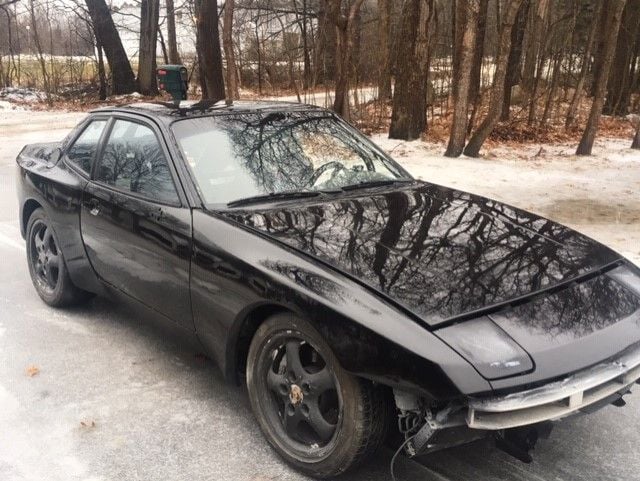
Been super busy guys so haven't kept up on this thread. But it is almost done and i'll at least post up some pics of current condition. All in all its gone ... ok with this car, had a couple hang ups but for the most part its looking quite nice for a garage paint job.
Below are just a couple pics, if anyone has any questions feel free to ask or ... cristisms
Sorry to get off topic, but do you know of any junk yards around here with some 944s or 968s?
Sorry bud I don't. since I've gotten into porsches about 5yrs ago... ebay and craigslist have been my go to. What are you looking for? Maybe the owner of this car I'm painting will chime in when he reads this. he's a Porsche/BMW guy as well and he's local, quite knowledgeable as well.
Sorry bud I don't. since I've gotten into porsches about 5yrs ago... ebay and craigslist have been my go to. What are you looking for? Maybe the owner of this car I'm painting will chime in when he reads this. he's a Porsche/BMW guy as well and he's local, quite knowledgeable as well.
Lot's of interior stuff. Mine is missing the carpet and some odds and ends like the center console armrest, little triangular driver's side dashboard end cap trim piece that sits between the door and dash, etc. My interior is black and linen (or whatever that cream color is called) but I'm going to convert it to all black so I also need door cards, and center console (i'd be willing to trade mine). I haven't decided if I want to reupholster my seats or just get black leather ones, but I'm leaning toward the latter as it'll be a while before I'm ready to start sewing (and my seats are the all script fabric version which I think is less common/more valuable).
Meant to respond to the above question a while ago. I find the majority of interior bits on eBay or facebook groups. Sometimes 944s and 924s show up in junkyards but it's a race to get to it first before everyone else does. Last time I saw any, there was a 924S and a 944 at US Auto in Sterling Heights; that was last fall. If you follow their facebook page or even Parts Galore, they'll post up what new cars they've got in. Sometimes my friends tag me so I know when a car comes in!
Meant to respond to the above question a while ago. I find the majority of interior bits on eBay or facebook groups. Sometimes 944s and 924s show up in junkyards but it's a race to get to it first before everyone else does. Last time I saw any, there was a 924S and a 944 at US Auto in Sterling Heights; that was last fall. If you follow their facebook page or even Parts Galore, they'll post up what new cars they've got in. Sometimes my friends tag me so I know when a car comes in!
How's the paint coming along, ttt123?
thank you for the tip, greatly appreciated. Just a quick pic as im still buffing out the imperfections.
That's looking really good to my eye! I'm gonna be prepping my 931 for paint when the weather warms up and am stupid anxious of whether or not to take it to a Maaco or a body shop in Redford. May have to keep you in mind when the time is right...

 12-06-2018, 11:44 AM