When you click on links to various merchants on this site and make a purchase, this can result in this site earning a commission. Affiliate programs and affiliations include, but are not limited to, the eBay Partner Network.
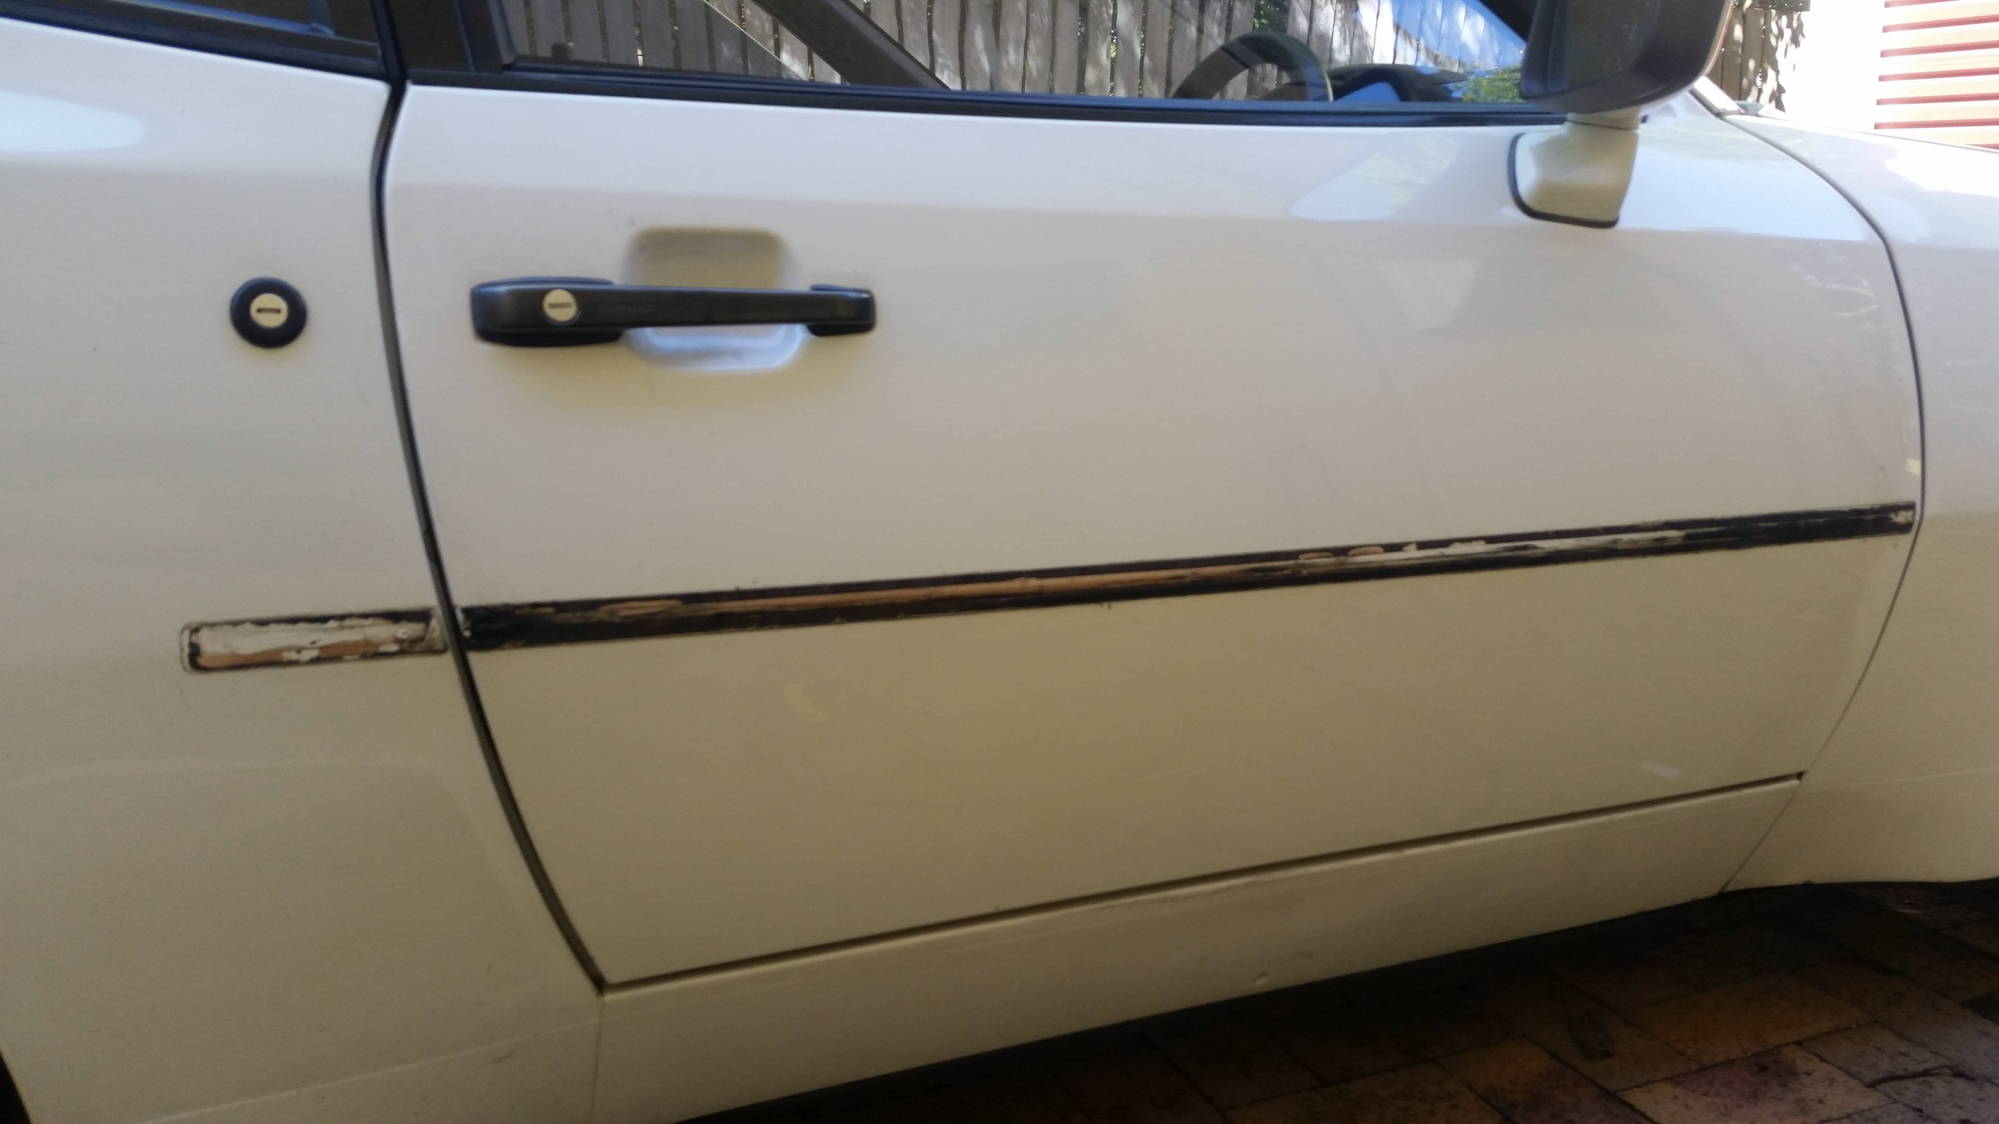
The piece that runs across the door has a screw on one end that secures it to the door jamb, and I assume adhesive along the rest of it? If so, just use the dental floss trick?
it's double sided tape.
do you want the paint to survive, or is the car getting painted...
Id like the paint to survive, but I'm also guessing that the 30 year difference in sun exposure is going to result in a strip of pant that doesn't match the rest of the car?
I think you'll be ok if you have a metallic paint that is base coat and clear coat. If it's a sold color that is single stage paint, you may notice a difference.
My car has the original metallic paint and I had some door moldings painted for it. Paint was mixed by code and was a perfect match. You couldn't tell any color difference between 30 year old paint and the new.
thats good to know - my car is an '89 "slate gray," but I don't think it's metallic.
I tried to get mine off, but it seems removing the glue residue is next to impossible without damaging the paint.
A trick on other cars is to take a thin pice of twine (soft) and work it under the glue like a pull saw - did you just try to pull them off, or did you use that trick and it didn't work?
If your paint is Base Coat, Clear Coat you should be ok. Single Stage, might be iffy..
I could be wrong.... I thought solid colors were single stage, and the cars that were base and clear were all metallic colors.. Thus they held up a lot better over the years..
Try 3M Adhesive Remover. Haven't tried on side moldings, but it has always been able to remove any glue residue that I have run across. Make sure to use suitable gloves (nitrile or similar) to protect your skin, as this strips all the oils out of your skin.
Try 3M Adhesive Remover. Haven't tried on side moldings, but it has always been able to remove any glue residue that I have run across. Make sure to use suitable gloves (nitrile or similar) to protect your skin, as this strips all the oils out of your skin.
Here's a simple and easy way to strip this stuff off paint. It works for both the side molding adhesive and the plastic chip protection panels over the wheel arches and in front of the rear wheel wells.
Buy some WD40 (I like the gallon size, it's not that expensive and you can use it for lots of other things), and plastic chisels/scrapers.
Spray the area you will work on with a light misting of WD40 and let it sit for a few minutes, or up to 1/2 hour if you can restrain yourself. You can also brush it on, but spray is faster.
Grab one of the two medium sized scrappers and angle it parallel to the paint but with the edge touching the body. Use short, slow, forceful strokes to scrape the adhesive off on the side molding, or the plastic surface of the stone chip protectors. Experiment, you will find the right motion.
Re-apply WD40 as needed, it will act as a lubricant on the paint and a solvent on the adhesive. The WD40 will have no effect on your paint and it washes off with soap and water.
The adhesive should break down and become gummy, so some old rags to clean the scrapper are helpful. You may want to put some cardboard or newspaper down if you are on a driveway for easier cleanup.
For the plastic stone chip protectors, once the plastic is scraped off, spray more WD40 over the adhesive and it will begin to dissolve and come off with the scraper. The longer you can leave the WD40 to soak into the adhesive, the easier it comes off, up to a point, typically 20-30 minutes. Spray one area and scrape in another.
You can use a soft rag or old microfiber towel with some WD40 on it to clean up any stubborn patches of adhesive. Wash with soap, polish the paint, and then wax. Perfection!
I'm NOT responsible for anything you do!
No warranty of any kind expressed or implied.
Use at your own risk.
Enjoy!
Last edited by PaulD_944S2; 08-03-2017 at 01:33 AM.
For the plastic stone chip protectors, once the plastic is scraped off, spray more WD40 over the adhesive and it will begin to dissolve and come off with the scraper. The longer you can leave the WD40 to soak into the adhesive, the easier it comes off, up to a point, typically 20-30 minutes. Spray one area and scrape in another.
Paul, you've removed the stone guards, cold, with just WD-40 and a scraper?
Most folks usually warm the guard/adhesive with a heat gun or hair dryer prior to applying a scraper.
Yes, but define cold: is it snowing, raining, sub-artic!
It did two of my 944's at outside temperatures, one day was around 70-75 and the other was 85.
It works well. I tried several other ways posted out there and had the best results with this procedure. I even had a detailing shop try the hot air gun method and they gave up because it was too slow. My panels were all cracked but still stuck to the car. This was fast, about 1 to 1.5 hours and the results were excellent.
Try a small area if you don't think it will work. You will be surprised.
Quick summary:
1. Scrape off the top part with the plastic scraper.
2. Apply WD-40 to the surface and let sit.
3. Scrape off the adhesive.
4. Repeat until done.
I was inspired by Paul's success and had another go at removing my side mouldings. The wd40 worked great for most of the double sided tape stuff, but there was also some other hard black glue that was unaffected by the wd40 or any other solvent I had on hand (turps, brake cleaner, fuel, paint thinner). I ended up carefully scraping it off with a razor blade and sanding off the remainder which took several hours. After I got everything off, I gave it a good cut and polish. Results are ok, but a couple of small nicks here and there.
 08-02-2017, 07:10 PM