

After a 25 Year Break, 914 Ownership Again
 08-19-2020, 10:59 PM
#601
Rennlist Member
Thread Starter
 08-19-2020, 11:06 PM
#602
Rennlist Member
Thread Starter
Another day, another couple of hours with the wiring harness. I started wrapping new tape from the rear firewall, working forward.
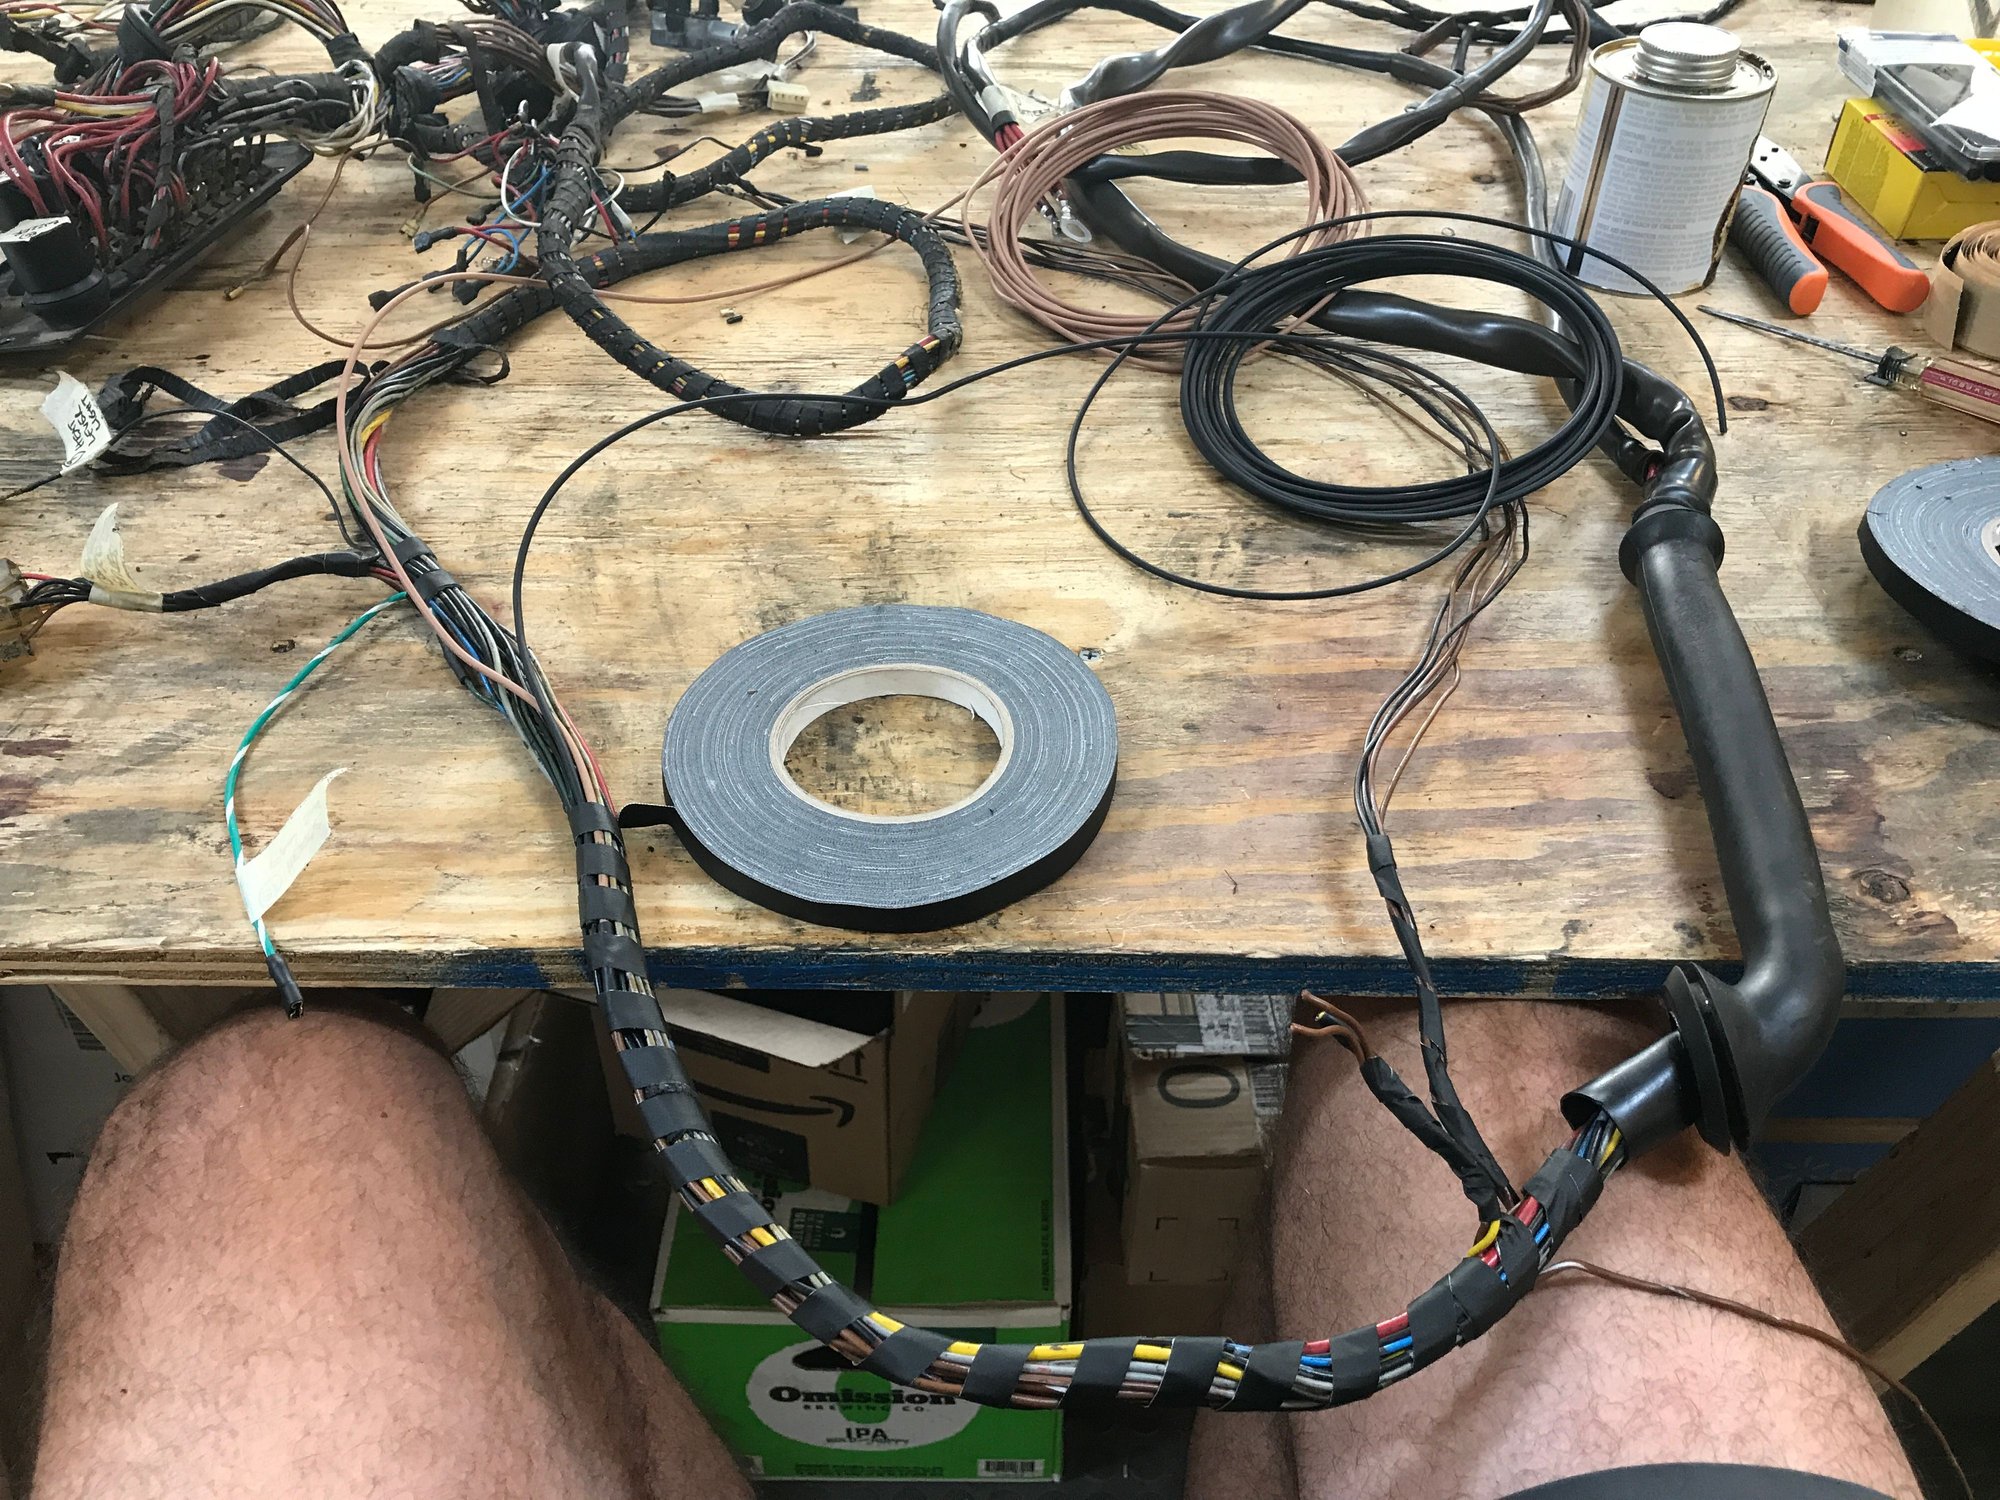
As I went forward, I encountered segments still coated with genius PO undercoating, plus carpet glue and remnants of foam padding.
Unwrapping the original tape leaves spots of crud. Time for more GoofOff.
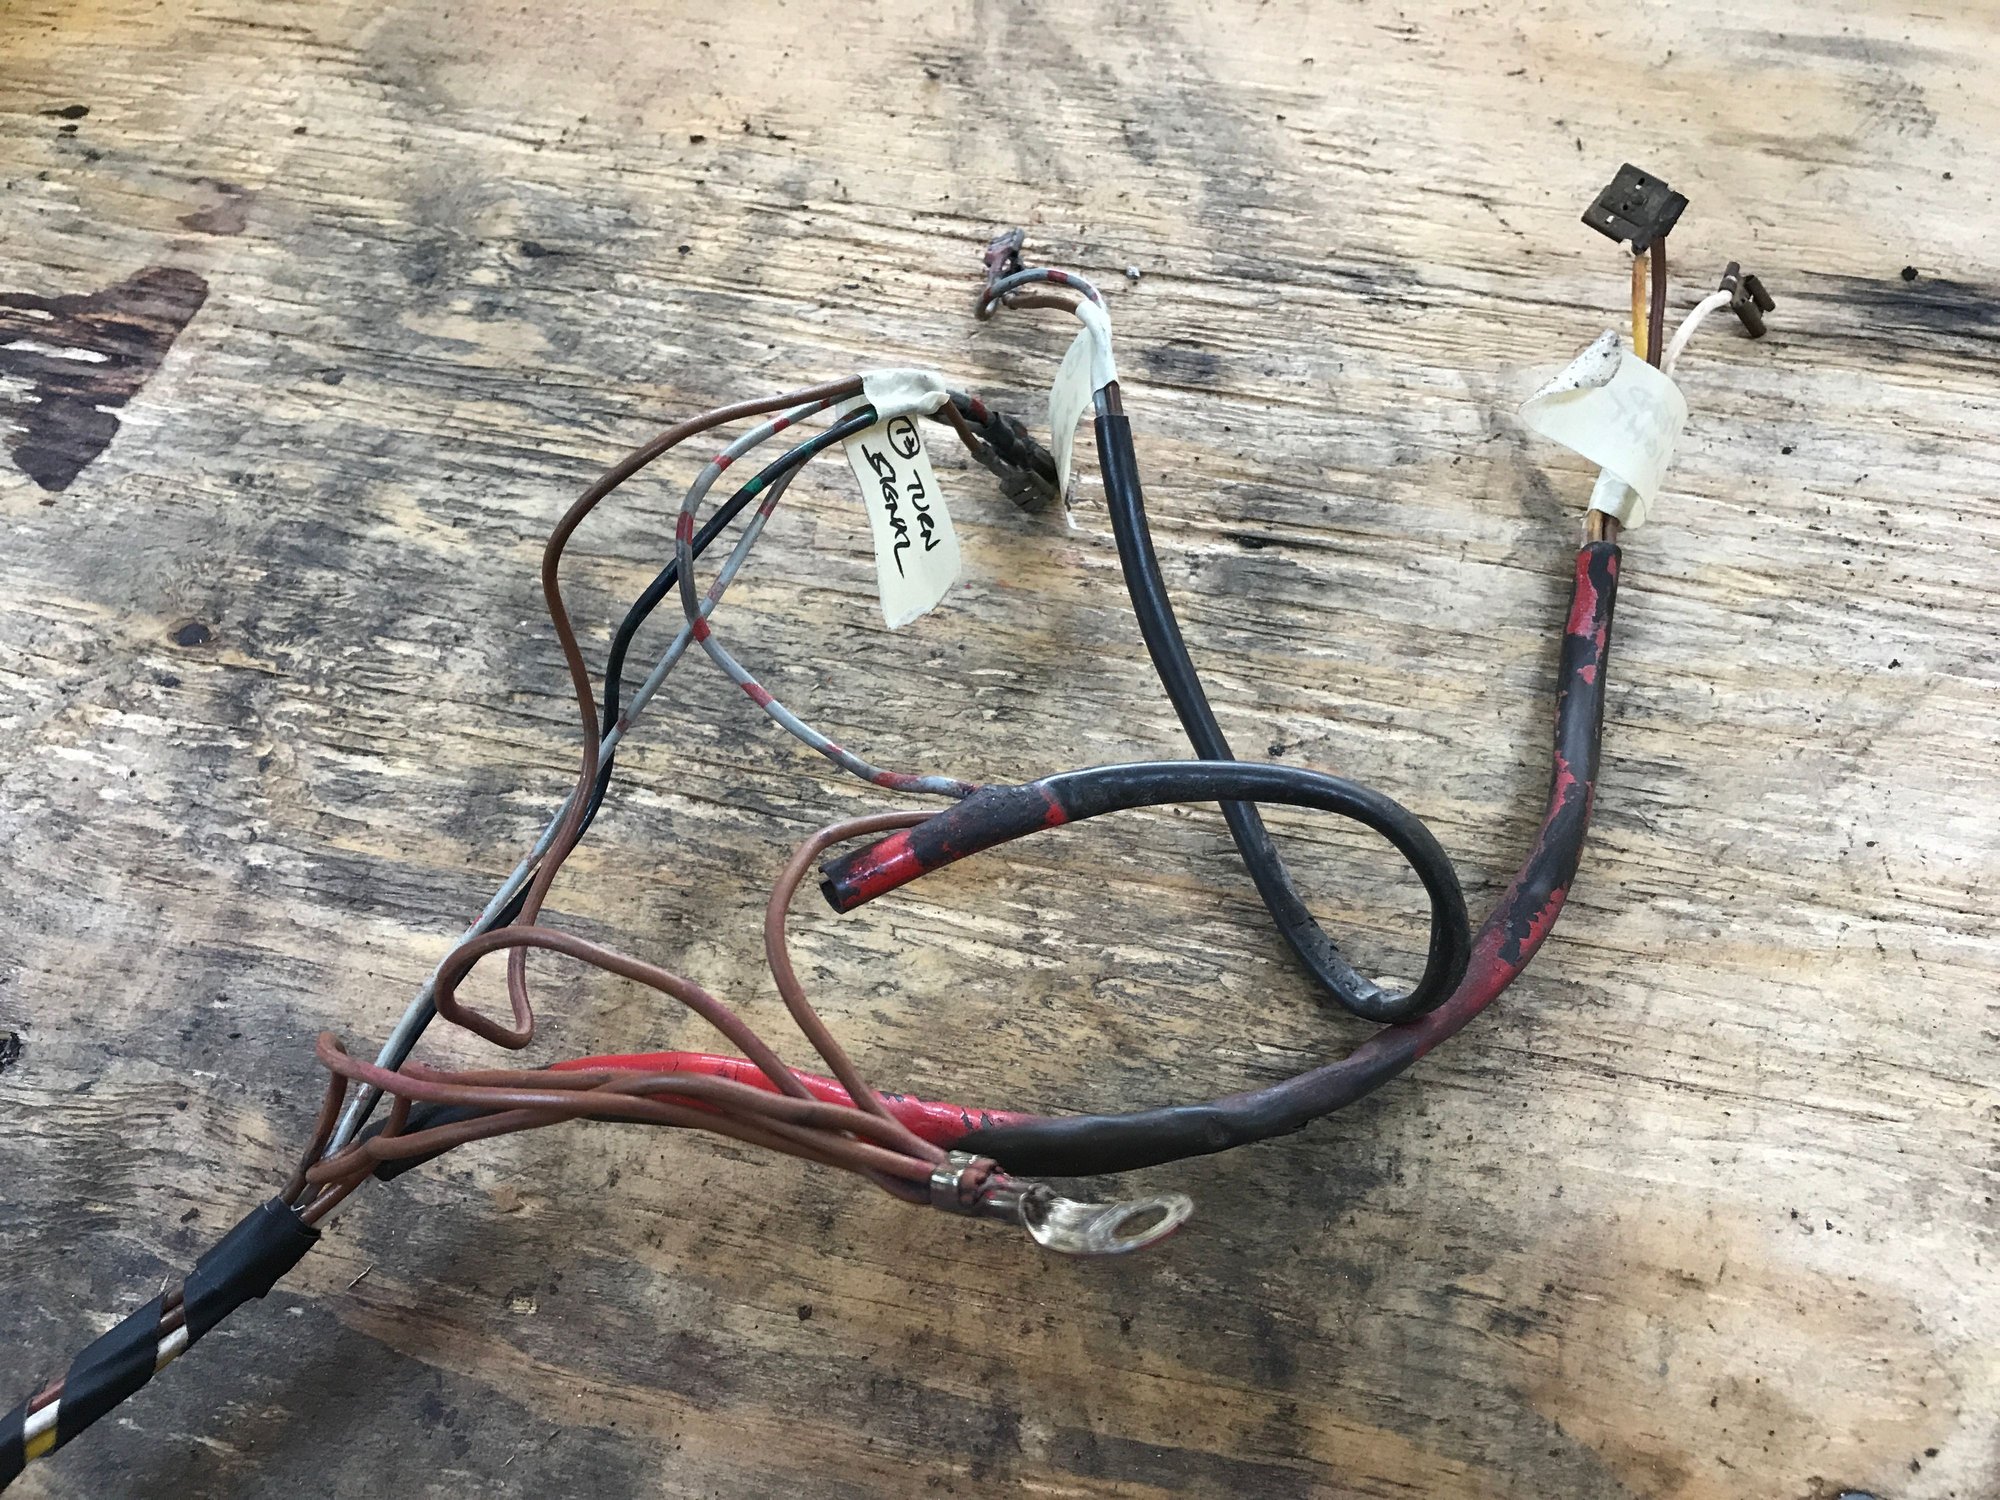
I got as far forward as the brake pedal switch.

As I went forward, I encountered segments still coated with genius PO undercoating, plus carpet glue and remnants of foam padding.

Unwrapping the original tape leaves spots of crud. Time for more GoofOff.

I got as far forward as the brake pedal switch.
 08-20-2020, 10:25 PM
#603
Rennlist Member
Thread Starter
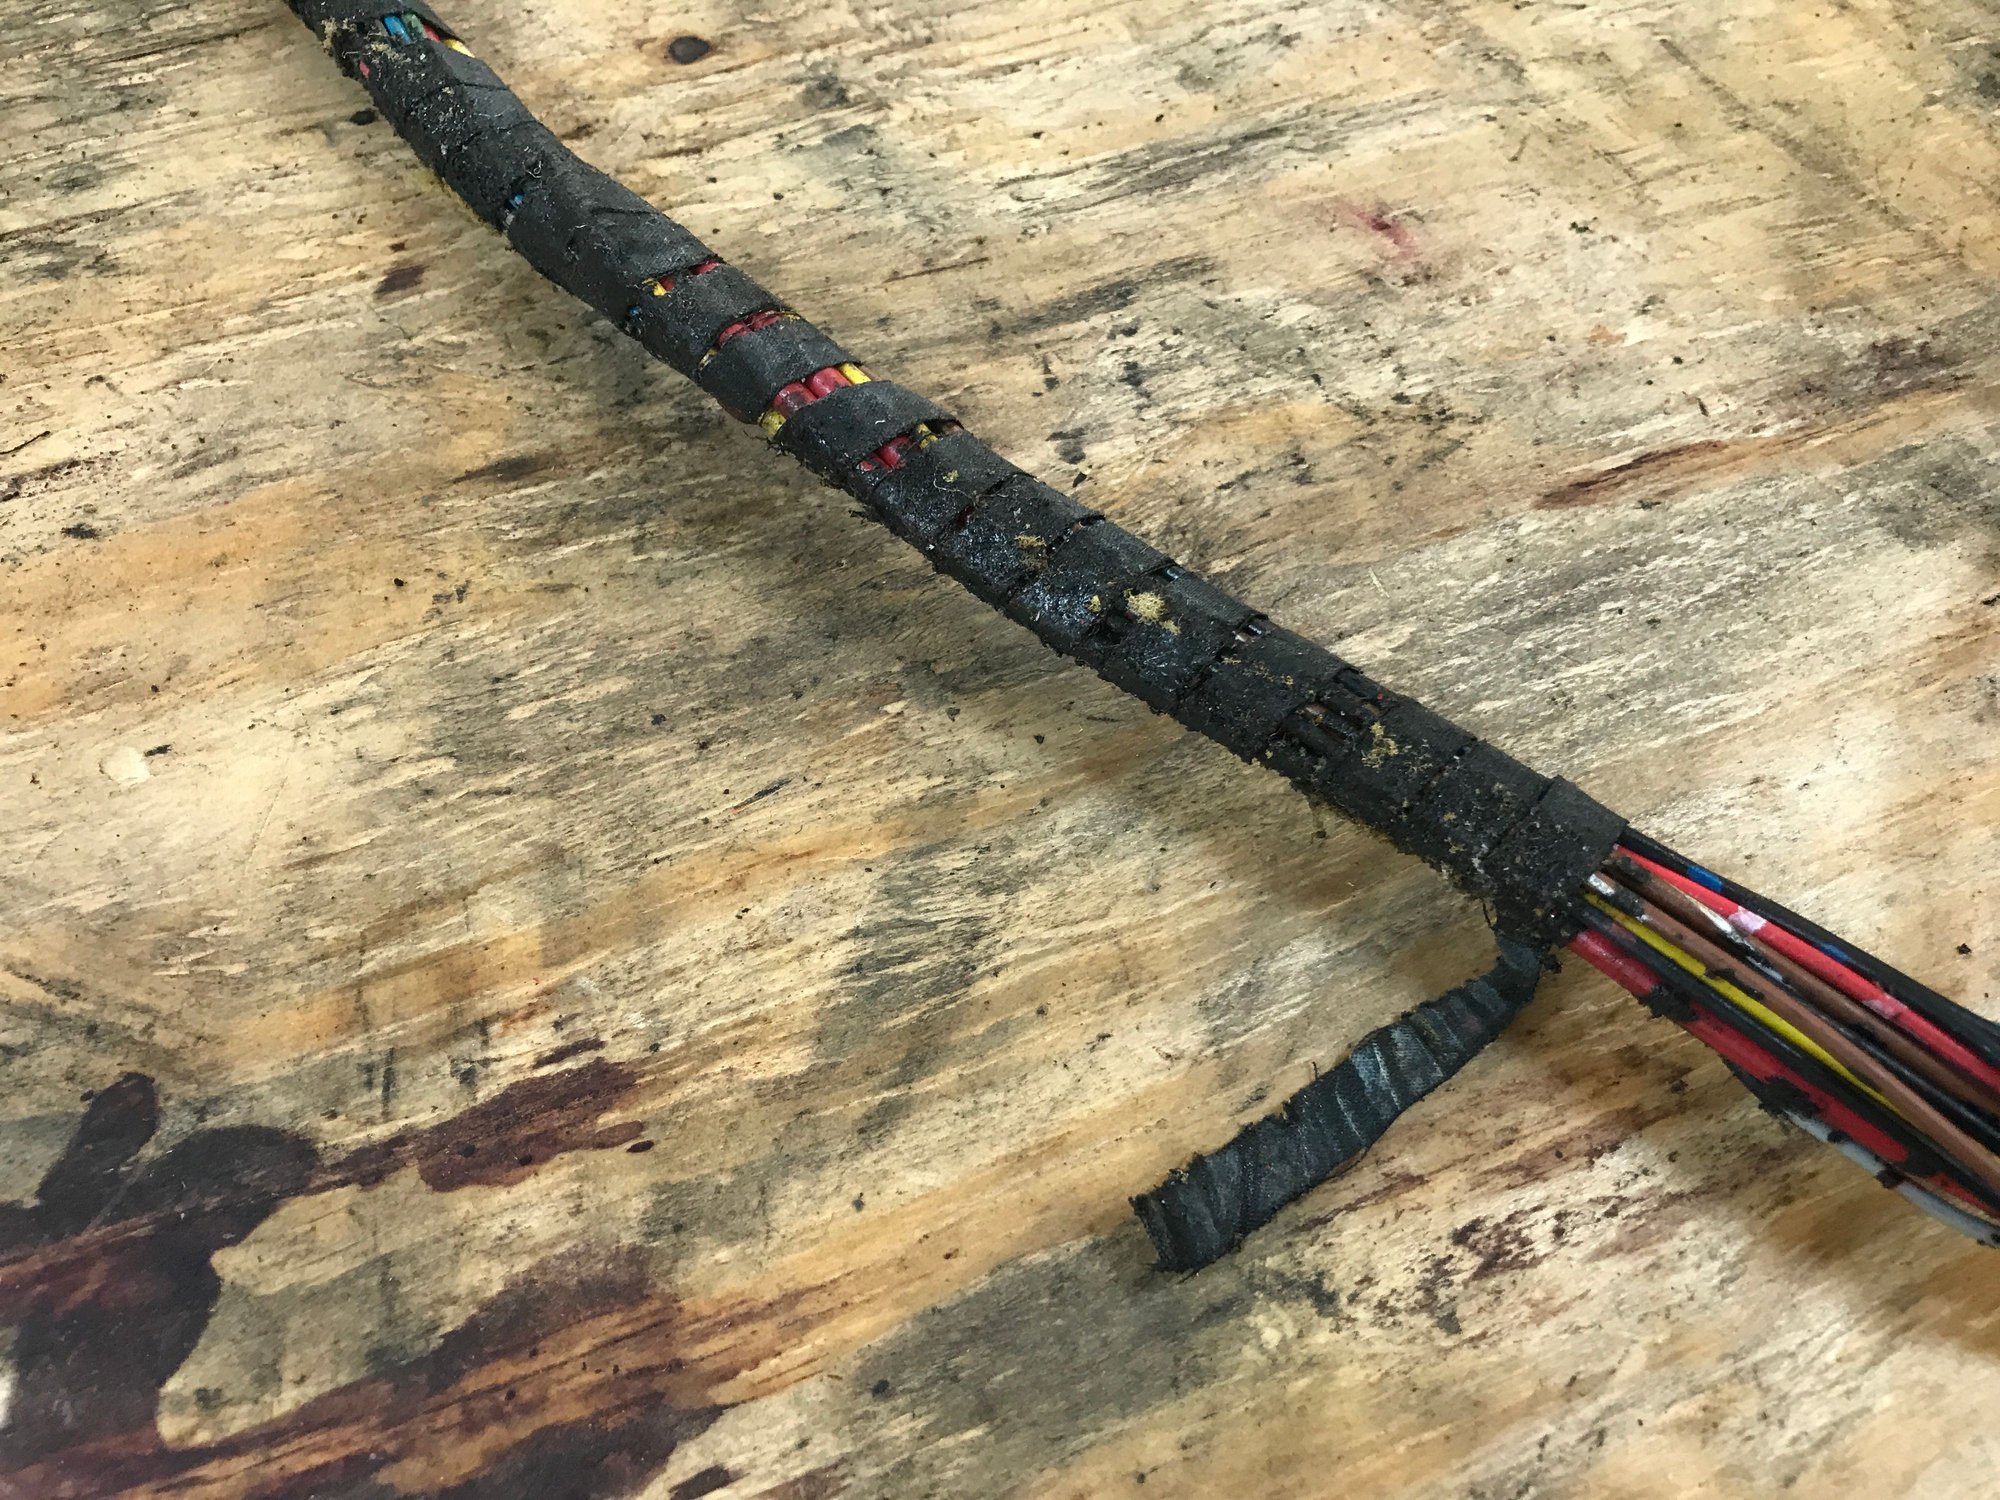
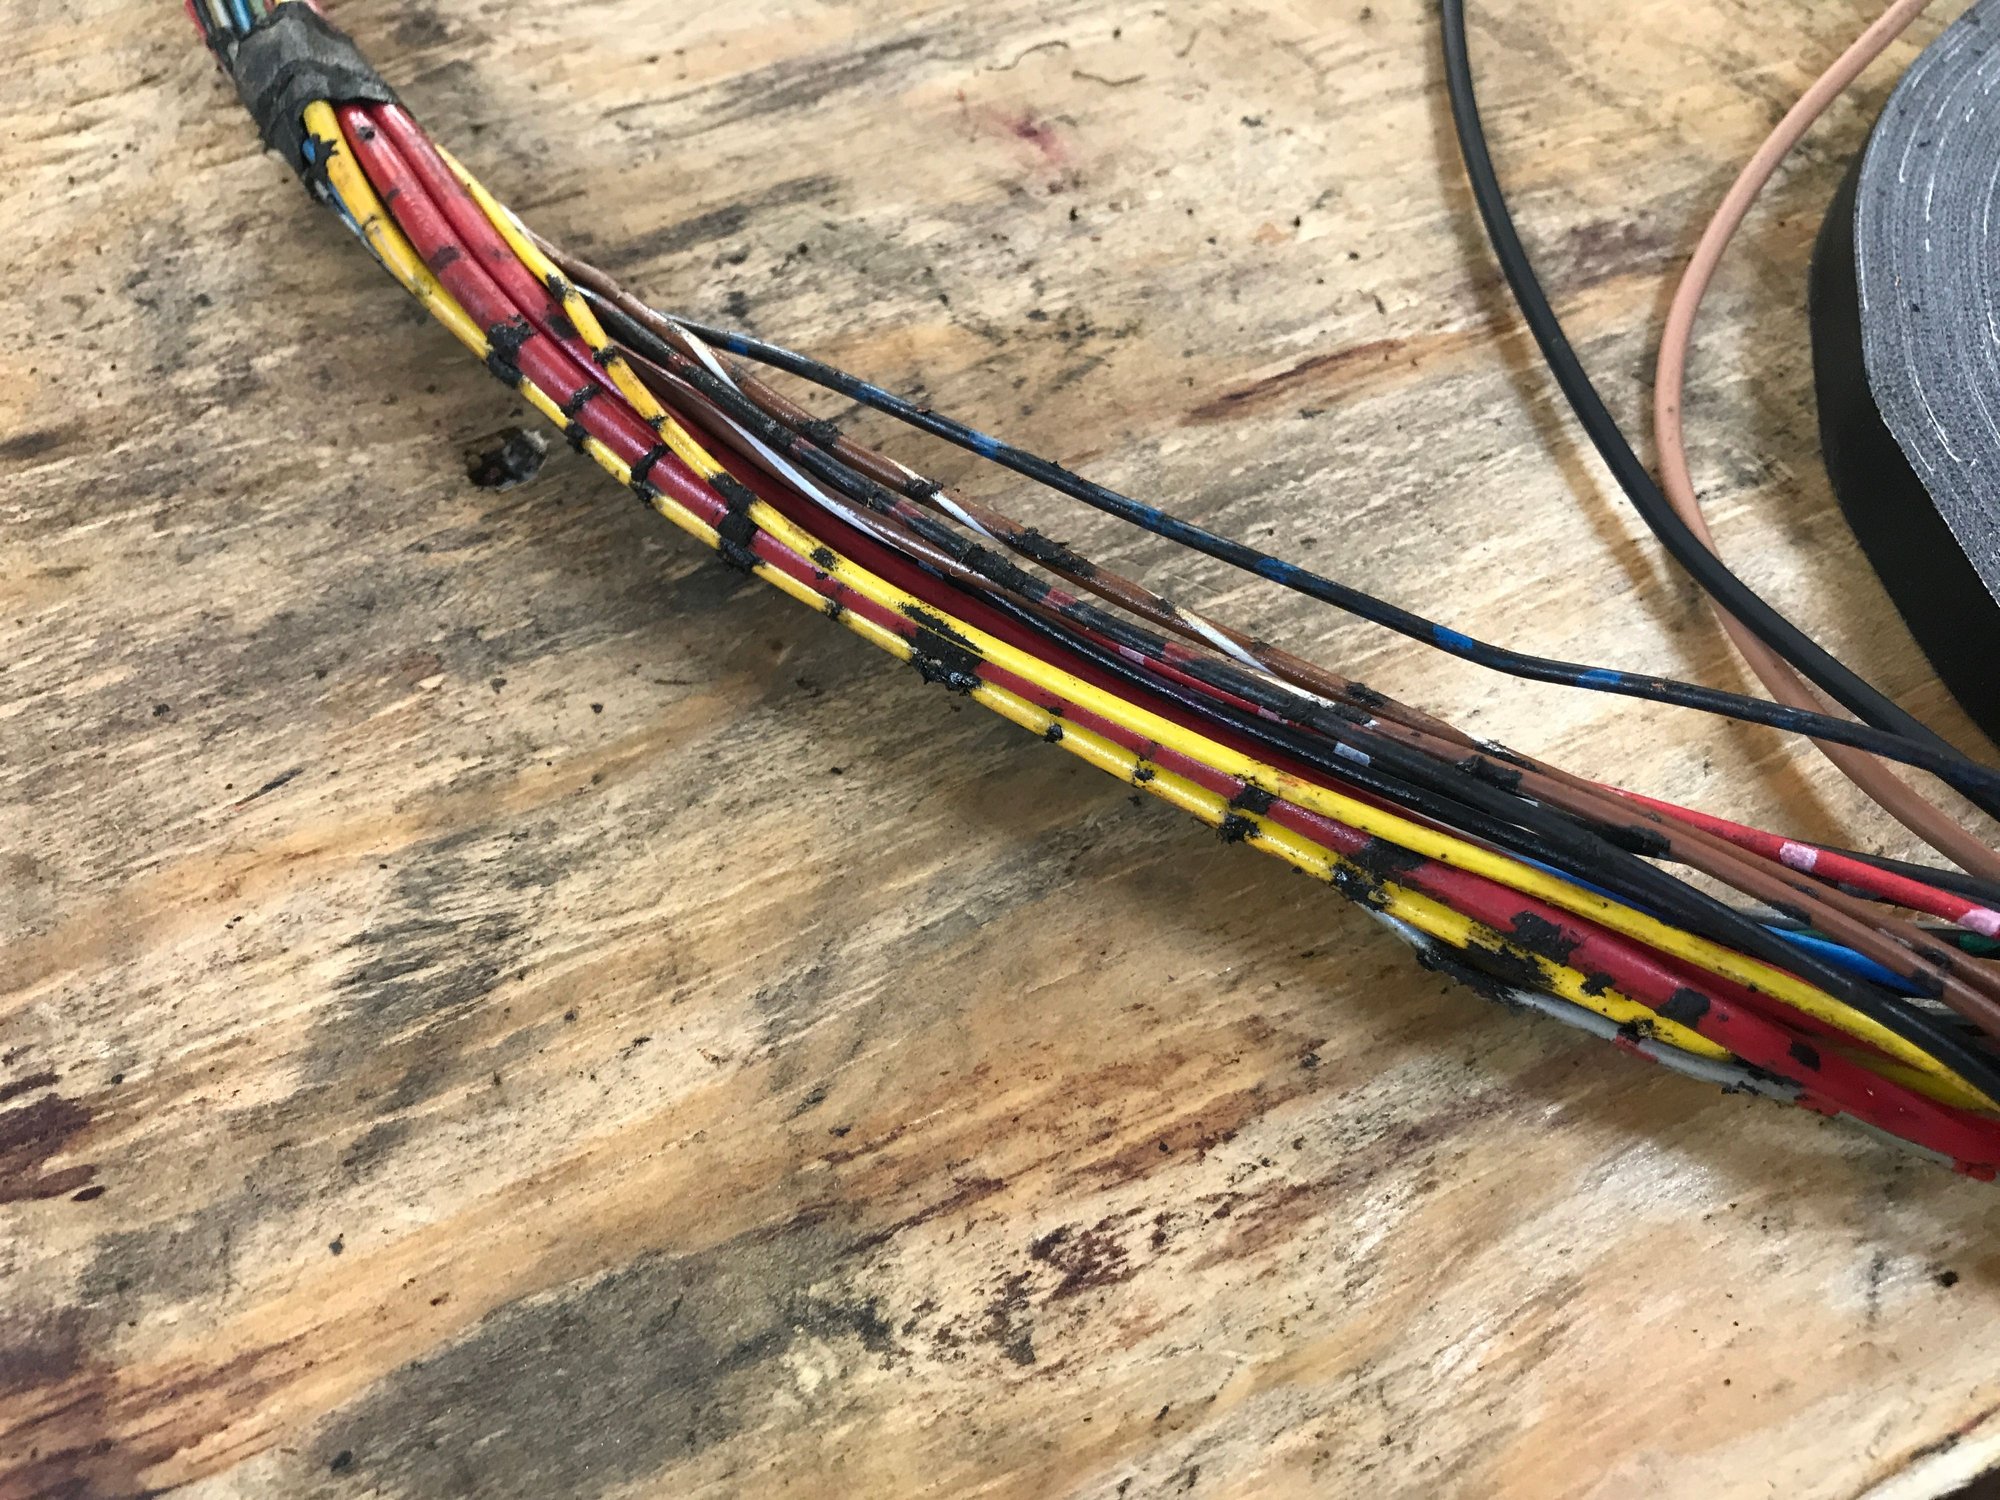
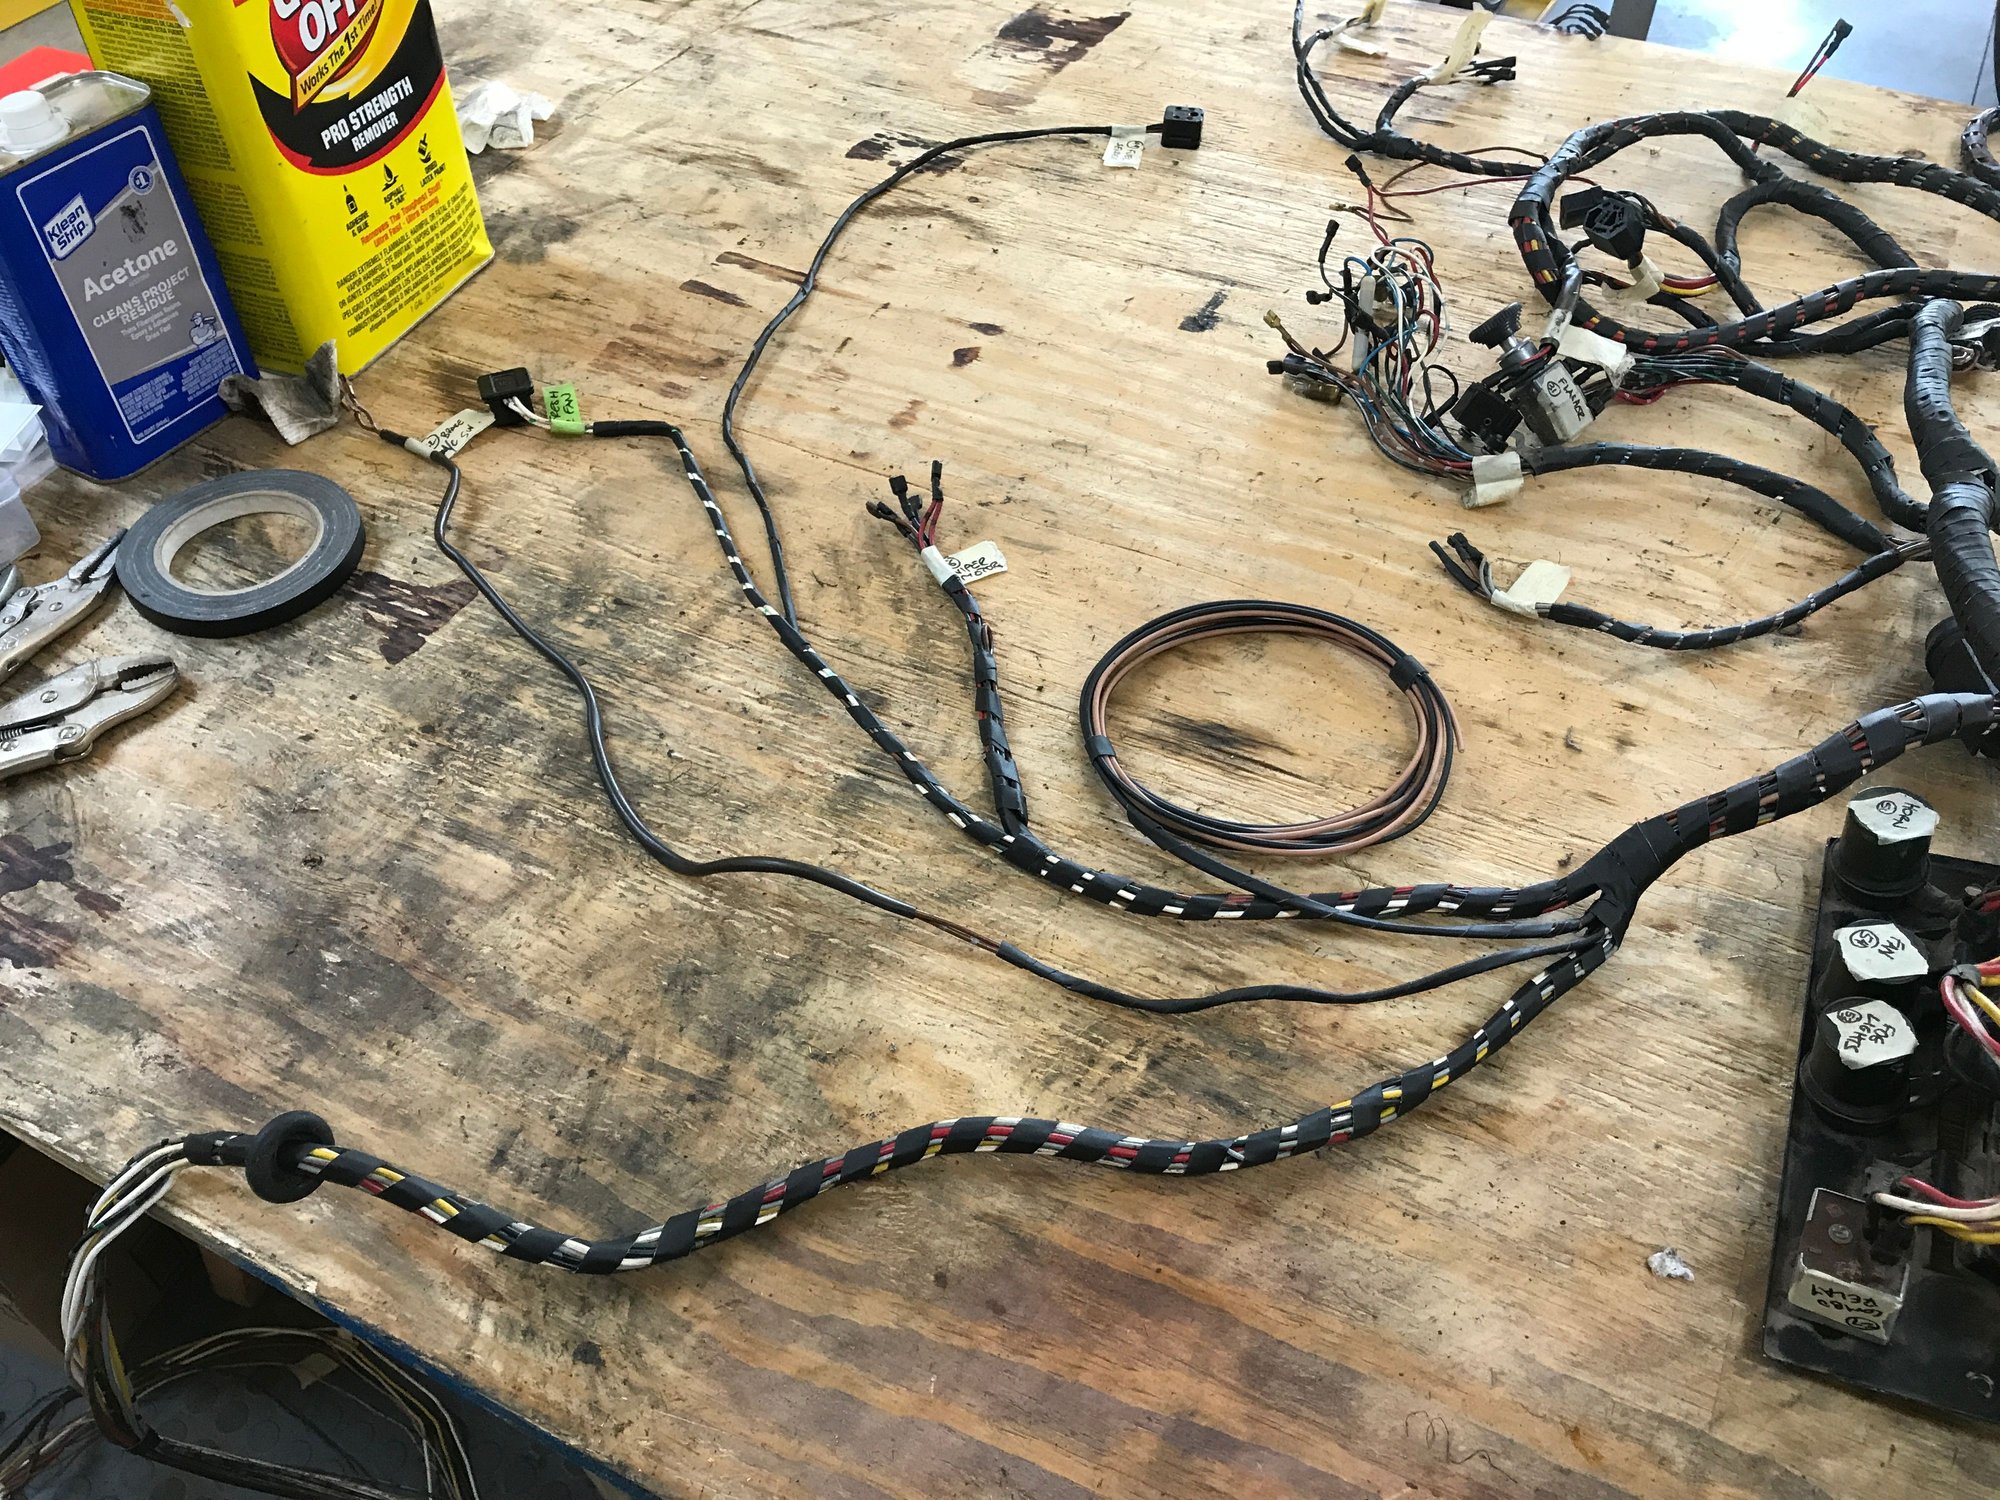
More progress today, starting from the brake pedal switch. Still adding the new wires for the front fuel pump as I go.
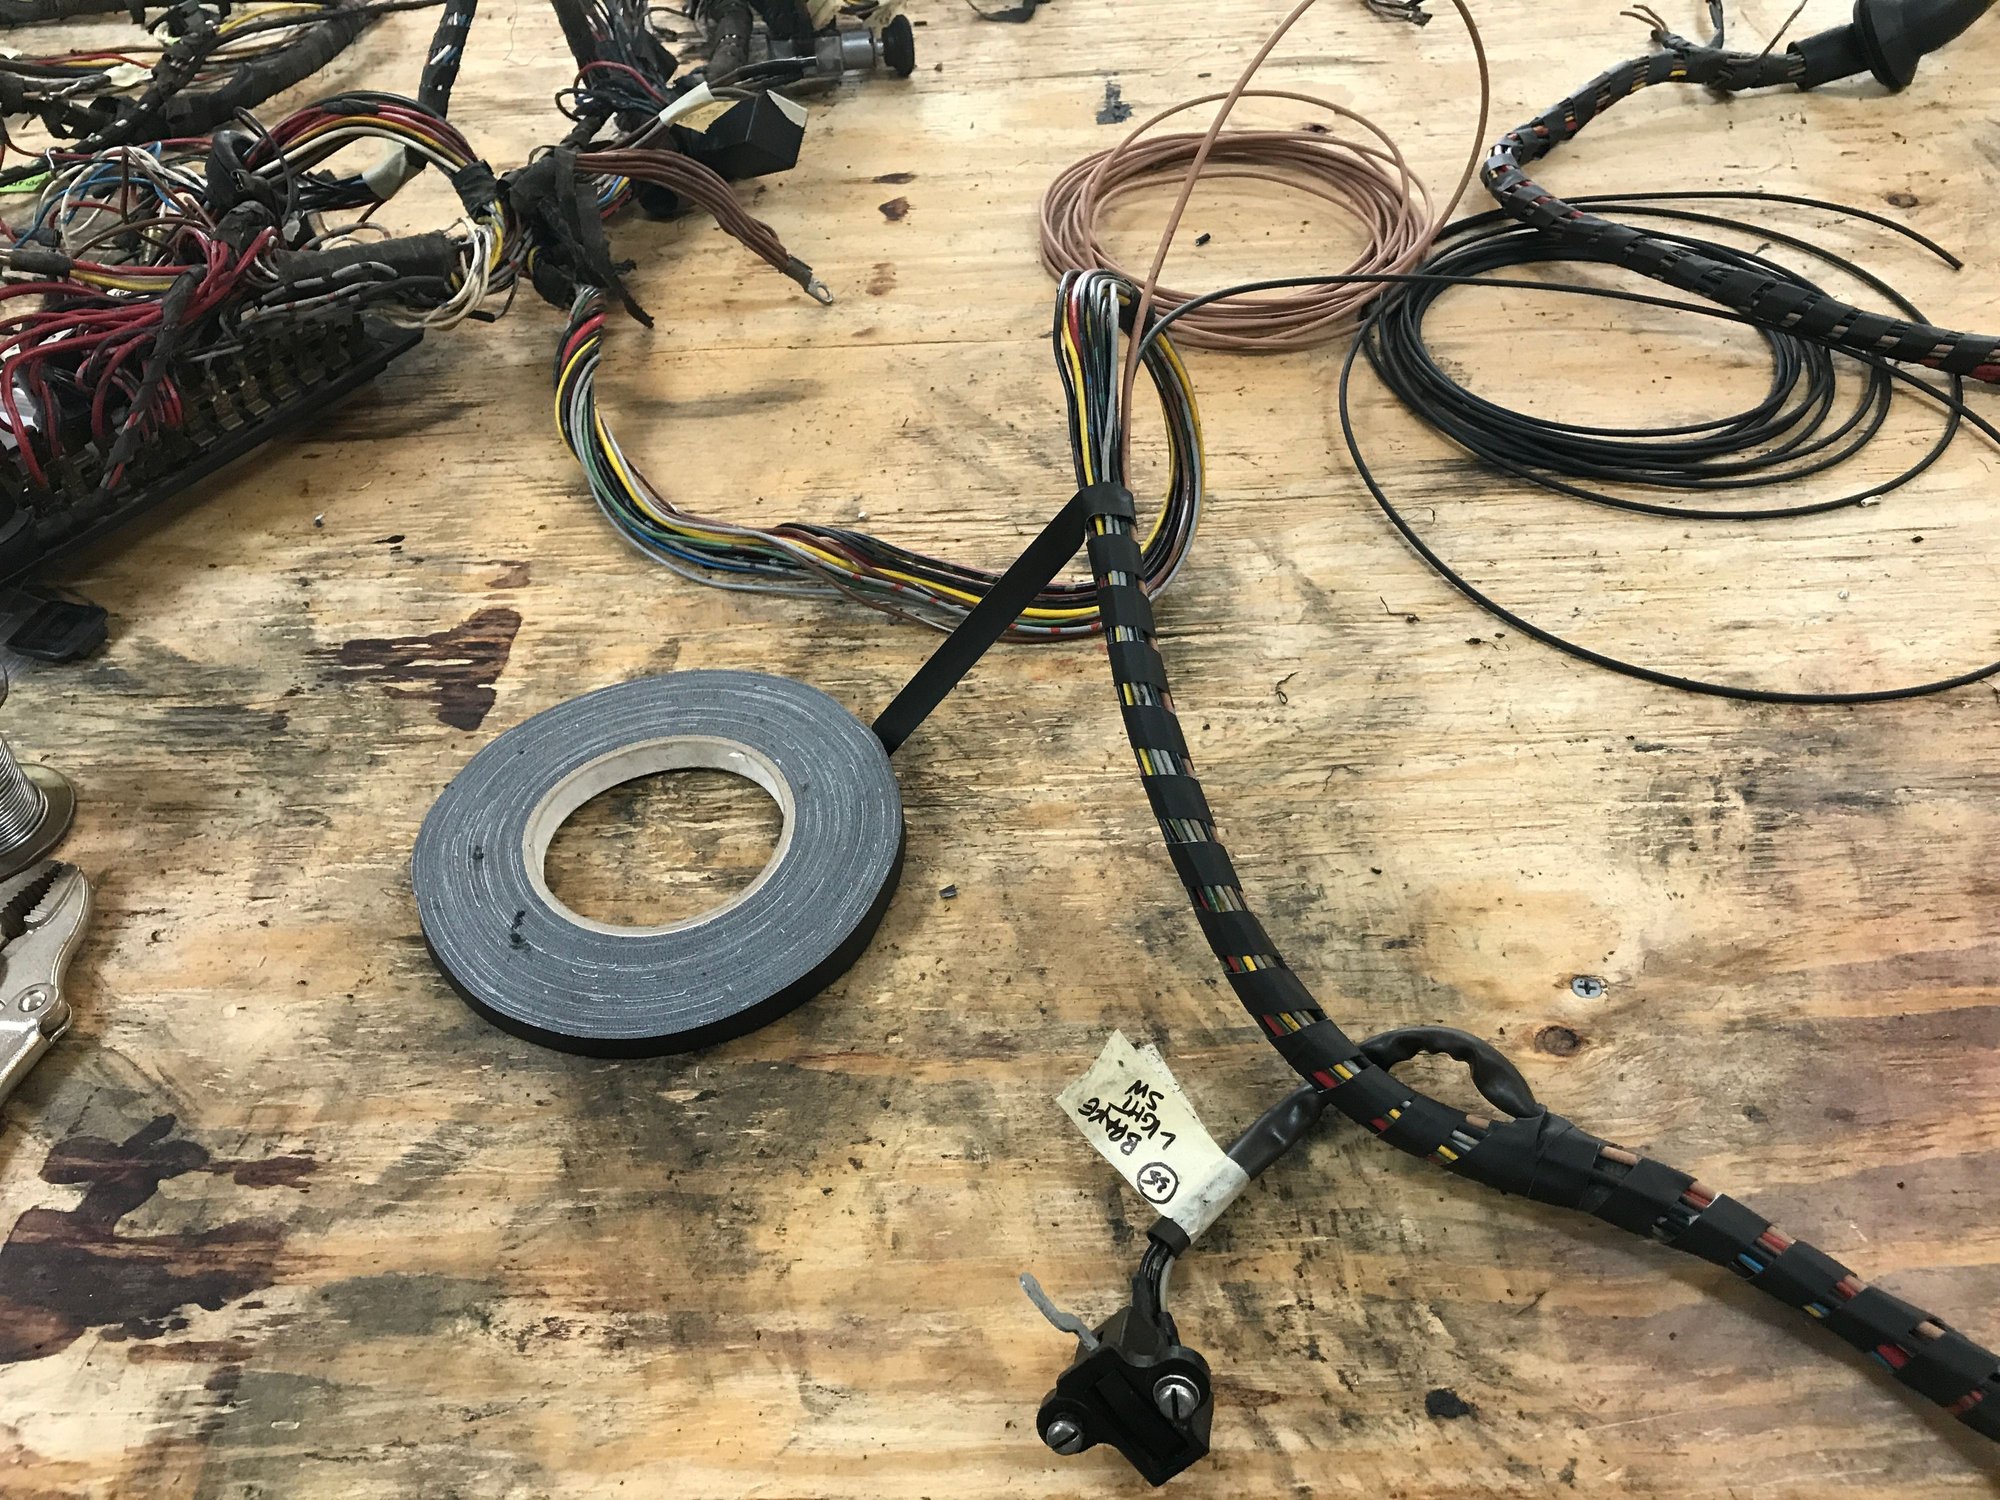
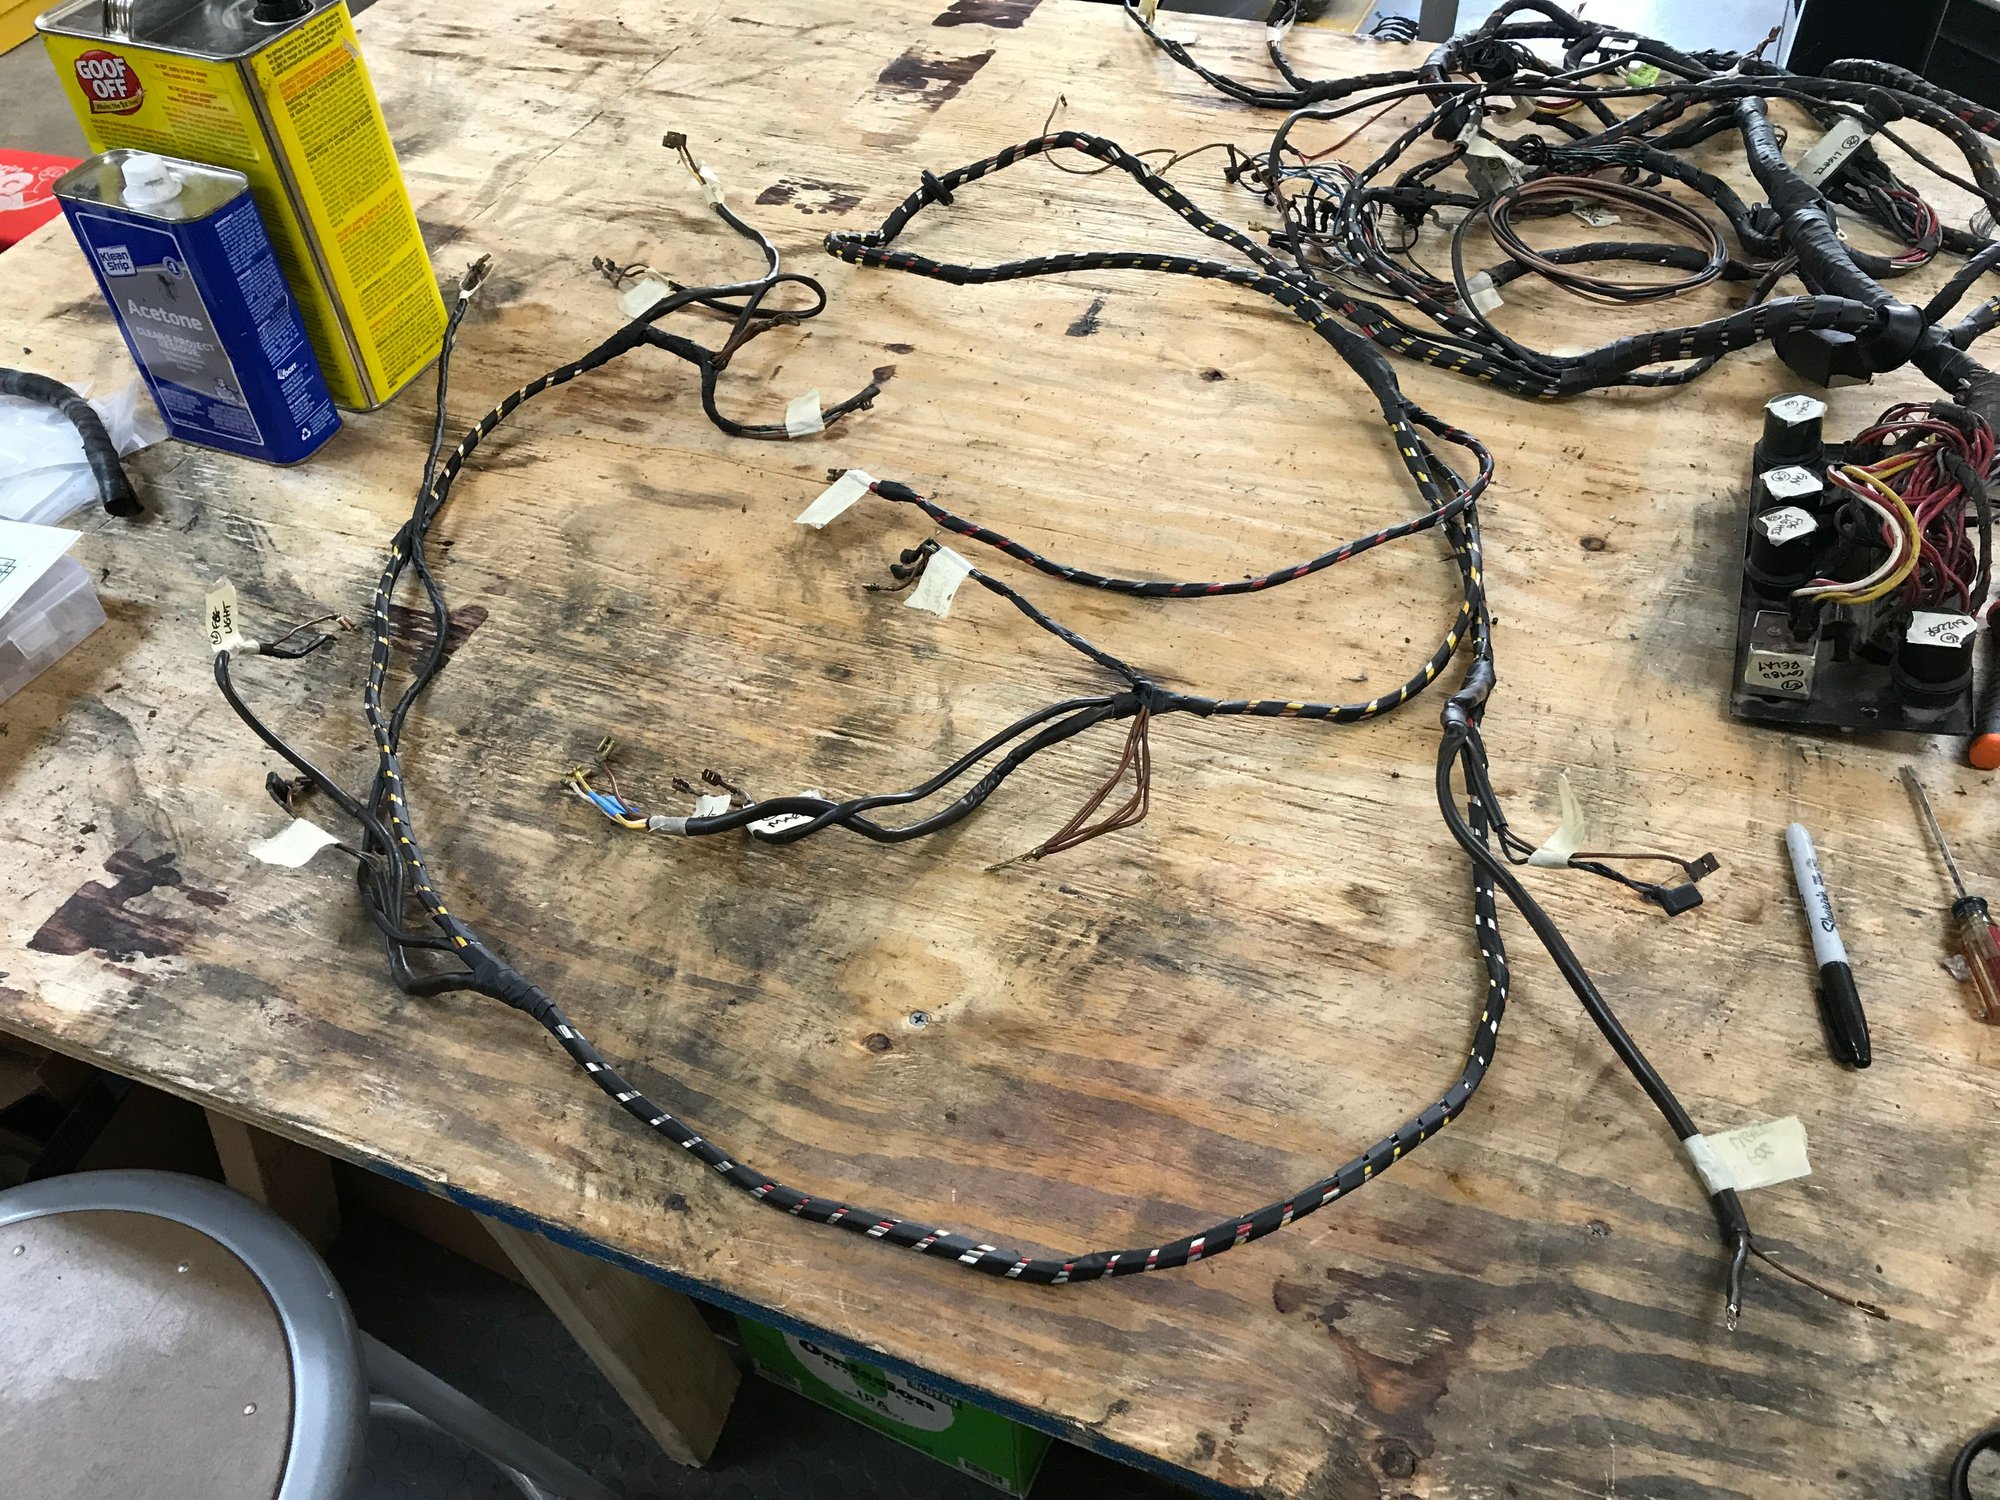
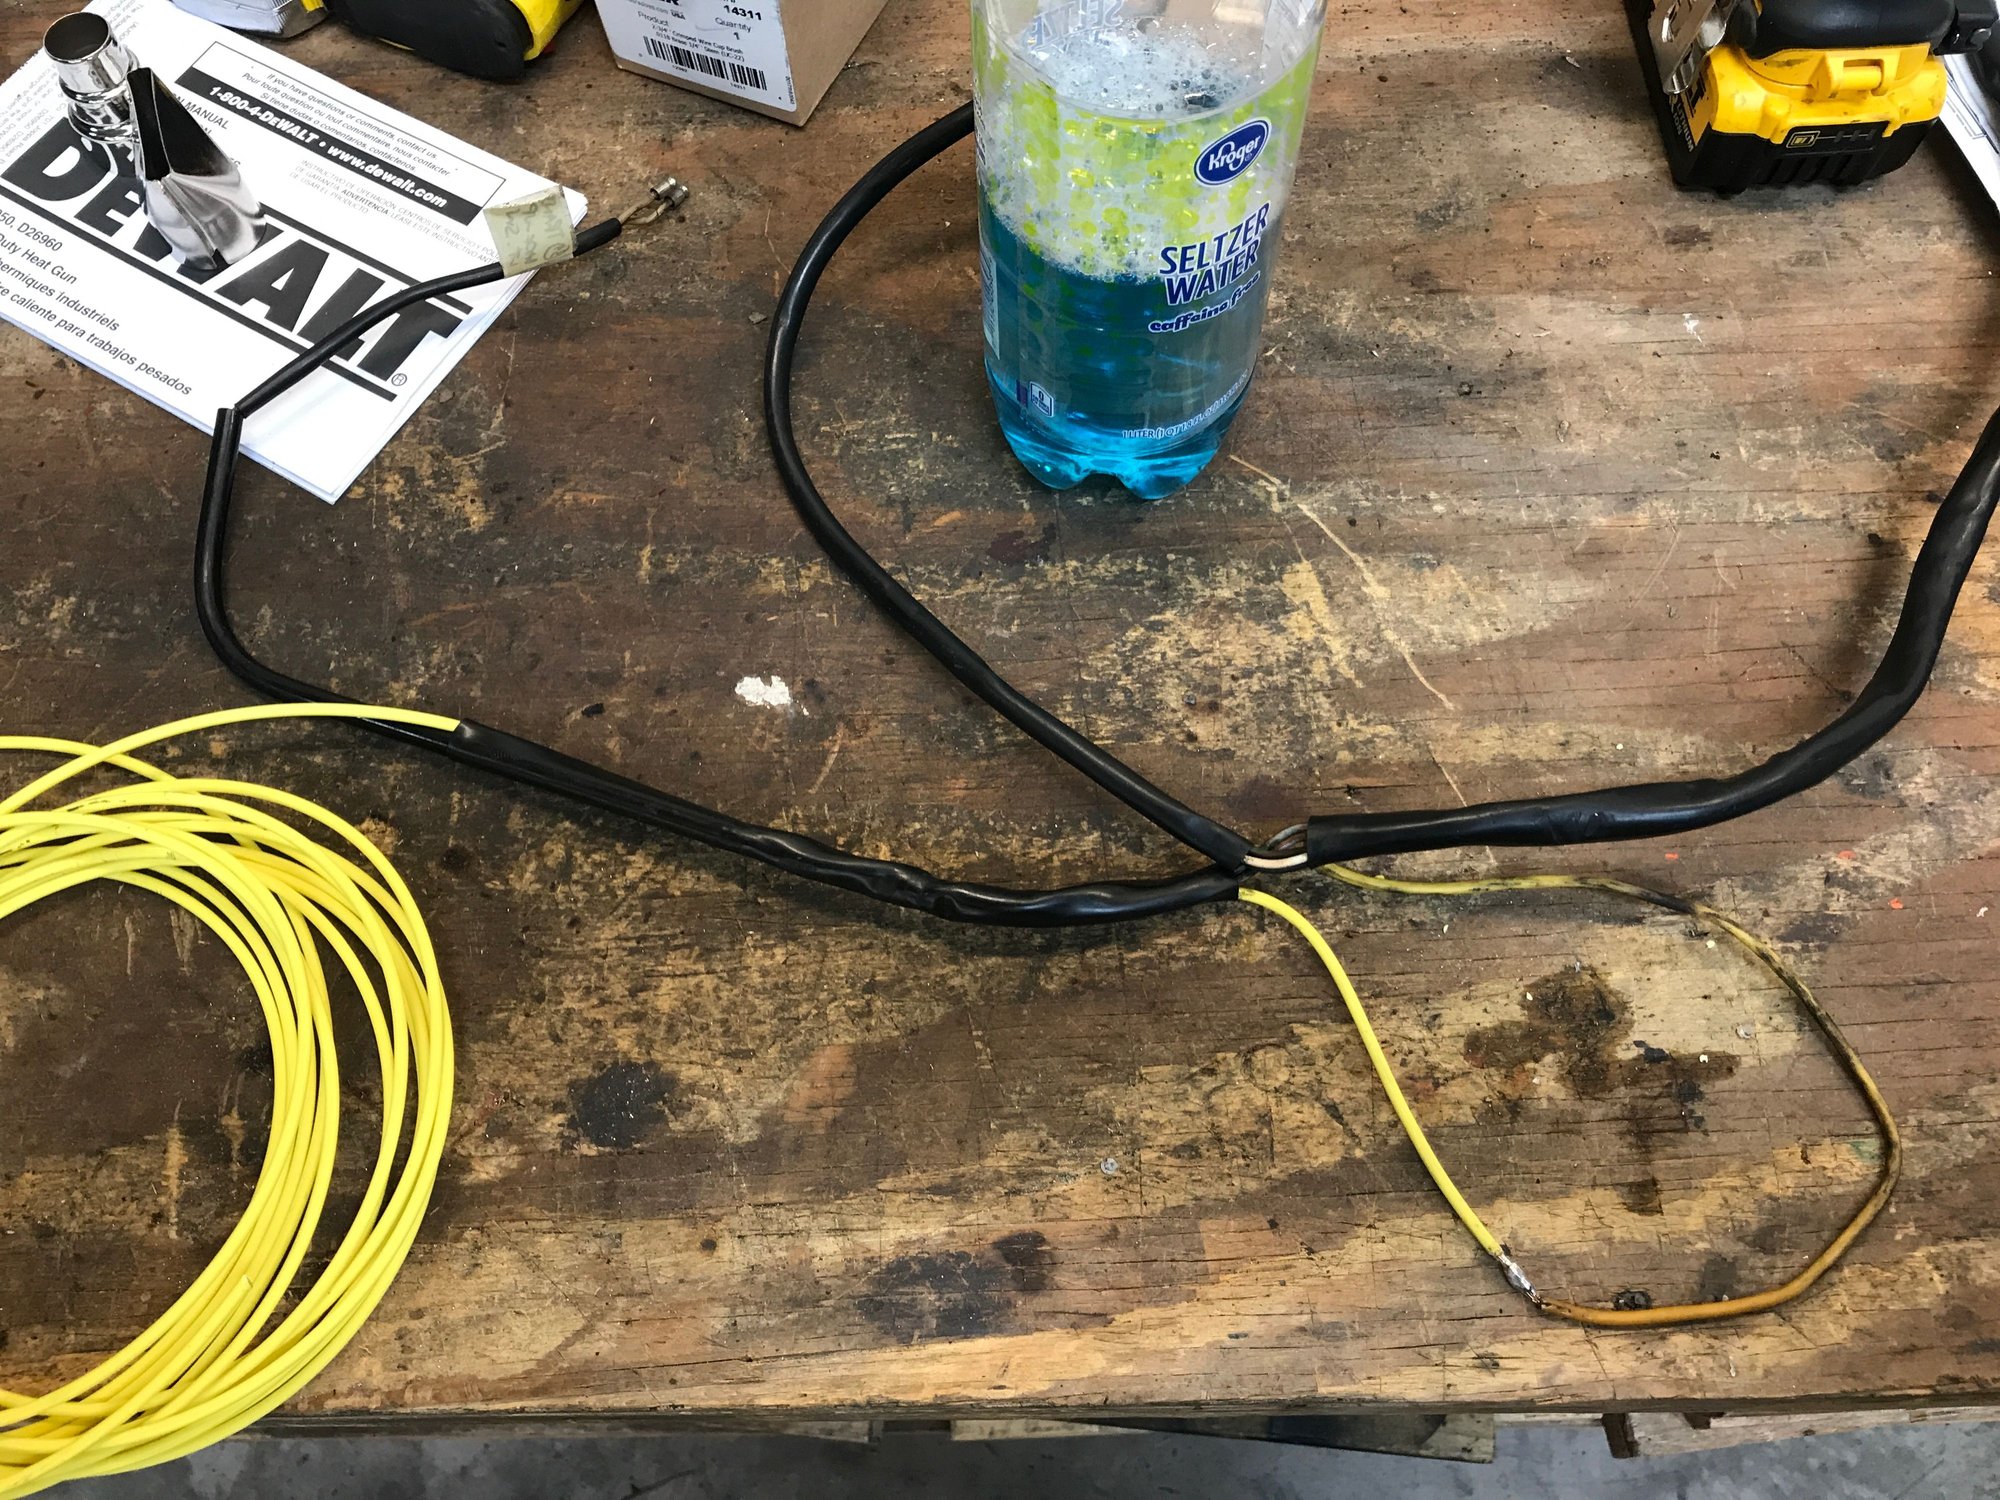
Here's the "big junction". The fuel pump wires continue forward, through the big grommet.
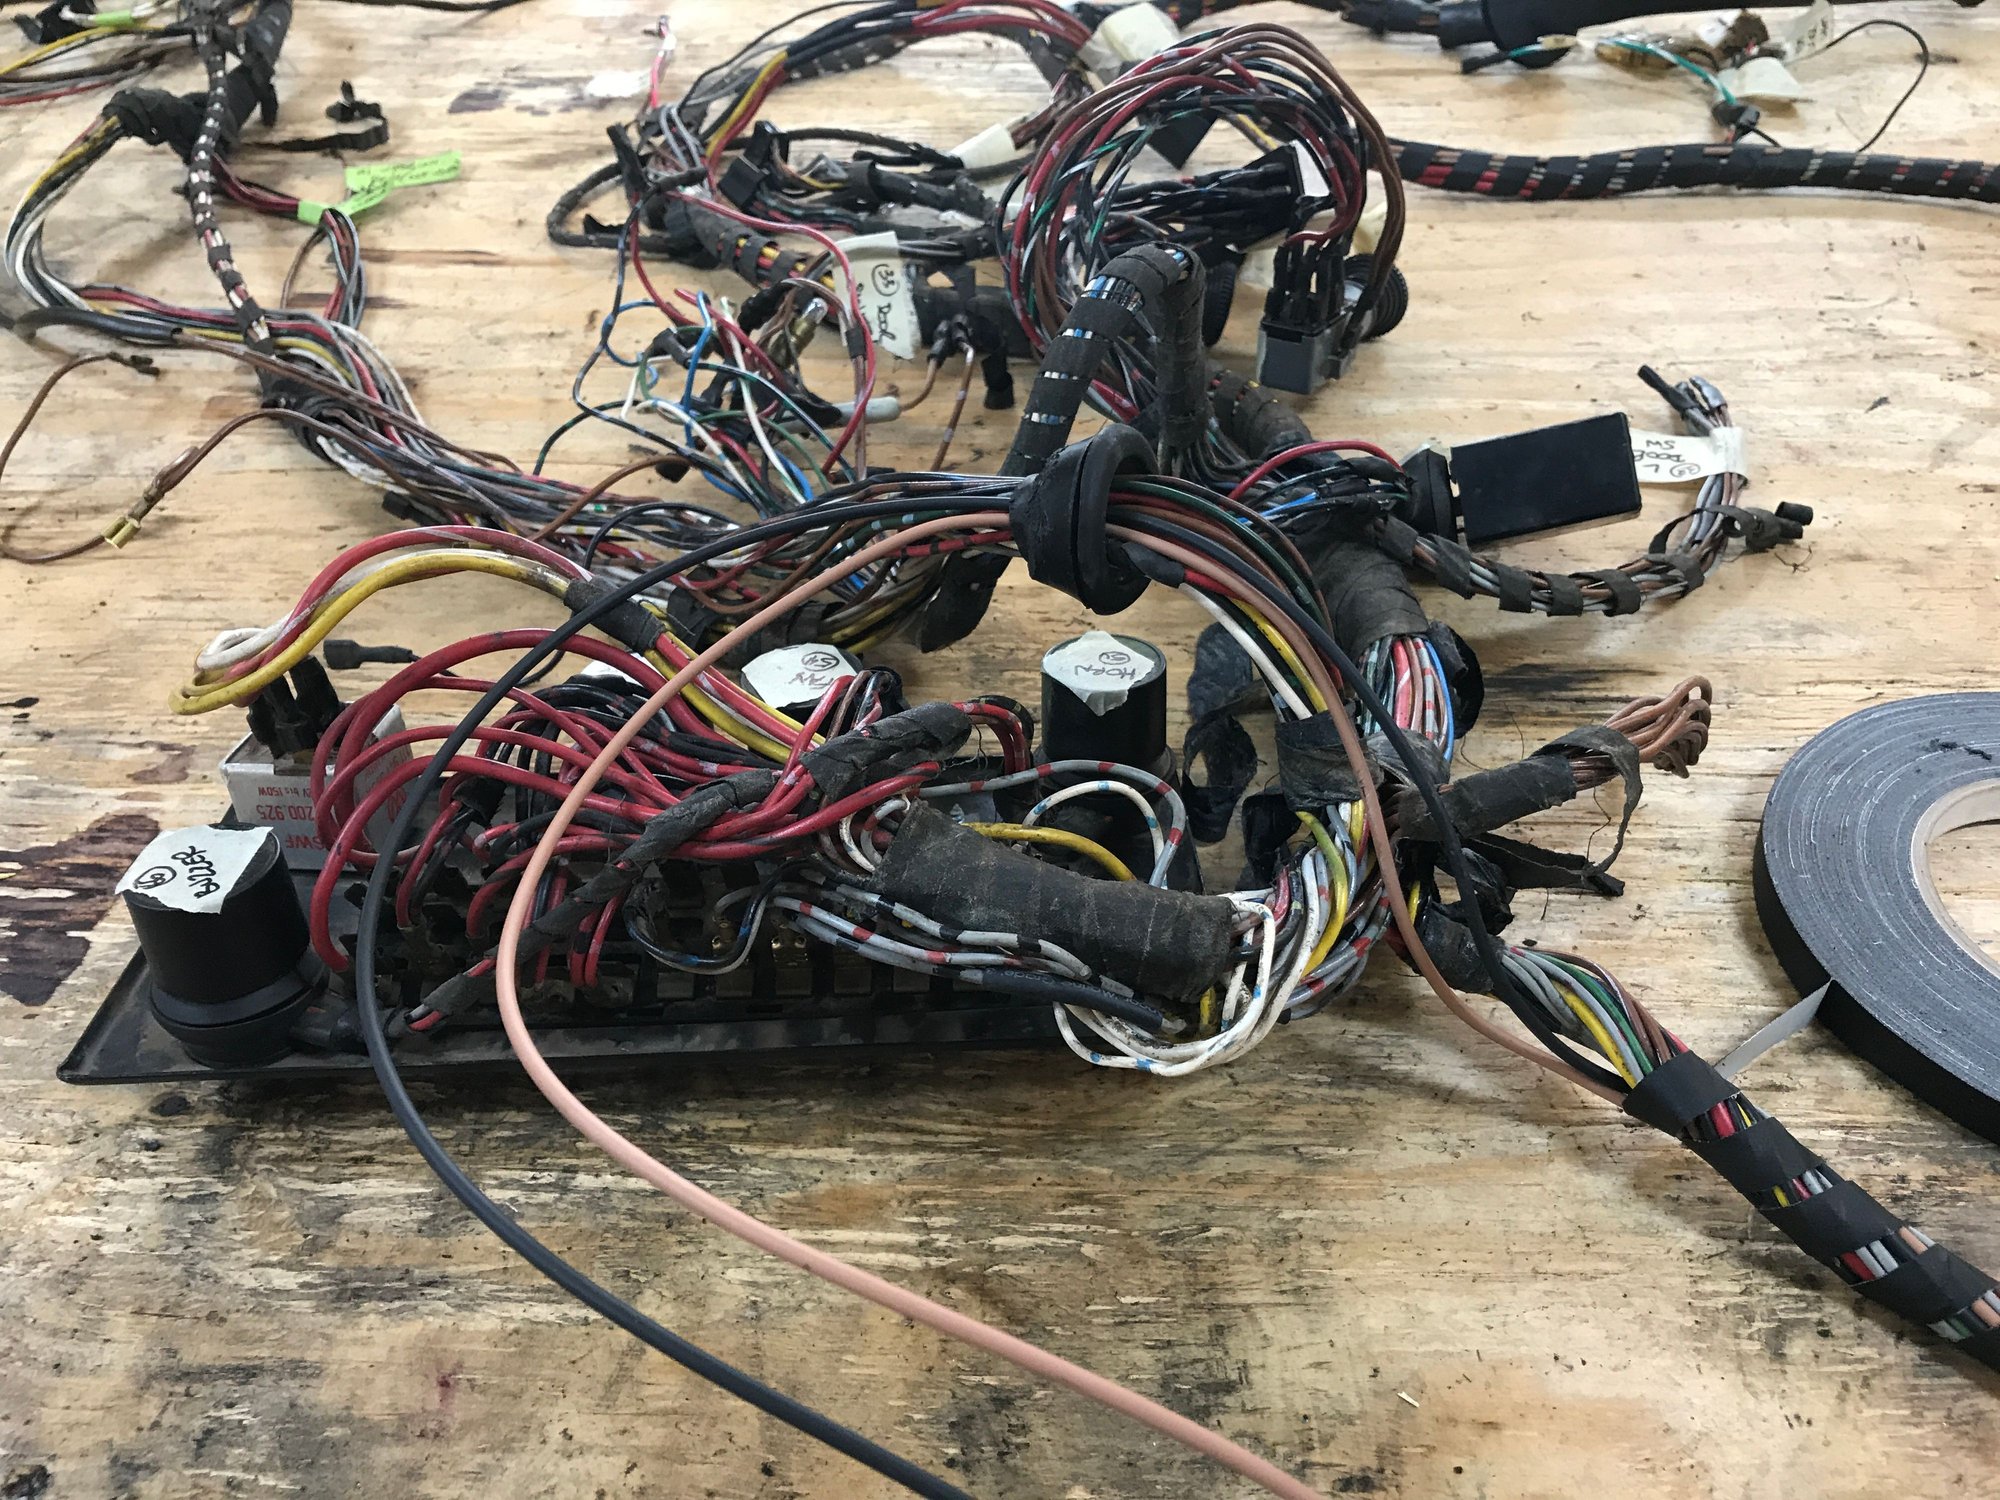
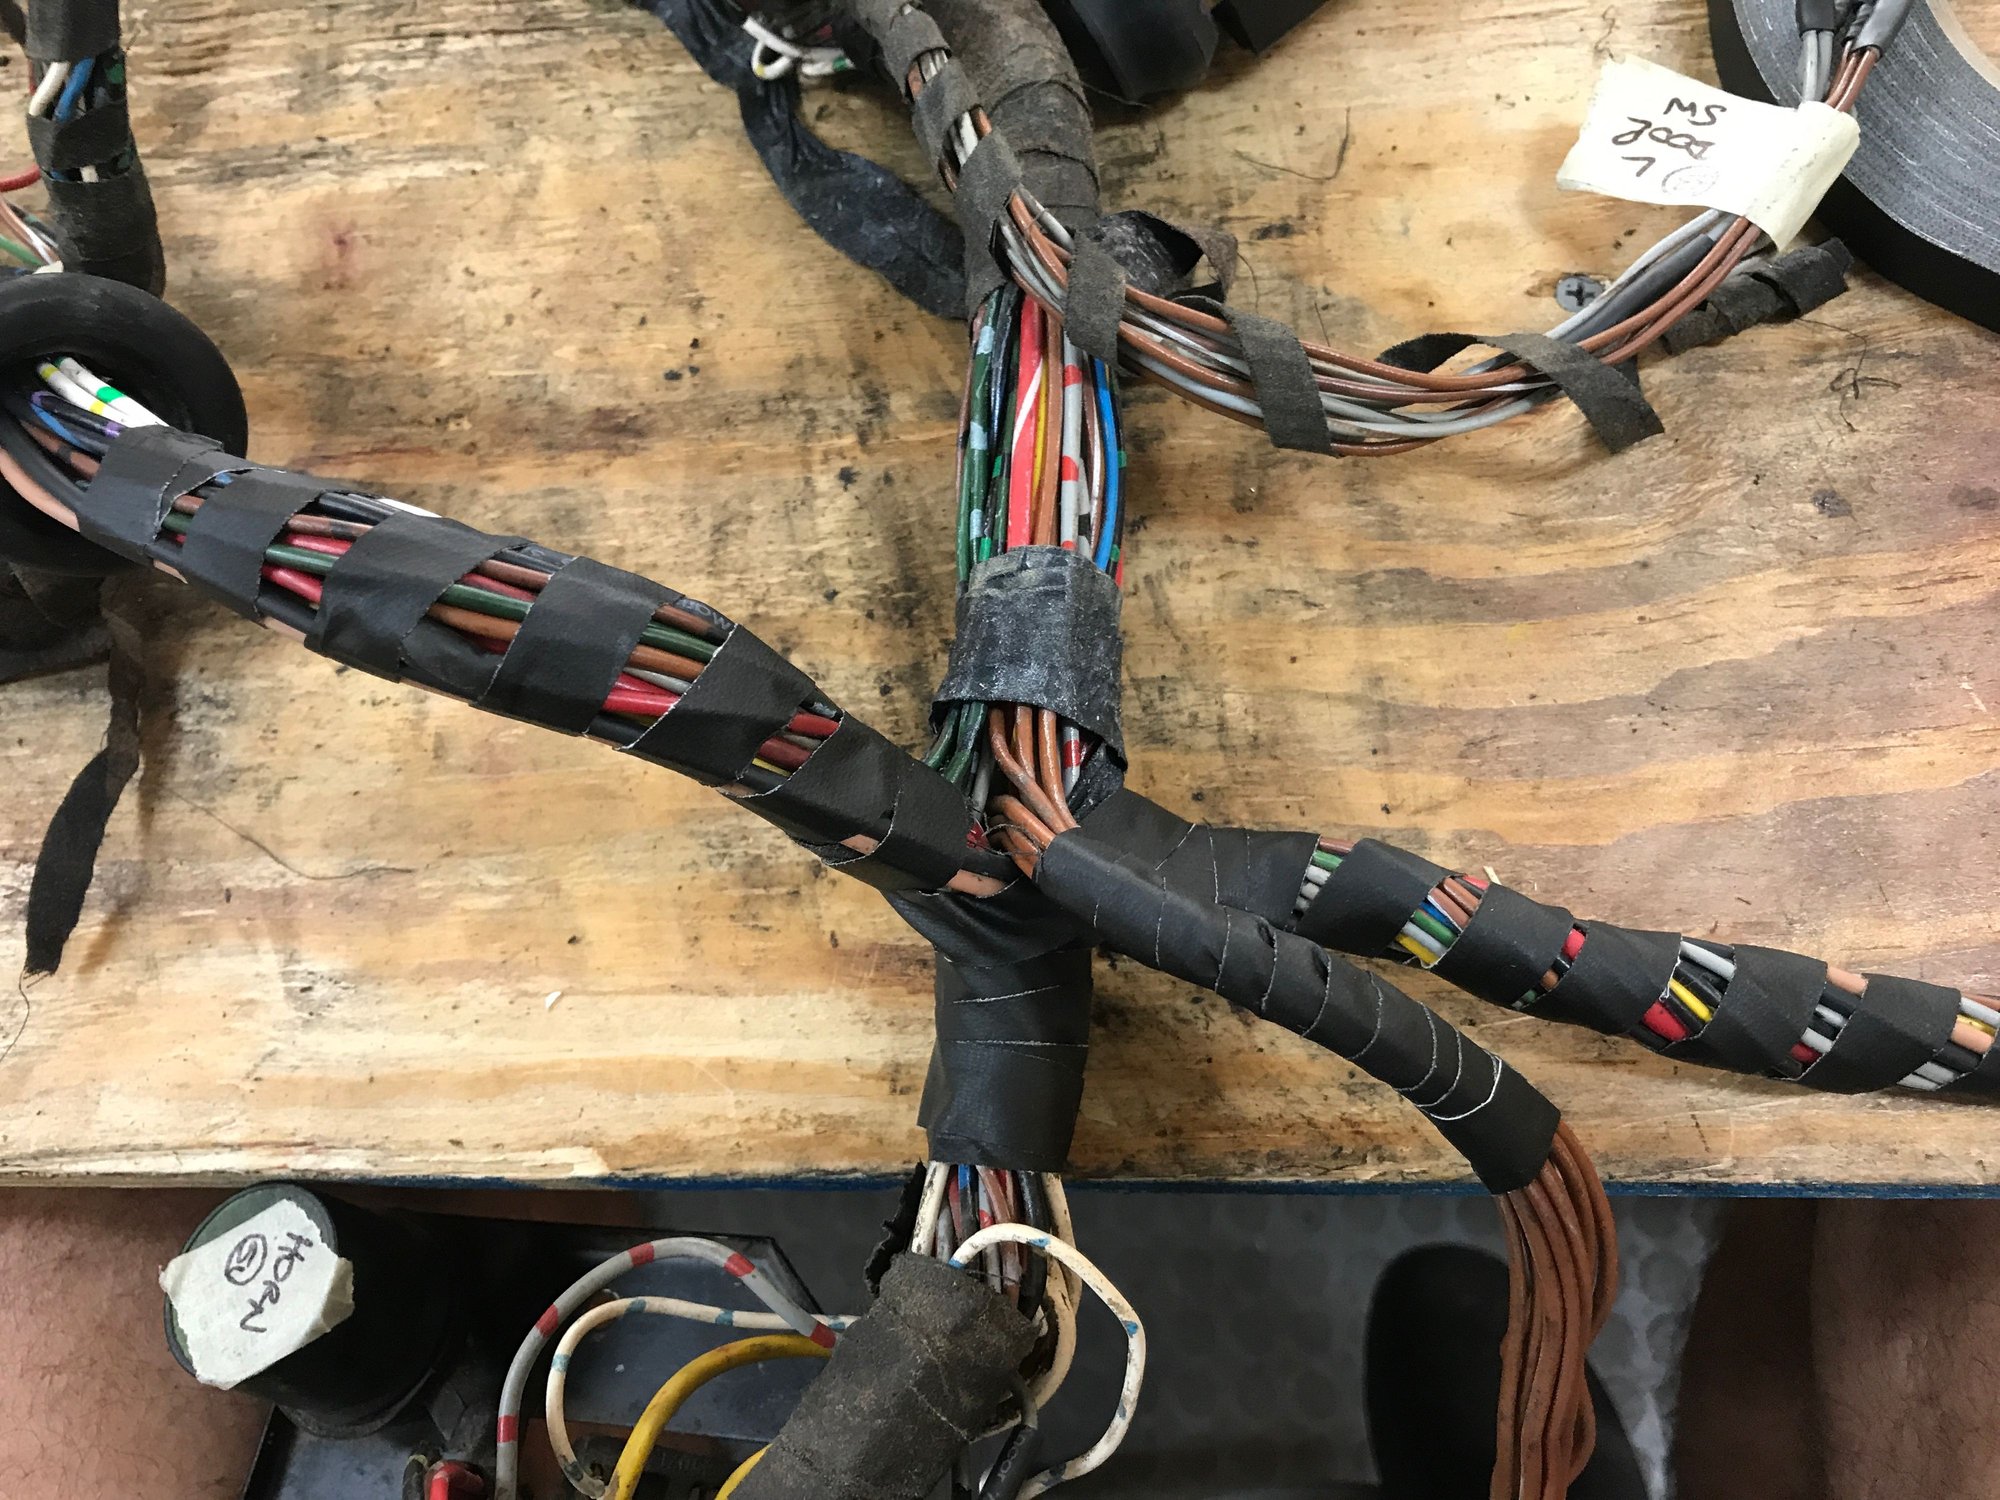
Taping all the different bundles at the junction.
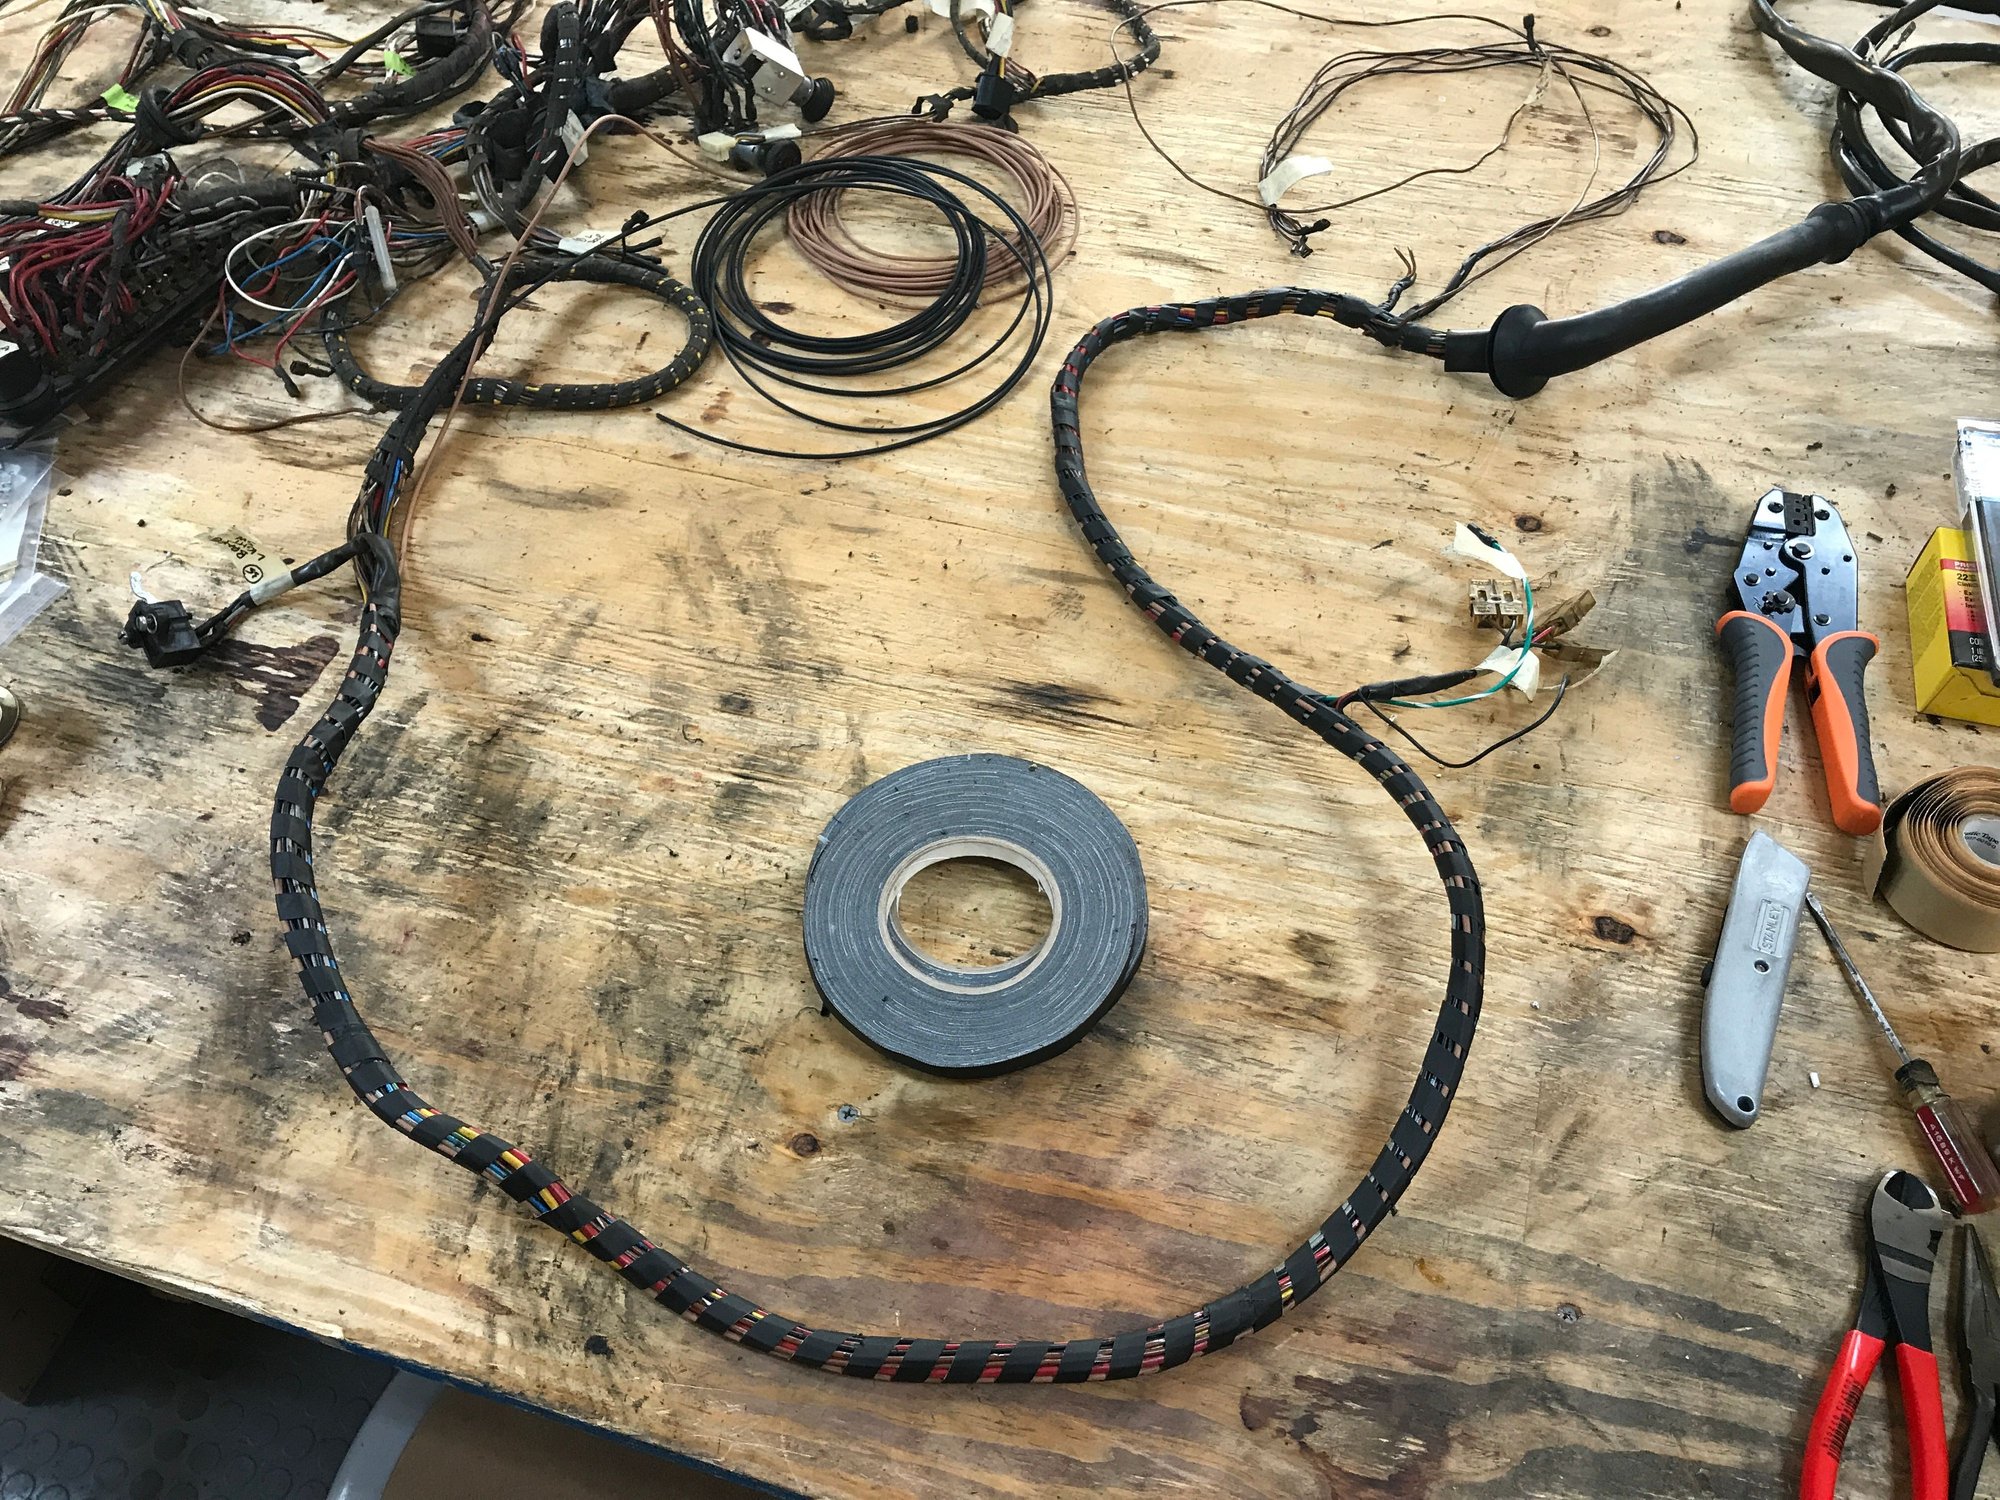
From the junction, I worked through all the harness branches under the dash. That finishes everything in the interior and rear.

Here's the "big junction". The fuel pump wires continue forward, through the big grommet.

Taping all the different bundles at the junction.

From the junction, I worked through all the harness branches under the dash. That finishes everything in the interior and rear.

The following users liked this post:
Superdave312 (08-20-2020)
08-20-2020, 11:01 PM
#605
Track Day

Thanks for the updates. I love the dedication to this car and can't wait to see how she looks after she is painted.
08-21-2020, 11:13 PM
#606
Rennlist Member
Thread Starter
08-21-2020, 11:18 PM
#607
Rennlist Member
Thread Starter
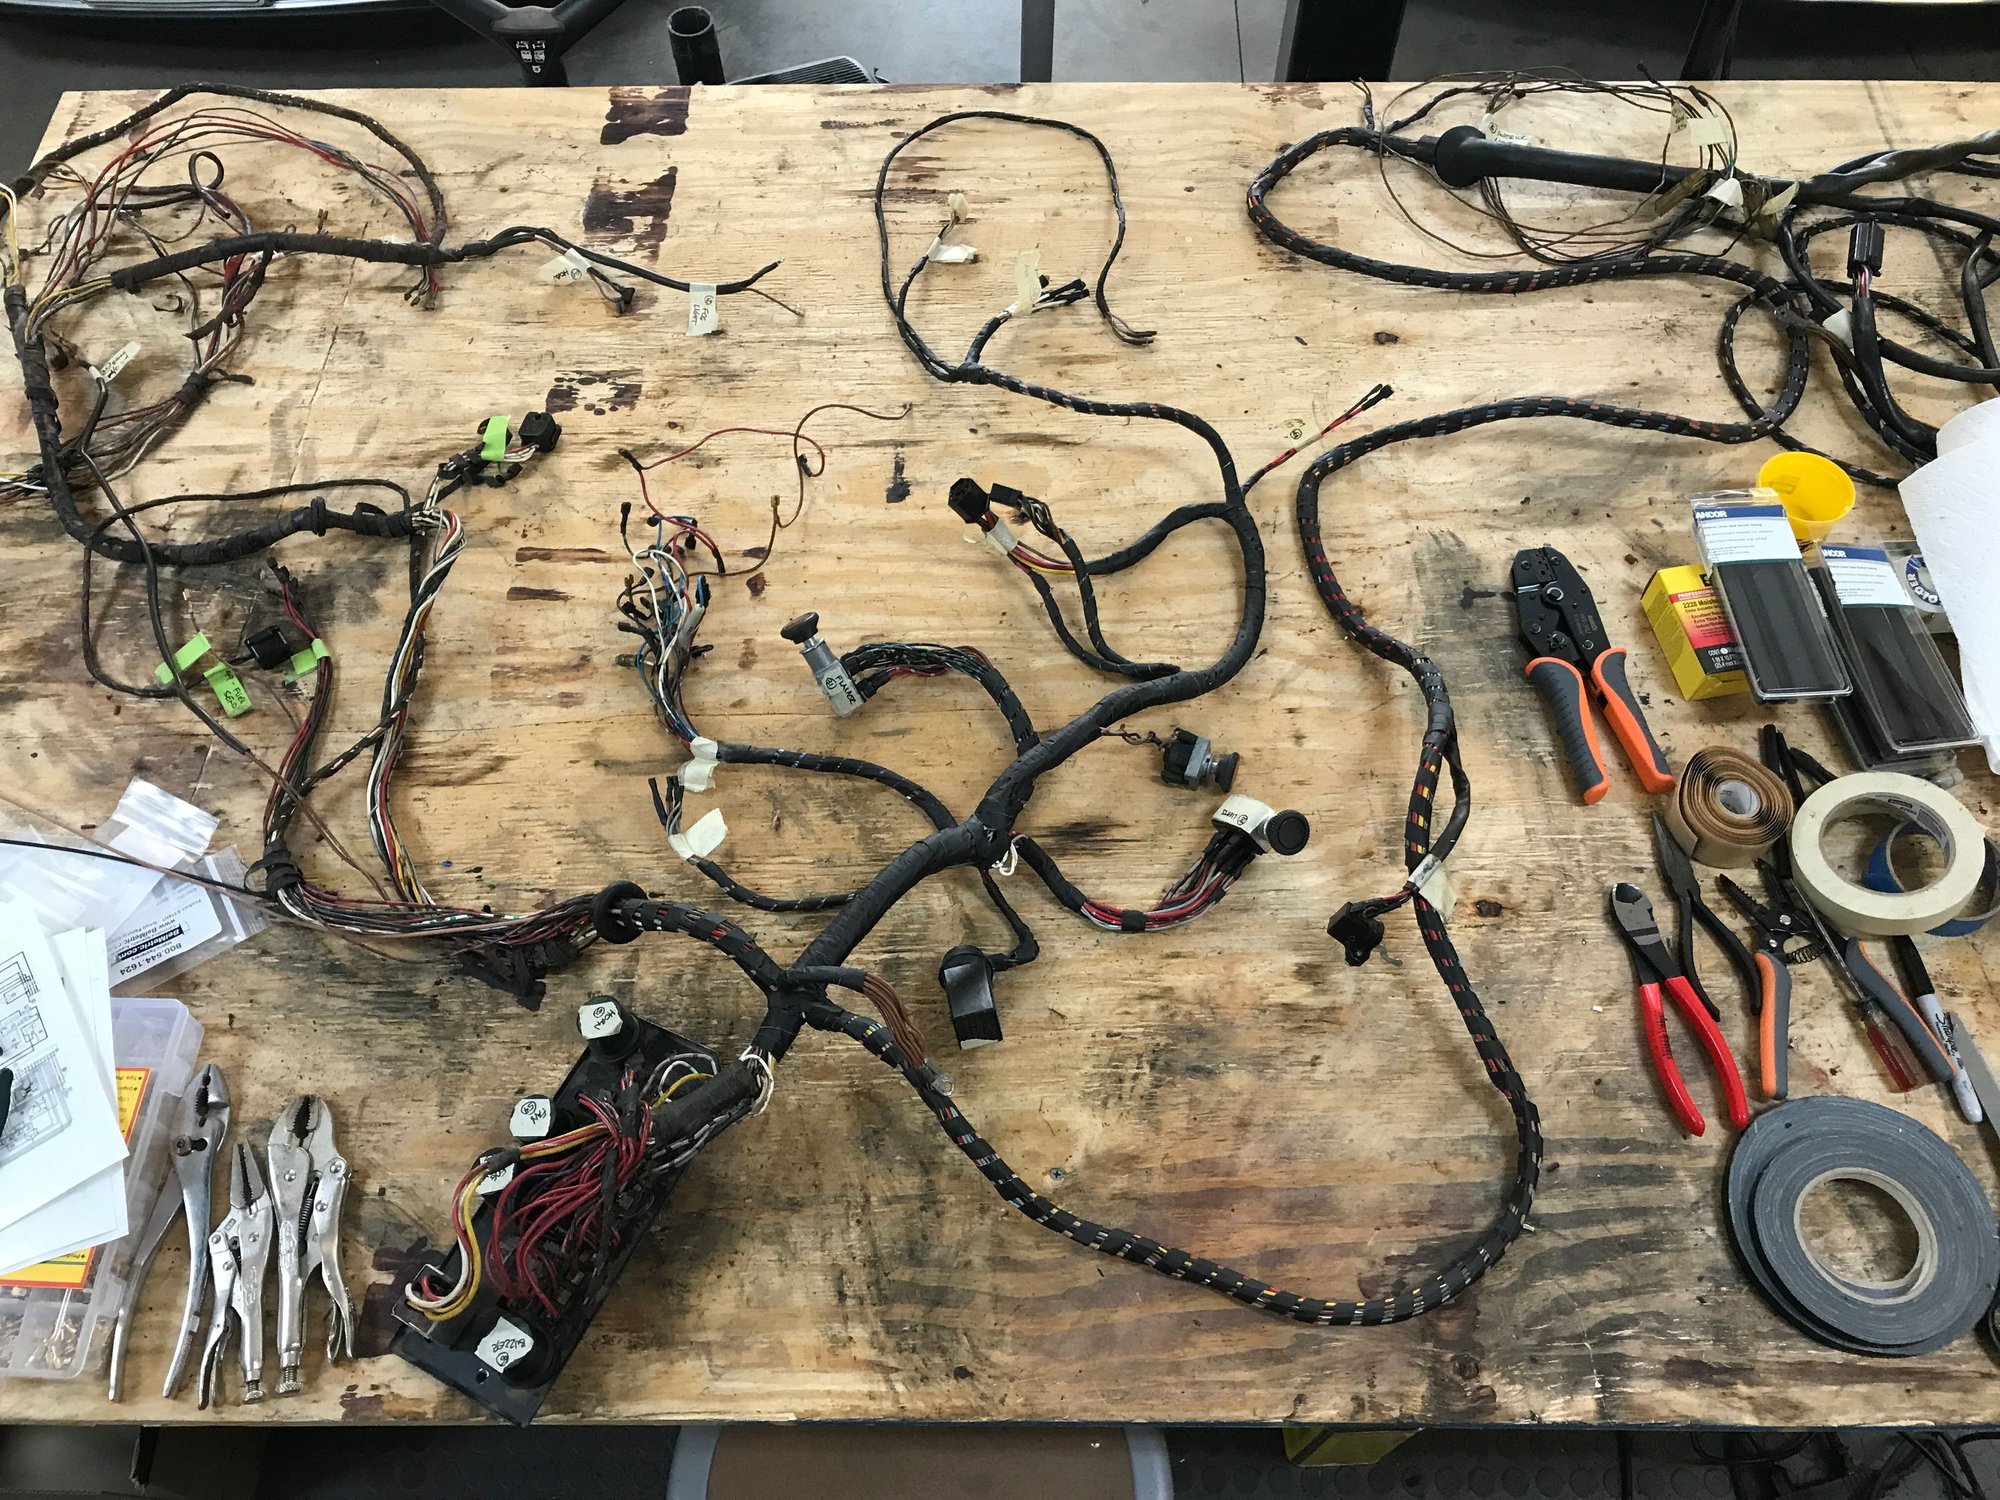
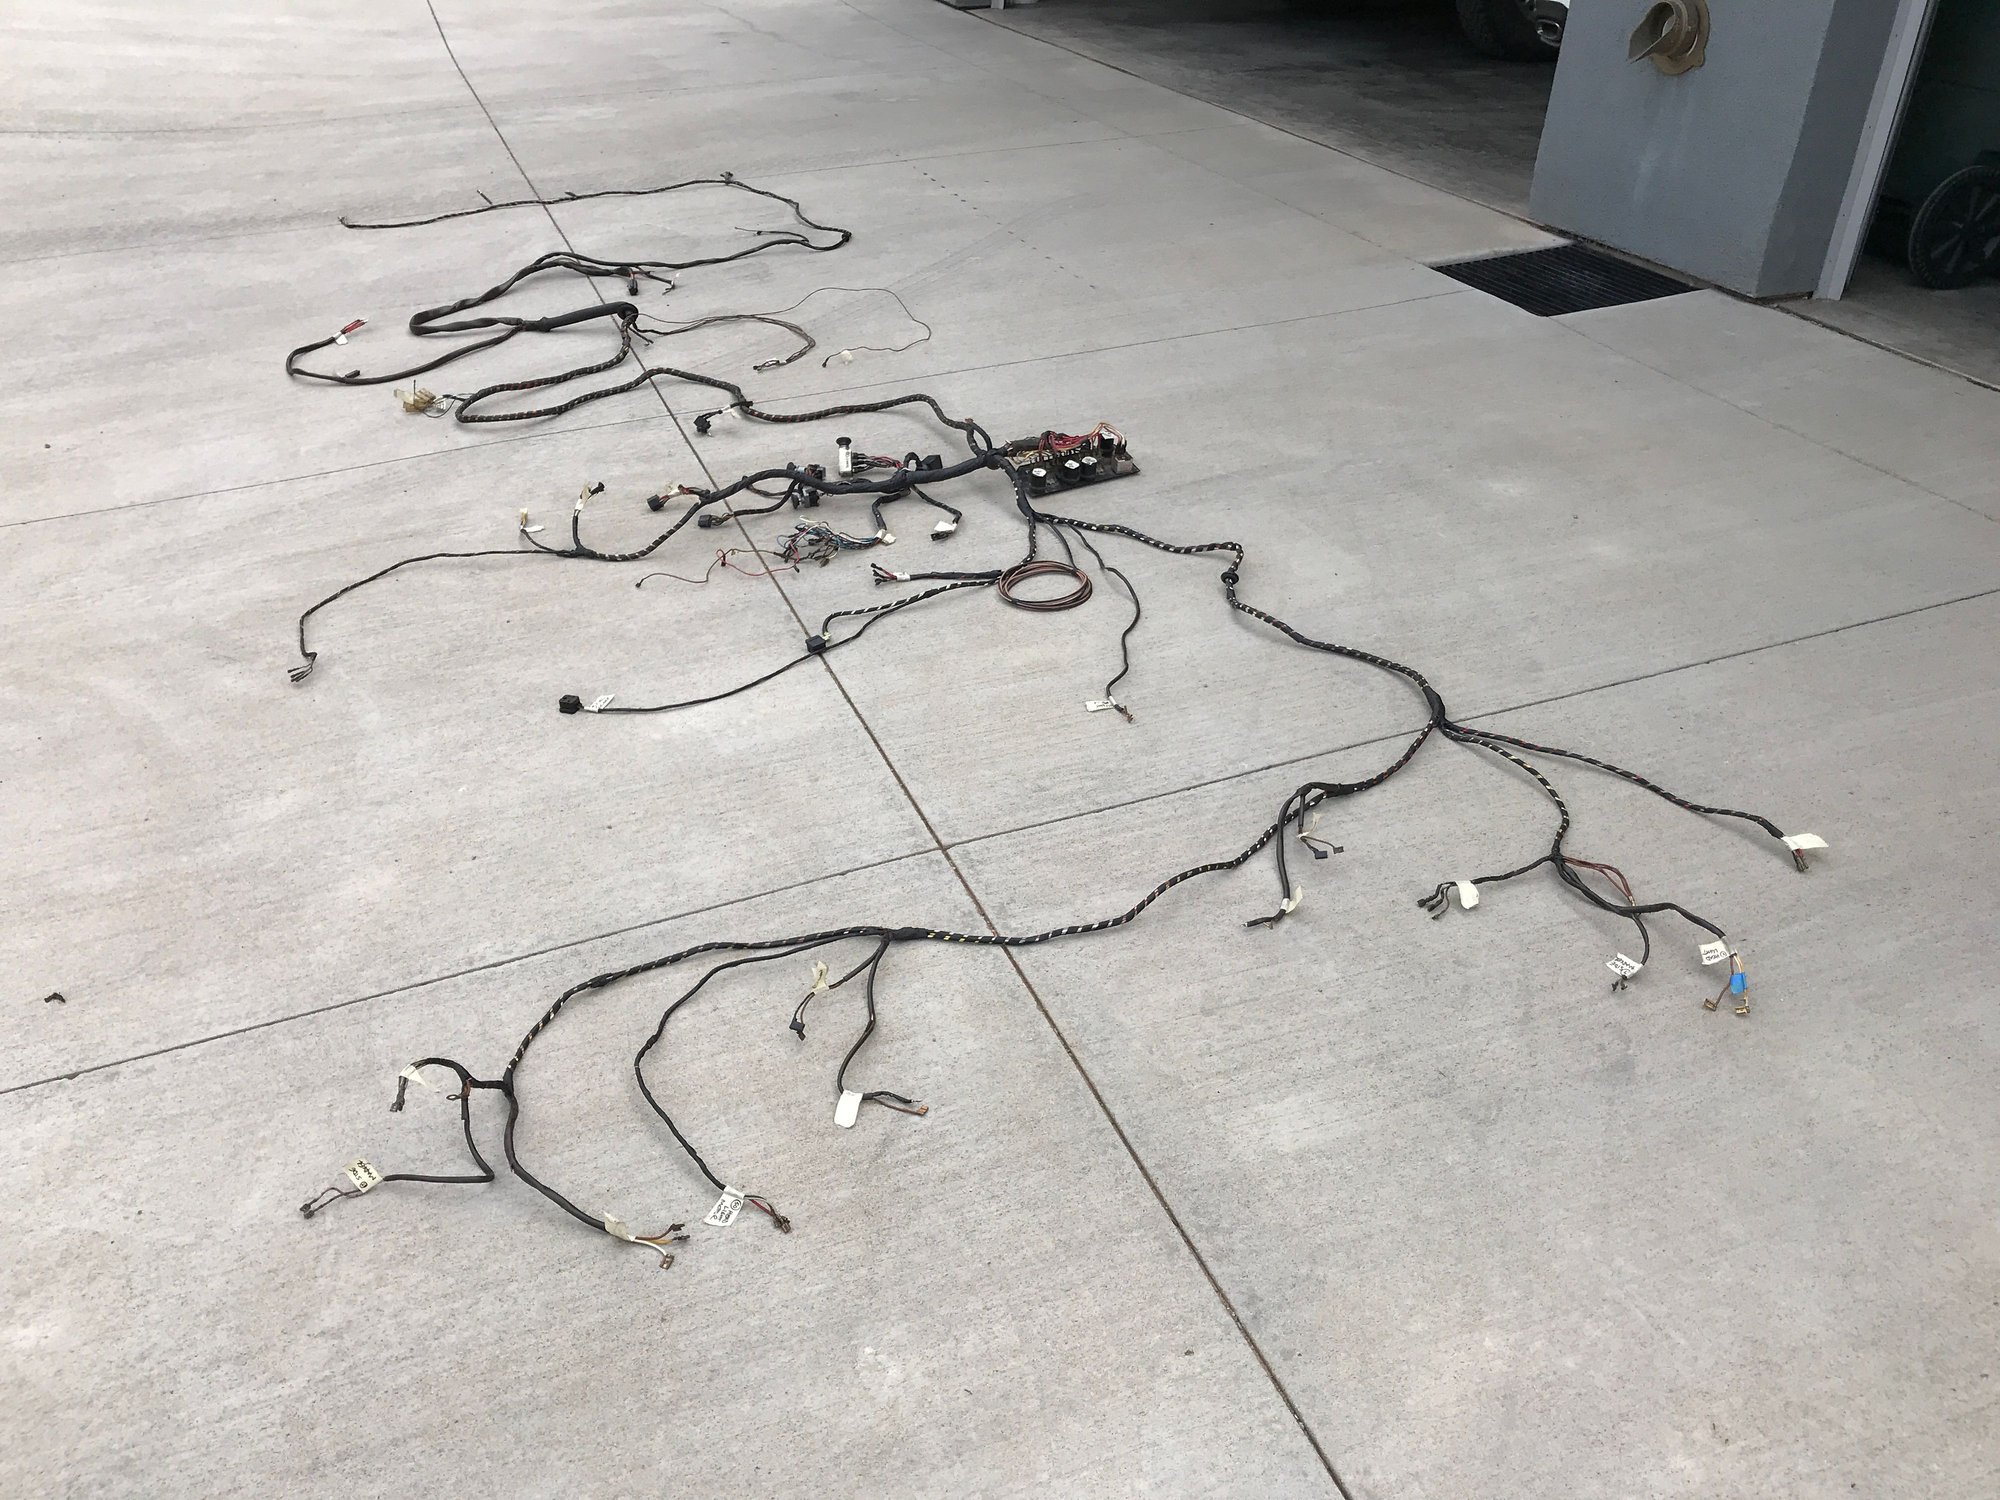
Today, I started working forward. Here's all the leads for under the cowl done, except for the future front fuel pump. I will wait to cut that after the pump is mounted.
And I got started on the last section, that feeds all the front lights. Things slowed down with spots of red overspray.
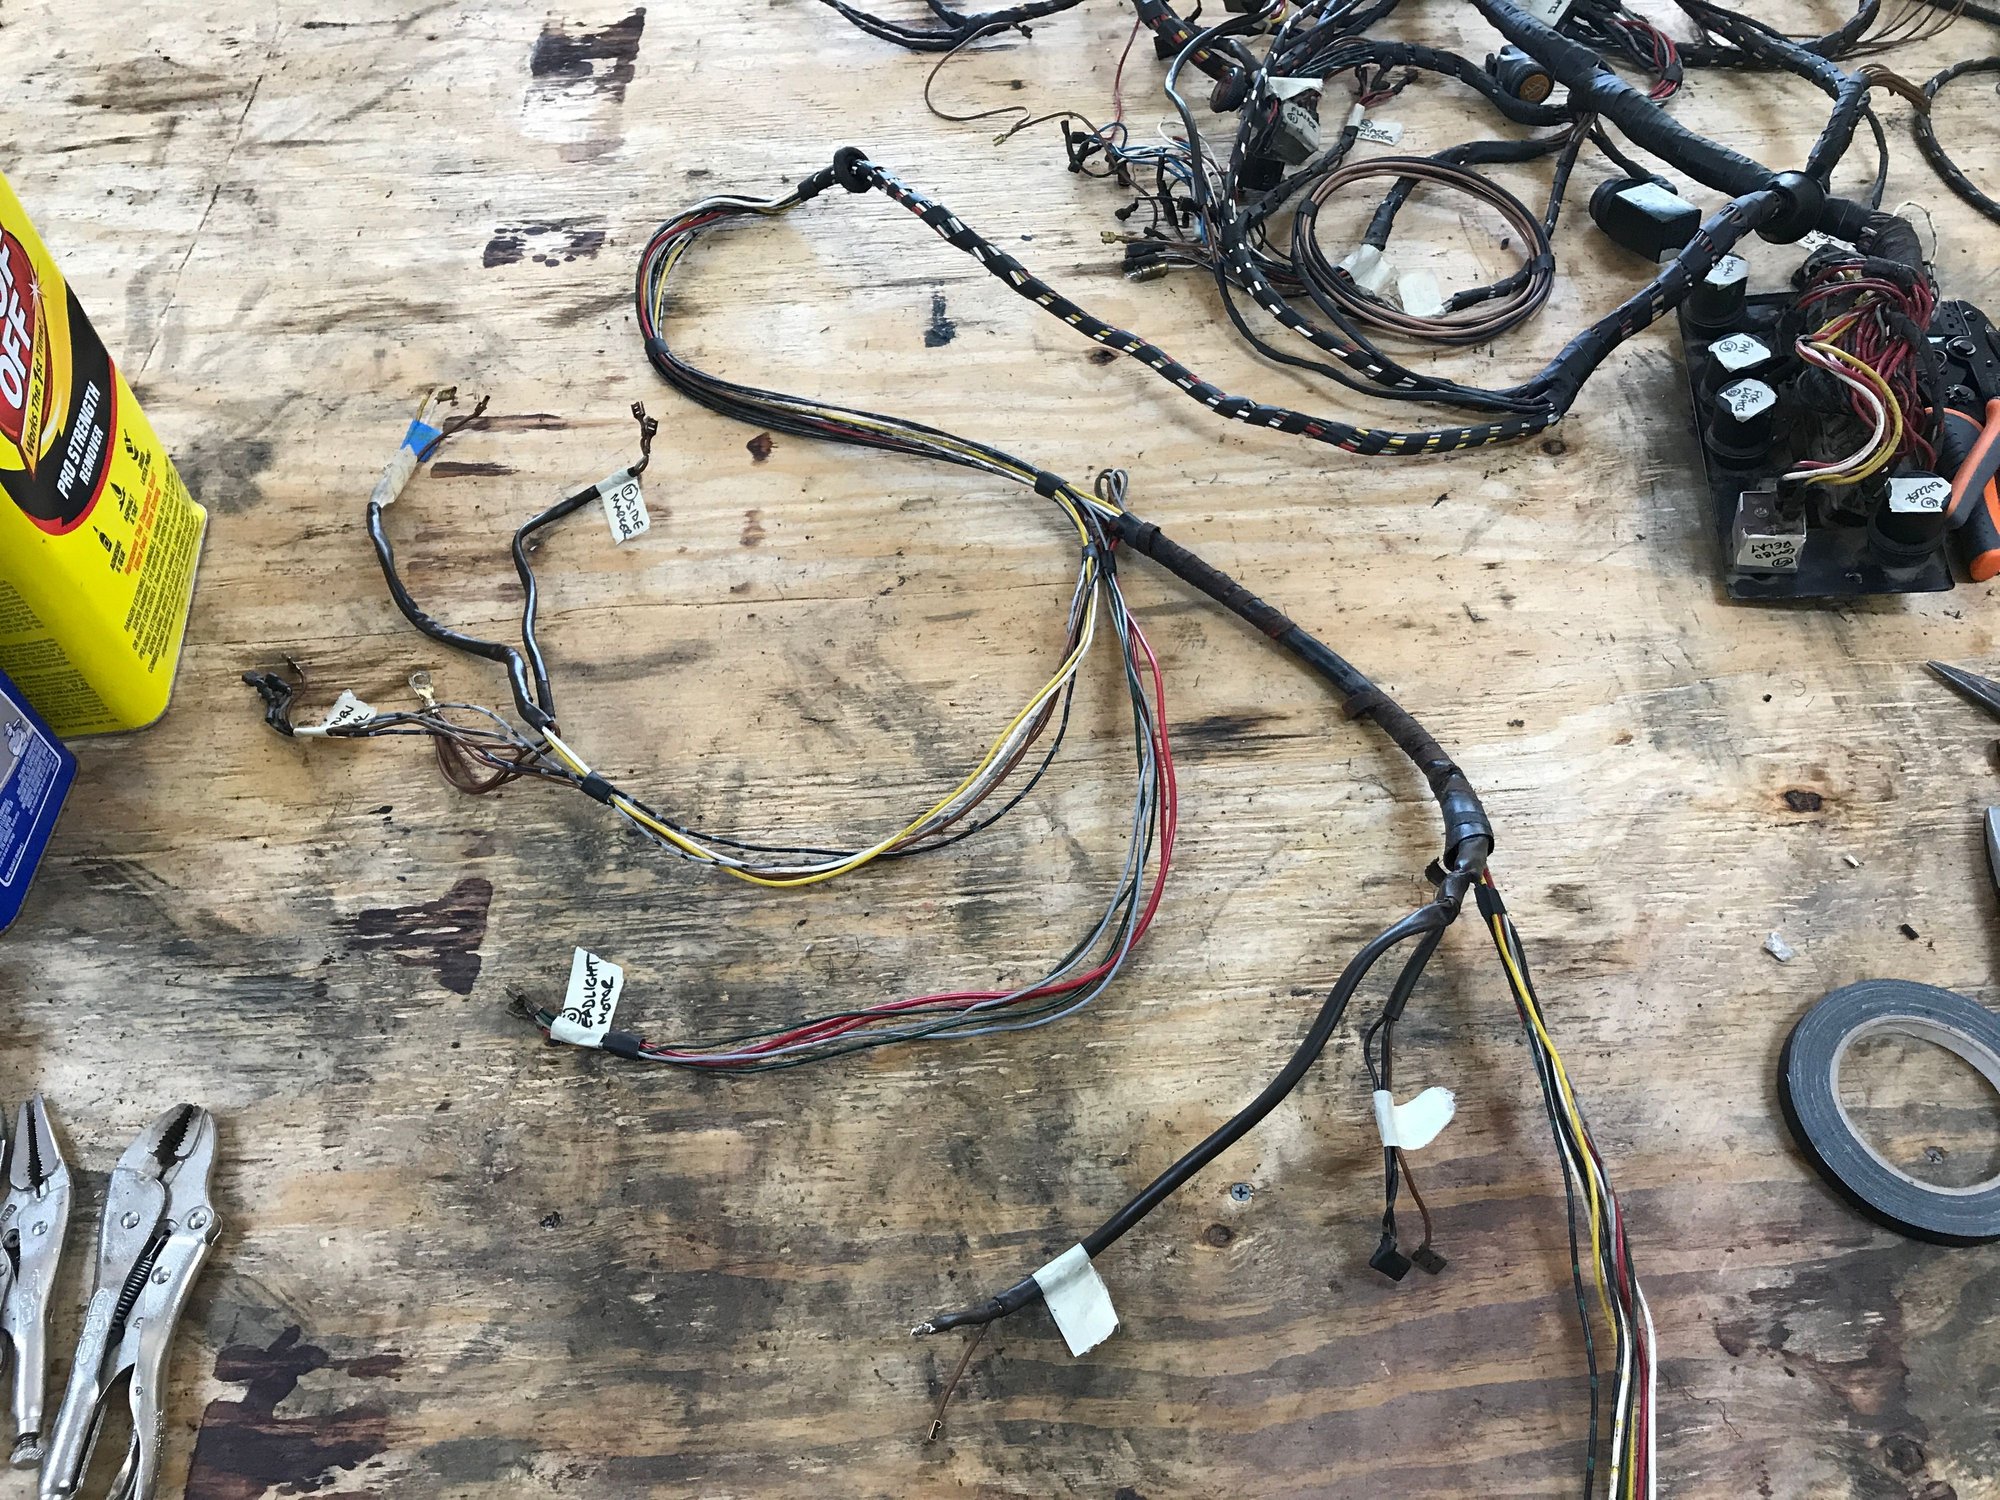

And I got started on the last section, that feeds all the front lights. Things slowed down with spots of red overspray.
 08-22-2020, 11:15 PM
#608
Rennlist Member
Thread Starter
In the home stretch, getting close to the front light leads. And more PO red (and gold???) overspray.
After a bit of cleaning.
The final section.
All wrapped up.
That's it! The main harness is all done, except for a few connectors to attach during installation.

After a bit of cleaning.

The final section.

All wrapped up.

That's it! The main harness is all done, except for a few connectors to attach during installation.
 08-22-2020, 11:26 PM
#609
Rennlist Member
Thread Starter
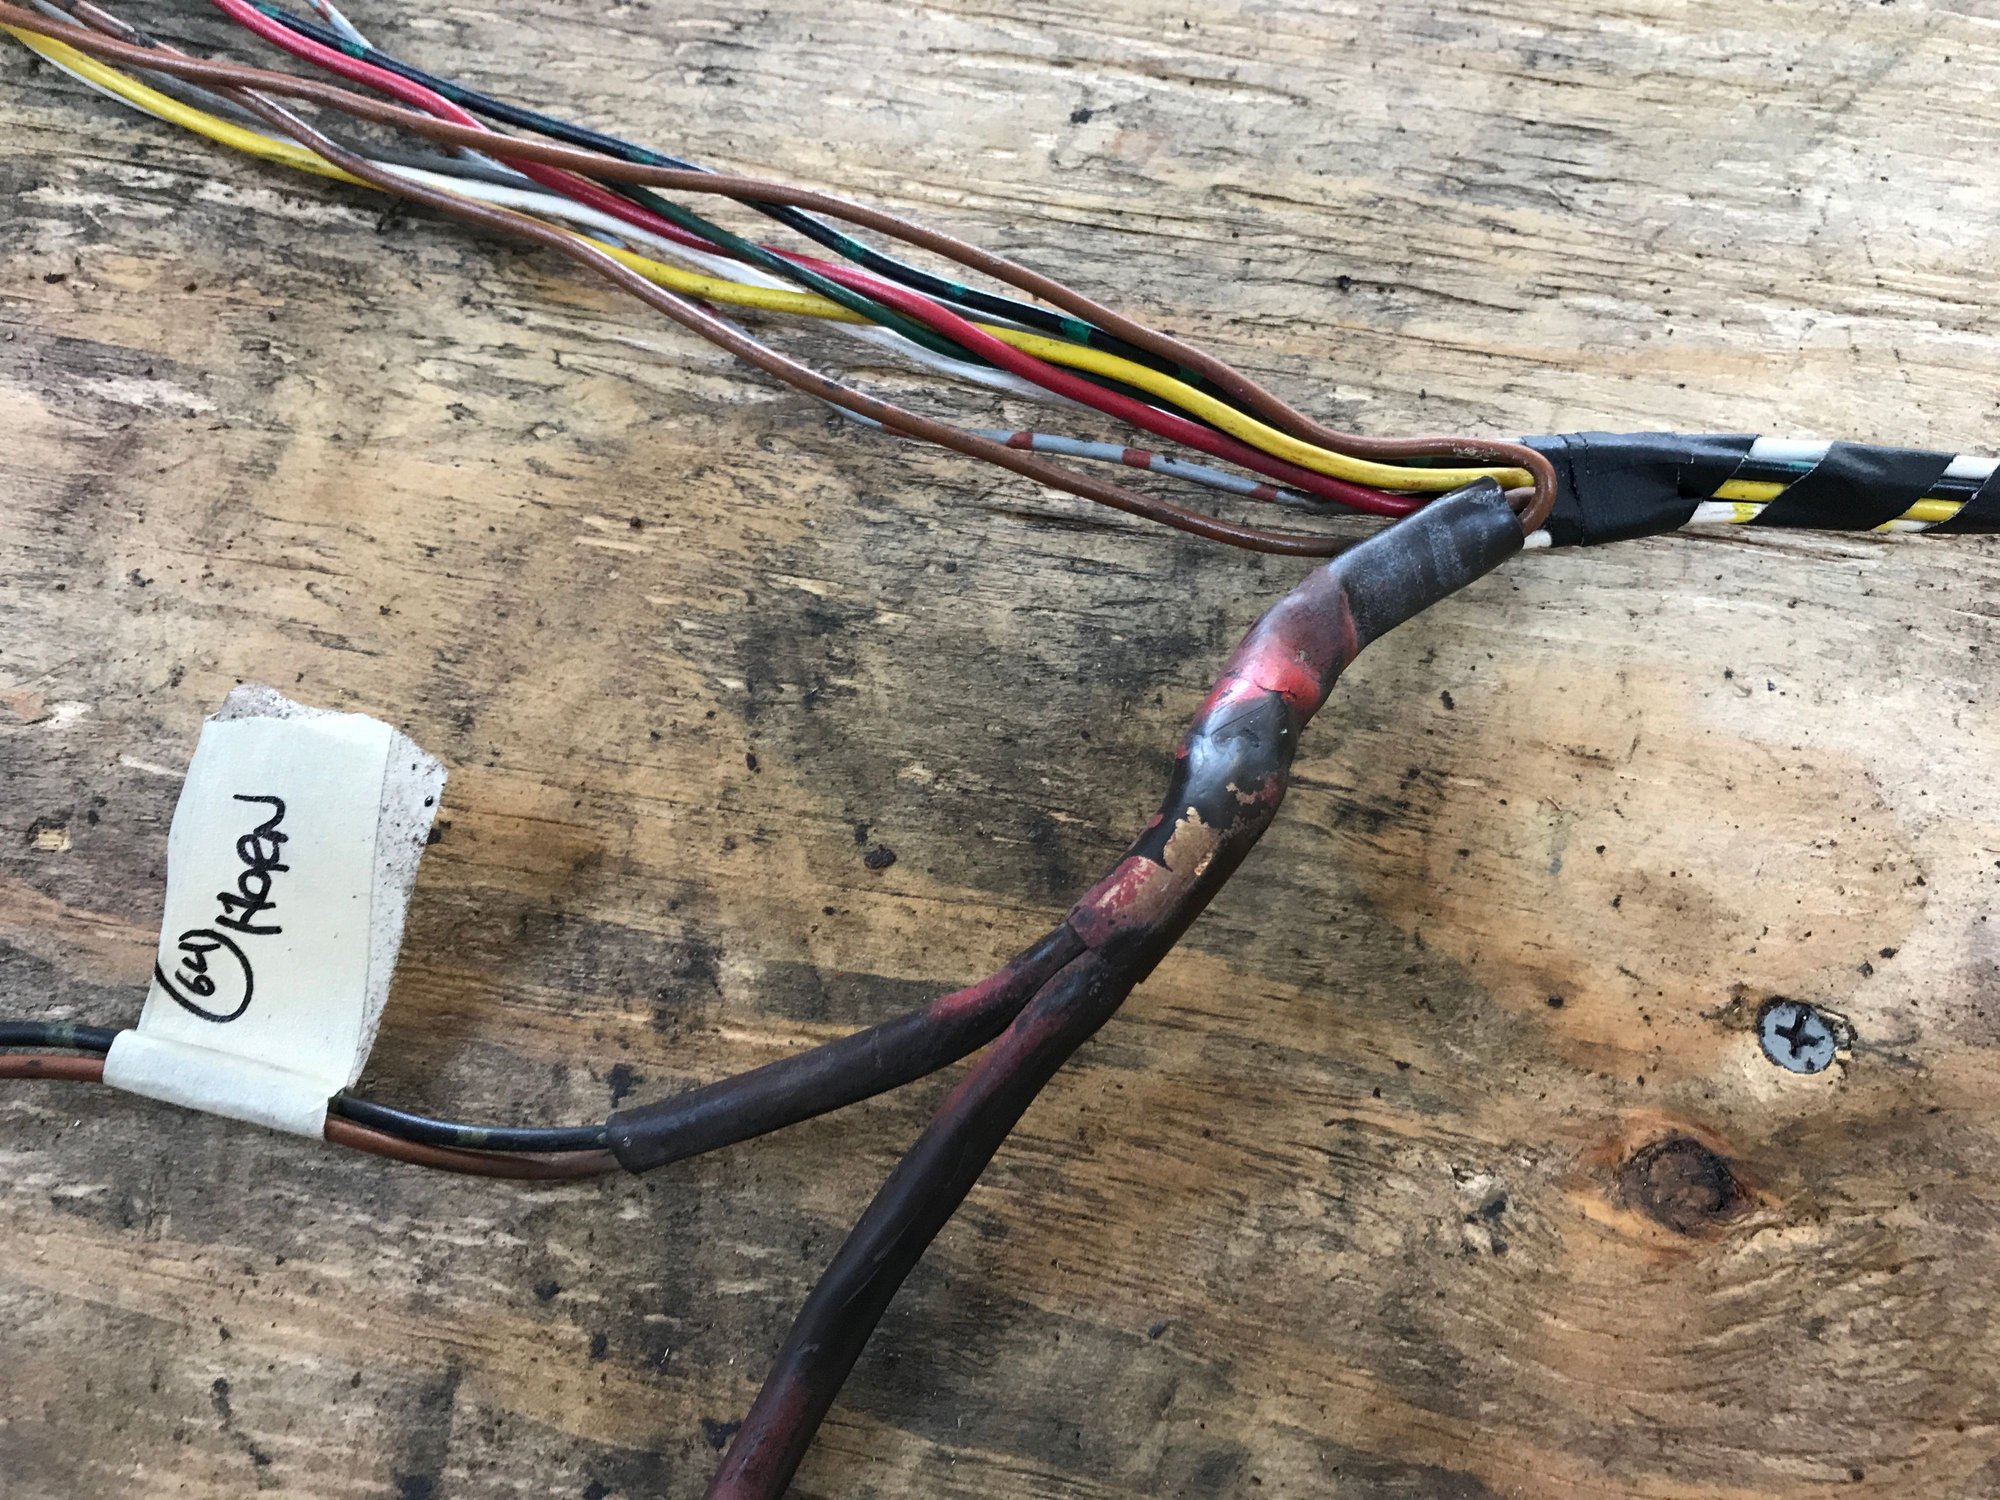
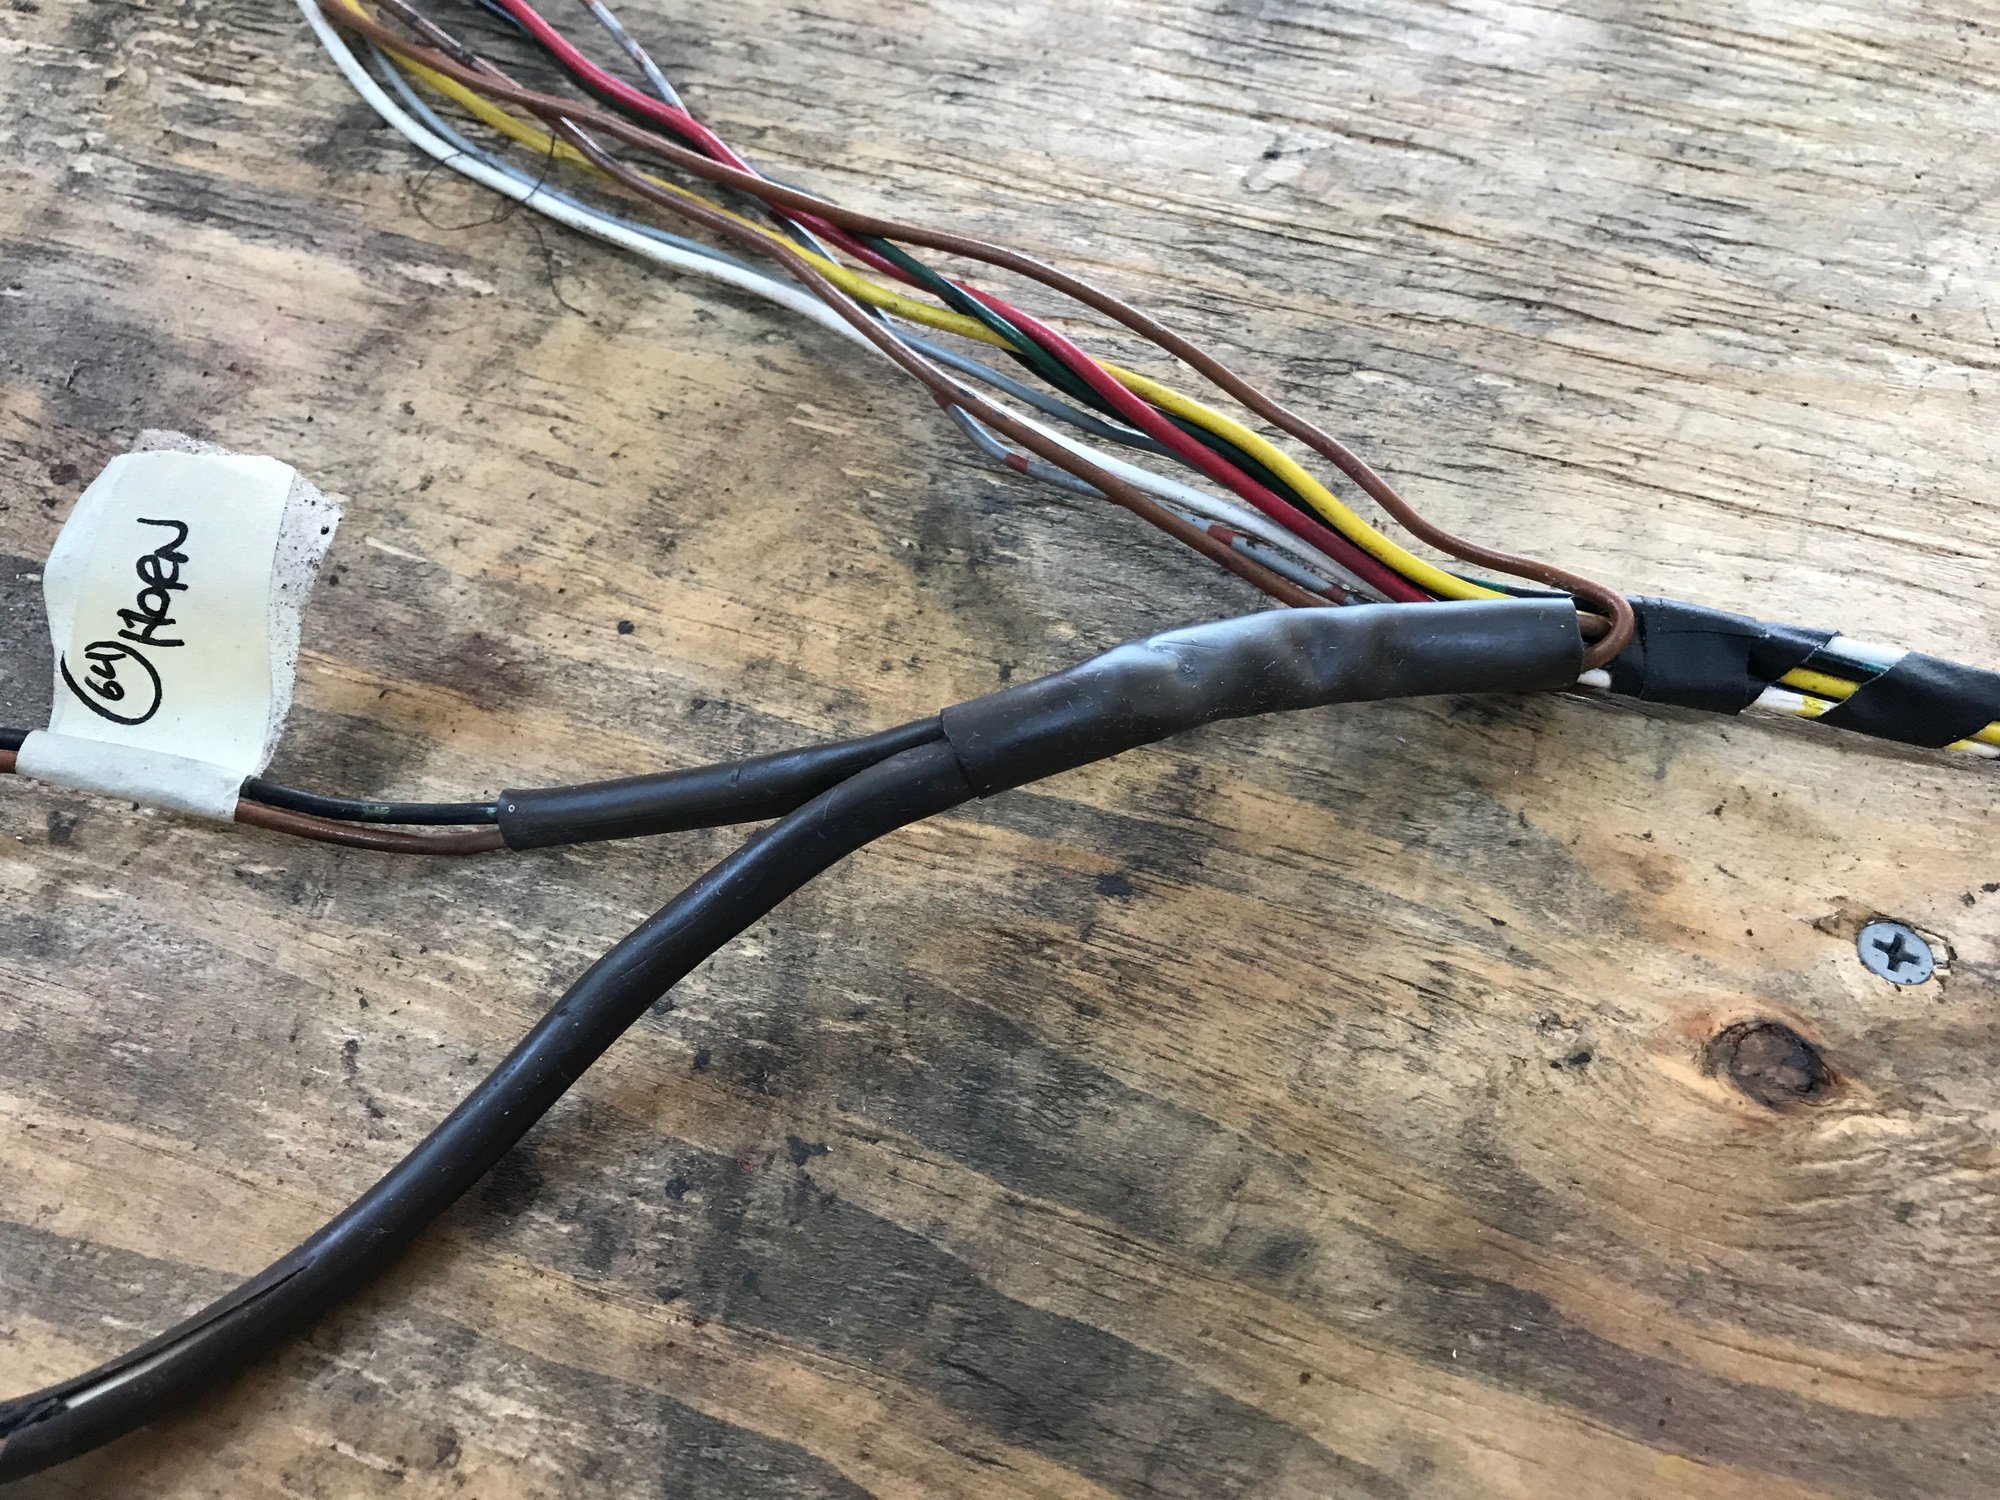
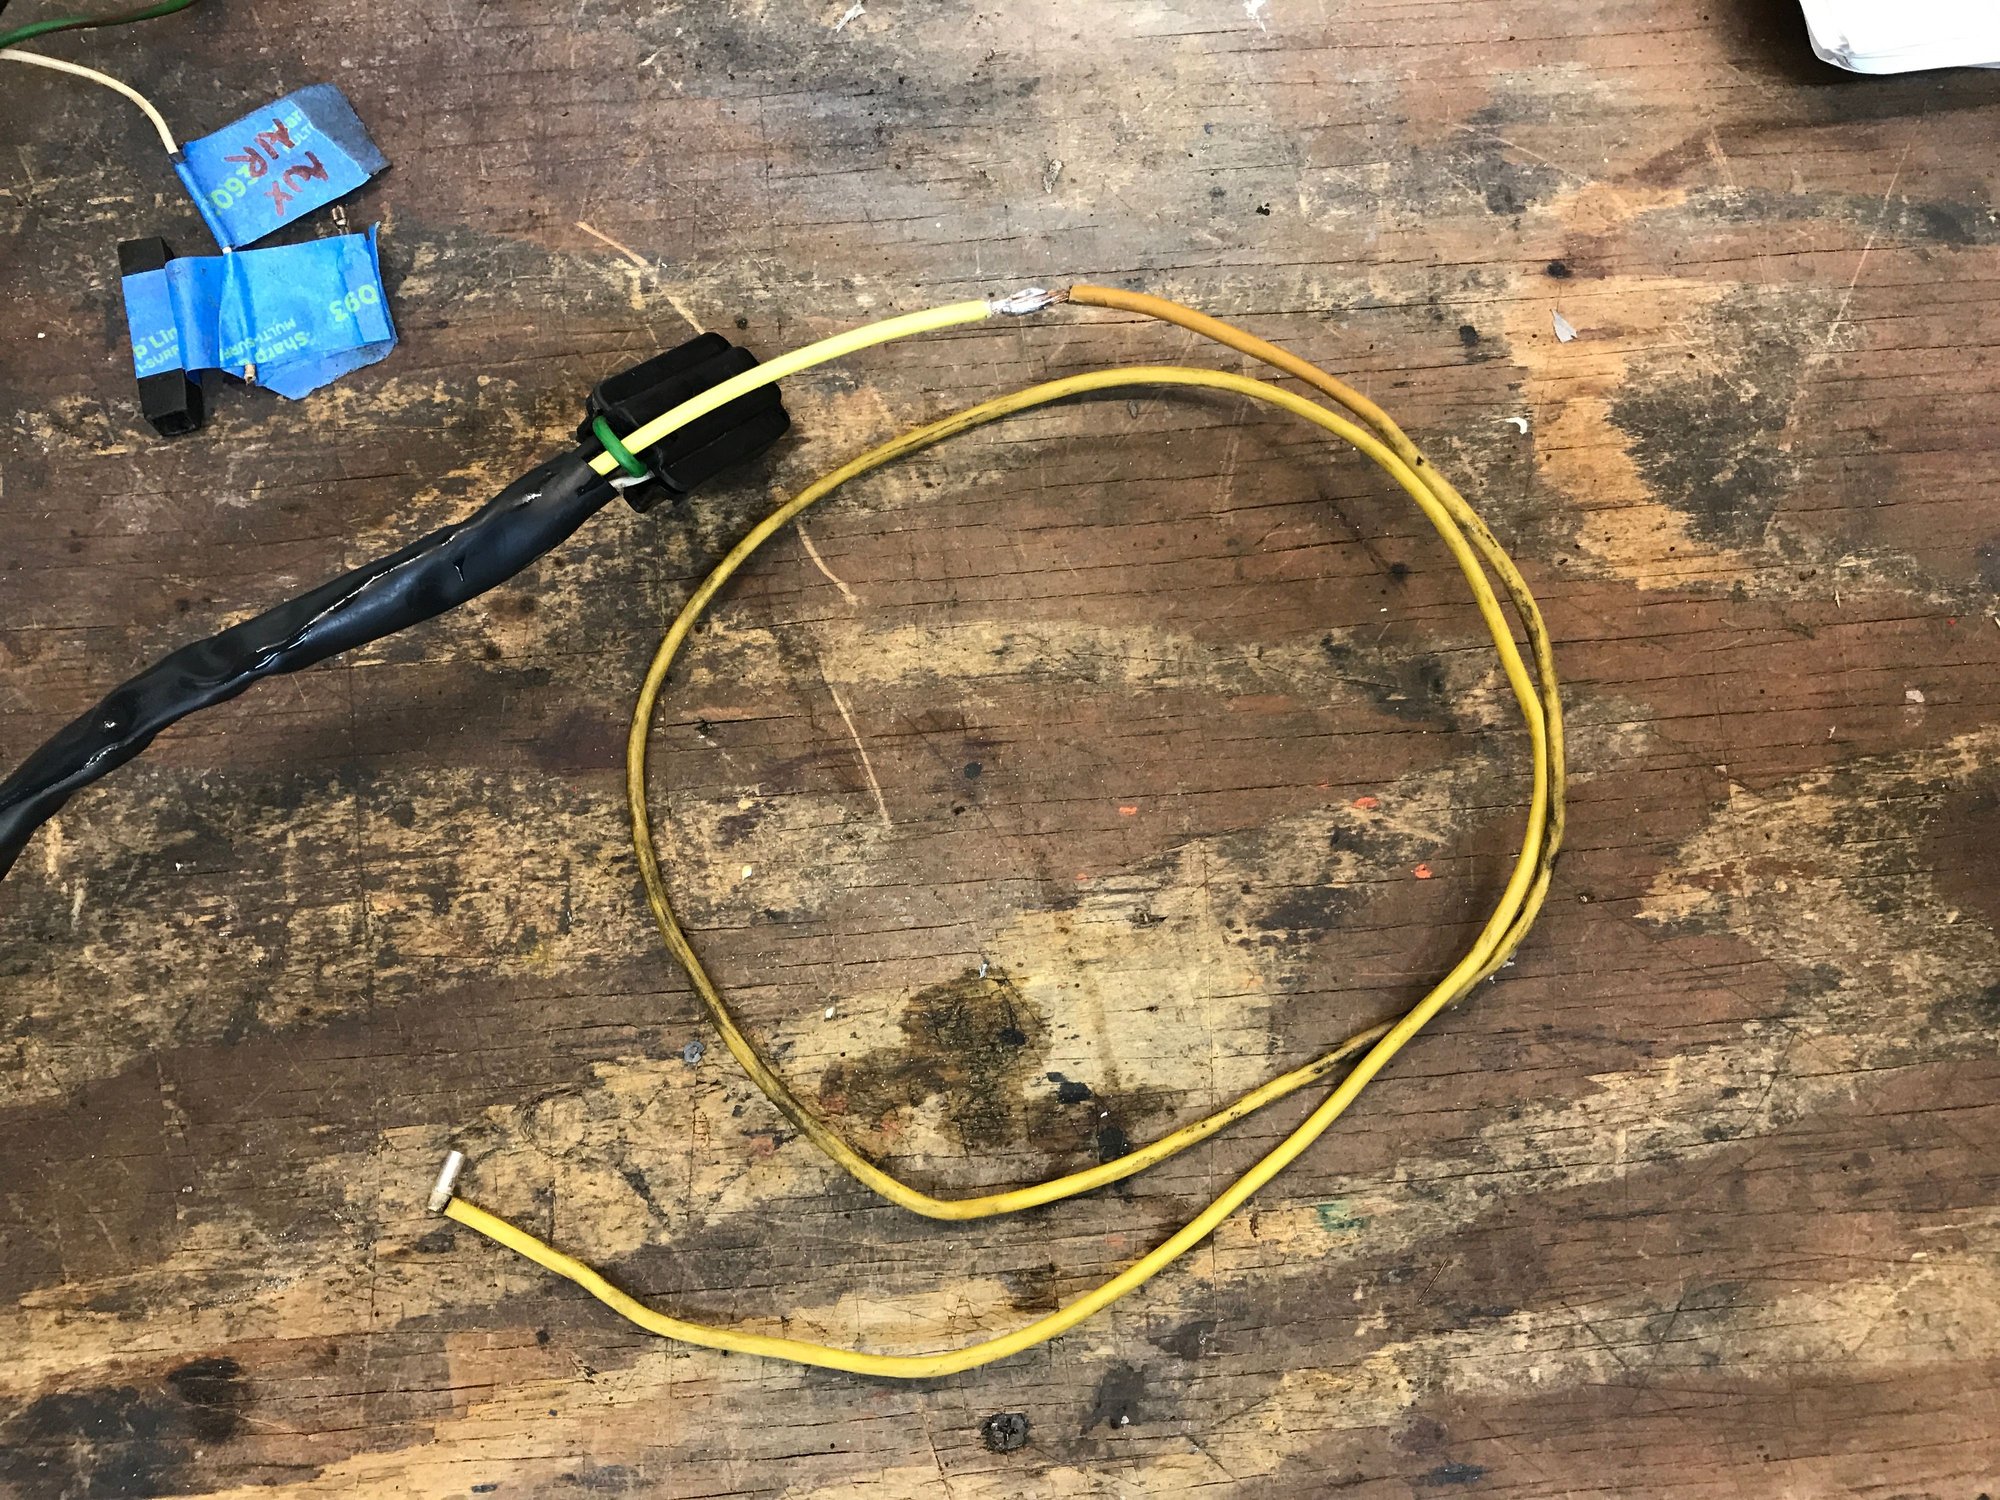
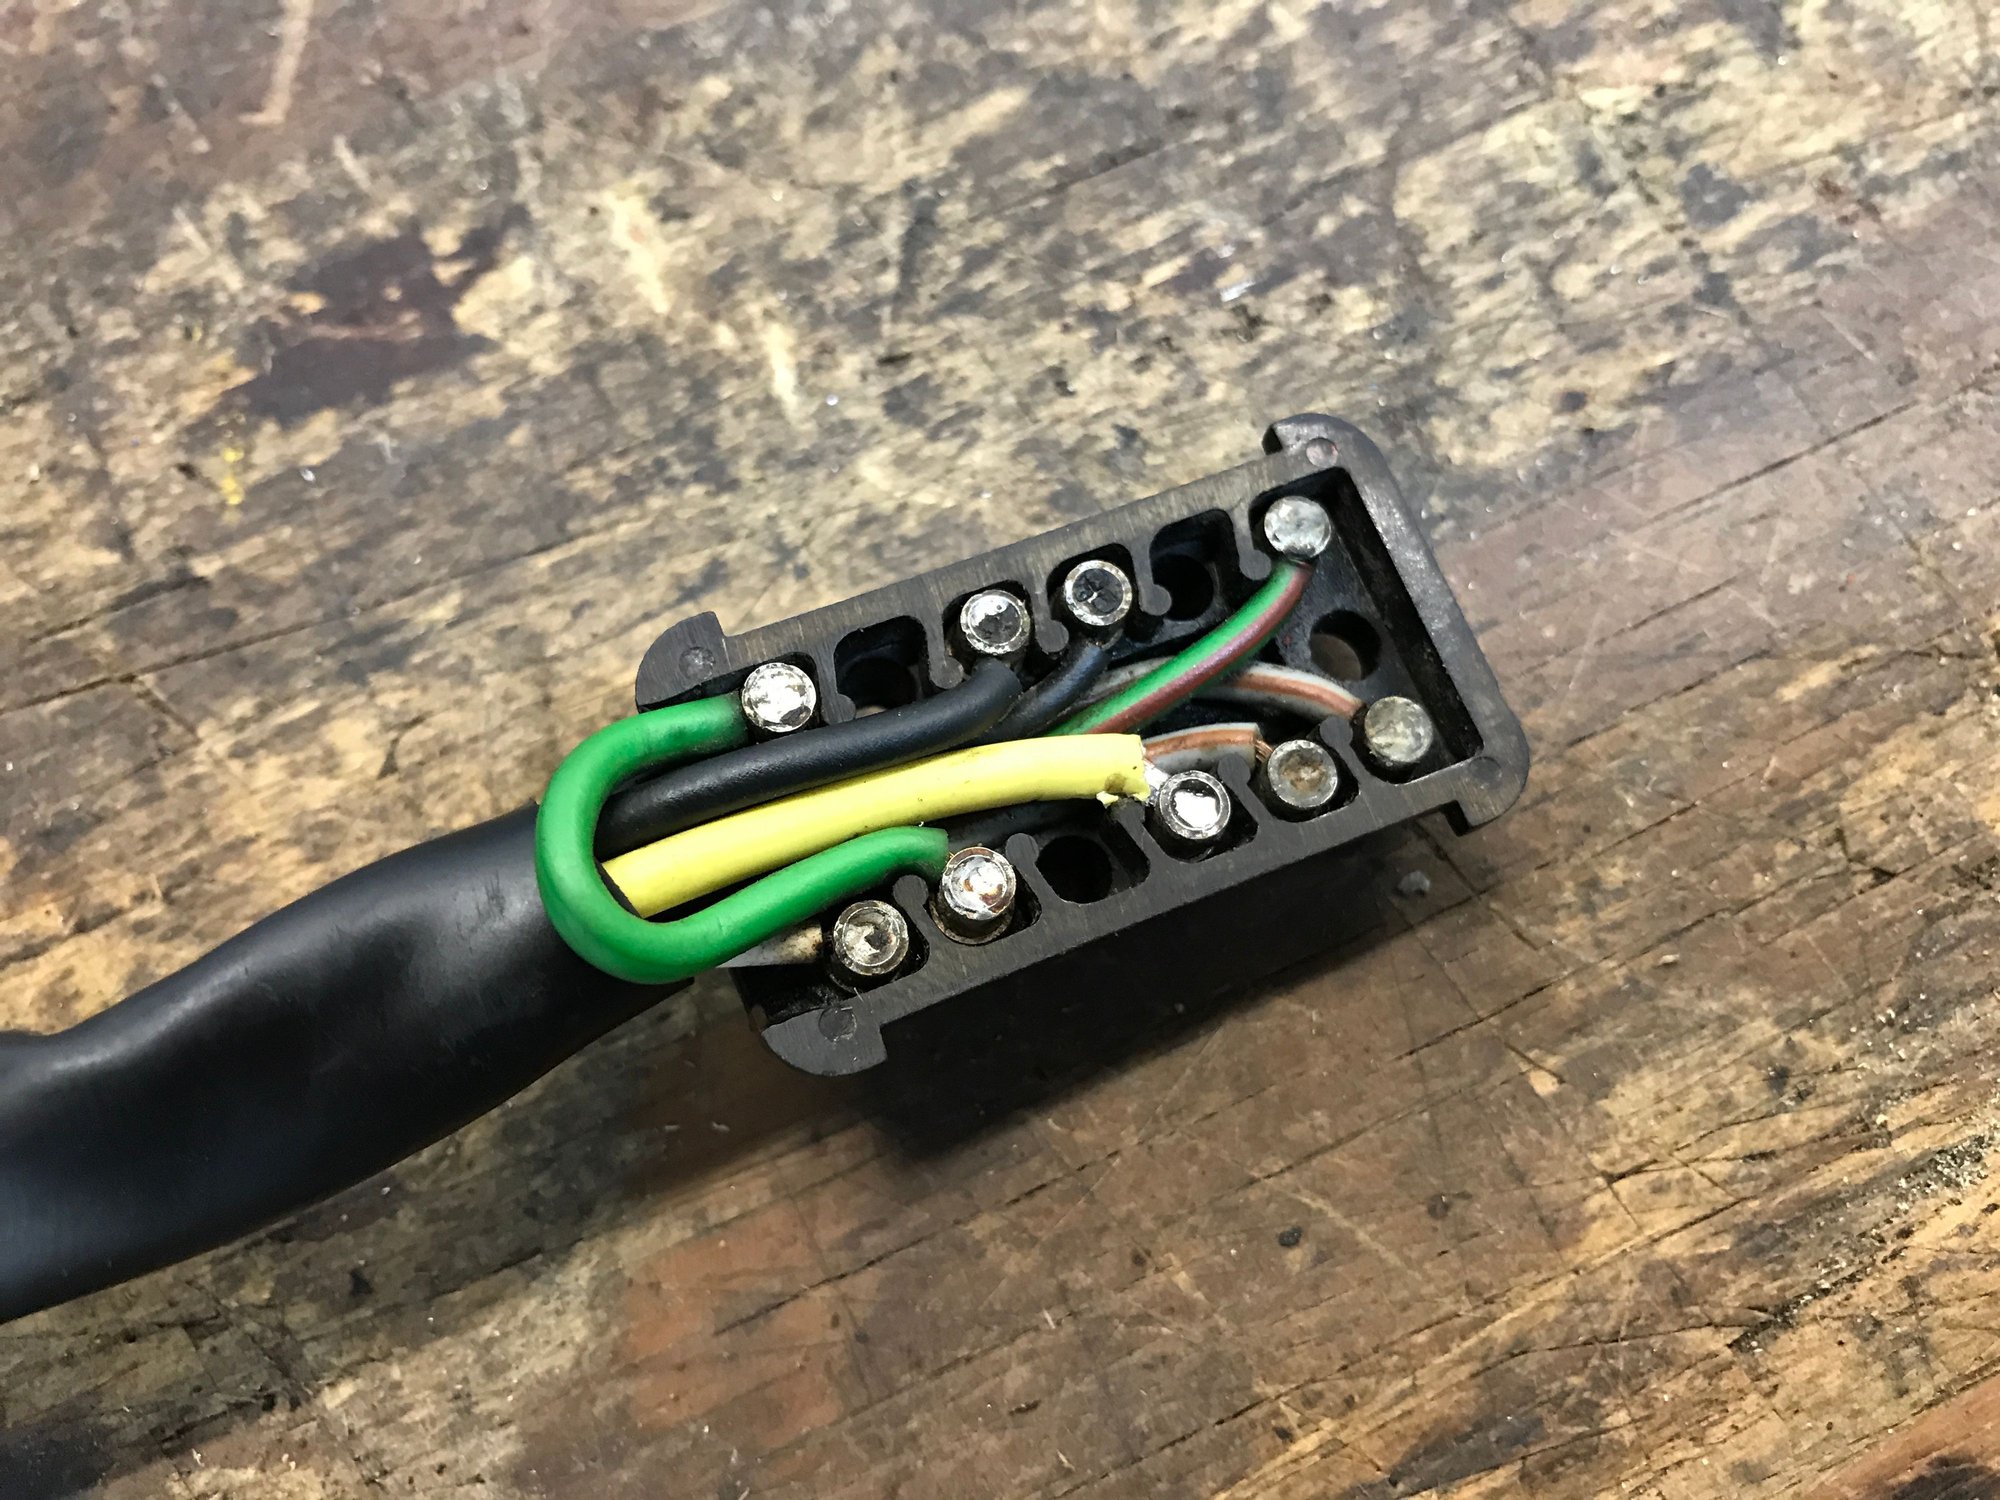
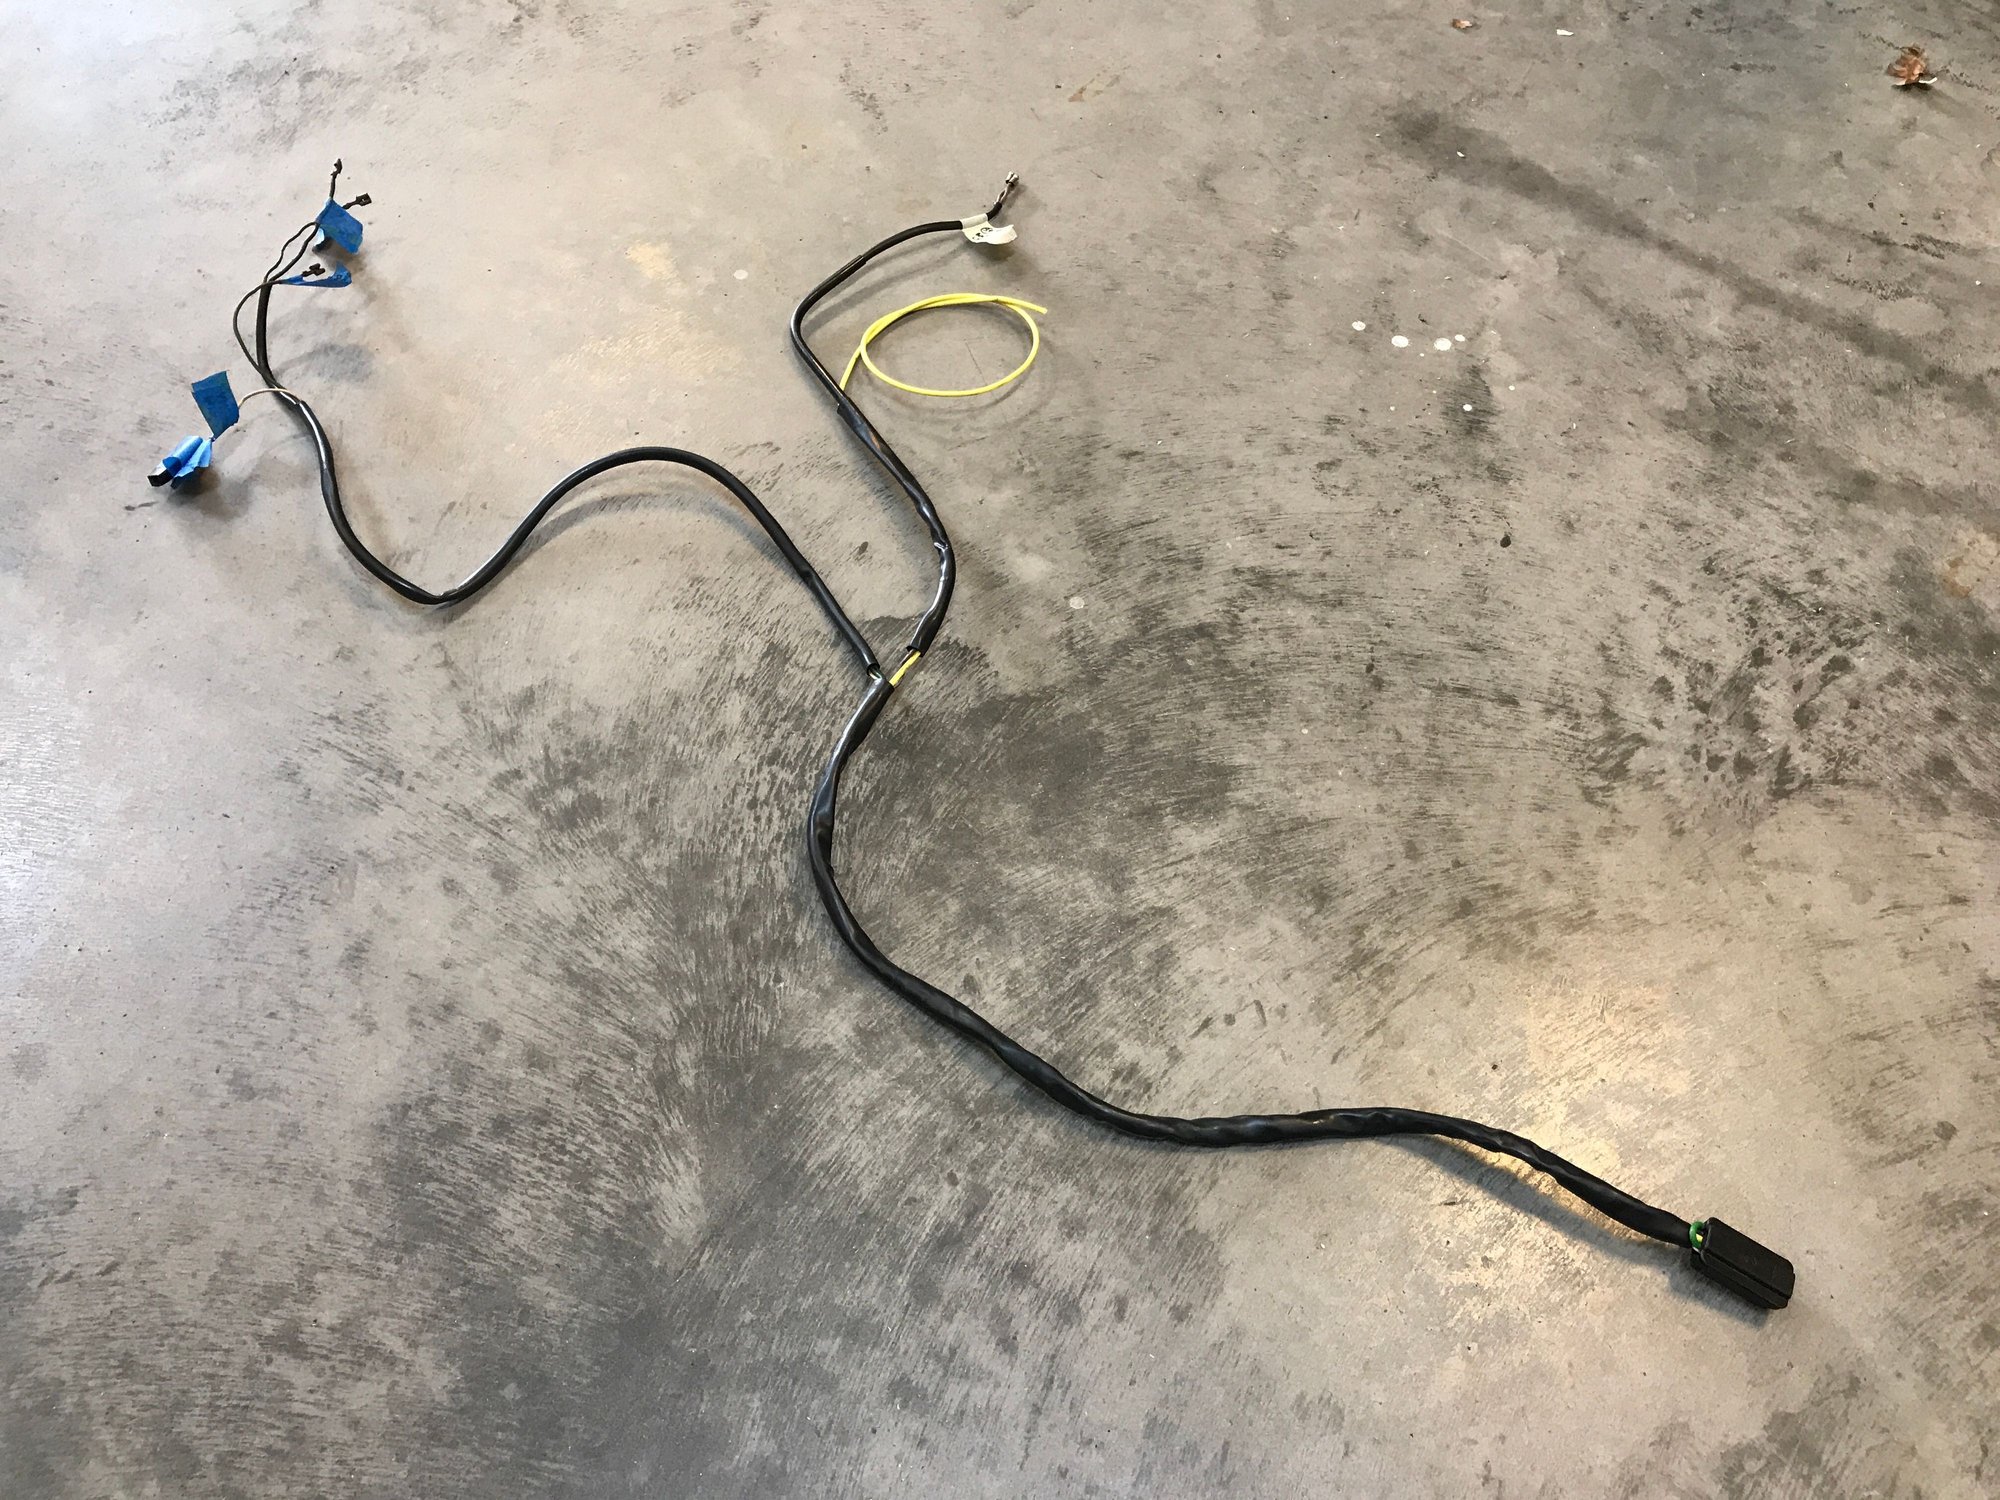
I was on a role, and so attacked the ignition harness. This had a crimp connector in the main power lead. To feed a new lead through the sleeve, I soldered it to the original wire.
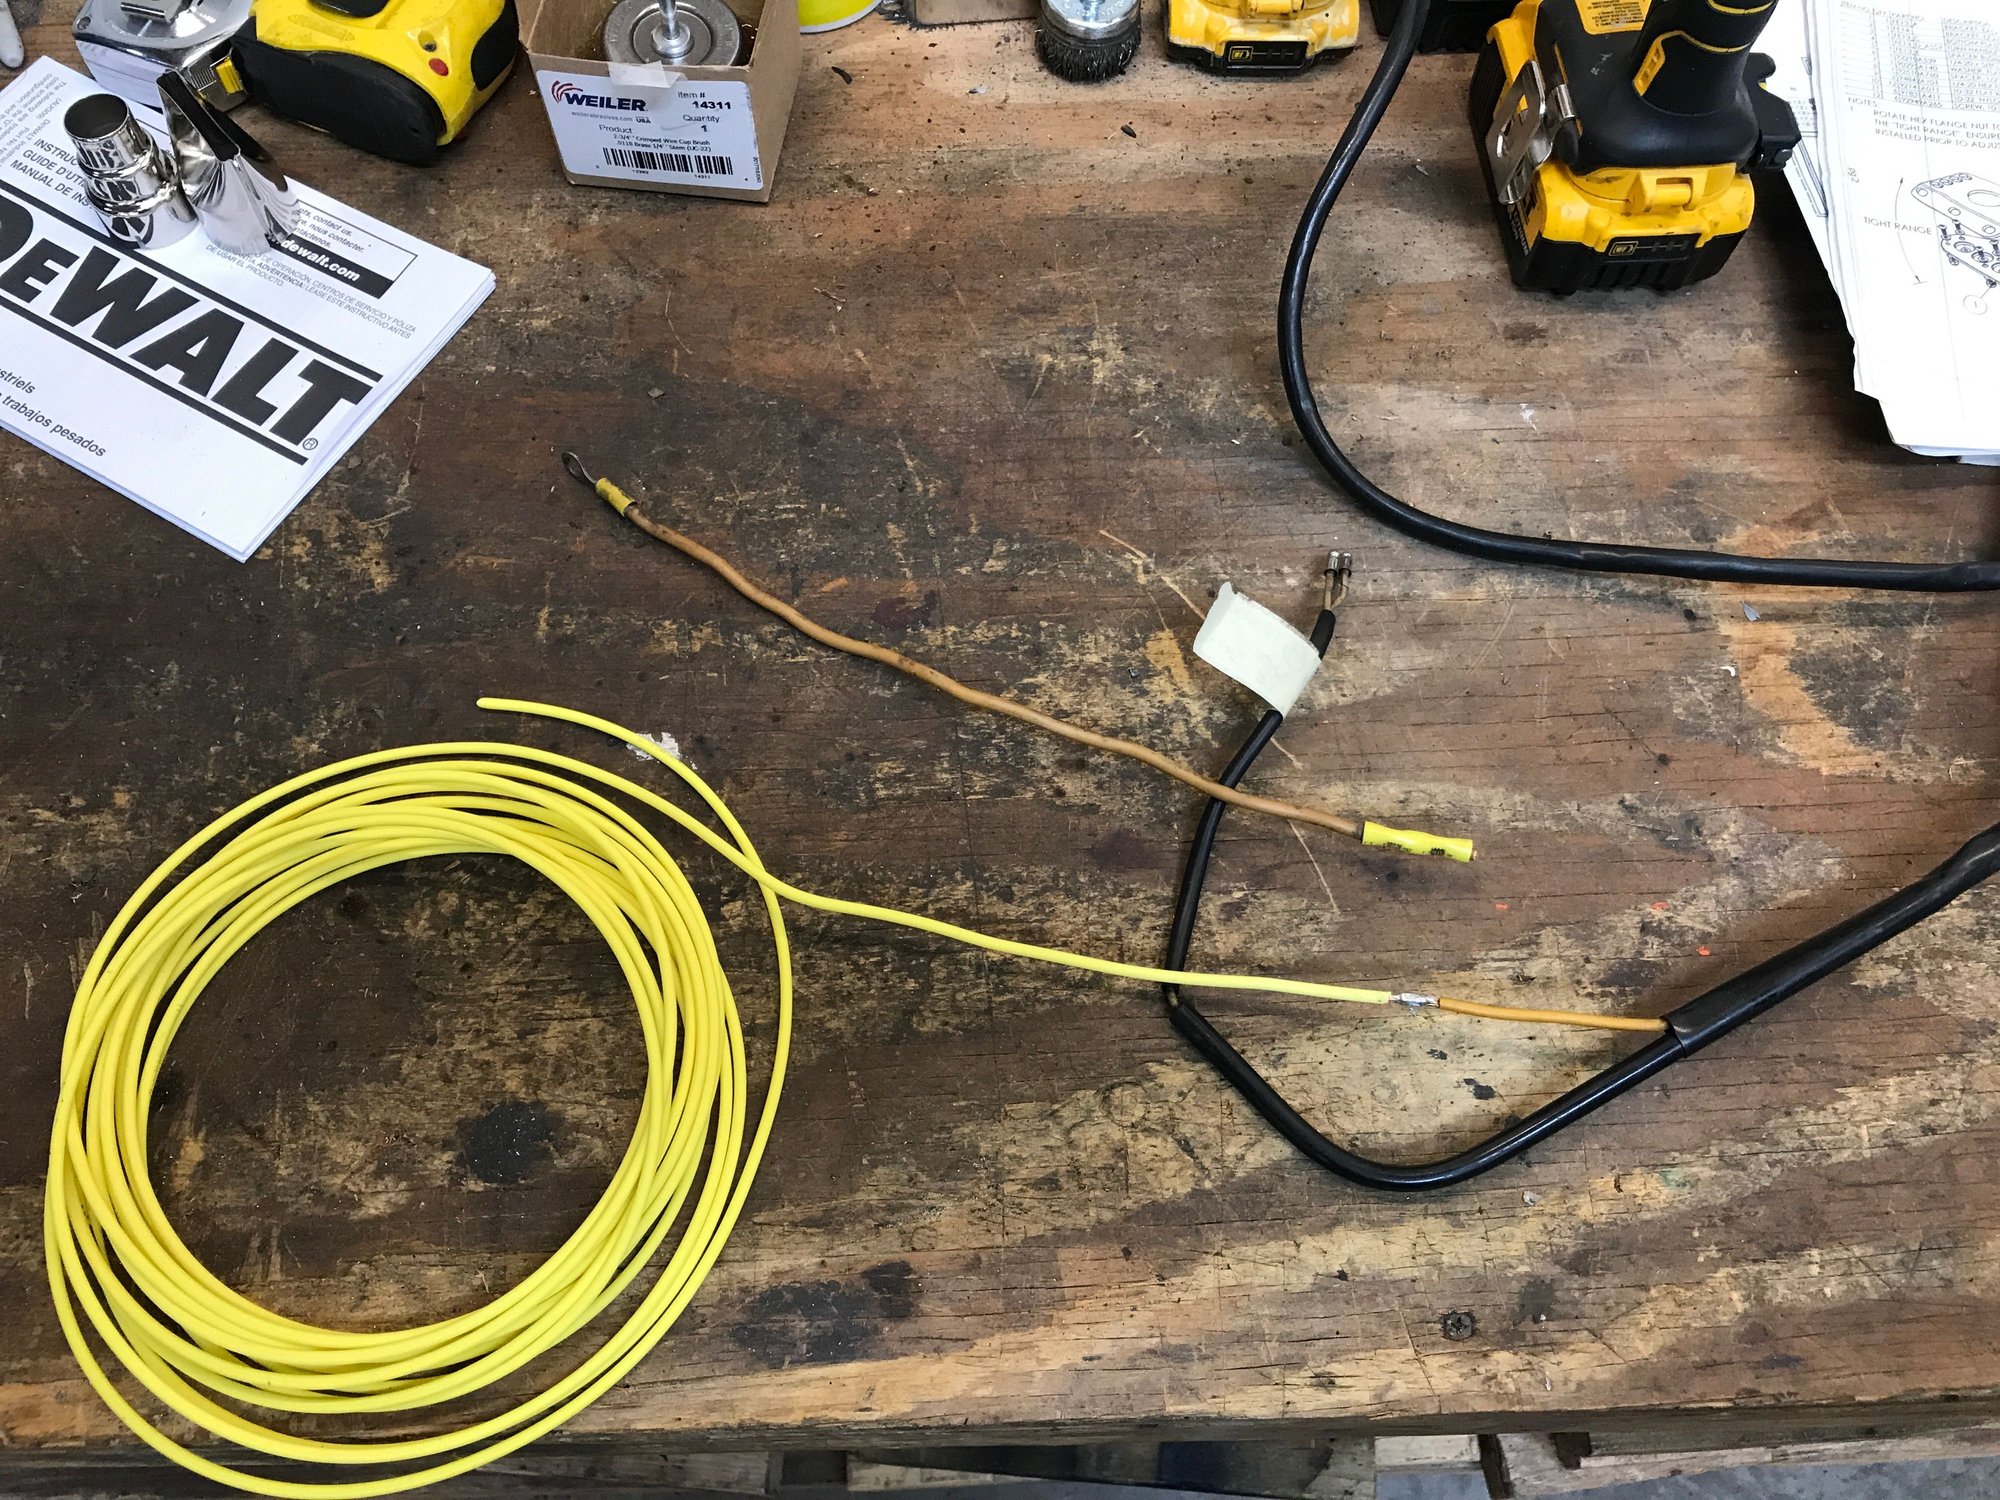
After squirting some soapy water inside, I pulled it through the first sleeve, and gathered up some slack.
And then pulled the new wire through the main sleeve to the plug end.
Here's the original pin socket soldered on the end of the old wire. I needed to transfer this.
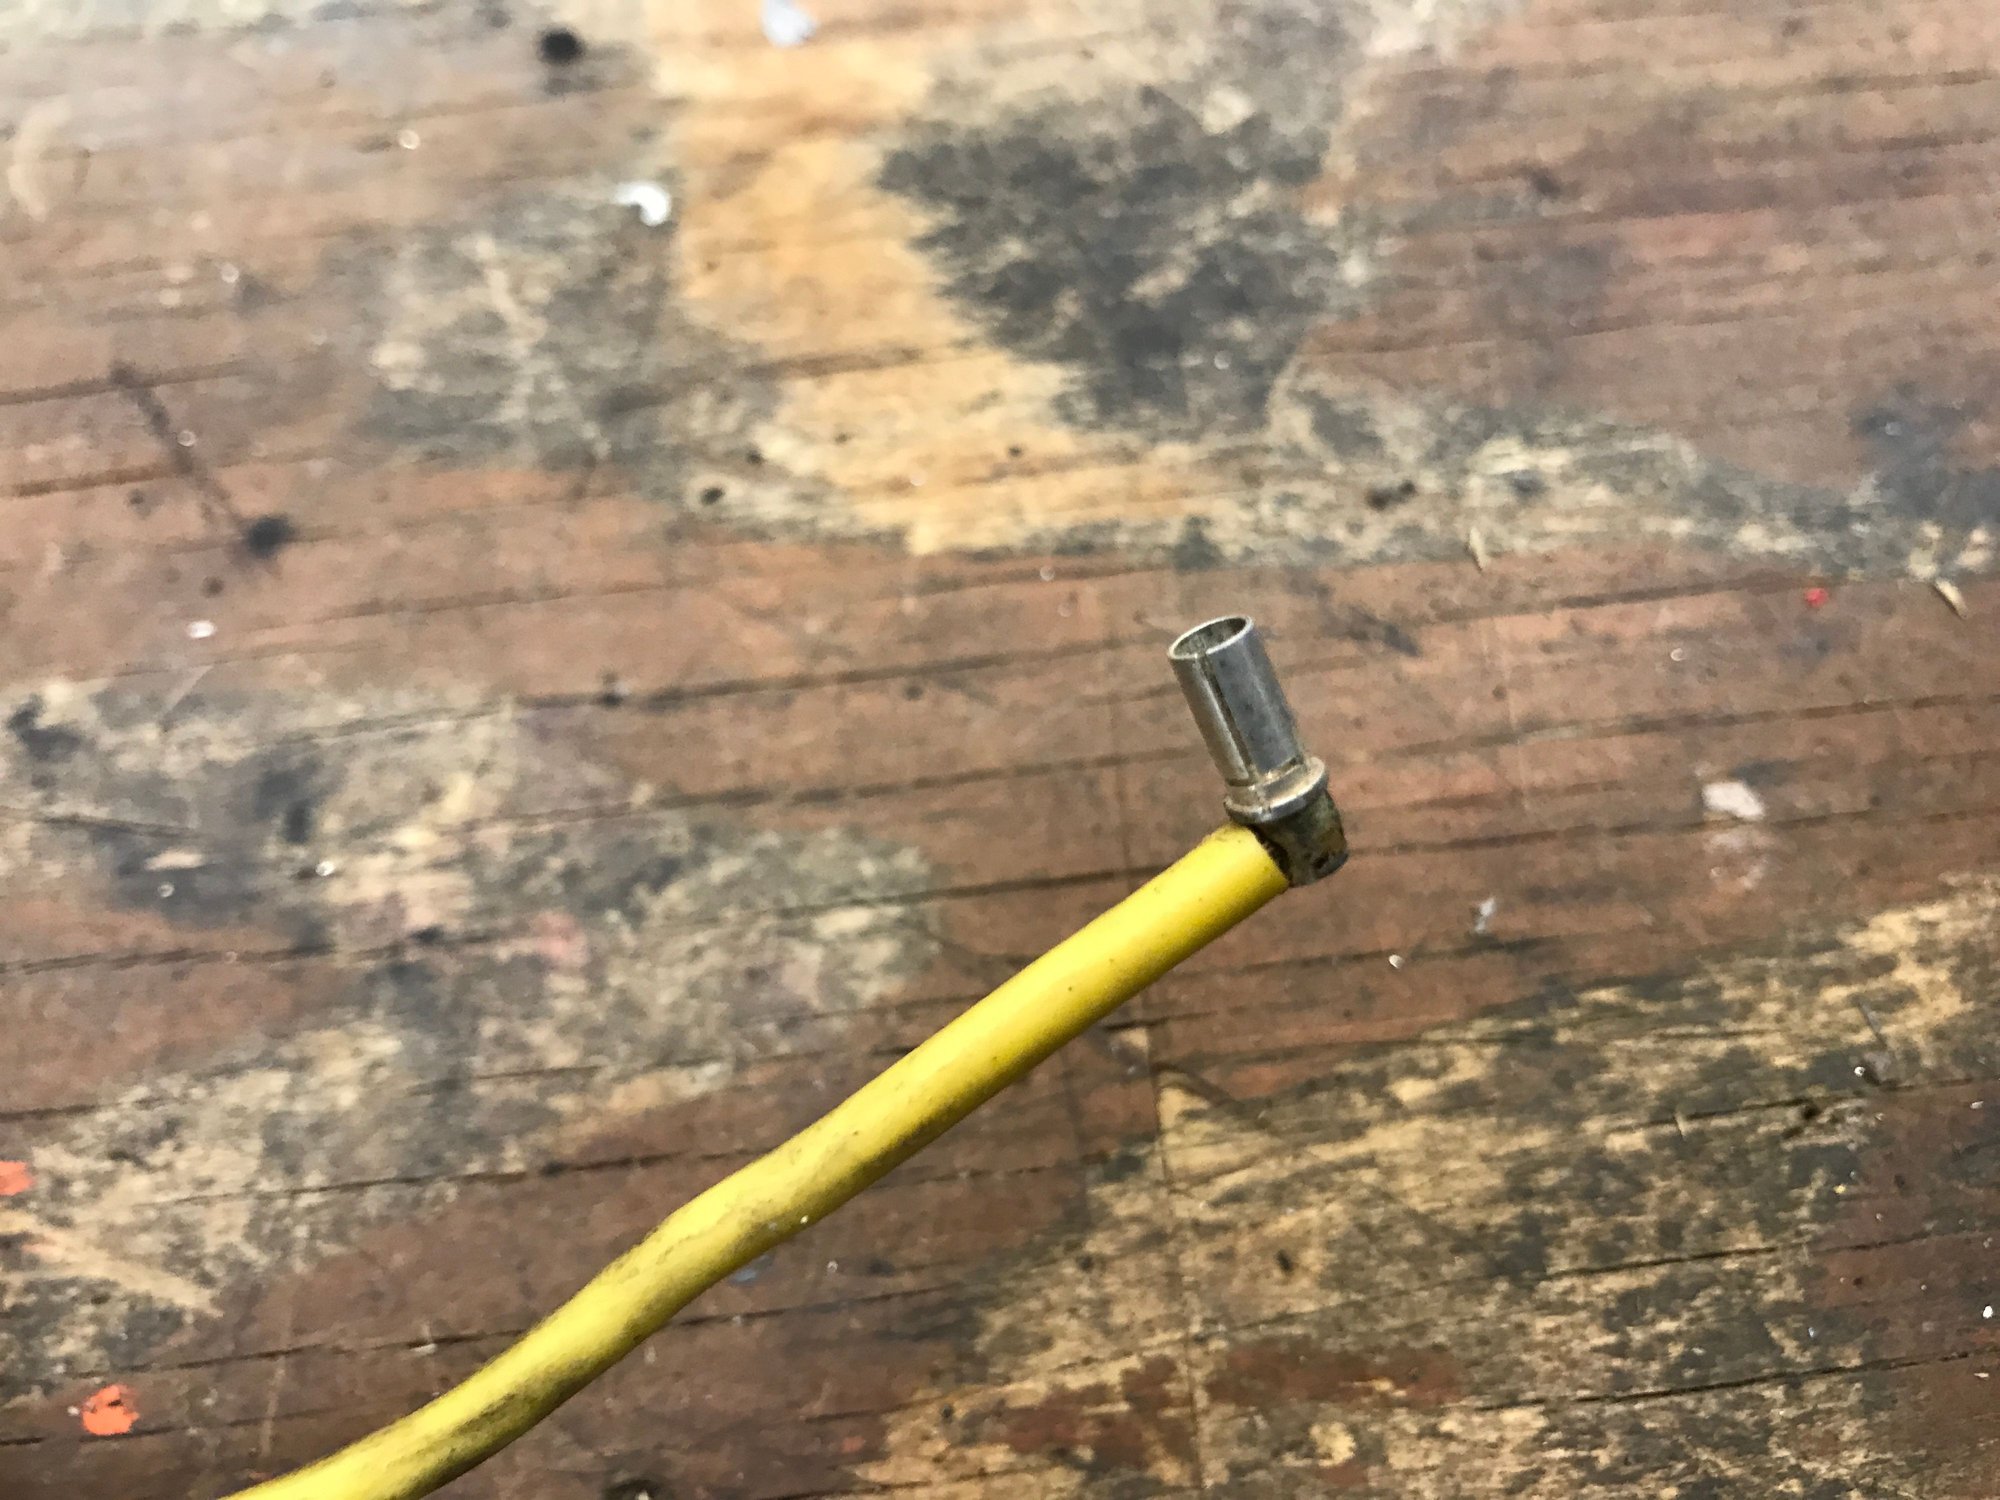
Success.
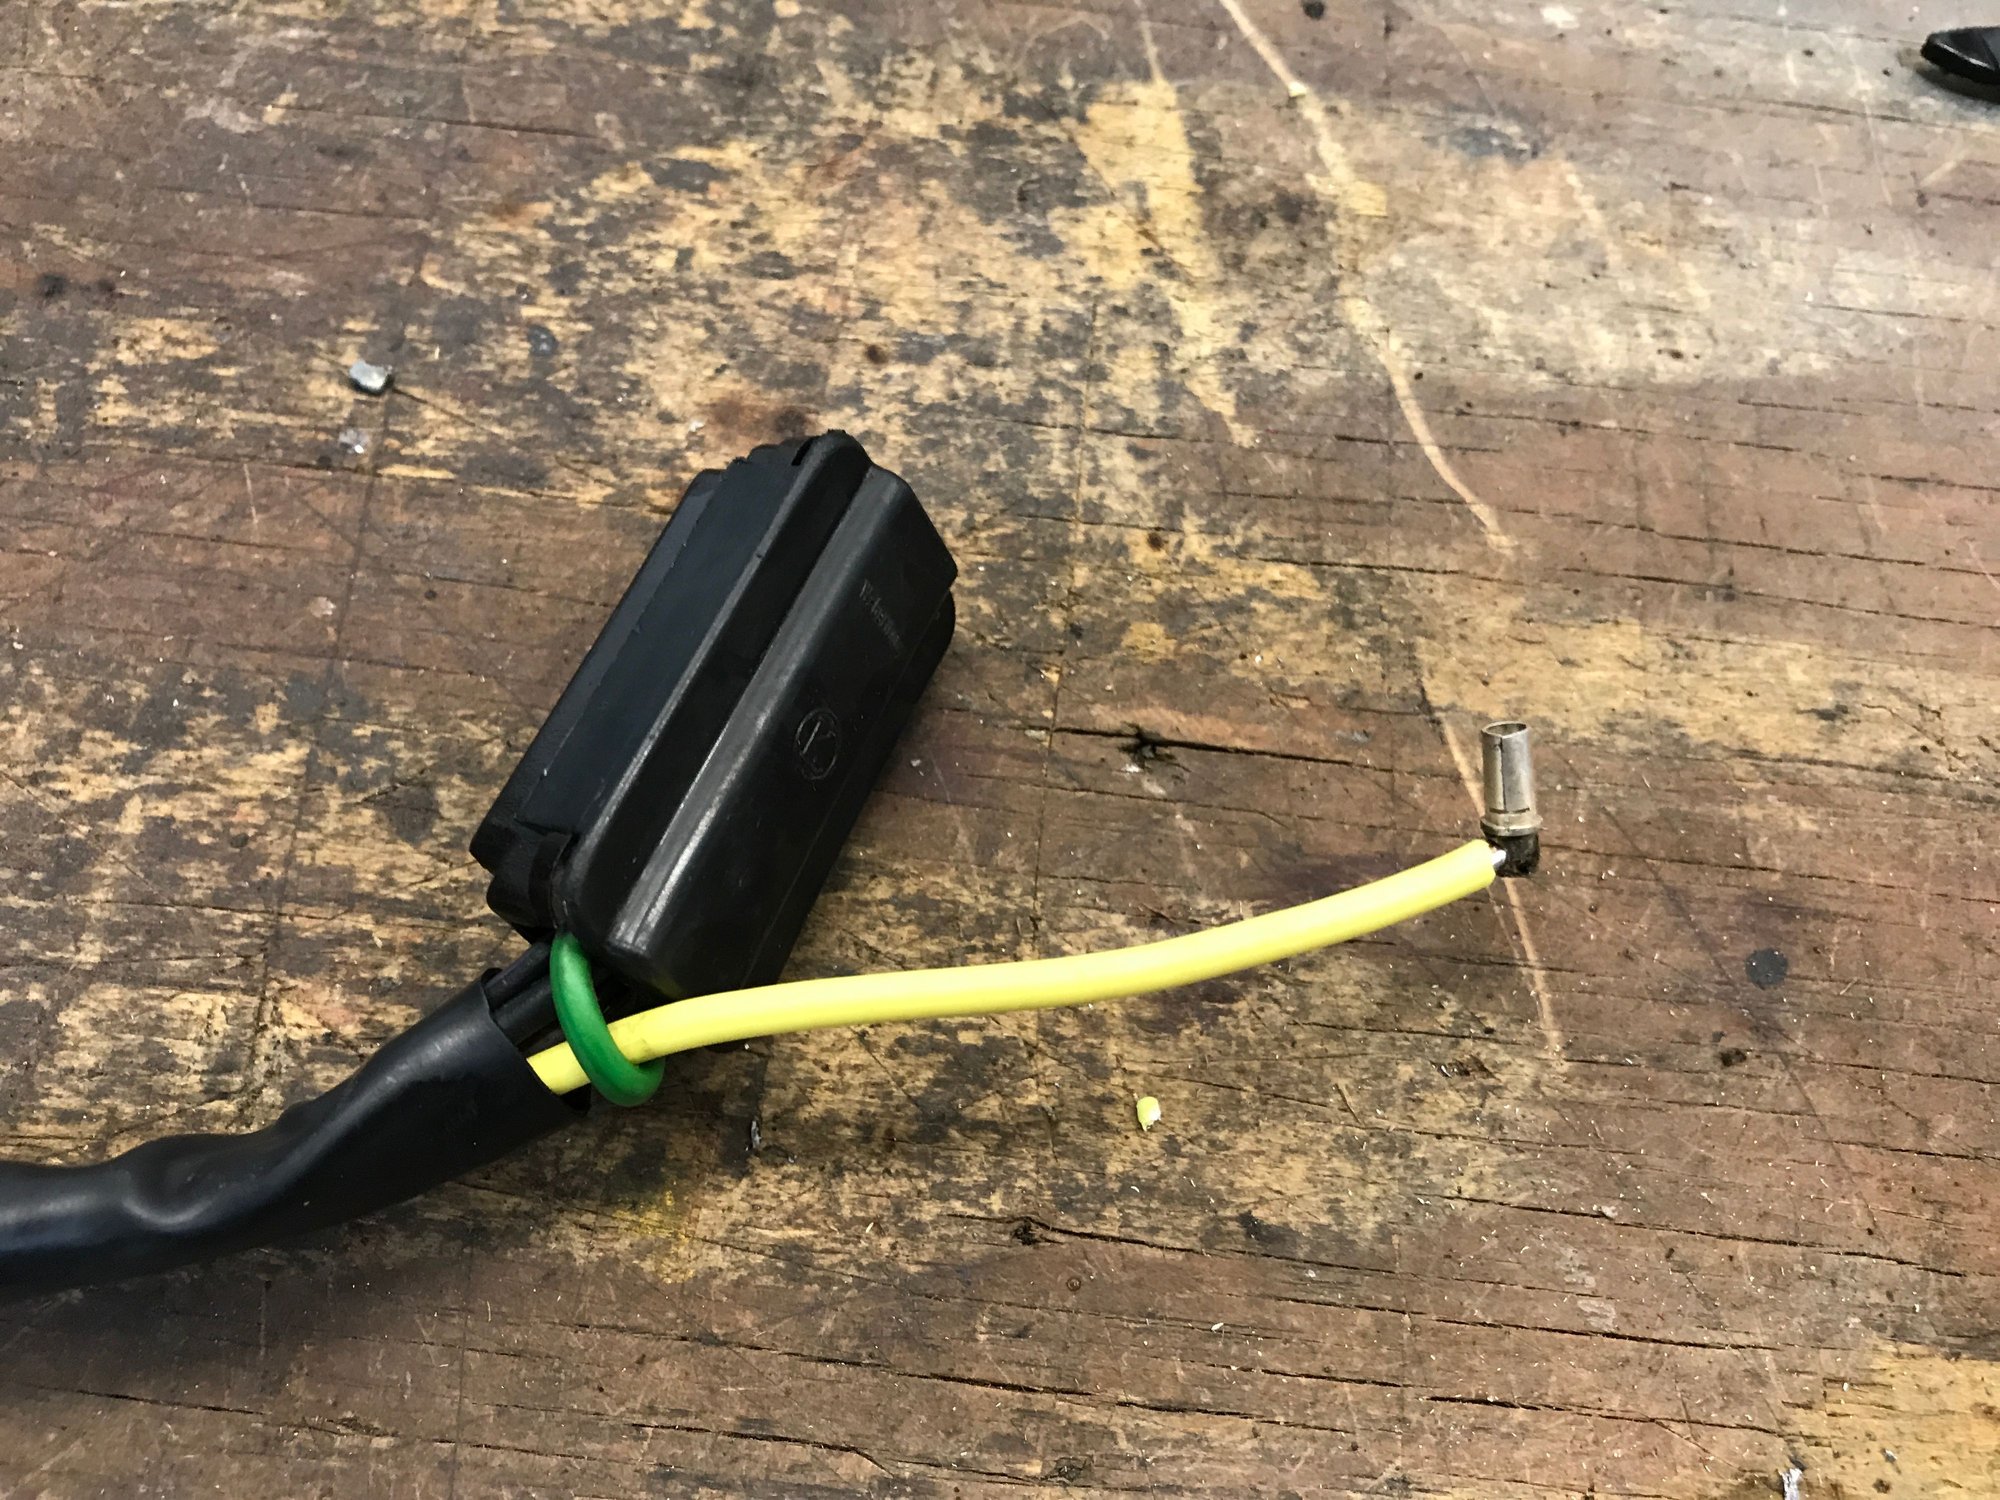
And the pin in the correct hole (I hope).
And the plug cap installed.
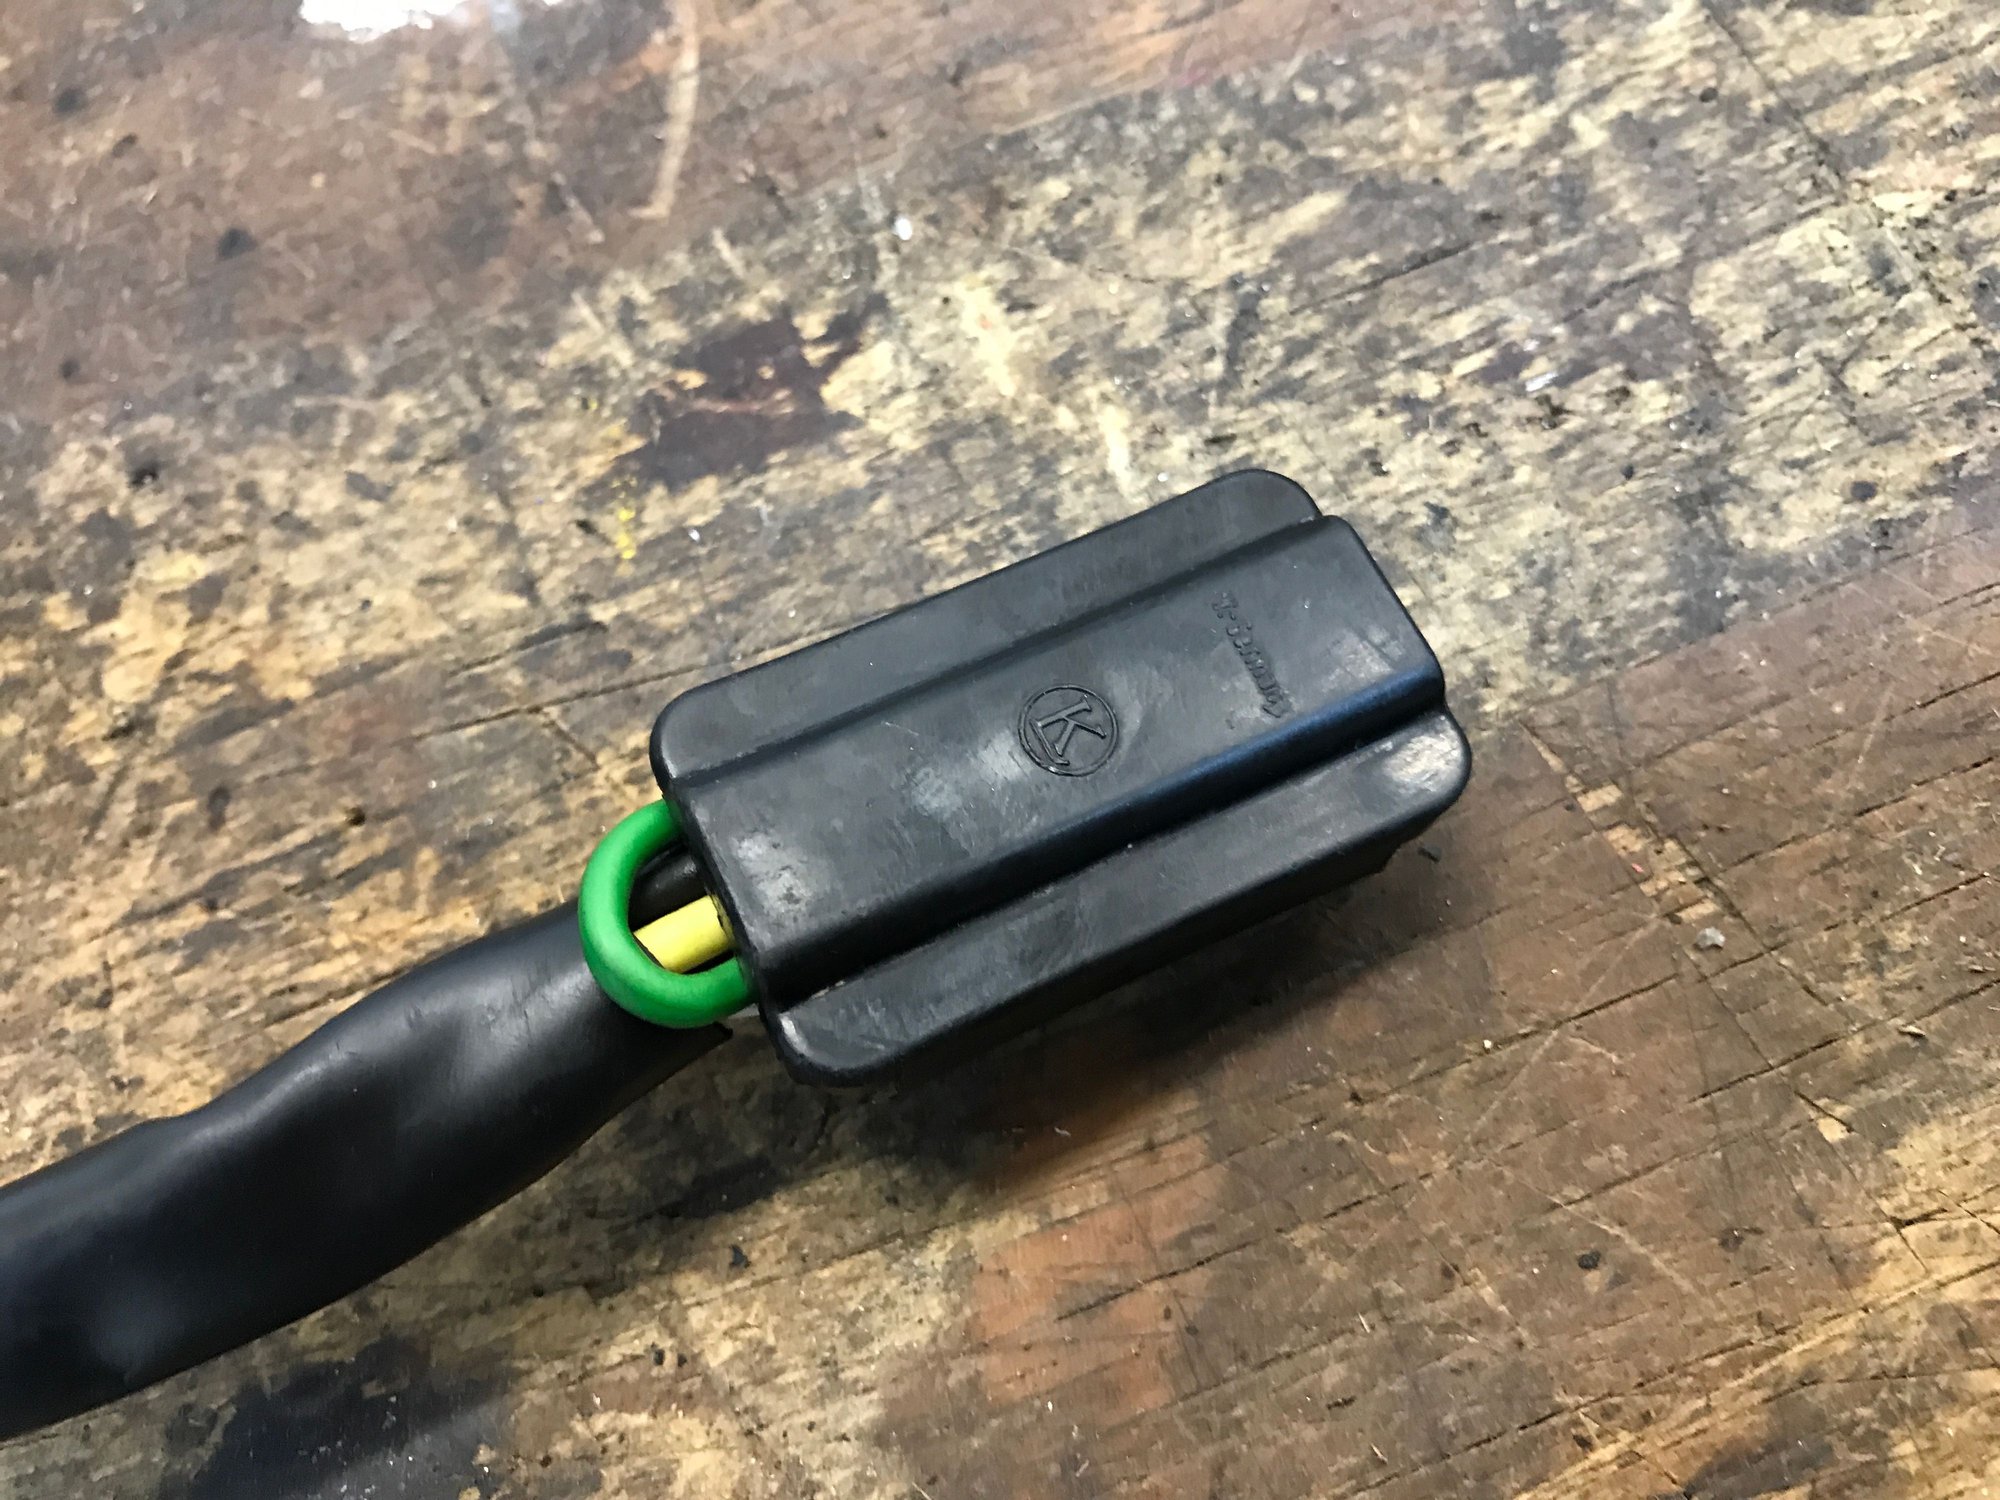
Another harness done.

After squirting some soapy water inside, I pulled it through the first sleeve, and gathered up some slack.

And then pulled the new wire through the main sleeve to the plug end.

Here's the original pin socket soldered on the end of the old wire. I needed to transfer this.

Success.

And the pin in the correct hole (I hope).

And the plug cap installed.

Another harness done.

Last edited by bkrantz; 08-23-2020 at 10:03 PM.
08-23-2020, 10:06 PM
#610
Rennlist Member
Thread Starter
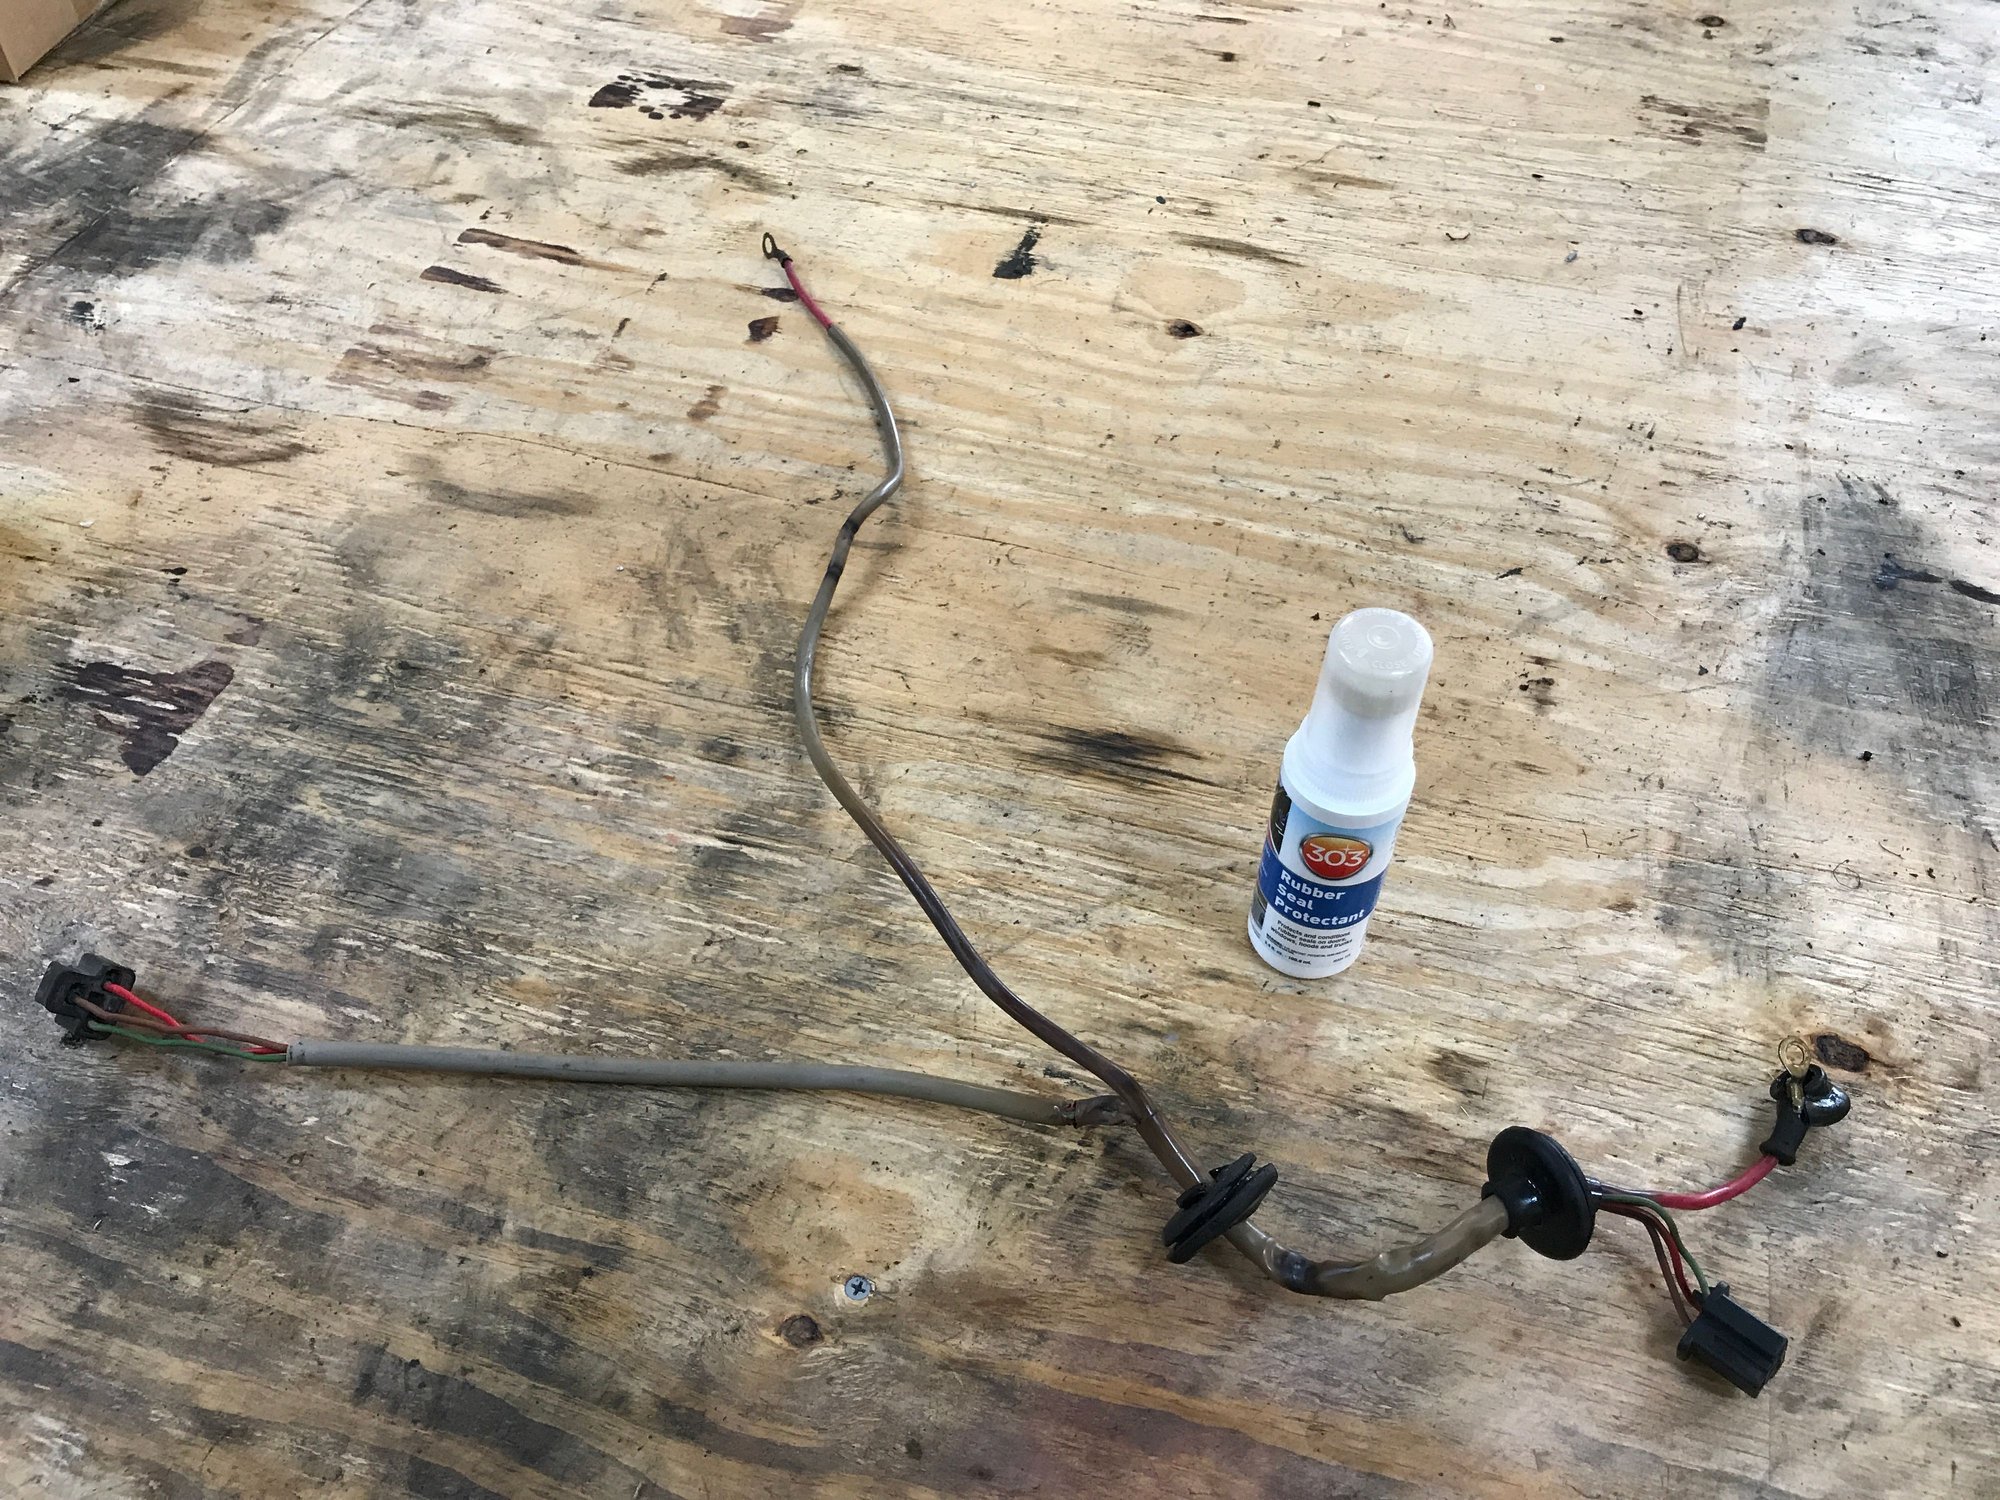
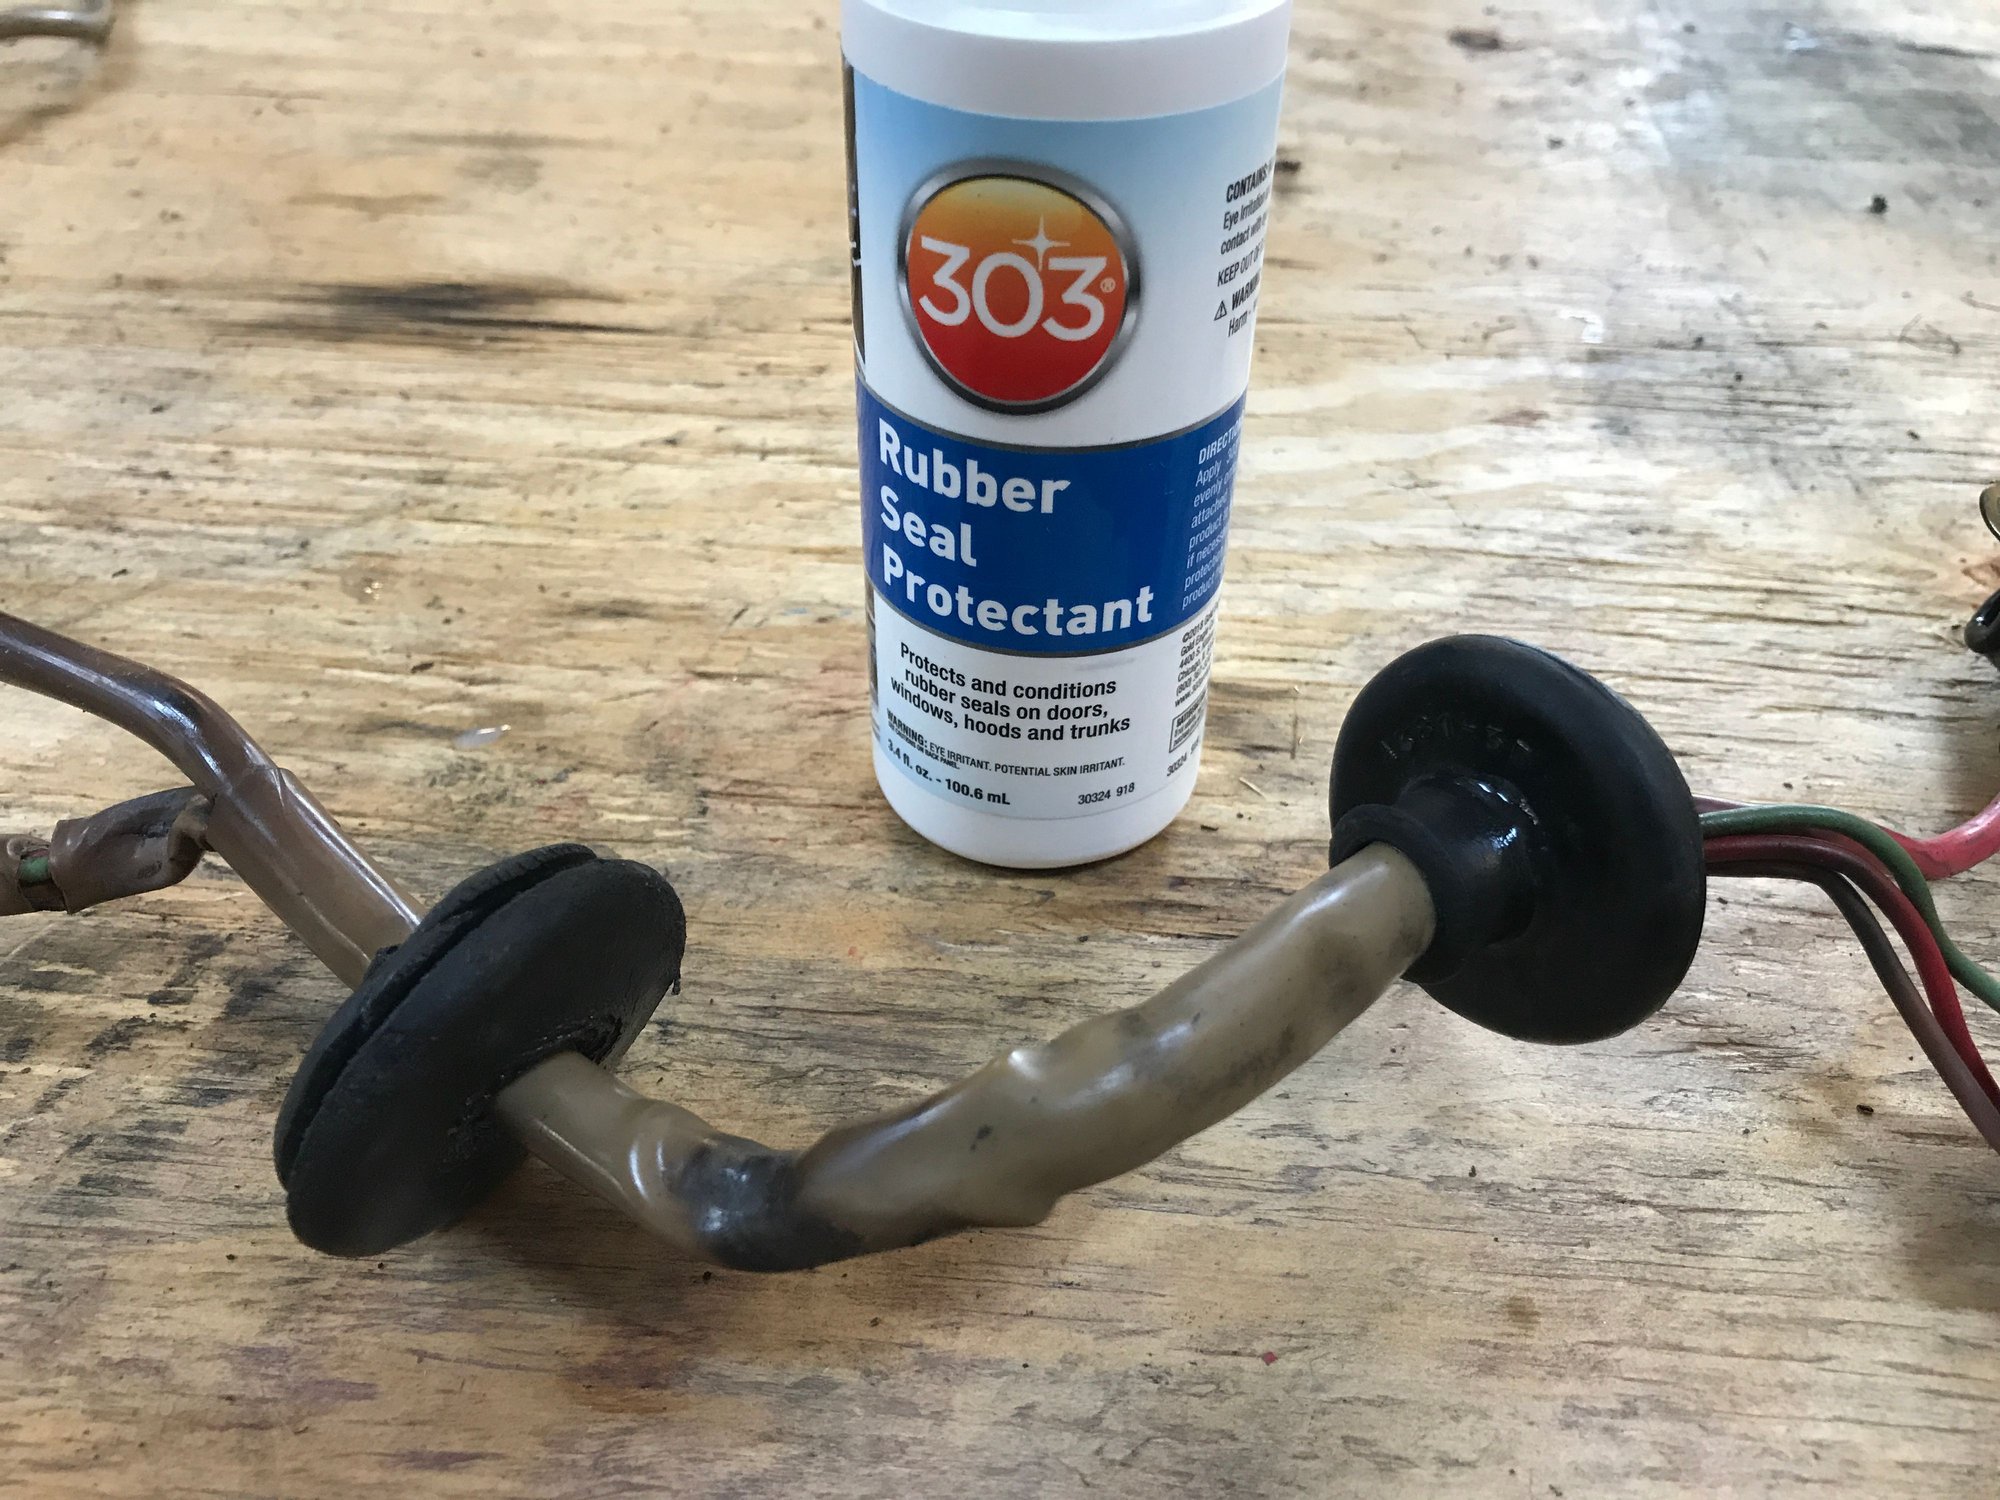
One more harness today: for the alternator. The wires all look good, but some of the rubber is dry. I tried some 303 rubber juice. The sleeves are also very hard in places, and so I might rebuild this with new sleeving and grommets.

 08-23-2020, 10:11 PM
#611
Rennlist Member
Thread Starter
I also took another look at the gauges, and took the panel apart.
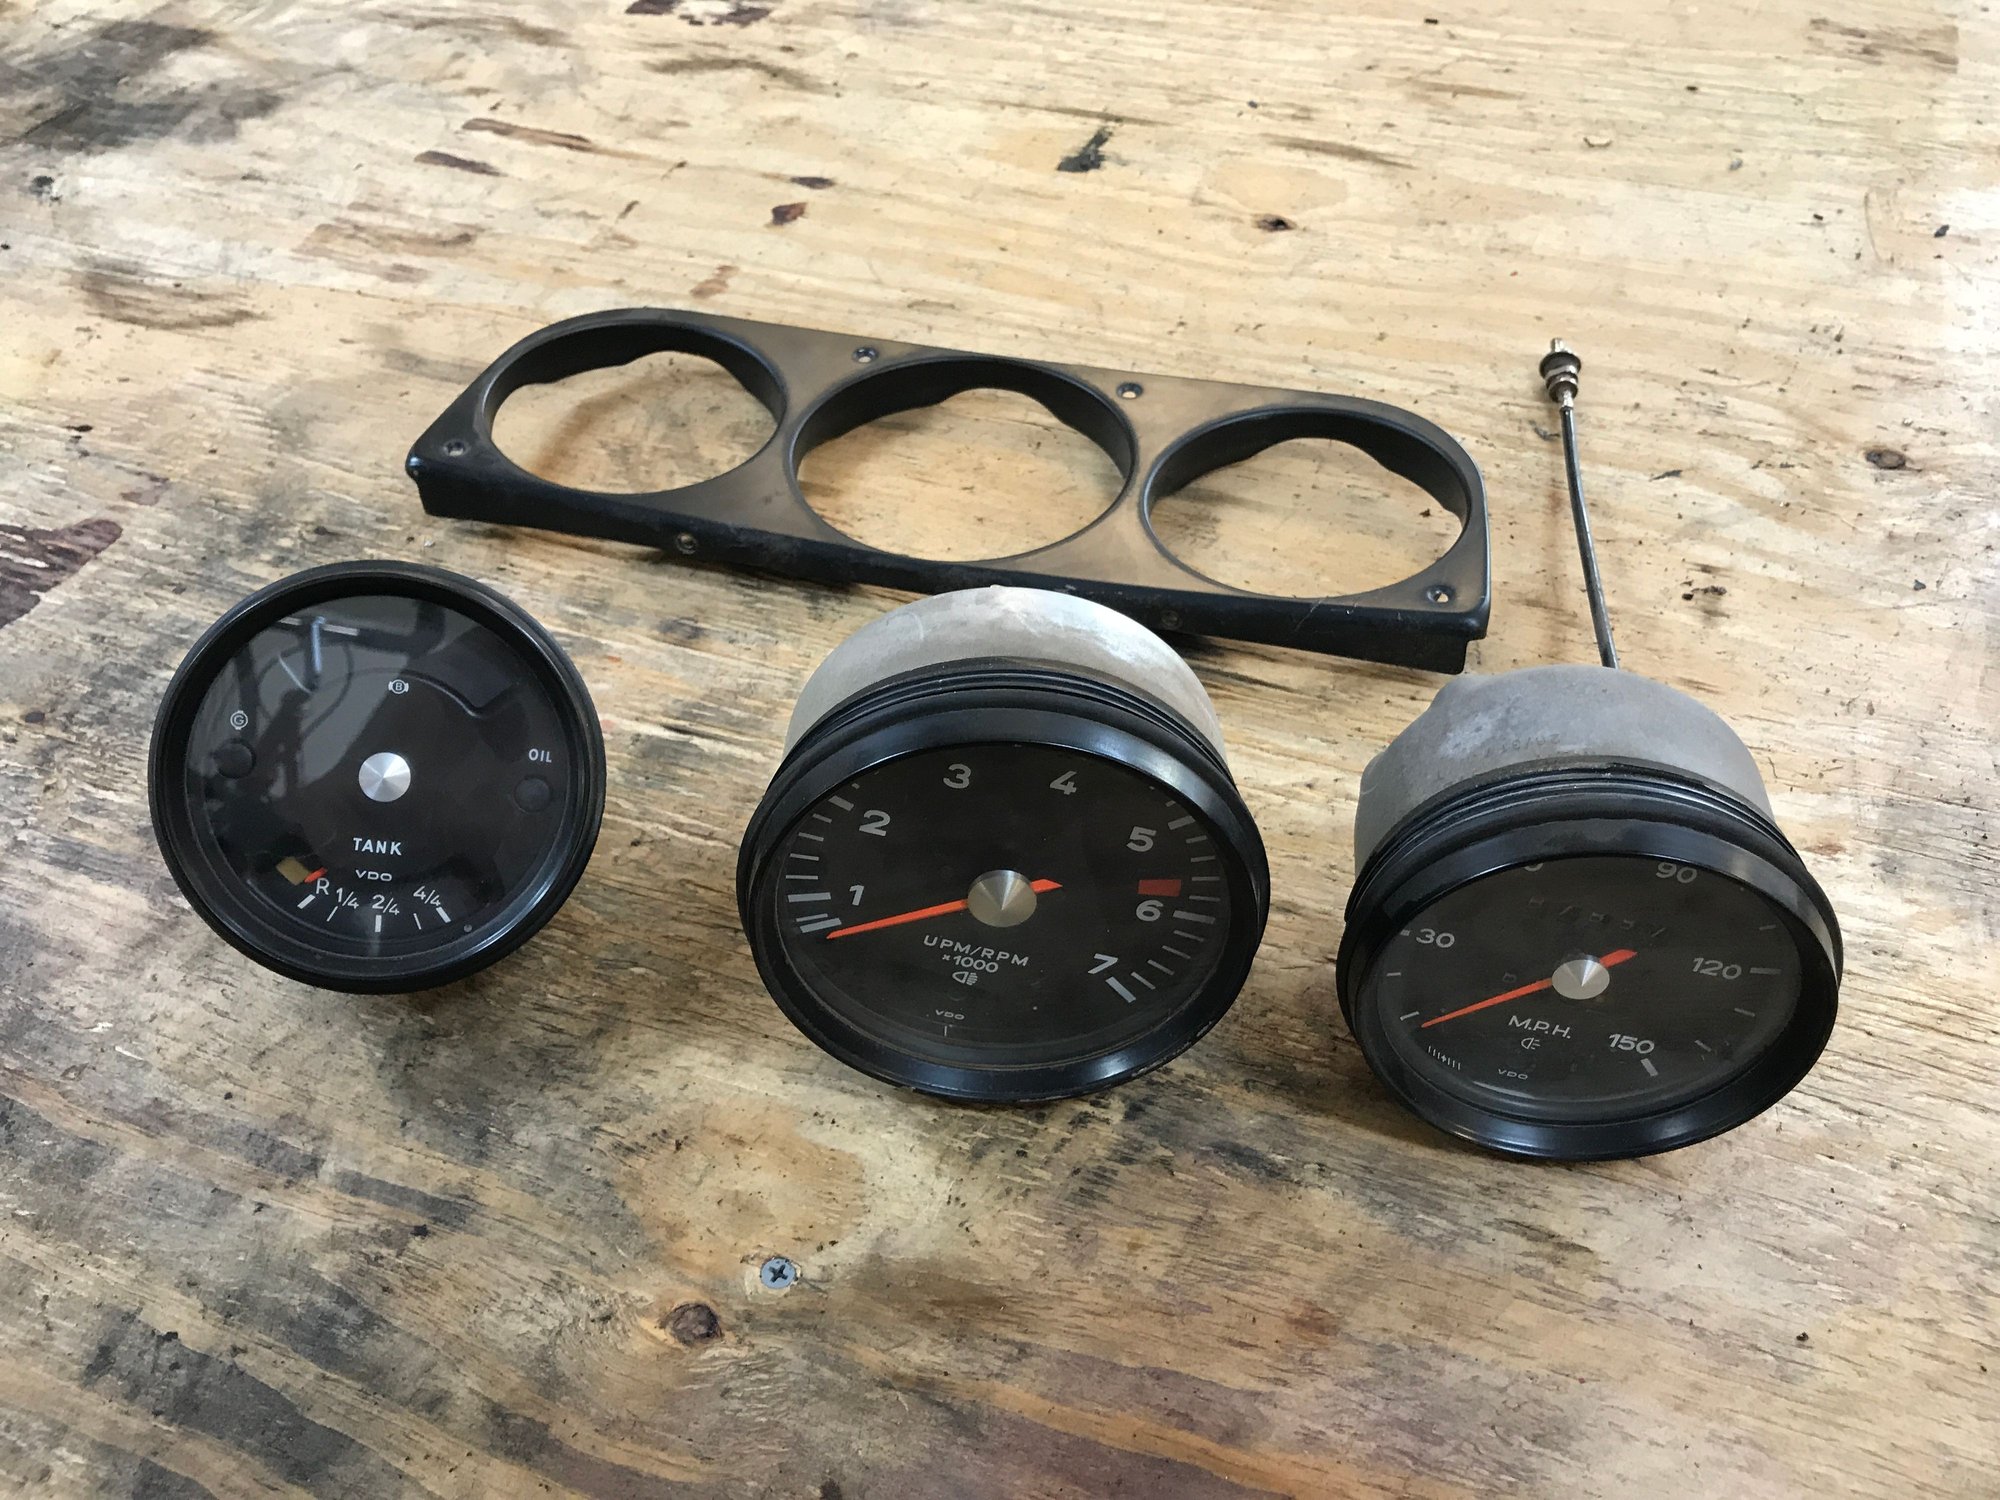
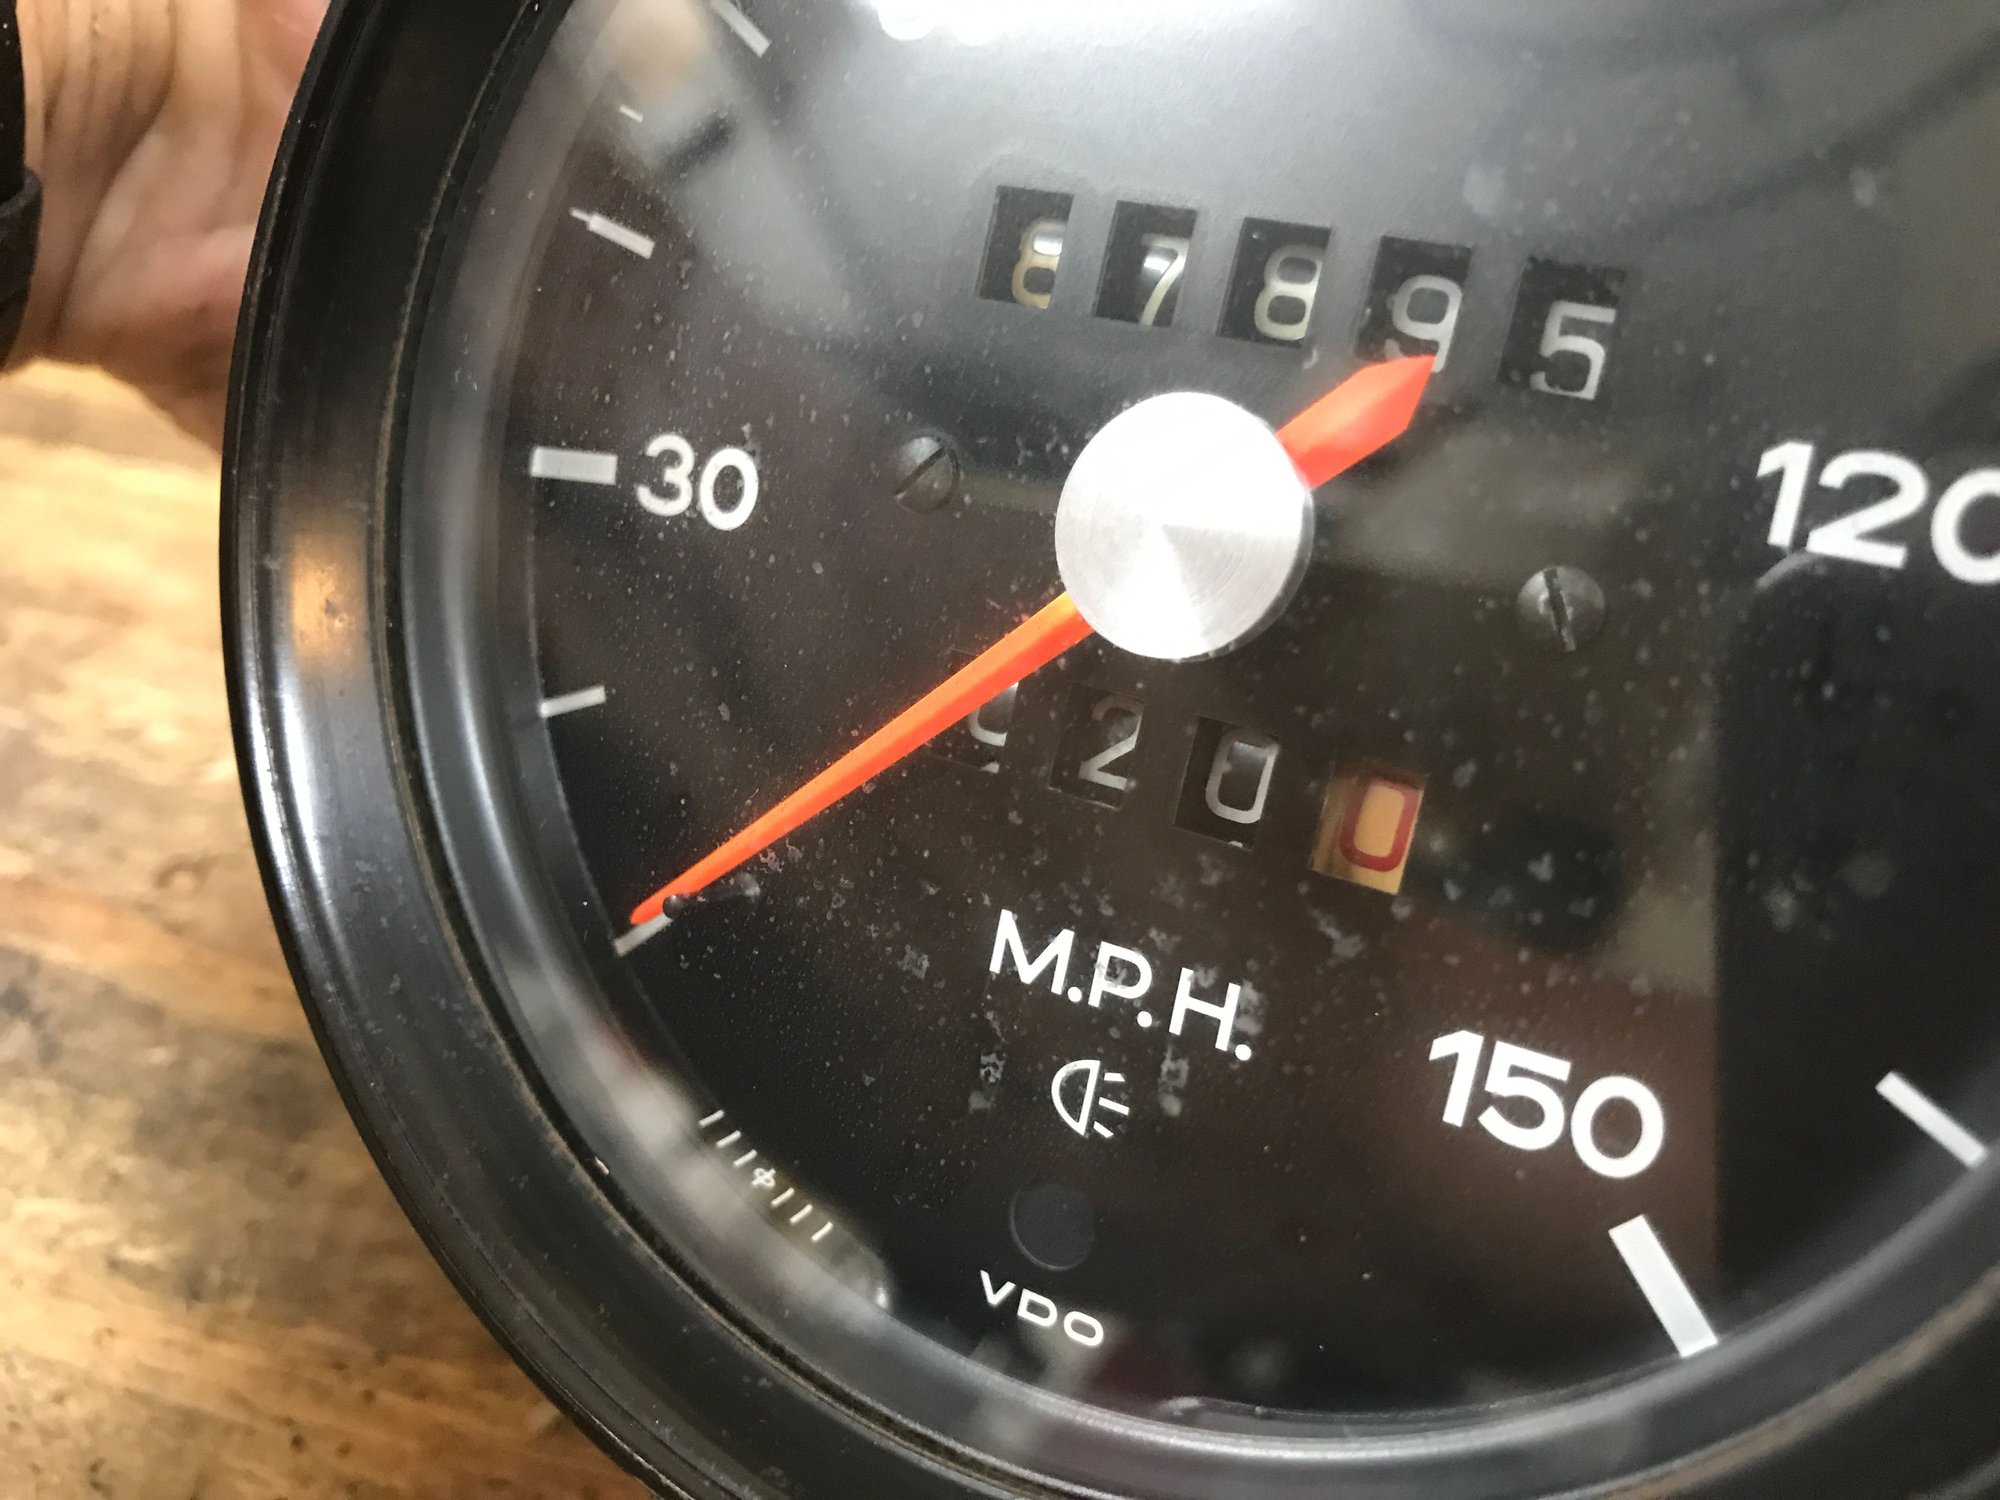
The speedometer glass has spots on the inside.
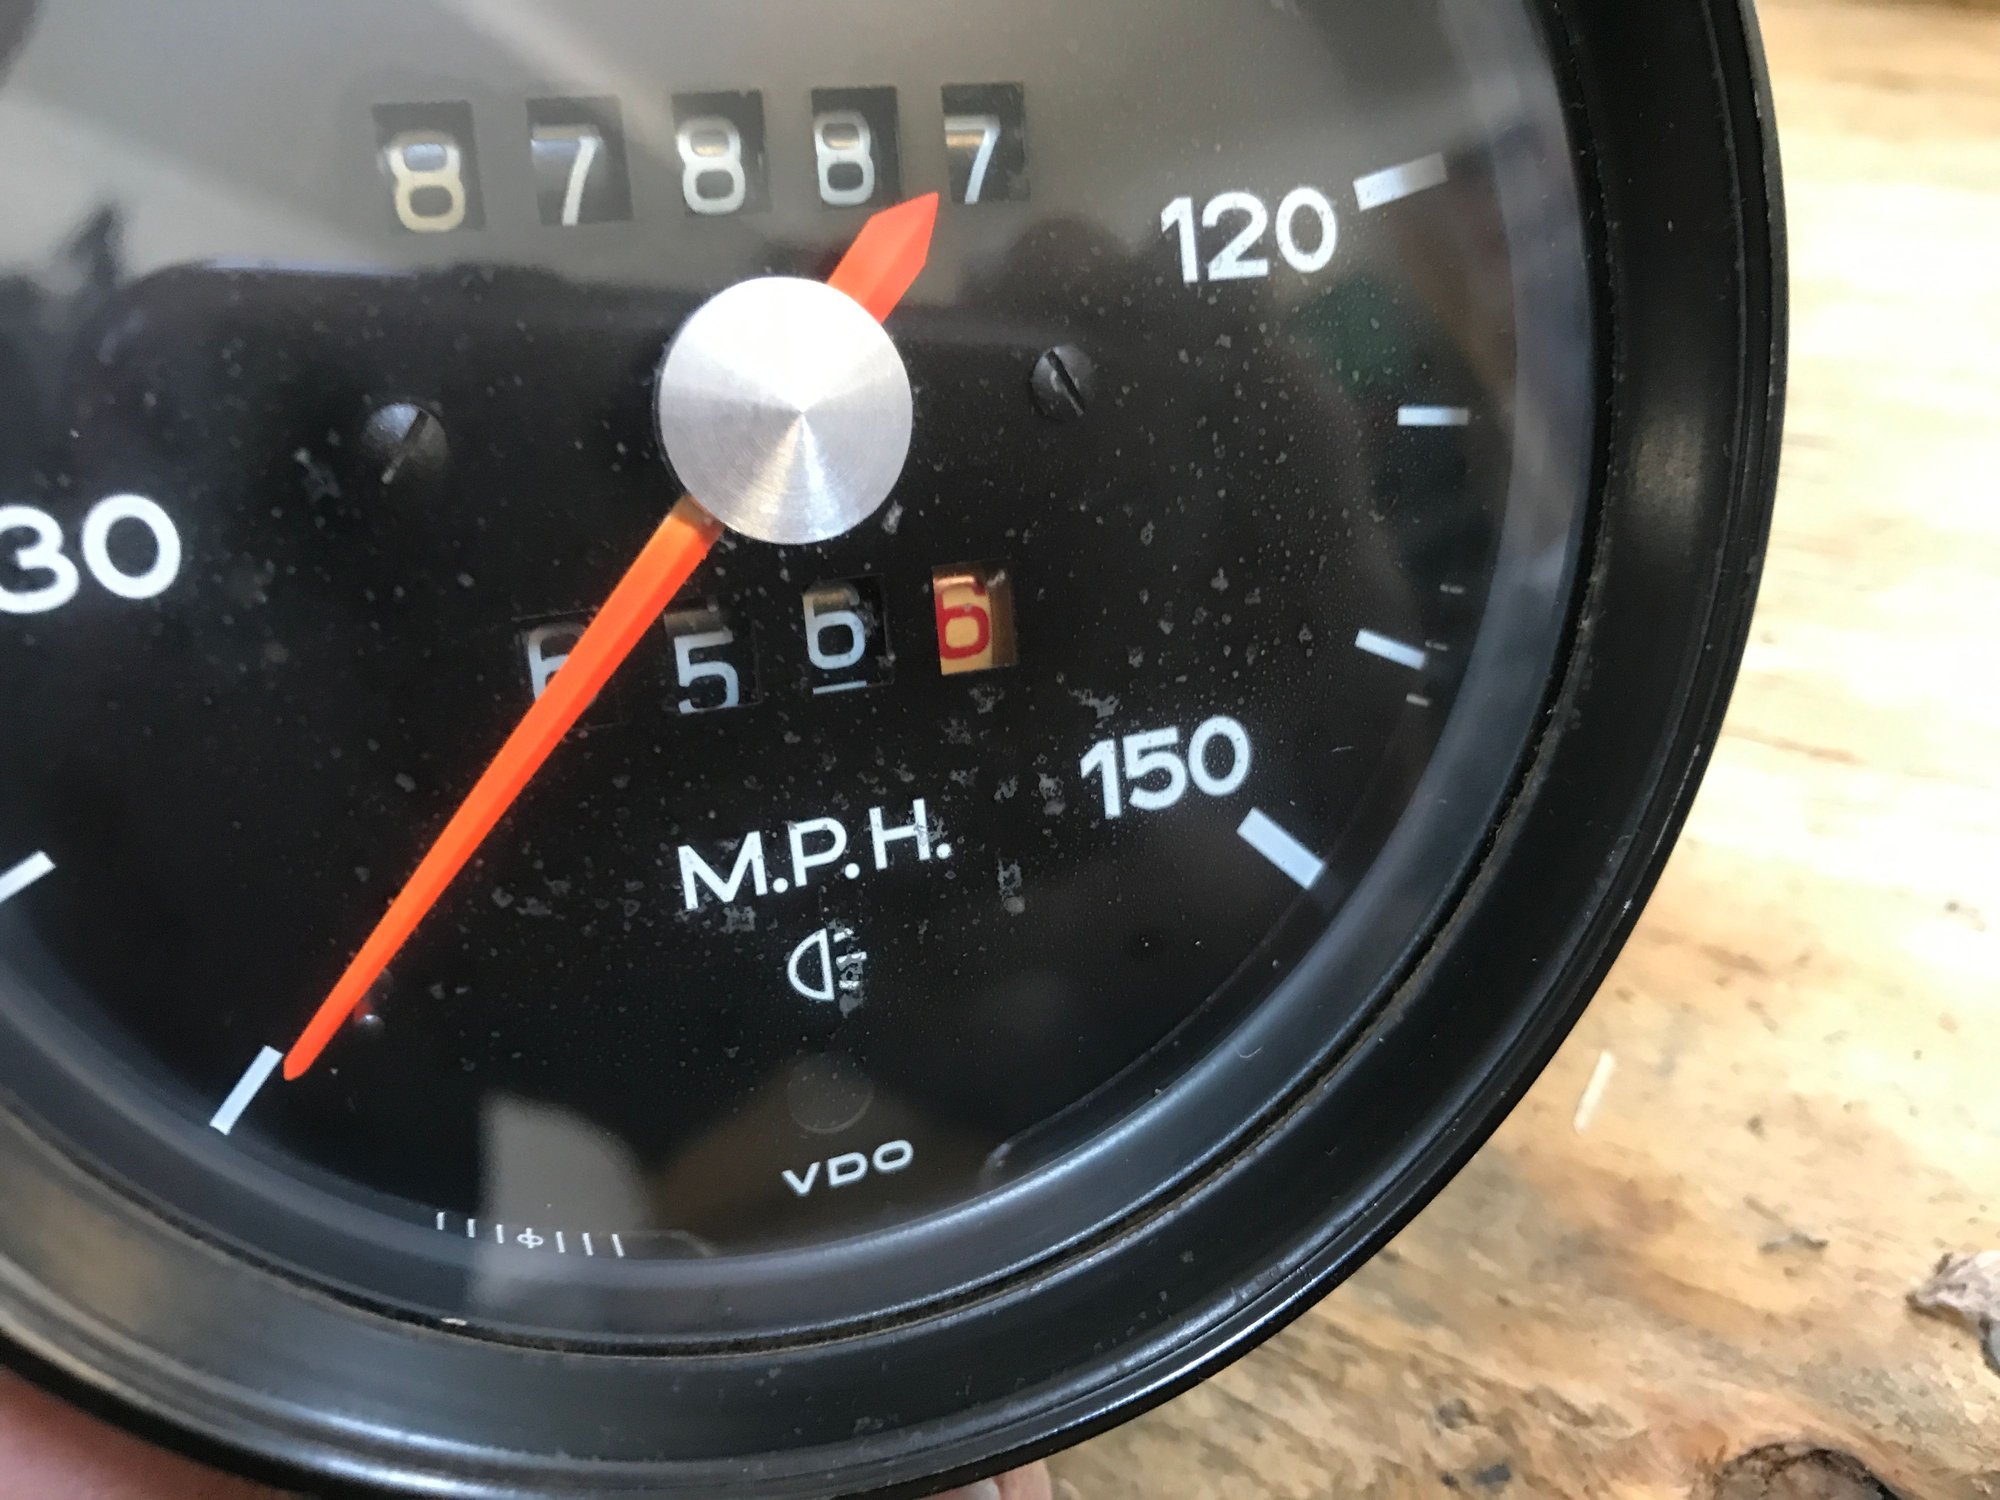
The trip odometer reset works--sort of. The middle digit does not roll over with the others. The bezel shows evidence of prior removal.

The speedometer glass has spots on the inside.

The trip odometer reset works--sort of. The middle digit does not roll over with the others. The bezel shows evidence of prior removal.
 08-24-2020, 10:20 PM
#612
Rennlist Member
Thread Starter
Today, I took a close look at the center console. It is relatively solid but needs some work, starting with the PO speaker holes. How else you gonna get 4 speakers in a 914?
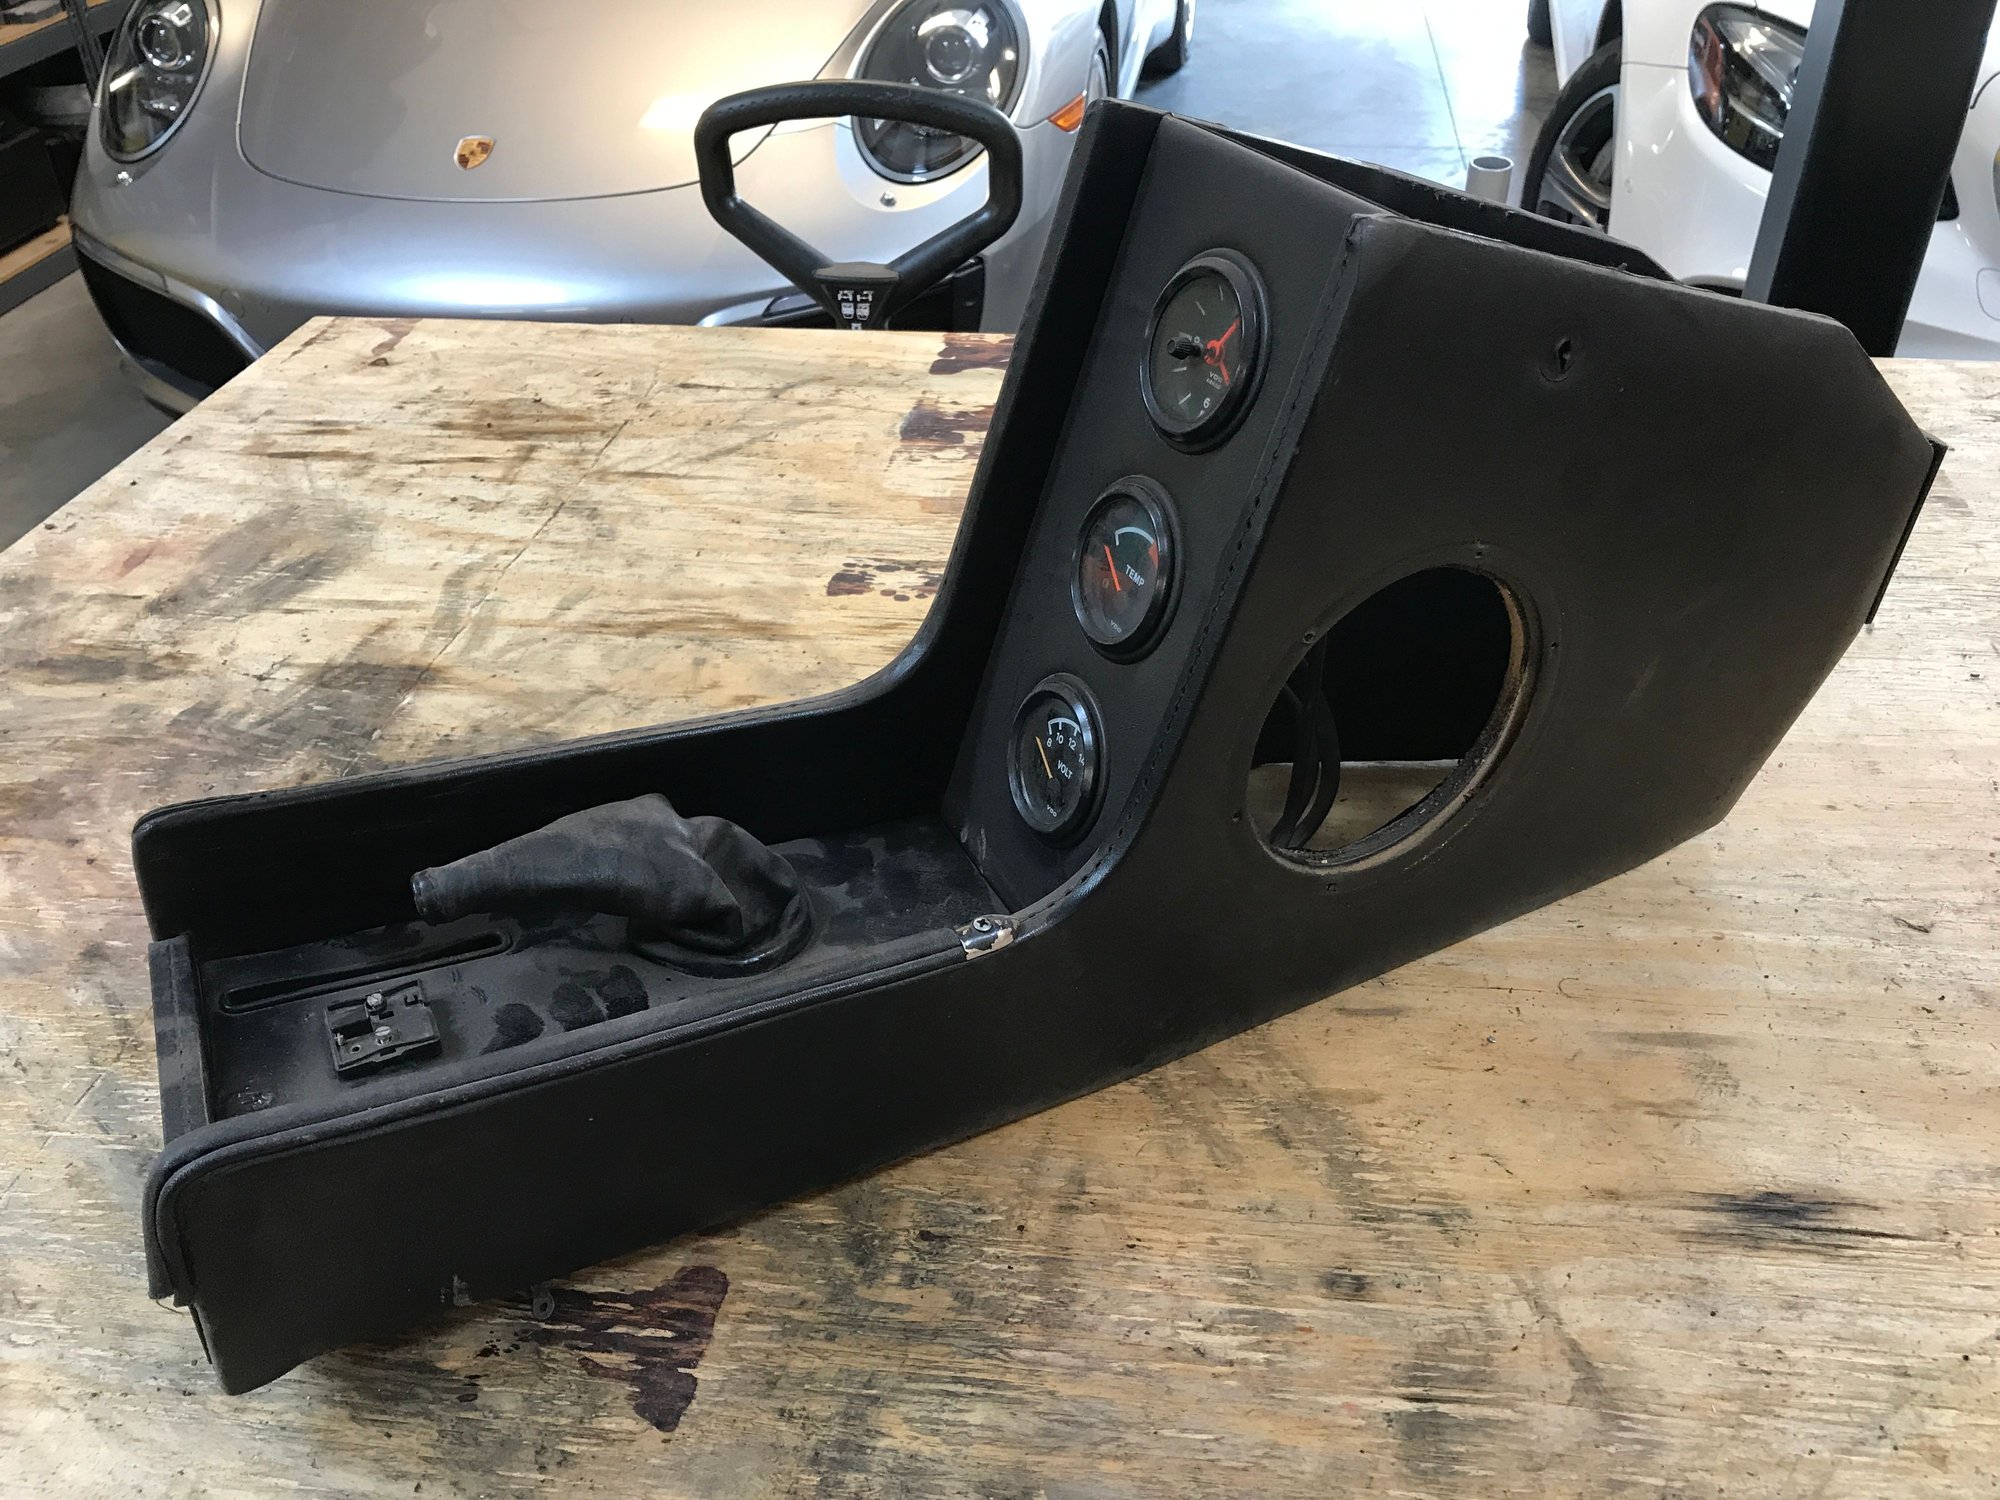
All the stock hardware is in place.
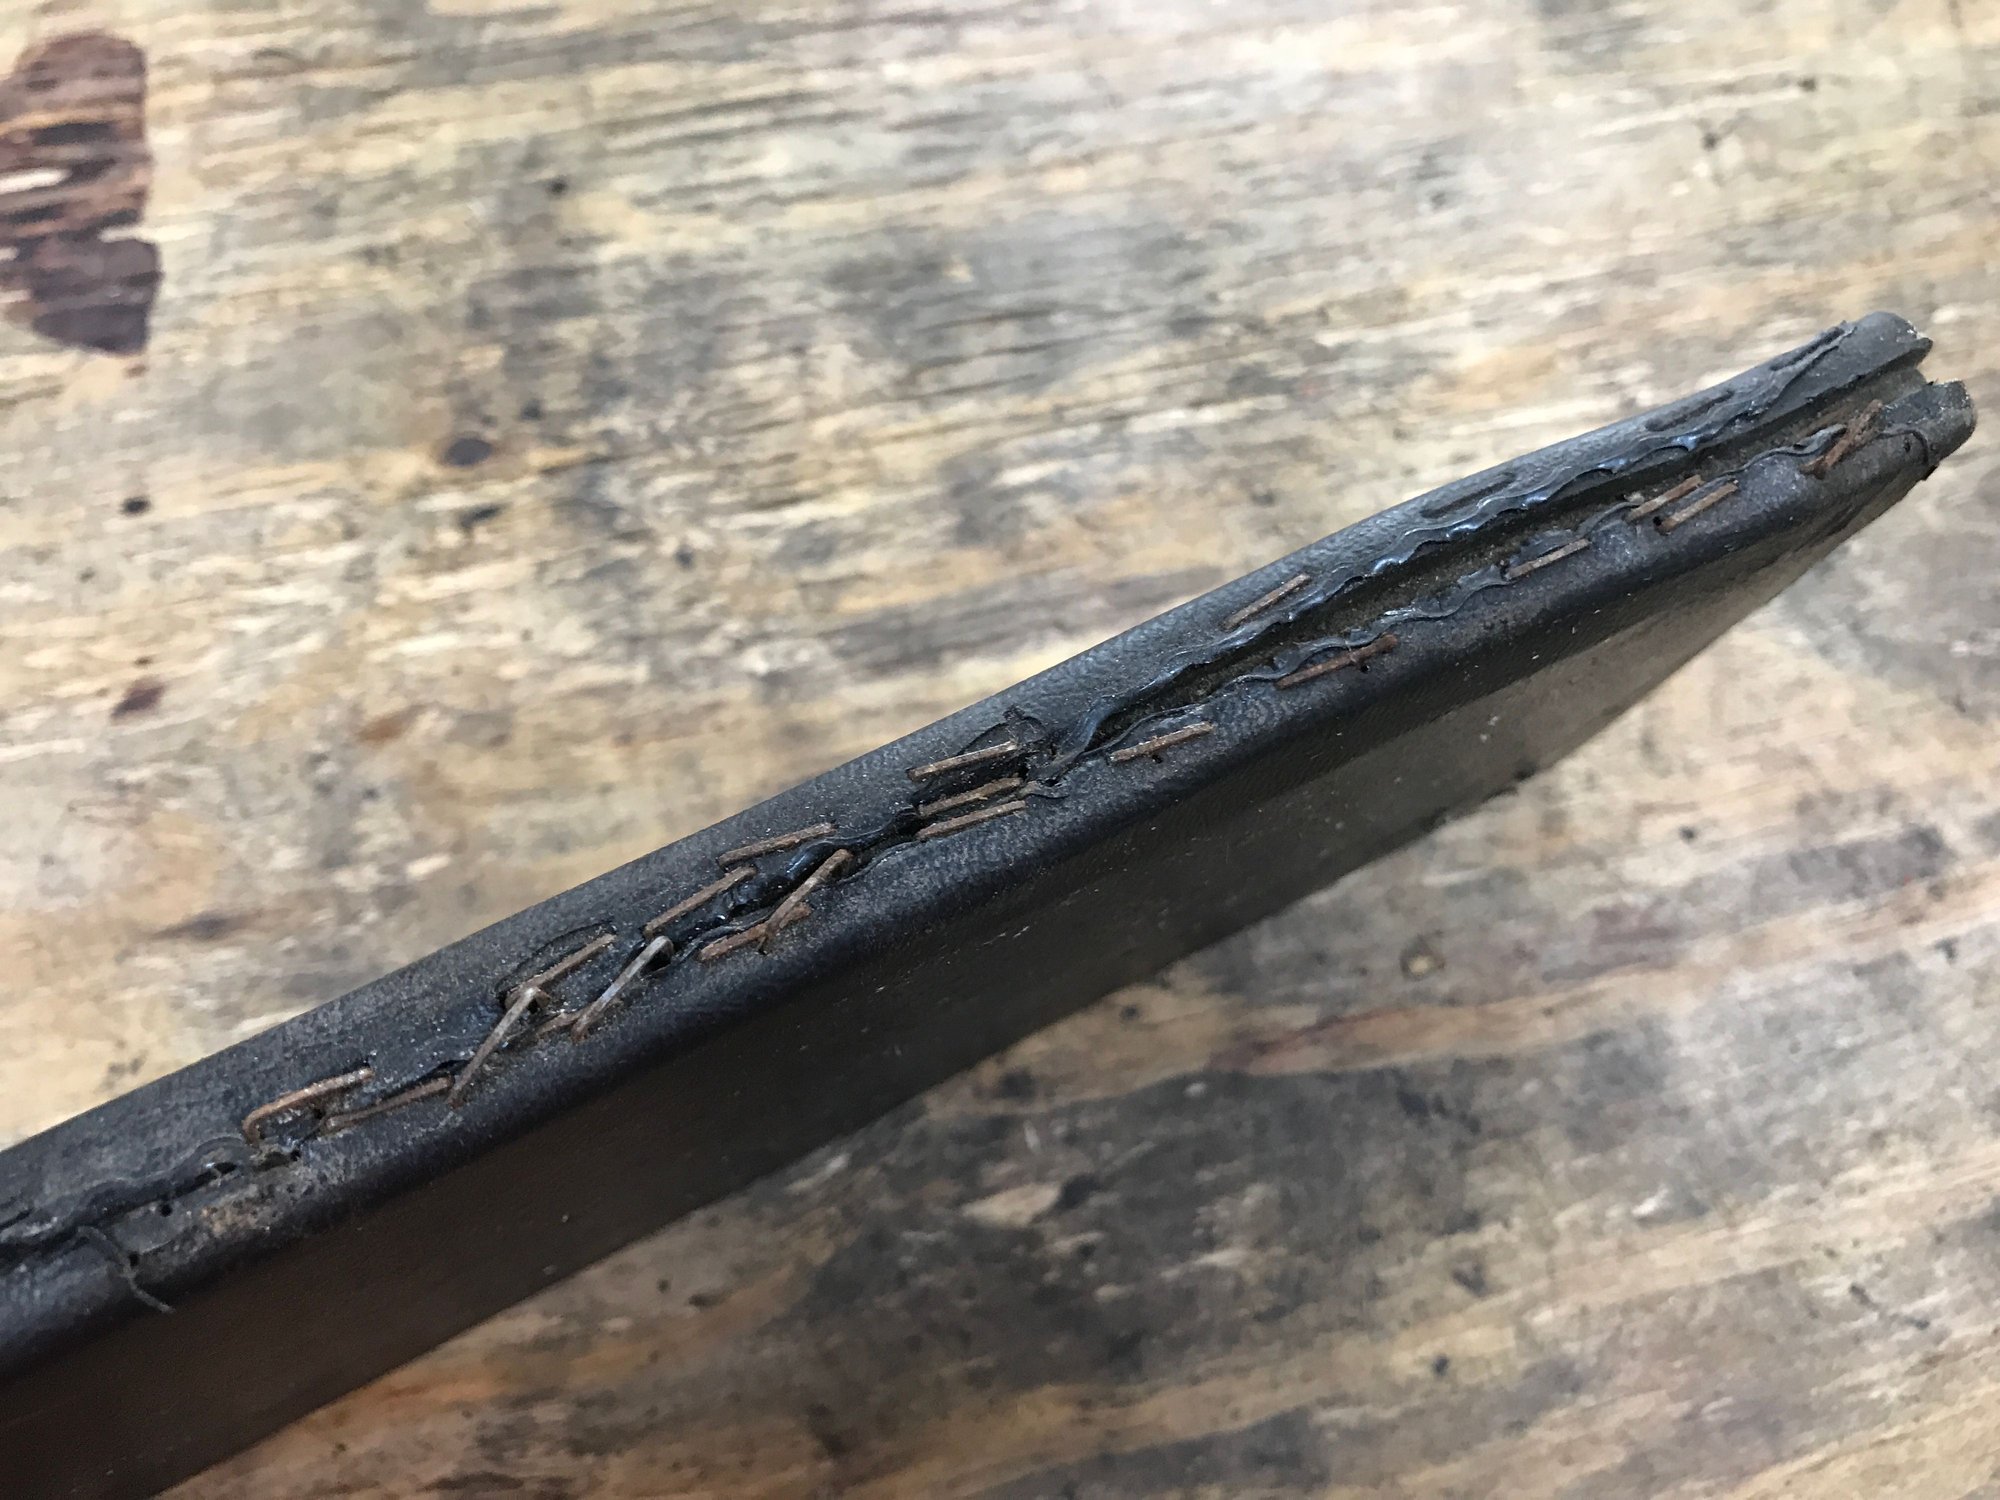
The right side has a creative PO edge repair.
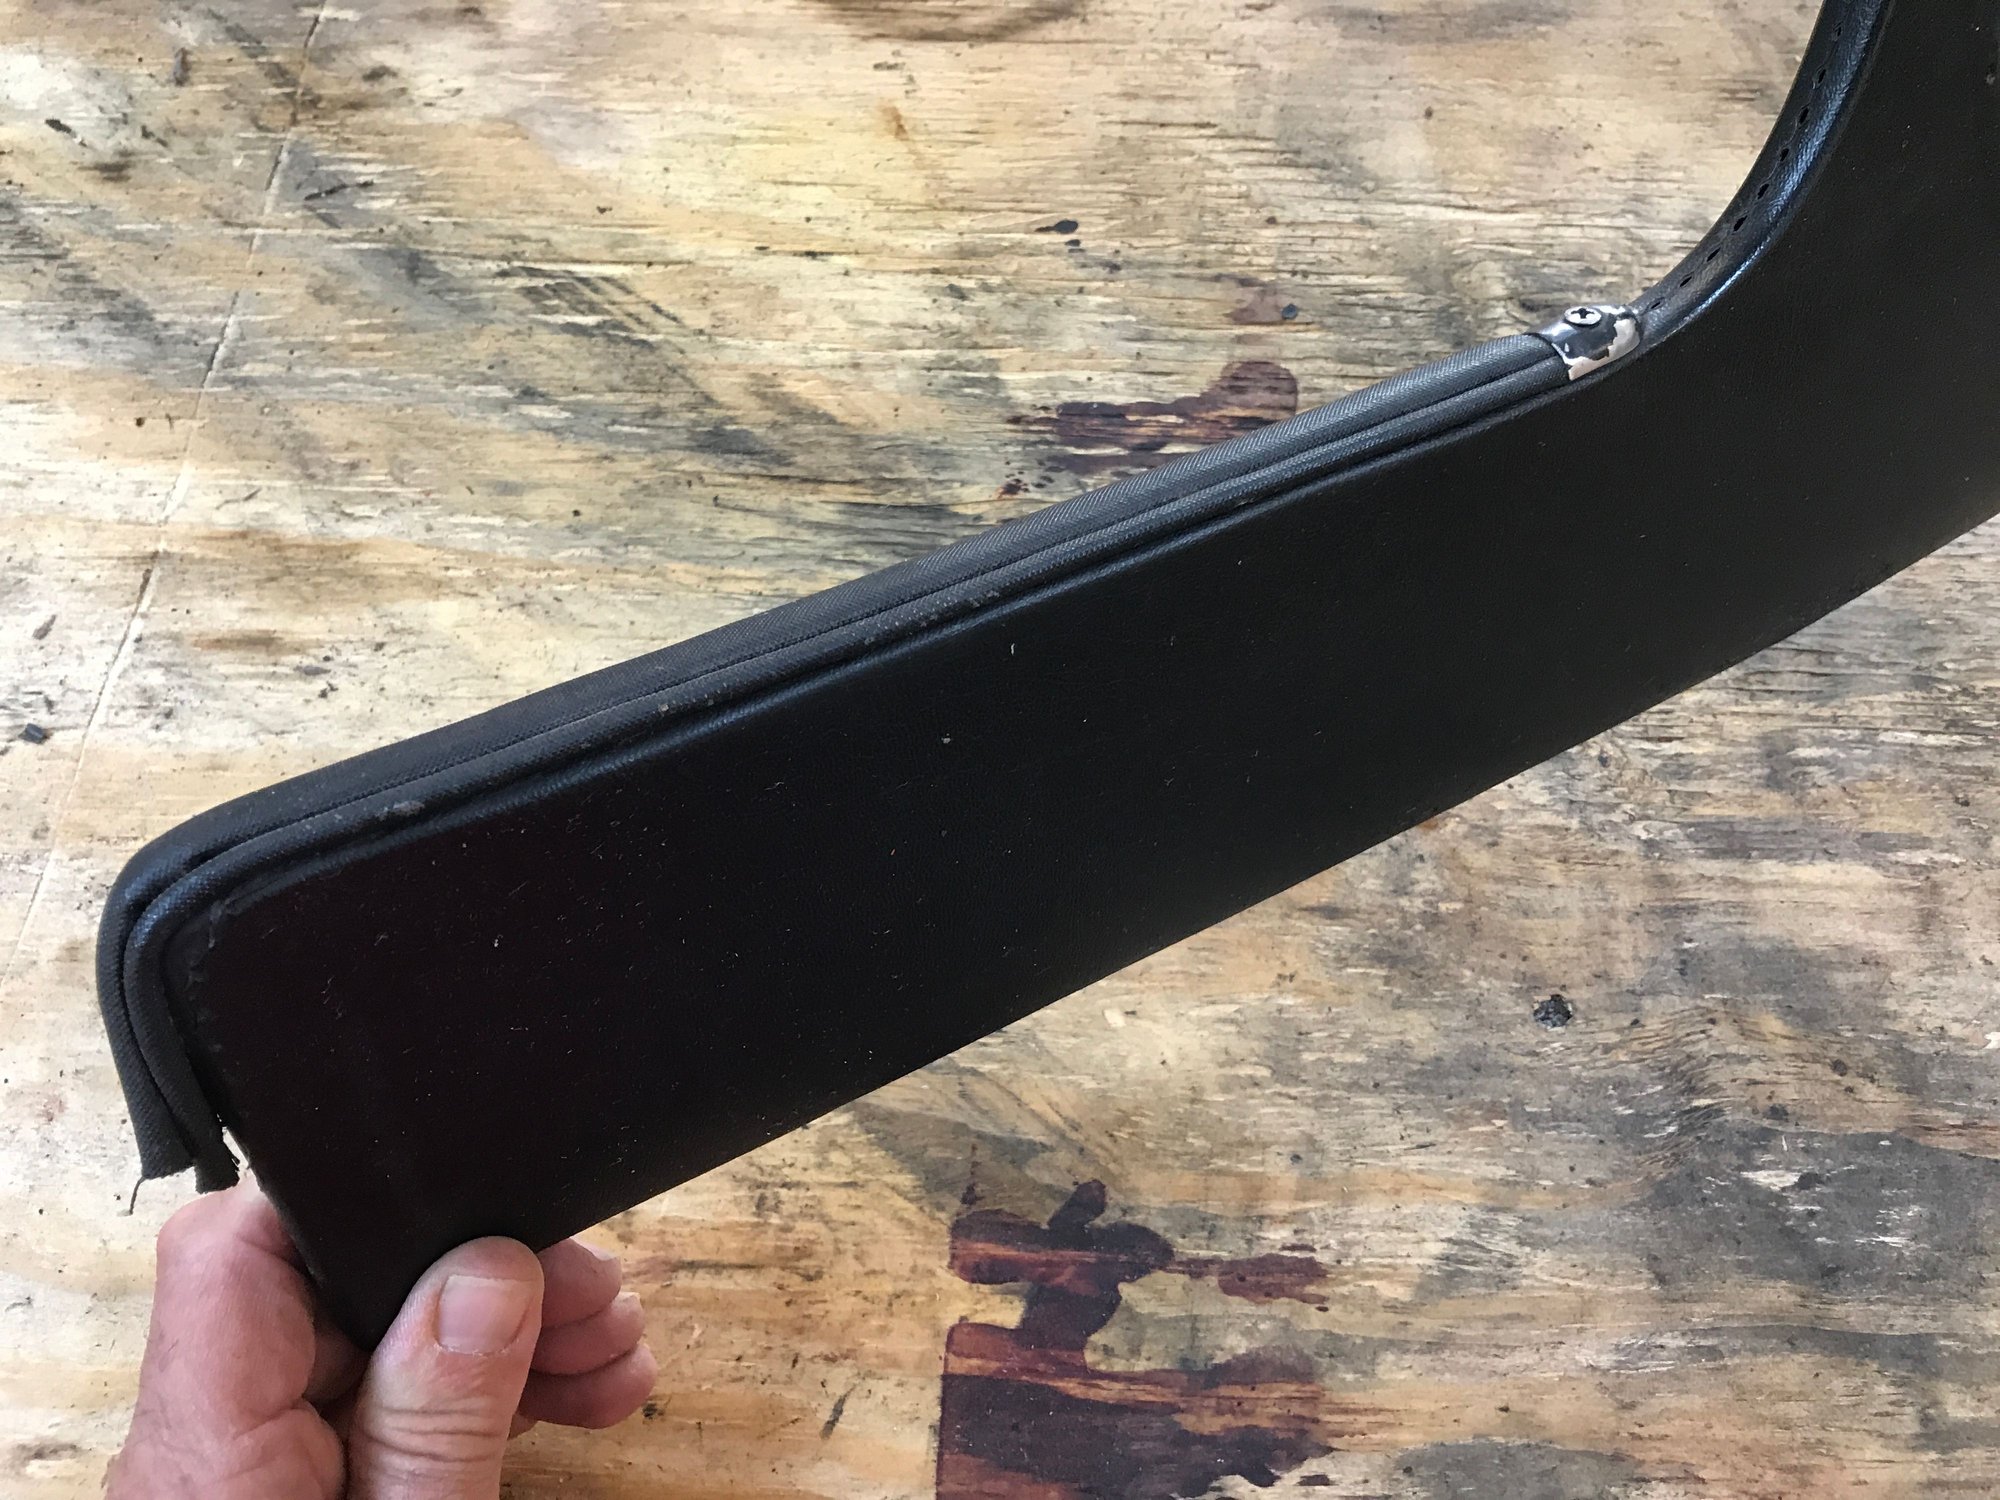
Under that trim strip was some creative PO repair.
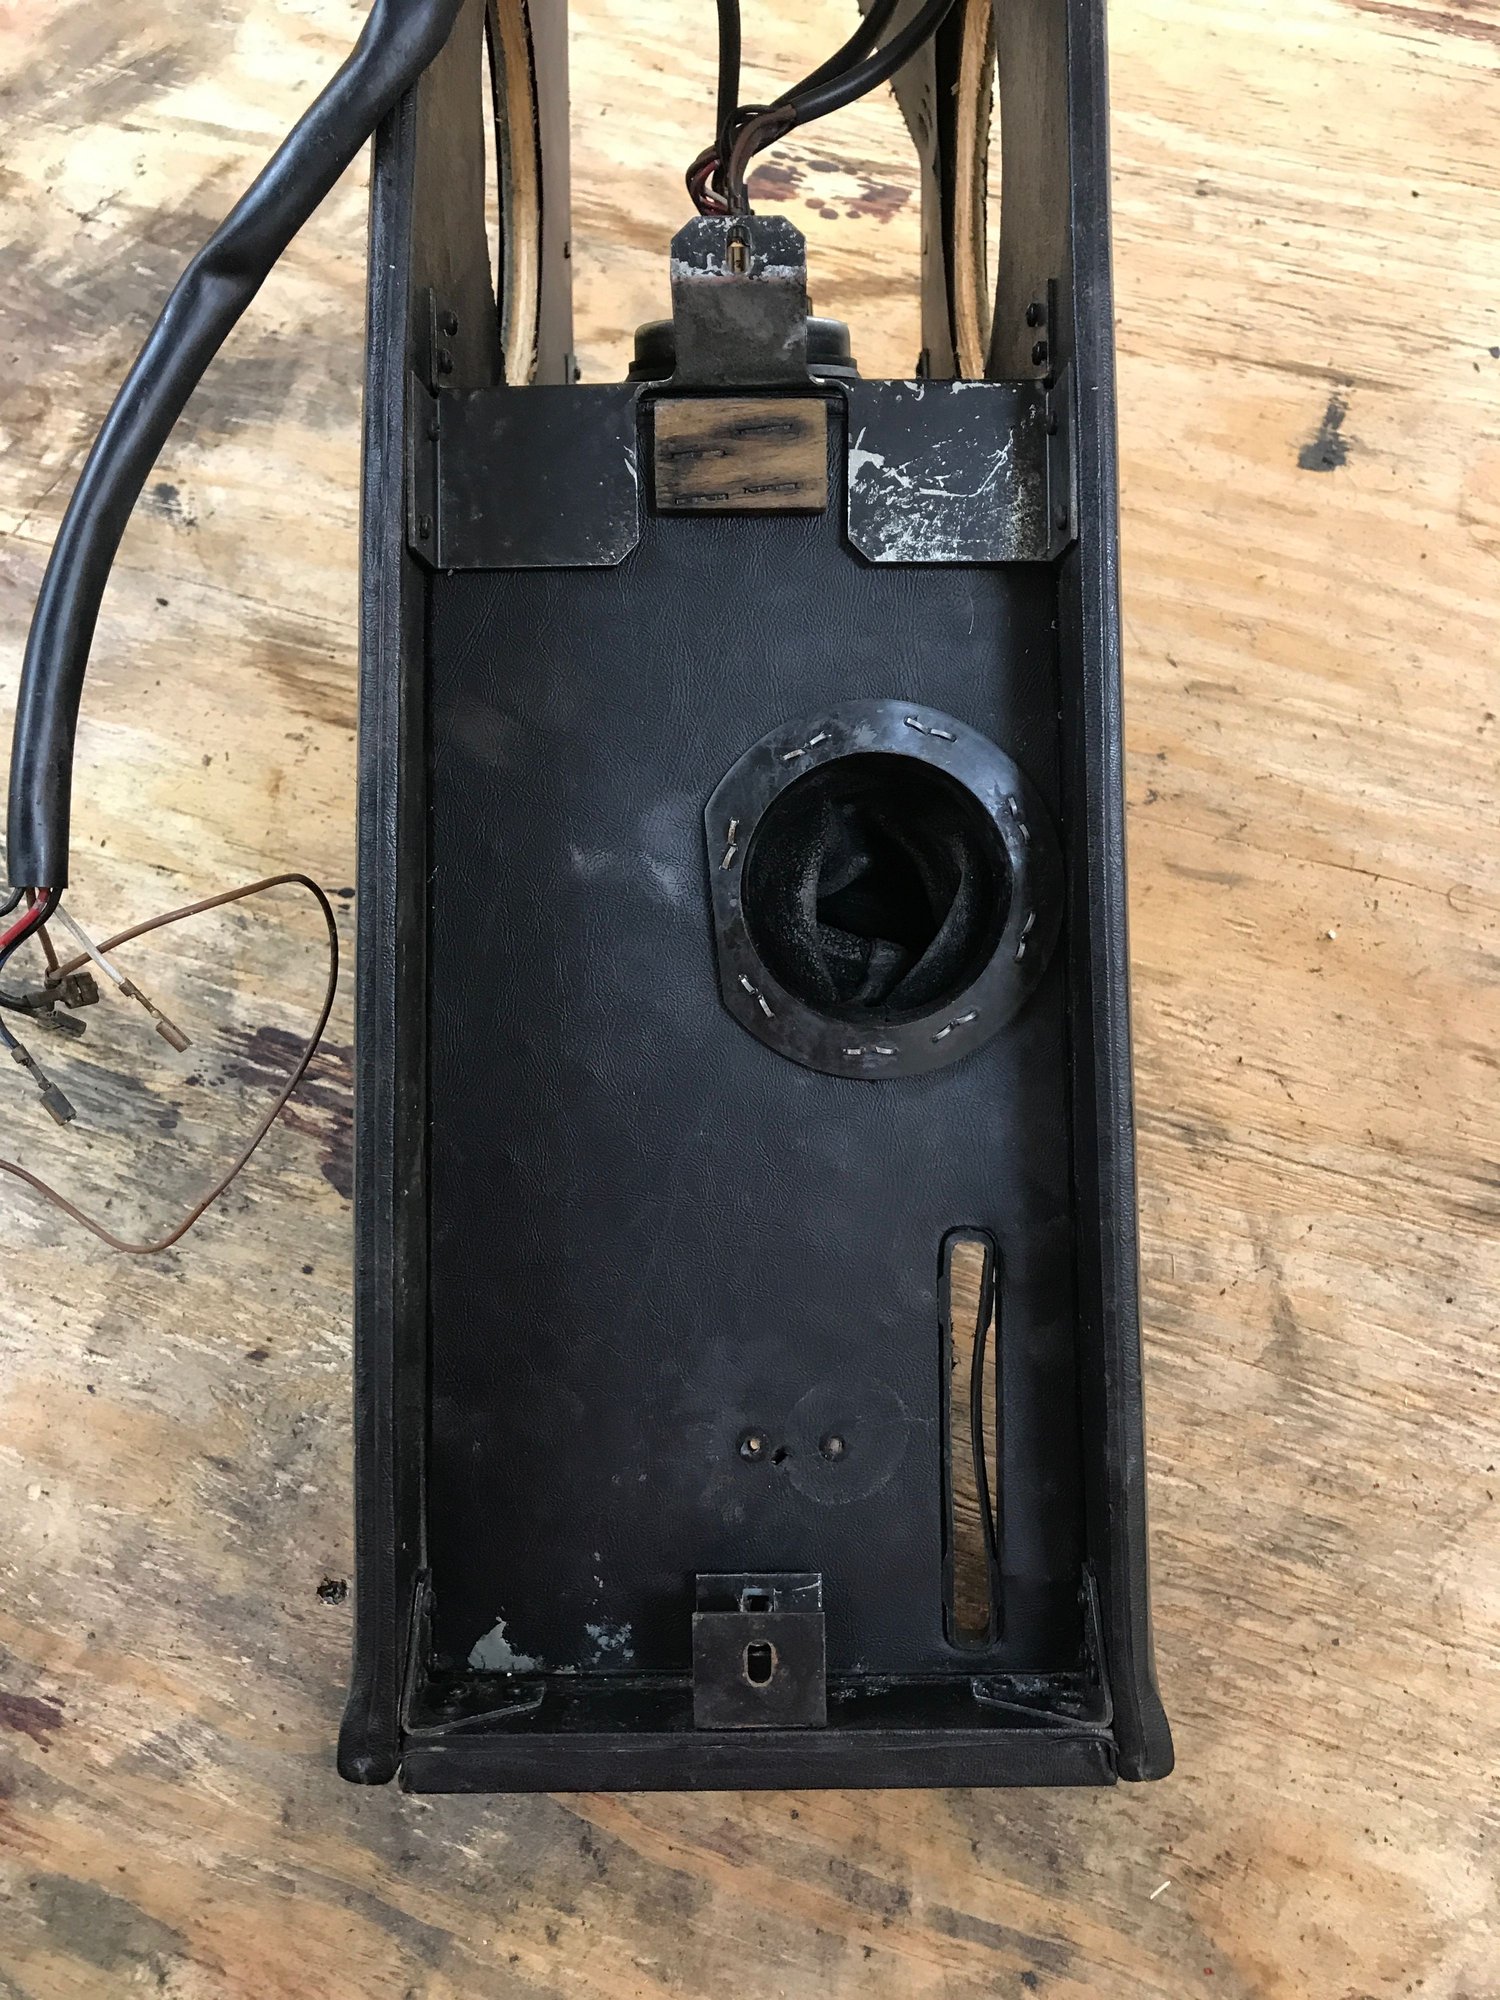
Here are all the panels, ready for repair and recovering.

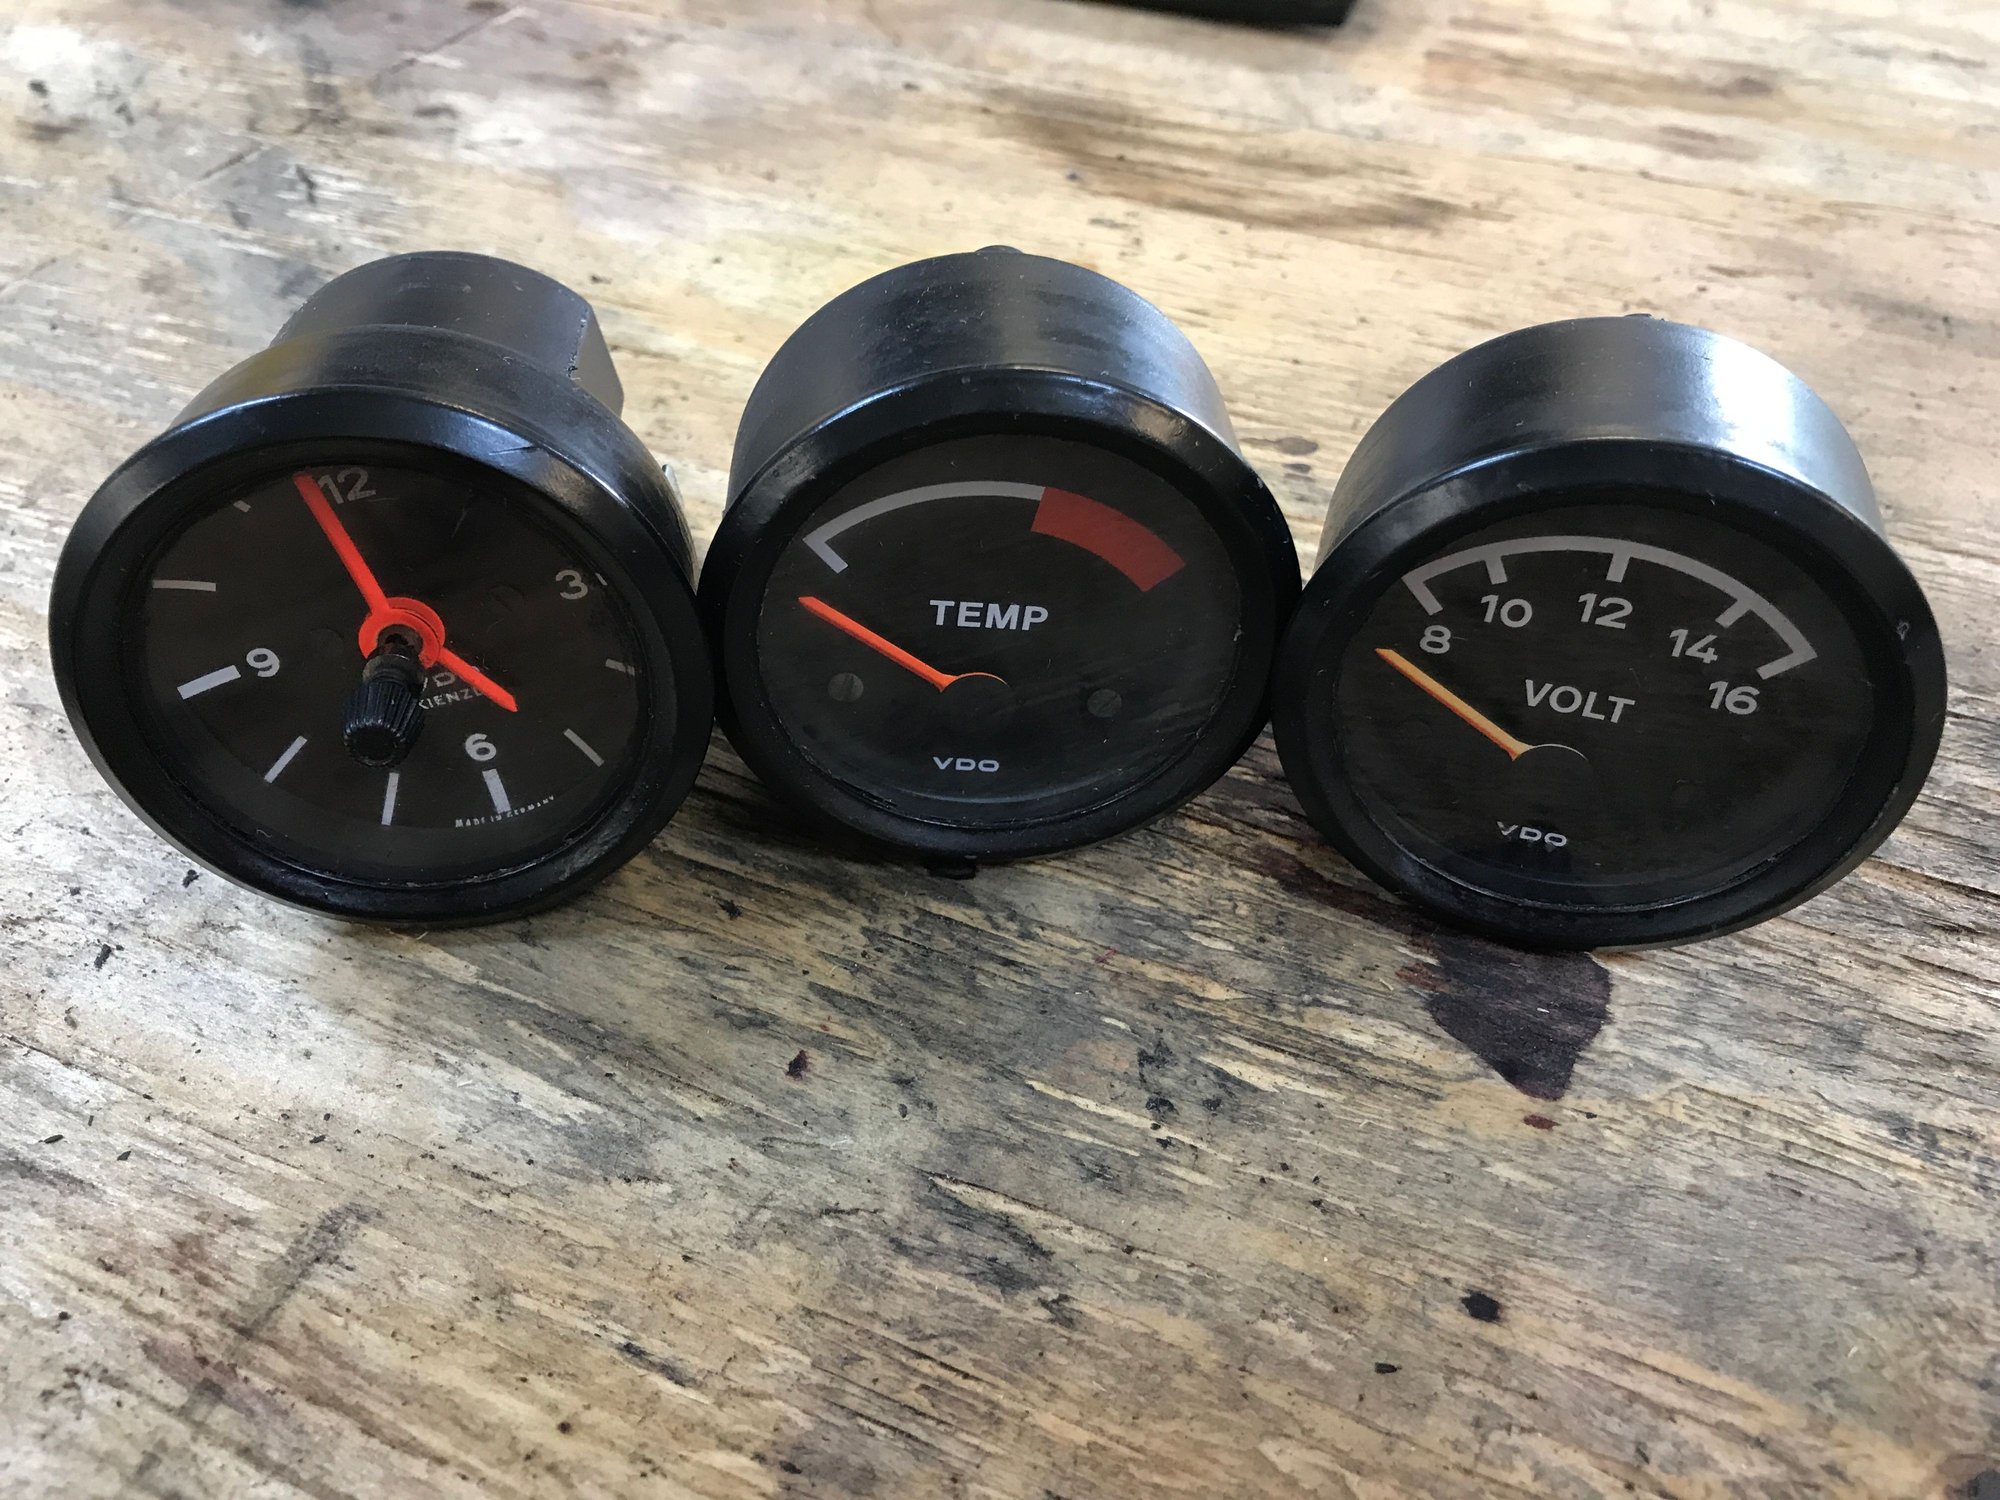
Meanwhile, the gauges look intact from the outside, and the bezel rings have not been opened. But the temp gauge has something loose inside.

All the stock hardware is in place.

The right side has a creative PO edge repair.

Under that trim strip was some creative PO repair.

Here are all the panels, ready for repair and recovering.

Meanwhile, the gauges look intact from the outside, and the bezel rings have not been opened. But the temp gauge has something loose inside.
 08-24-2020, 10:57 PM
#613
RL Community Team
Rennlist Member
Rennlist Member
 08-25-2020, 04:42 PM
#614
Official Wednesday AM Red Bull F1 test driver
Rennlist Member
Rennlist Member
Can't find my pix and I'm not at my shop but I cut down the corners of the console on my '73 to make it have a smaller footprint- also sent the oil temp gauge to North Hollywood to have them put real numbers on it with a new sender. Now I actually KNOW the oil temp! Important here in the desert. If you're not interested in "originality" I think it looks cleaner. You'll probably be sending the gauges out anyway so just throw in the oil temp gauge!