

After a 25 Year Break, 914 Ownership Again
 04-18-2020, 10:56 PM
#286
Rennlist Member
Thread Starter
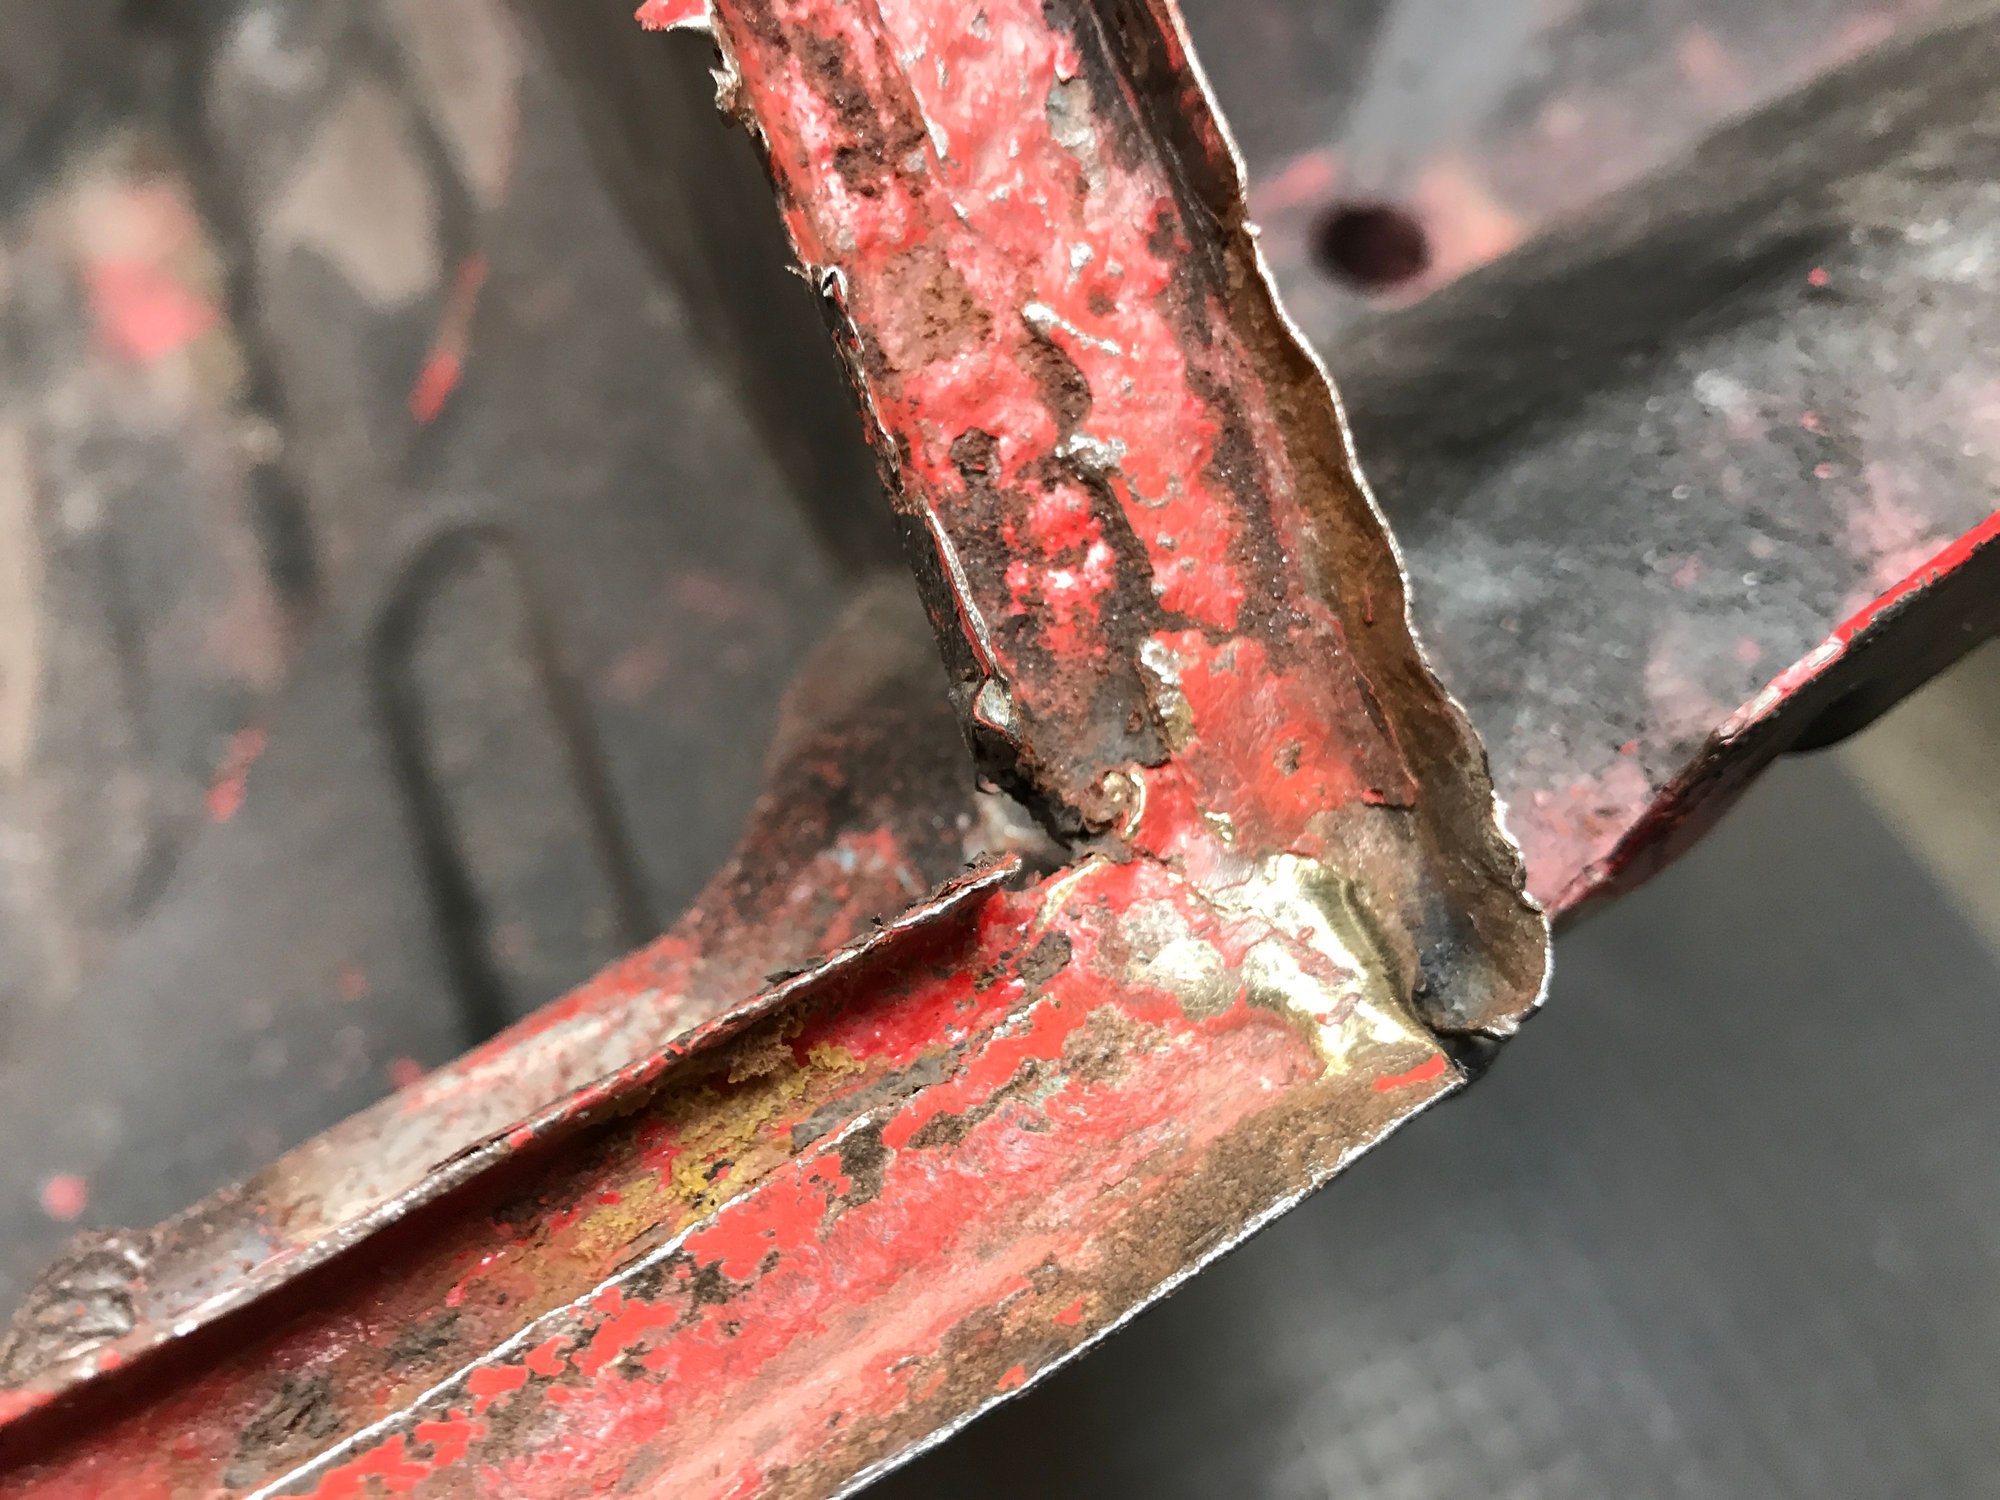
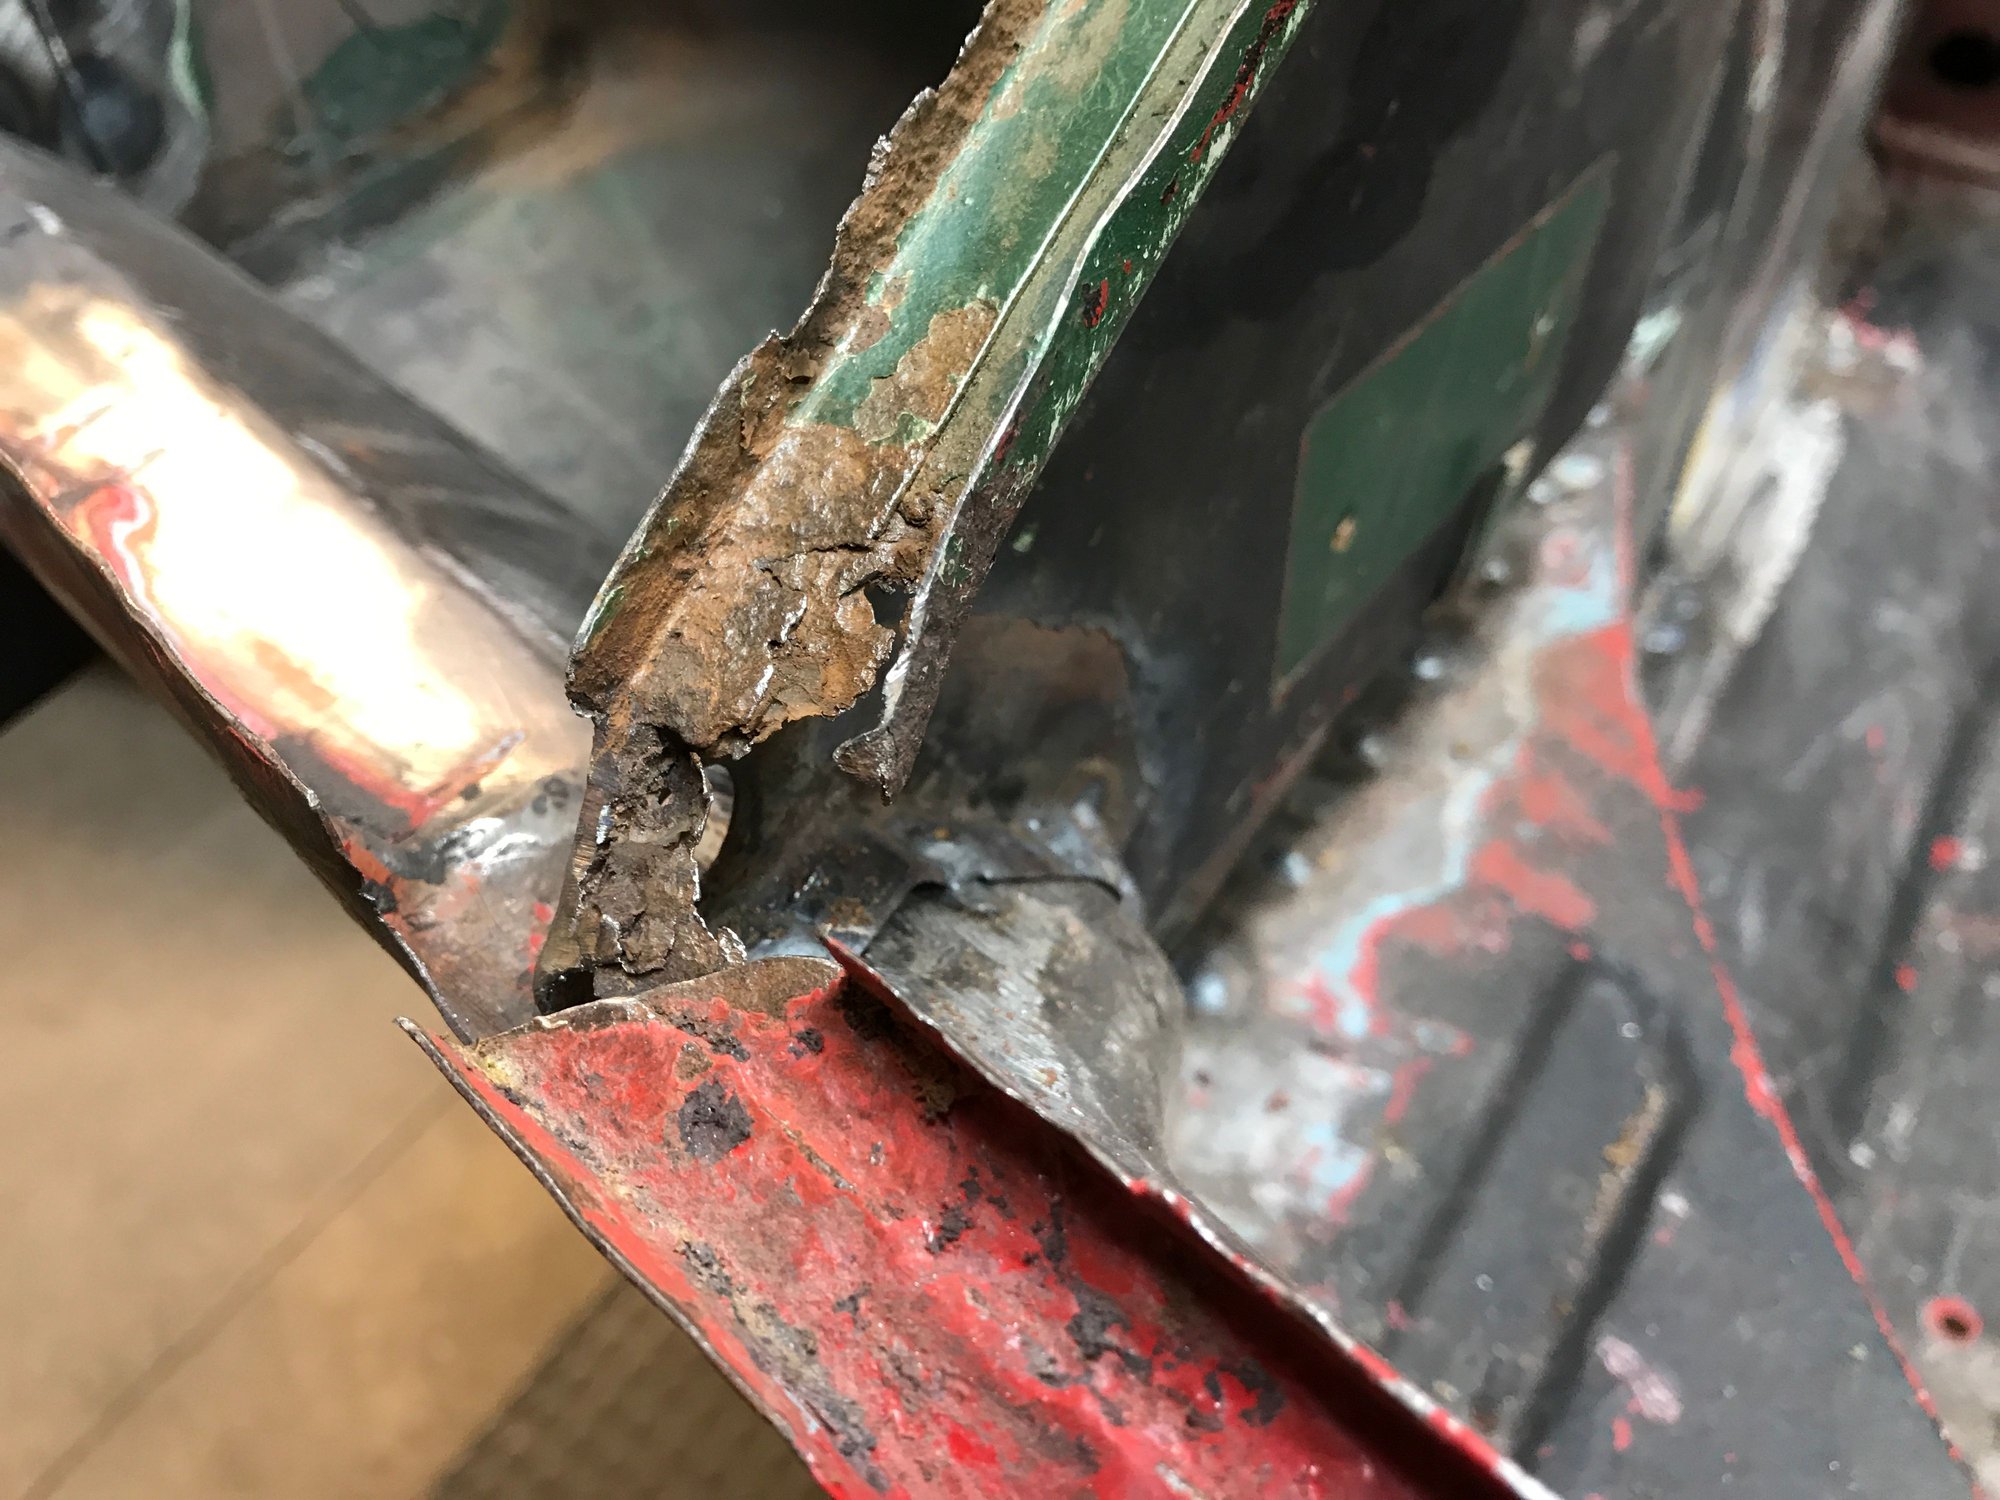
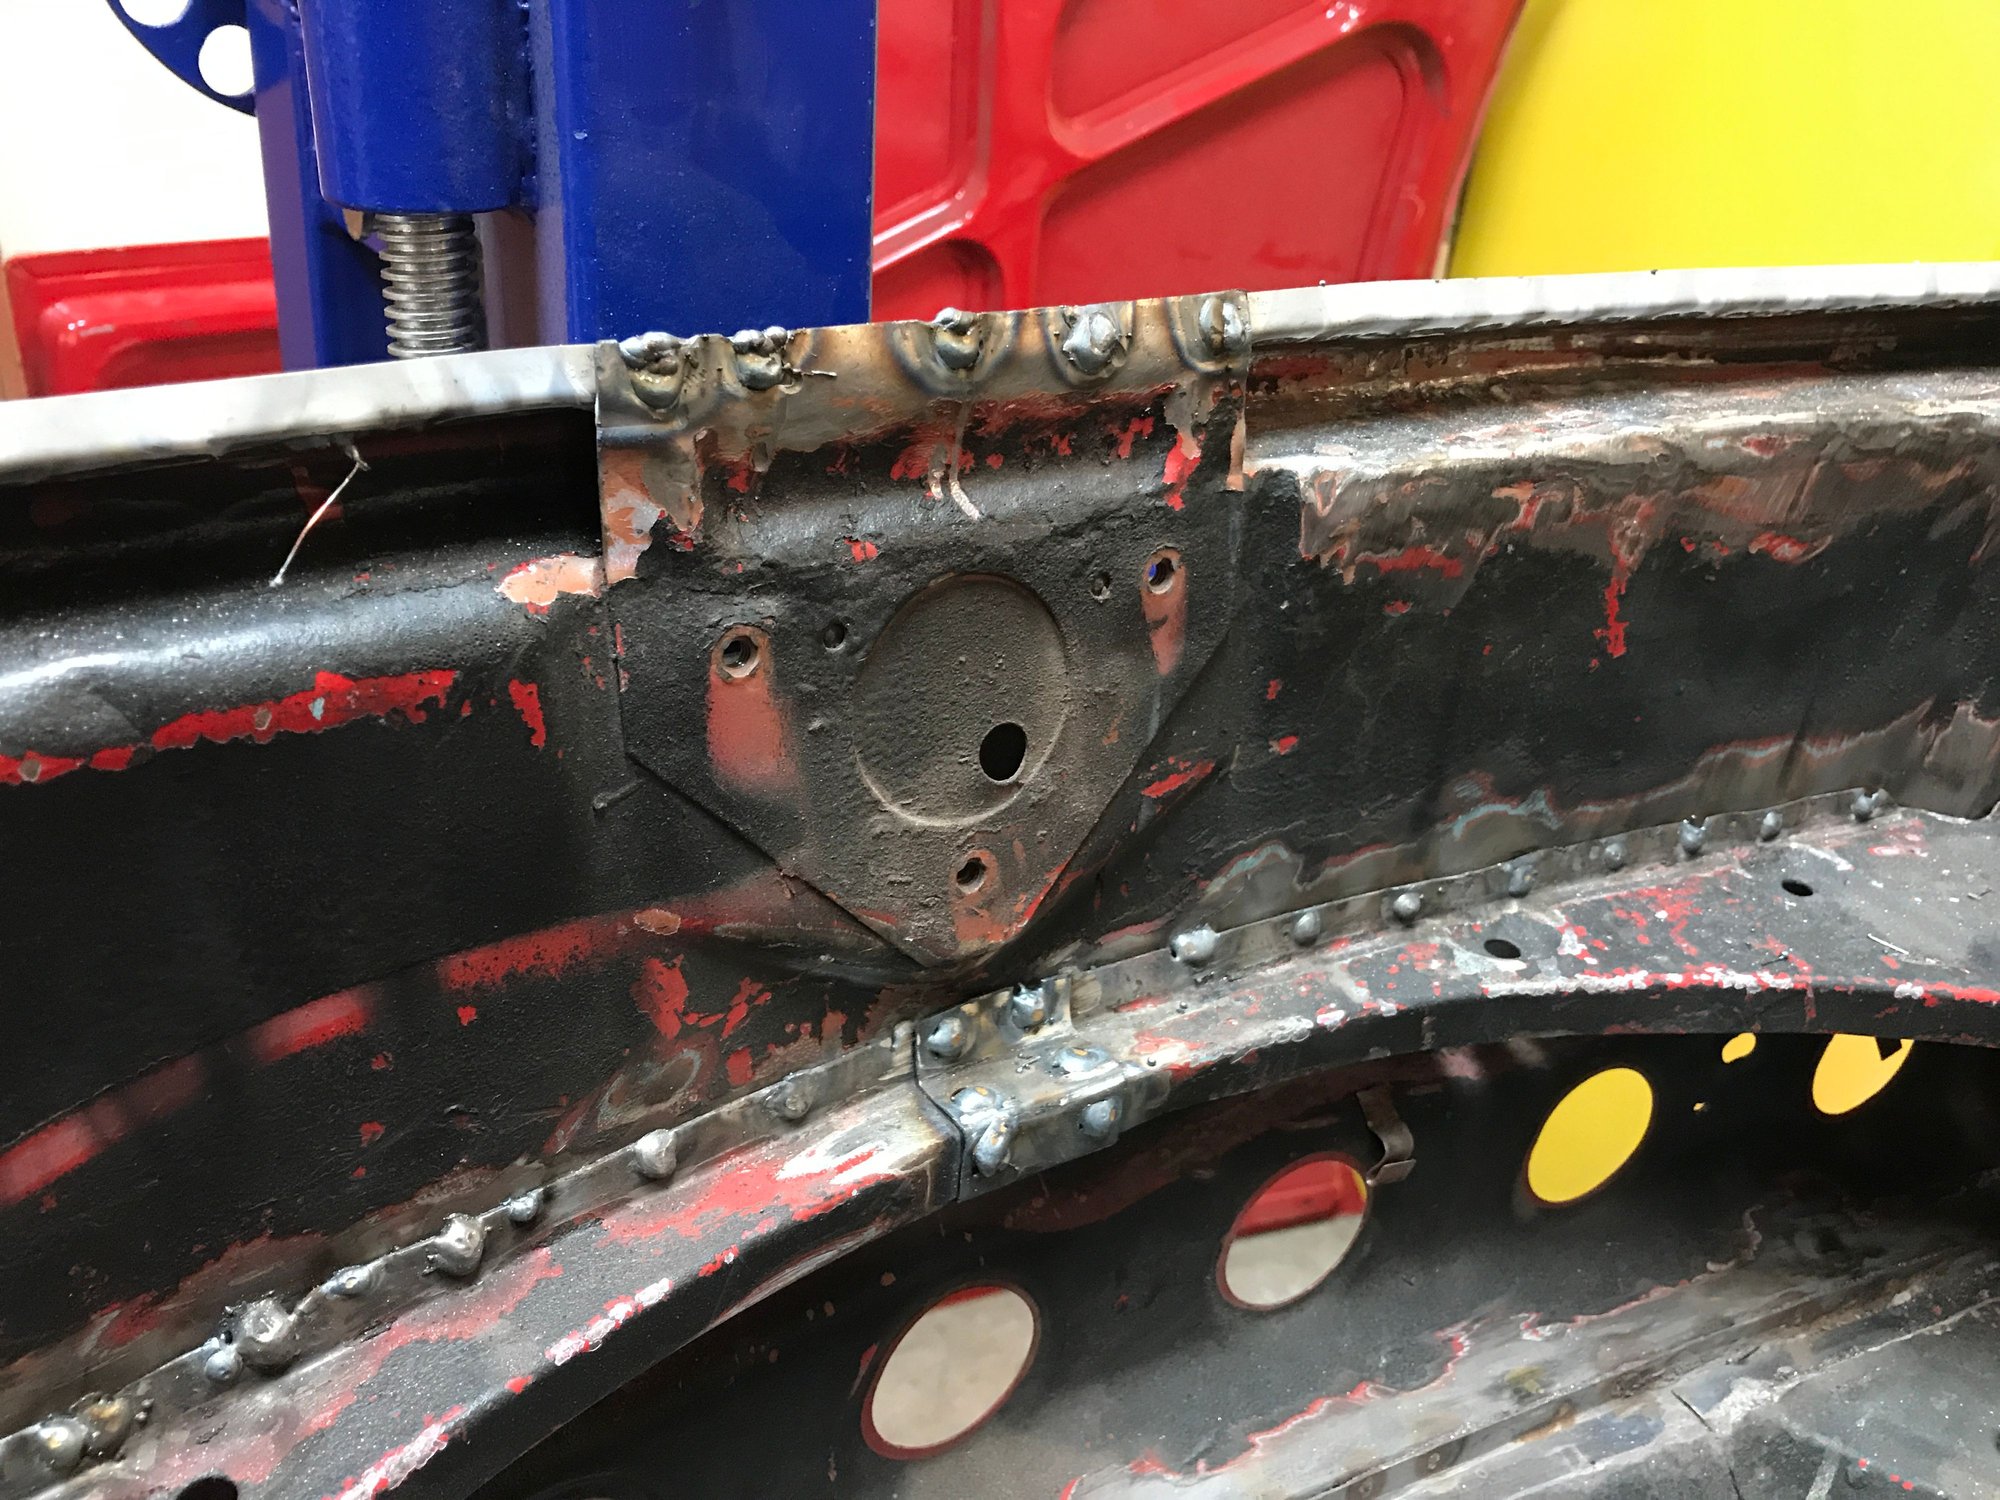
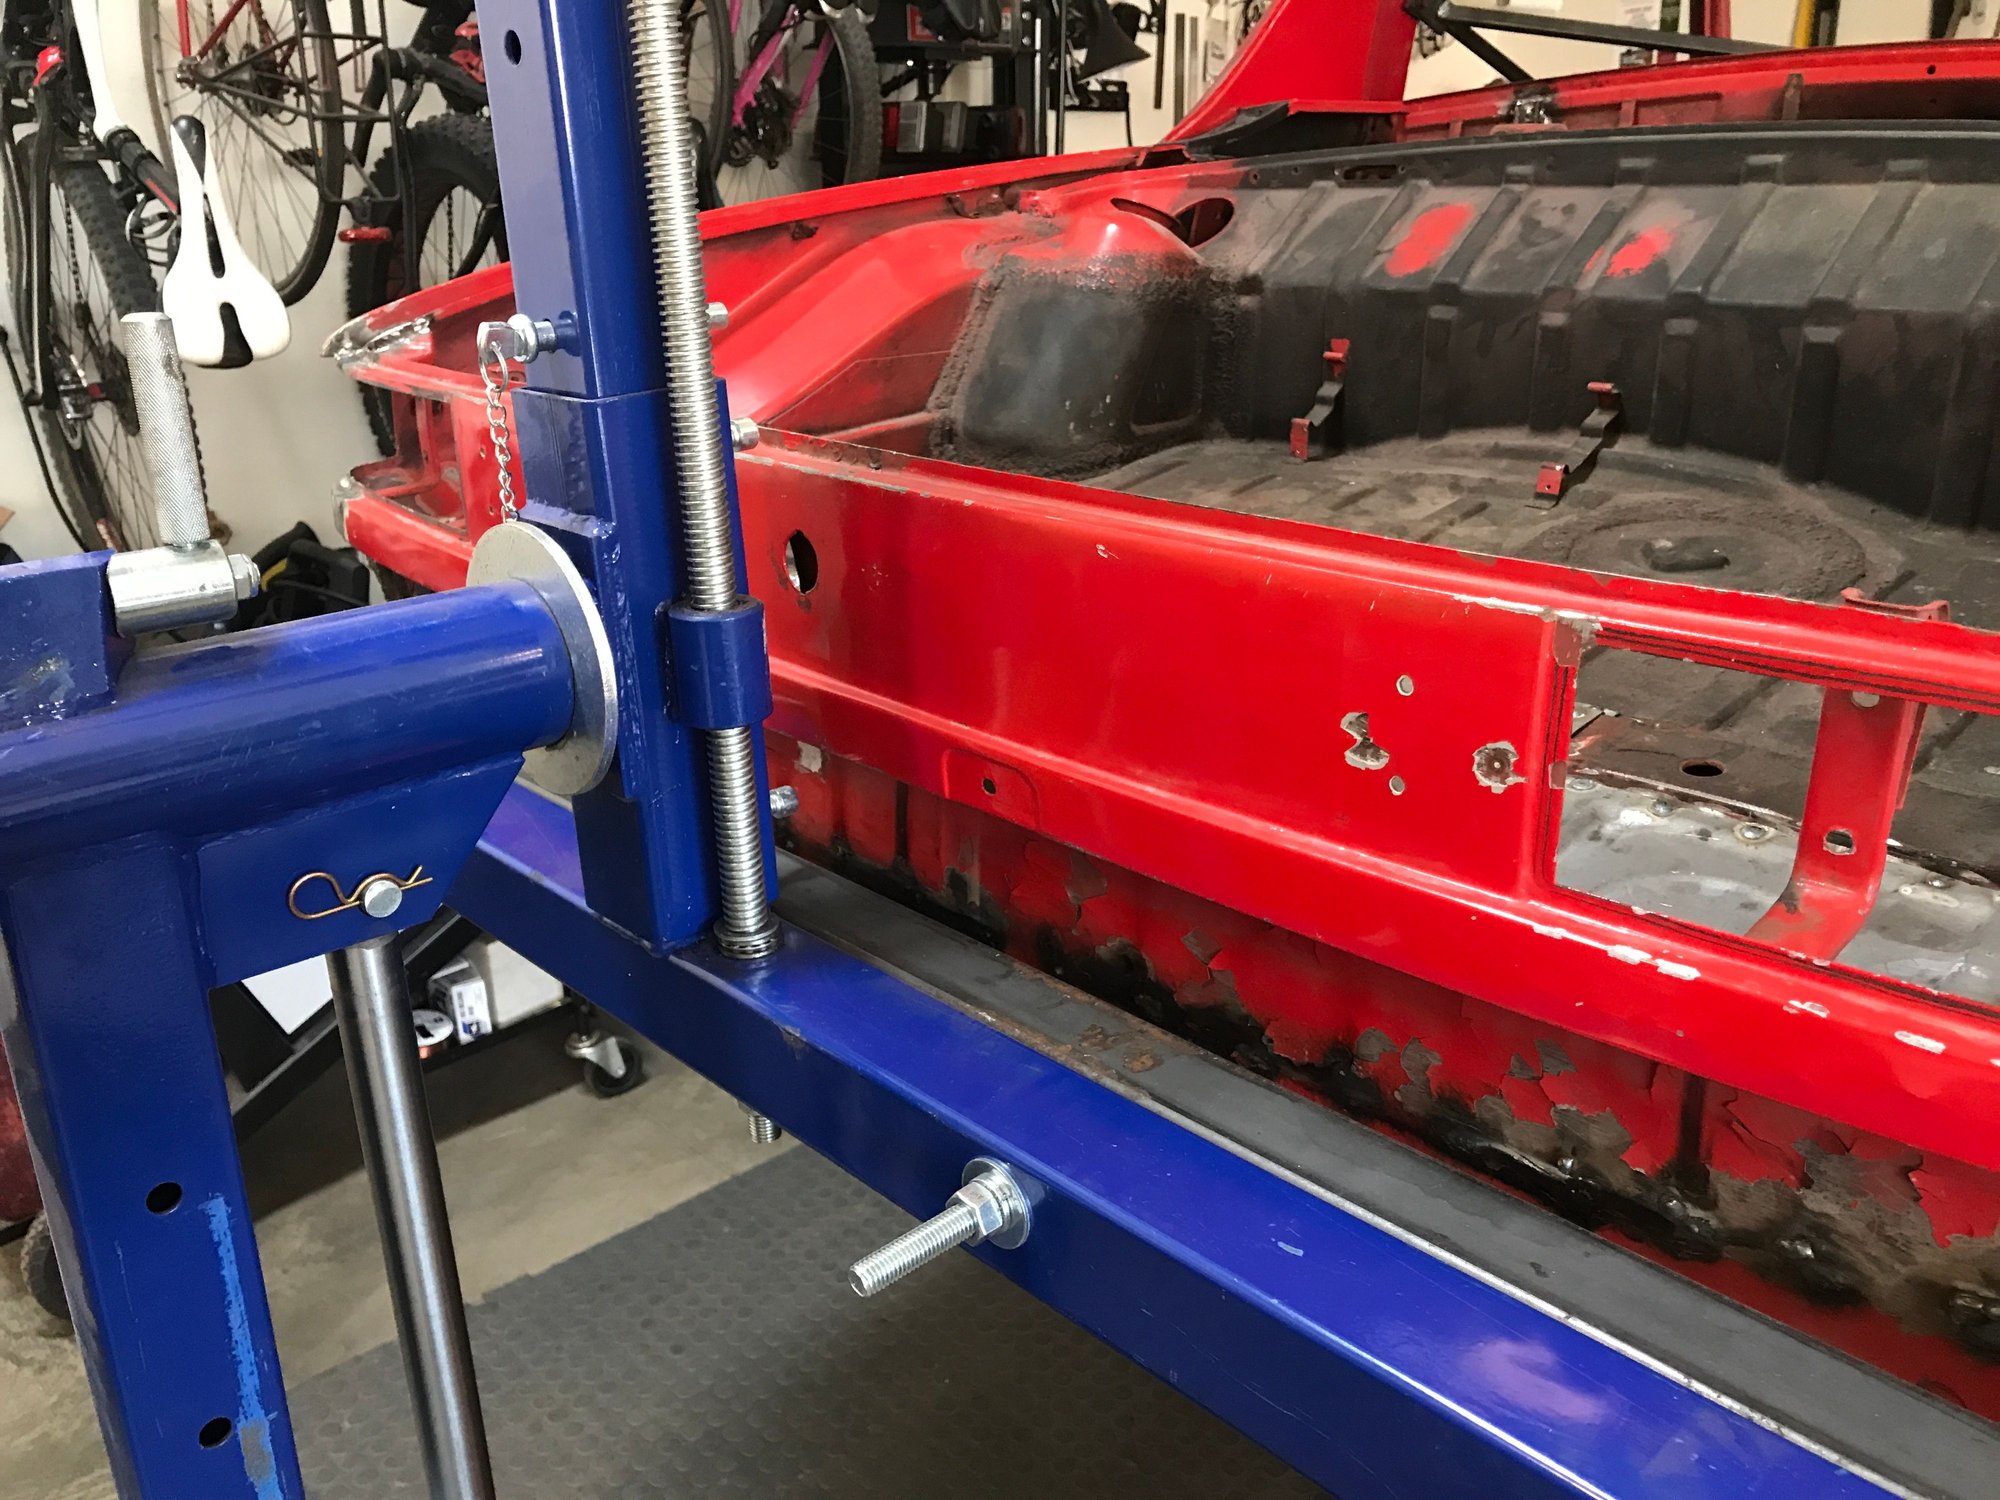
Next up: the weatherstrip channel around the frunk opening. Step 1 is identifying all the segments with significant rust. That includes most of the front edge, and corners around the head light boxes.
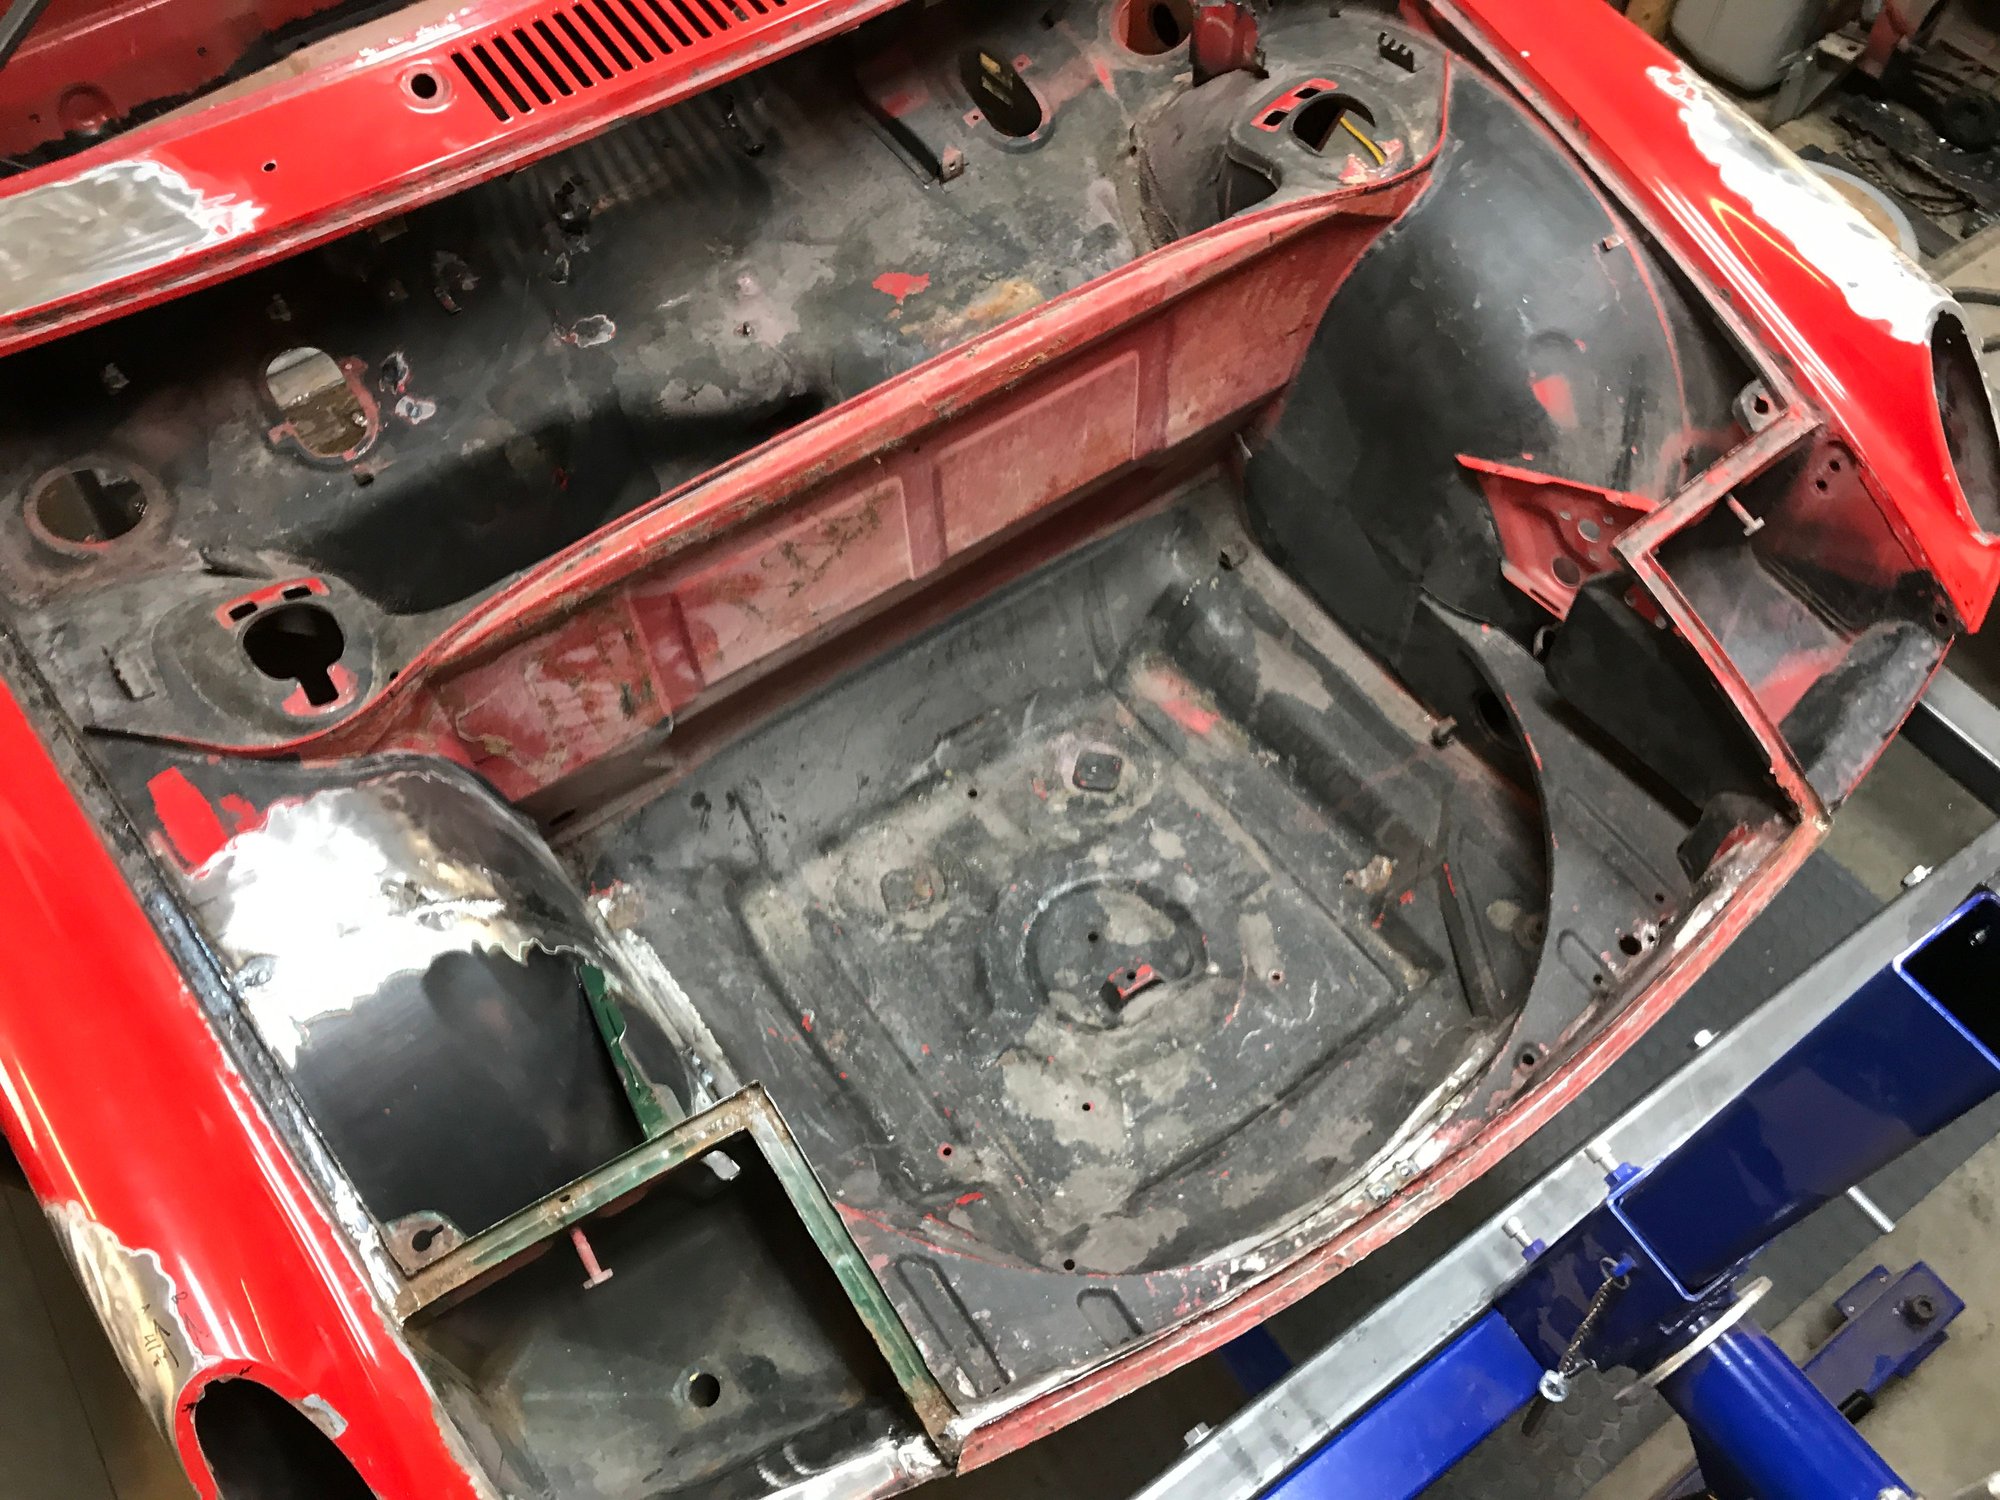
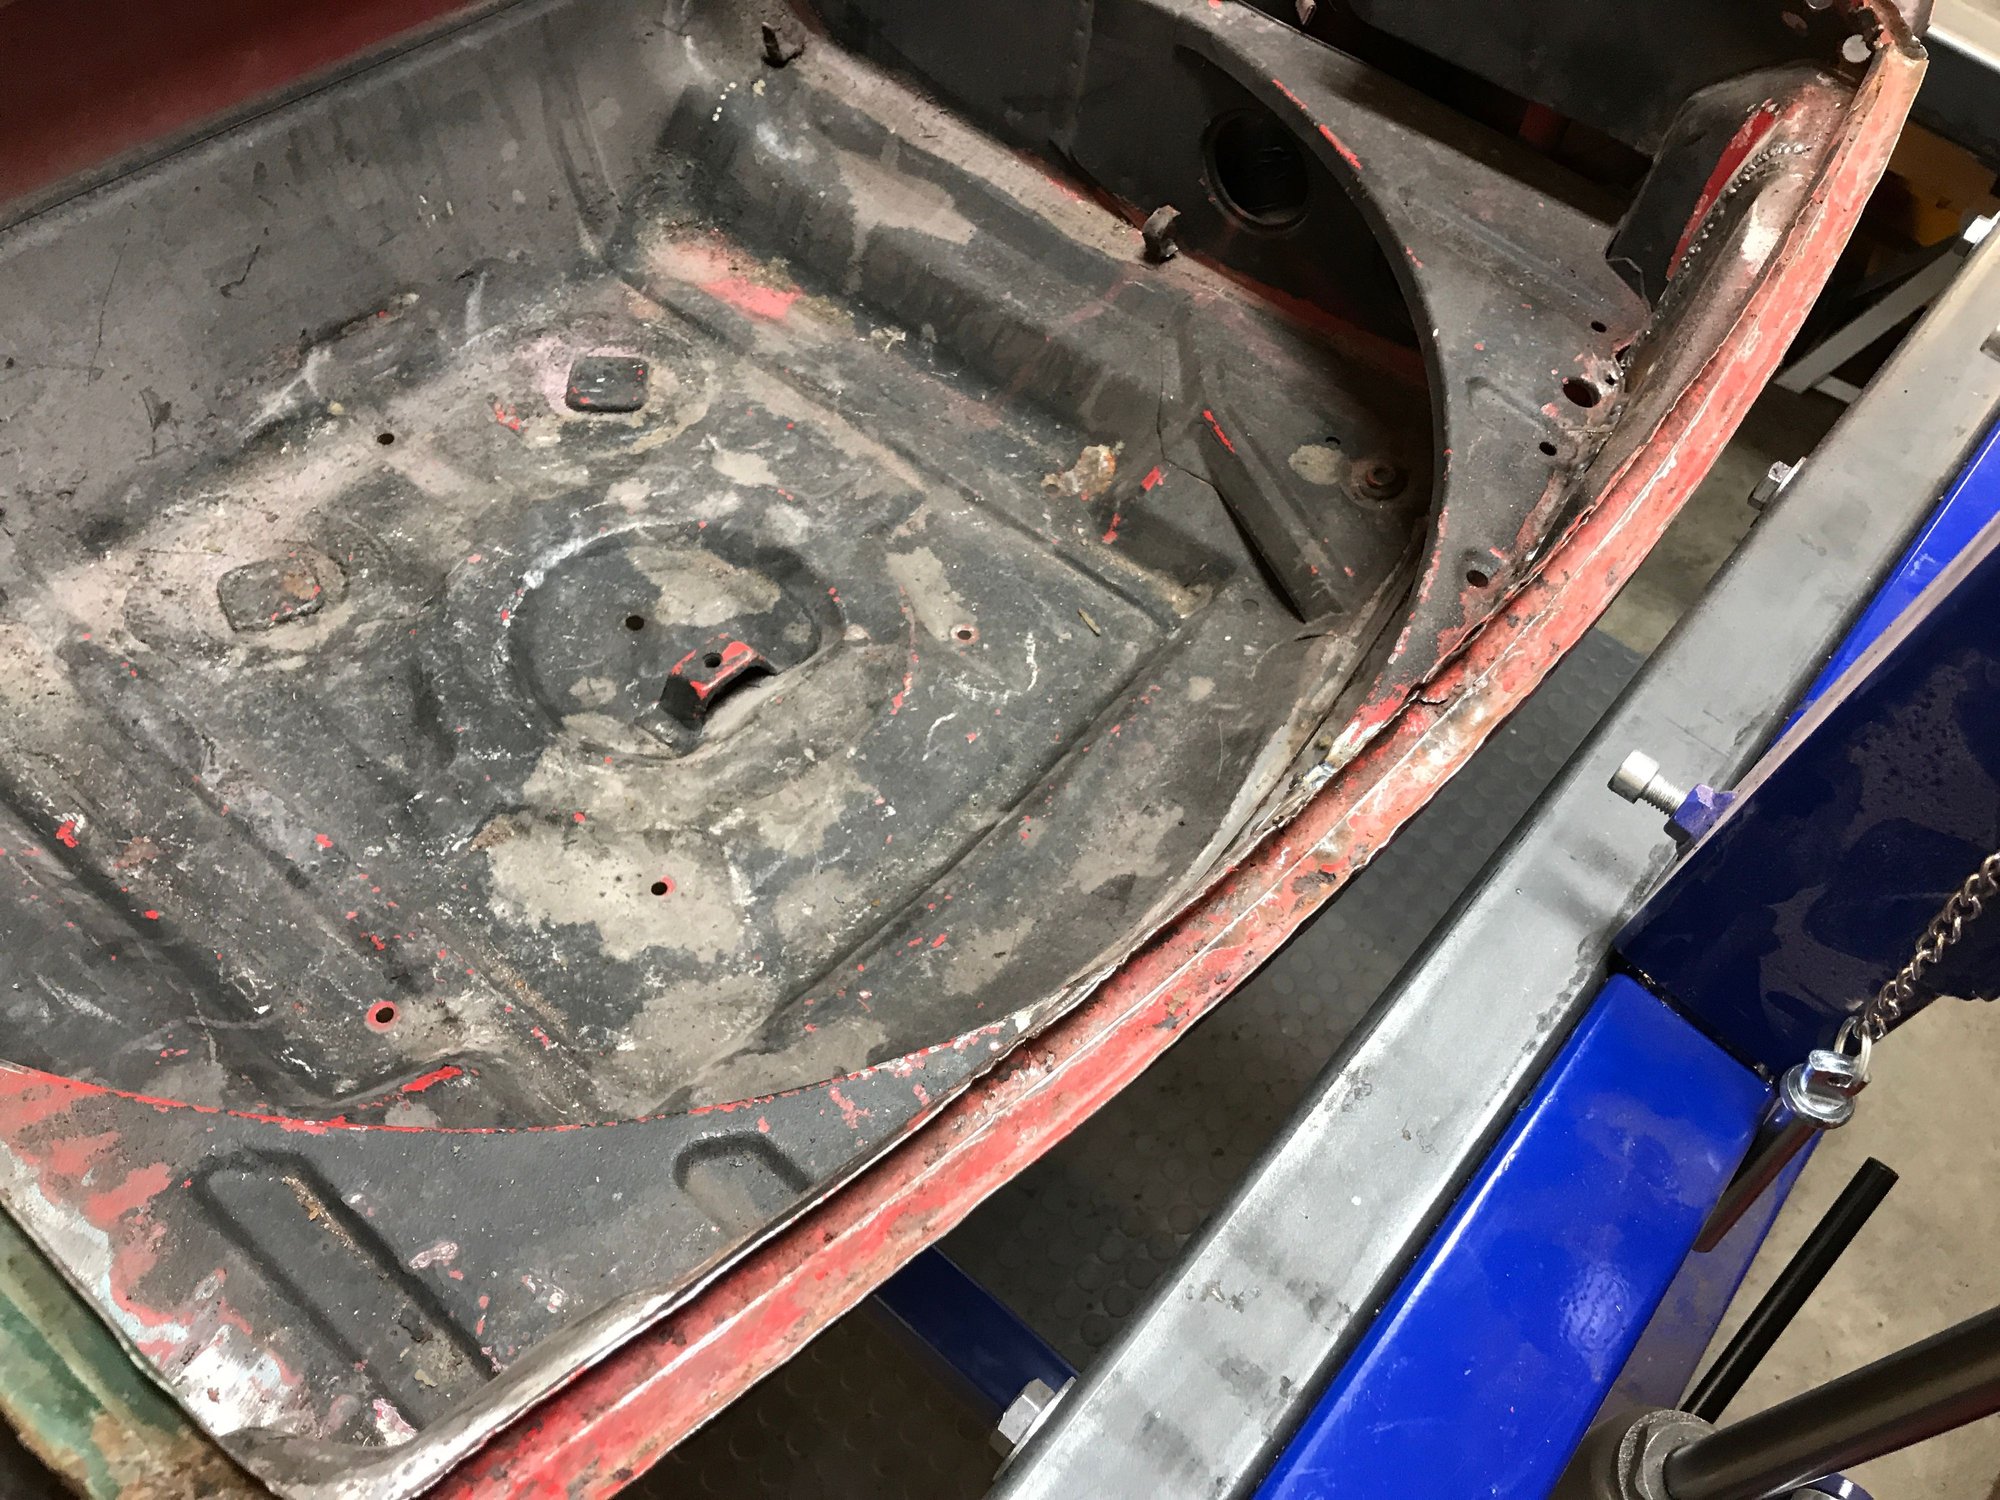
Some close-ups of the worst bits.
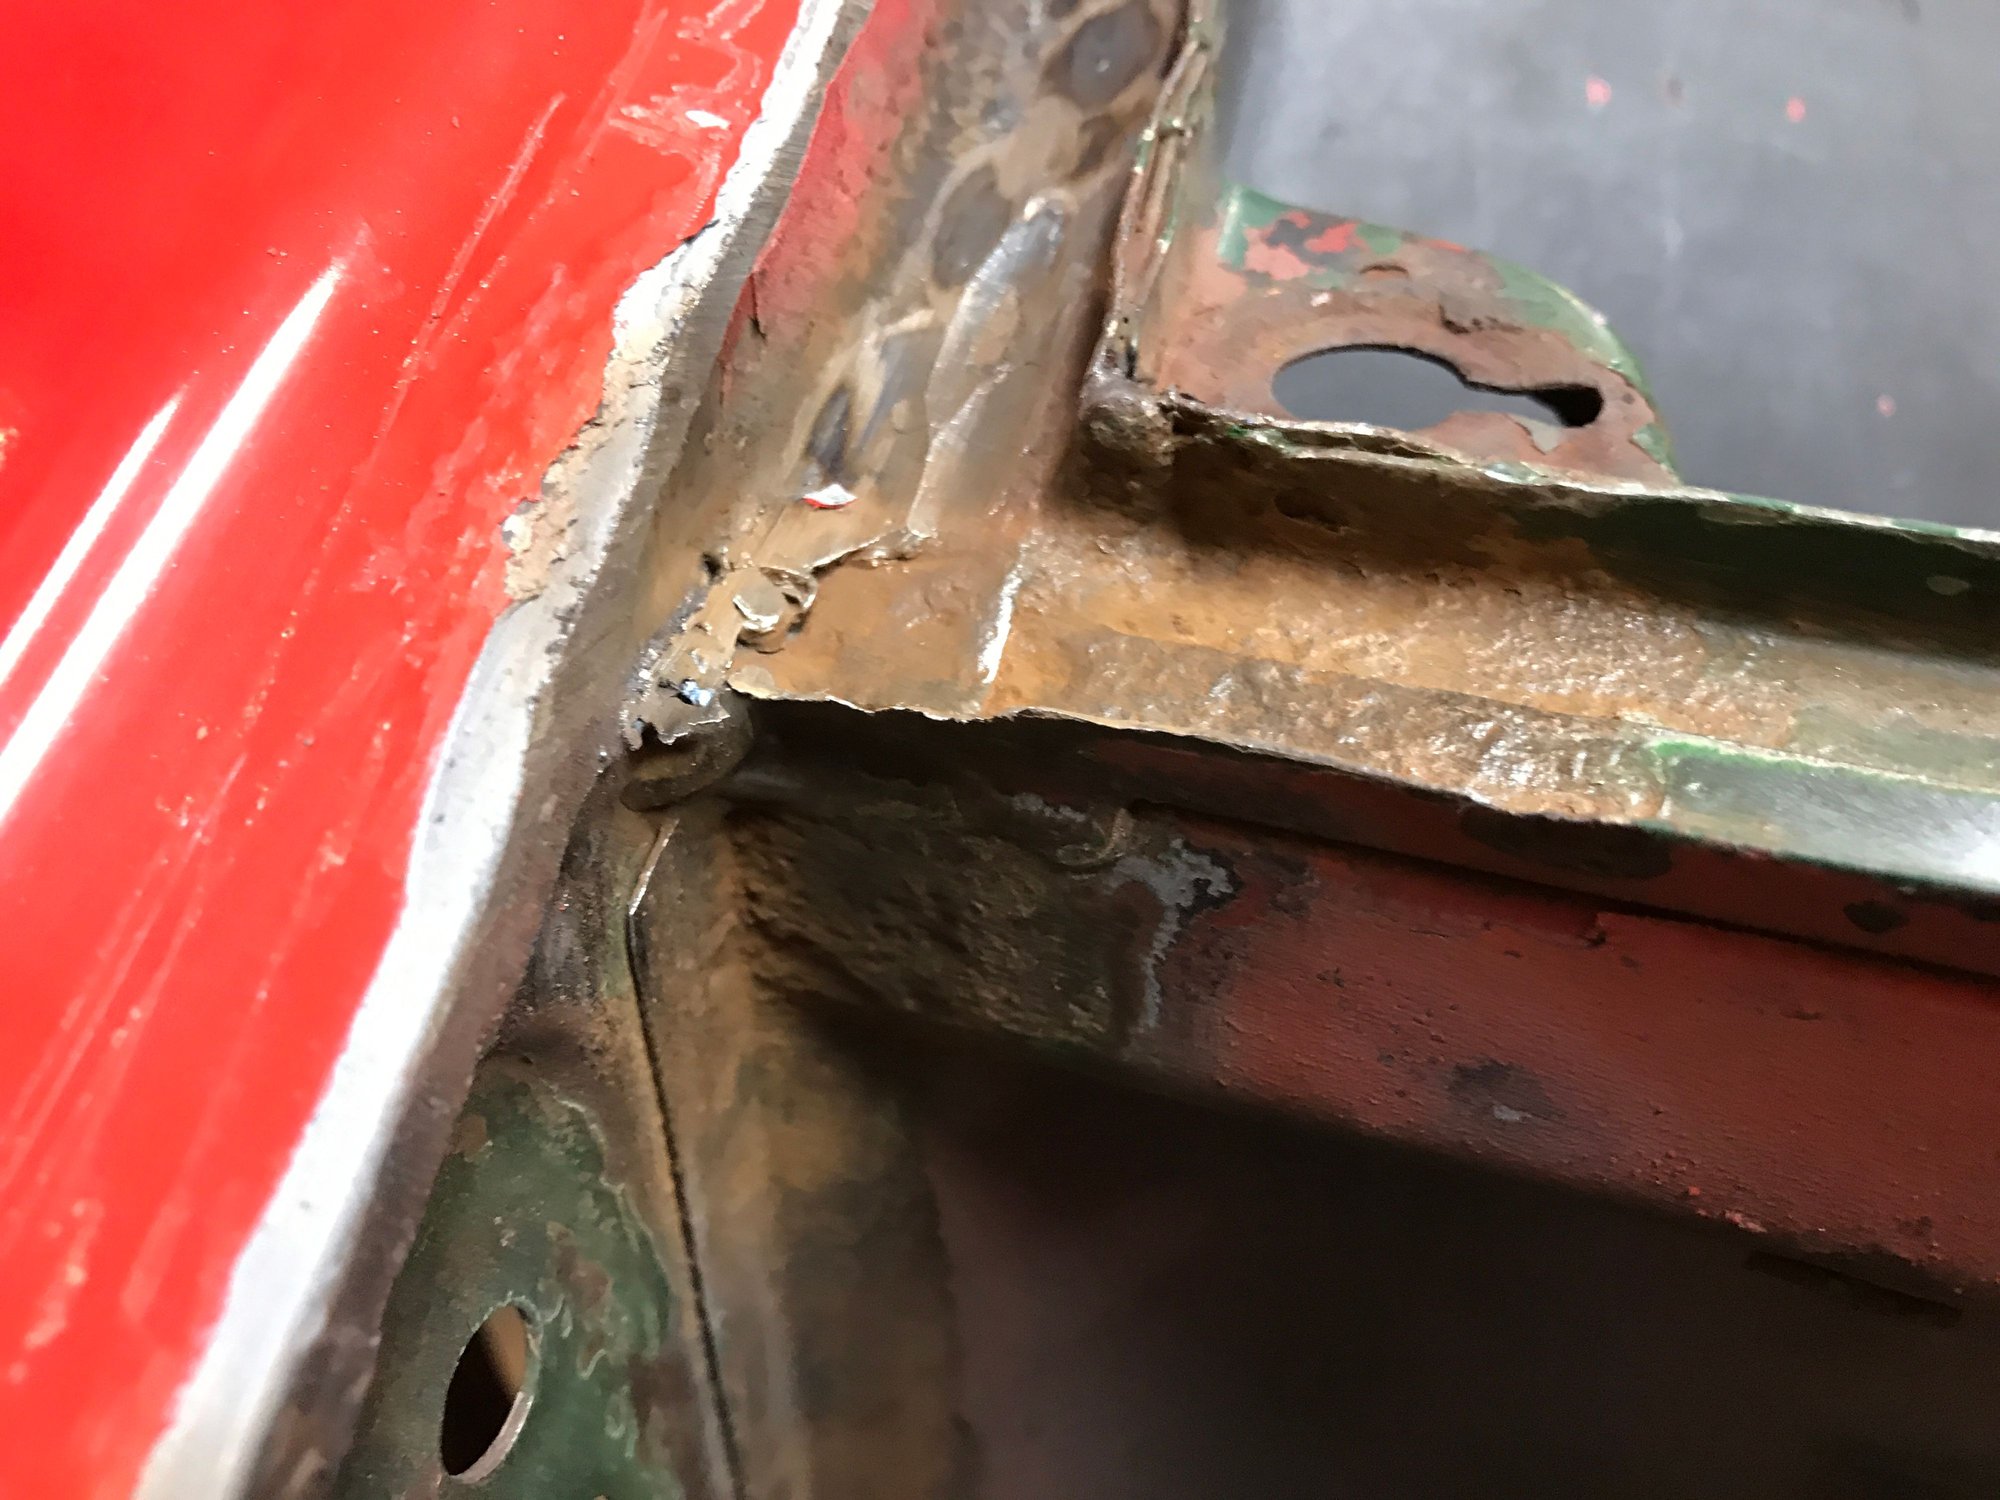
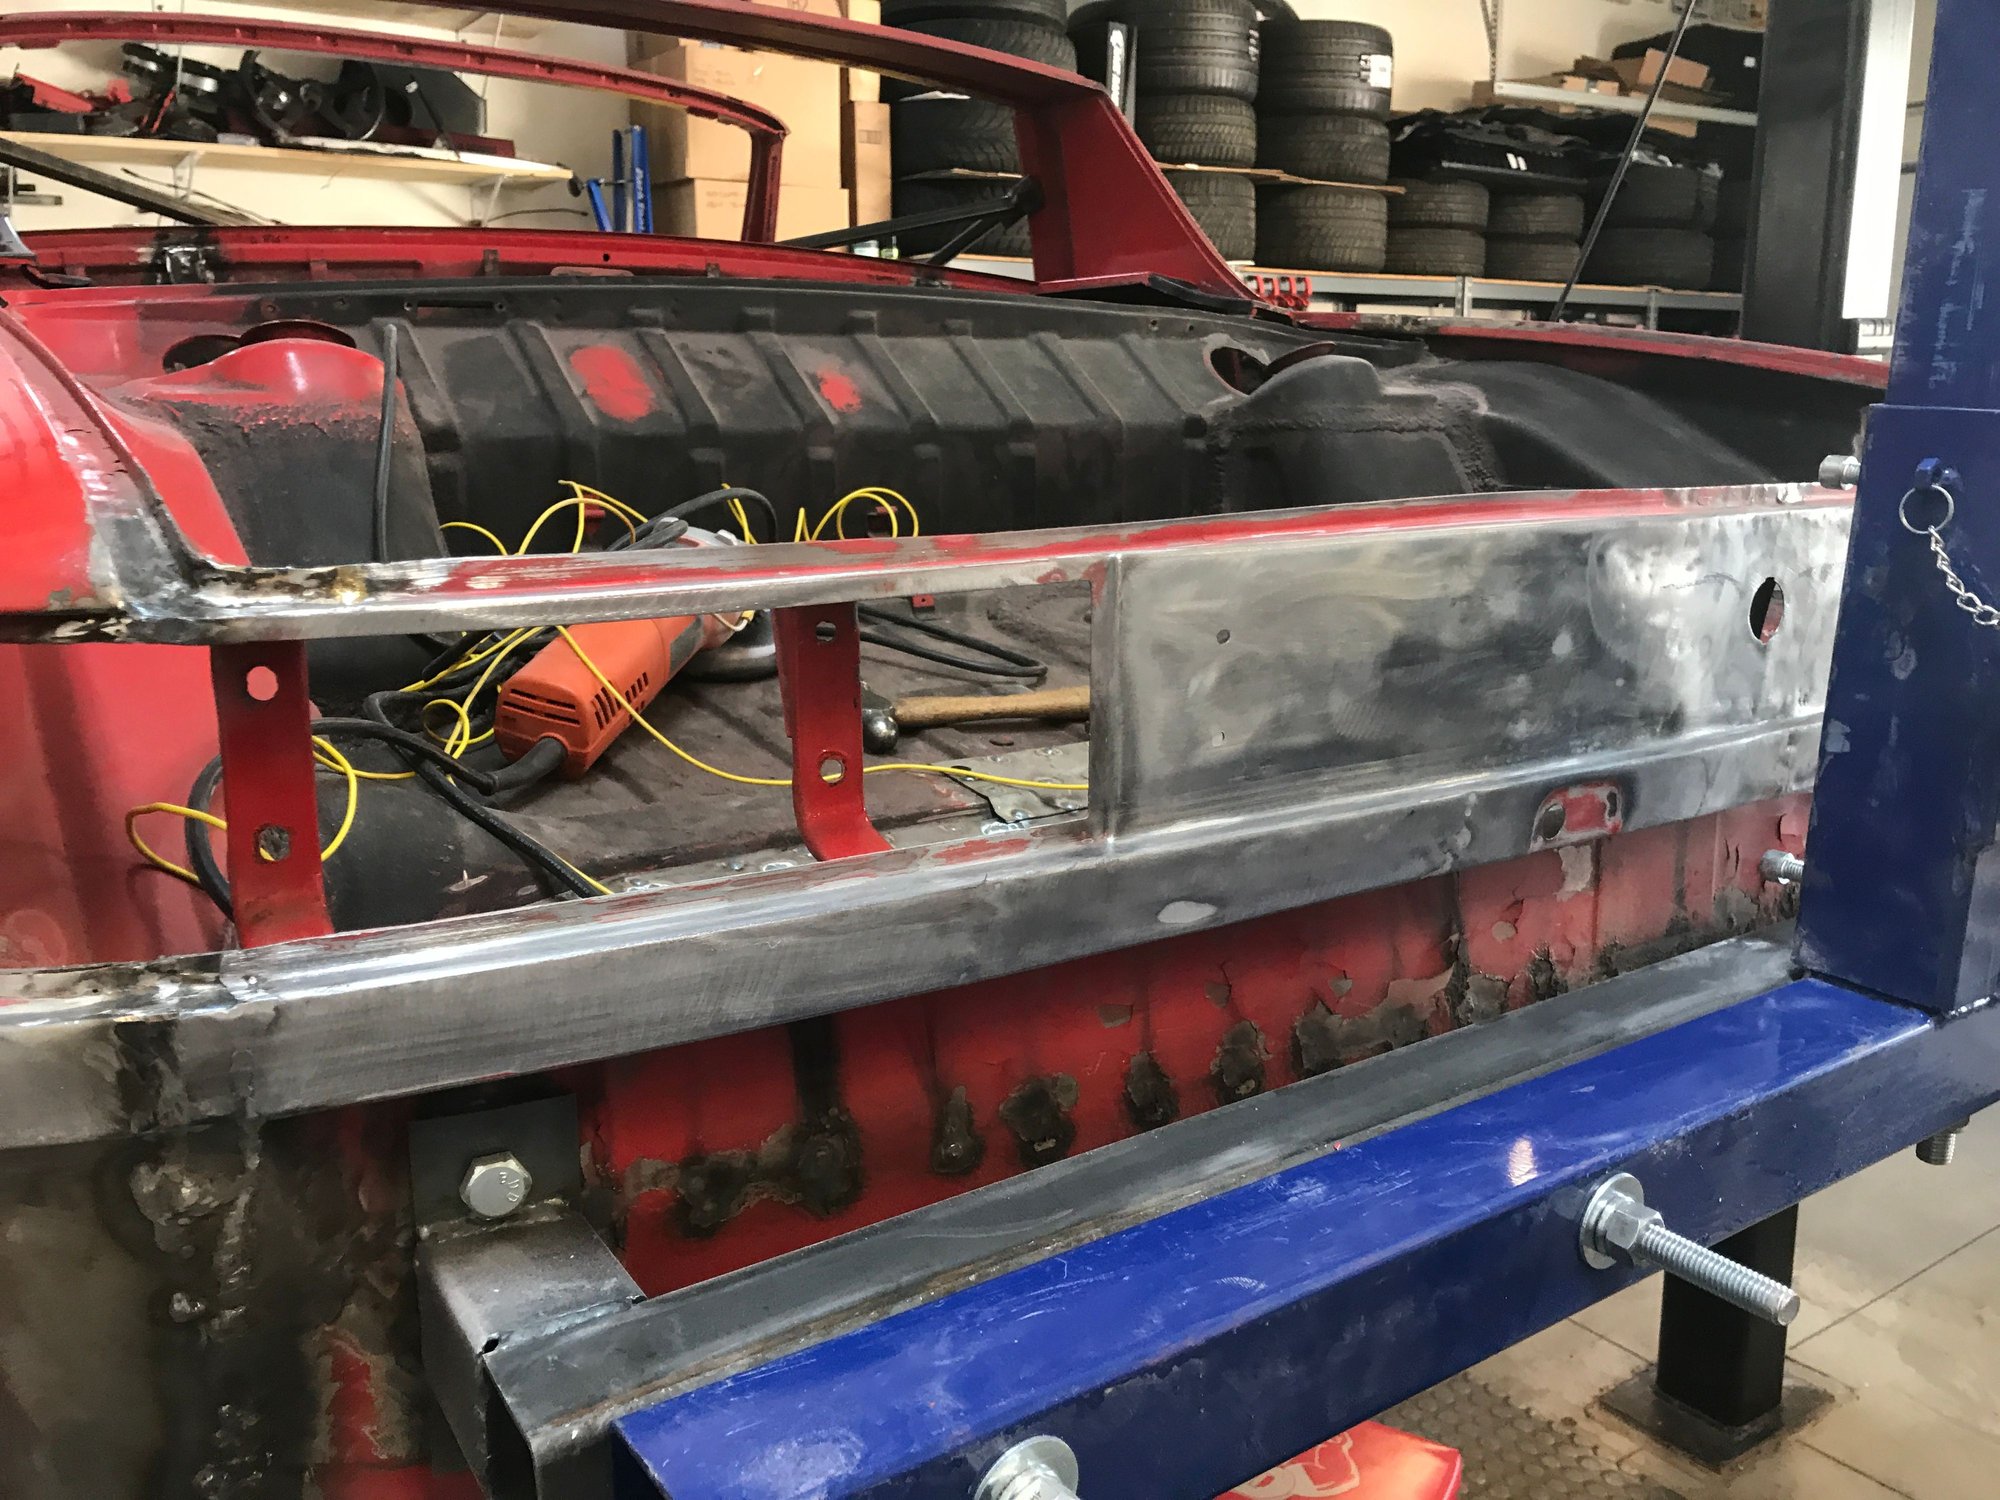
Step 2 is surgical removal, keeping as much original as possible.

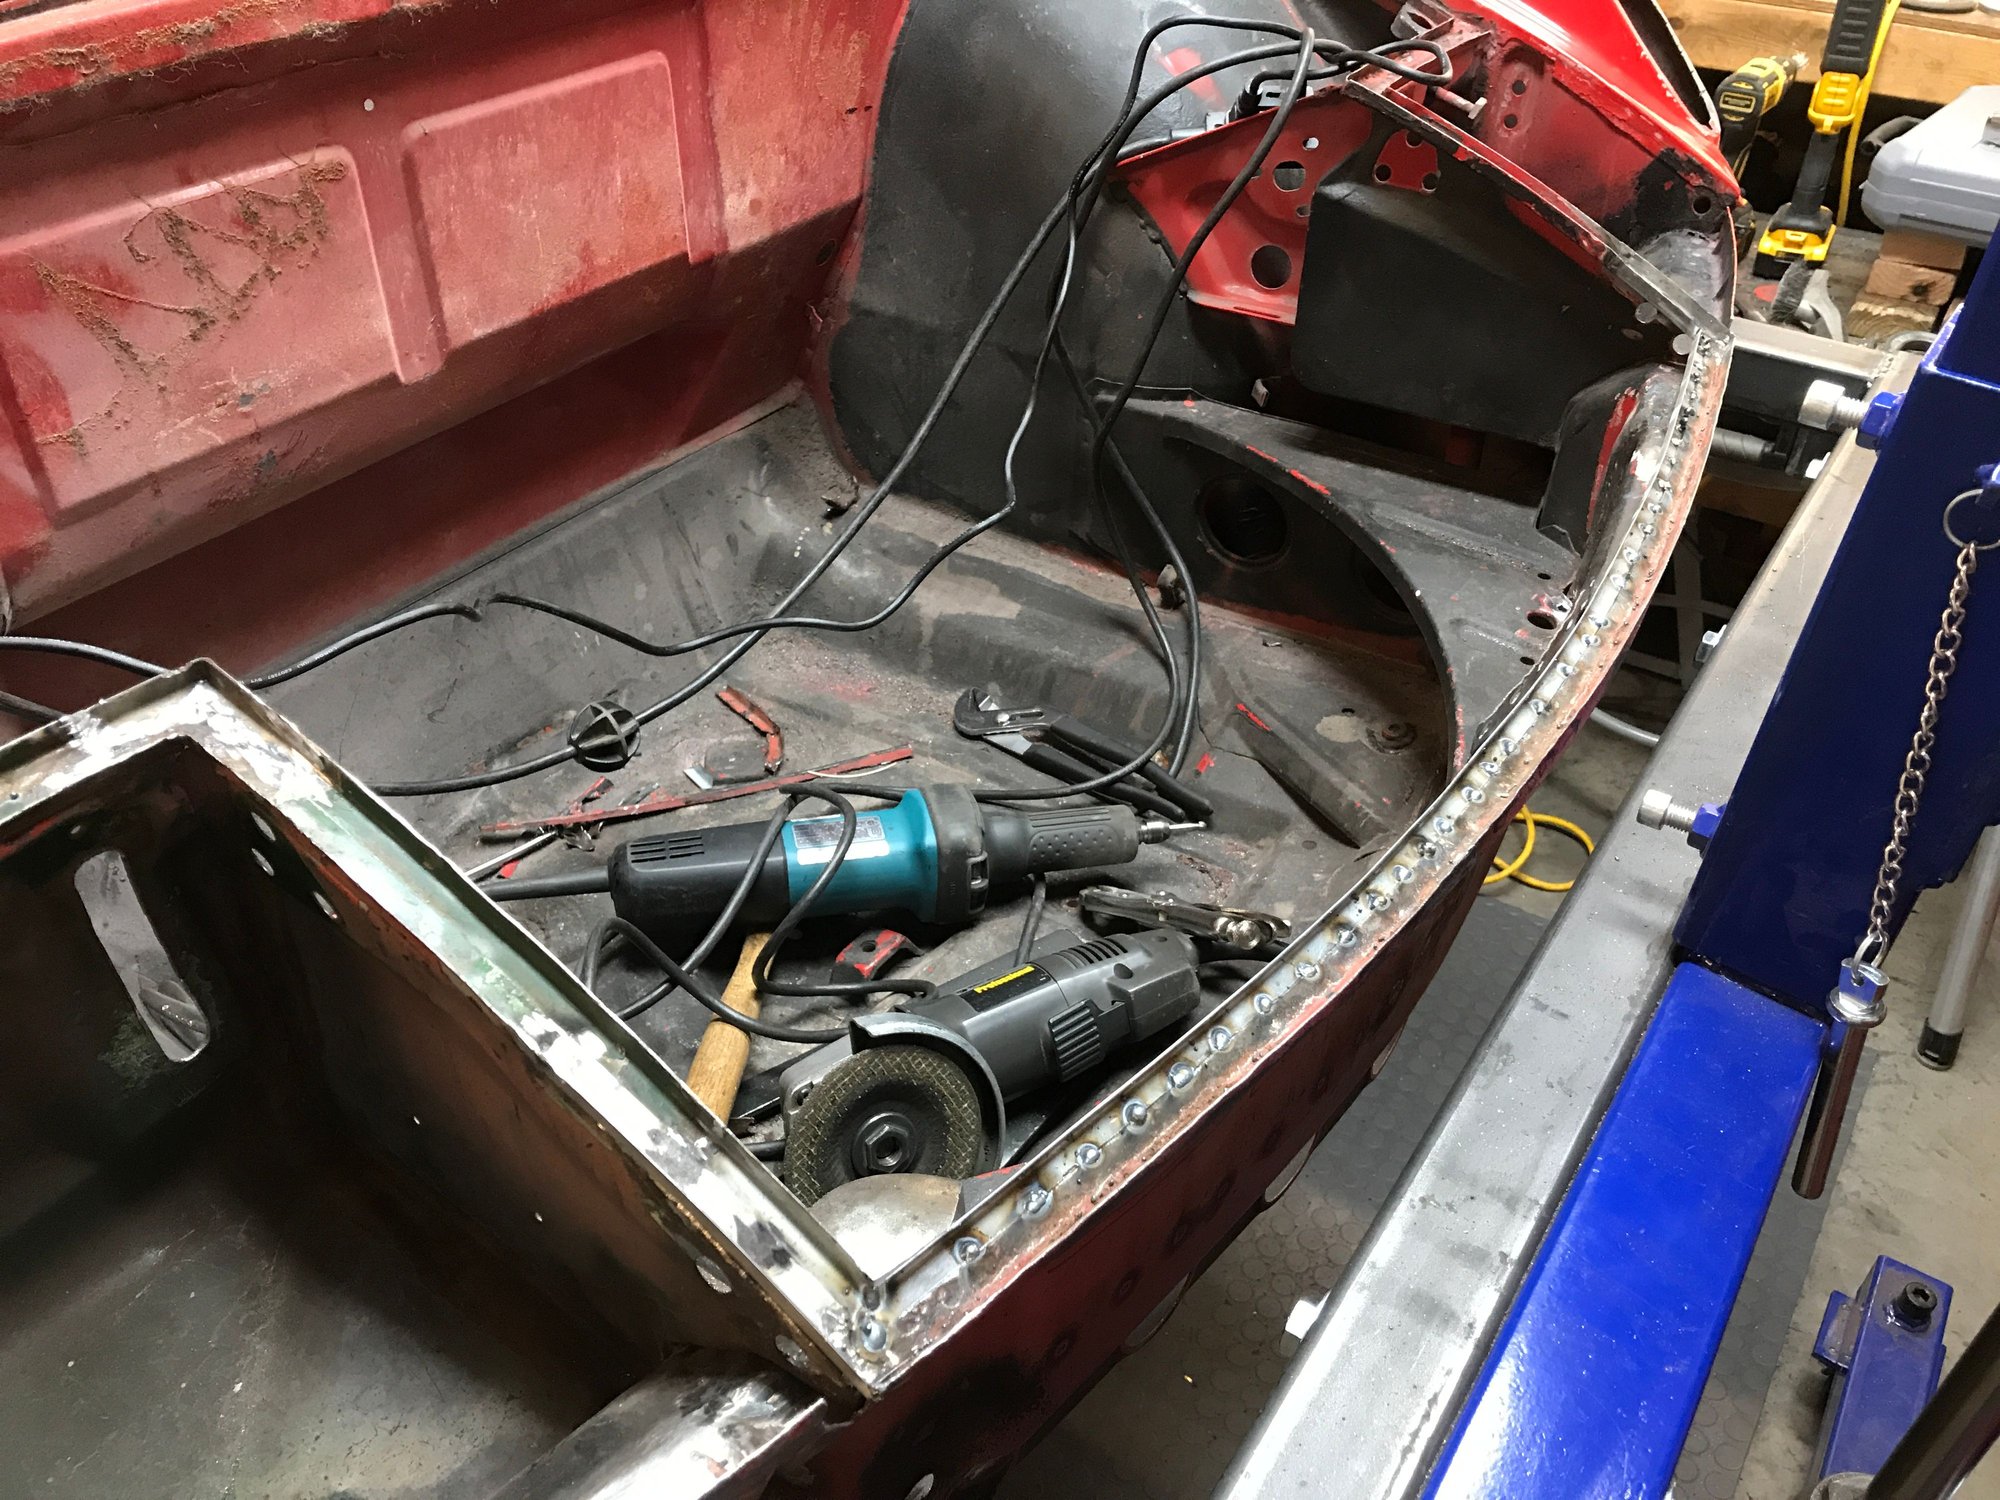
As always, tools collect during the work.
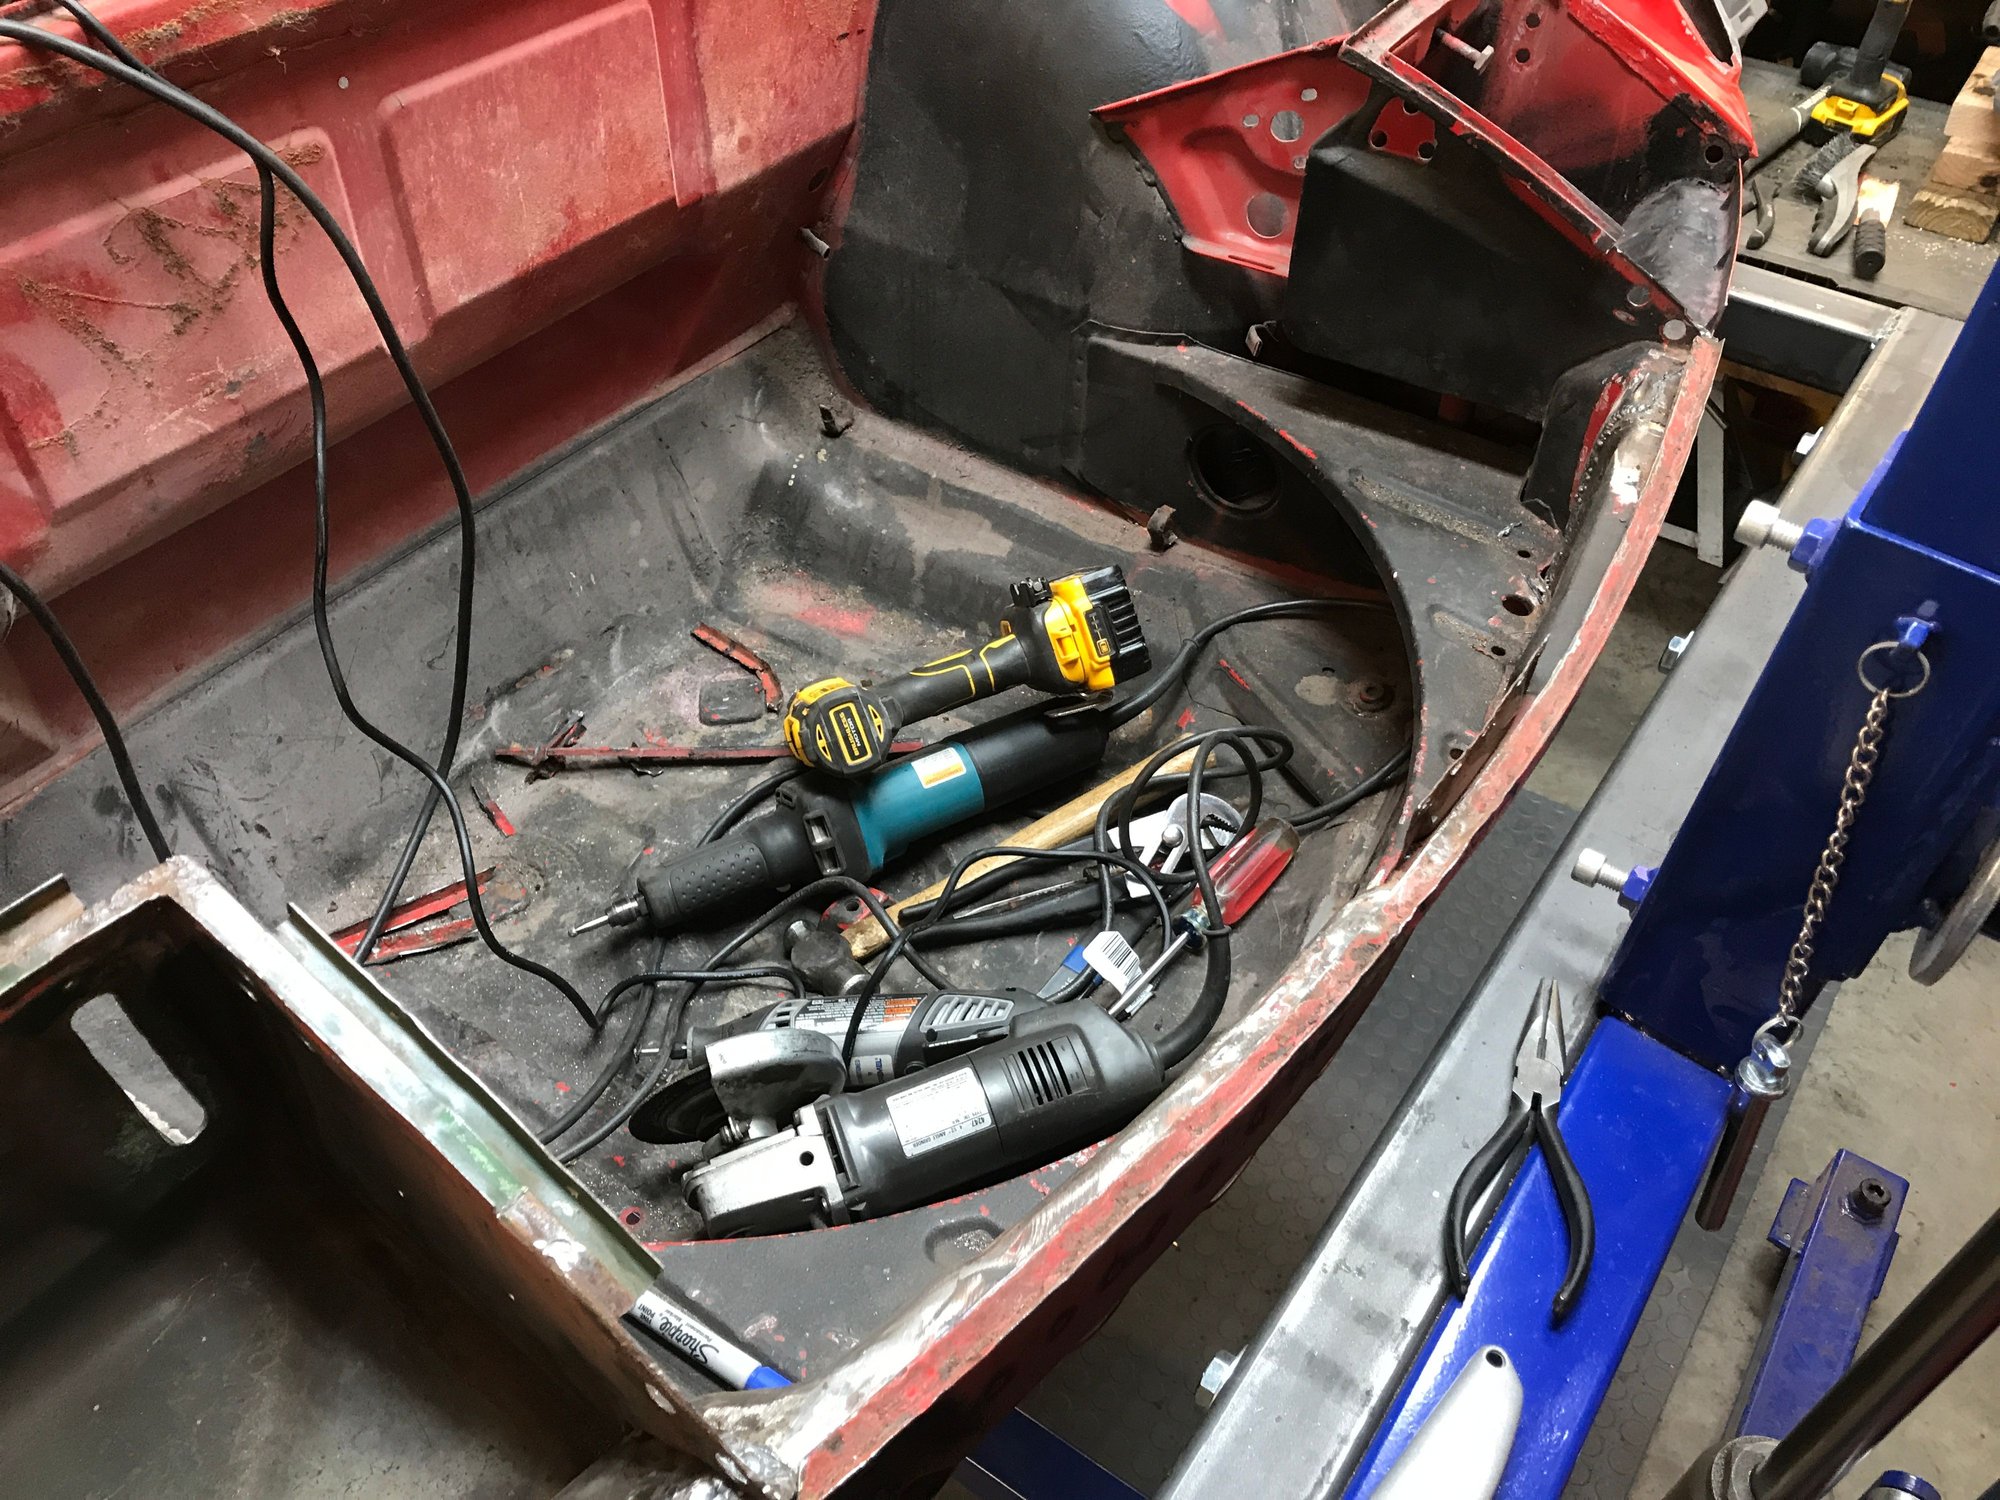
Today, the hero tool was the Dremel.


Some close-ups of the worst bits.


Step 2 is surgical removal, keeping as much original as possible.


As always, tools collect during the work.

Today, the hero tool was the Dremel.
 04-19-2020, 10:39 PM
#287
Rennlist Member
Thread Starter
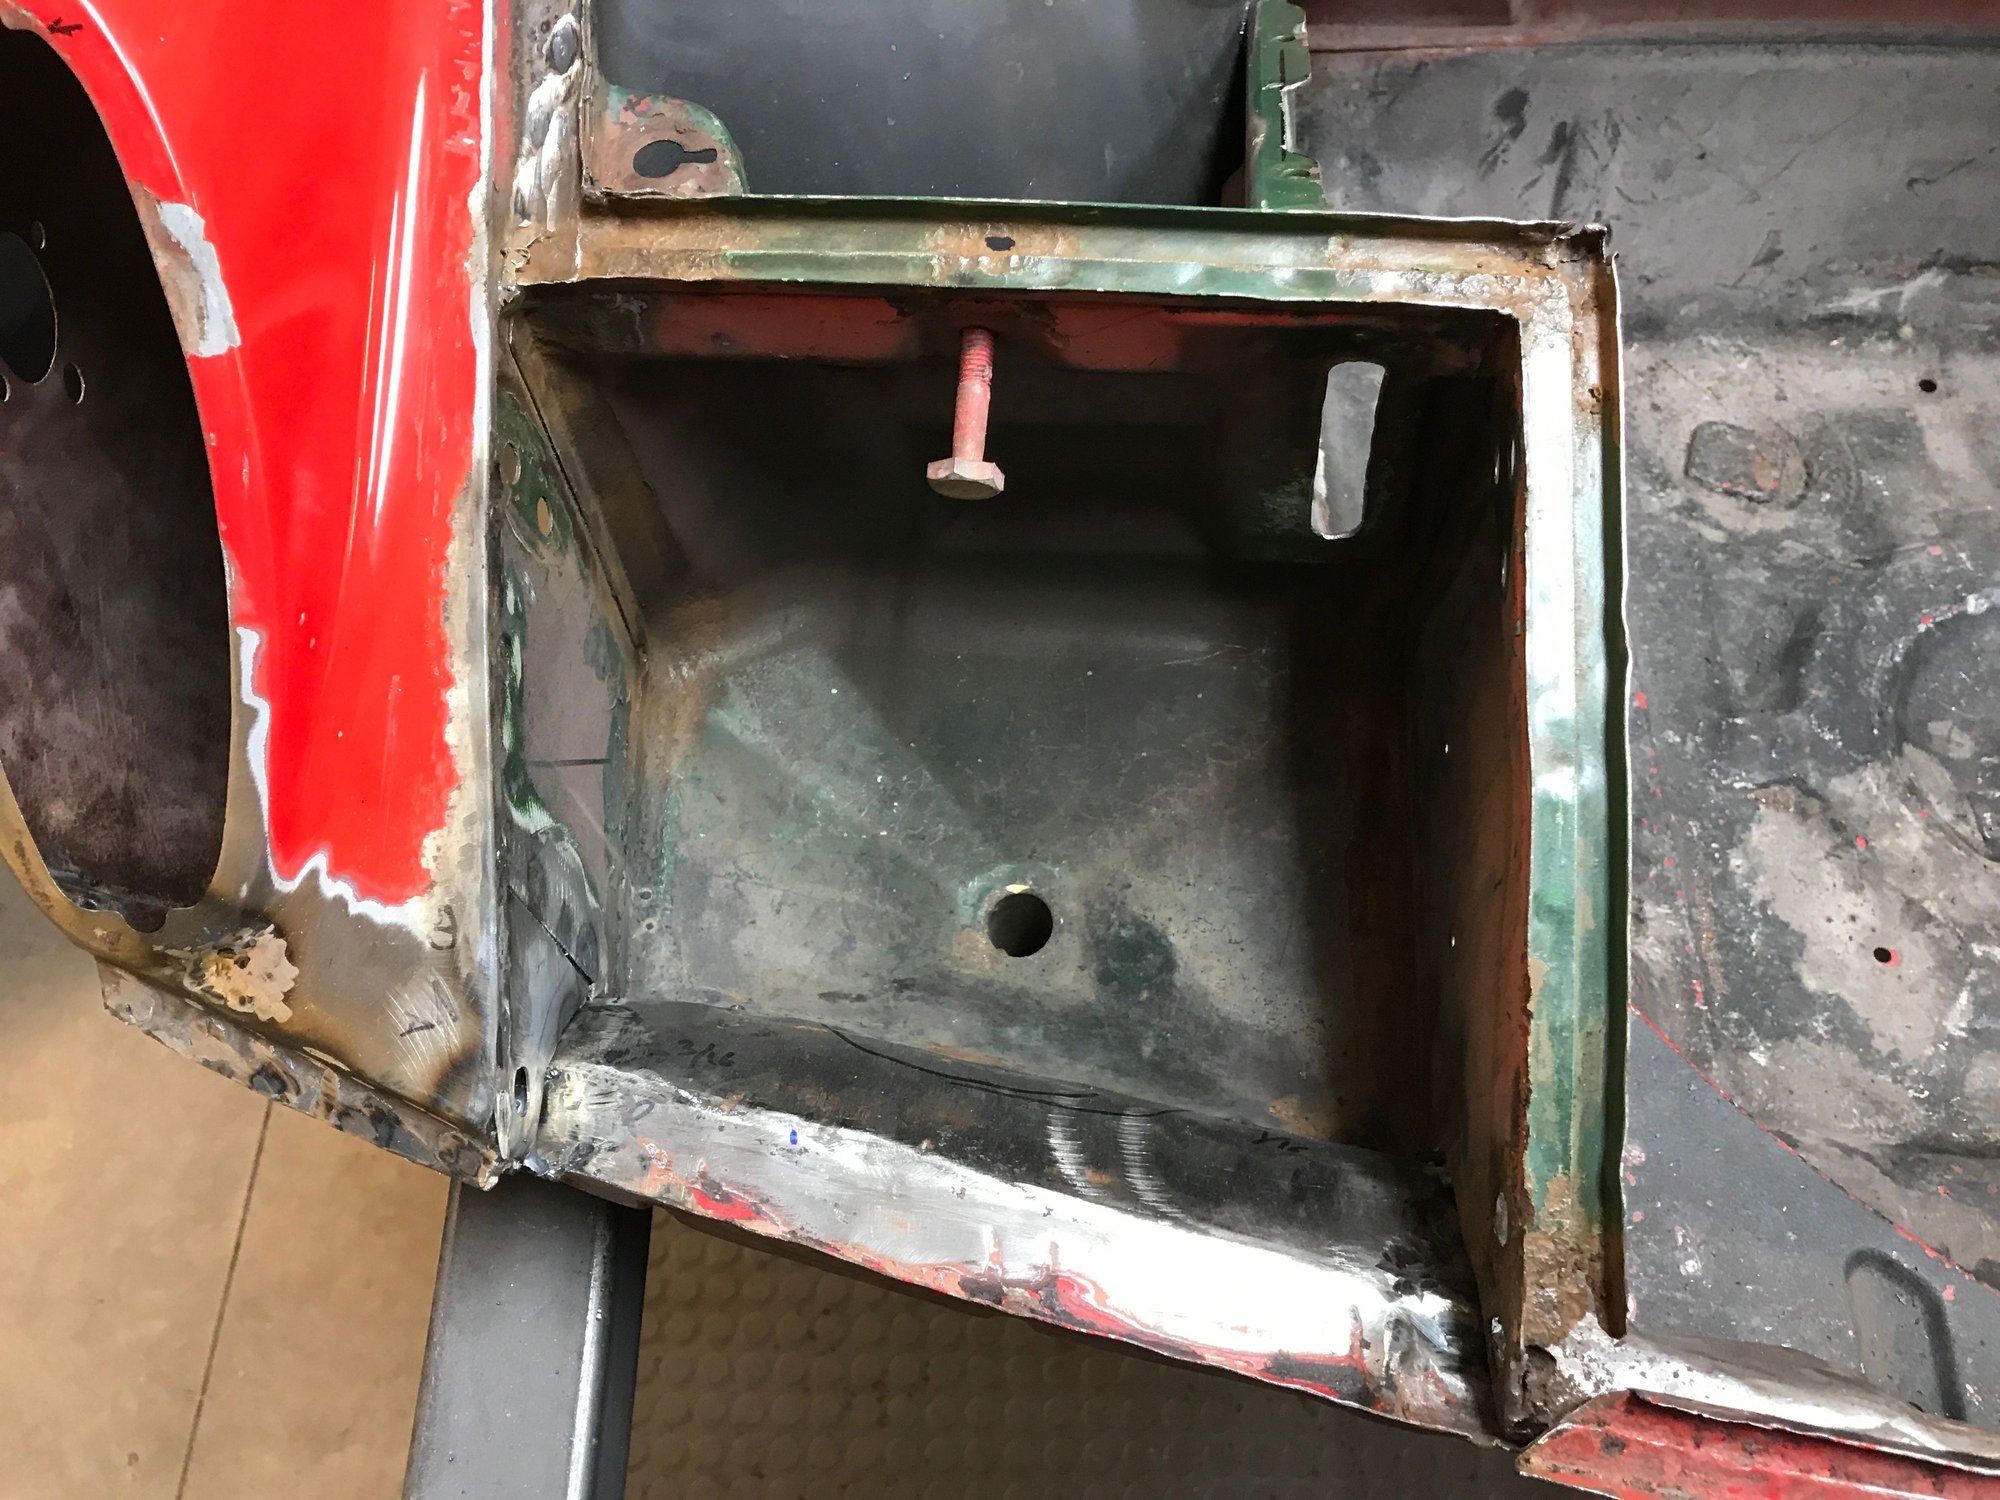
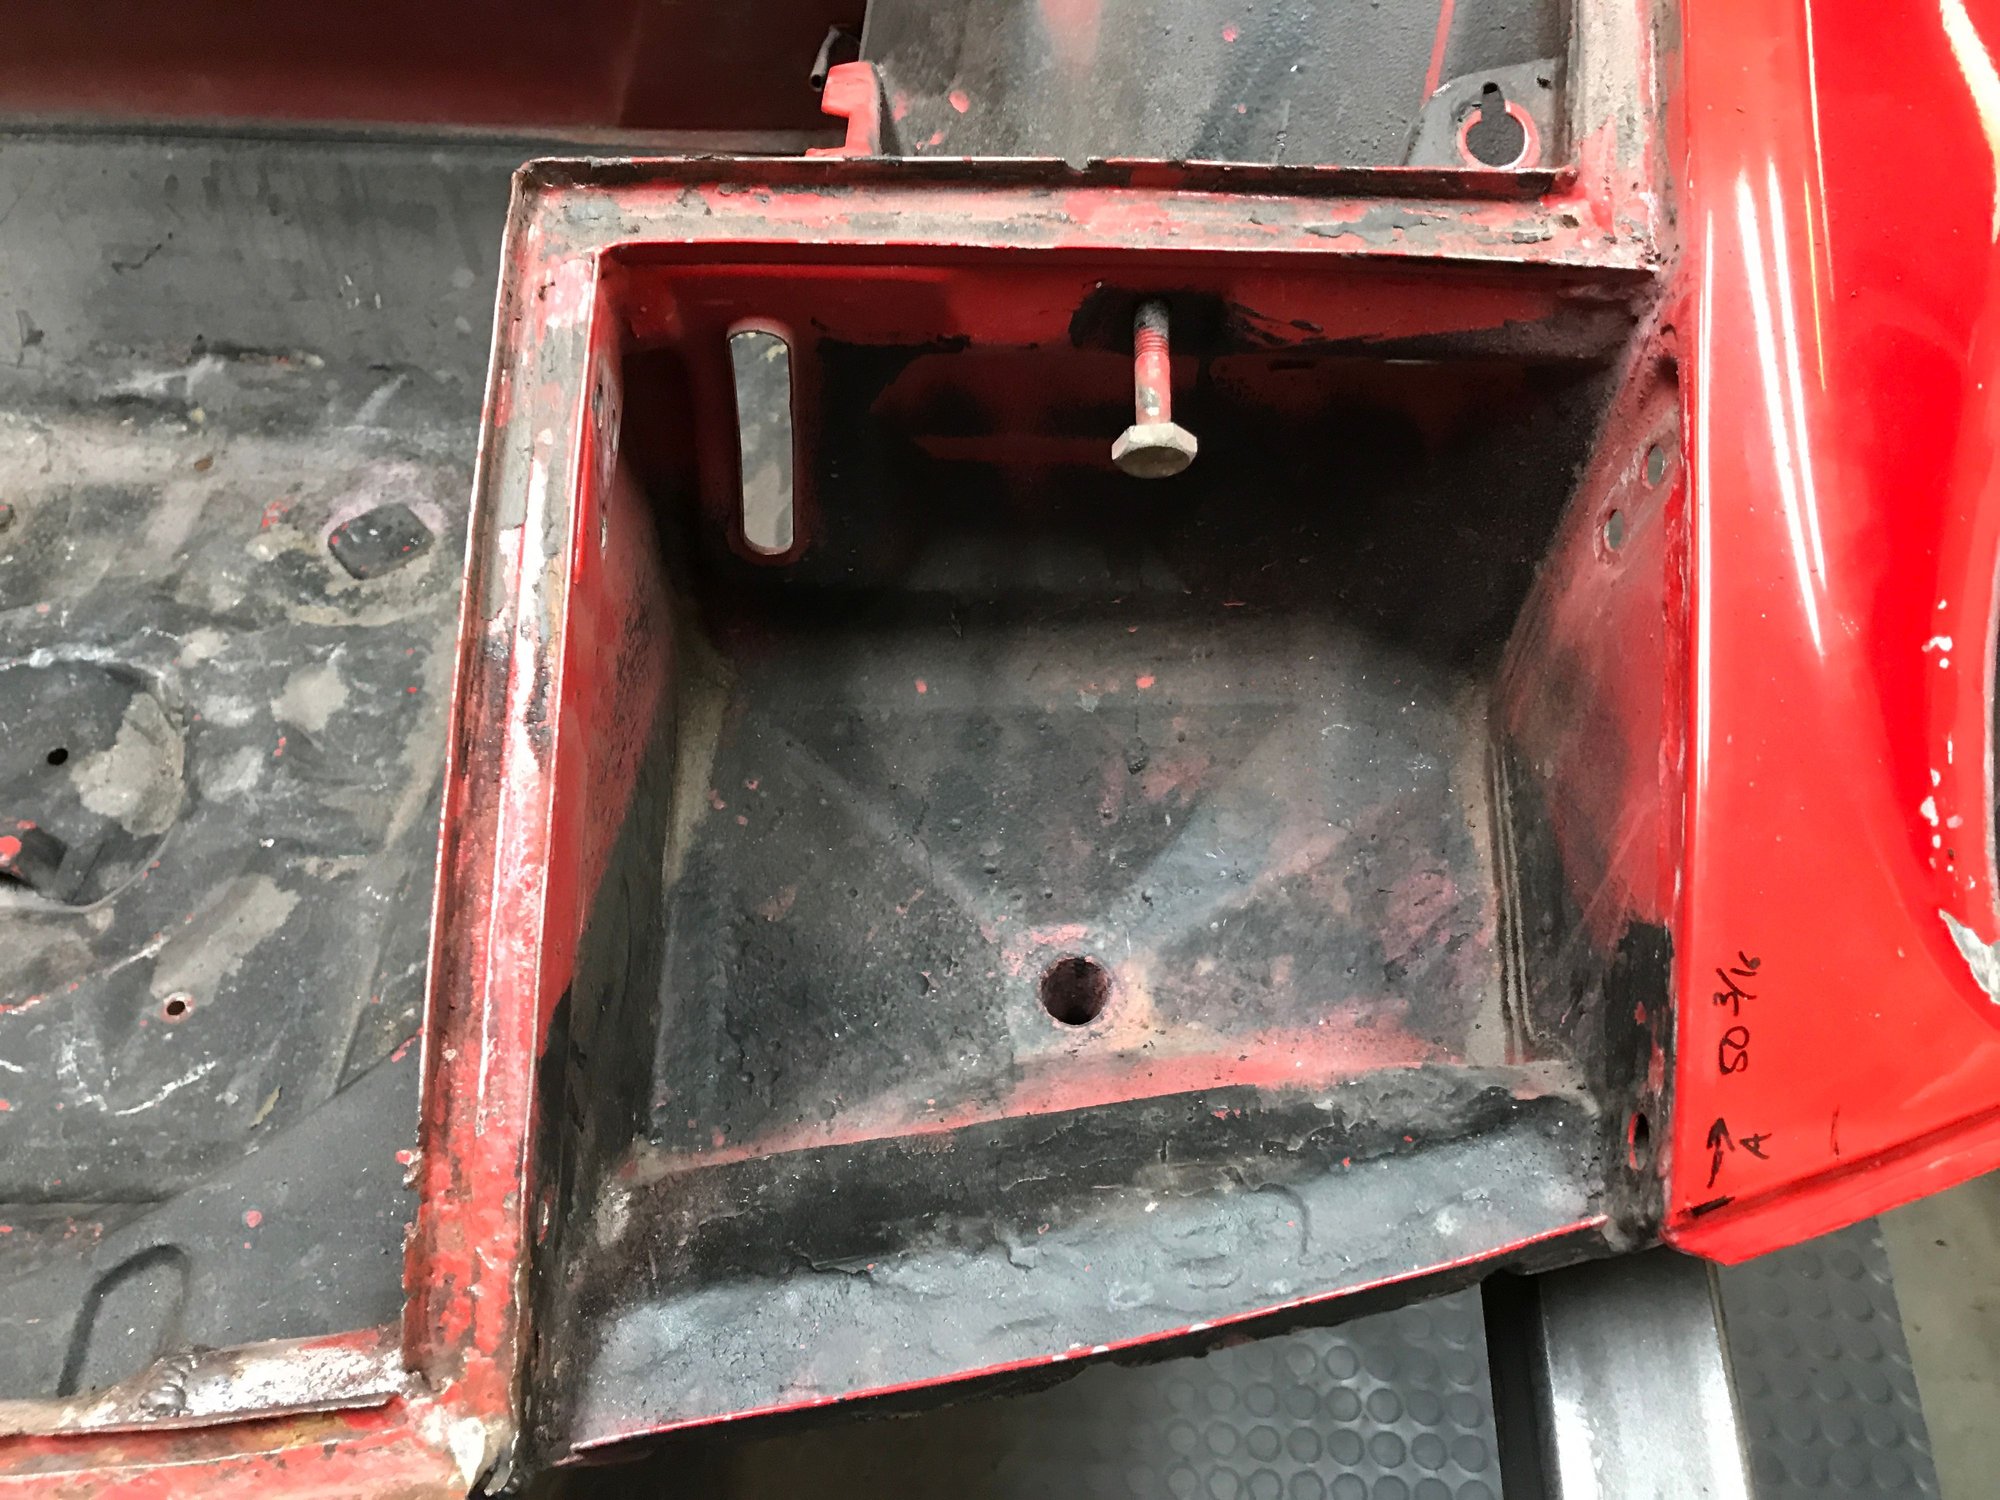
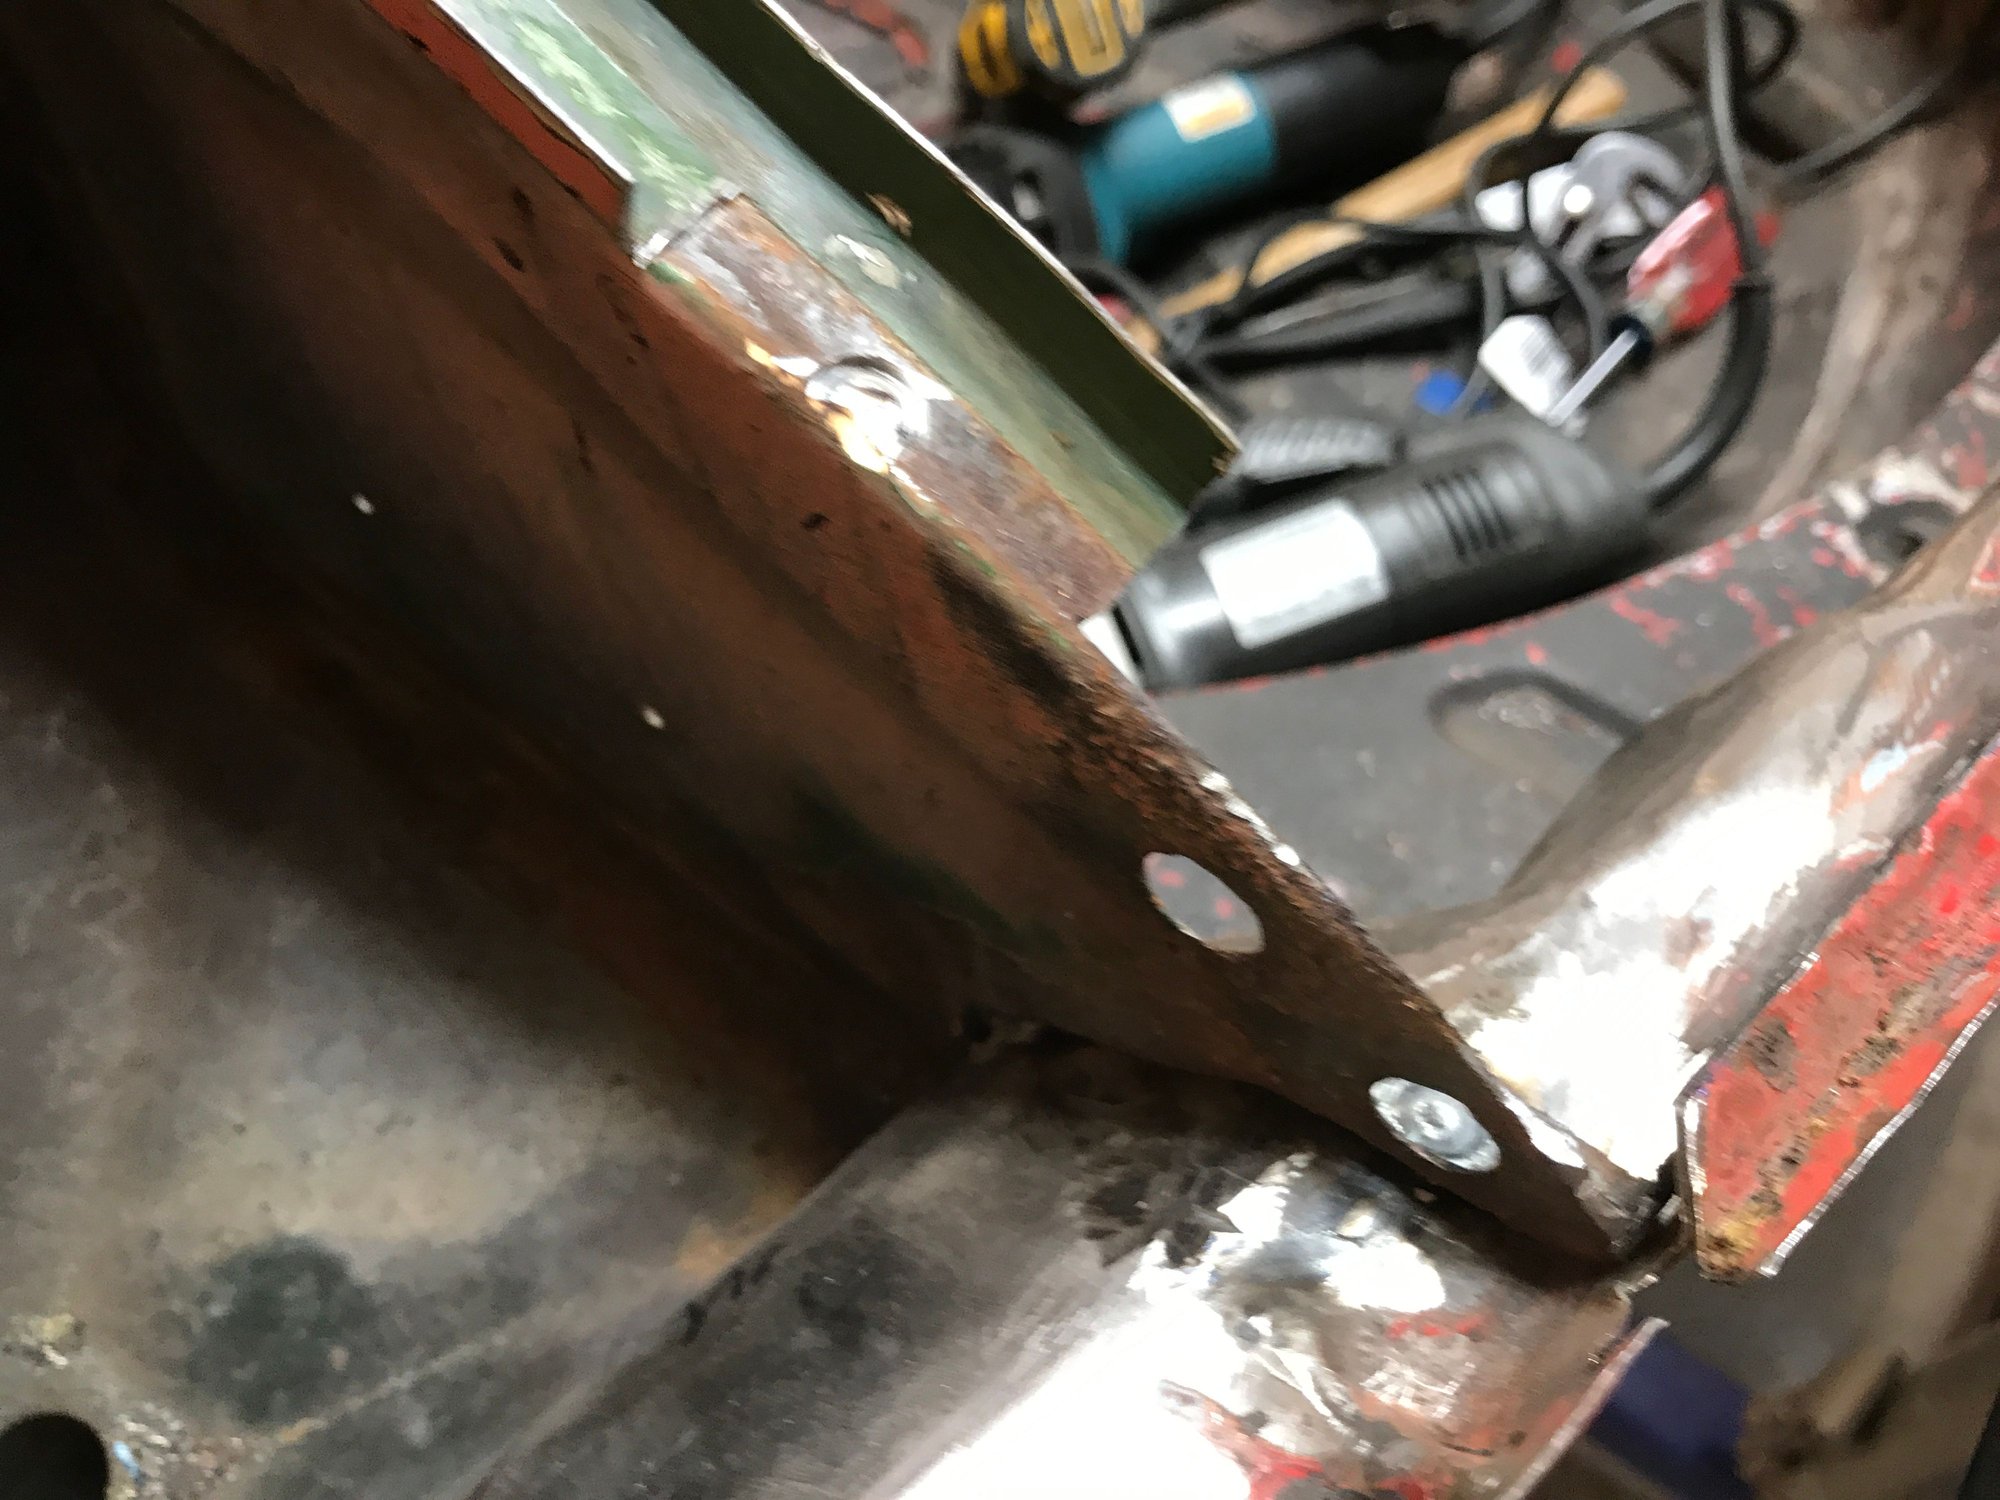
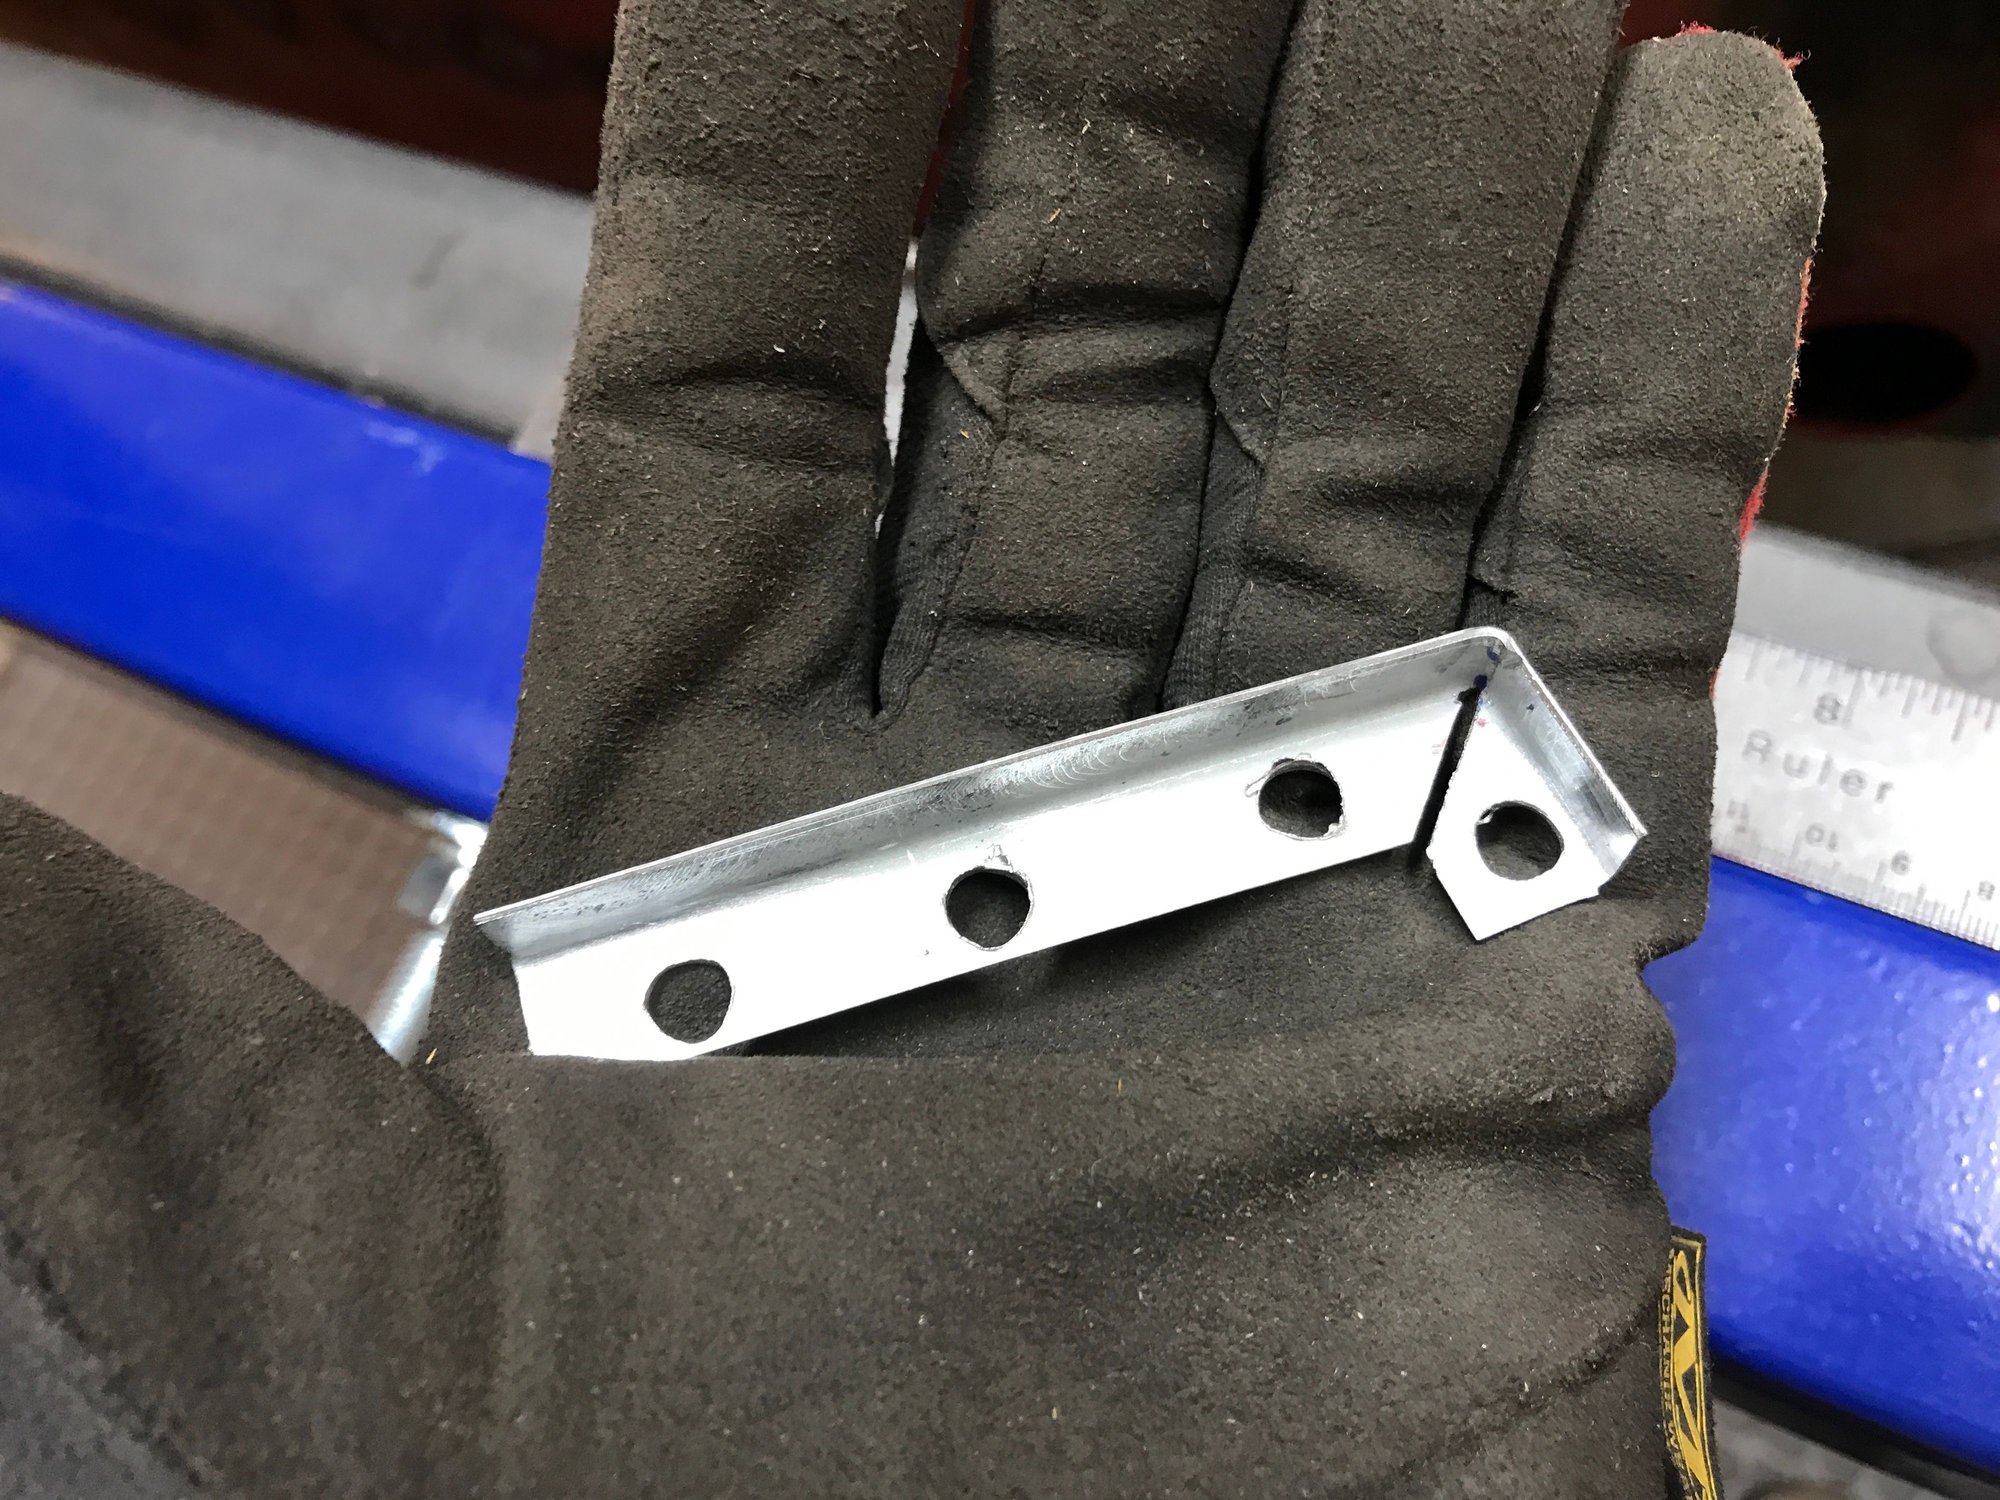
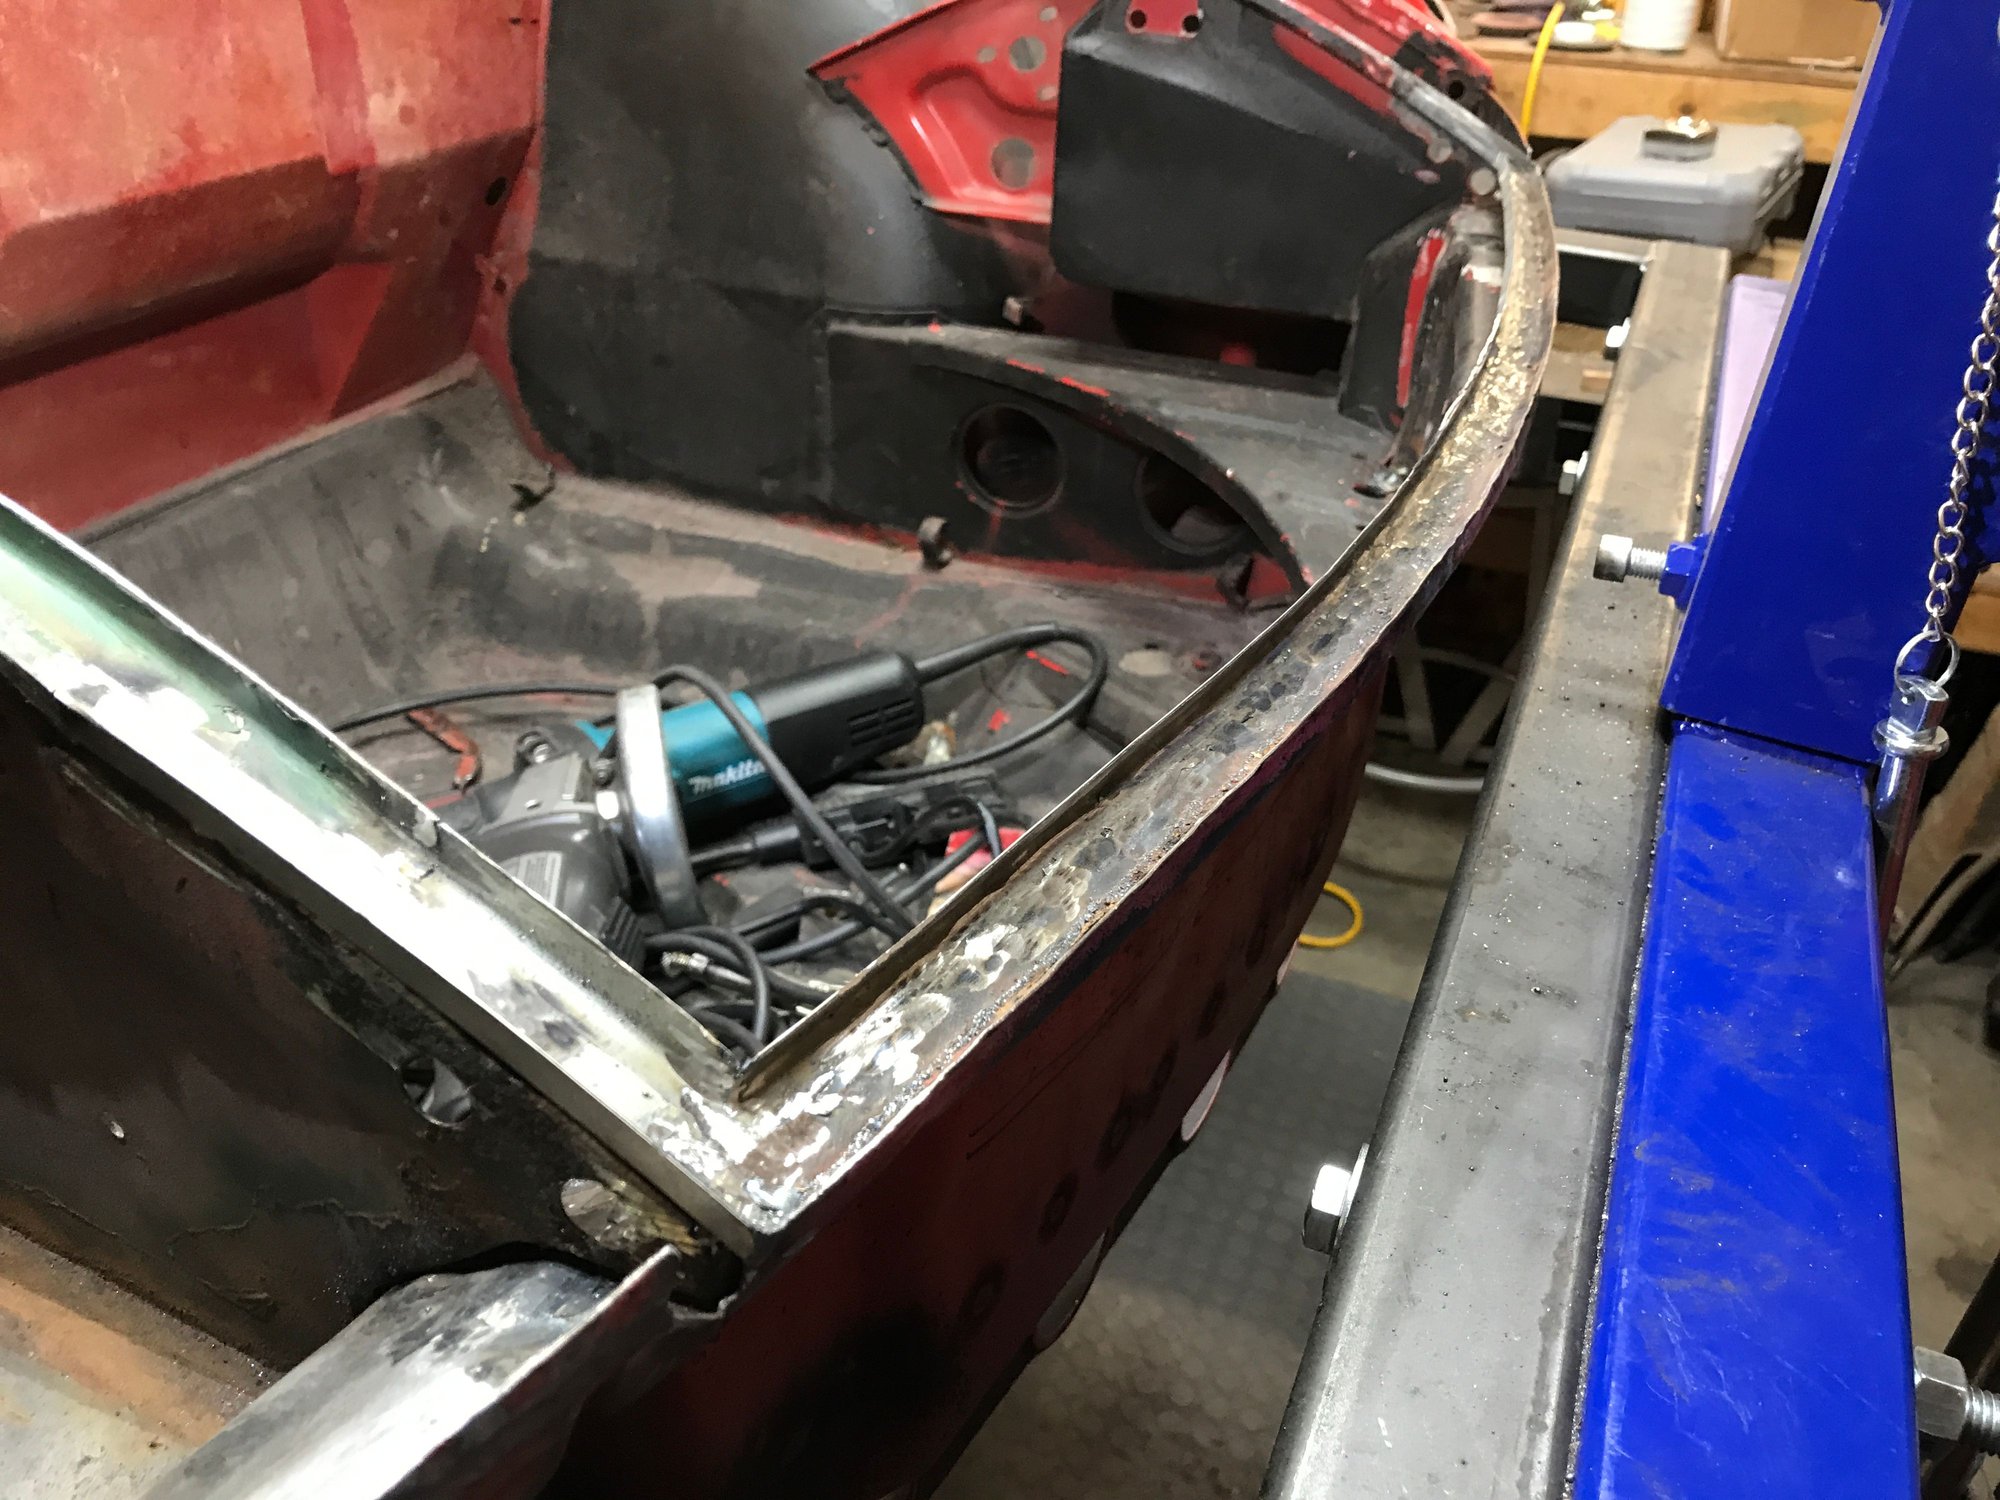
Started the replacement process today, with the segments that are wider and go underneath. Here is the stock, sourced from 914 Rubber.
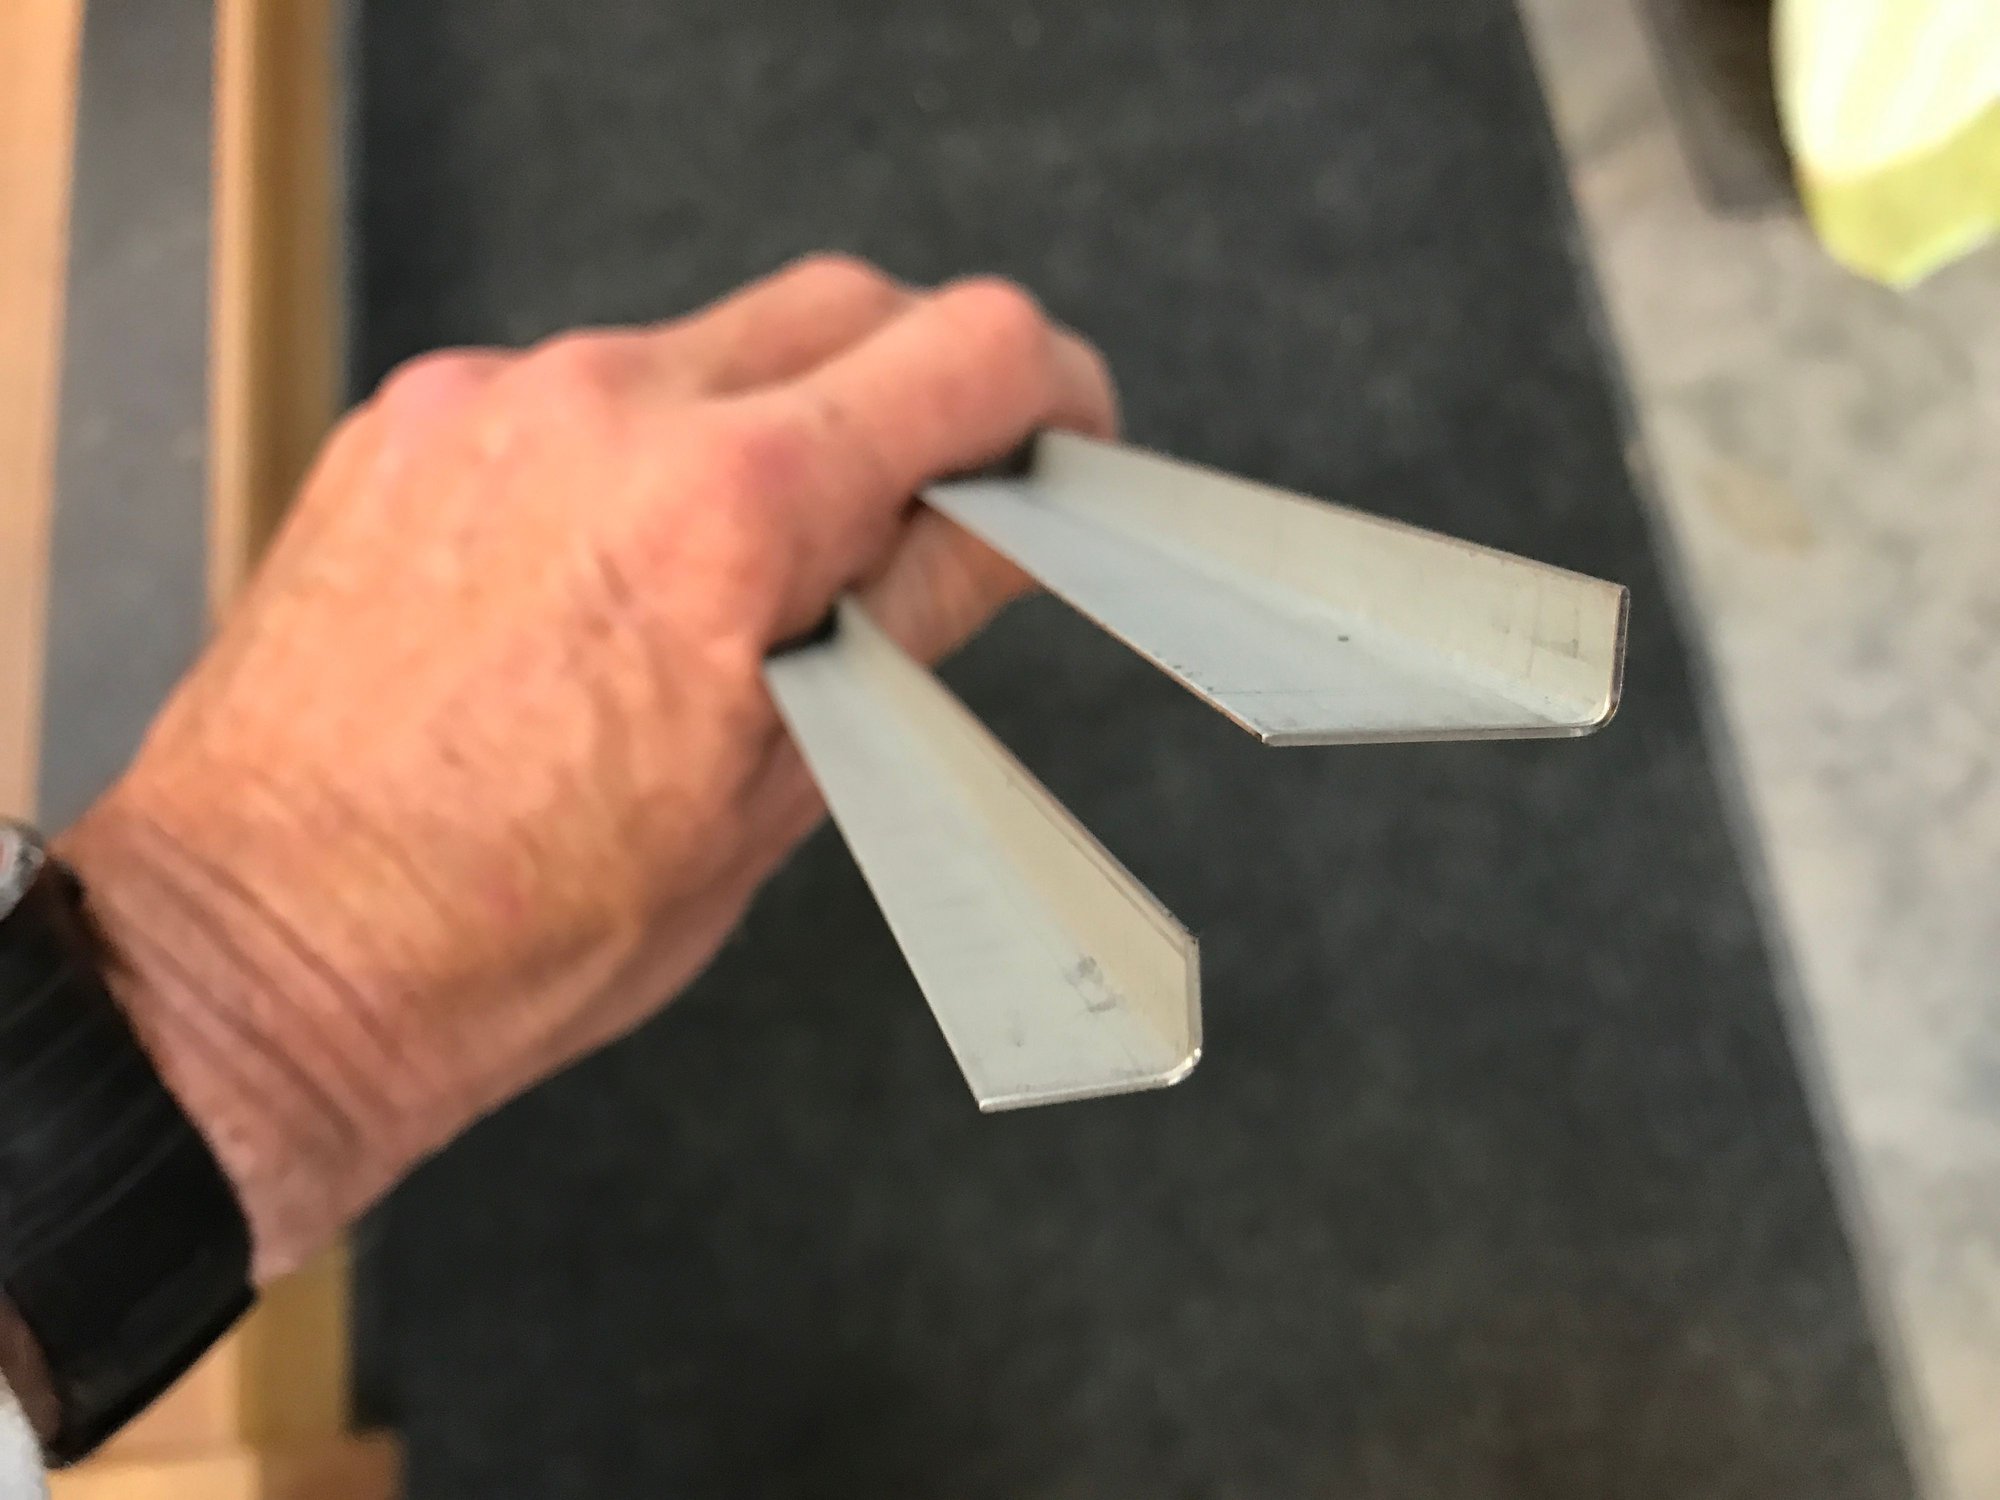
New piece for the left front corner:
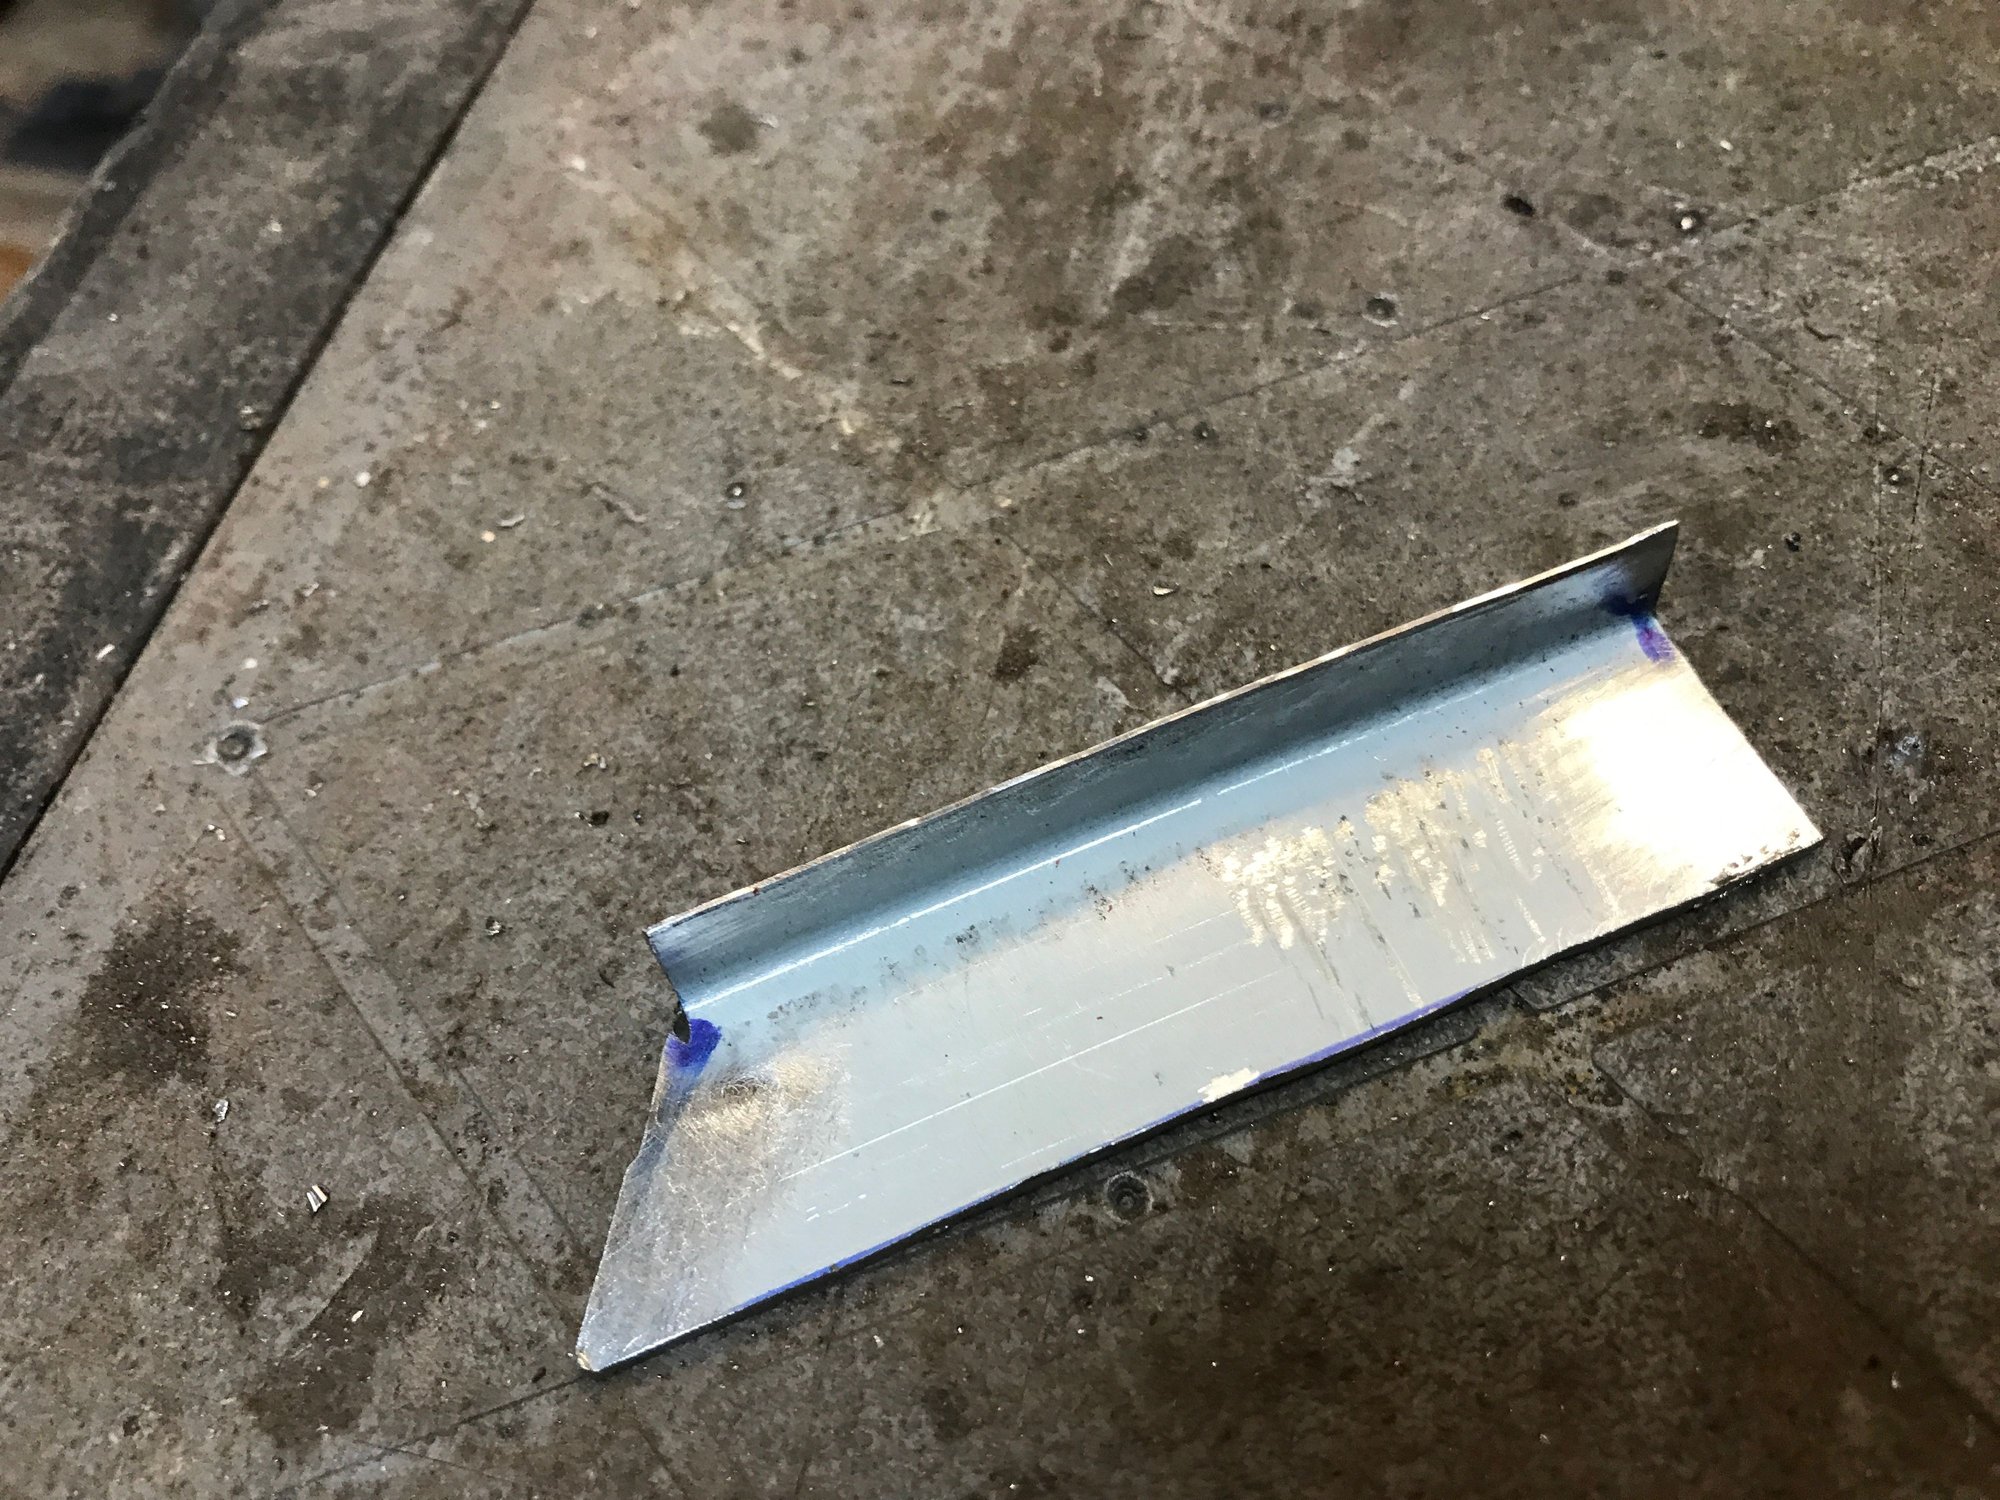
I even managed to get a bit of curvature, to match the original arc.
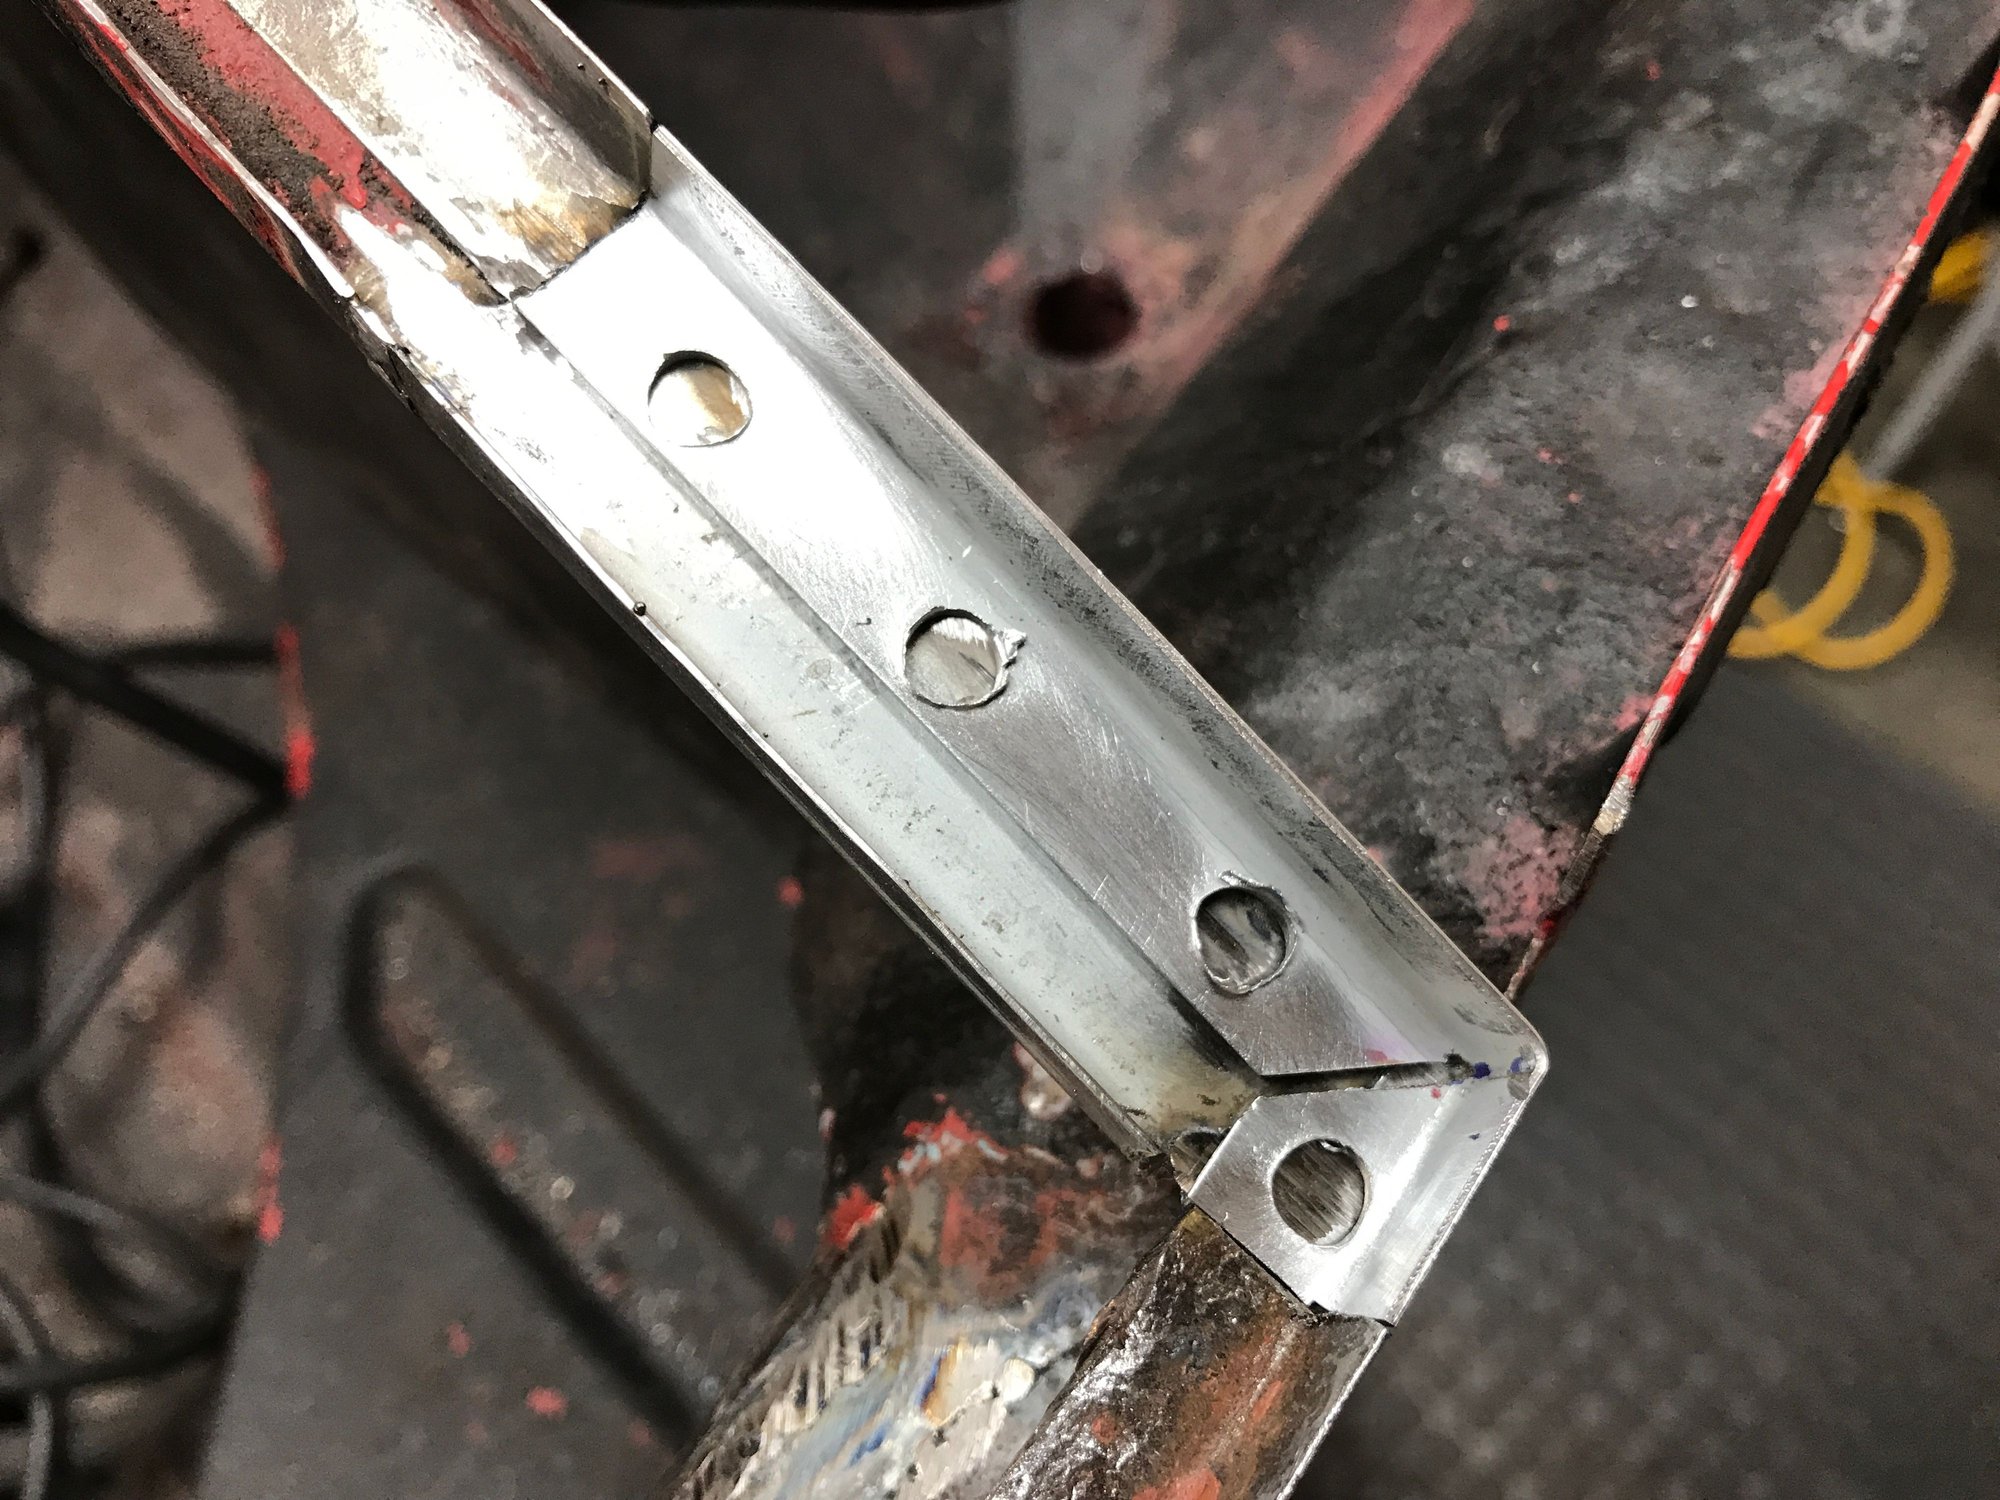
Fitted in place:
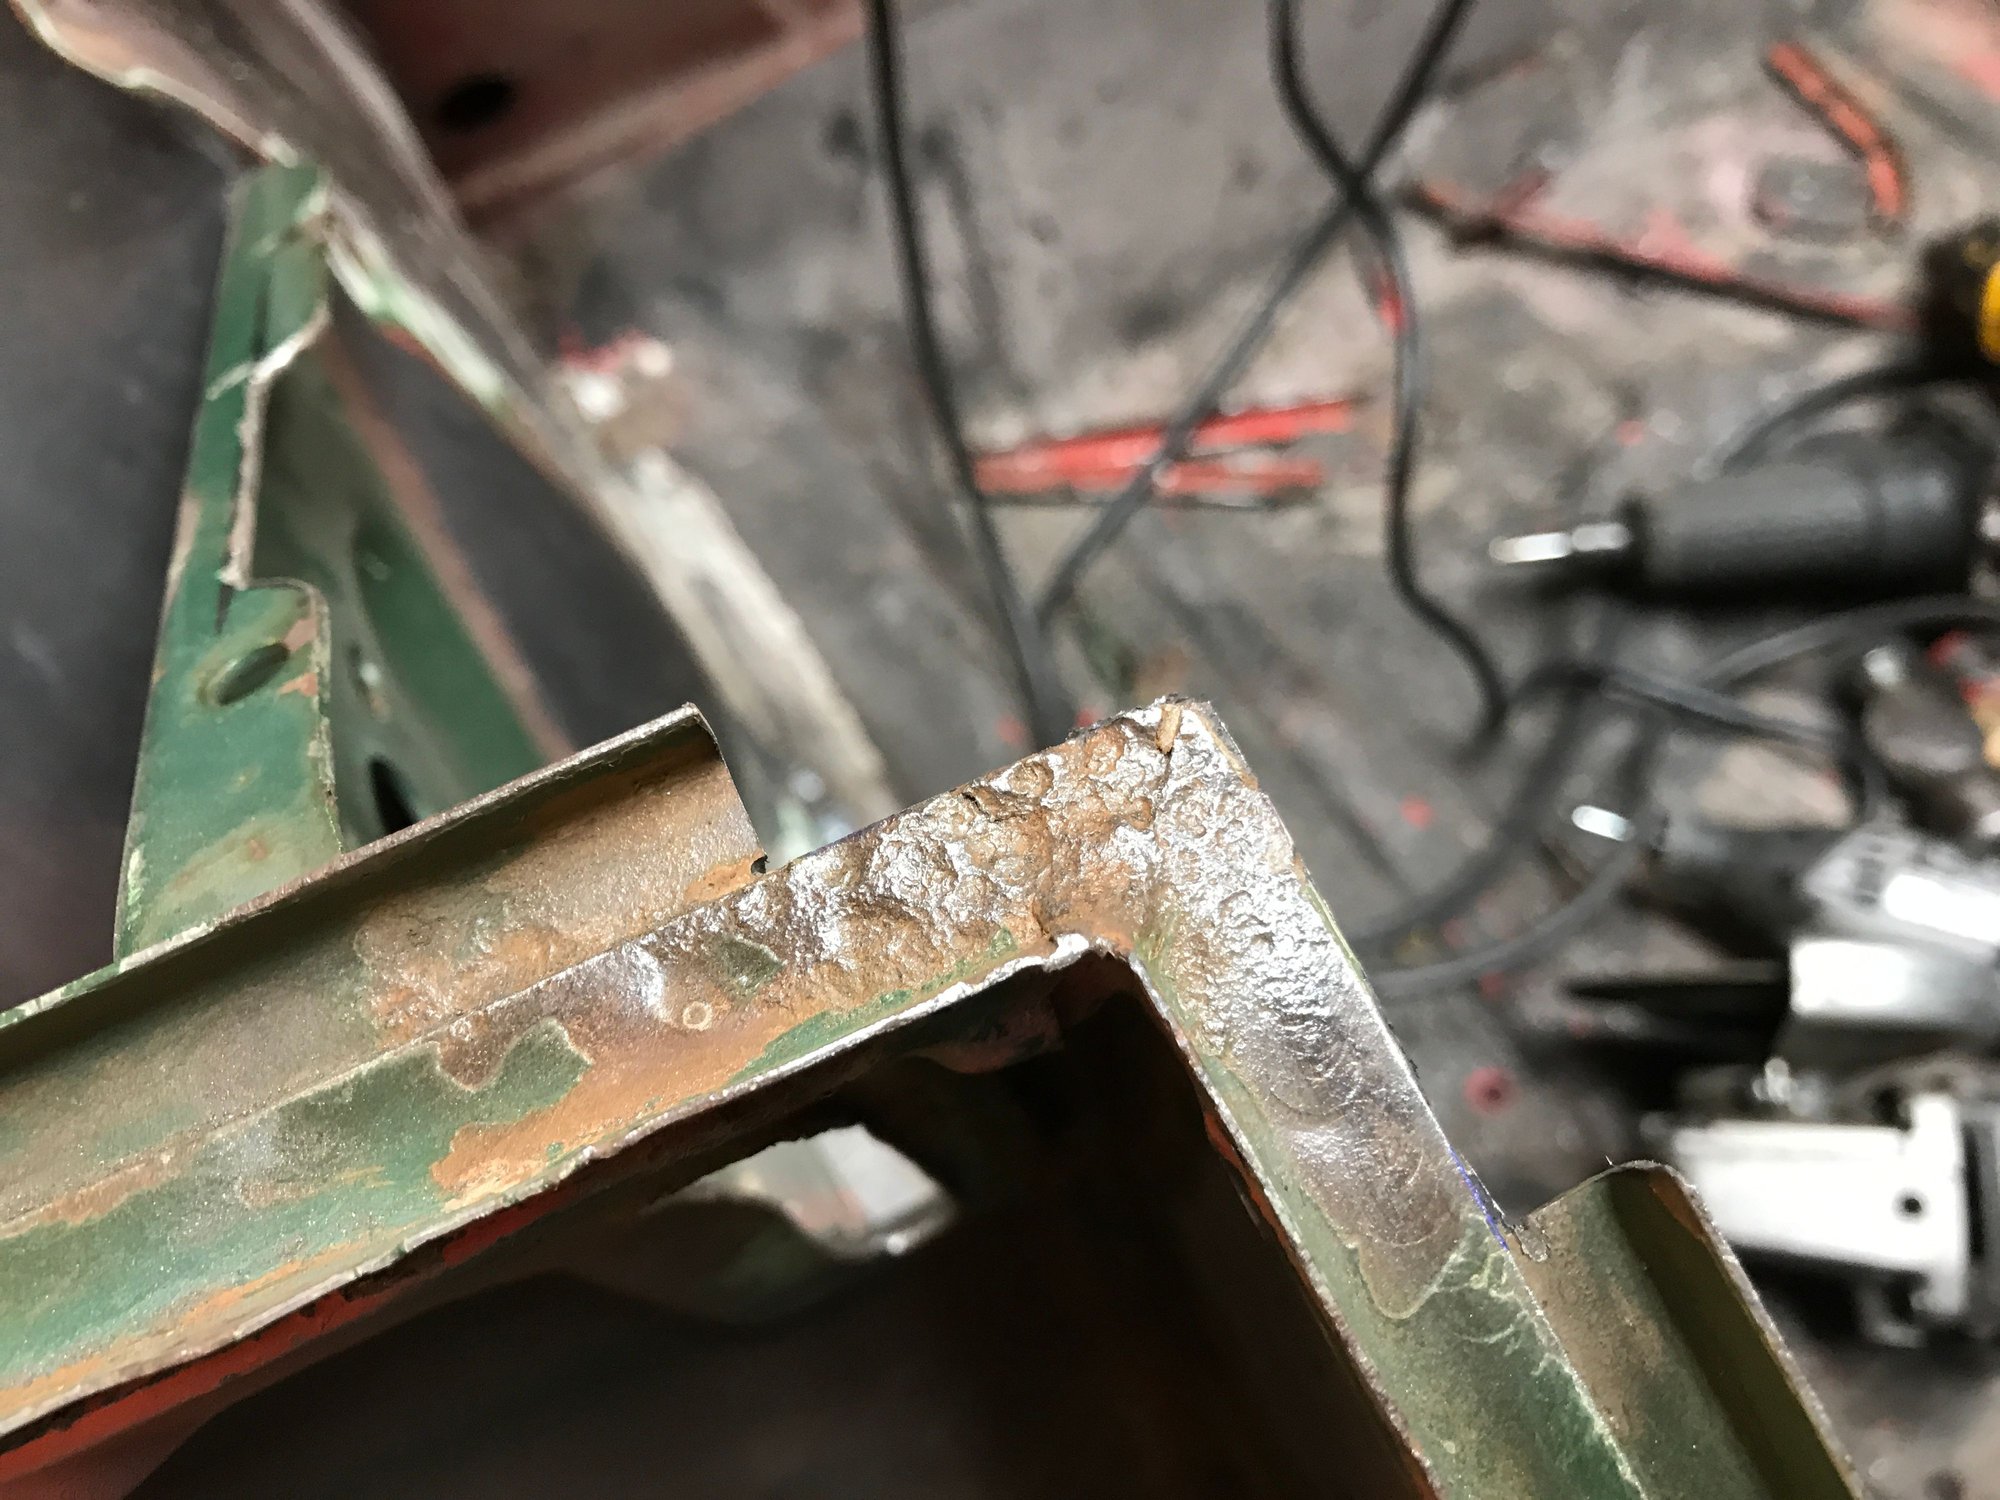
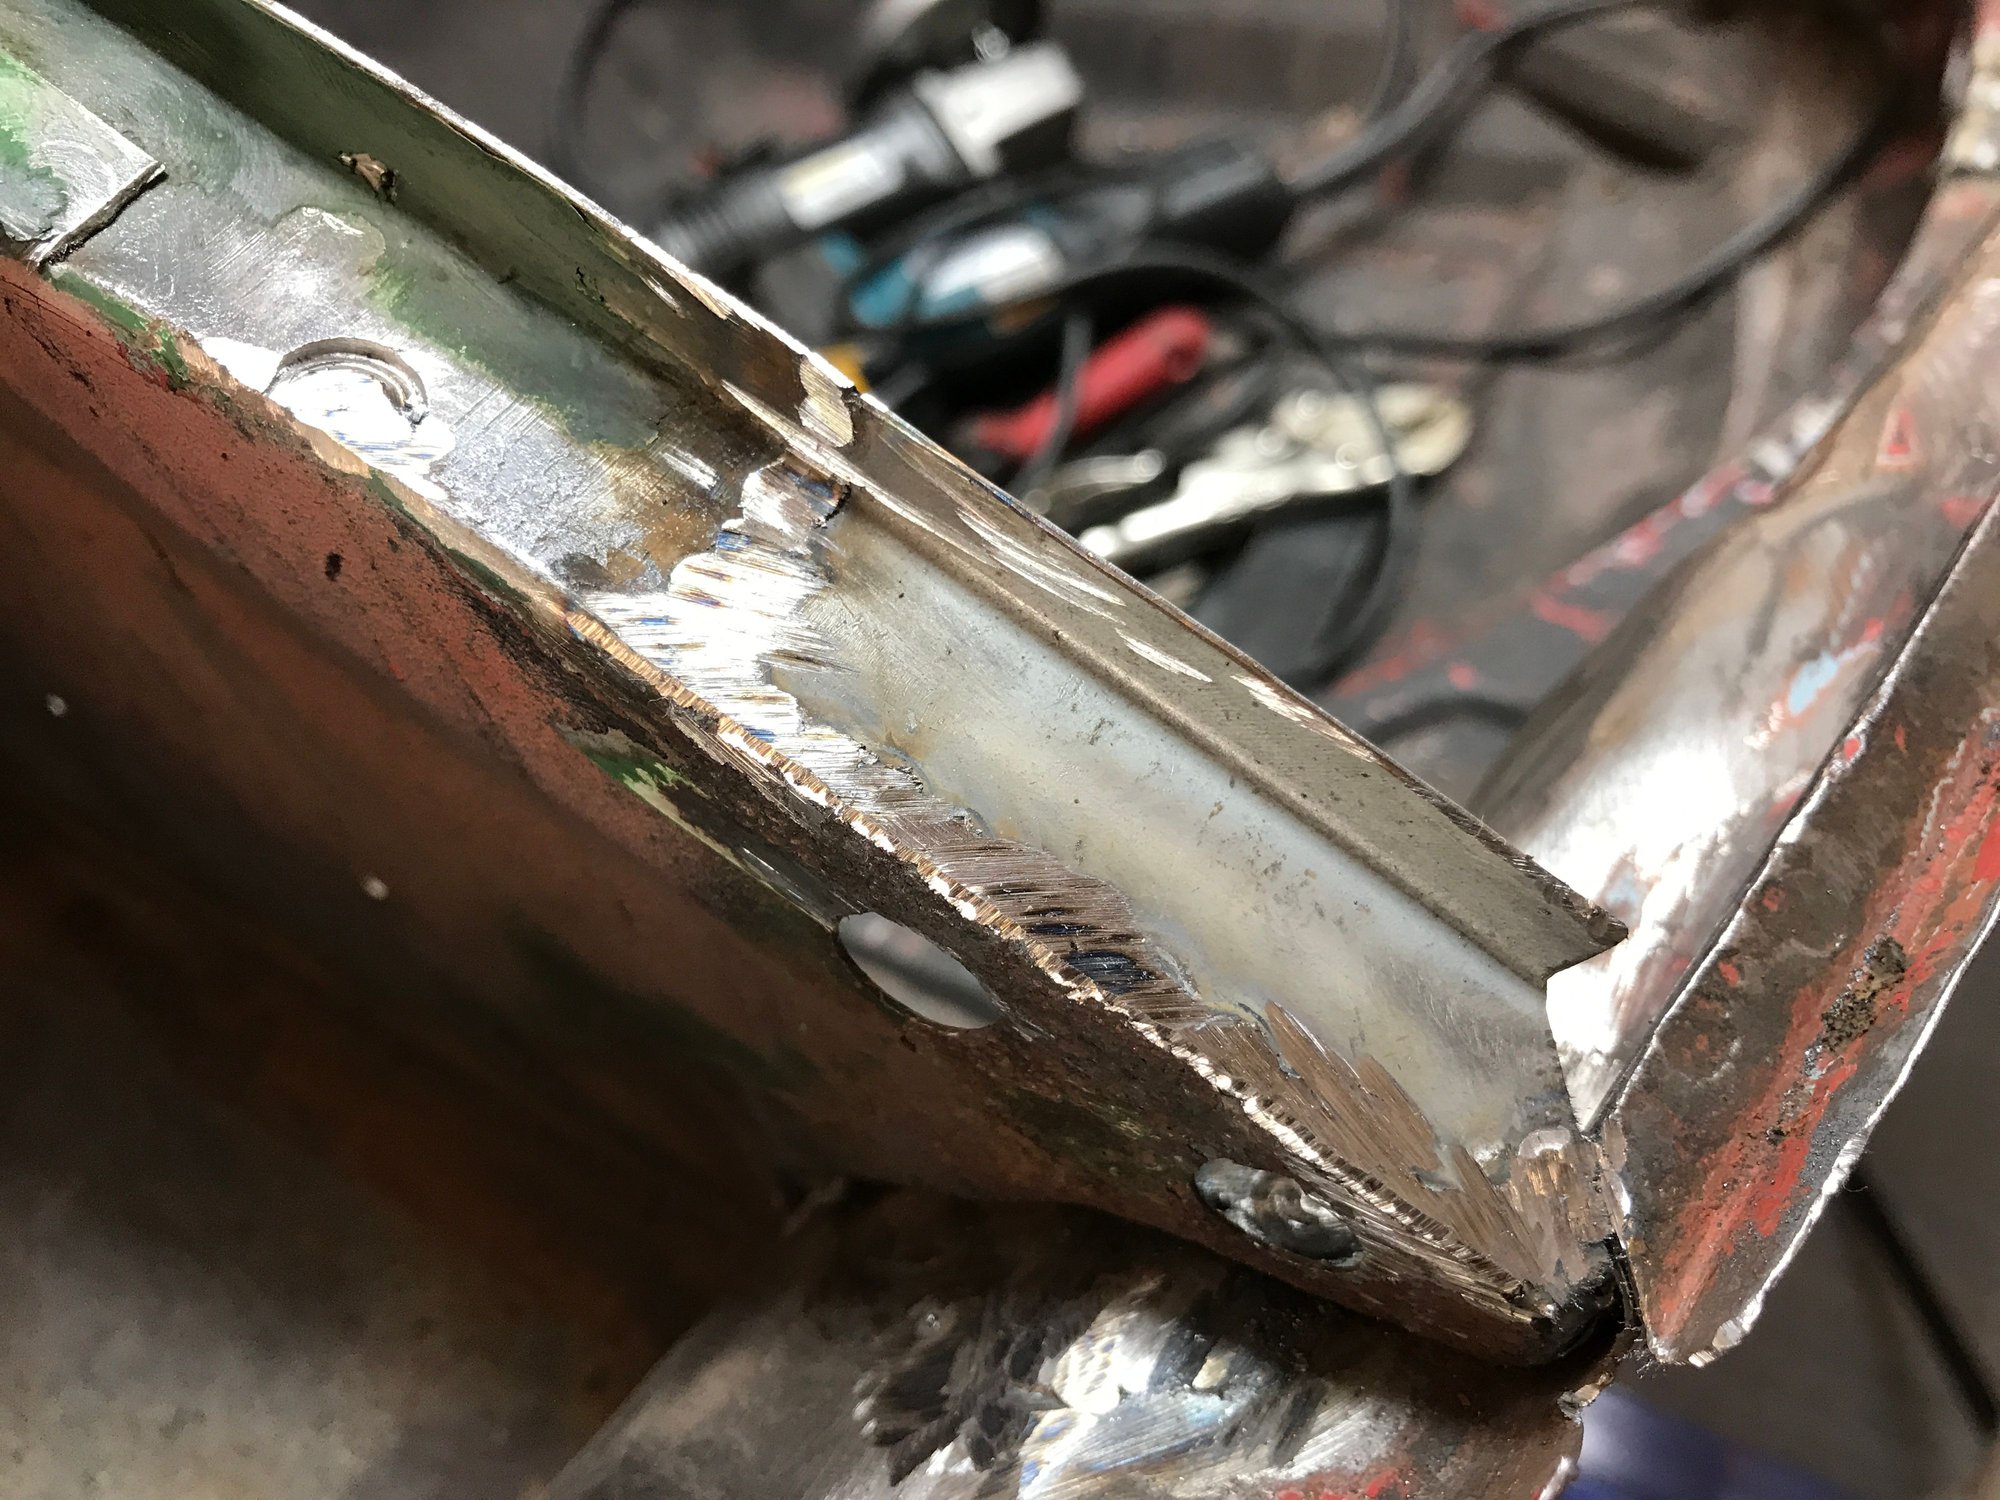
And welded. I had pretty good luck with the thin gauge edges:

New piece for the left front corner:

I even managed to get a bit of curvature, to match the original arc.

Fitted in place:

And welded. I had pretty good luck with the thin gauge edges:


 04-20-2020, 11:10 PM
#289
Rennlist Member
Thread Starter
Just a bit of work today. I spent most of the afternoon and all of my energy moving and planting a couple of 5 ft tall native junipers, each with 300 lb root *****.
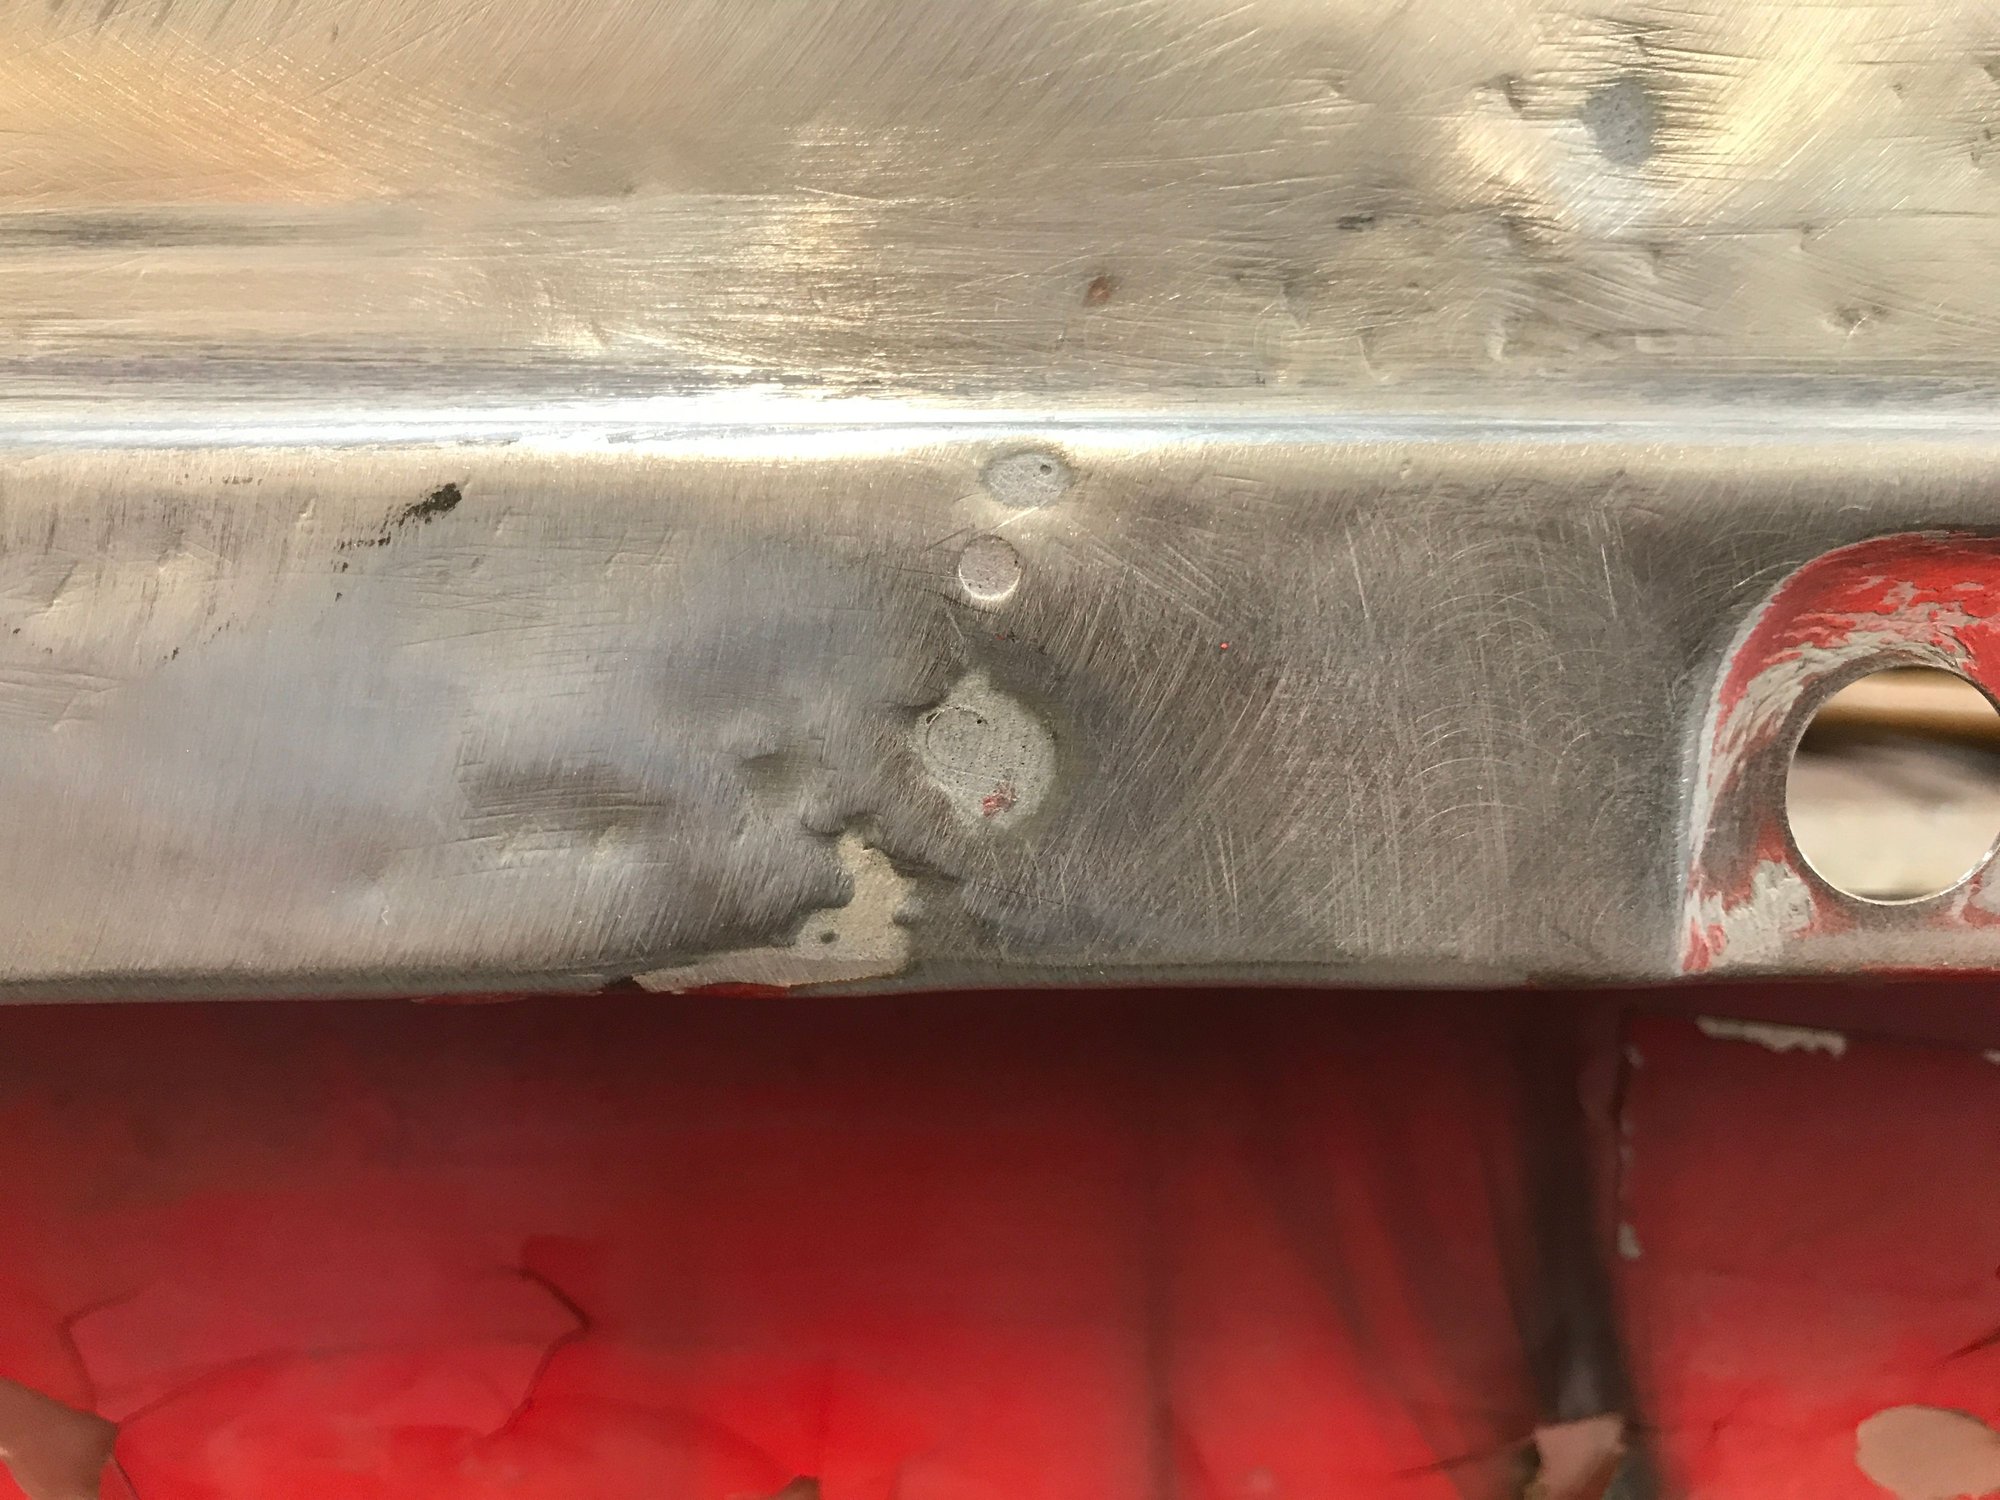
First, grinding down the patch welds from yesterday.
Then I made the patch for the outer edge of the left corner.
First, grinding down the patch welds from yesterday.


Then I made the patch for the outer edge of the left corner.


 04-22-2020, 10:45 PM
#294
Rennlist Member
Thread Starter
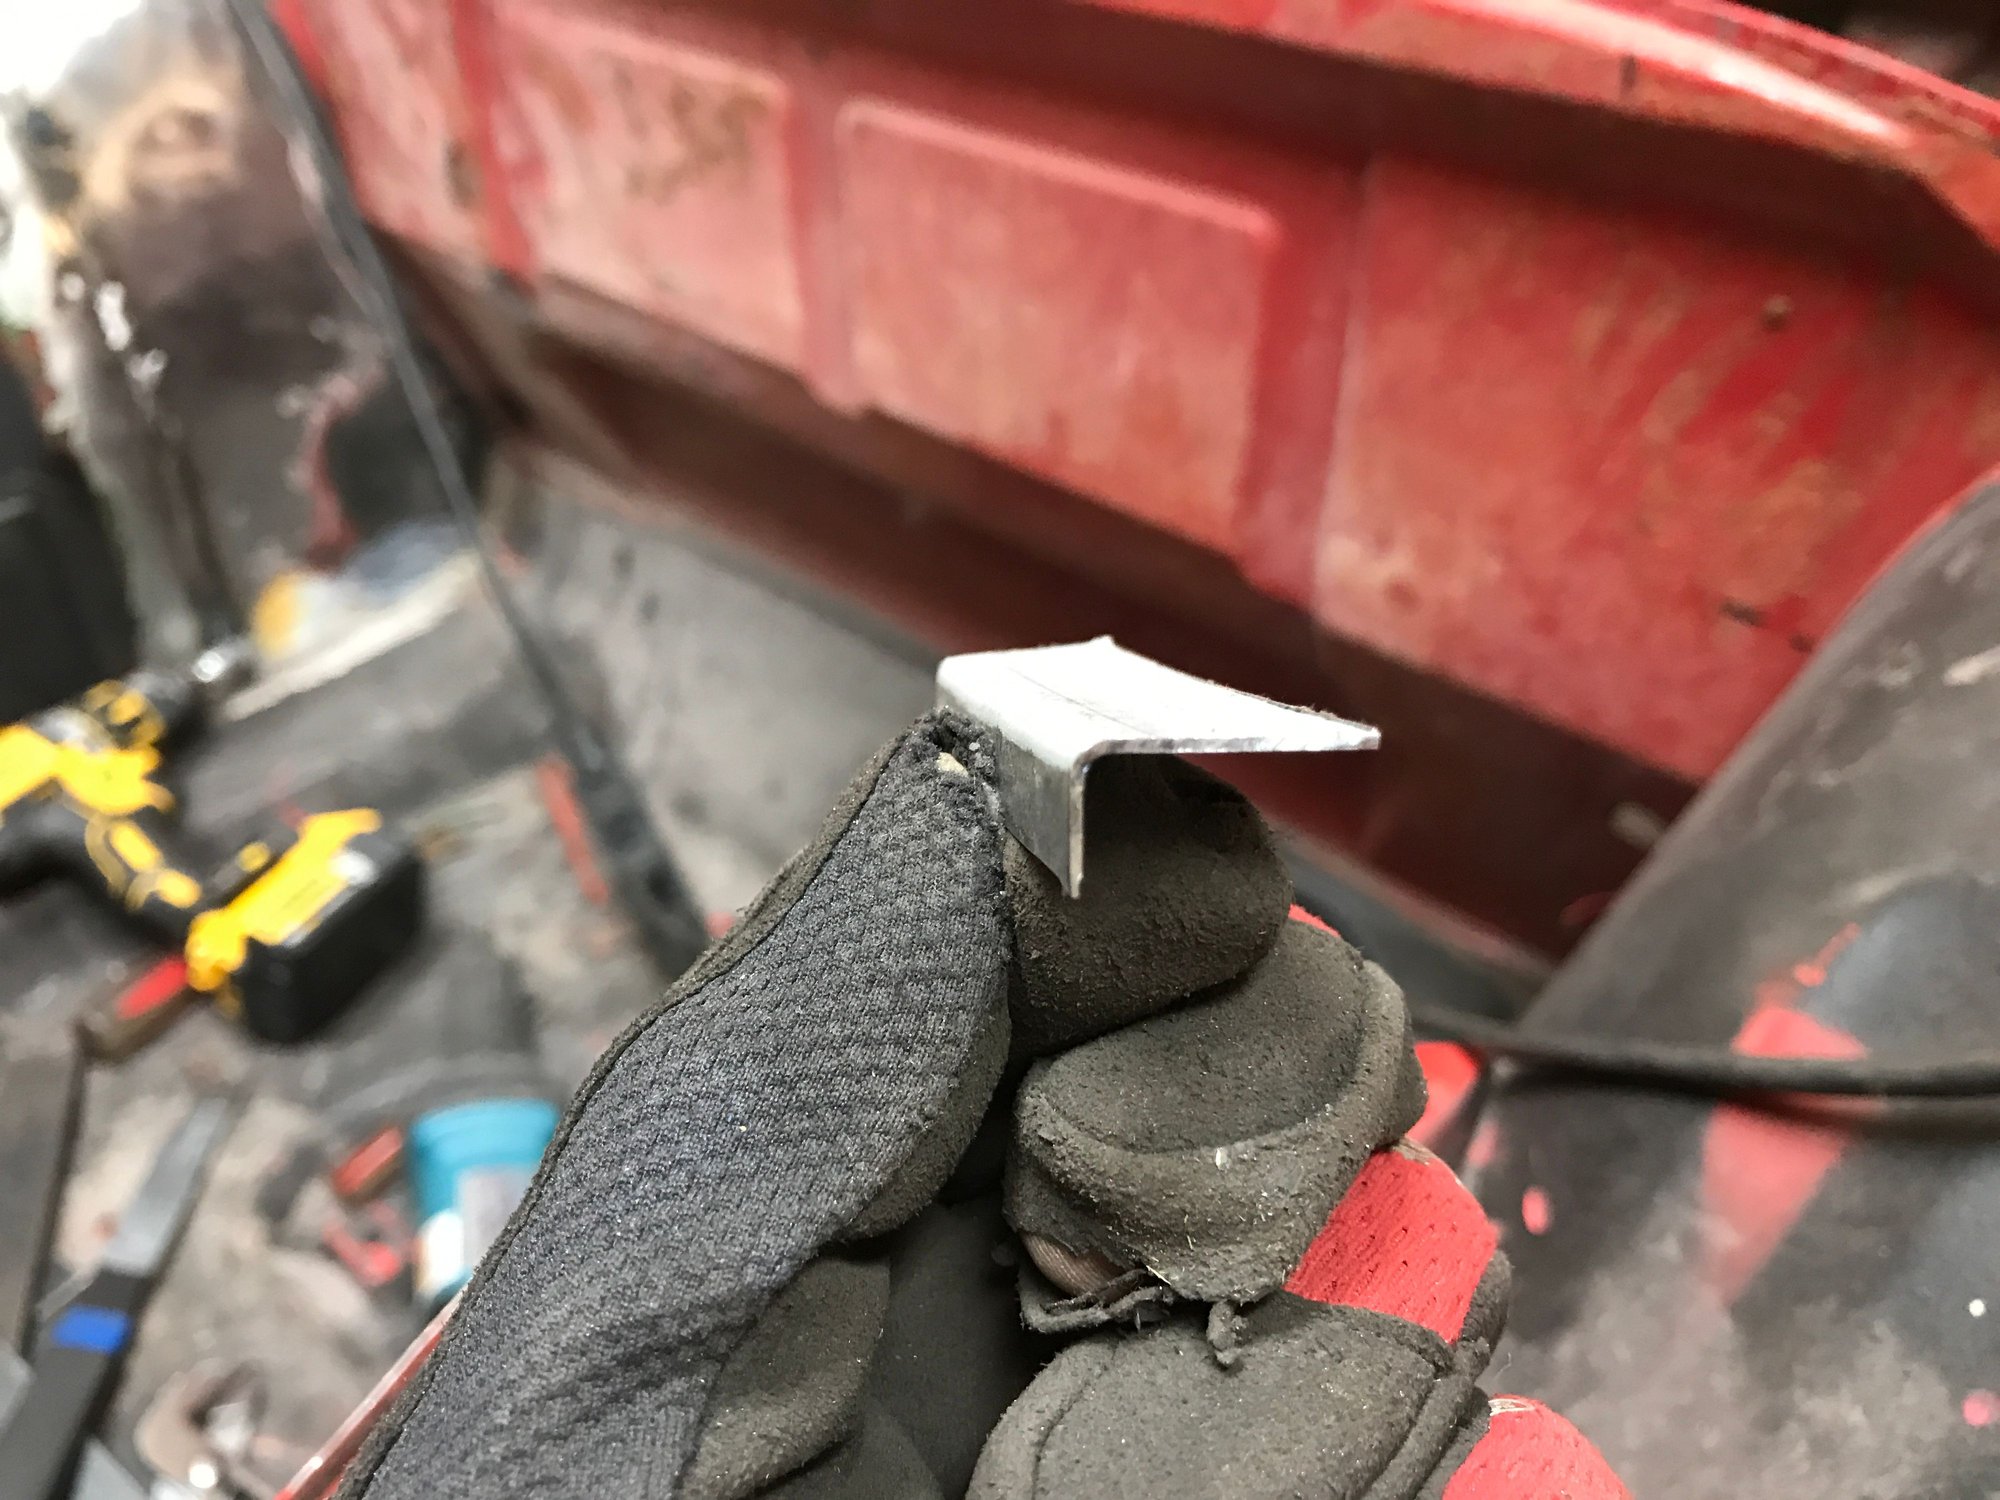
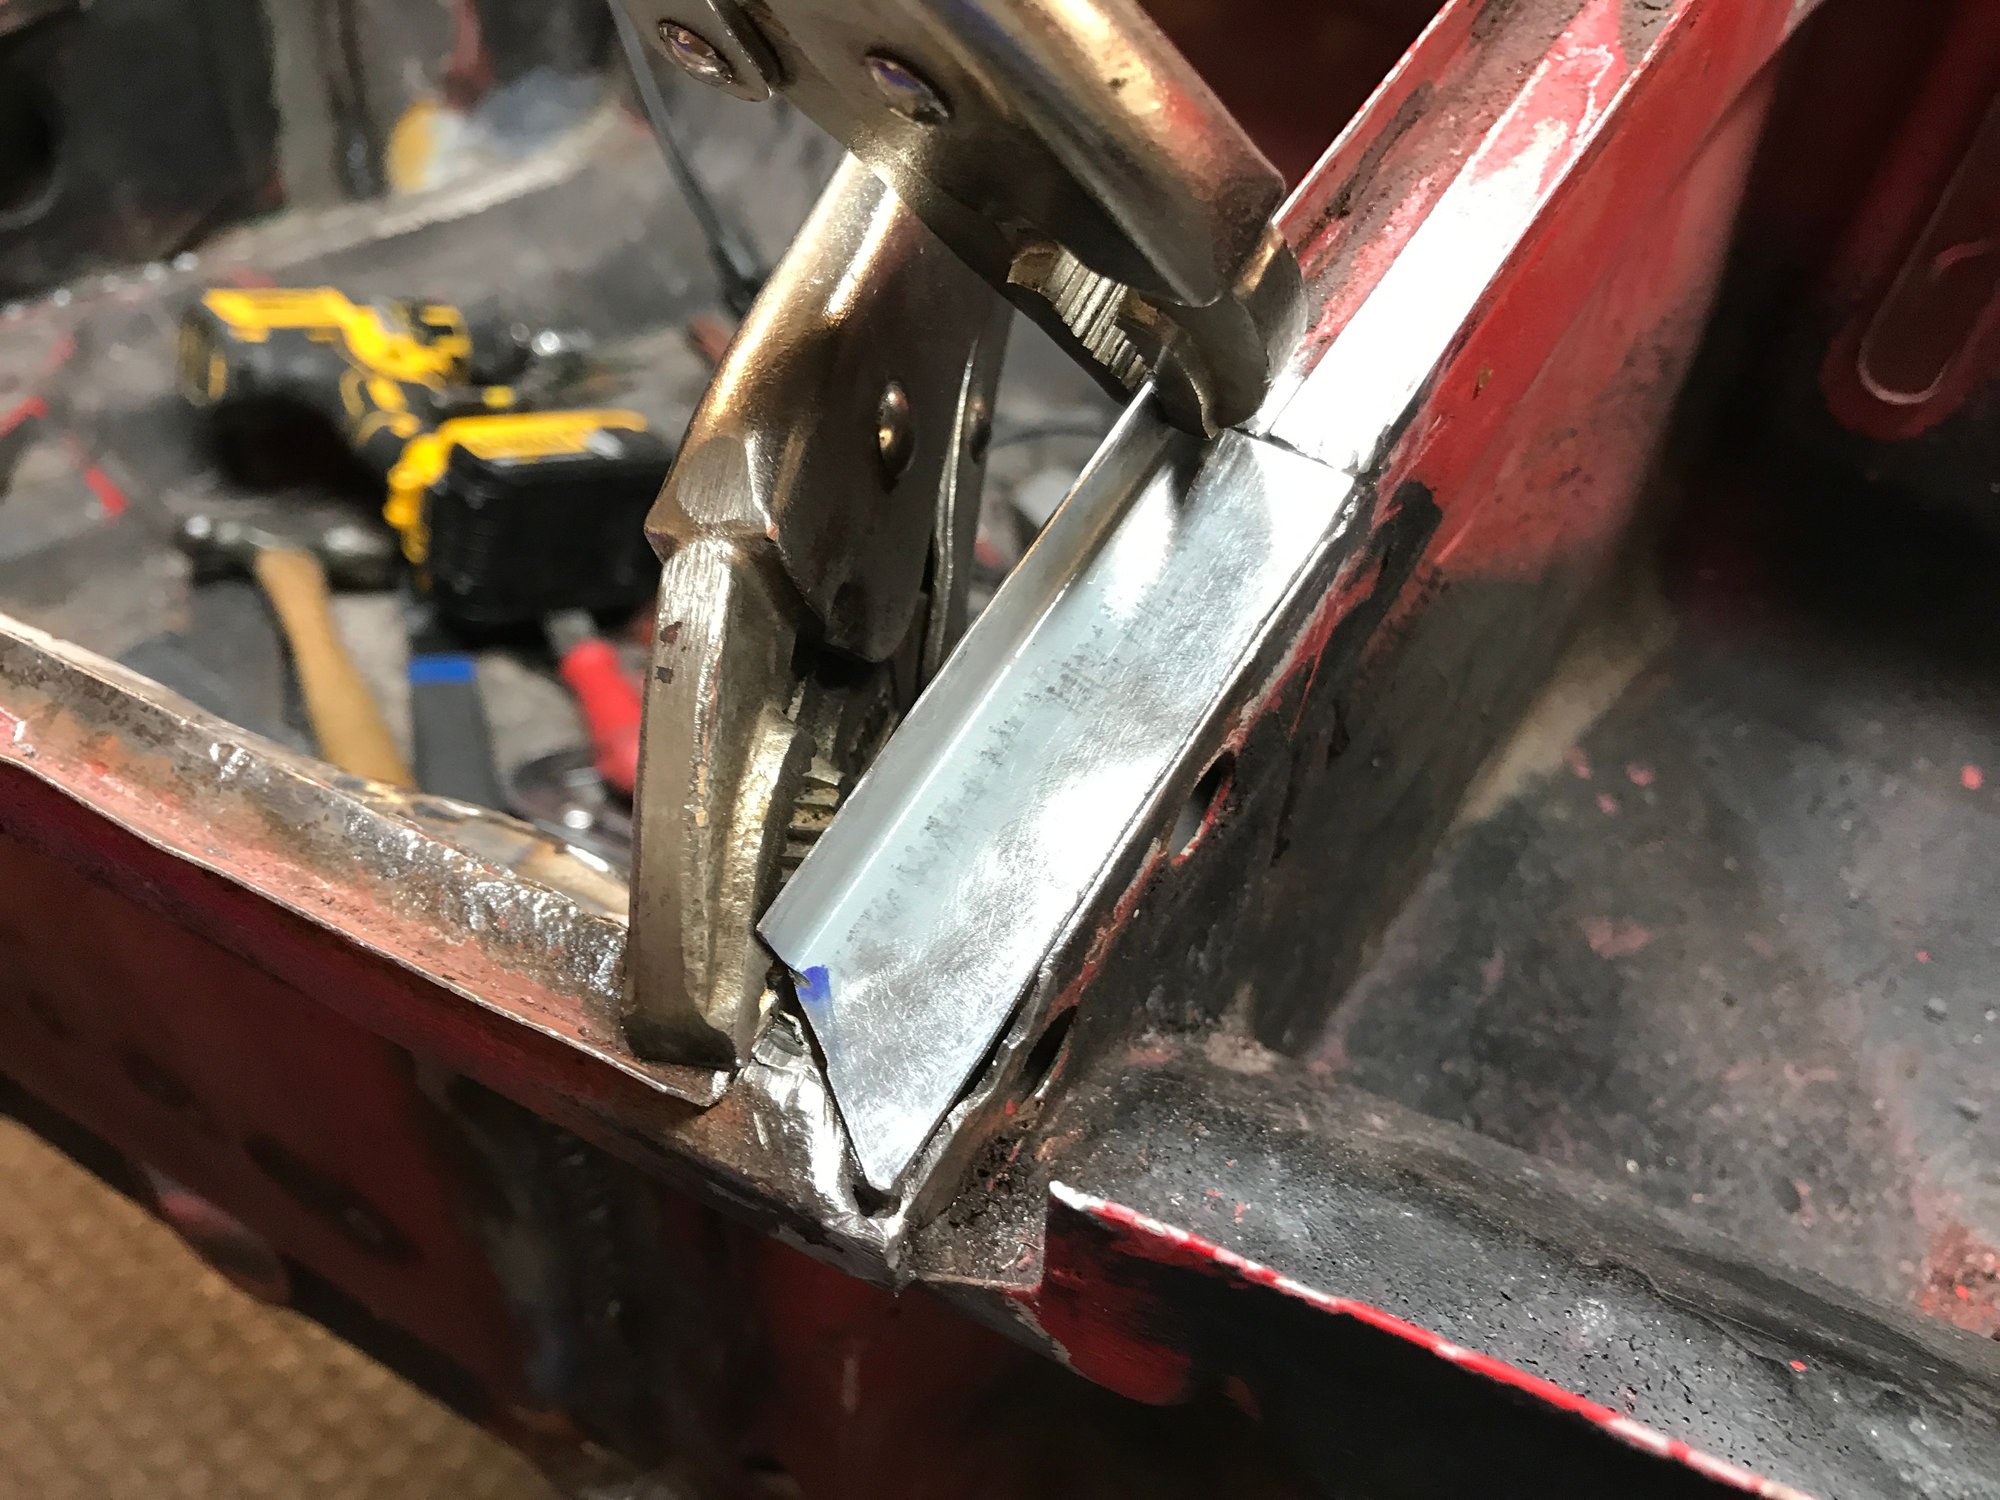
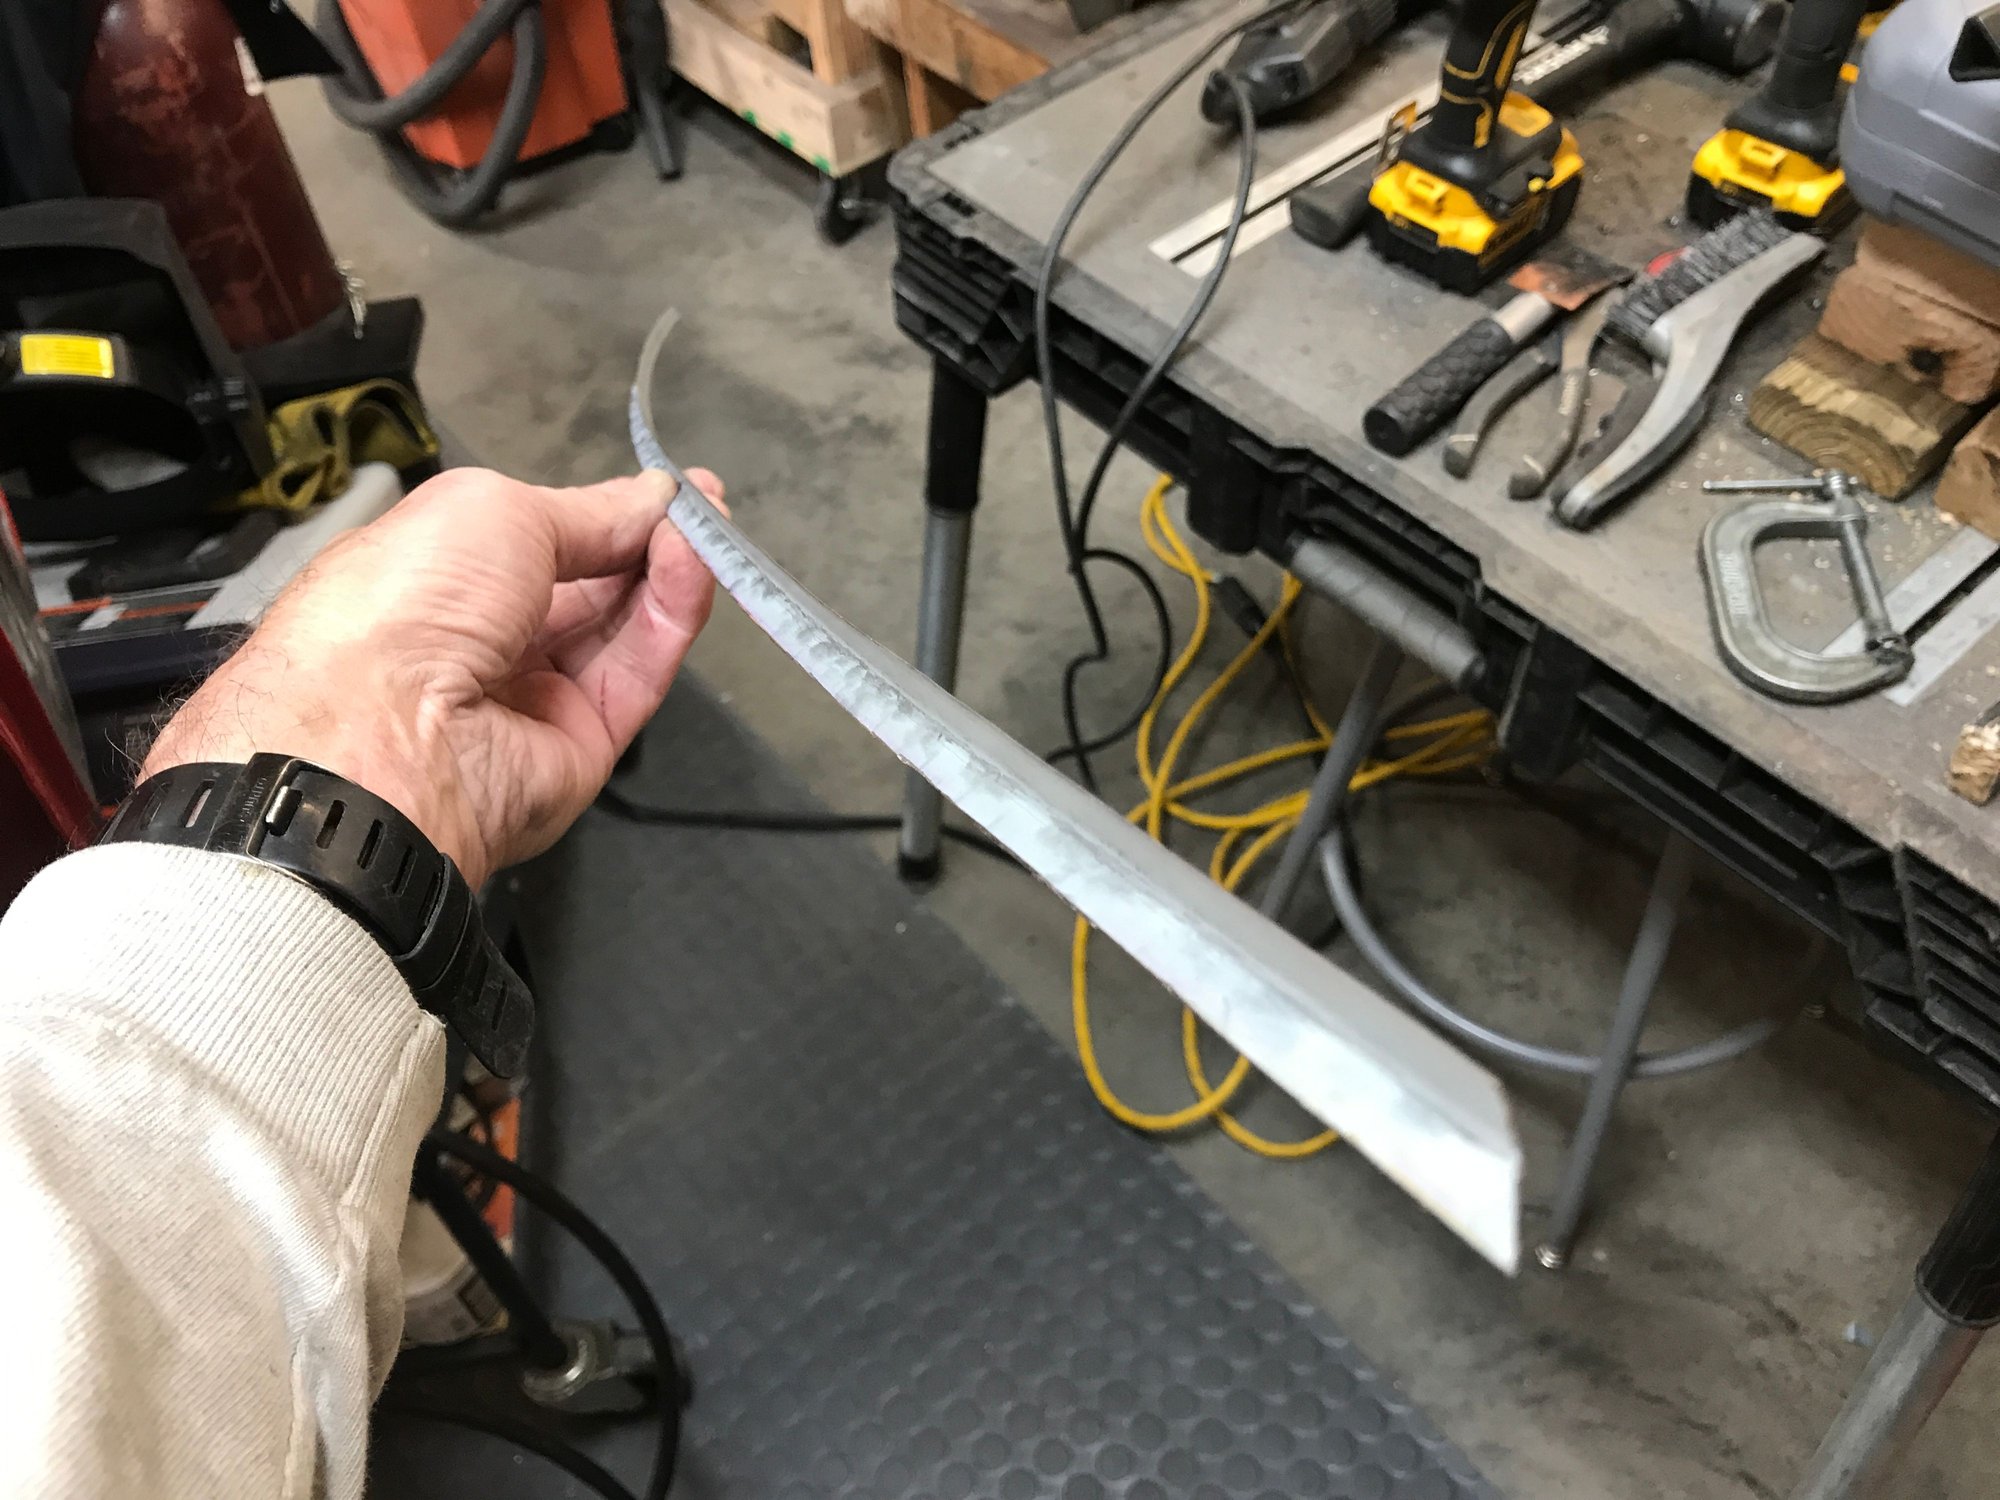
For the front channel, I had to trim down the width of the stock angle, and then give it the same curvature as the front of the car.
Got that tacked in place.

Got that tacked in place.
 04-23-2020, 10:42 PM
#295
Rennlist Member
Thread Starter
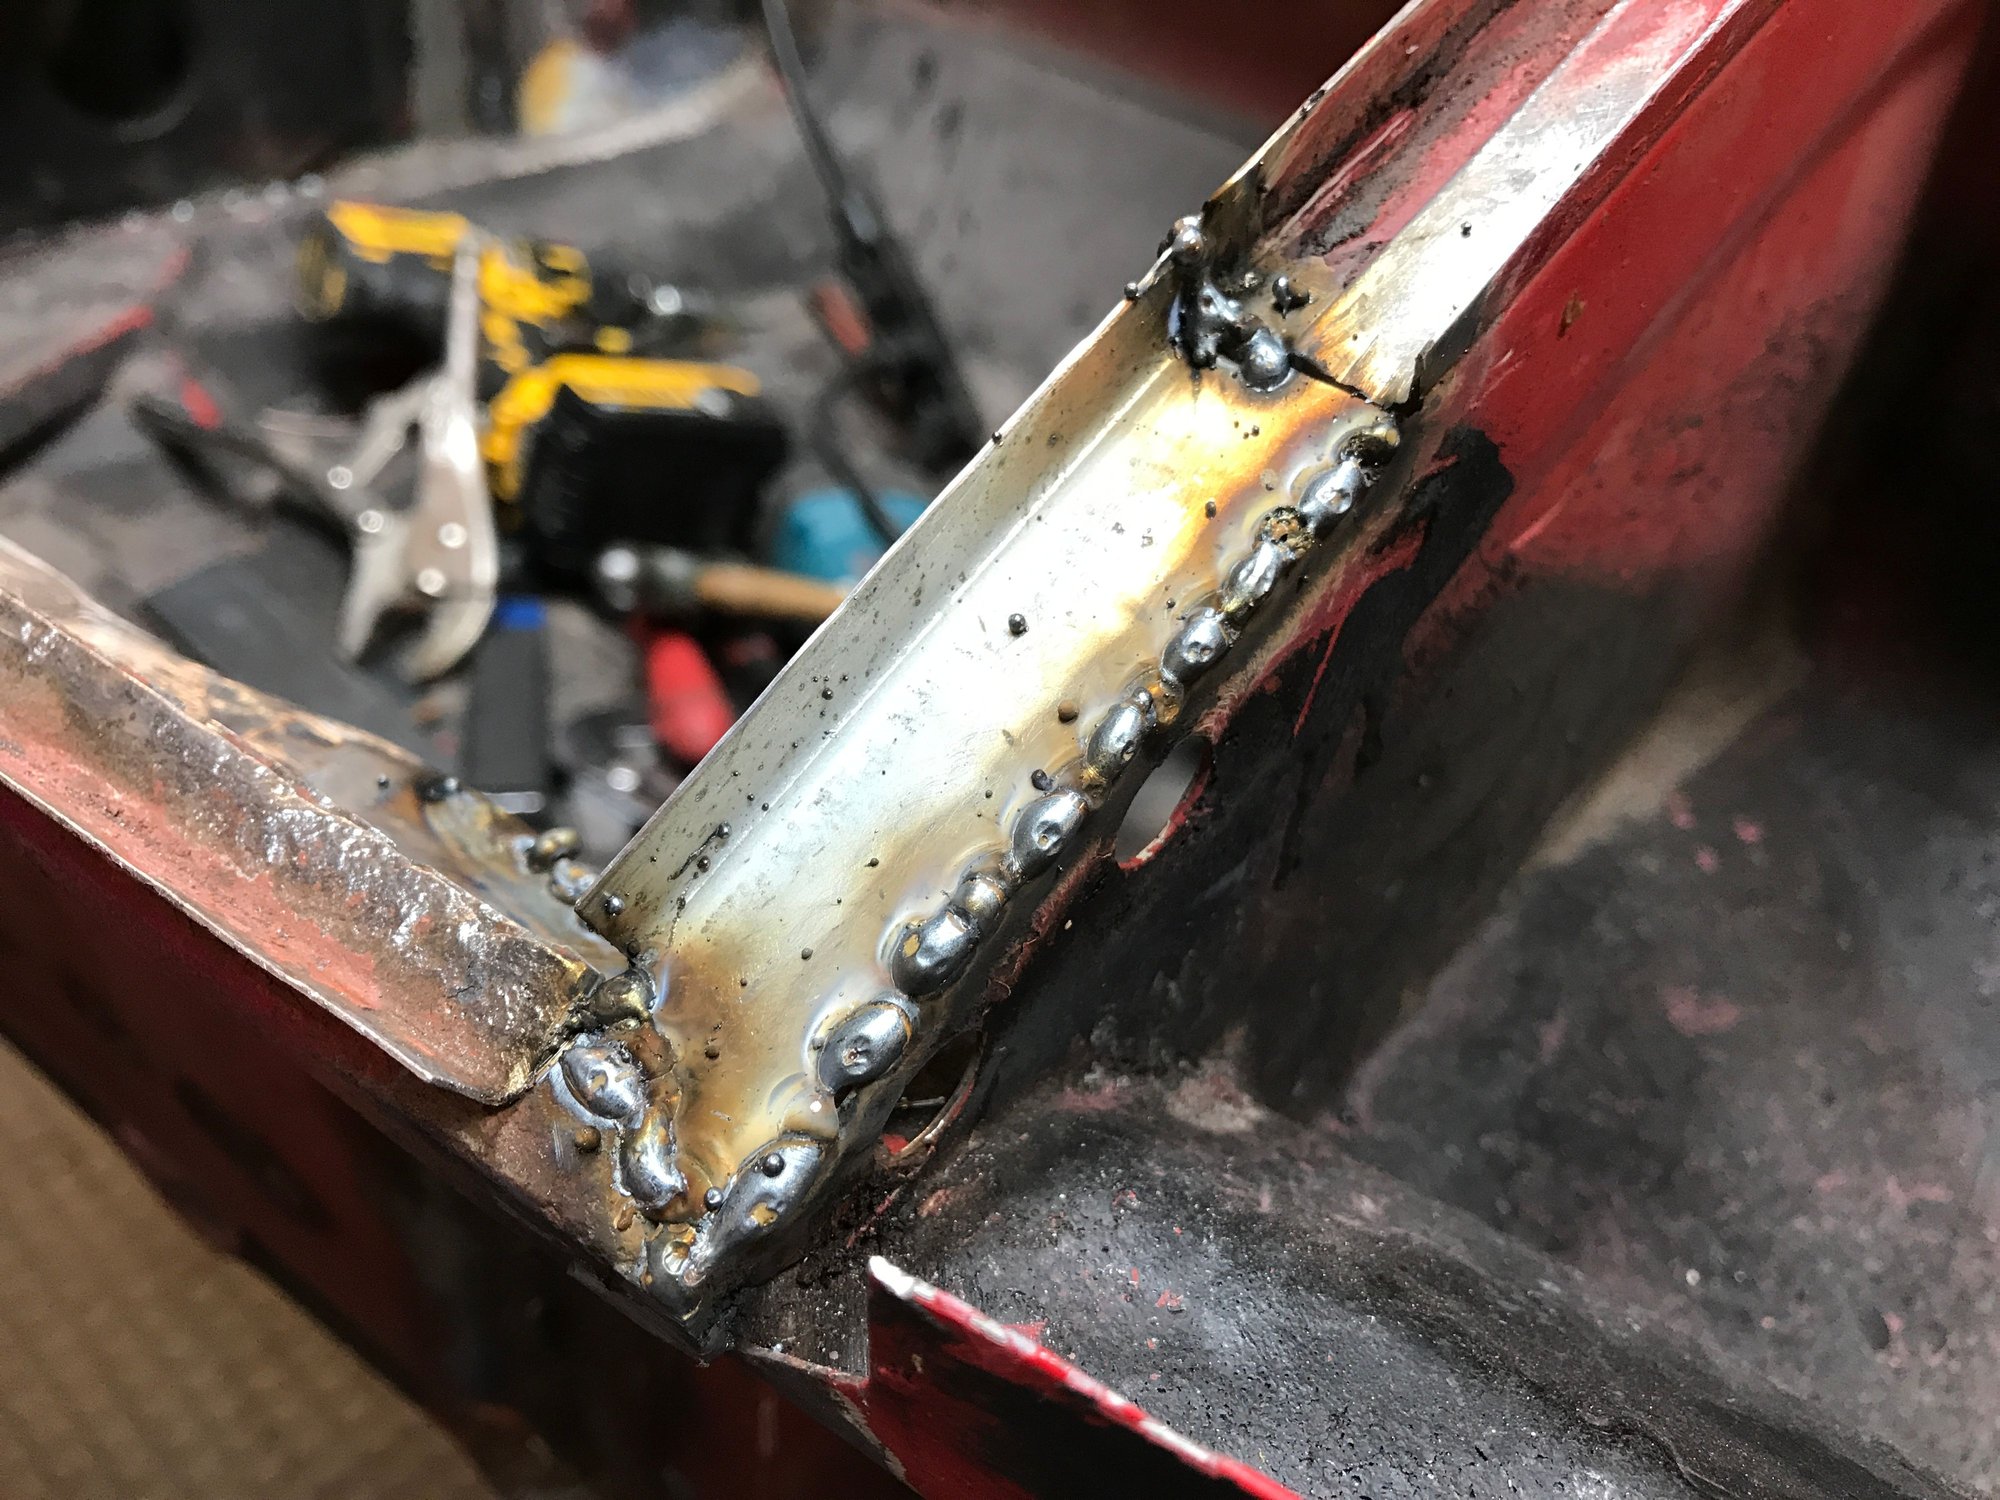
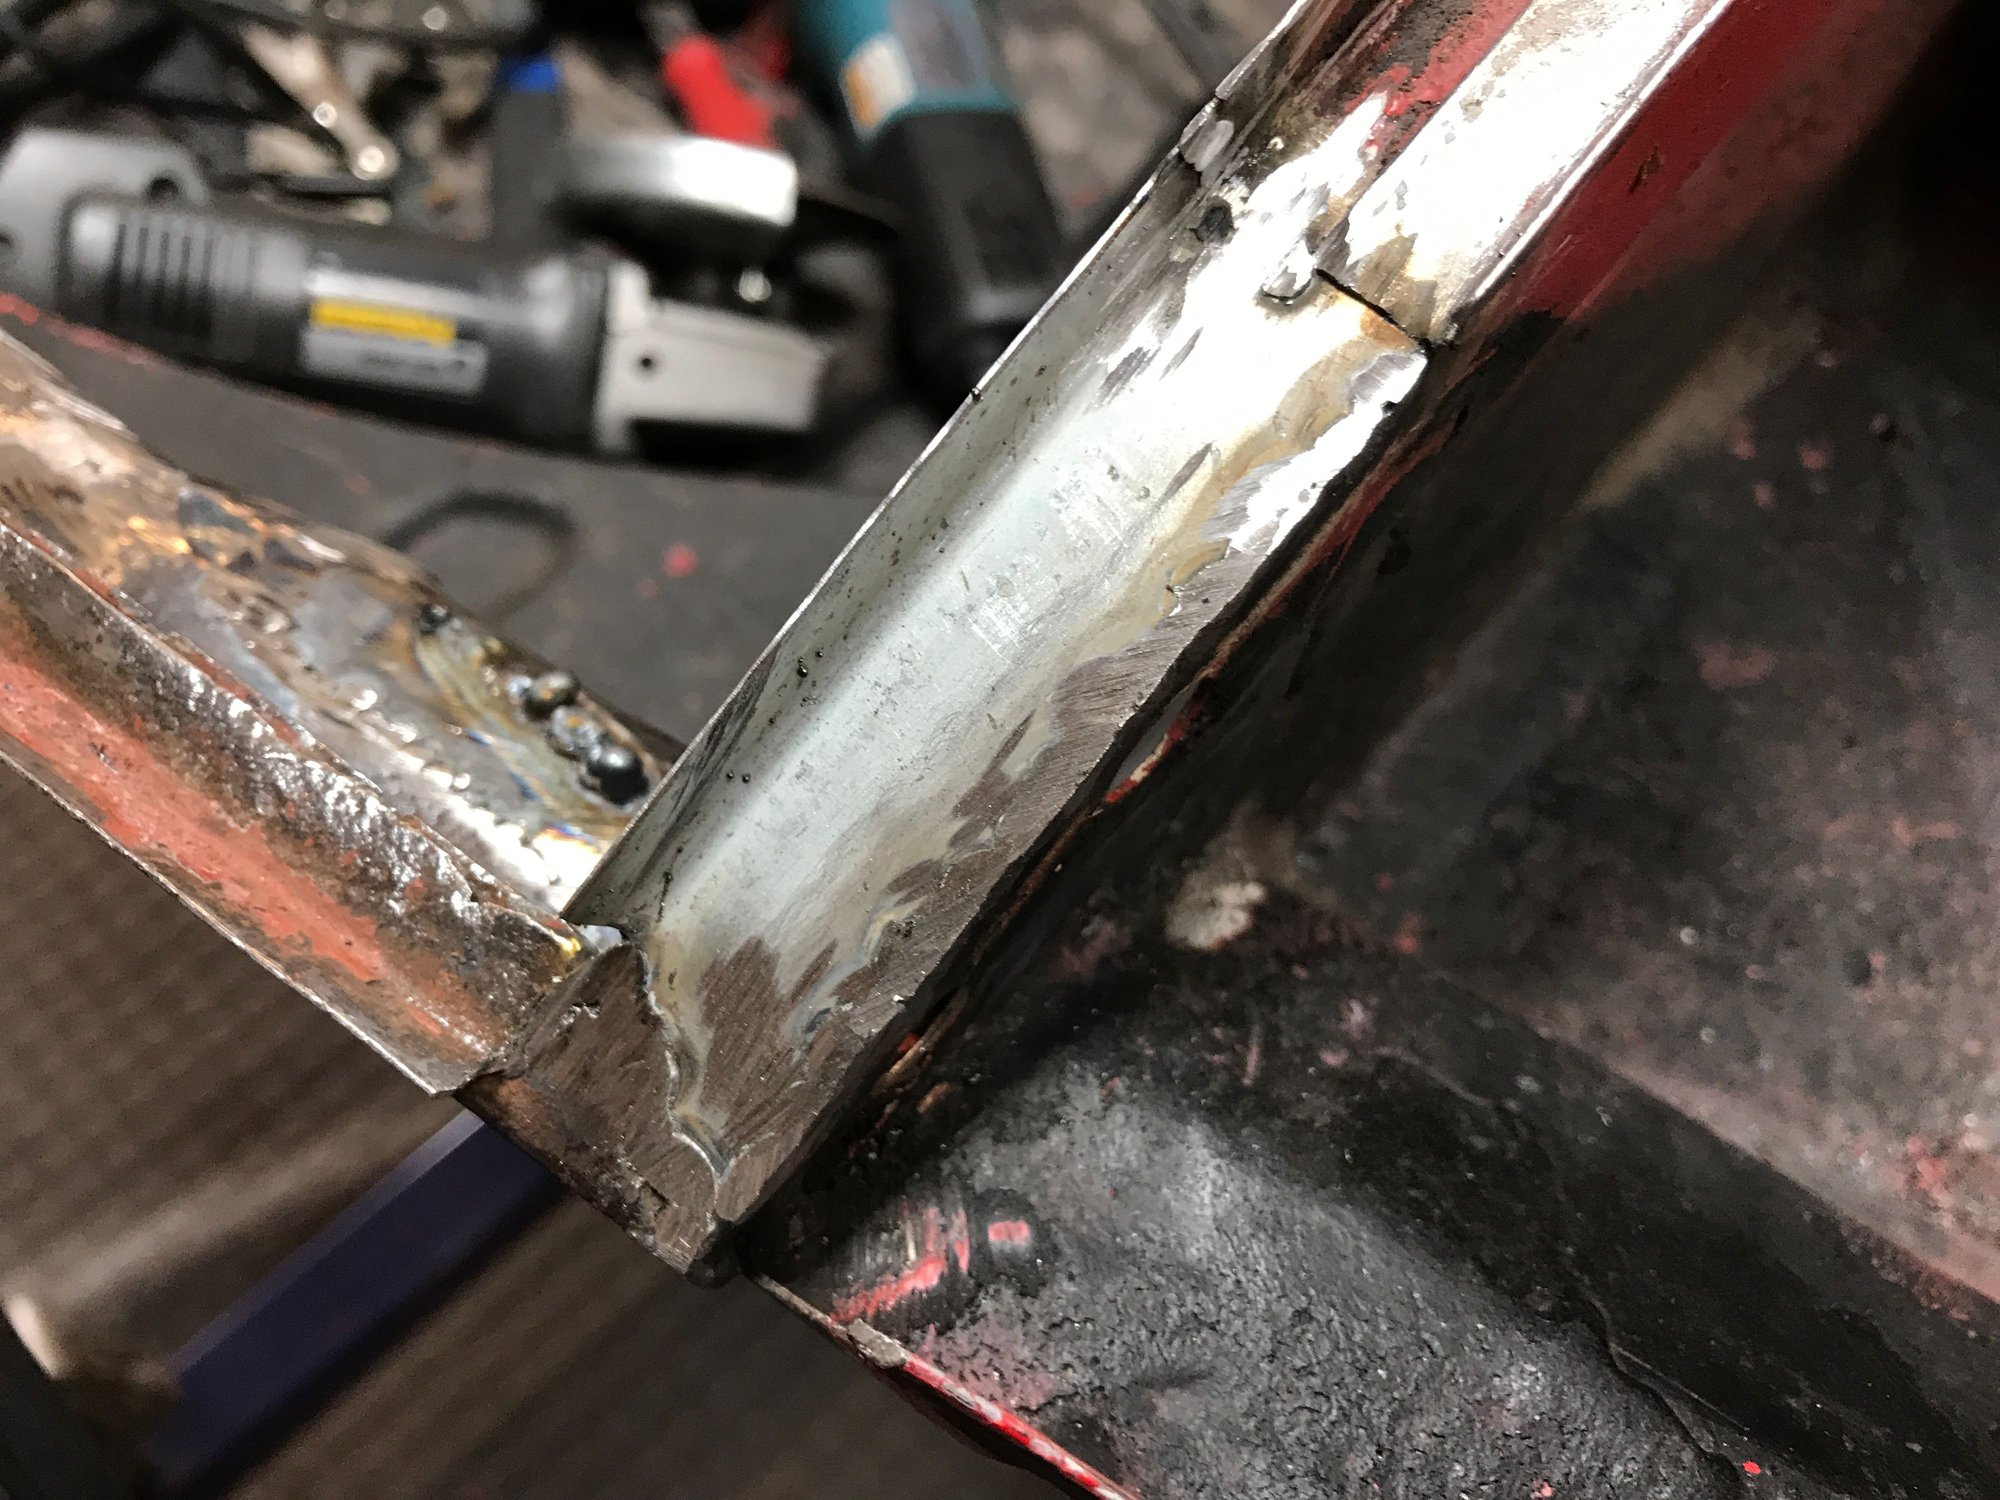
Finished welding the frunk channel, and grinding the welds today.
That includes the mount for the frunk latch, and before welding that I had to make sure the channel angle was constant all the way across.

Here's the mount welded on.
After welding and grinding the front channel.
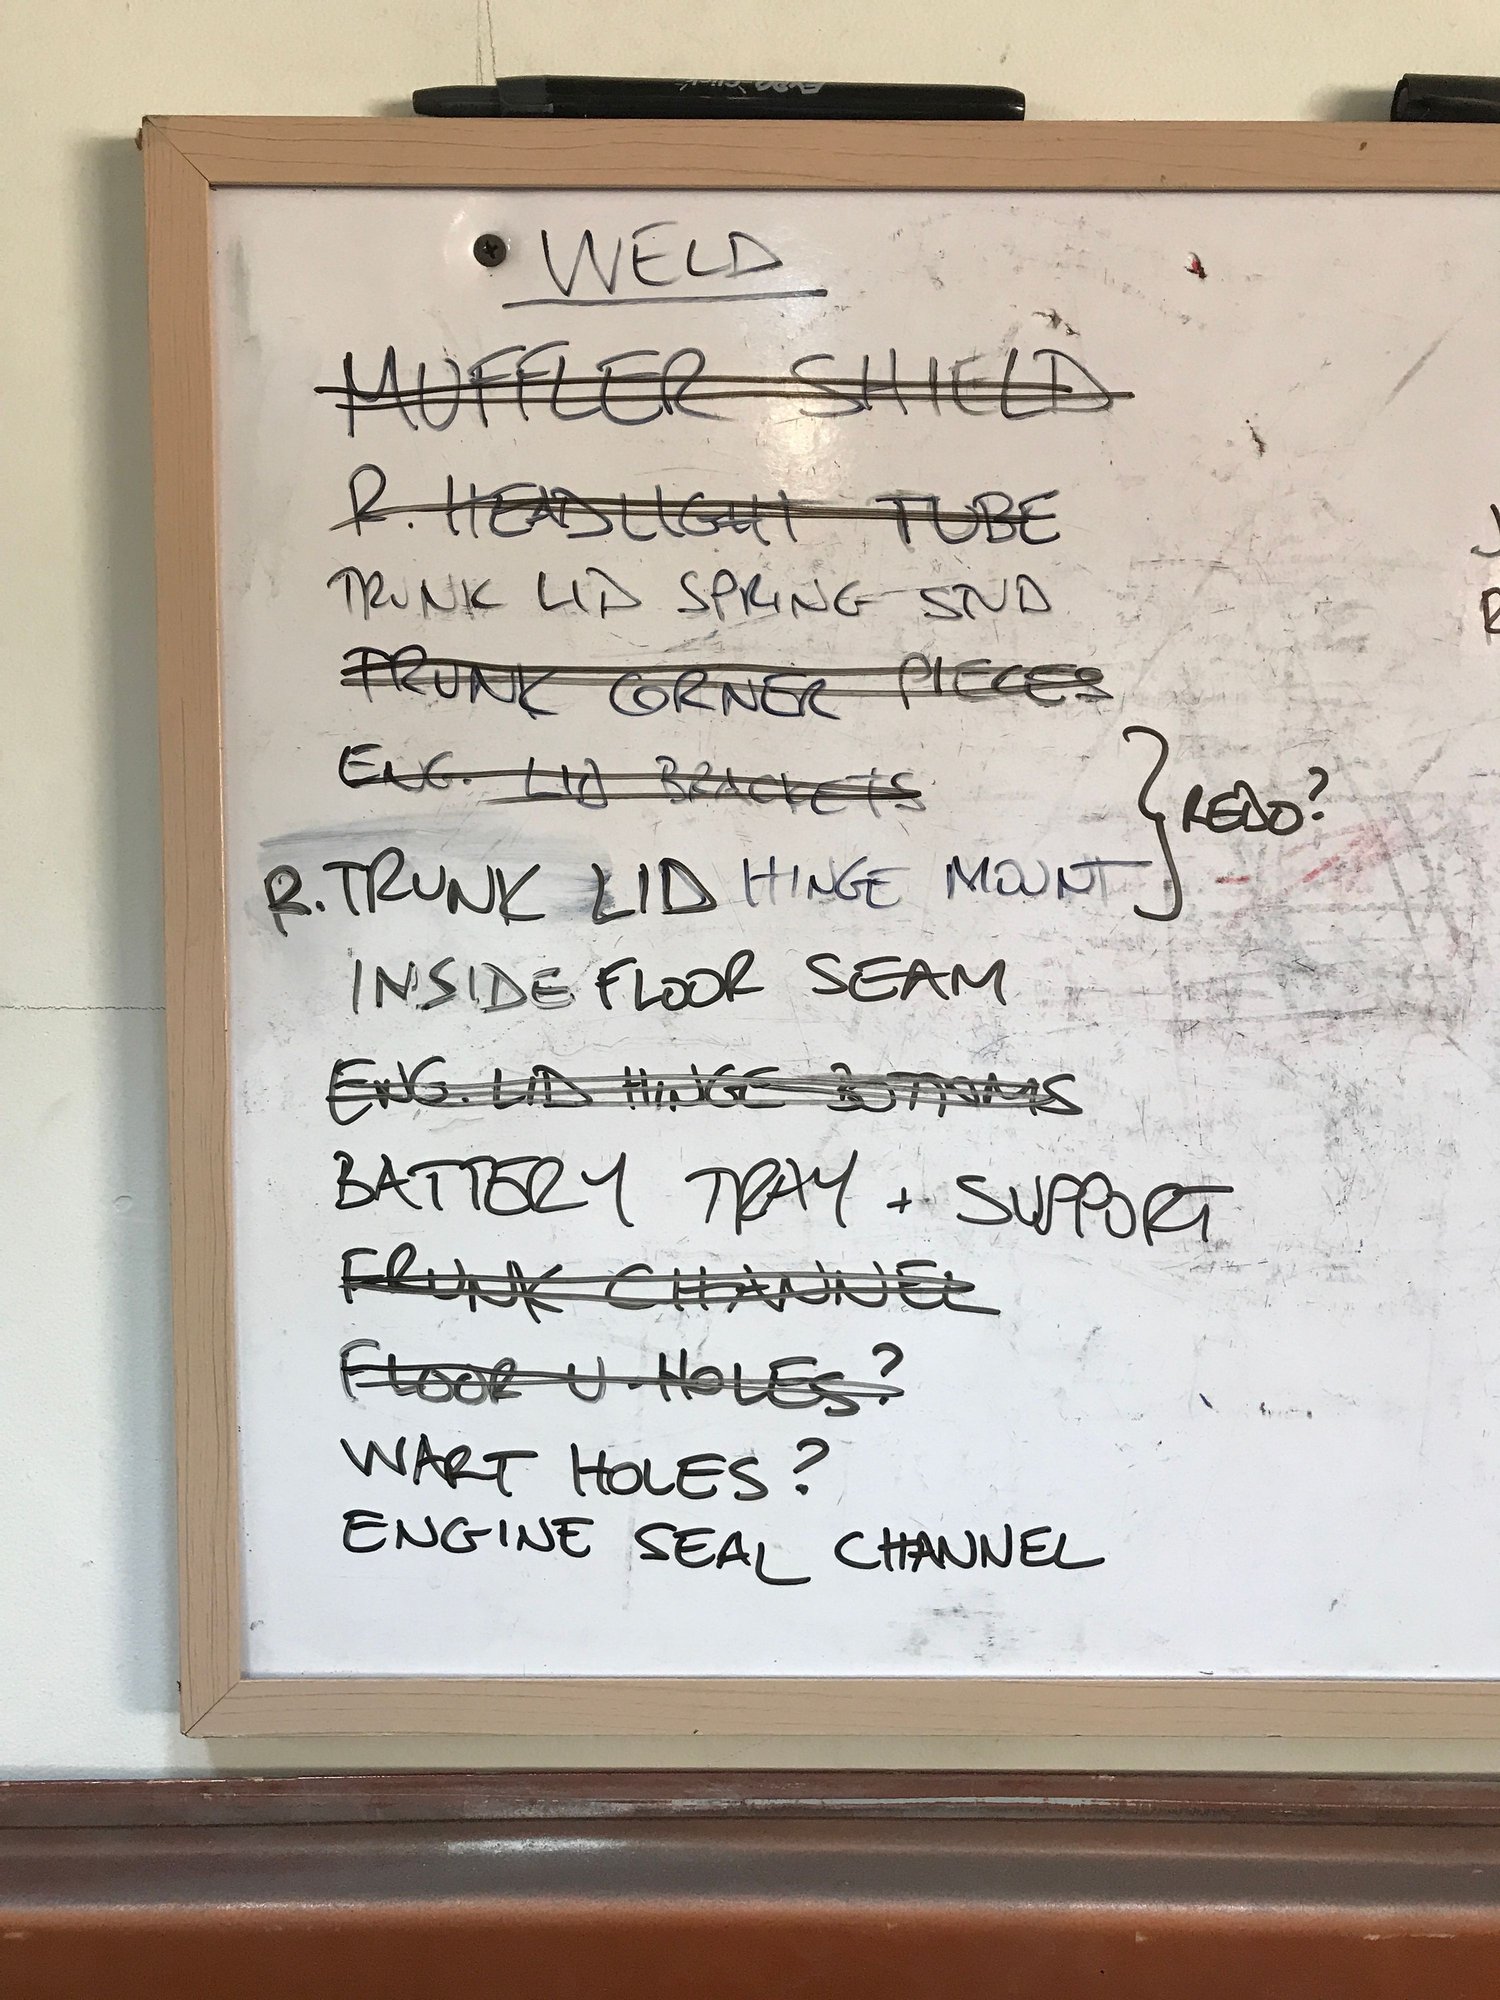
Another item crossed off the list.
That includes the mount for the frunk latch, and before welding that I had to make sure the channel angle was constant all the way across.

Here's the mount welded on.

After welding and grinding the front channel.

Another item crossed off the list.

 04-24-2020, 10:36 PM
#297
Rennlist Member
Thread Starter
04-24-2020, 10:41 PM
#298
Rennlist Member
Thread Starter
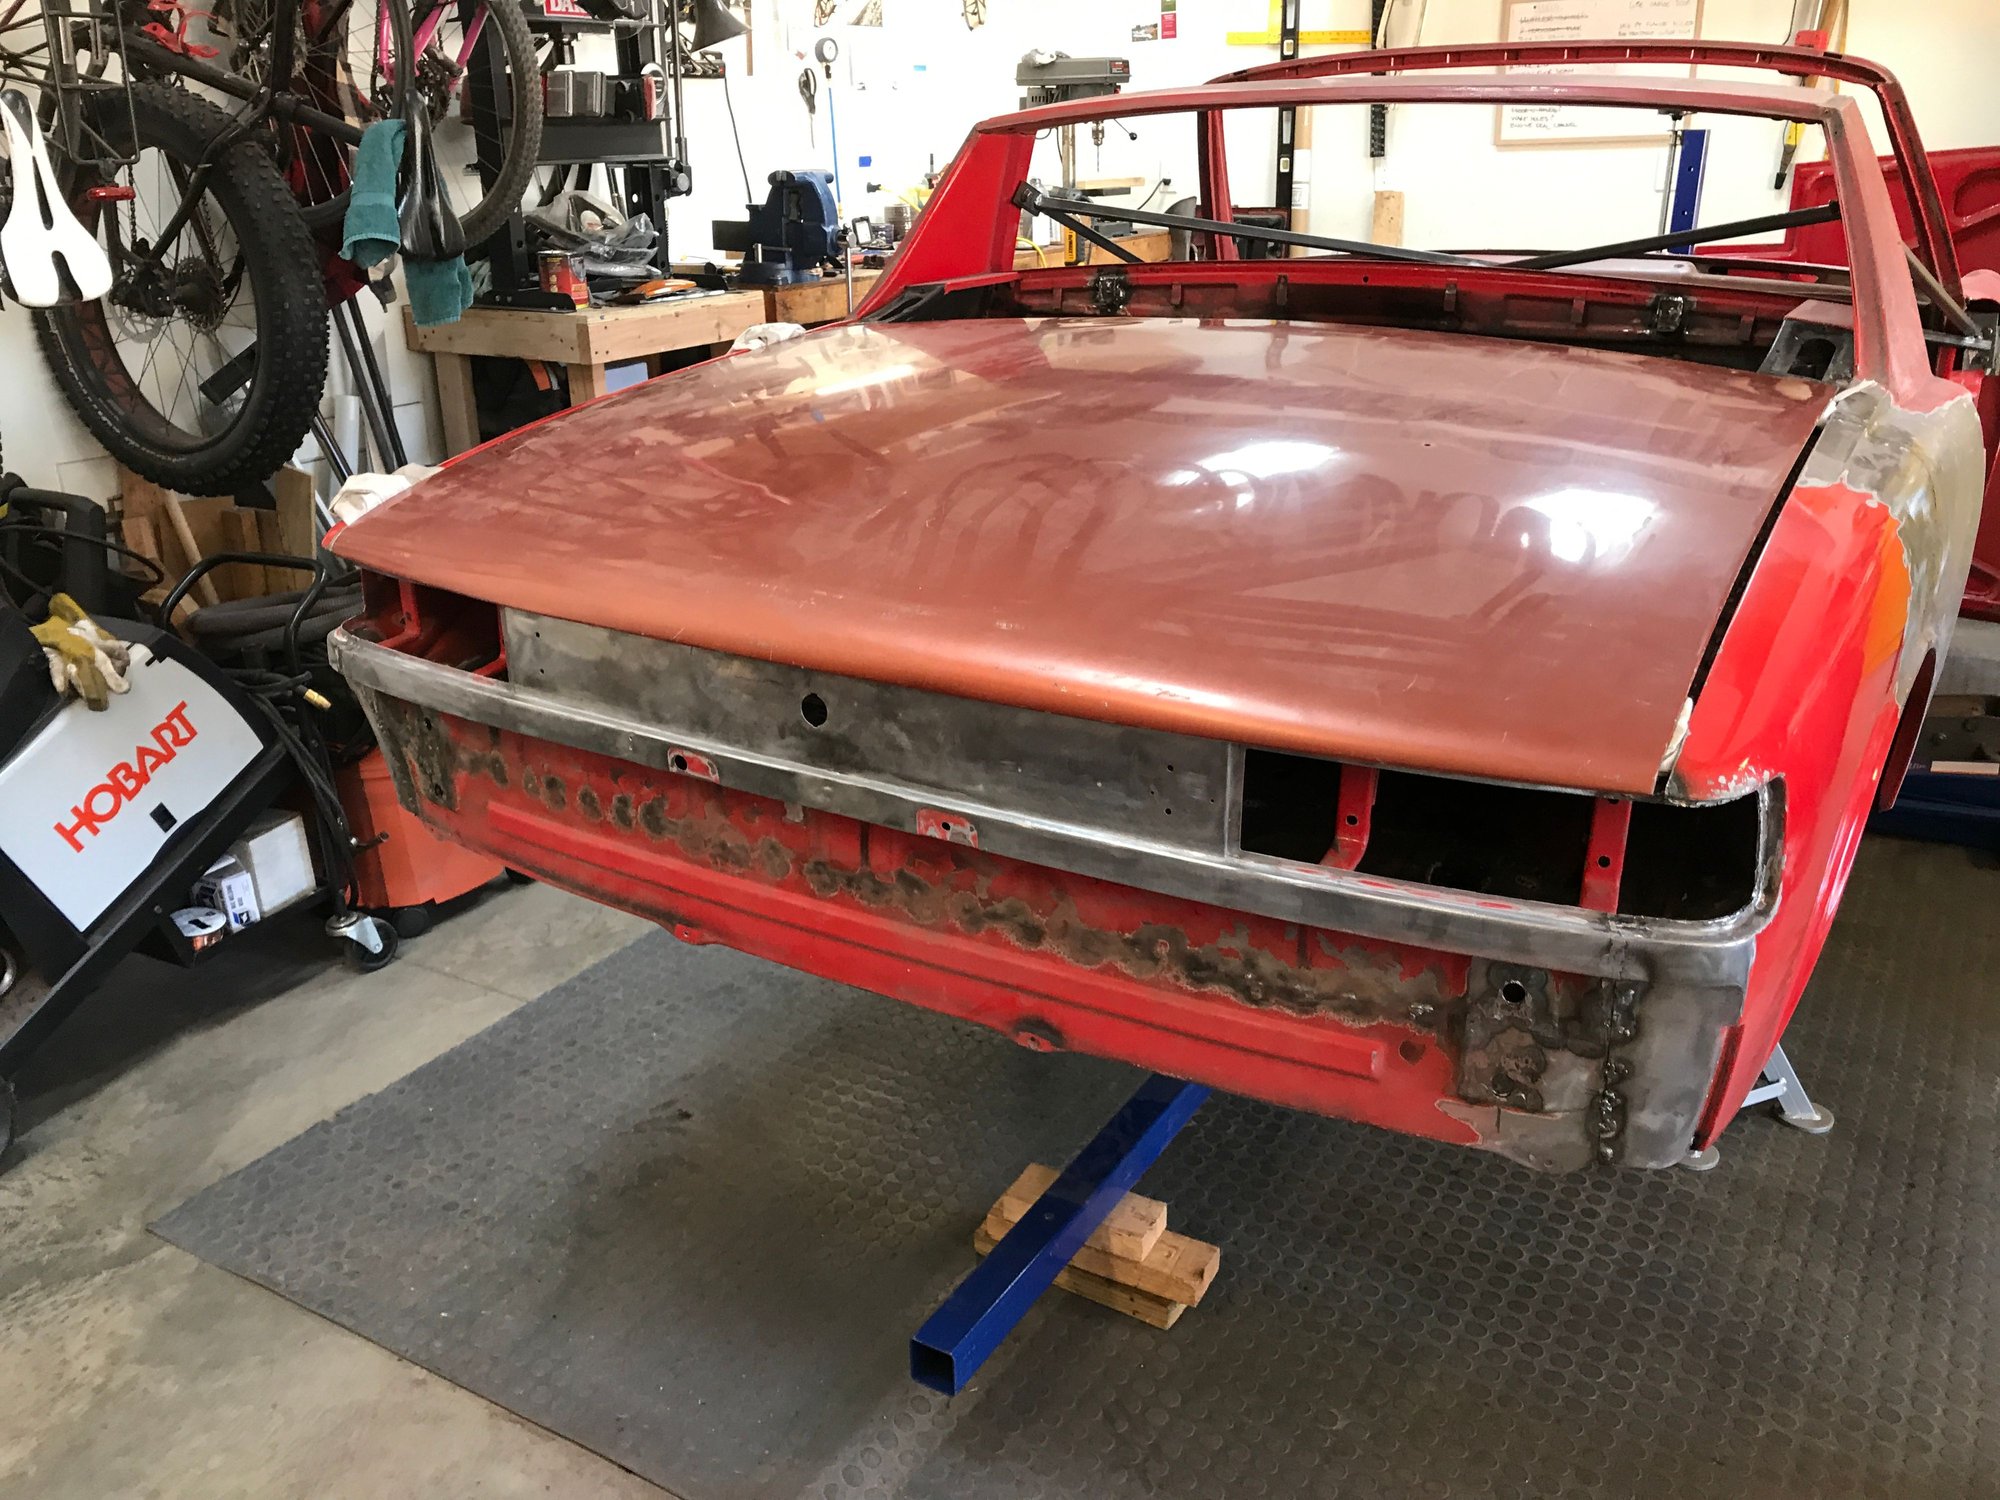
With things done around the frunk, I decided to jump to the rear panel. This was the last panel with significant filler (that I am aware of).
Before grinding off the bondo.
And after.

Before grinding off the bondo.

And after.
 04-24-2020, 10:45 PM
#299
Rennlist Member
Thread Starter
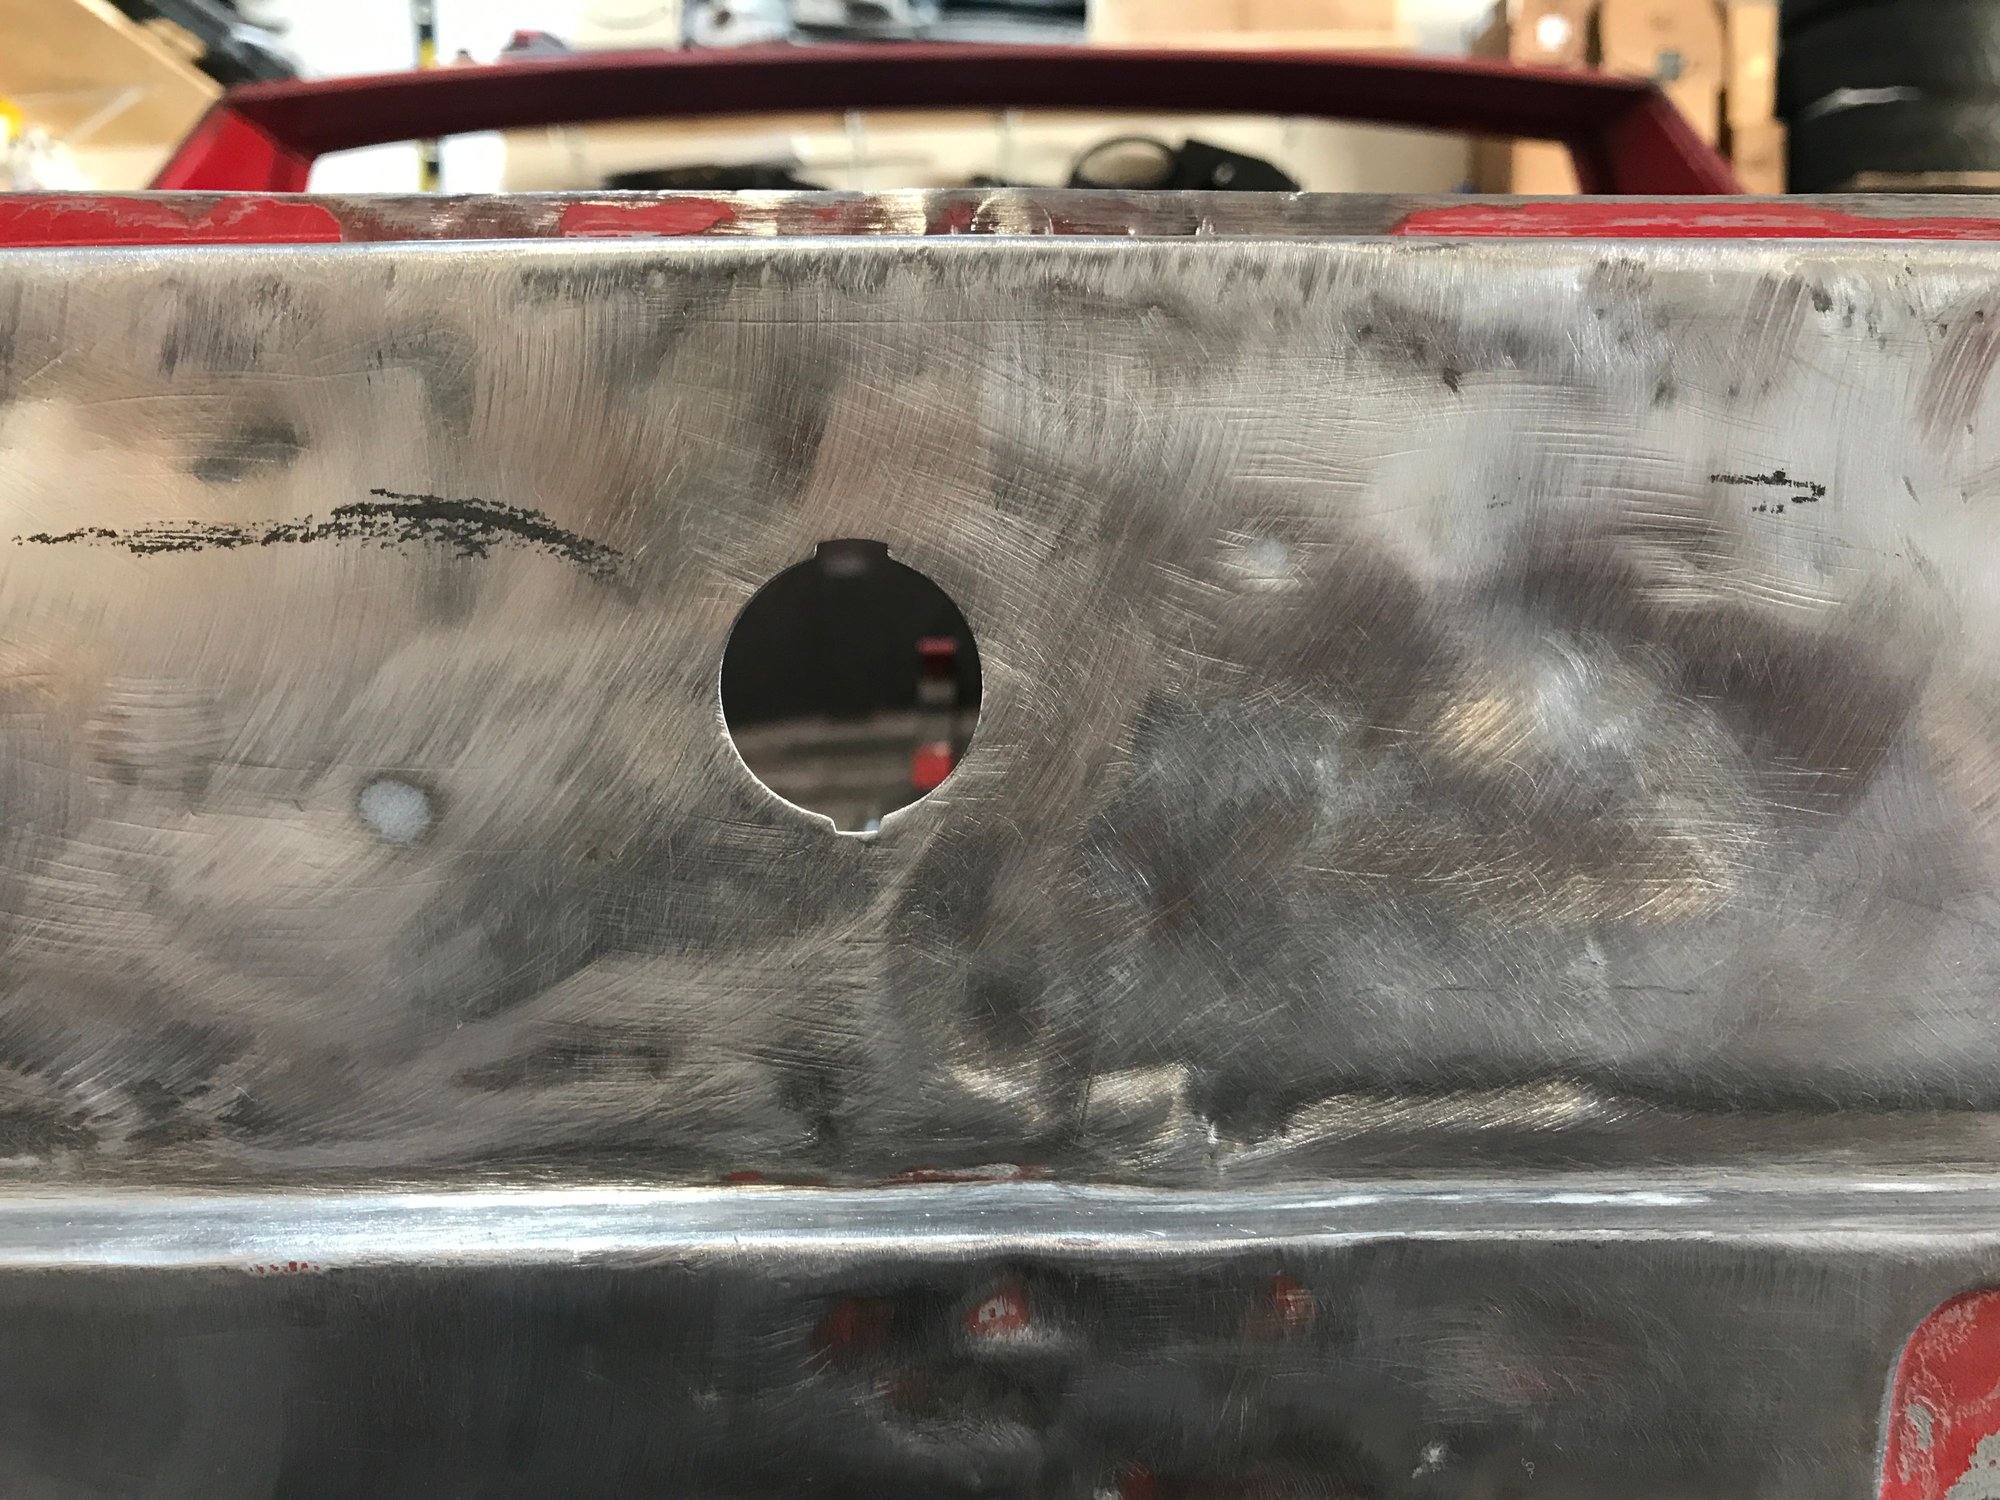
The metal has various dings and small dents, especially around the center lock.
For access to the inside of the panel, I removed the lock mounting plate. This looks a bit lumpy, too.
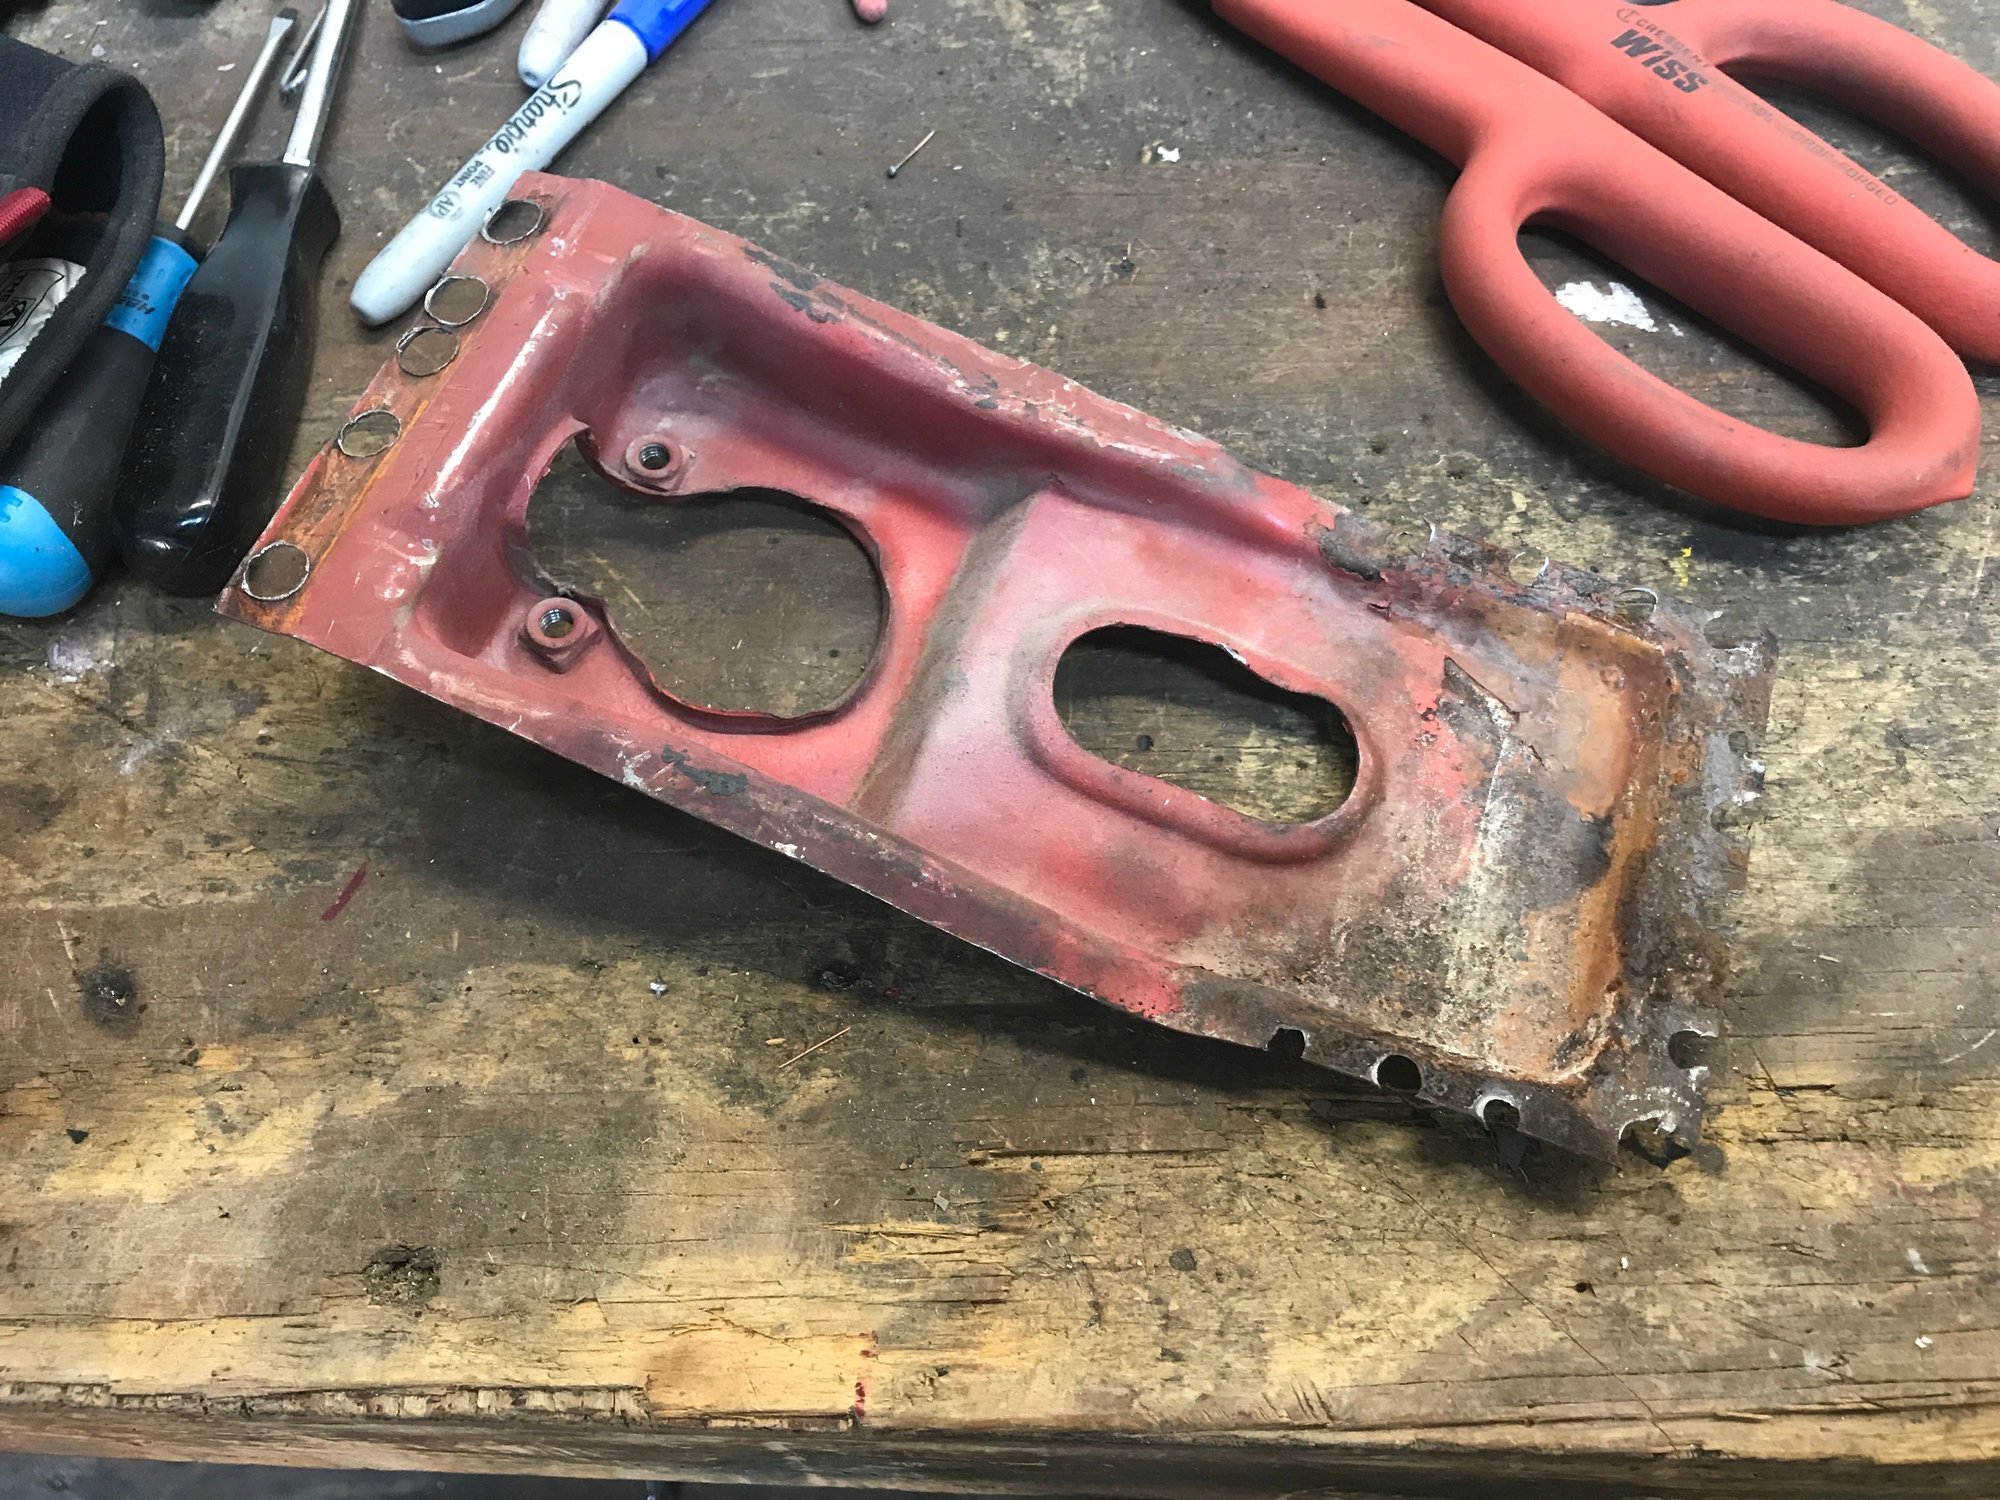

For access to the inside of the panel, I removed the lock mounting plate. This looks a bit lumpy, too.
 04-25-2020, 10:48 PM
#300
Rennlist Member
Thread Starter
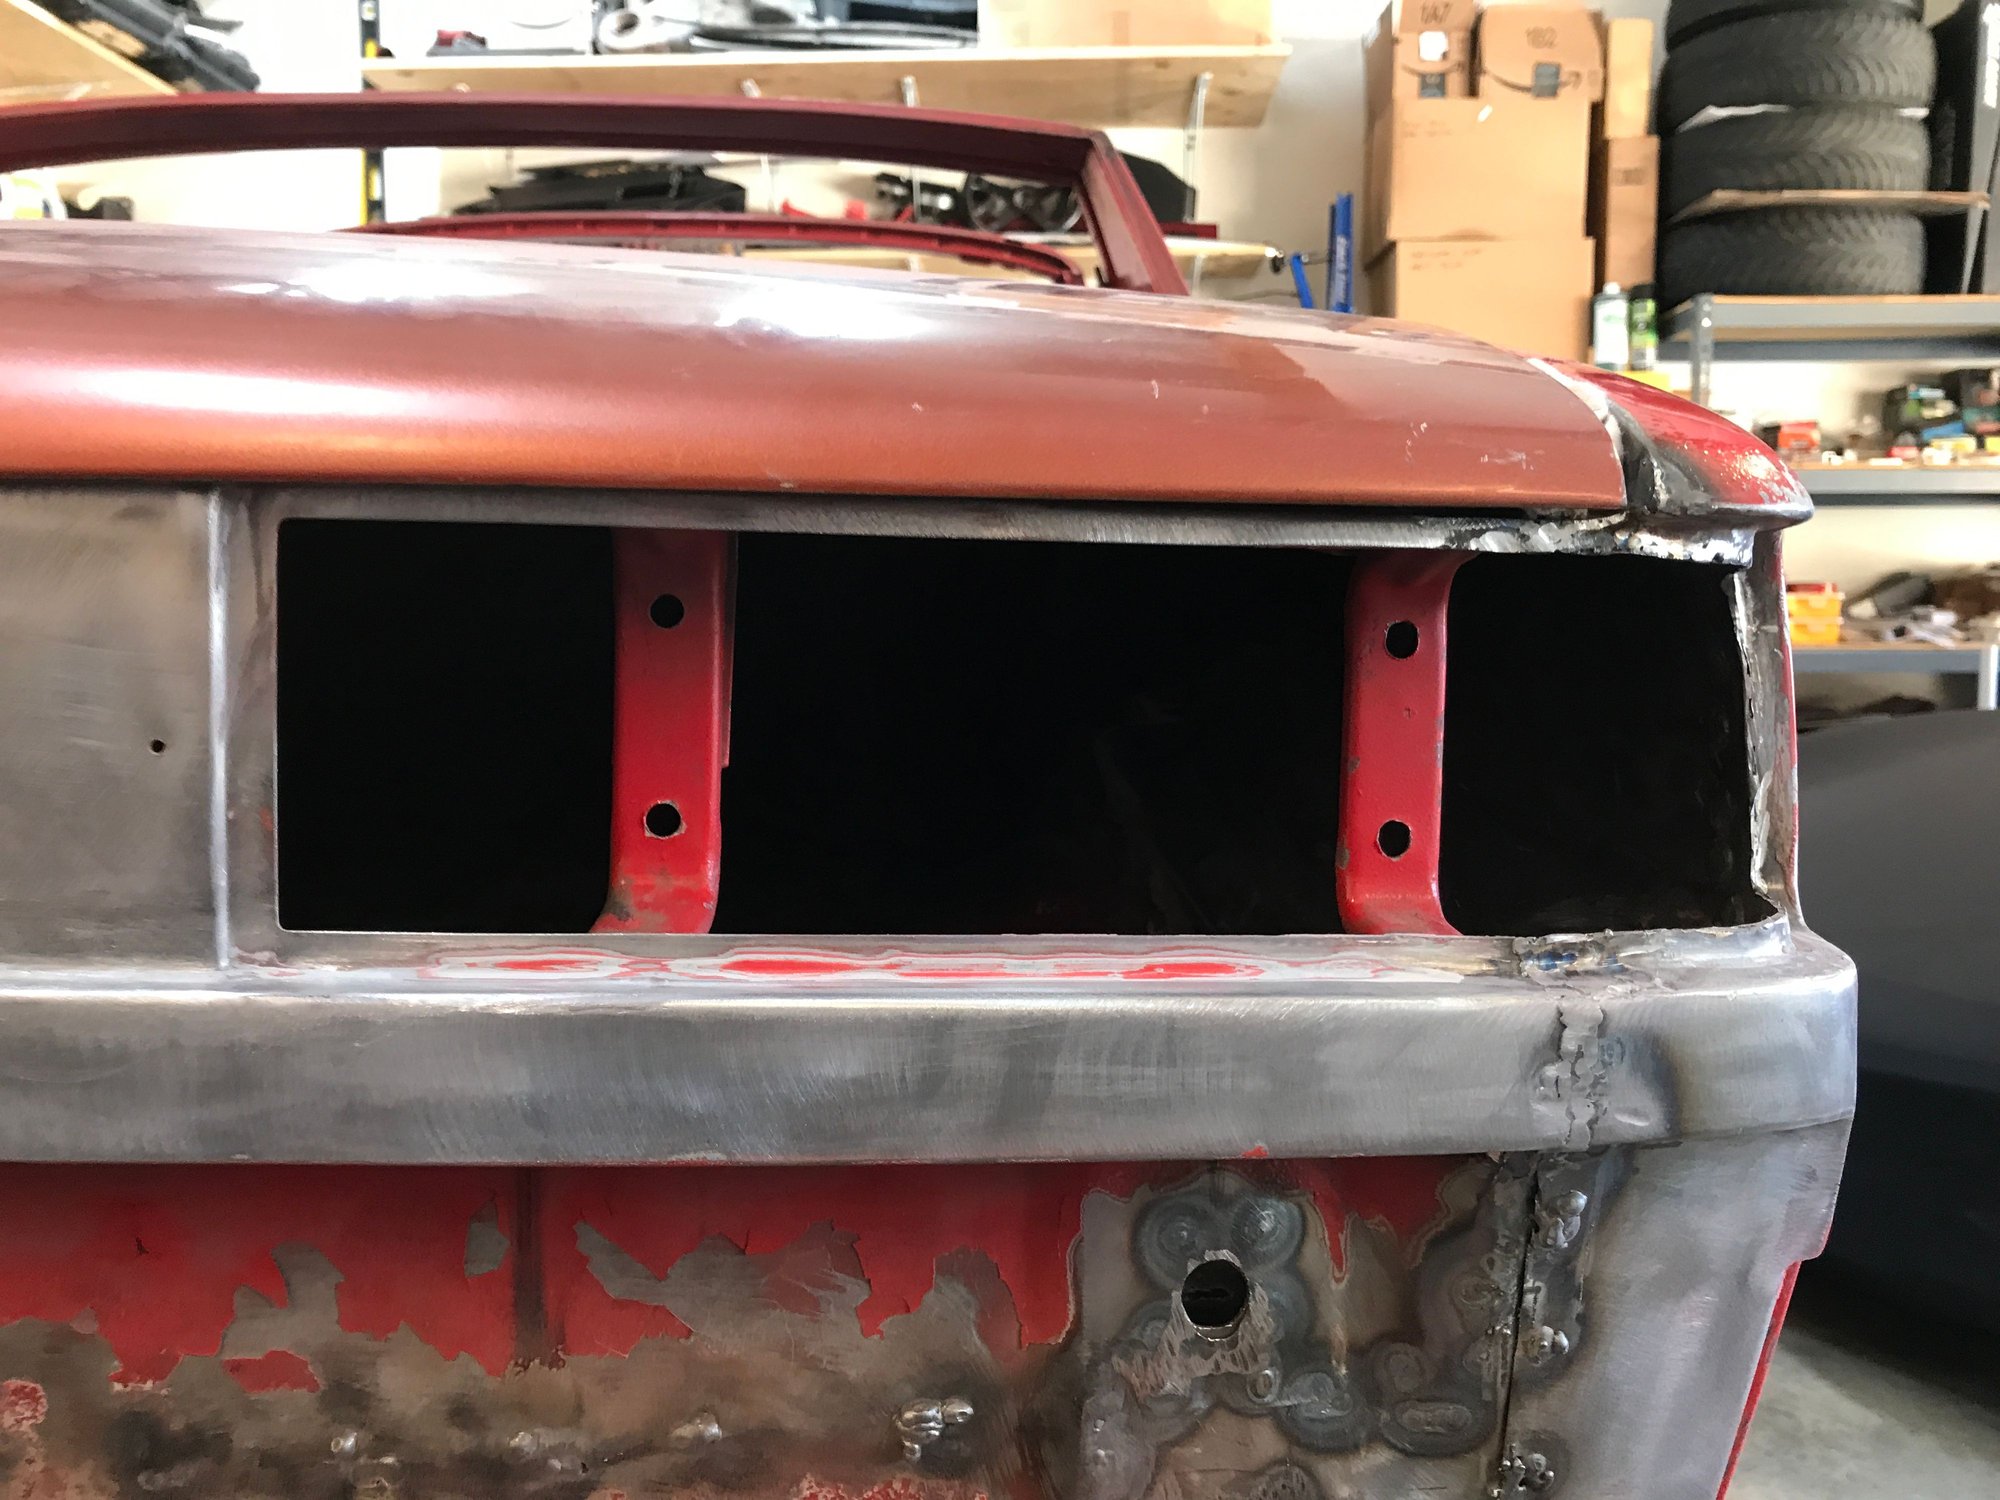
For better access I lowered the car onto jack stands, and unbolted the rotisserie rear upright.

Here are some ugly spots.
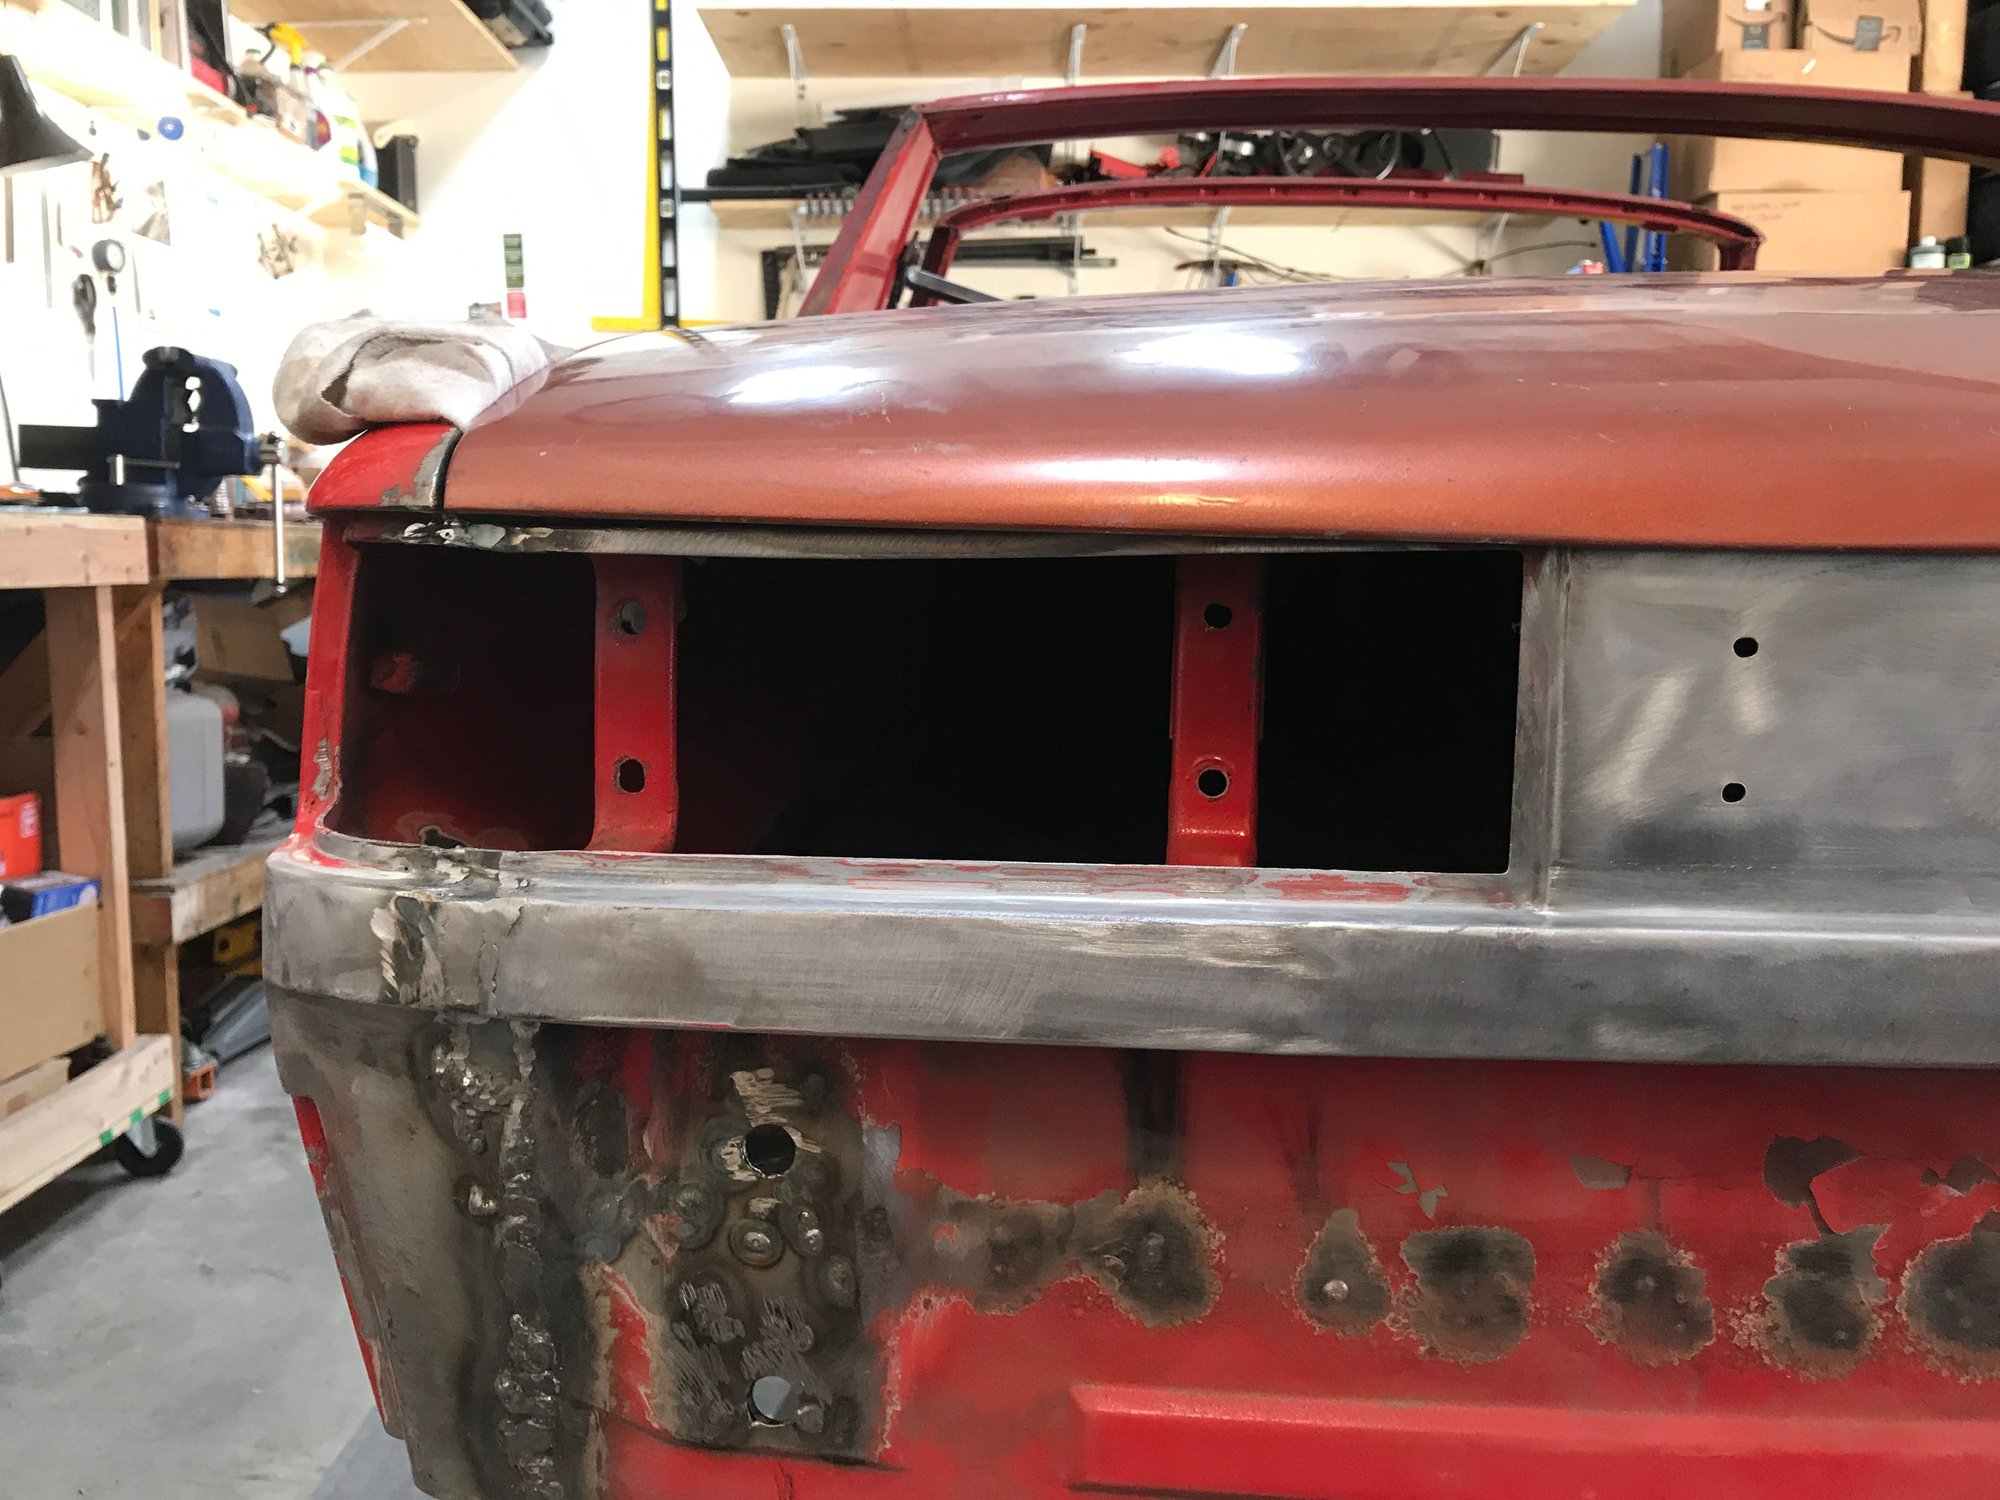
I propped the trunk lid in place for better assessment of alignment. The lid has some issues of its own, with a rear edge that is not quite straight.
Right side looks pretty good.
Left side not so good.

Here are some ugly spots.


I propped the trunk lid in place for better assessment of alignment. The lid has some issues of its own, with a rear edge that is not quite straight.

Right side looks pretty good.

Left side not so good.
