When you click on links to various merchants on this site and make a purchase, this can result in this site earning a commission. Affiliate programs and affiliations include, but are not limited to, the eBay Partner Network.
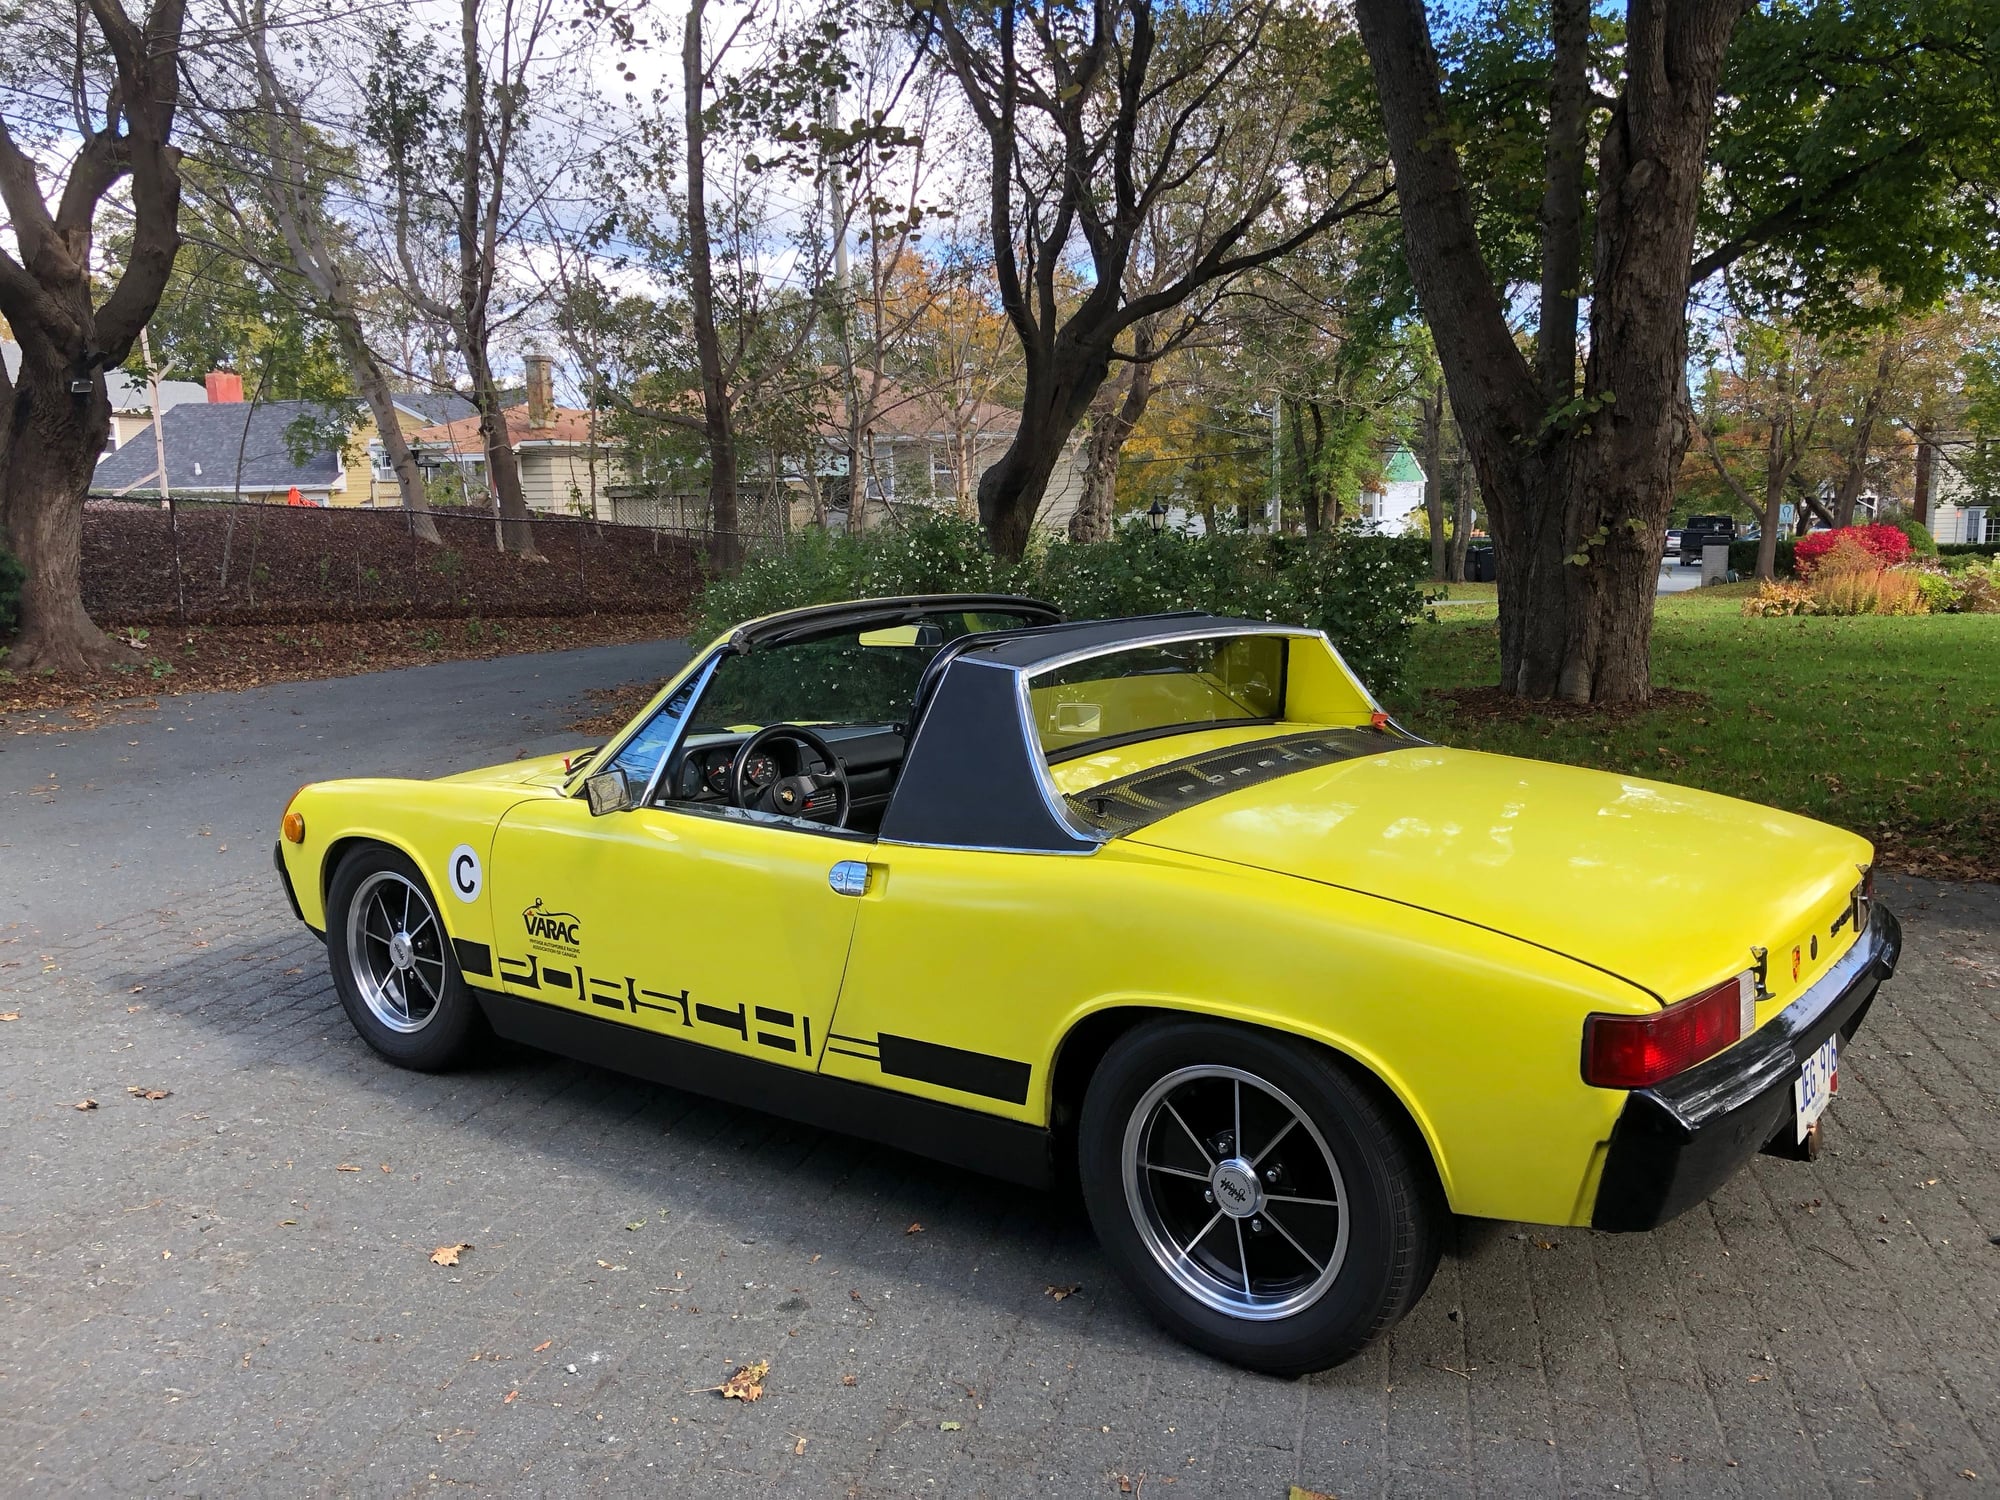
Hi All, Im starting this thread as an introduction to the 914 community. Recently purchased a 914 race car that has been campaigned as "Petit Bastard" in Quebec.
The car is a 914-4 that was purchased new in 1974 in Montreal. I have historical records, and boxes of parts that I've combed through, including a racing log book.
Many modifications have been done. Chassis stiffening front and rear. Swaybar upgrades, Modified side shifting 901 5 speed gear box, plus 2 spare trans. Conversion from FI to Weber 40's with 28mm venturies. European flat top pistons 96mm 2051cc 130hp engine, with Webcam 86a grind. ATL fuel cell, Lifeline central fire extinguisher.
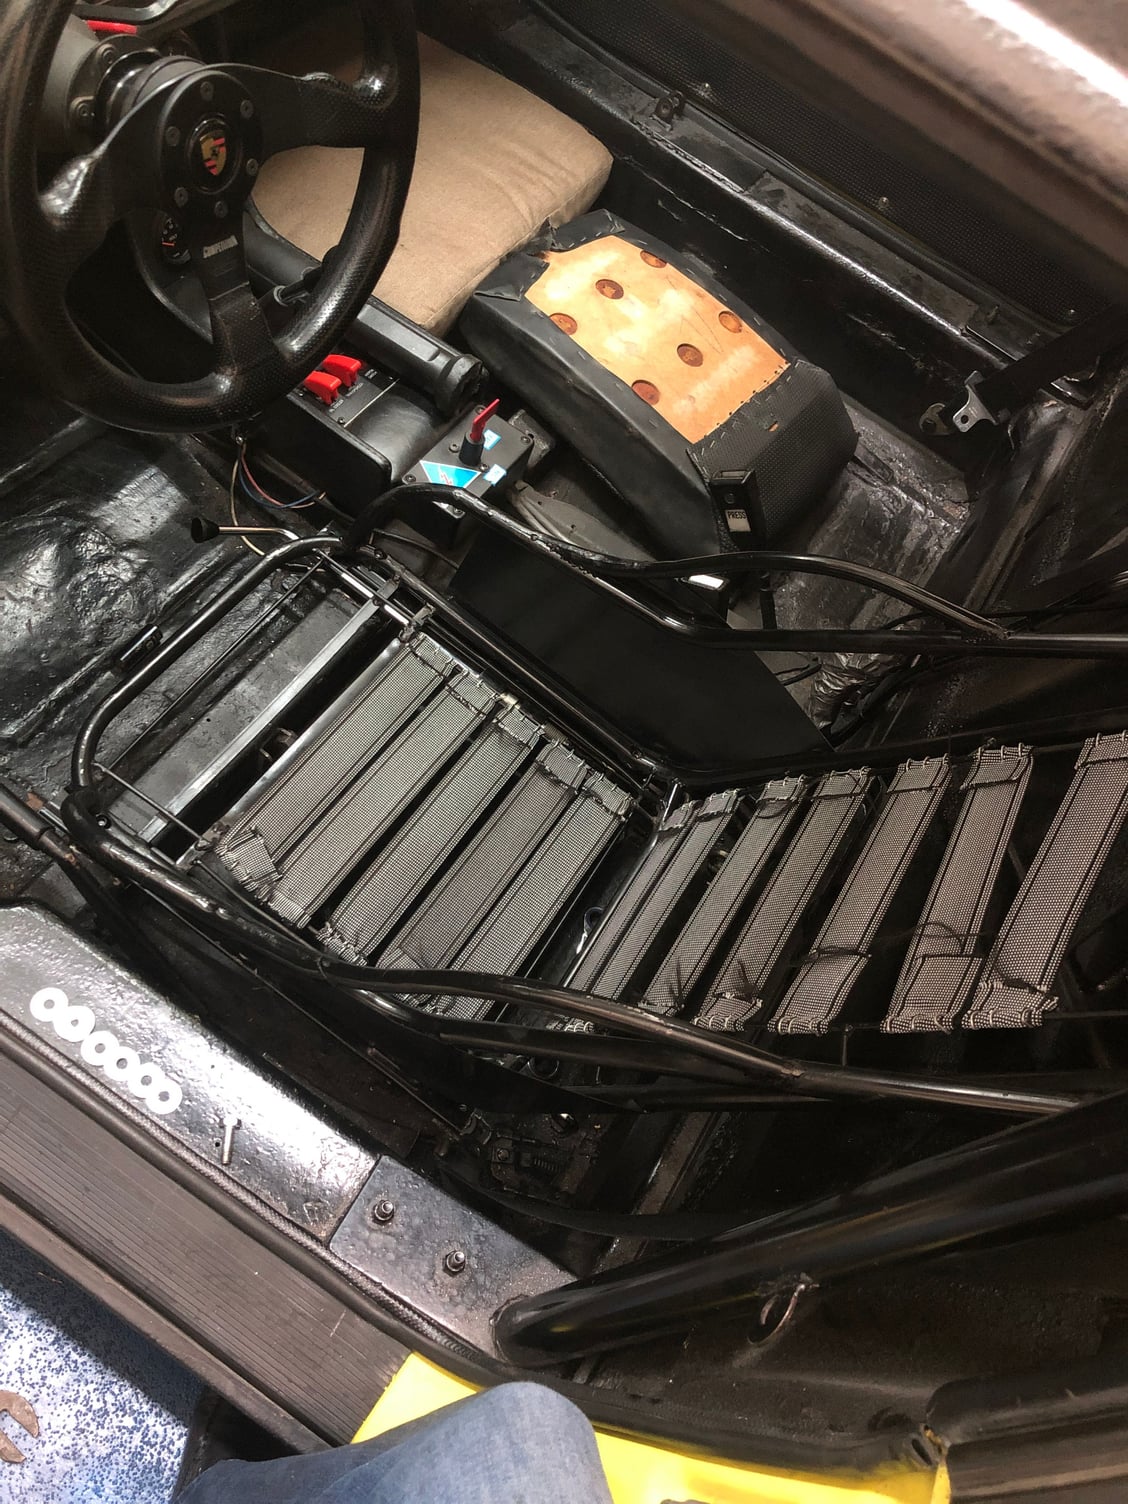
It has a half cage, stripped out interior.
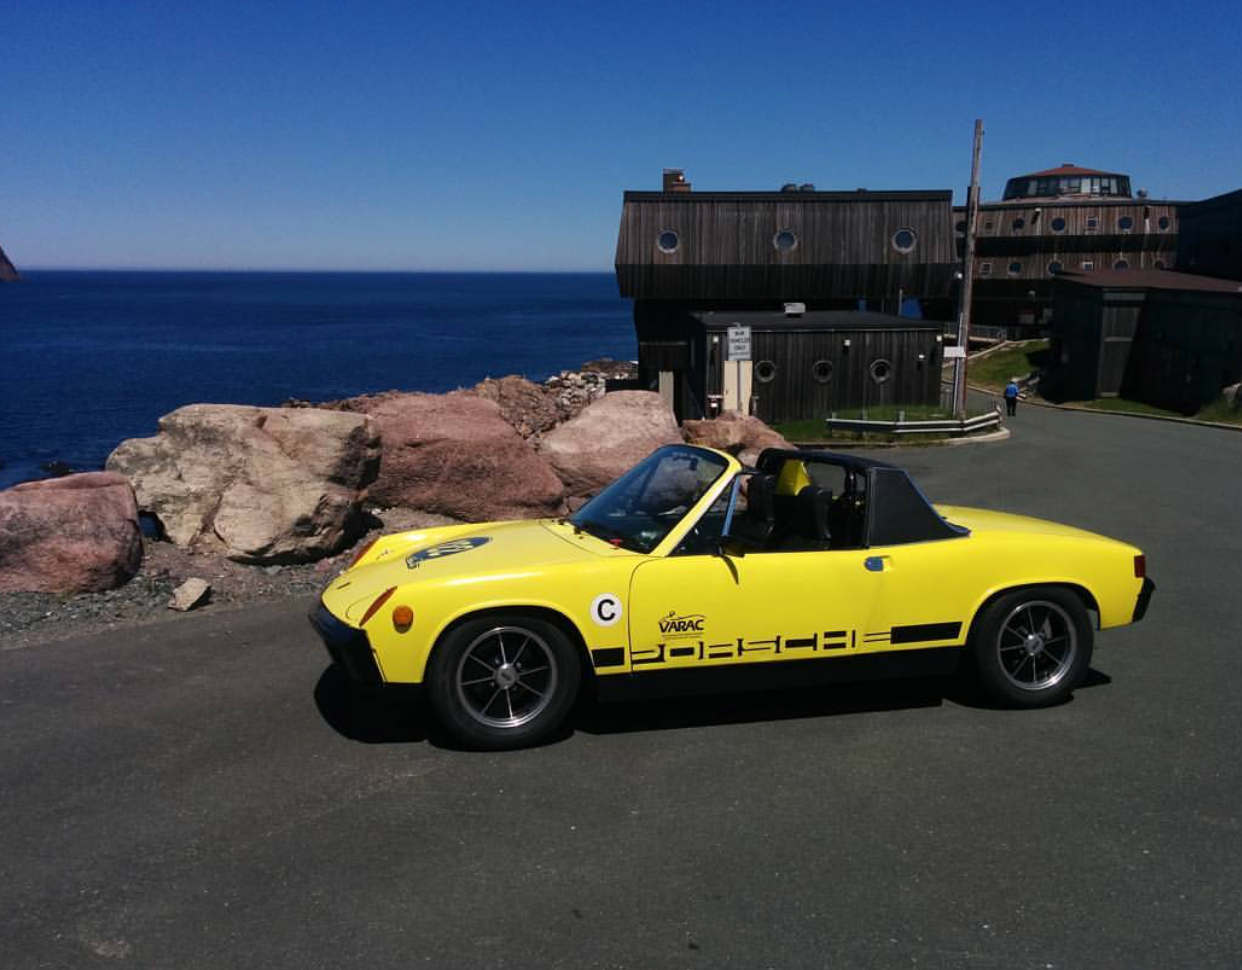
Presented in Saturn Yellow, paint is perfect at 30feet
My Plan:
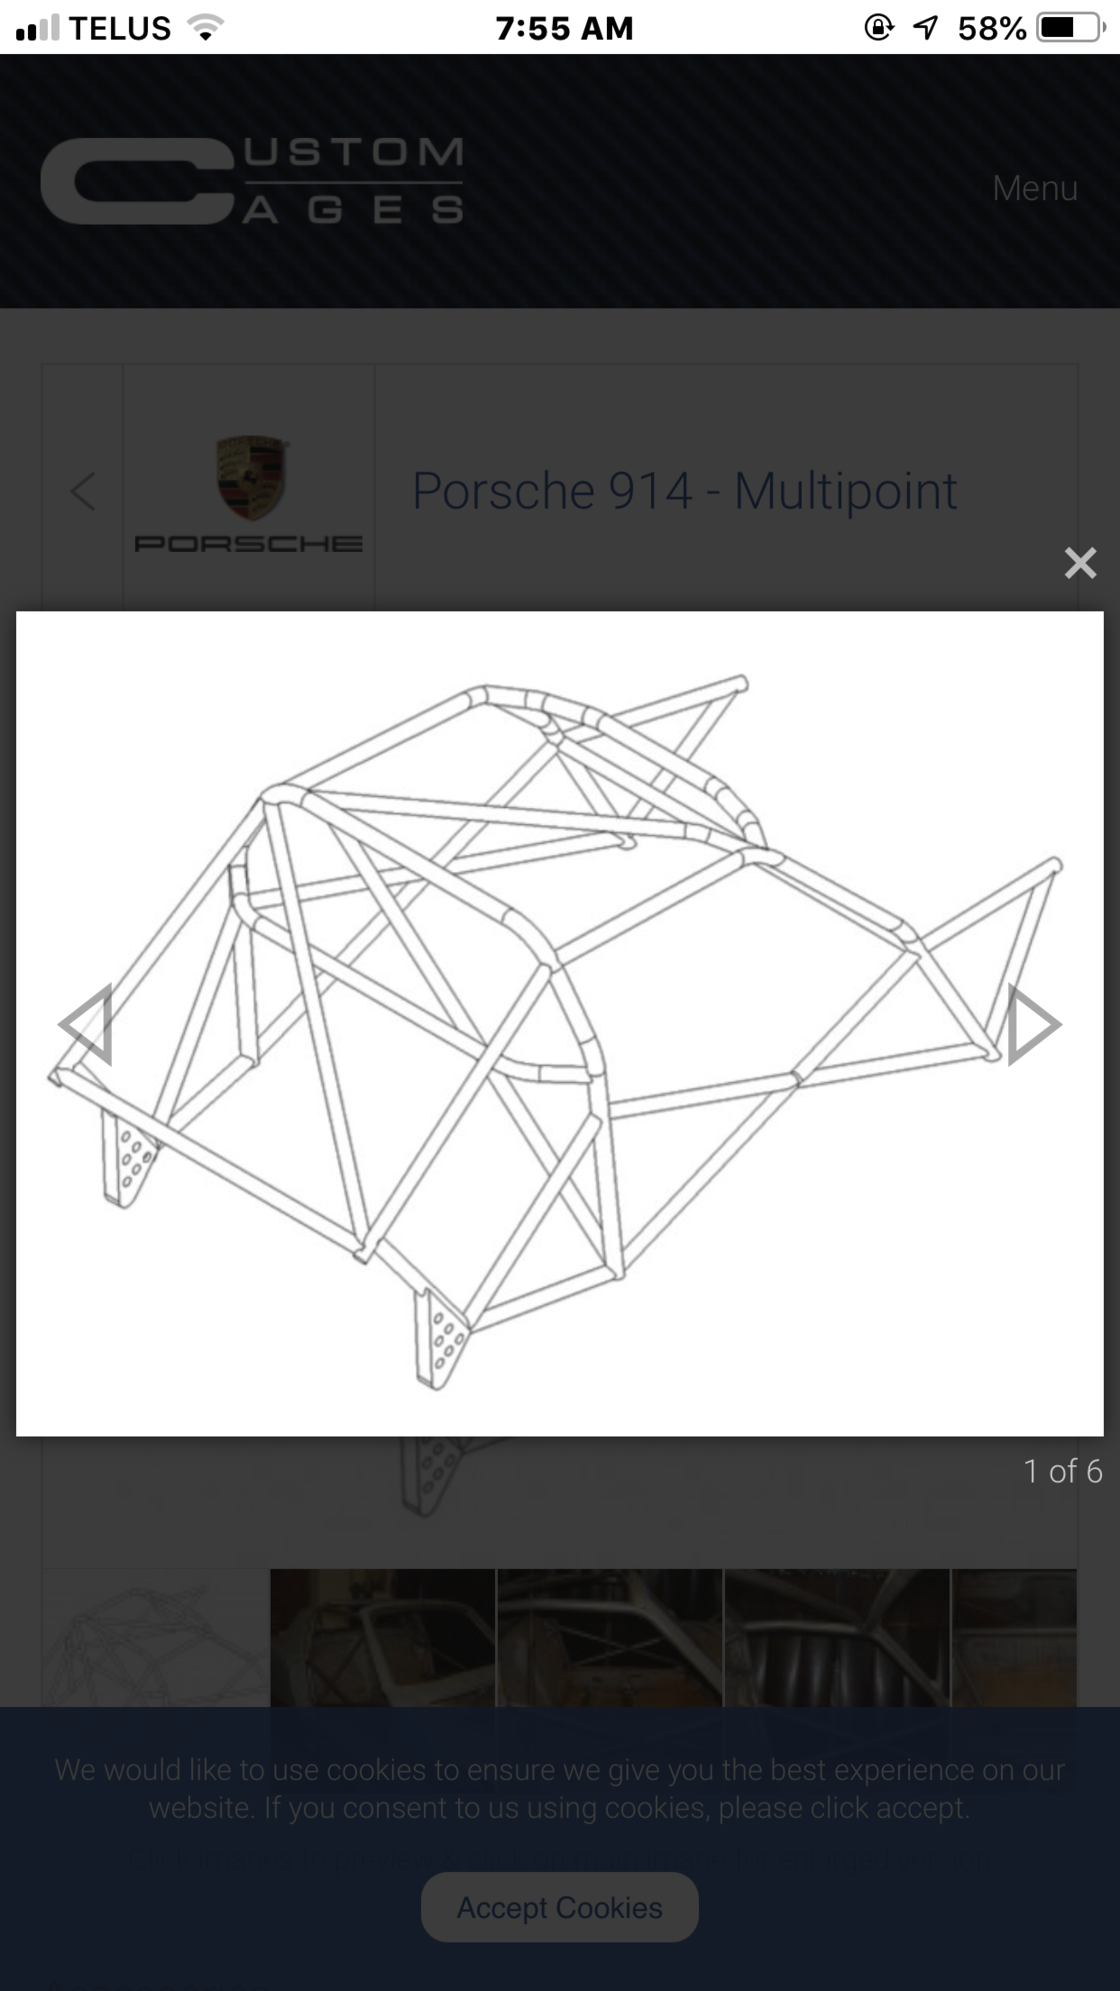
Full Roll cage from Custom Cages UK in T45, which weighs roughly 48Kg
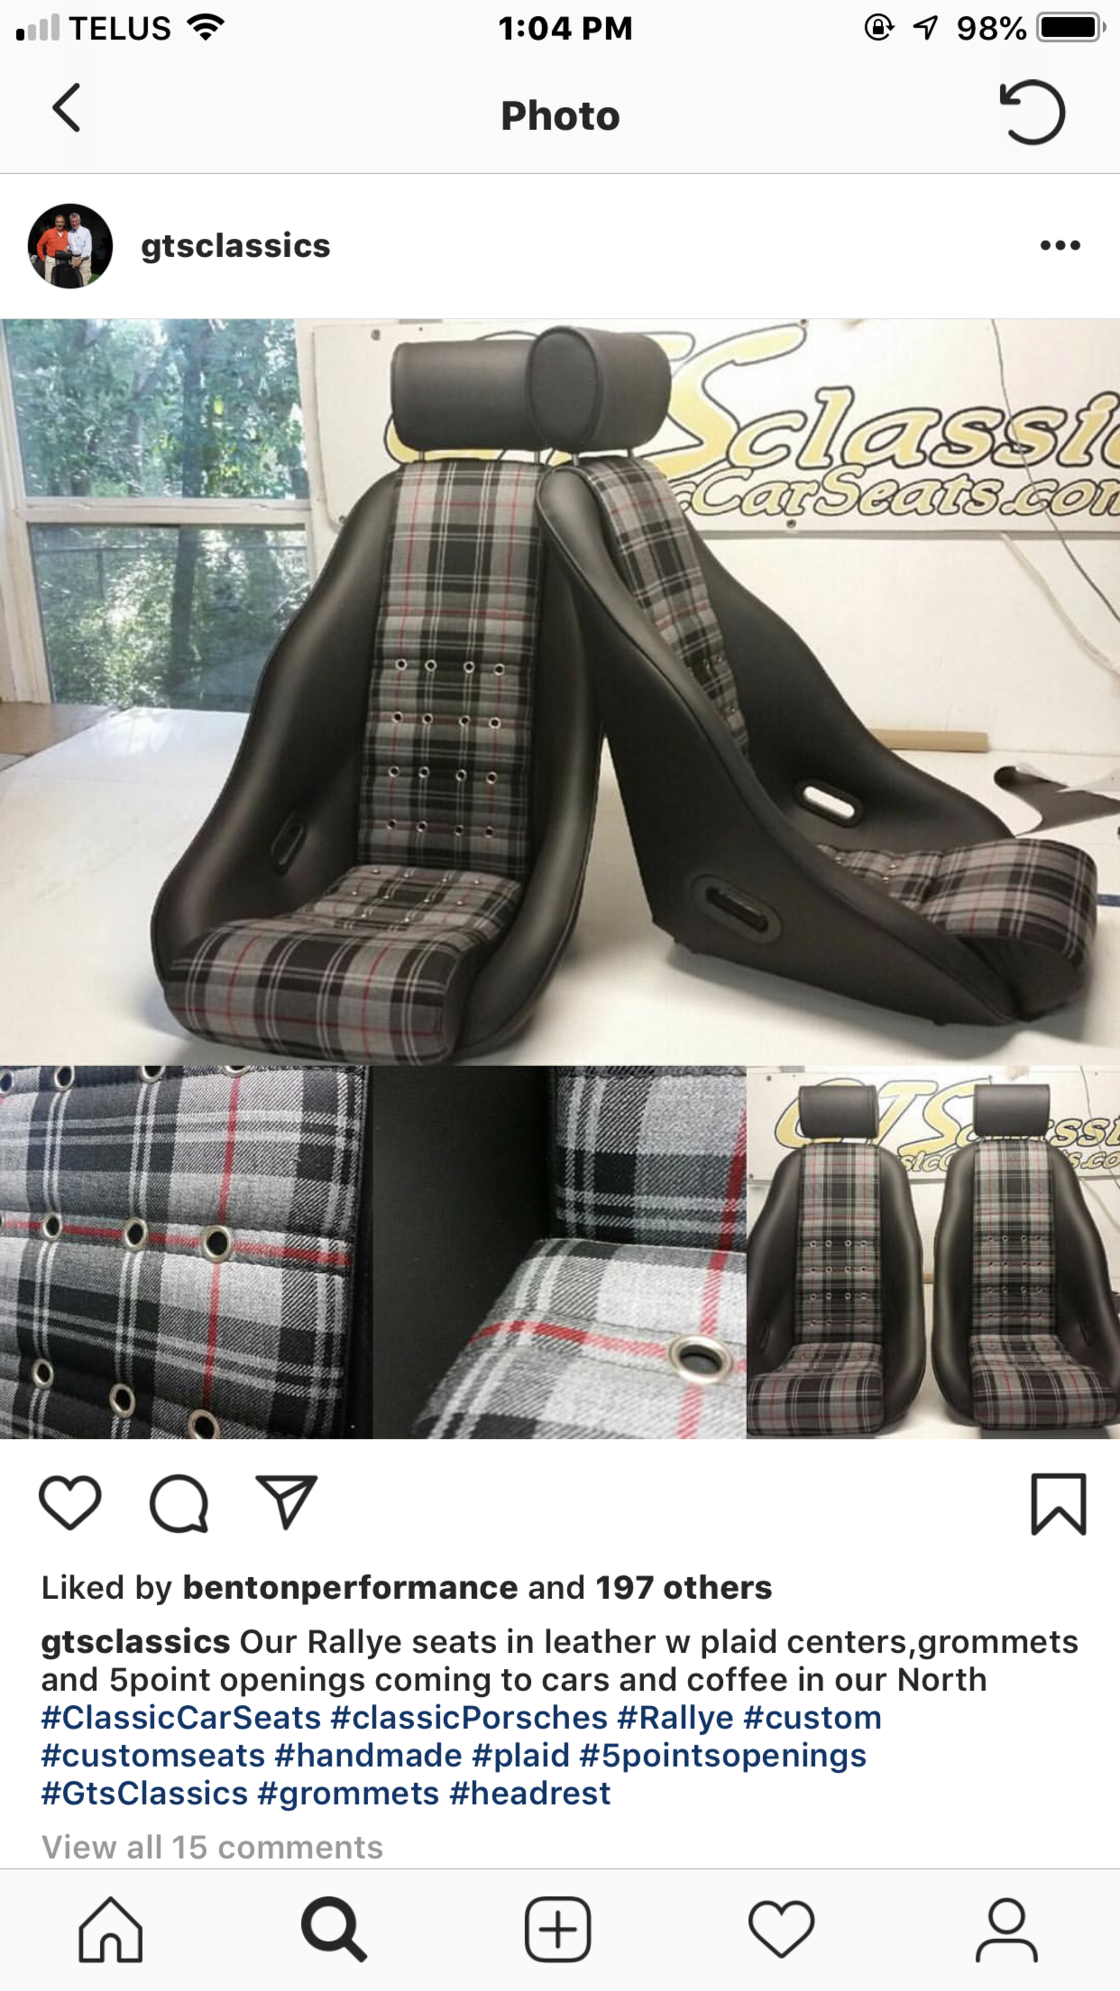
Custom seats Rallye spec with 5 point openings from GTS Classics
Full work through of bushings, and serviceable parts.
May paint it, considering wide flares.
I've gone through my 1990 964 C4 over the past few years with the intent of racing it, but i've become too attached to the car, and prefer spirited driving and preservation.
Here are some pics of the car, I hope to keep this thread updated over this winter.
Cheers
FS
@beechhousegarage
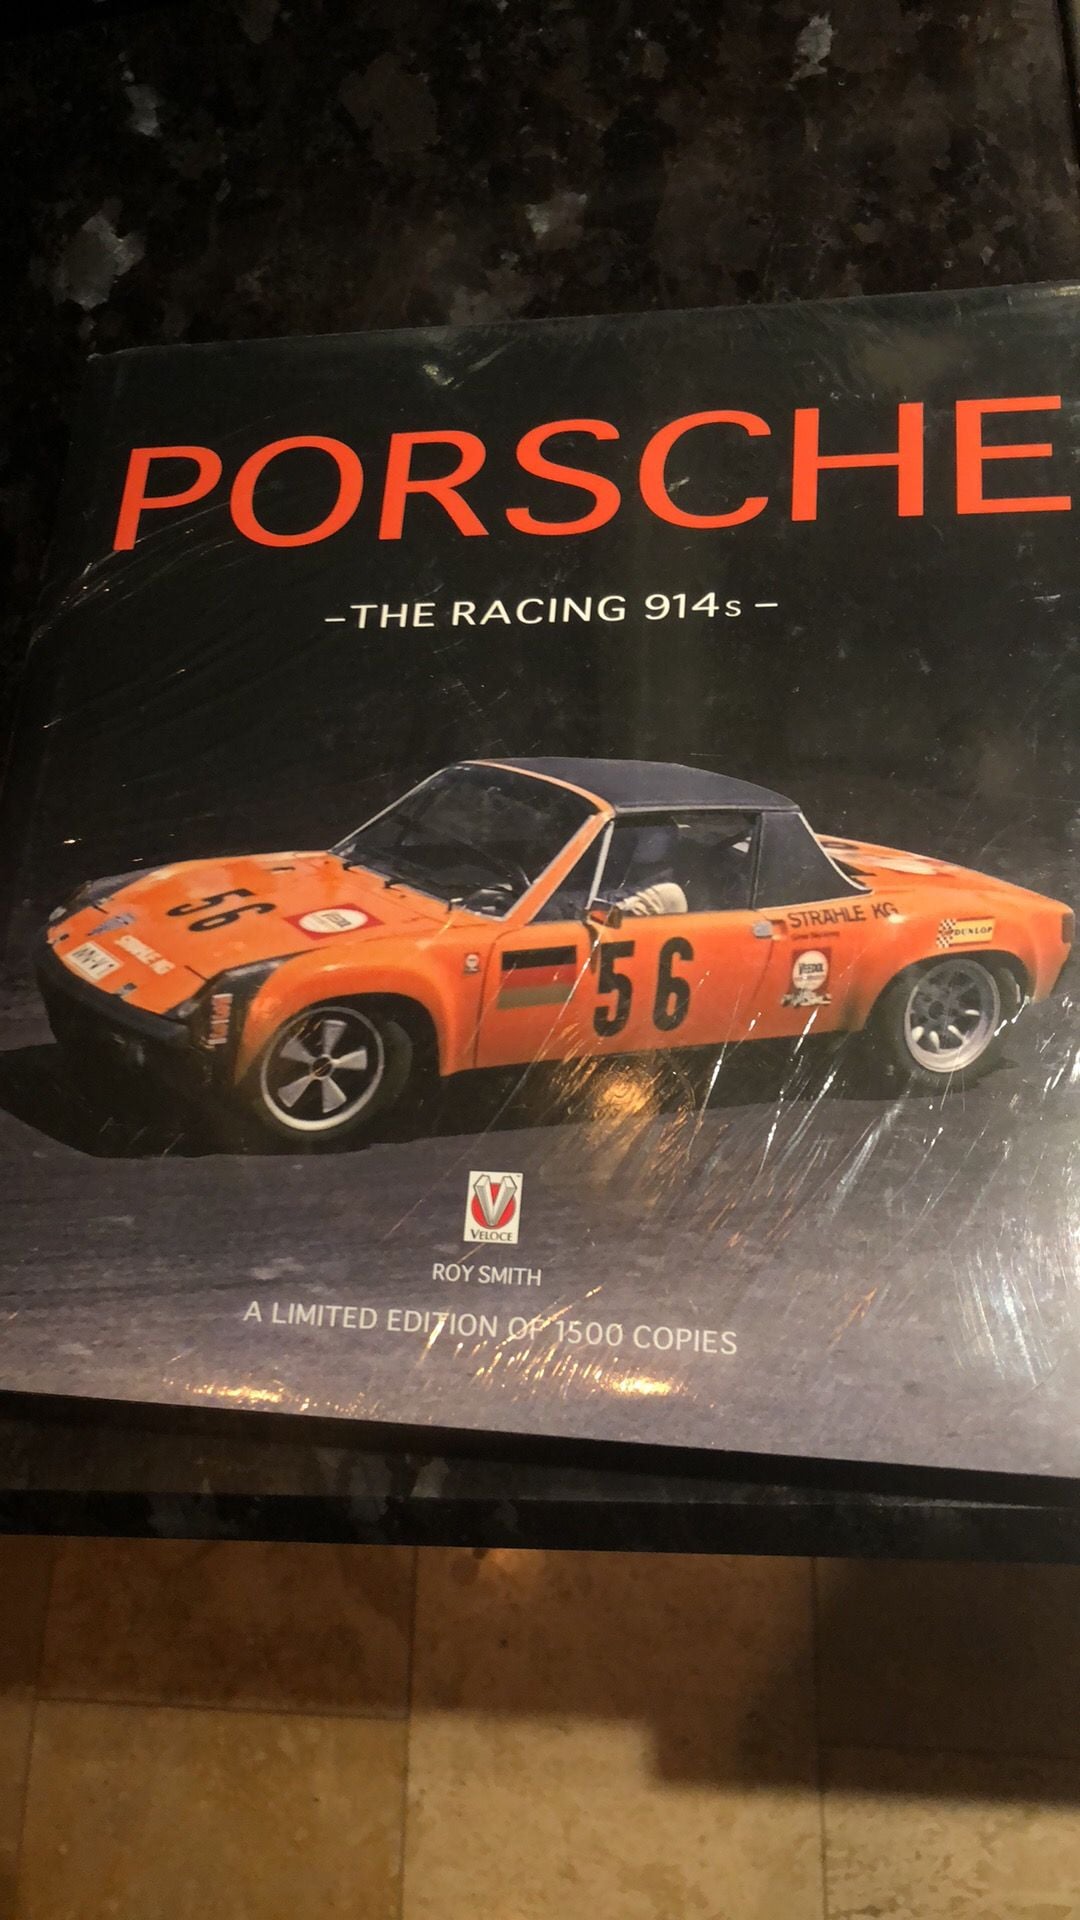
Inspiration from 914 racing history
Picture by the previous owner
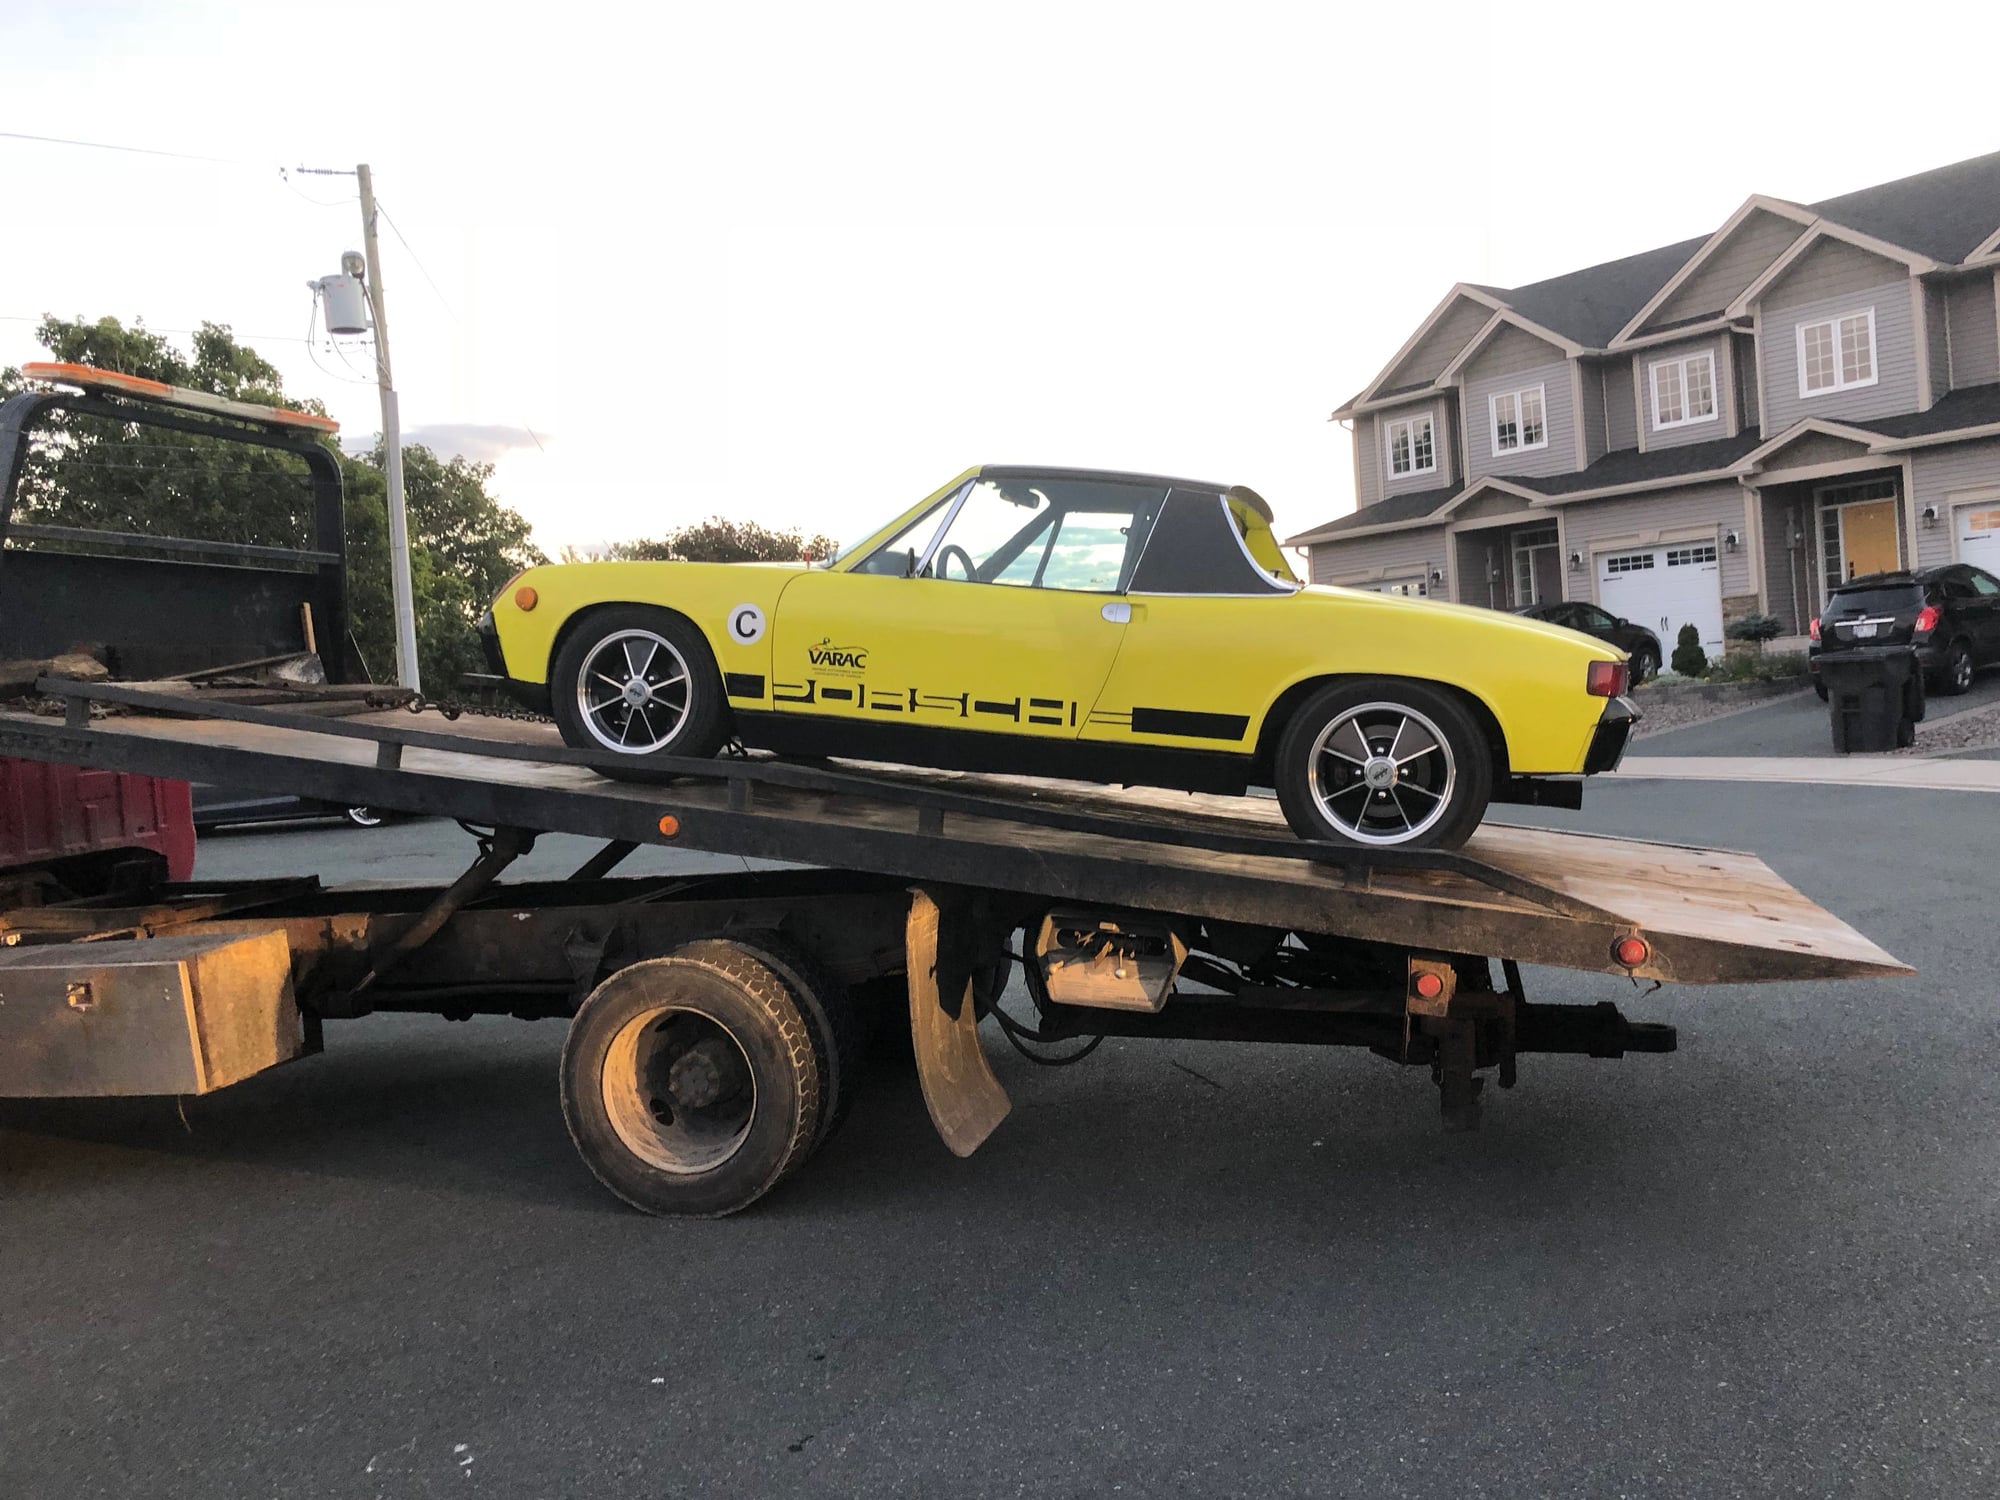
Picking up the car
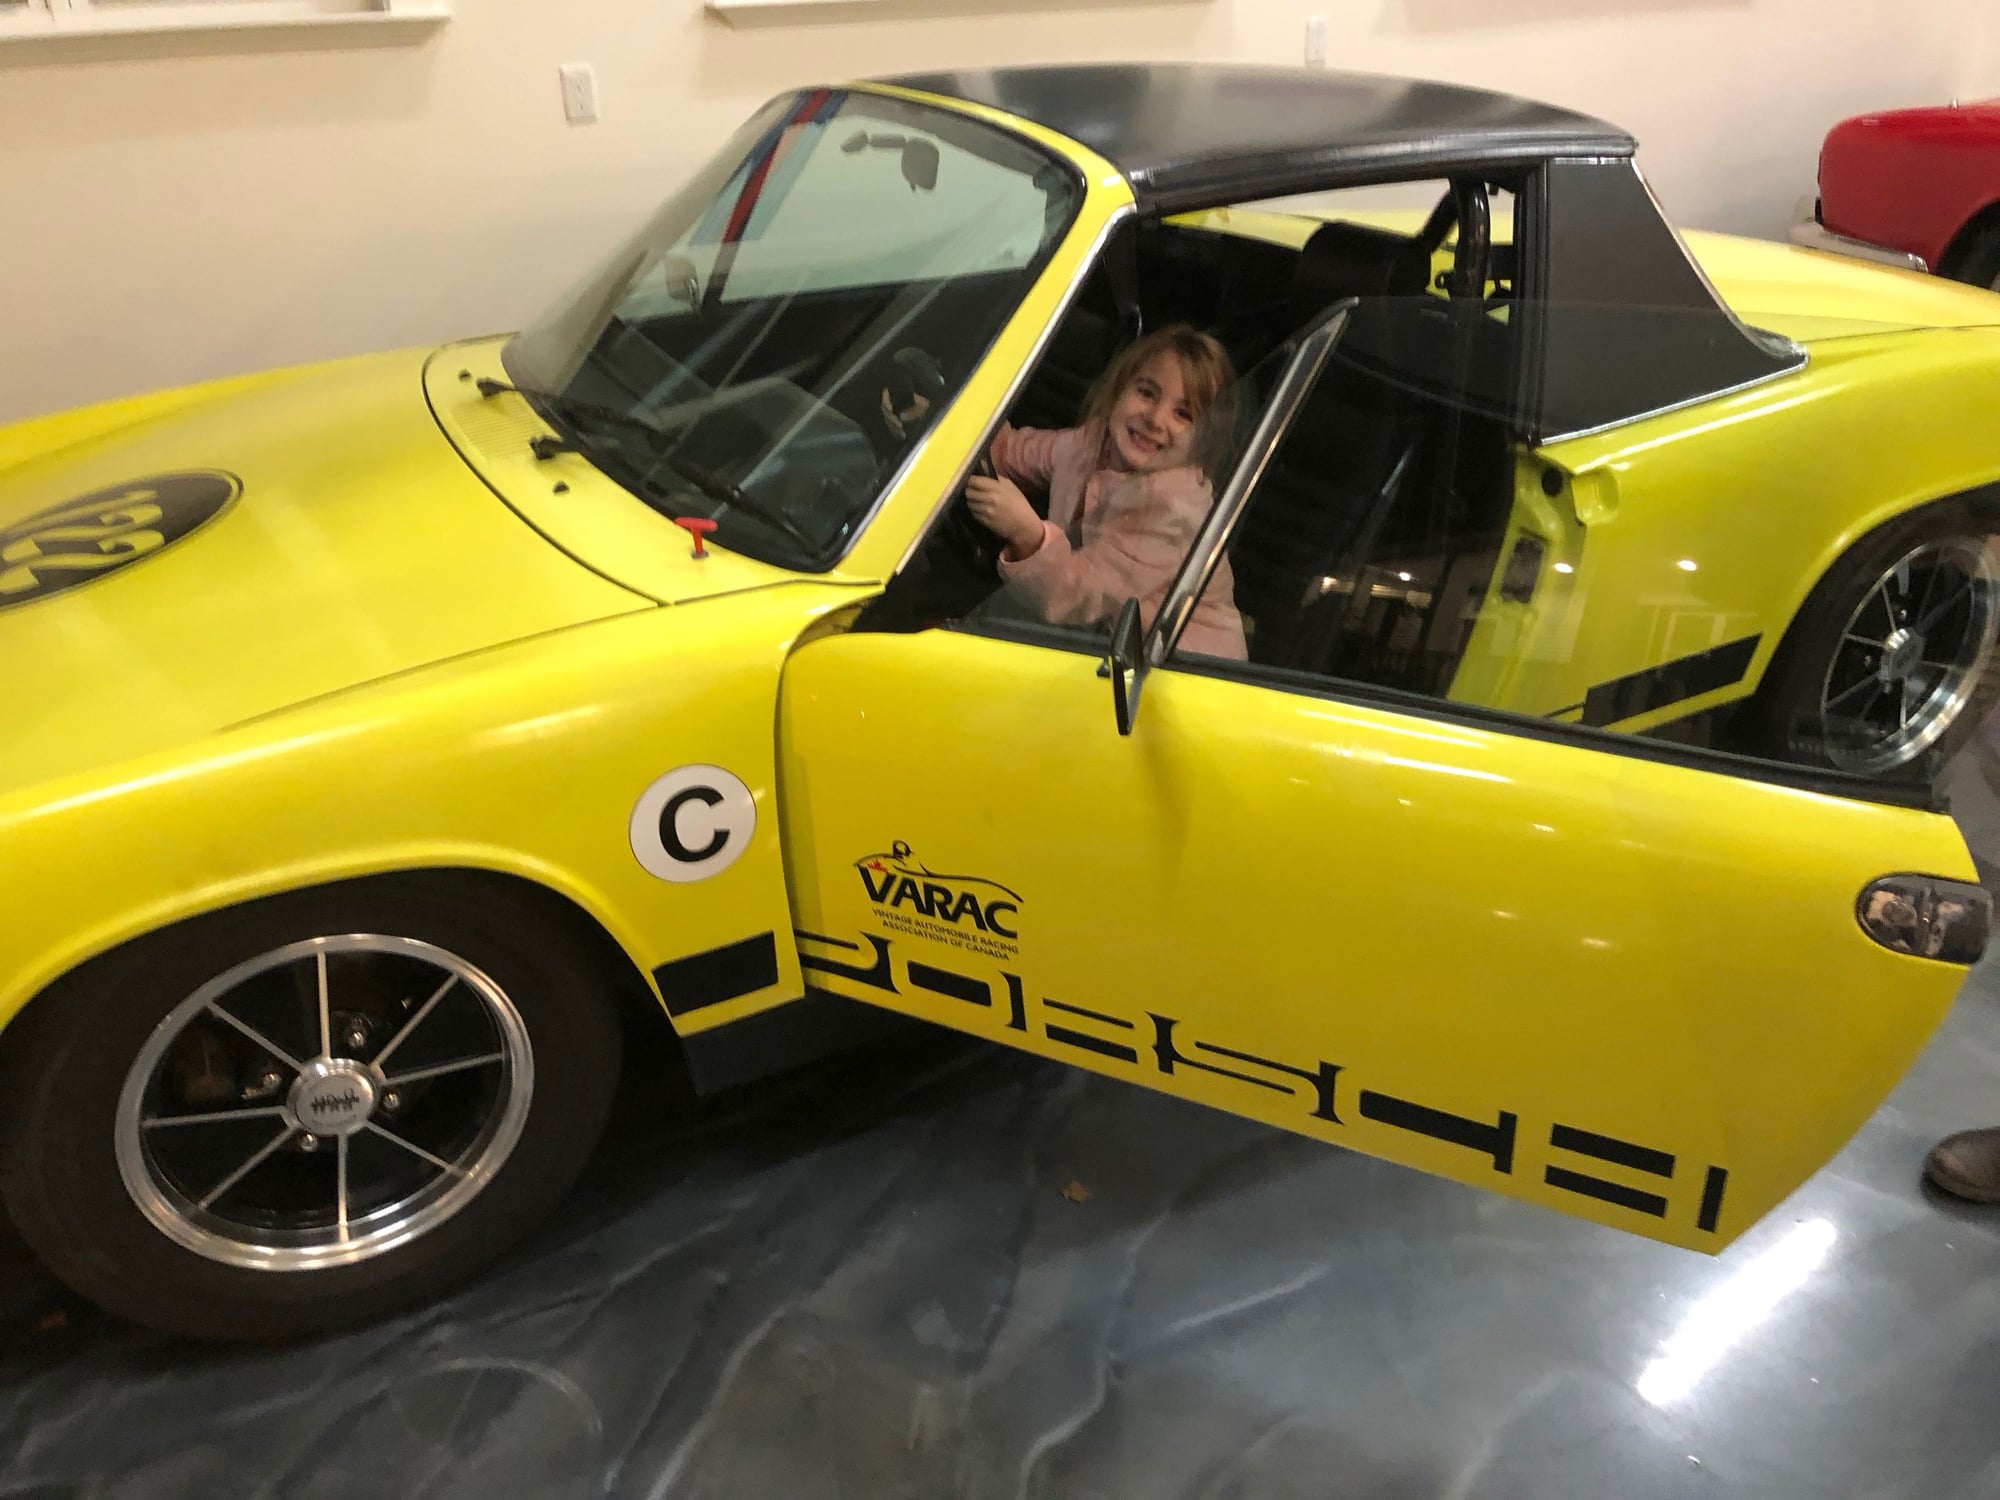
Charlotte wants the car when she is old enough. " See there is a C on it, It's mine"
Fall Ride, Making notes on winter mods.
Serious Cage!
Rallye seats with plaid.
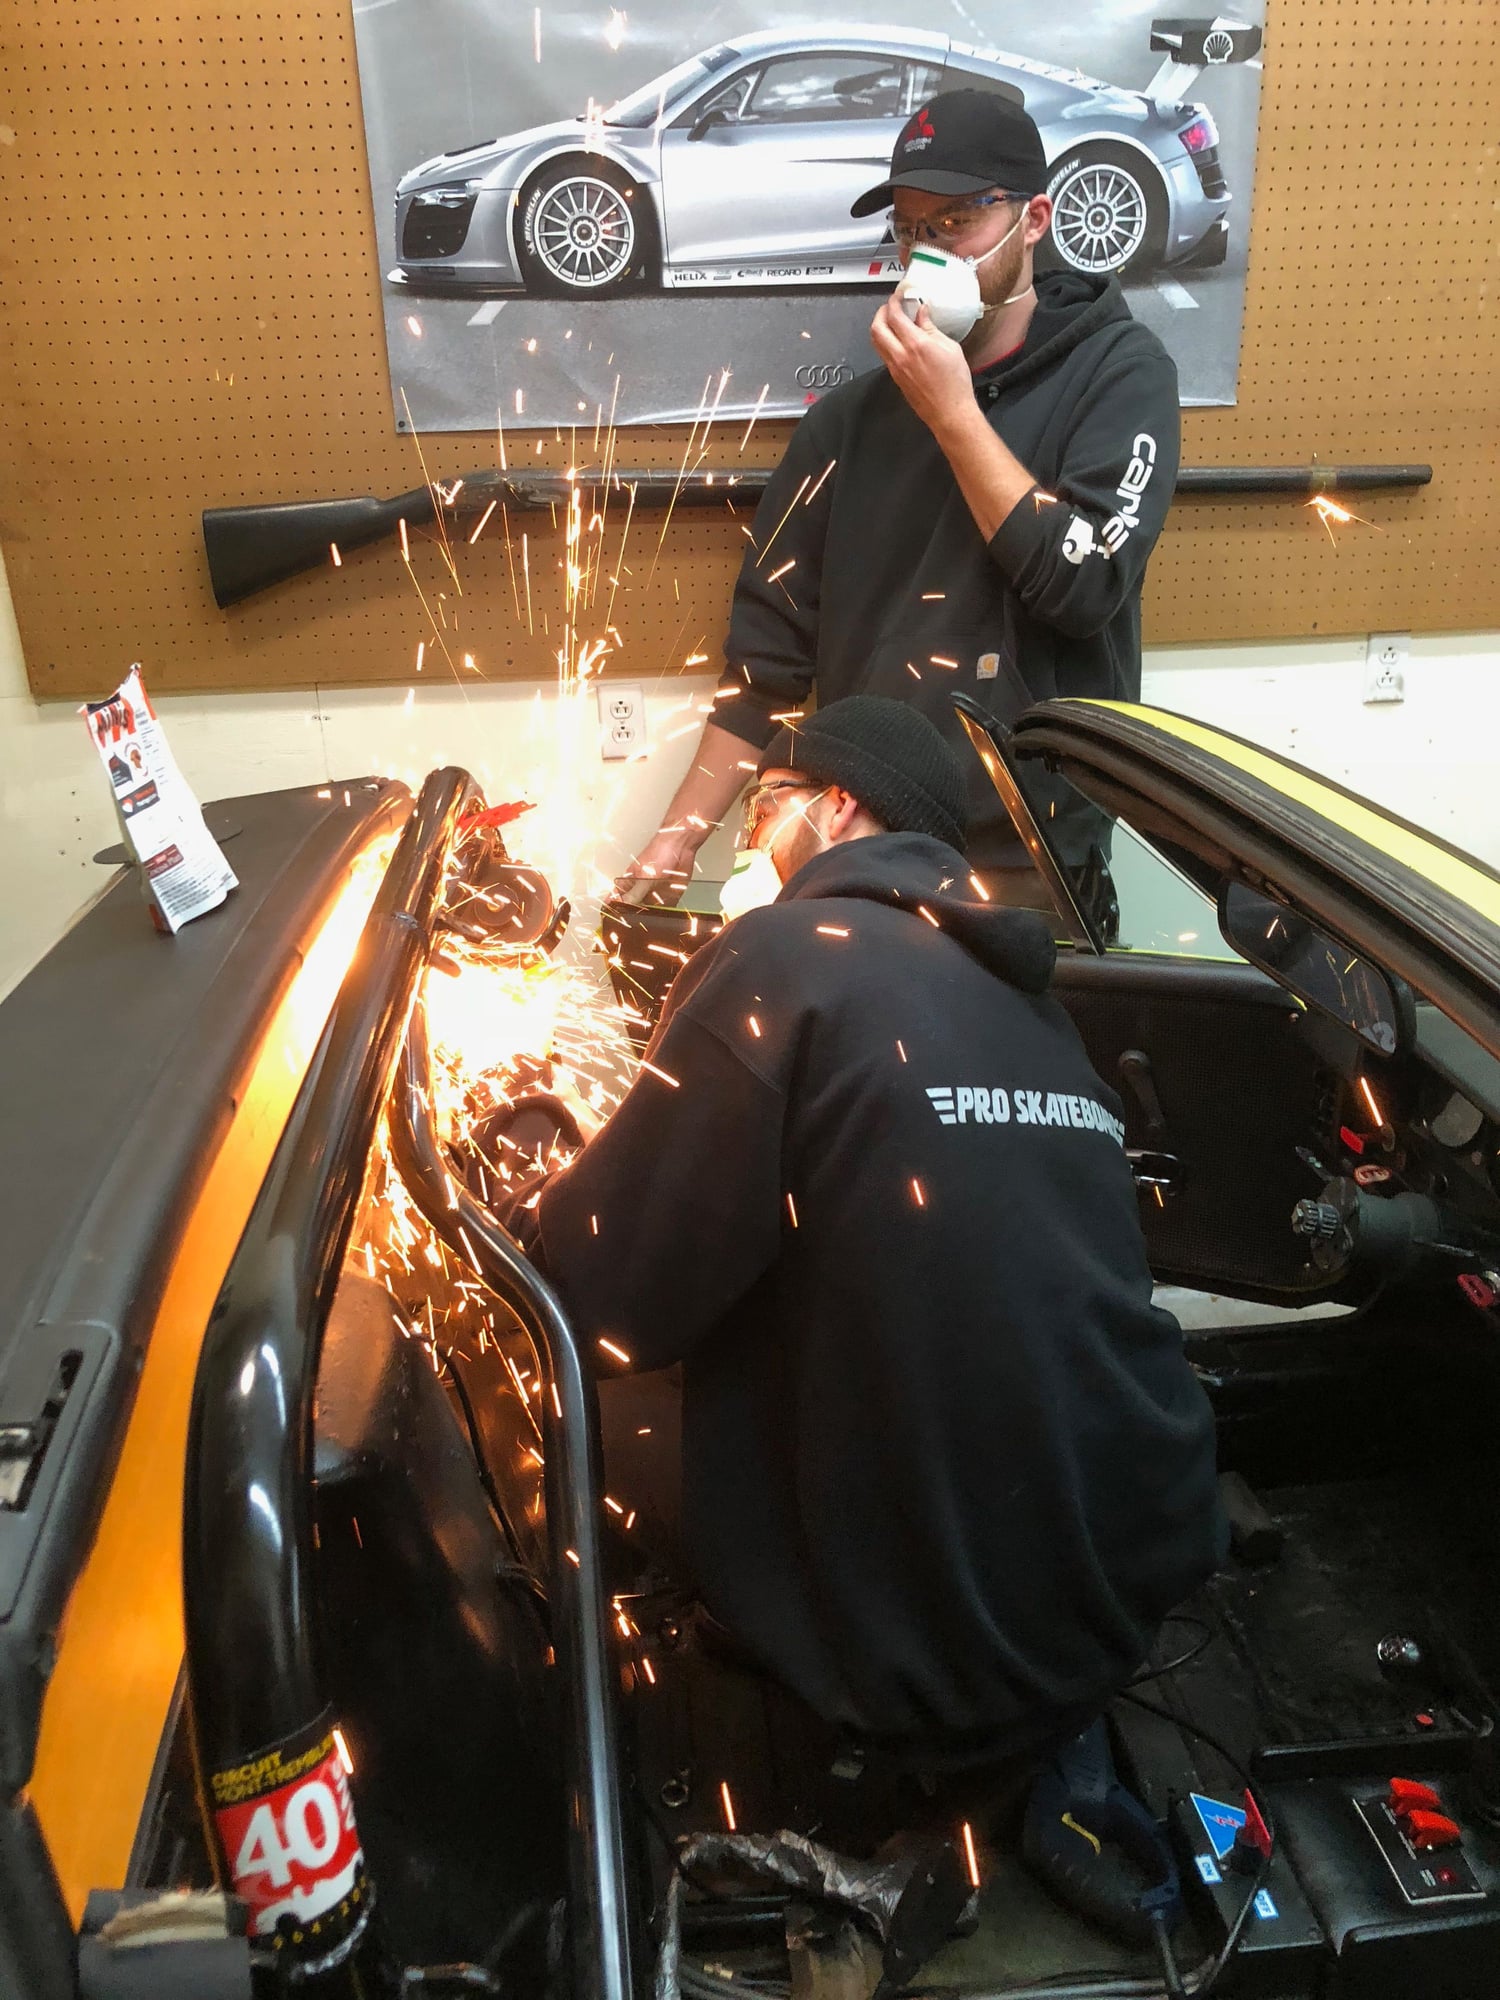
Customizing the seating position by "adjusting" the rollbar
Shifting is vague, getting used to the dog leg gearbox.
Shifting into first is easiest when crawling to a stop.
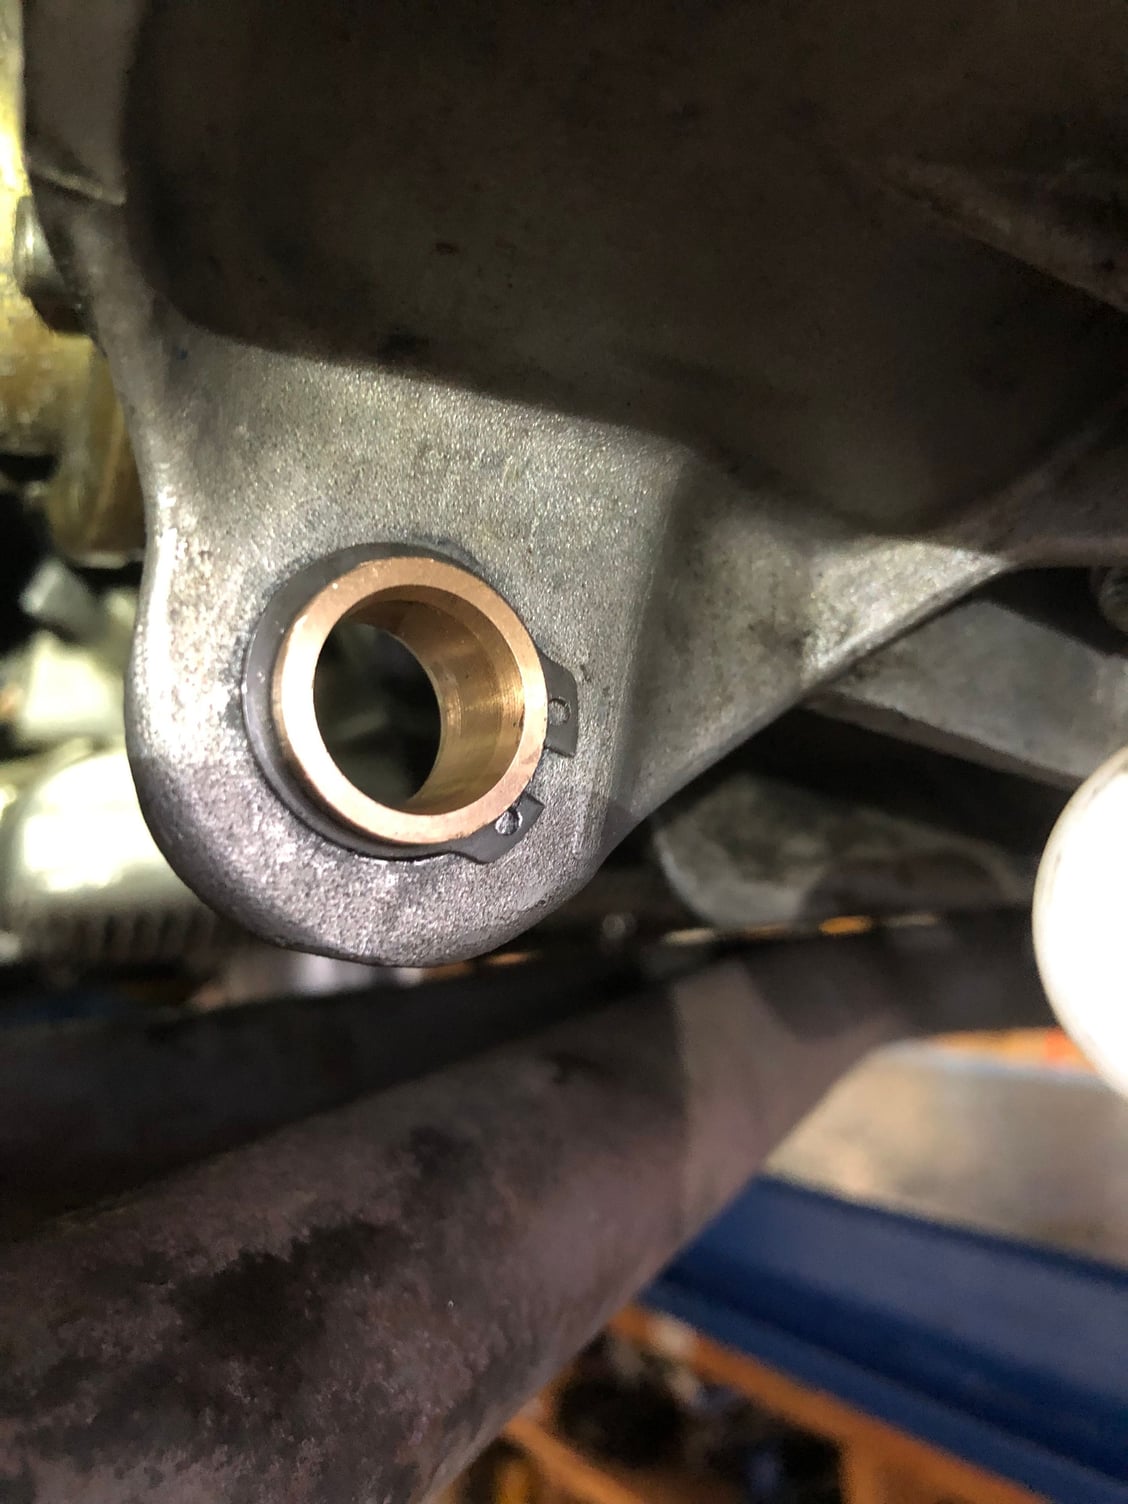
Shifter bushing all appear new, but the one at the trans housing had a lot of play.
The opening is oval and worn, so the bushing moves around too much.
I went with the bronze bushing from PMS, they suggest making the opening wider, but in my case it fit right in.
Used a 1mm flat rubber gasket around the bronze, pressed it in and engaged the circlip
The H pattern is soooo much more direct, and the spring under the shift lever now locks out R/1st better.
If the body and fenders are good, I certainly would not cut it. Please remember that a rear brass bushing will wear the shifter more rapidly than the plastic bushing, also very important to grease all of the bushings
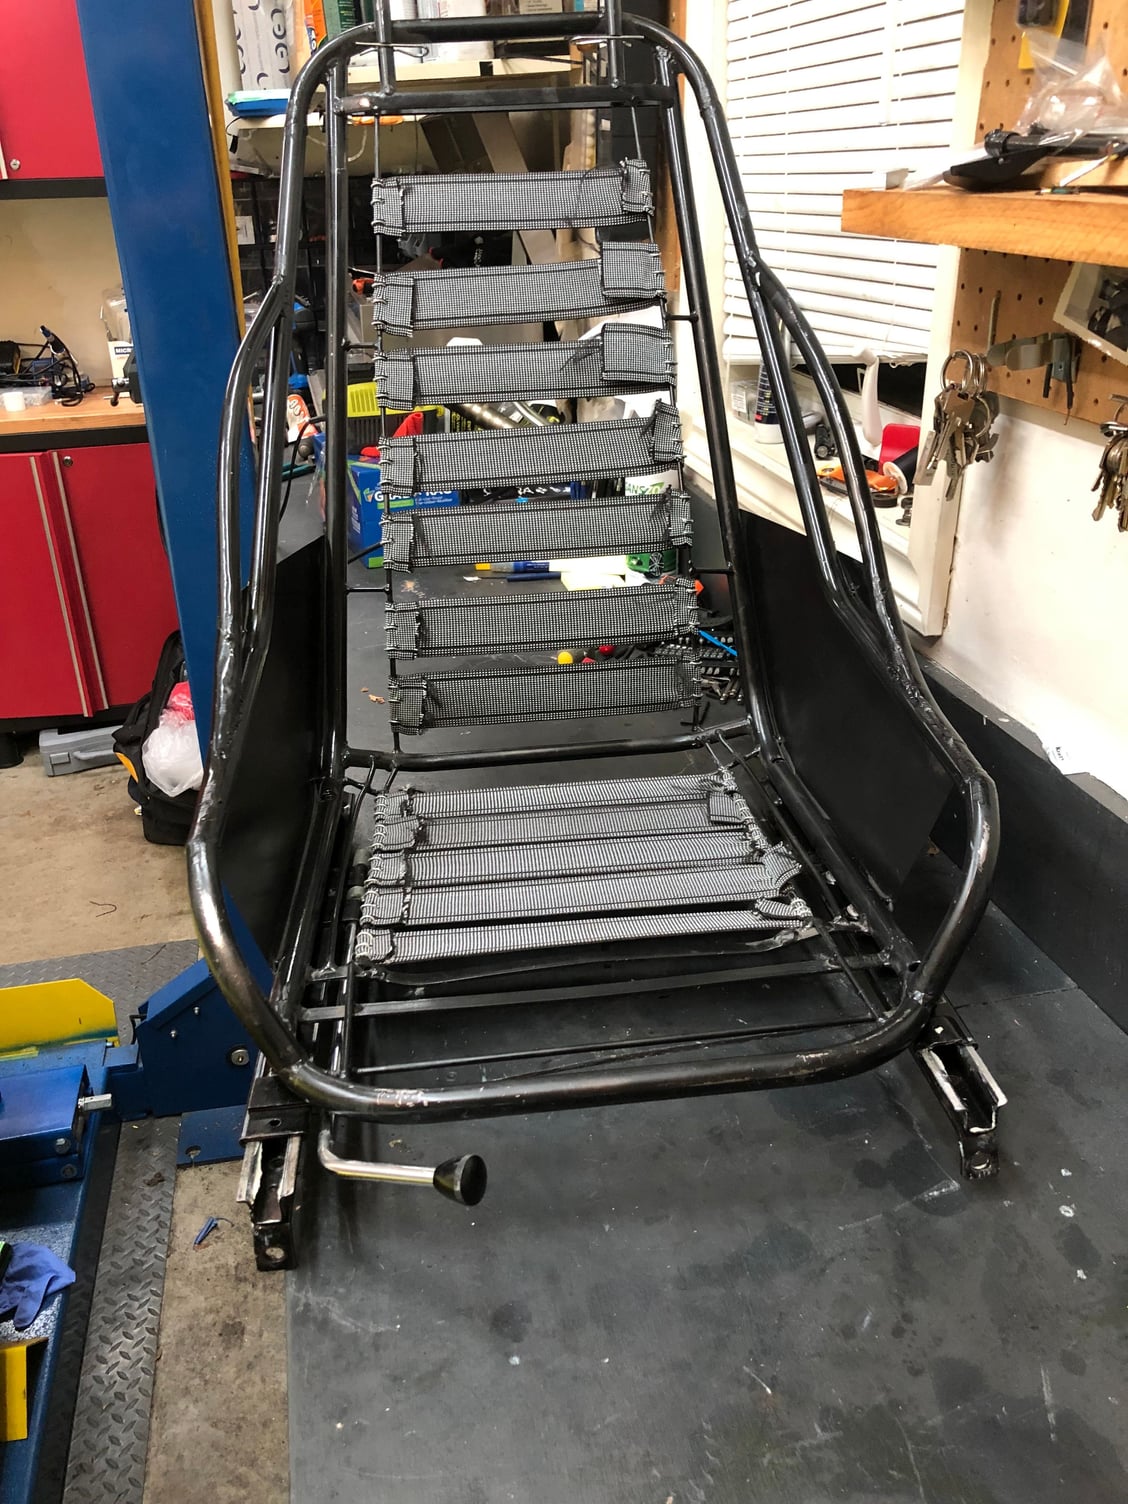
Stefan from GTS classics was kind enough to ship me an unfinished seat frame for the Rallye seat.
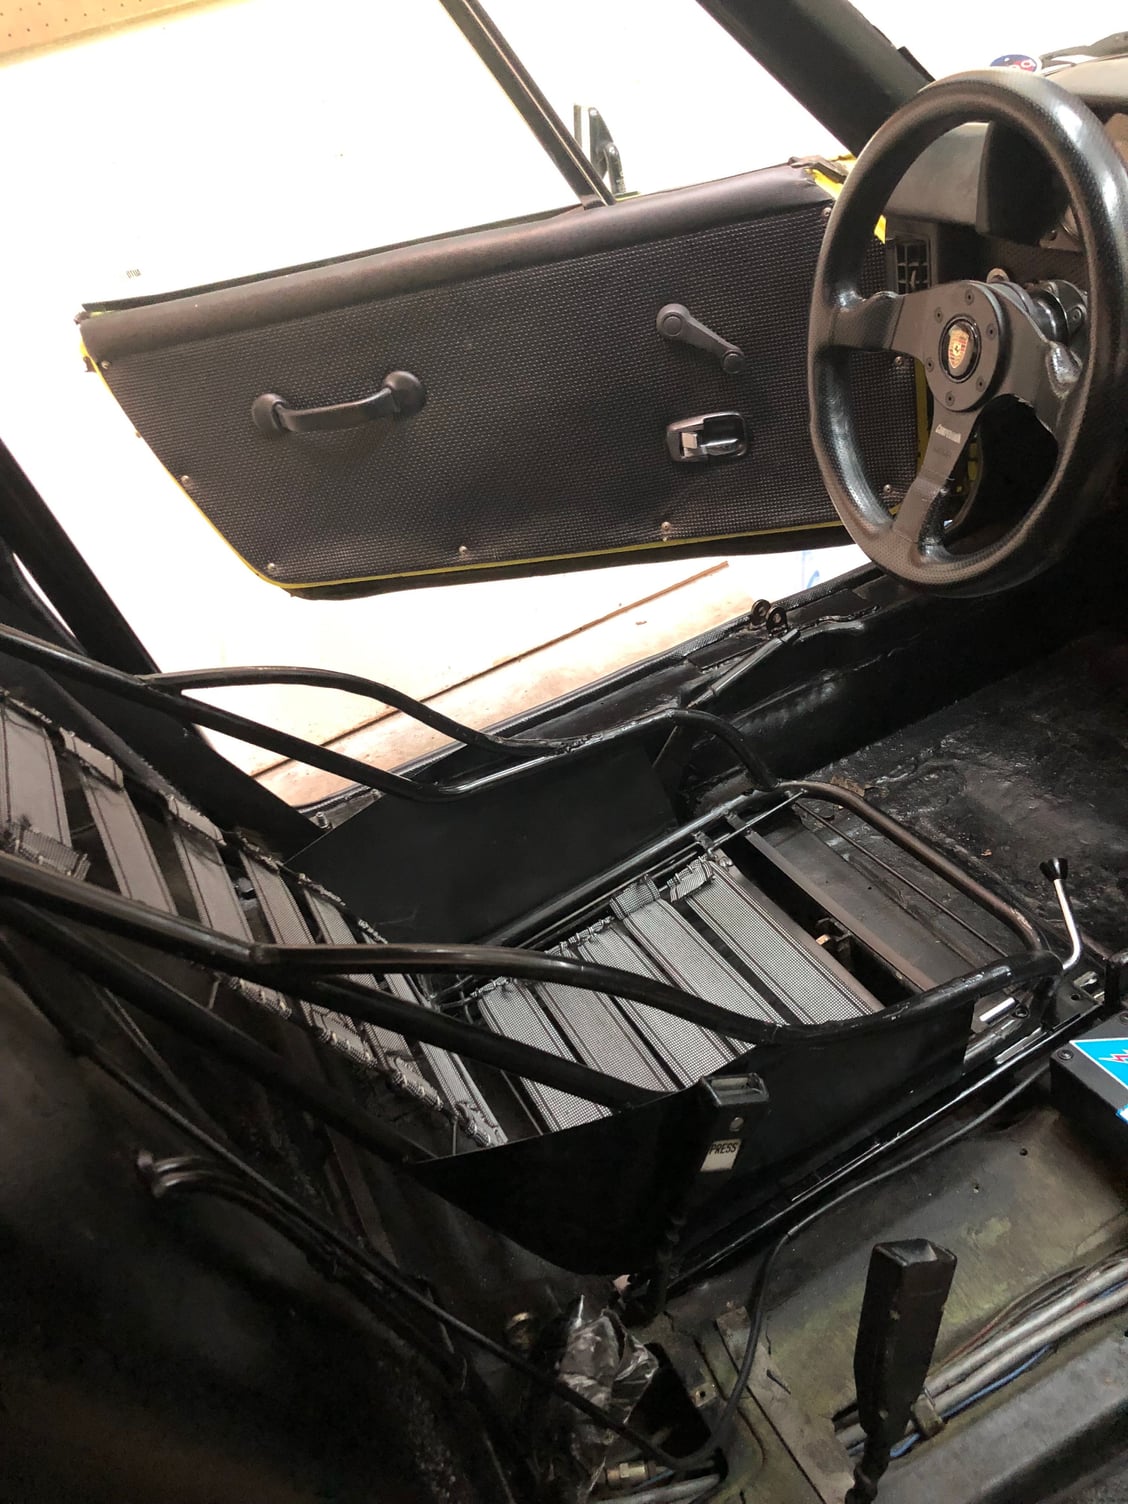
I need to sort the seating position, so i can decide on lowering the floor pan. I'm 6'5" so sitting in the a race spec 914 car with a helmet is a challenge.
It's prob my biggest concern about the build, putting all the work into something I can't fit into. Since my codriver and I will switch, i decided to start with low profile racing seat rails. So far, I'm optimistic that it might work without lowering the floorpan.
I kept the stock seat mounts in place, I decided to mount M8 bolts through a hole in the floor. Kept the handbrake in stock position.
These seats, do not have the fibreglass bottom of the stock 914's, with the elastic bottom straps Im essentially sitting on the floorpan right now. Will customize the amount of bottom cushion for the drivers side, balancing fitment and safety.
Cheers
FS
GTS Classic Rallye Seat frame, with race sliders.
notched out crossmember 20mm Welded plates and captive nuts for M8 10.9 grade bolts
Well..... disassembled the rear brakes and trailing arm attachments with plans to tackle the rear trailing arm bushings.
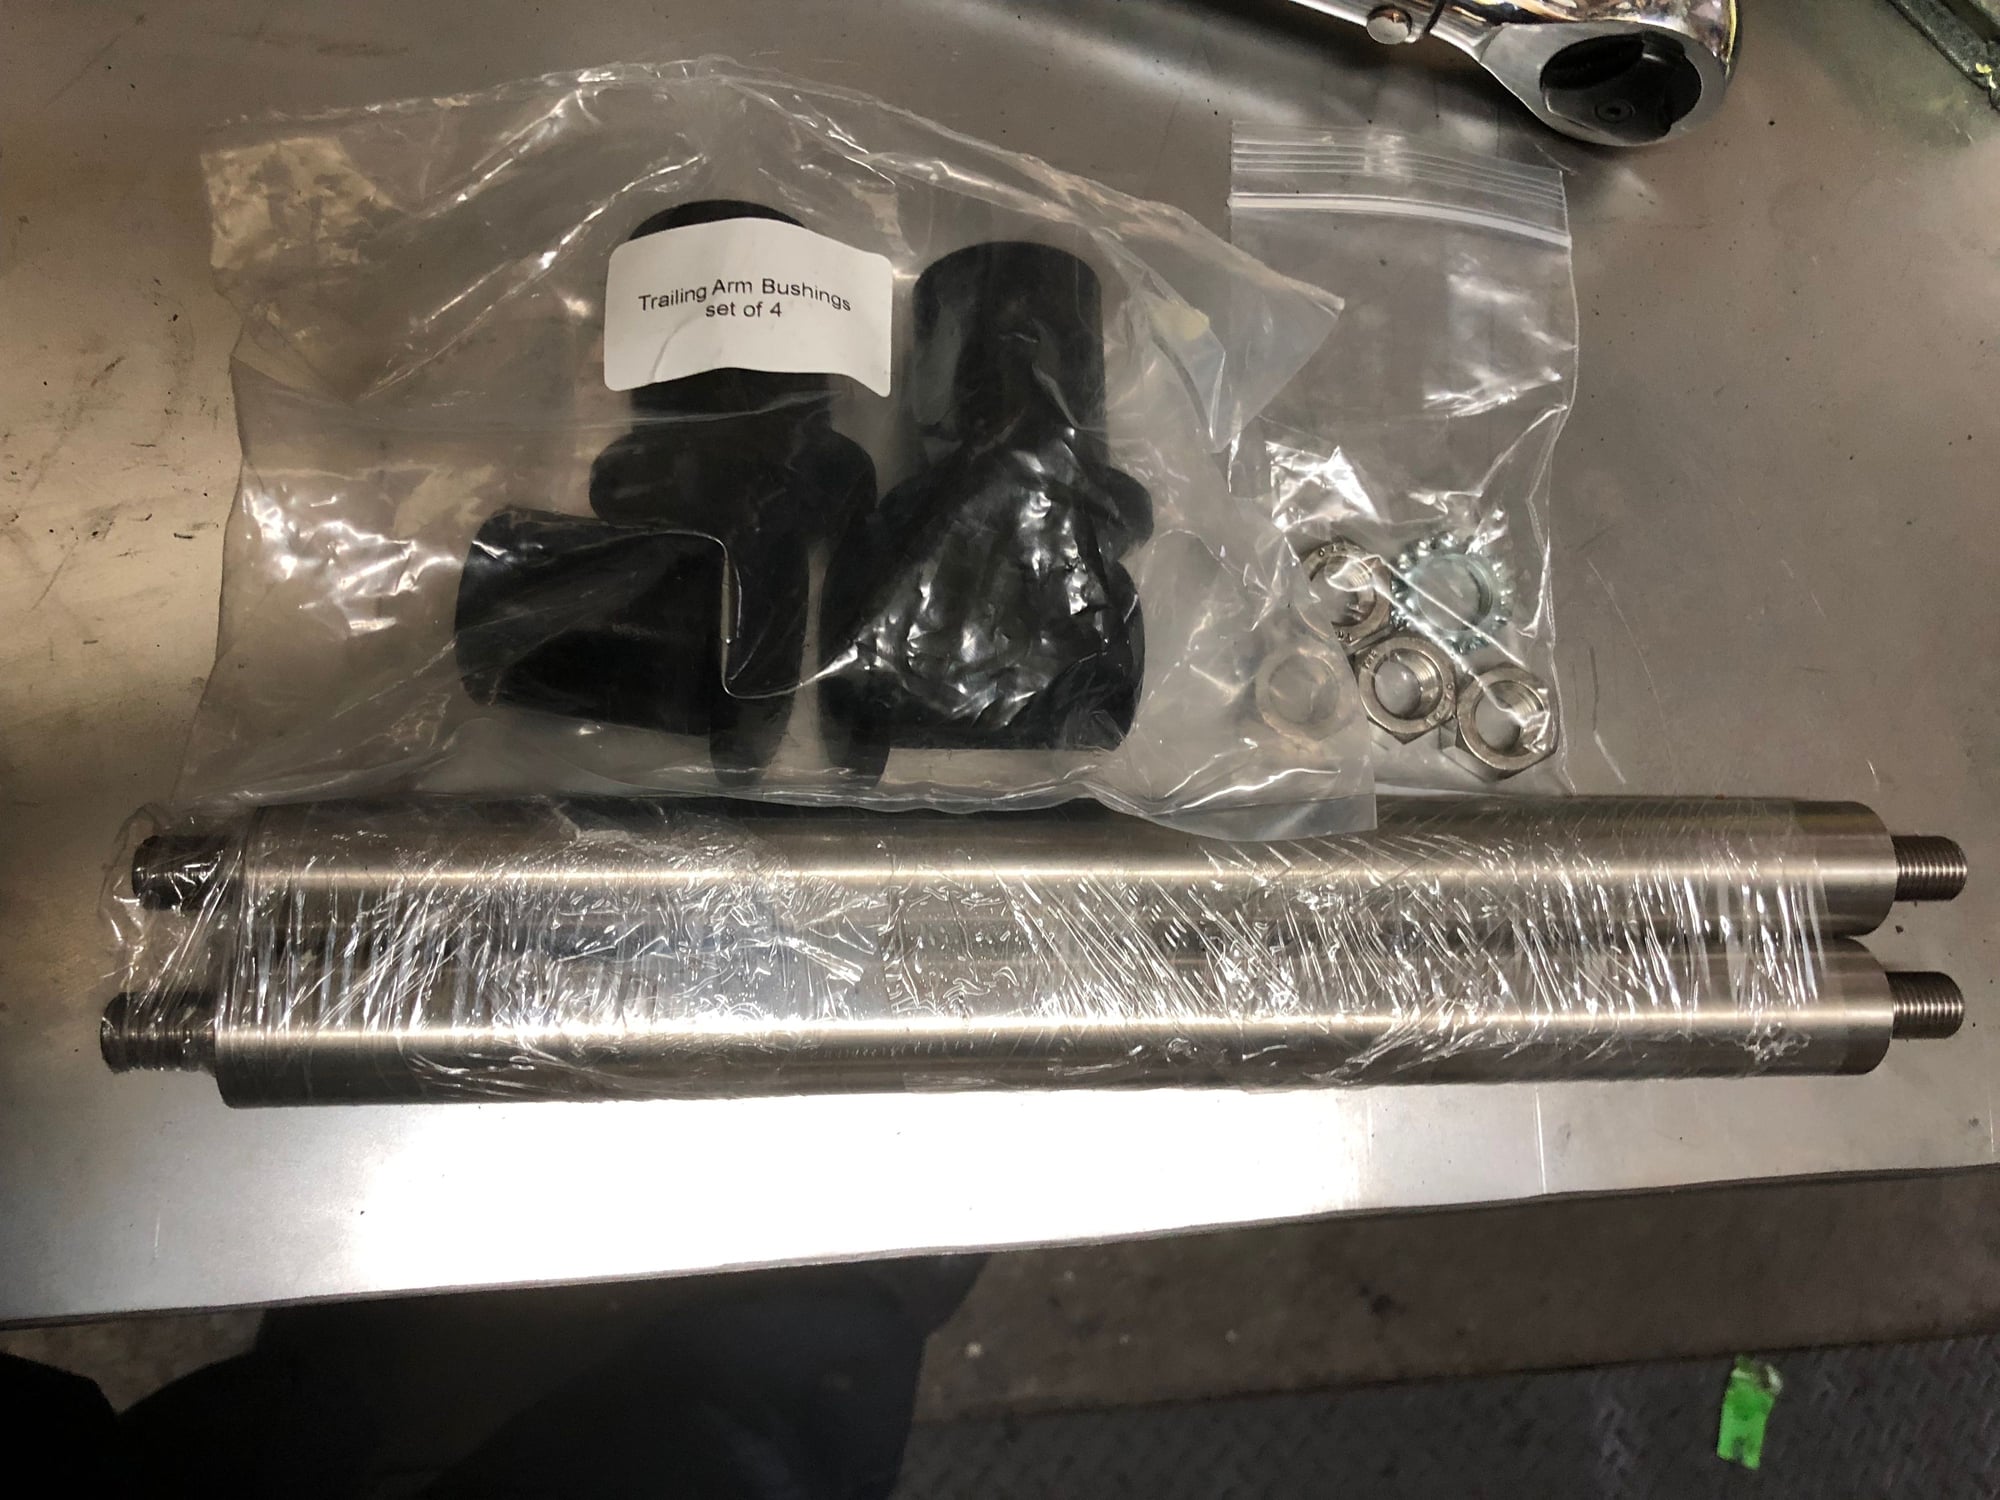
914 rubber trailing arm kit
Everything apart and inspected callipers, serviced slider pins and flushed new brake fluid though.
The inner nut on the trailing arm rod, i couldn't get to move. Started to gaul the nuts and backed away.
There is a very small play in the bushing. right side greater than left.
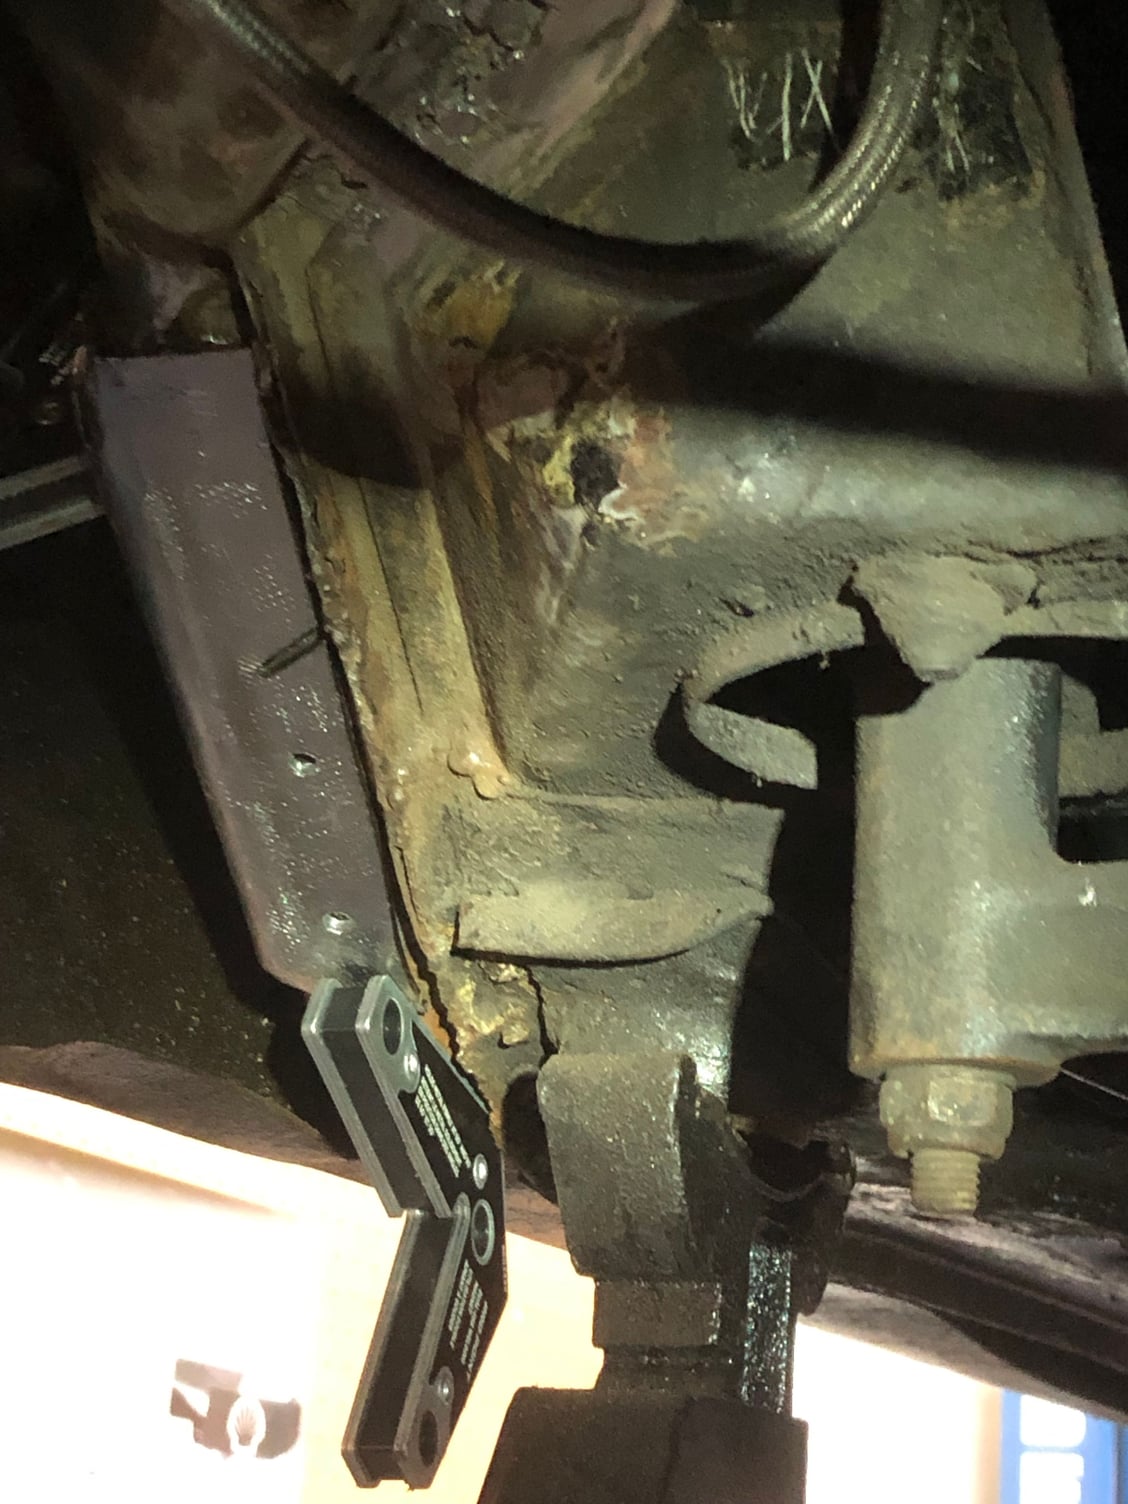
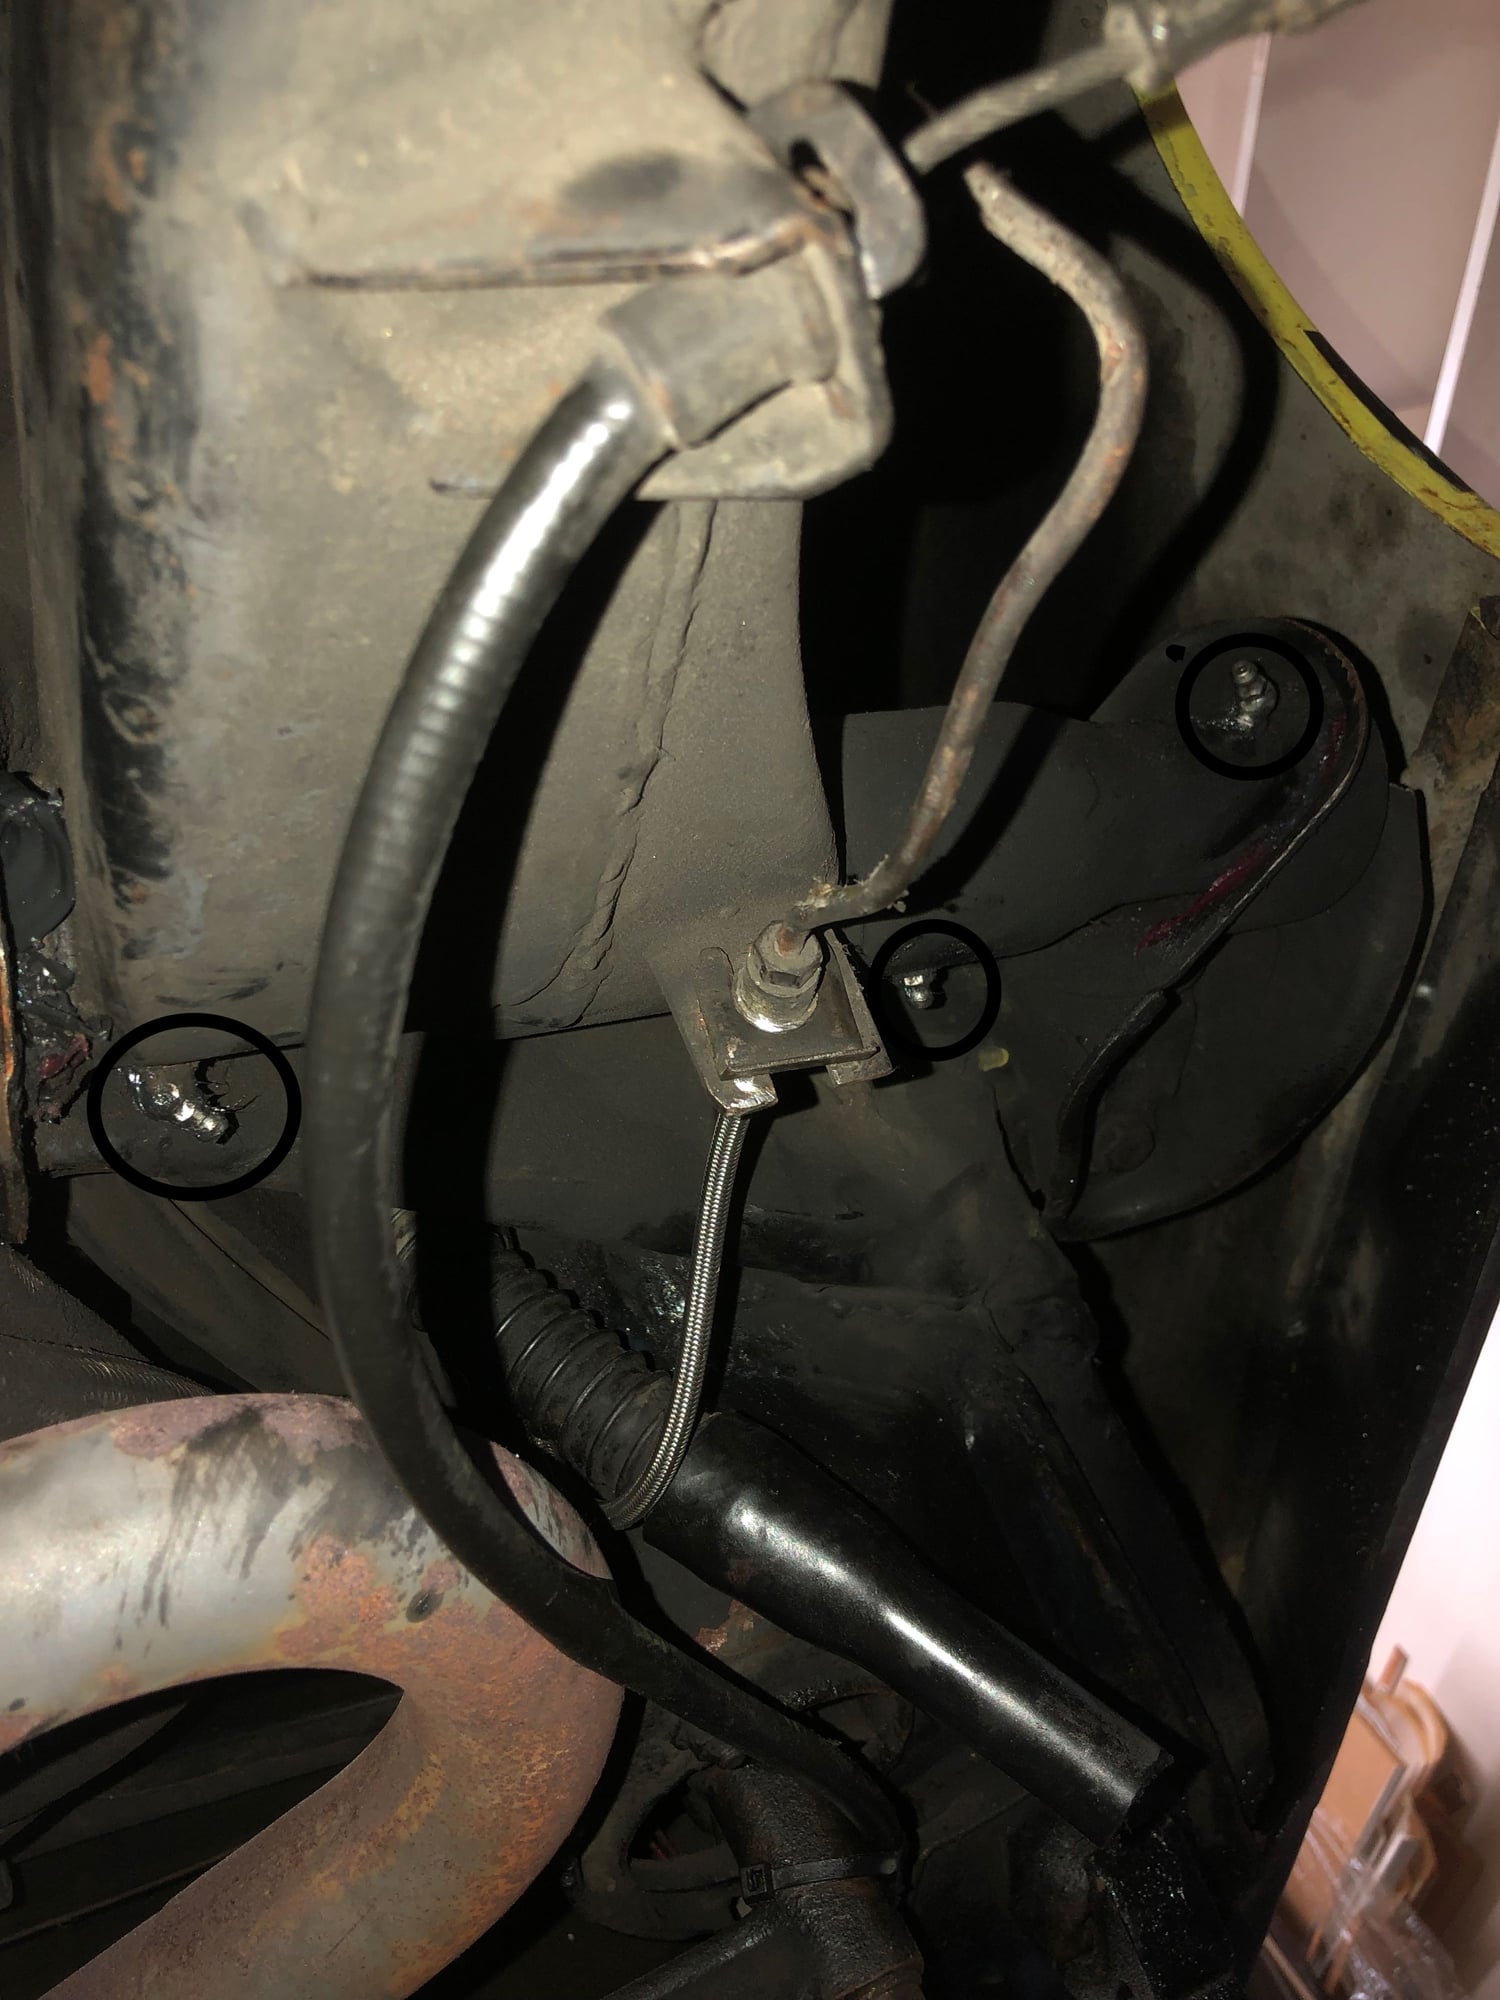
There are multiple grease fittings on the trailing arm. So i filled them up with heavy moly grease.
No more play noticed.
The arms have been reinforced, so my guess is these fittings were added. ??
Anyone have experience with these? do i have to split the nut? I tried heat and plenty of penetrating oil.
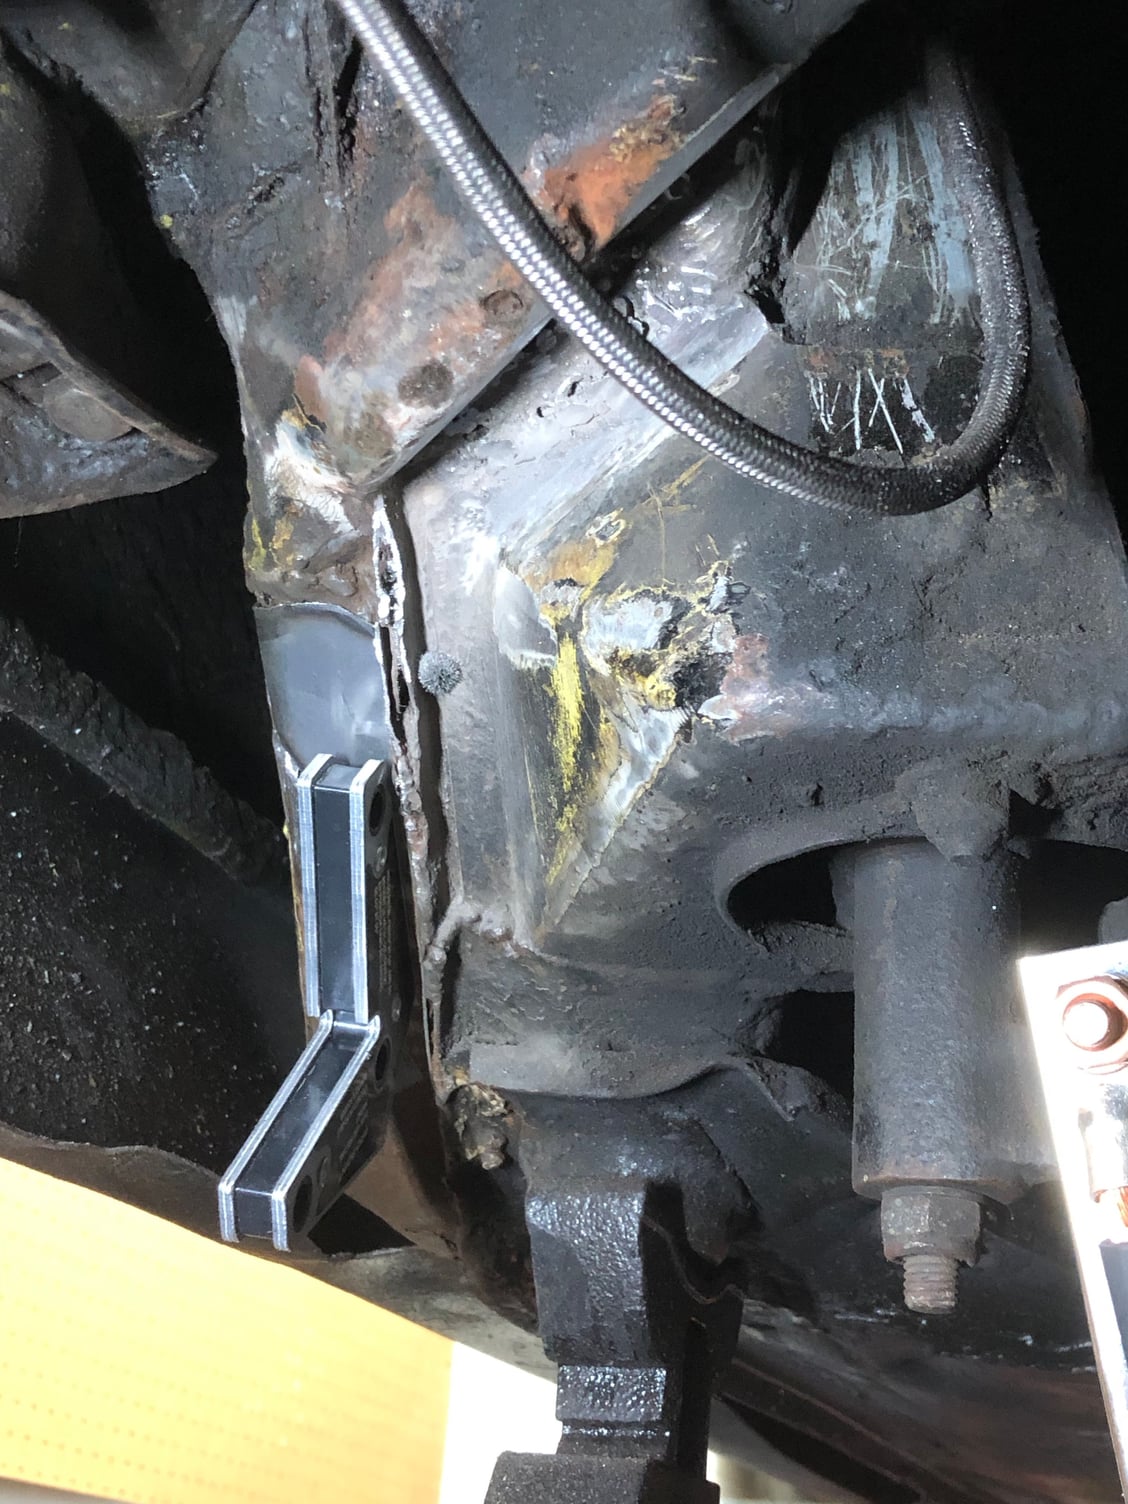
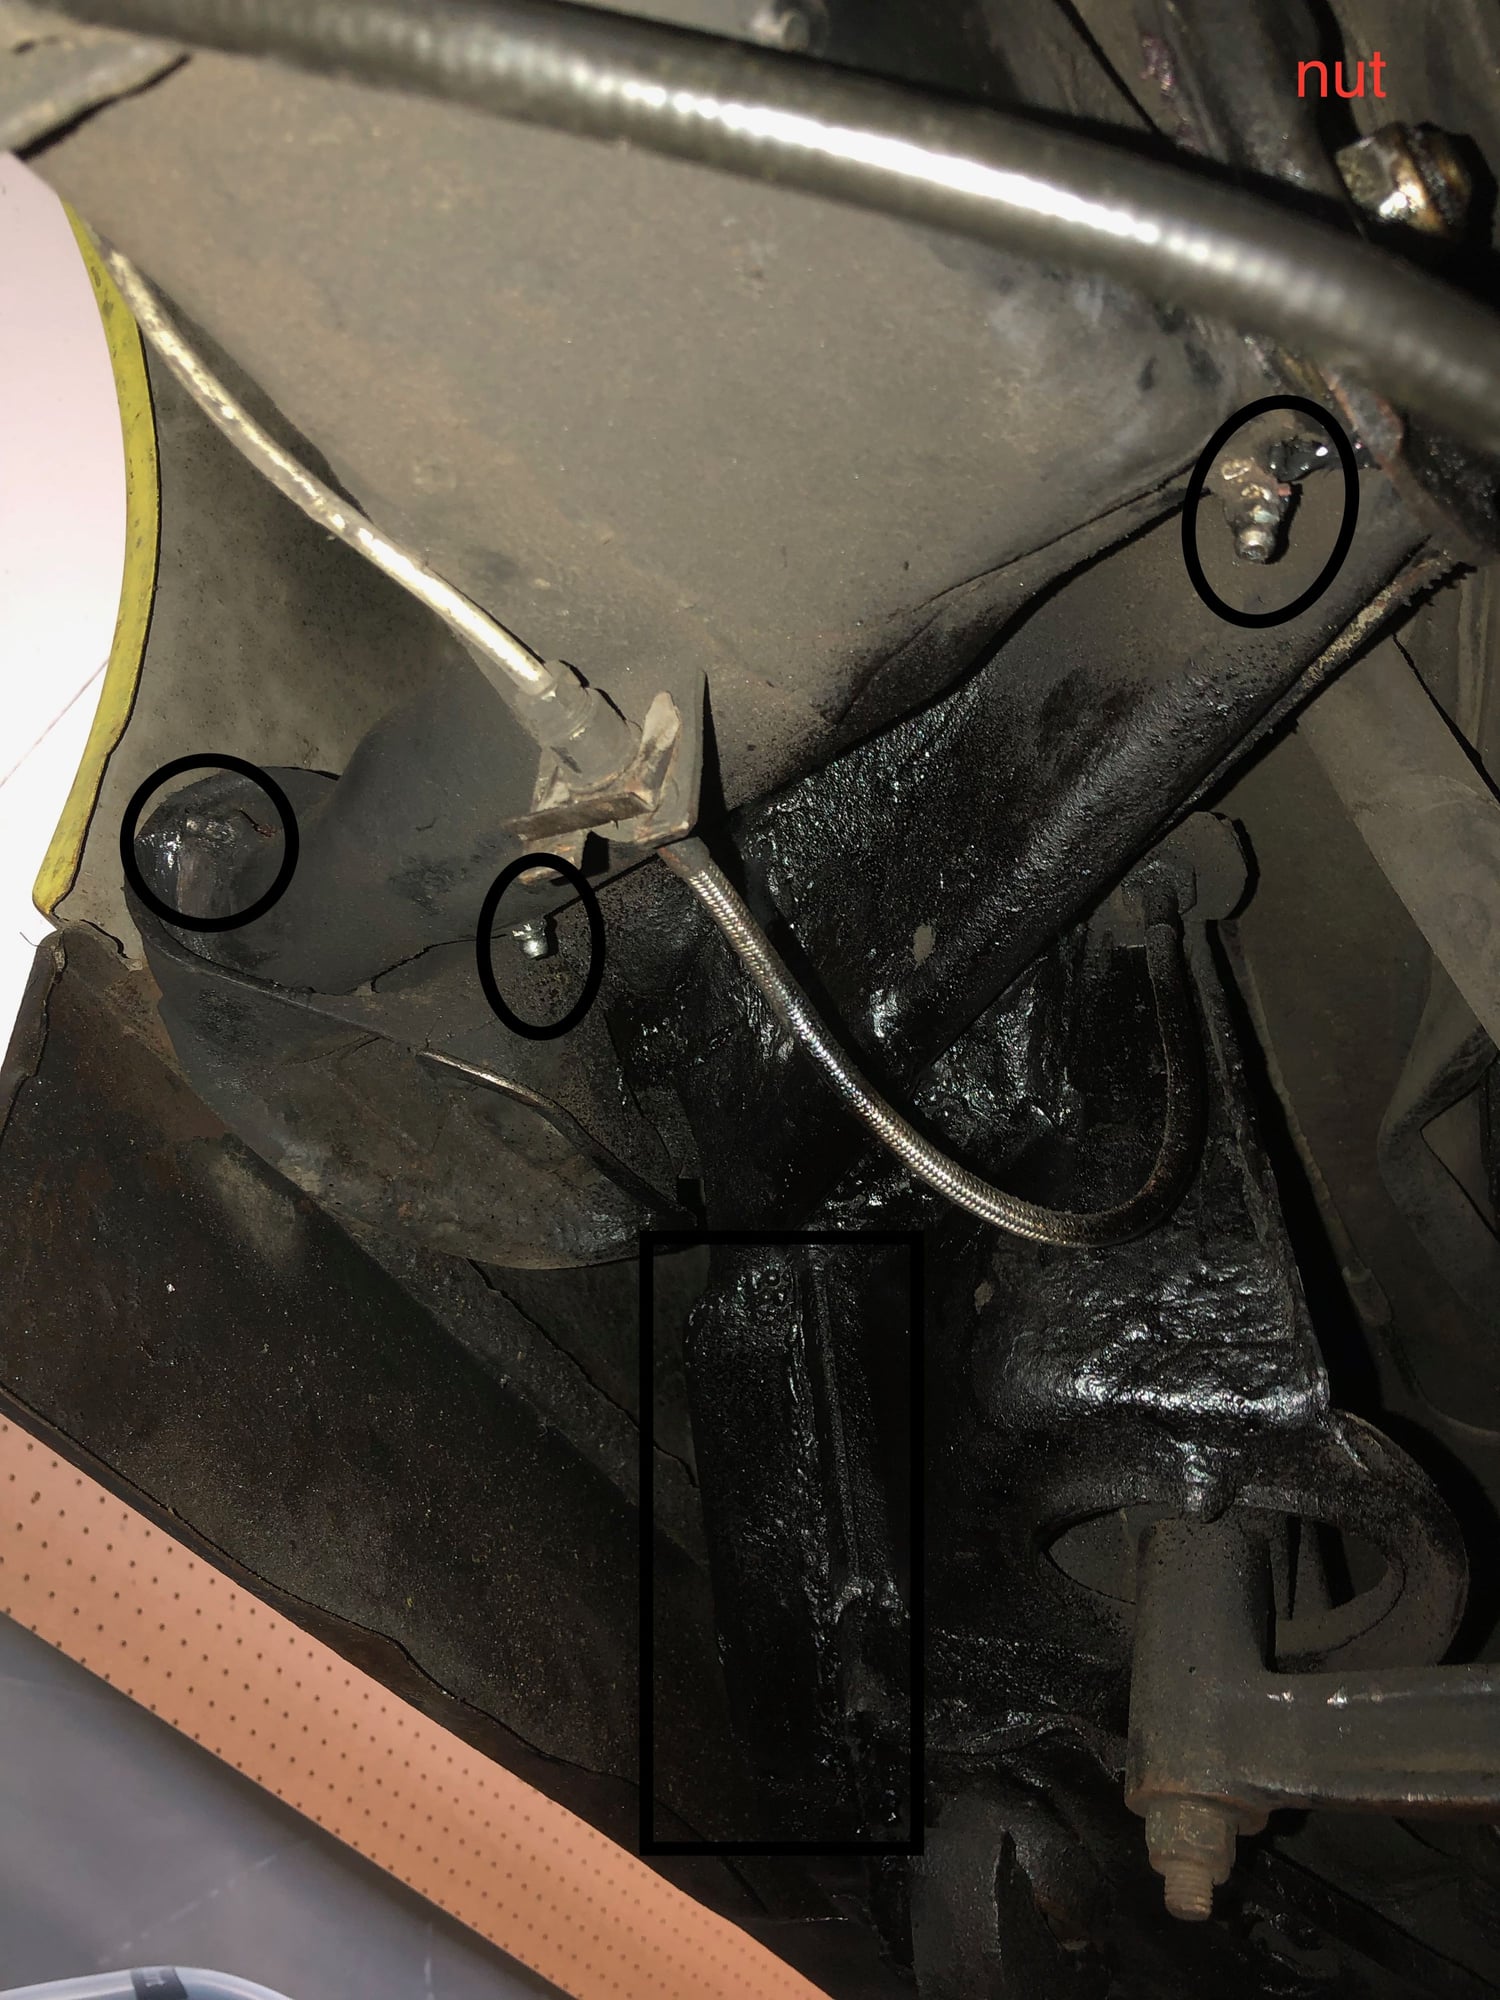
Grease fittings circled
left side, fittings circled. Recent frame repair welded, painted and rock guard.
someone installed plastic bushings hence the grease fittings, not stock on a 914. If there is play, should not be taken up by grease. Something is wrong. Could have wallowed out the inner swing arm mounting hole. It is unusual that the nut will not loosen, many many we see alway have the nut already loose from use. We standardly on our check list check the tightness of the rear swing arm bolts. (stupid question but you are moving the nut counter clockwise to loosen, correct?)
Originally Posted by Feudal Serf
Well..... disassembled the rear brakes and trailing arm attachments with plans to tackle the rear trailing arm bushings.
914 rubber trailing arm kit
Everything apart and inspected callipers, serviced slider pins and flushed new brake fluid though.
The inner nut on the trailing arm rod, i couldn't get to move. Started to gaul the nuts and backed away.
There is a very small play in the bushing. right side greater than left.
There are multiple grease fittings on the trailing arm. So i filled them up with heavy moly grease.
No more play noticed.
The arms have been reinforced, so my guess is these fittings were added. ??
Anyone have experience with these? do i have to split the nut? I tried heat and plenty of penetrating oil.
Grease fittings circled
left side, fittings circled. Recent frame repair welded, painted and rock guard.
To dramatically improve shifting get a side shift tranny and pair it with a Rennshifter. You won�t believe the direct feel and precision Converted mine from the spoon in pudding to an utterly modern precision shifter.

 11-14-2018, 07:27 PM