Petit Bastard: 914 Rally Build
#17
Instructor
Thread Starter
Fitting the dash bar
A pillar footplates tacked in over the heater channel
First mock up of the main hoops, bit too much gap in the windshield top bar
#19
Instructor
Thread Starter
Right side trailing arm to main hoop.
Left side trailing arm mount to main hoop. The car already has the inner tailing arm mount reinforcement plates, and rear chassis plates. But except for some weight penalty, its better to assure rigidity here.
Rear plates ready for strut bar
Rear mount points tacked up
#21
Instructor
Thread Starter
45 degree tie downs from rennline mounted at the torsion bar from mounts. Planning on black and red two tone bumpers
I couldn't get these 912 style front Rennline plates to work, so i cut one up and used it as a rear recovery point attached to the rear trans mount.
#22
Instructor
Thread Starter
Cleaned up frunk area, resealed ATL cell and fitted back in the car.
Tig welding the A bar to windscreen bar
Mig welding the plates to chassis and Tig welding the tube to the plate.
#23
Instructor
Thread Starter
The rear section was reworked so as to bring the rear stays close to the top of the main hoop.
This means i have to make cutouts for the rear stays through the engine lid and go with a plexiglass rear window. I really wanted to avoid this, but the alternative was a petty bar across the cabin. Still deciding on how to cut this.
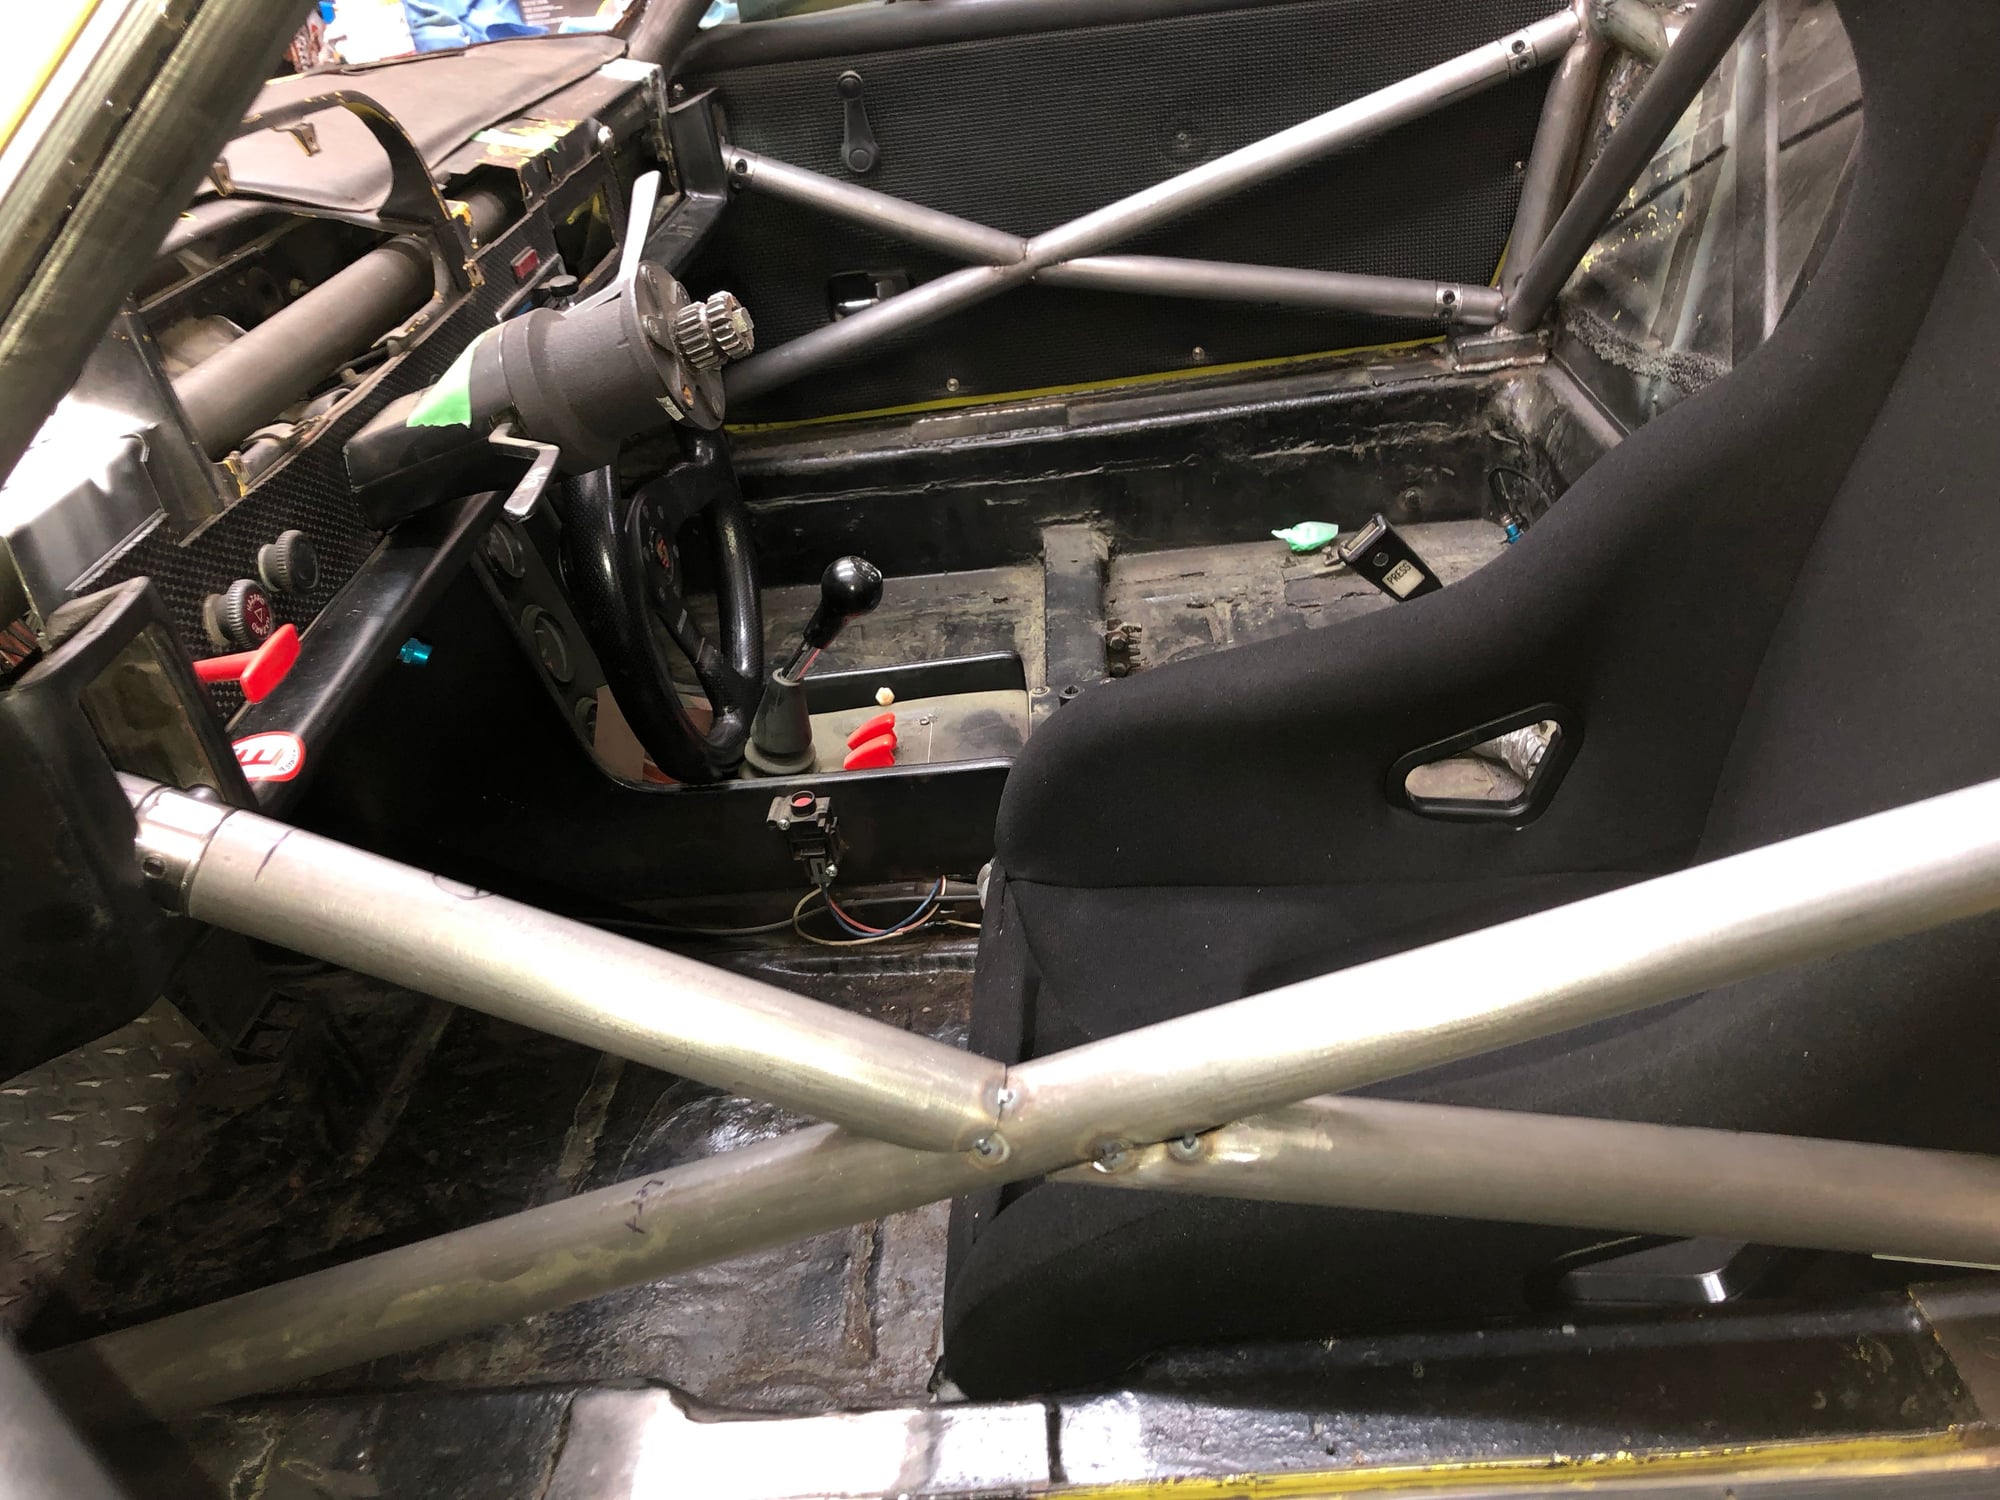
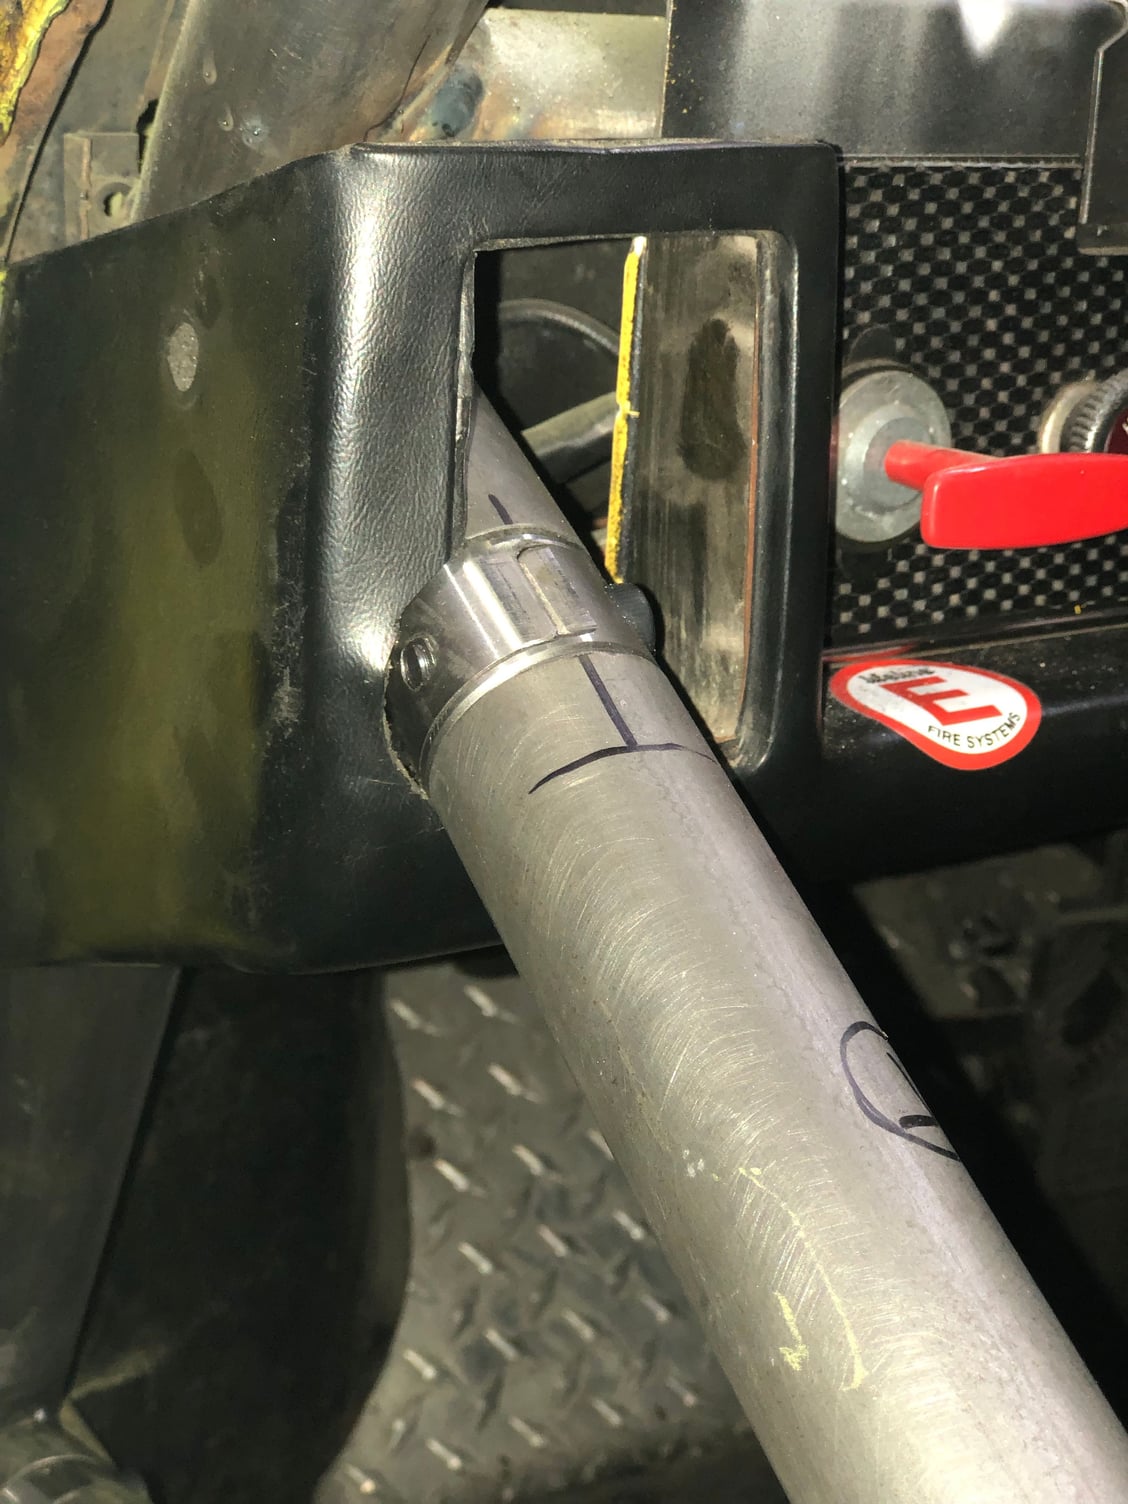
Window gussets!
#24
Instructor
Thread Starter
Tig tacked the door bars, main hoop cross and harness bar.
Trying to maintain a stock dash, so the lower knee pad trim was modified to accept the upper door bar.
The stock door latch contacts the door bars, so came up with the idea to switch them left to right, worked like a charm.
Also some RS style door pulls, made them with .75 inch grey nylon, grommet kit with steel washer.
Door bars with 40mm lap joints, run through the lower dash vents.
Trimmed inner foam and metal surround behind the vent so as to keep the lower dash.
#25
Instructor
Thread Starter
Roll Cage Complete,
Certified
Clear coated the interior of cage.
Modified the rear deck lid
Still have to work on rear windscreen in acrylic
on the road.
Certified
Clear coated the interior of cage.
Modified the rear deck lid
Still have to work on rear windscreen in acrylic
on the road.
#27
Instructor
Thread Starter
A pillar bar base
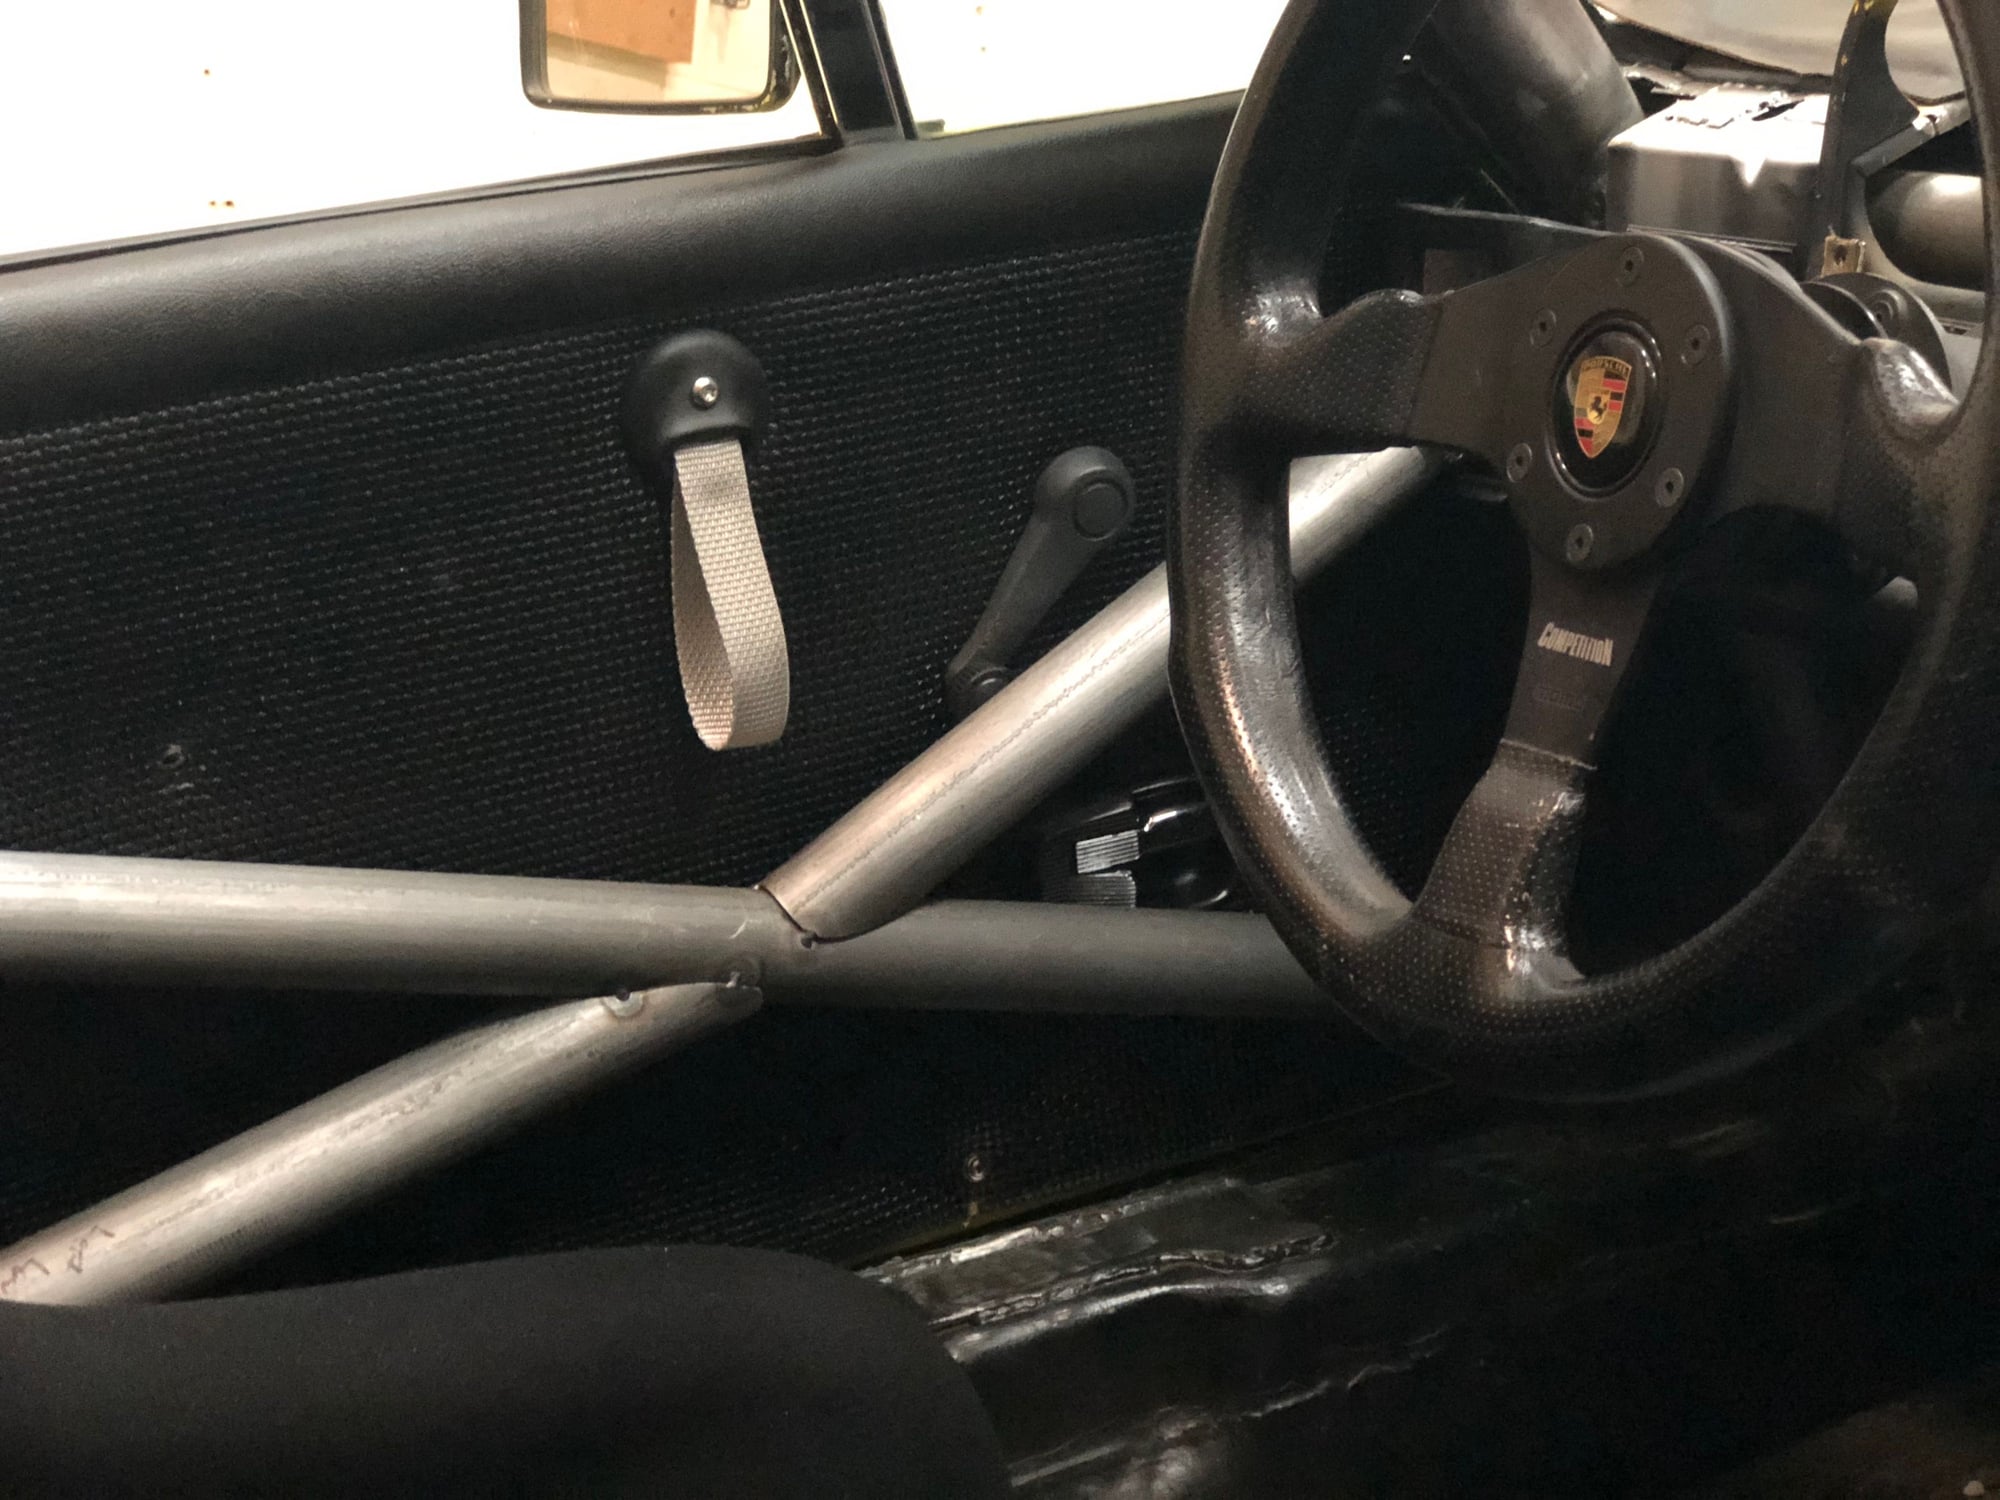
Here are a couple pics of the A Pillar Bar attaching to the longitudinal front chassis. There is a plate covering the heater channel opening. Had to cut back the hood release tube under the dash on the drivers side, in order to get this bar to fit close to windshield A pillar frame. And to get the dash bar to sit correctly.
I would say that placement of Main Hoop angle and height followed by the A Pillar bar are the most important steps early on. Its worth taking your time here.
Do you have a Custom Cages UK kit?
cheers
#28
Race Car
Thanks for the pics, looks great.
At the moment I am in planning stage (still on the look out for a car actually ), I have seen lots of cage designs but never like that the forward bar partially blocks the door opening, additionally they never really follow the A and B pillars as closely as they could. I have always loved how RUF does their integrated roll bars, completely hidden!
#29
Instructor
Thread Starter
We spent quite a bit of time adjusting to get the cage in as tight as possible.
Door Bars are removable, I'm happy with the end result.
Here are some views during test and tune on the street.
Cheers
Door Bars are removable, I'm happy with the end result.
Here are some views during test and tune on the street.
Cheers