
Projects on my new, to me, 1974 914-6
 09-09-2018, 09:48 PM
#46
Rennlist Member
To prepare for running the fuel lines, I removed the front pan to reveal the old fuel pump and lines. Happily, I discovered a fuel return line connector on the tank. After removing all of the old lines at both ends of the car, I can see that I will have to remove the tank to connect the new fuel lines. From what I could see at the rear, it appears there is a metal fuel line that runs in a tunnel from the fuel tank area to the rear of the car. Is that correct? Also, can anyone tell me how the factory ran the return line from the engine bay to the tank?


 09-10-2018, 05:55 PM
#48
Racer
Thread Starter

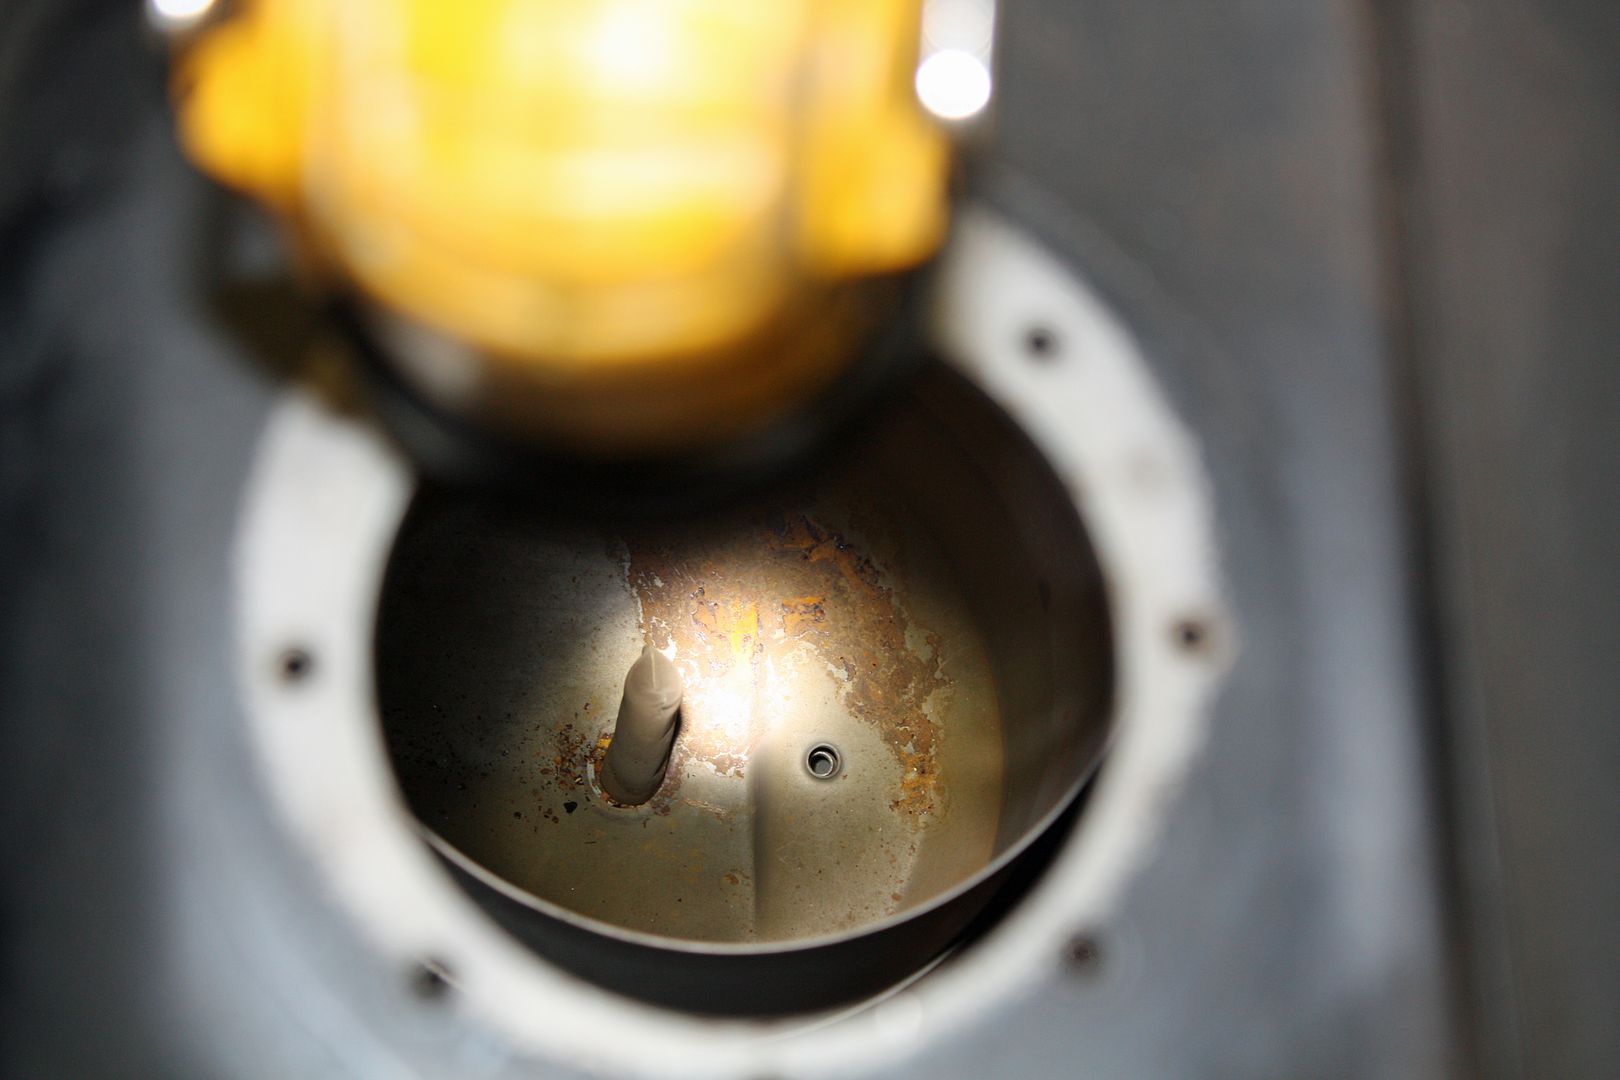
Before removing the tank, I looked inside to see its condition. The only rust I could see was in the area around the outlet and inlet. I will address that before re-installing the tank.
With the expansion tank removed, I could now remove the tank. I lifted up on it enough to put it from the rubber insulator blocks on each end and out it came.
There were a couple of rusty areas on the tank. I will address these with POR15. There was a corresponding area of rust in the tank bay. That will be addressed as well.
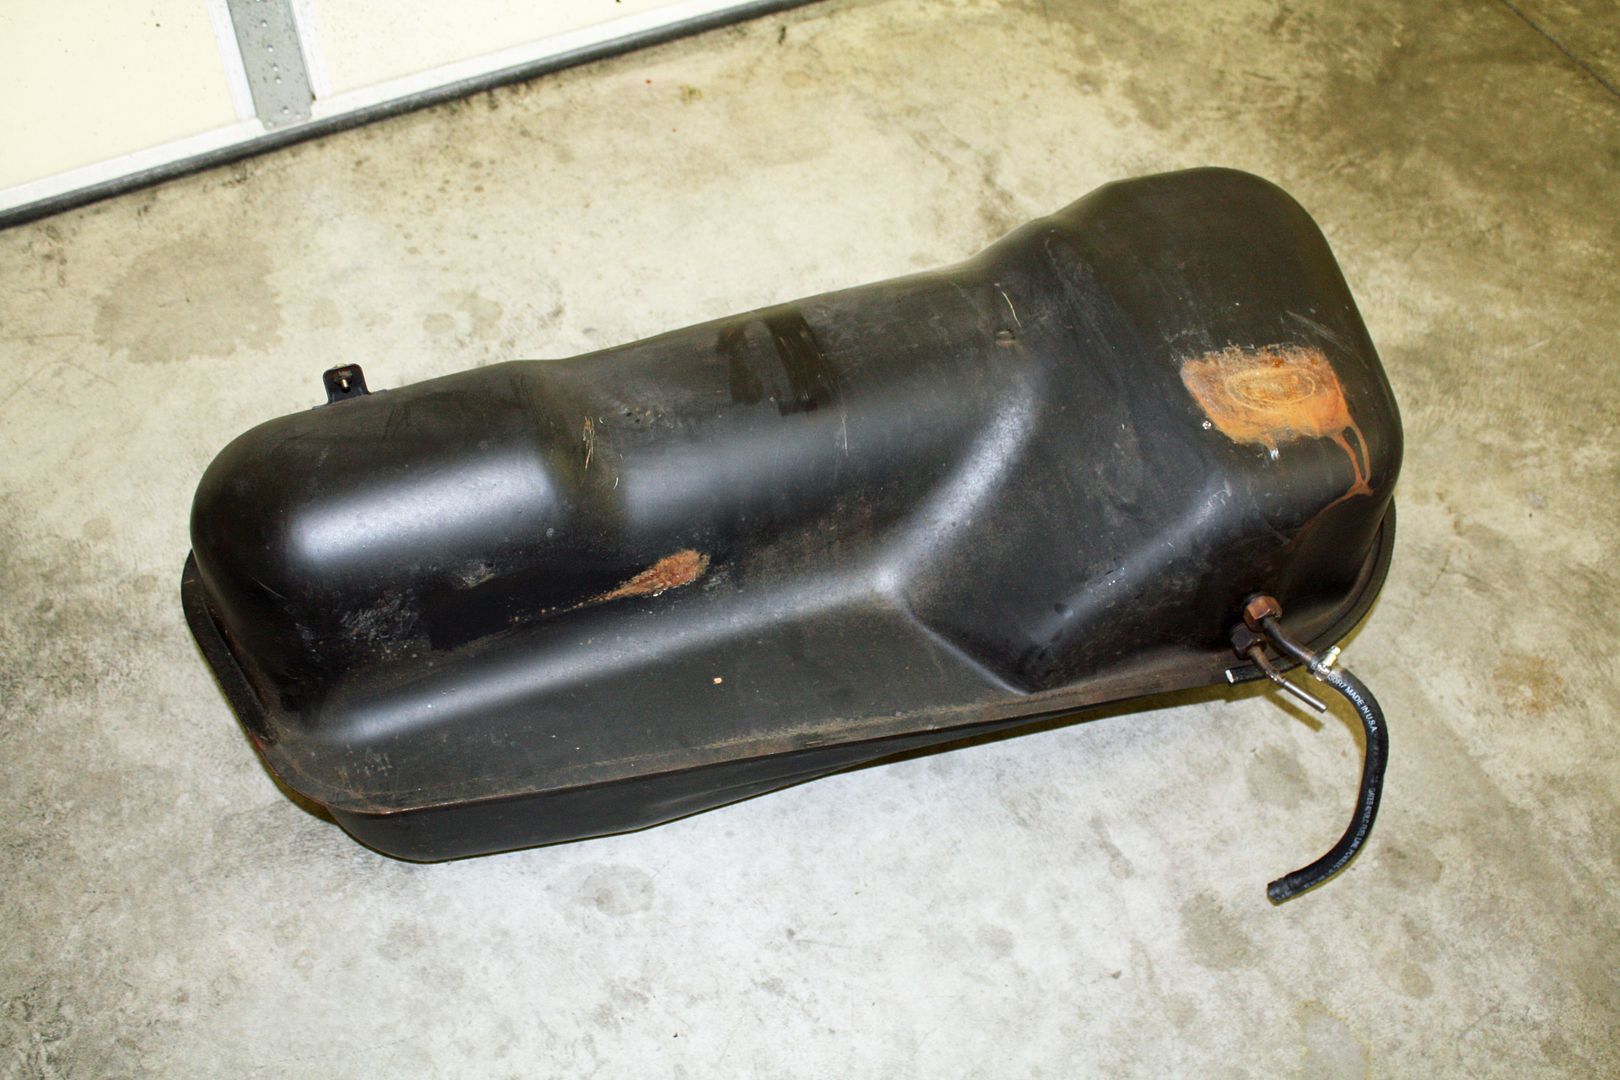

The tank bay appeared to be in good condition.

With the expansion tank removed, I could now remove the tank. I lifted up on it enough to put it from the rubber insulator blocks on each end and out it came.


There were a couple of rusty areas on the tank. I will address these with POR15. There was a corresponding area of rust in the tank bay. That will be addressed as well.


The tank bay appeared to be in good condition.


 09-10-2018, 10:17 PM
#49
Racer
Thread Starter
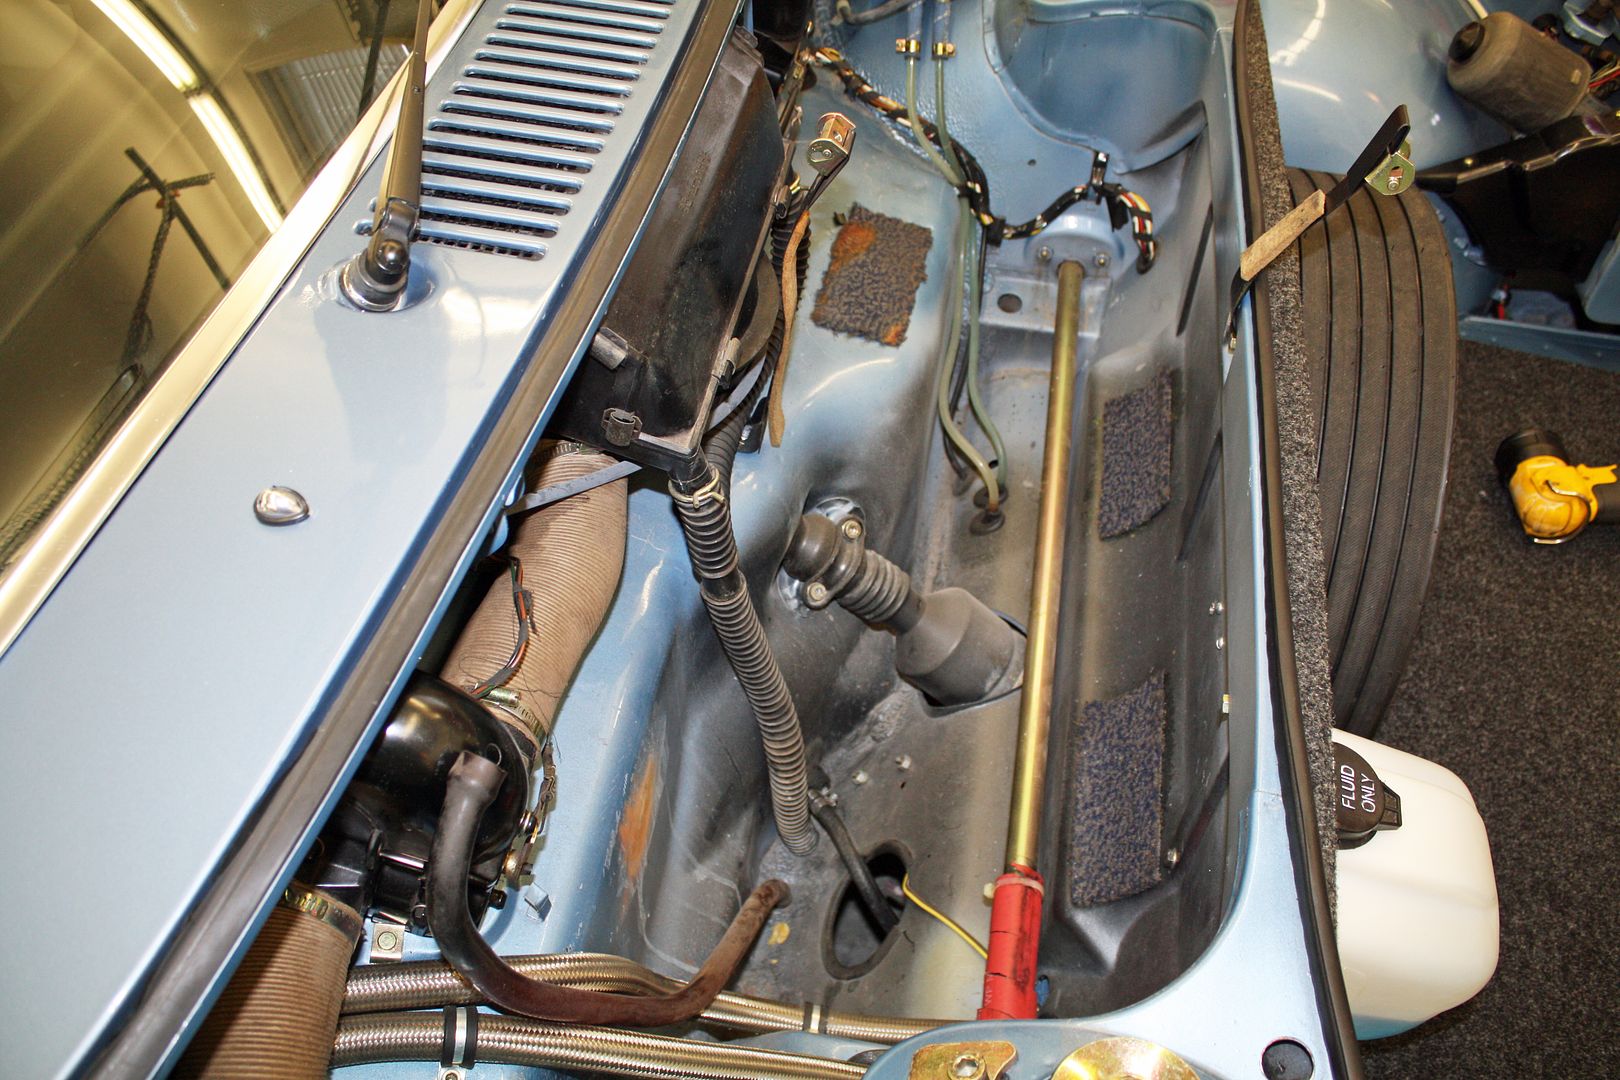
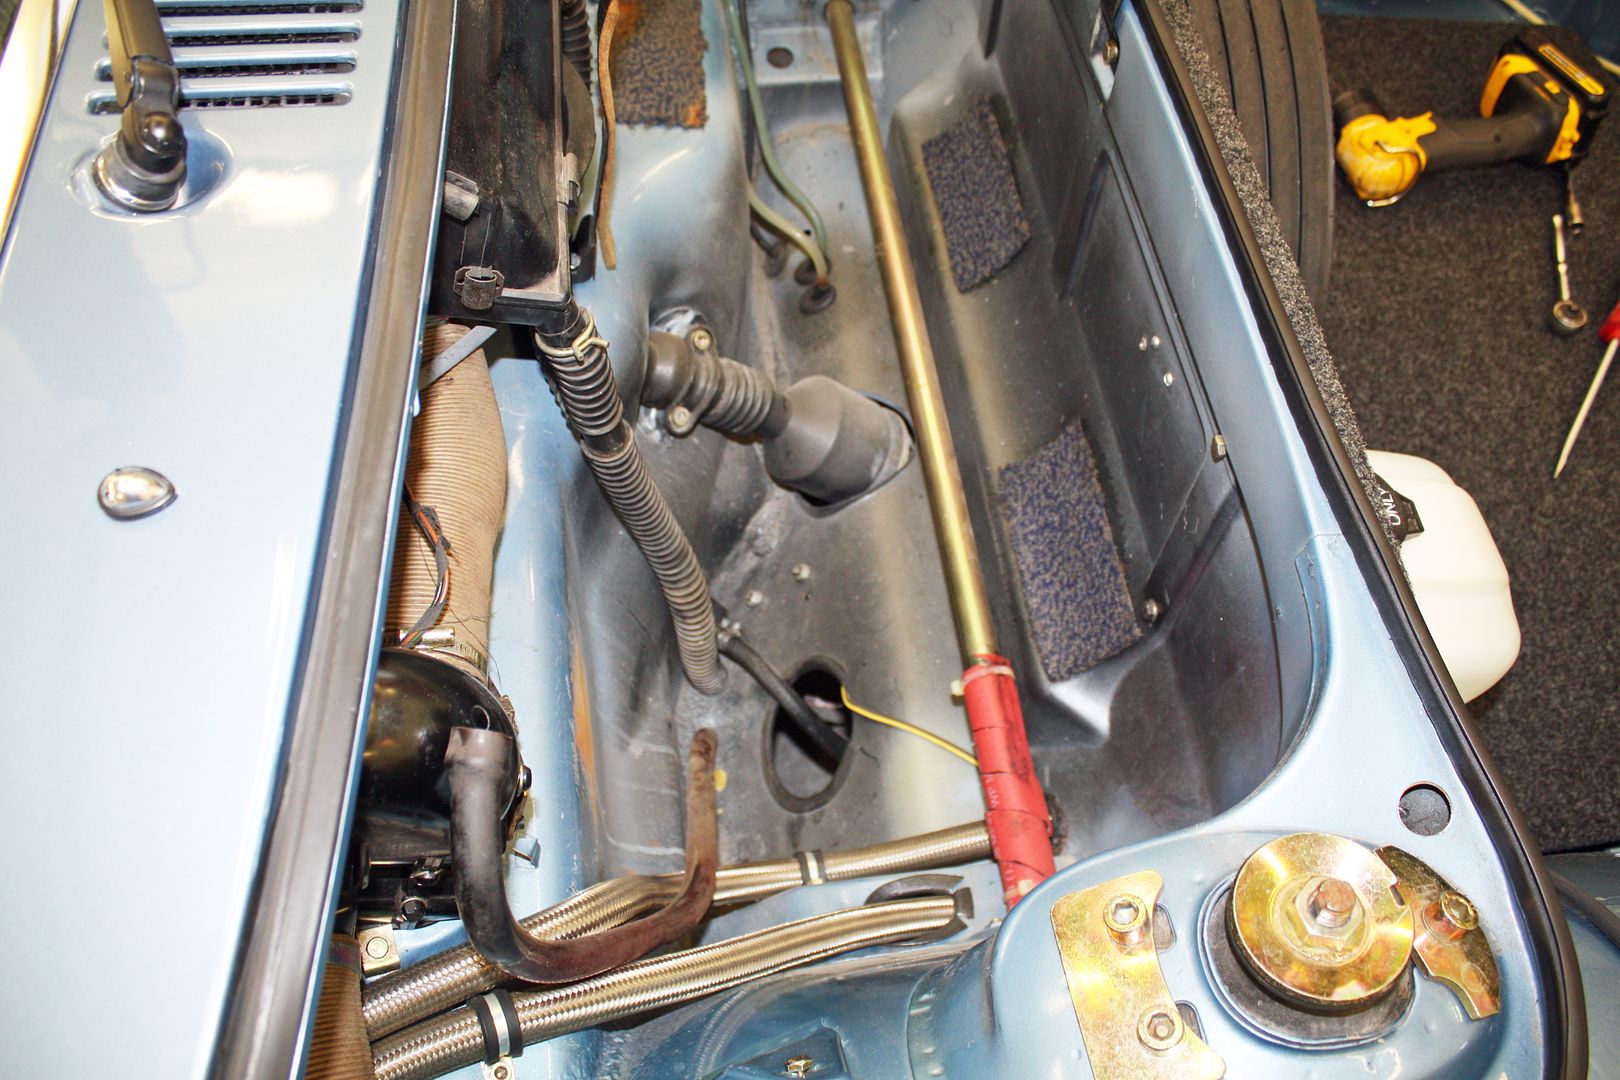
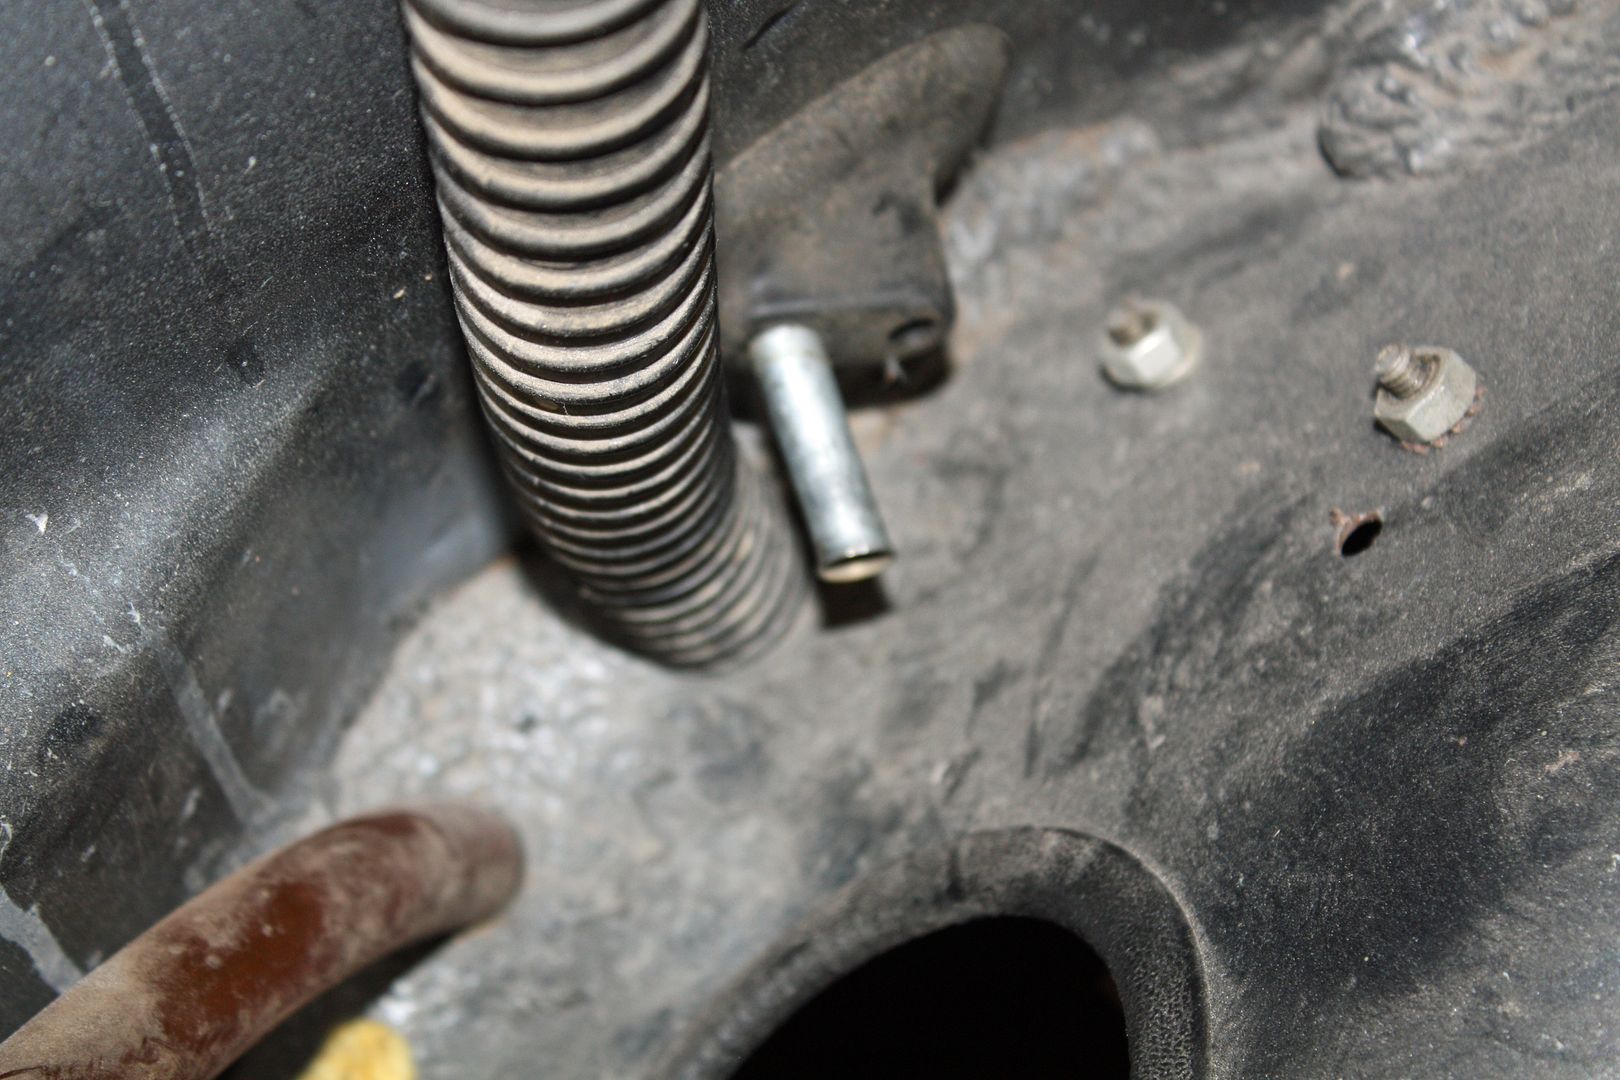
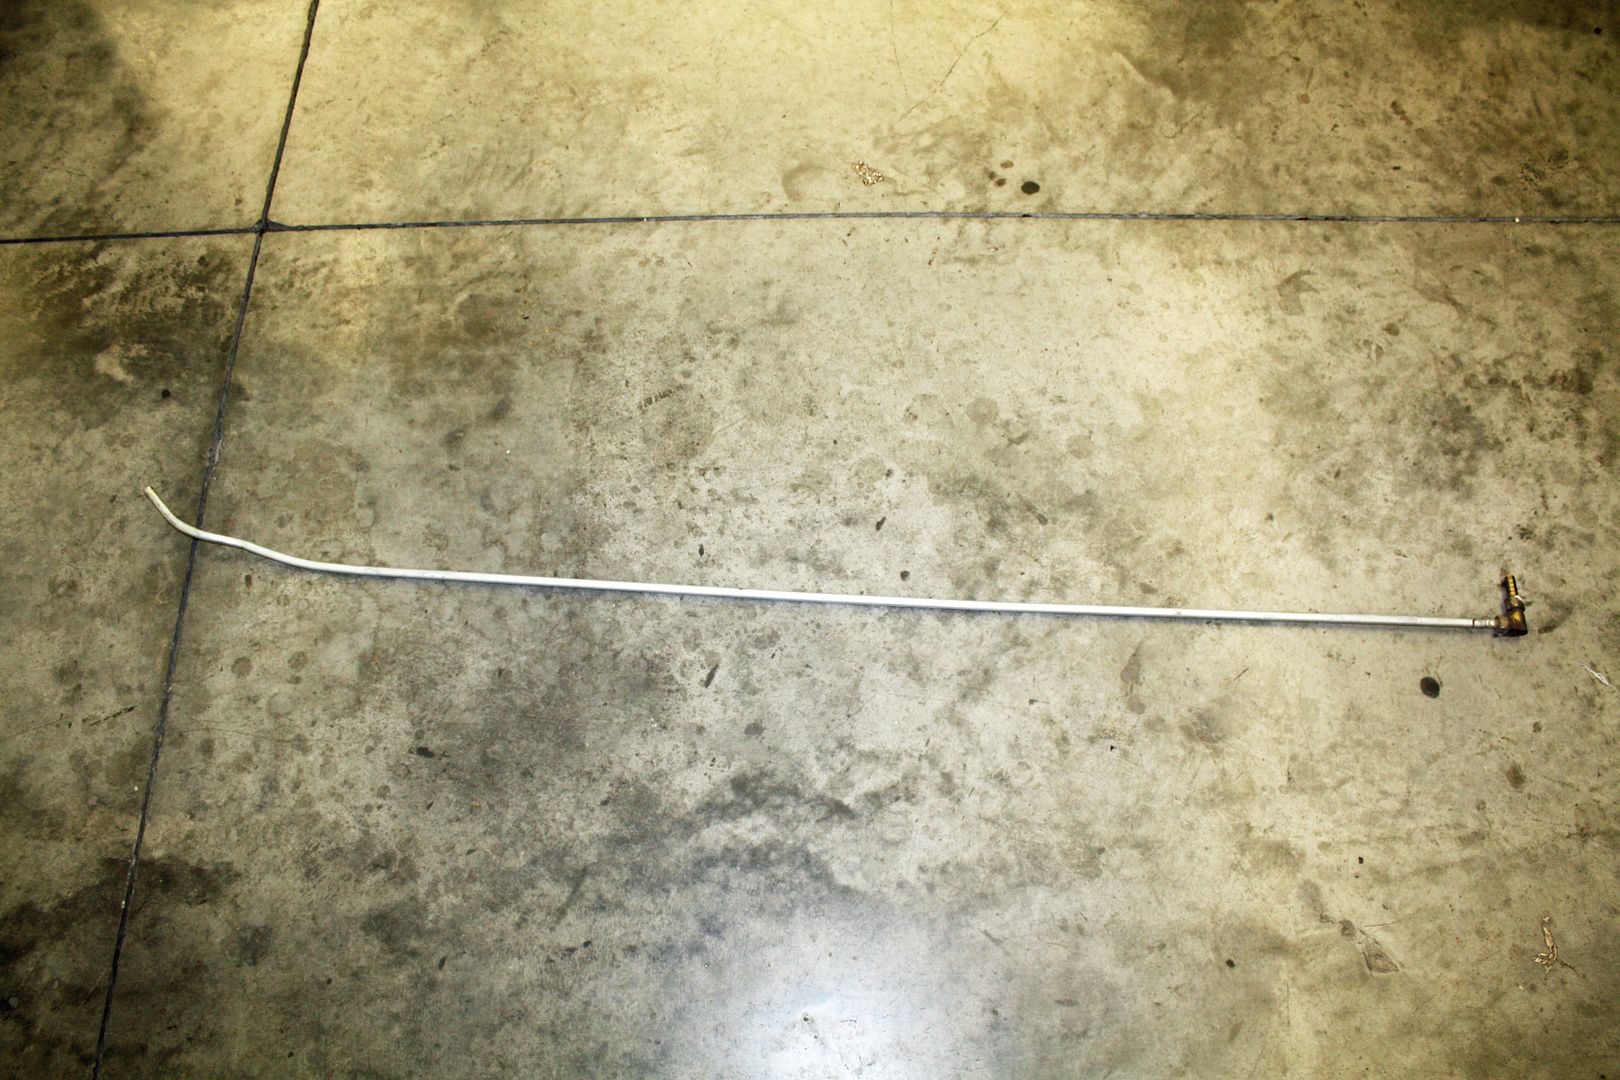
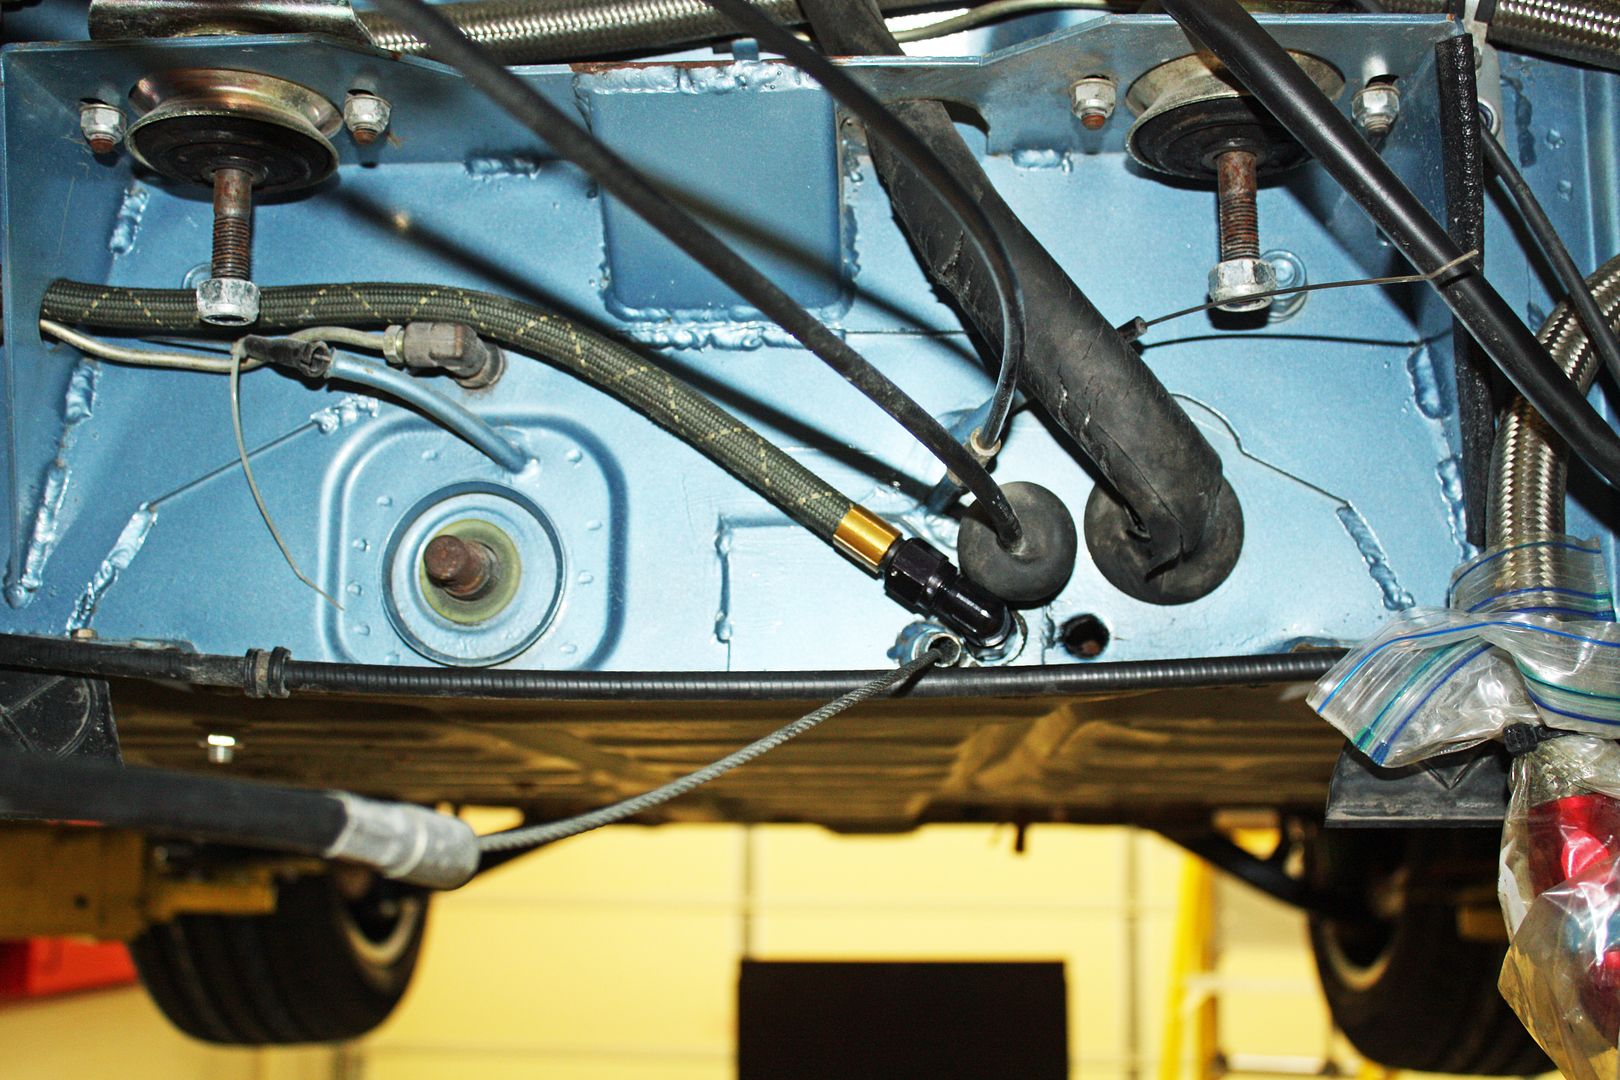
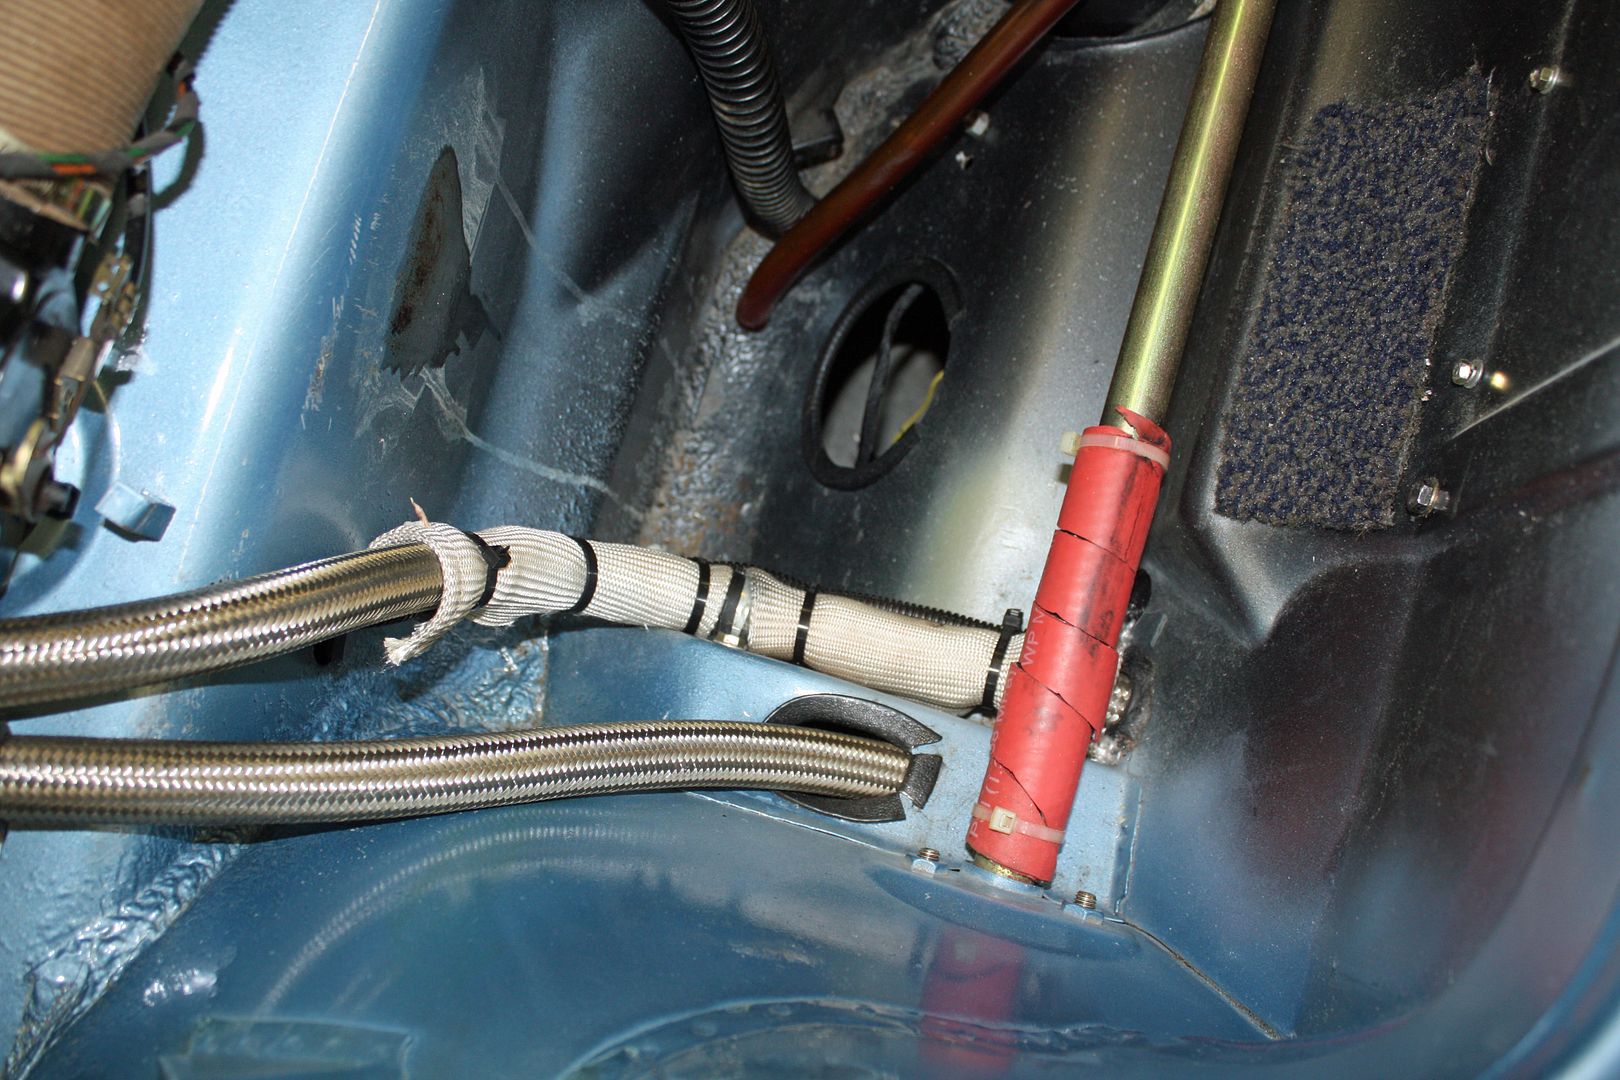
Now I wanted to figure out what I was going to do with the fuel lines from the firewall to the tank bay. Since Perry Kiehl built the car, I figured he would know what line was in place. I placed a call and found Perry to be very, very helpful. He said the existing line was a one piece metal line that he had installed. He mentioned calling Chris Foley at Tangerine Racing for help with getting a feed line.
Chris was also very helpful. There are two holes on the firewall for fuel lines, one for the feed line and one for the return line. Upon seeing my thread, he noticed that the existing feed line was in the return line hole and that the fitting on the end was in front of the other hole.
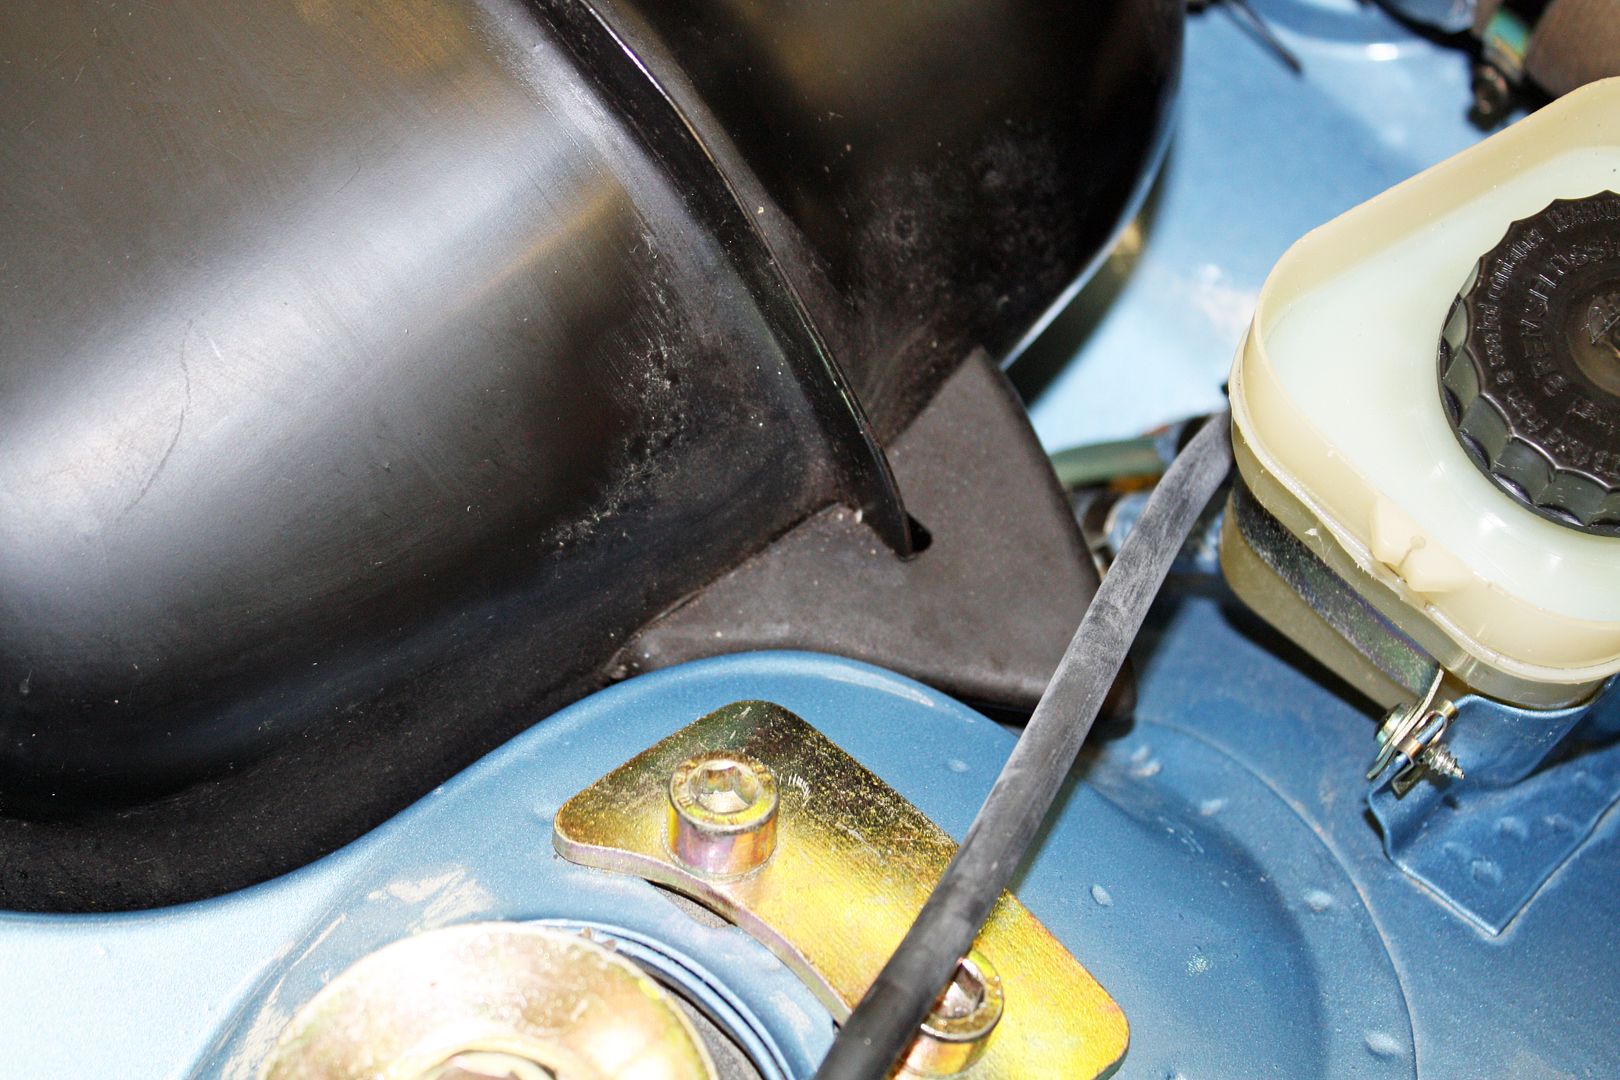
As you experienced people know, the fuel lines normally run to the right side of the engine bay. However, I wanted to run the feed line to the left and mount the fuel regulator and fuel filter on the firewall high up on the left side for easy access. From there I would run a fuel line from the regulator to the left side throttle body. The plan then was to run the return line from the right side throttle body back to the return line in the firewall.
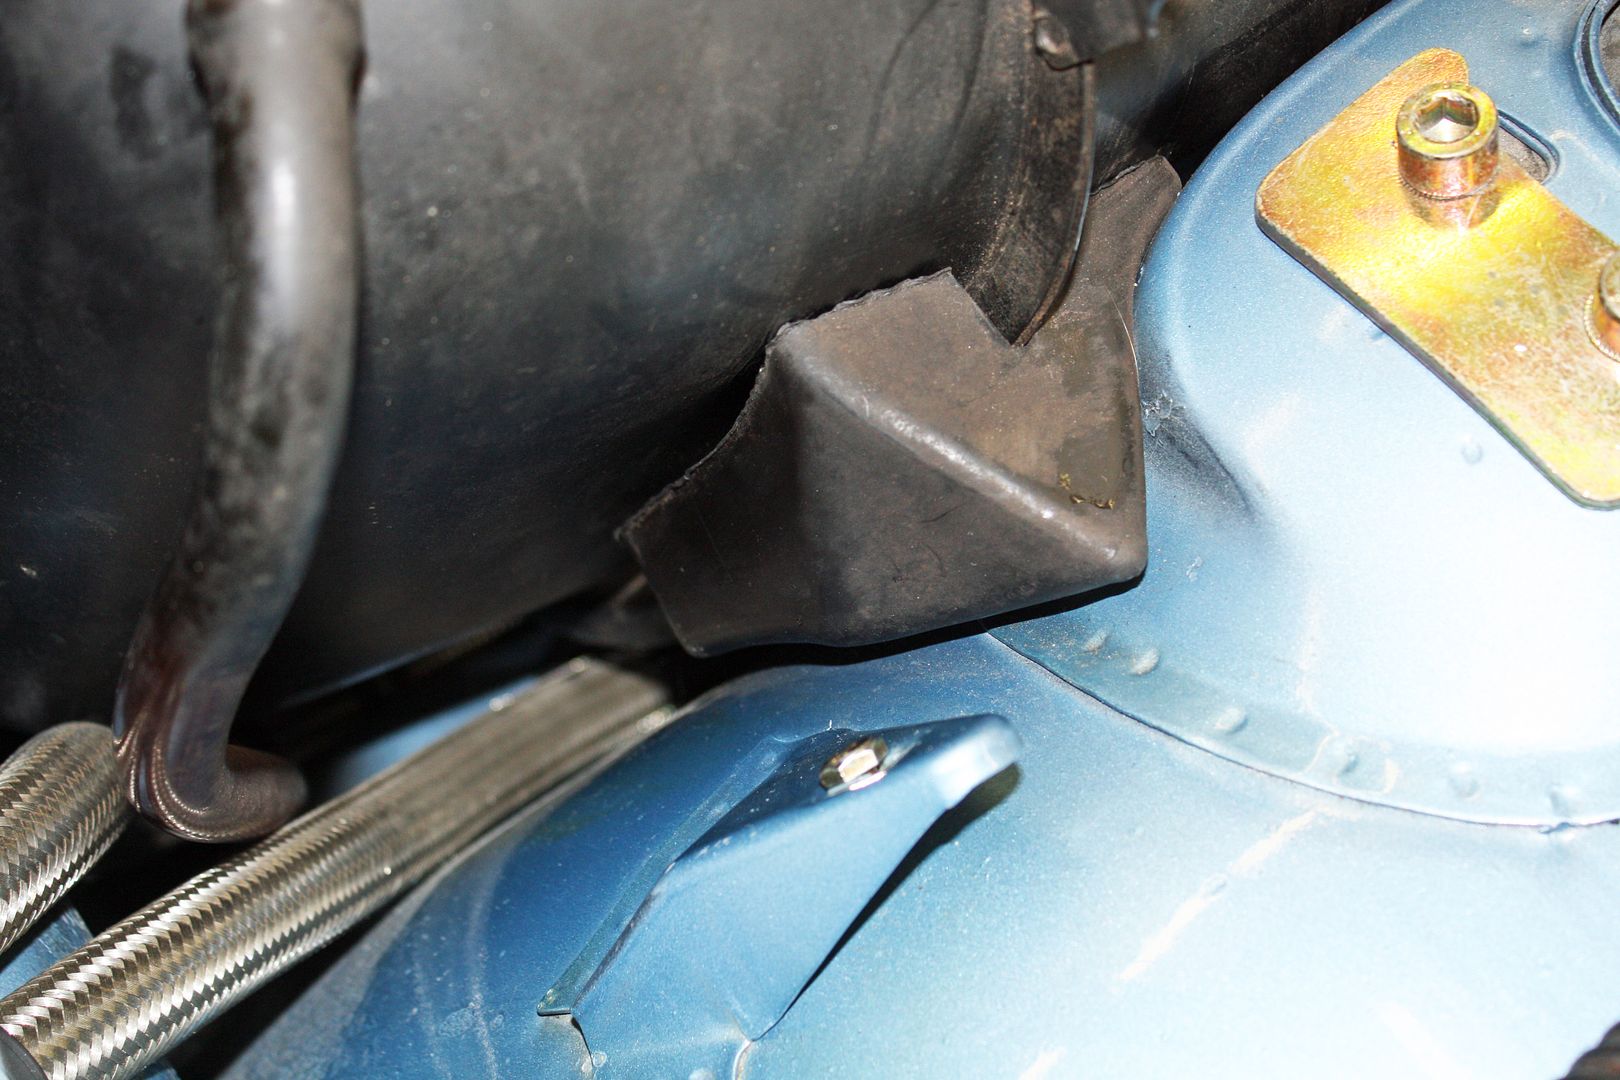
Chris said he could make custom make the line with AN fittings on both ends. So I could see what I had, I removed the existing line. I then used a line to test my plan of running the feed line to the left side. It appeared to work as I could run it through an existing hole in the engine mount. So the new line would go in the same hole as the existing line. I could then fit the old line in the right hole and use it for the return line.
I spent the rest of the afternoon cleaning up the tank bay and the tank.
Chris was also very helpful. There are two holes on the firewall for fuel lines, one for the feed line and one for the return line. Upon seeing my thread, he noticed that the existing feed line was in the return line hole and that the fitting on the end was in front of the other hole.
As you experienced people know, the fuel lines normally run to the right side of the engine bay. However, I wanted to run the feed line to the left and mount the fuel regulator and fuel filter on the firewall high up on the left side for easy access. From there I would run a fuel line from the regulator to the left side throttle body. The plan then was to run the return line from the right side throttle body back to the return line in the firewall.
Chris said he could make custom make the line with AN fittings on both ends. So I could see what I had, I removed the existing line. I then used a line to test my plan of running the feed line to the left side. It appeared to work as I could run it through an existing hole in the engine mount. So the new line would go in the same hole as the existing line. I could then fit the old line in the right hole and use it for the return line.


I spent the rest of the afternoon cleaning up the tank bay and the tank.

 09-13-2018, 10:19 PM
#50
Racer
Thread Starter
I spent some time on storm preparation this week since the big one is near. I have plenty of gas for the generator and I made sure the downspouts are draining properly. Looks like we will get some wind and lots of rain.
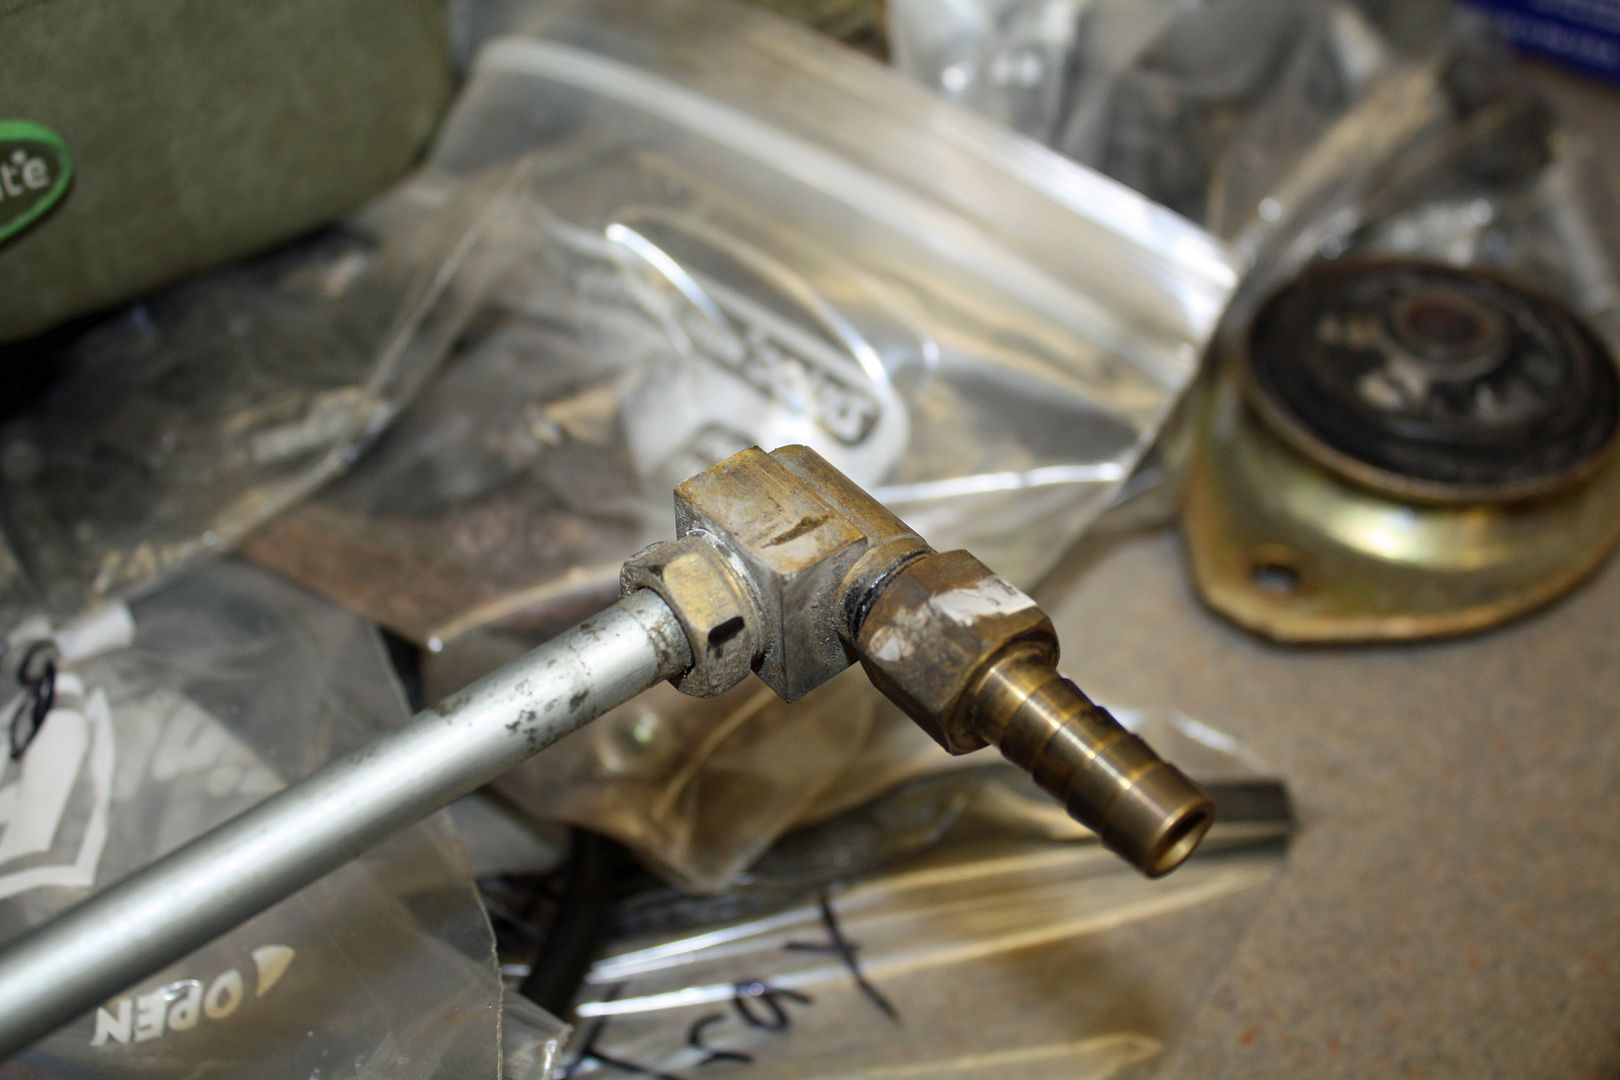
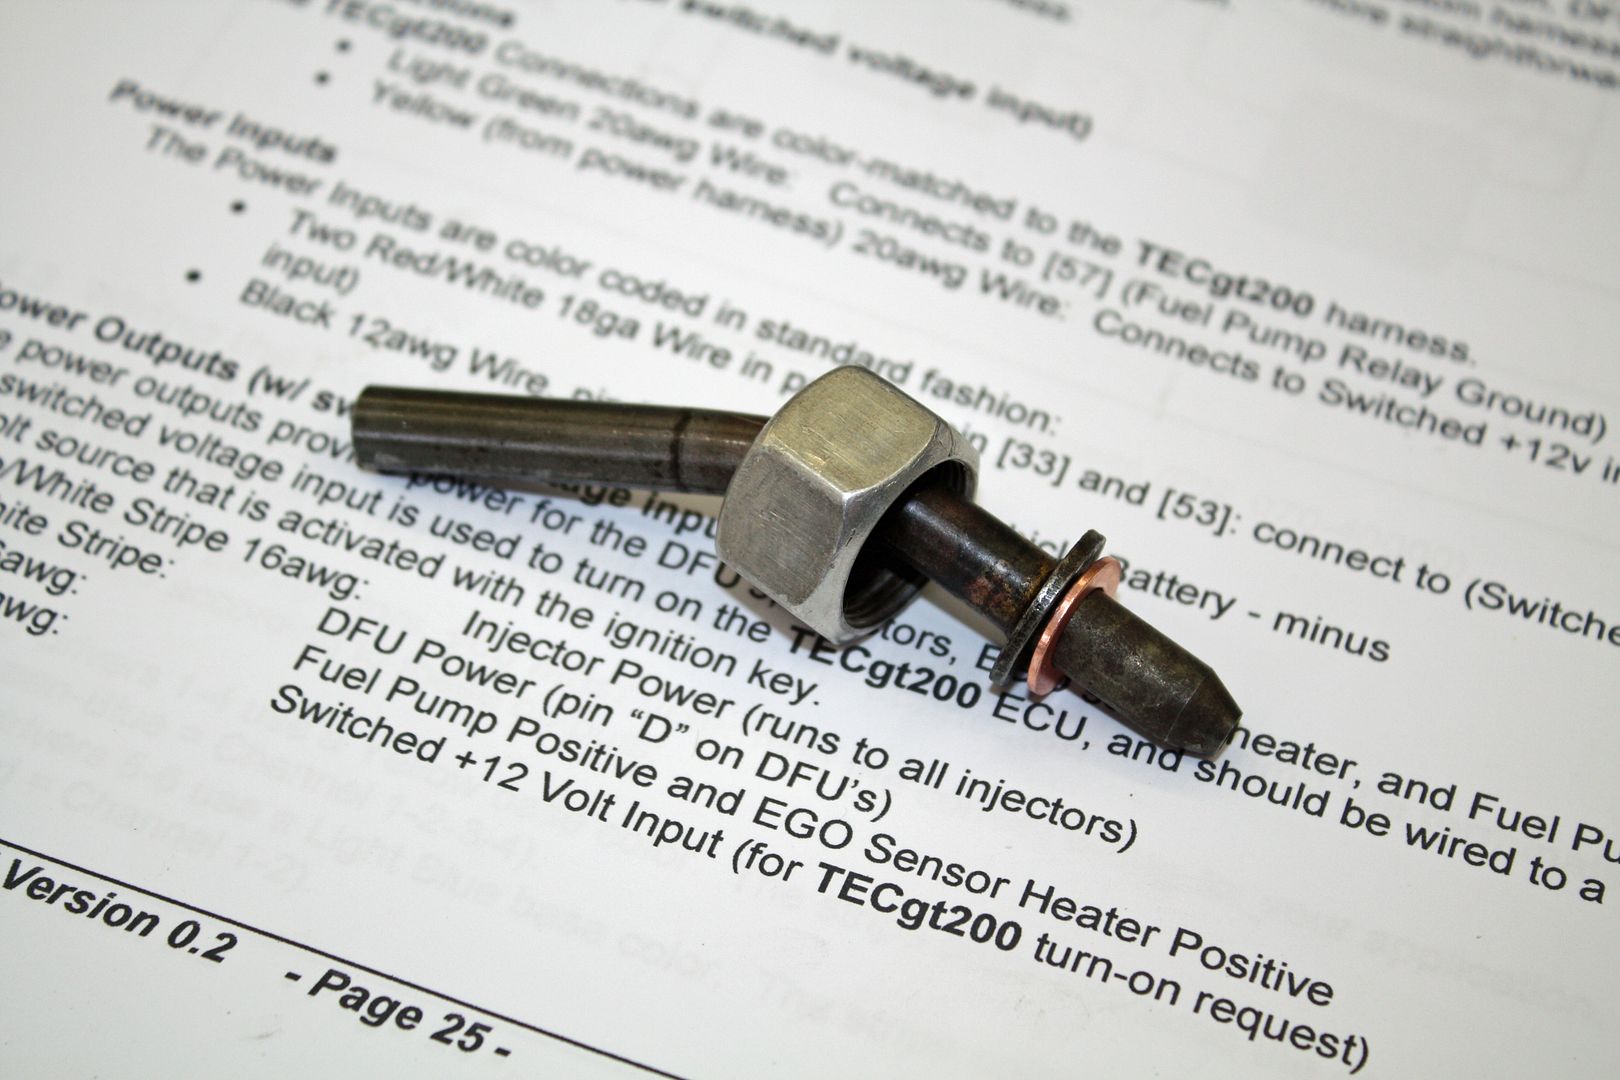
I will be using the brass fitting that had been on the old fuel pipe. It looked pretty nasty and a little metal polish went a long way.
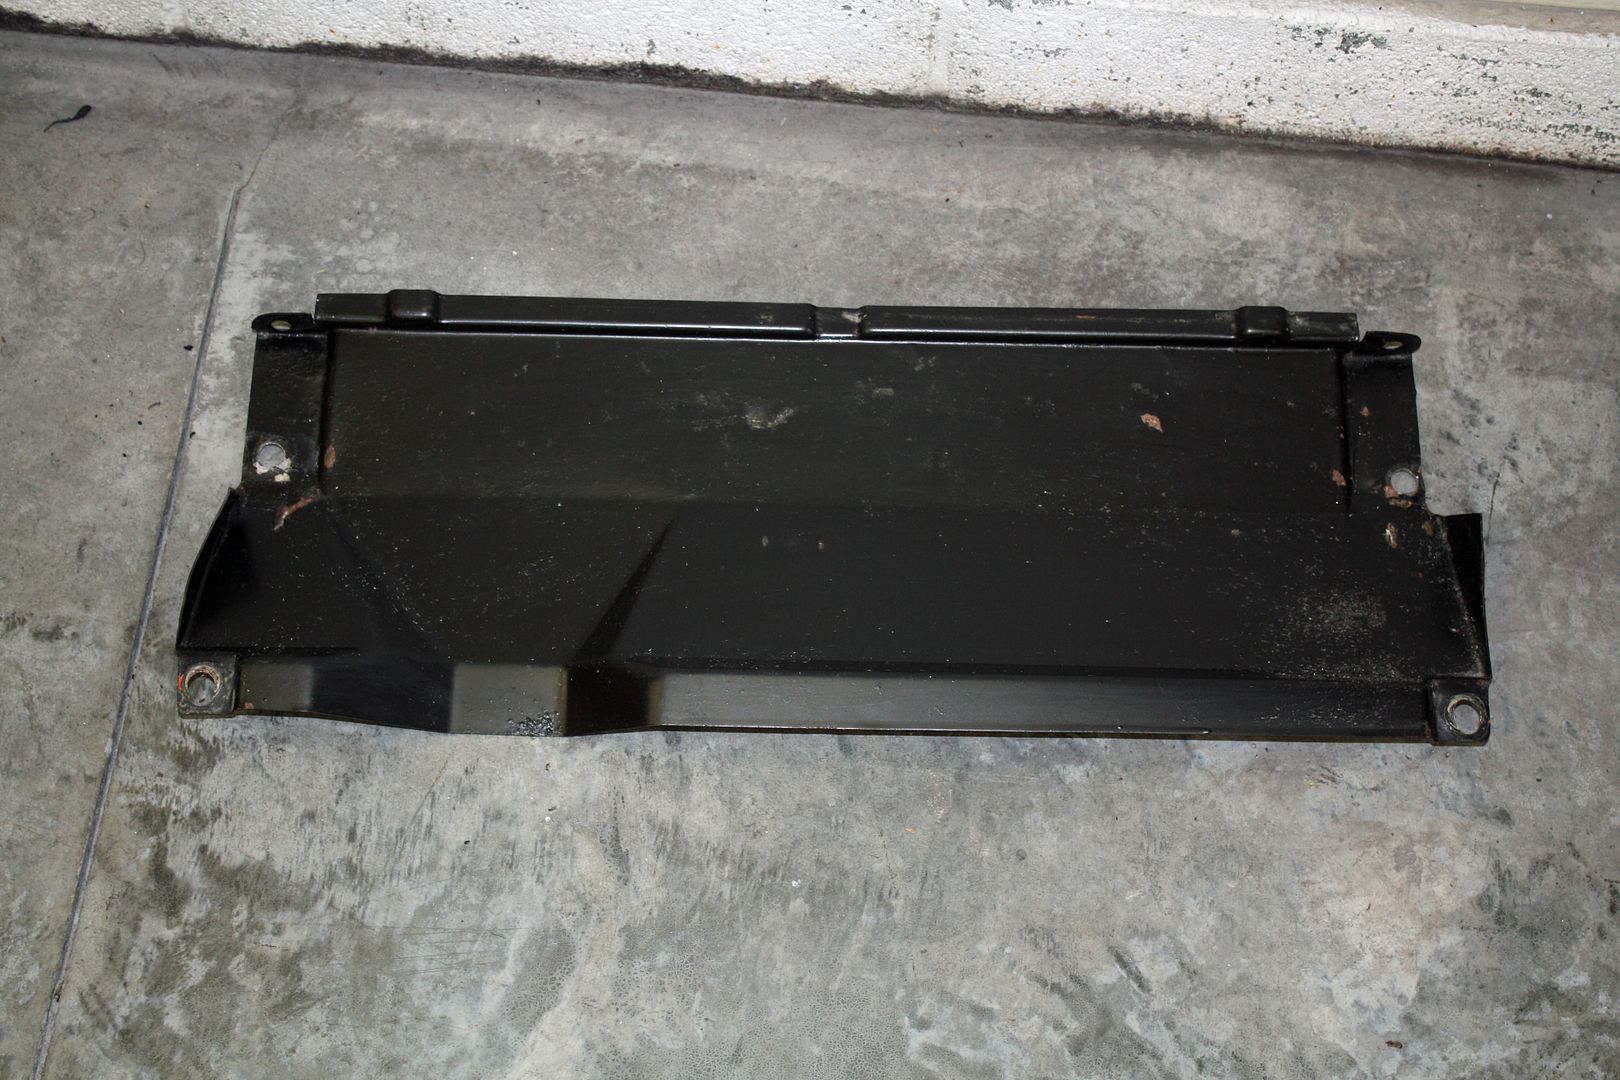
Upon looking at the steering rack protective plate, I decided it needed to be re-finished. After blasting it, I took it to the powder coater.
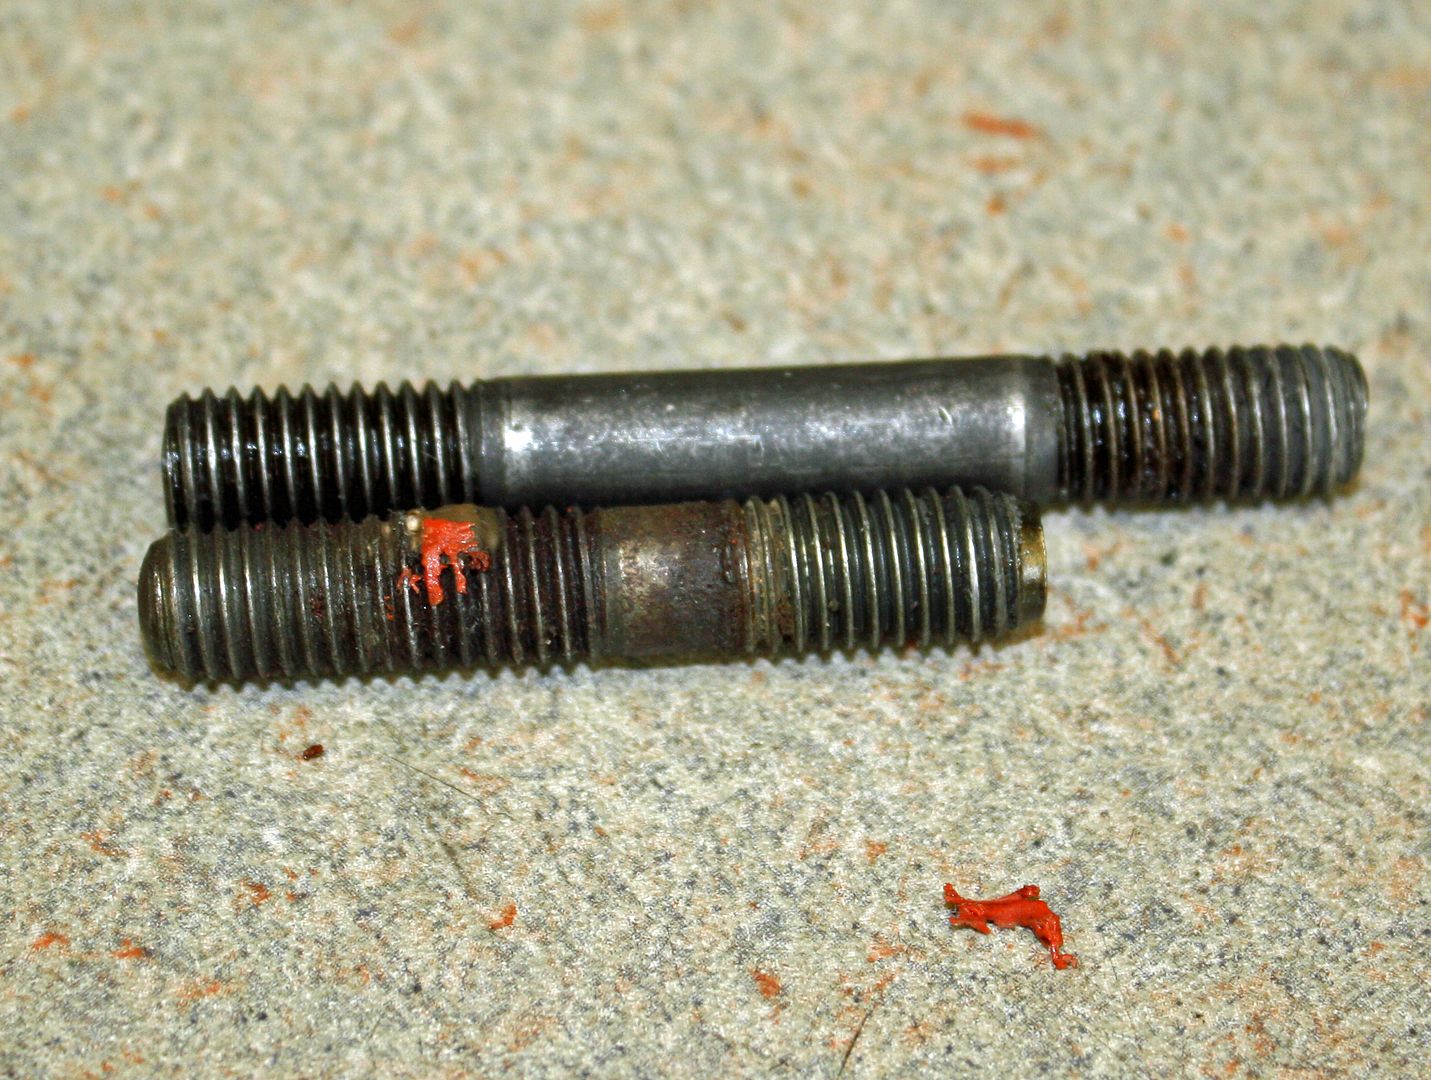
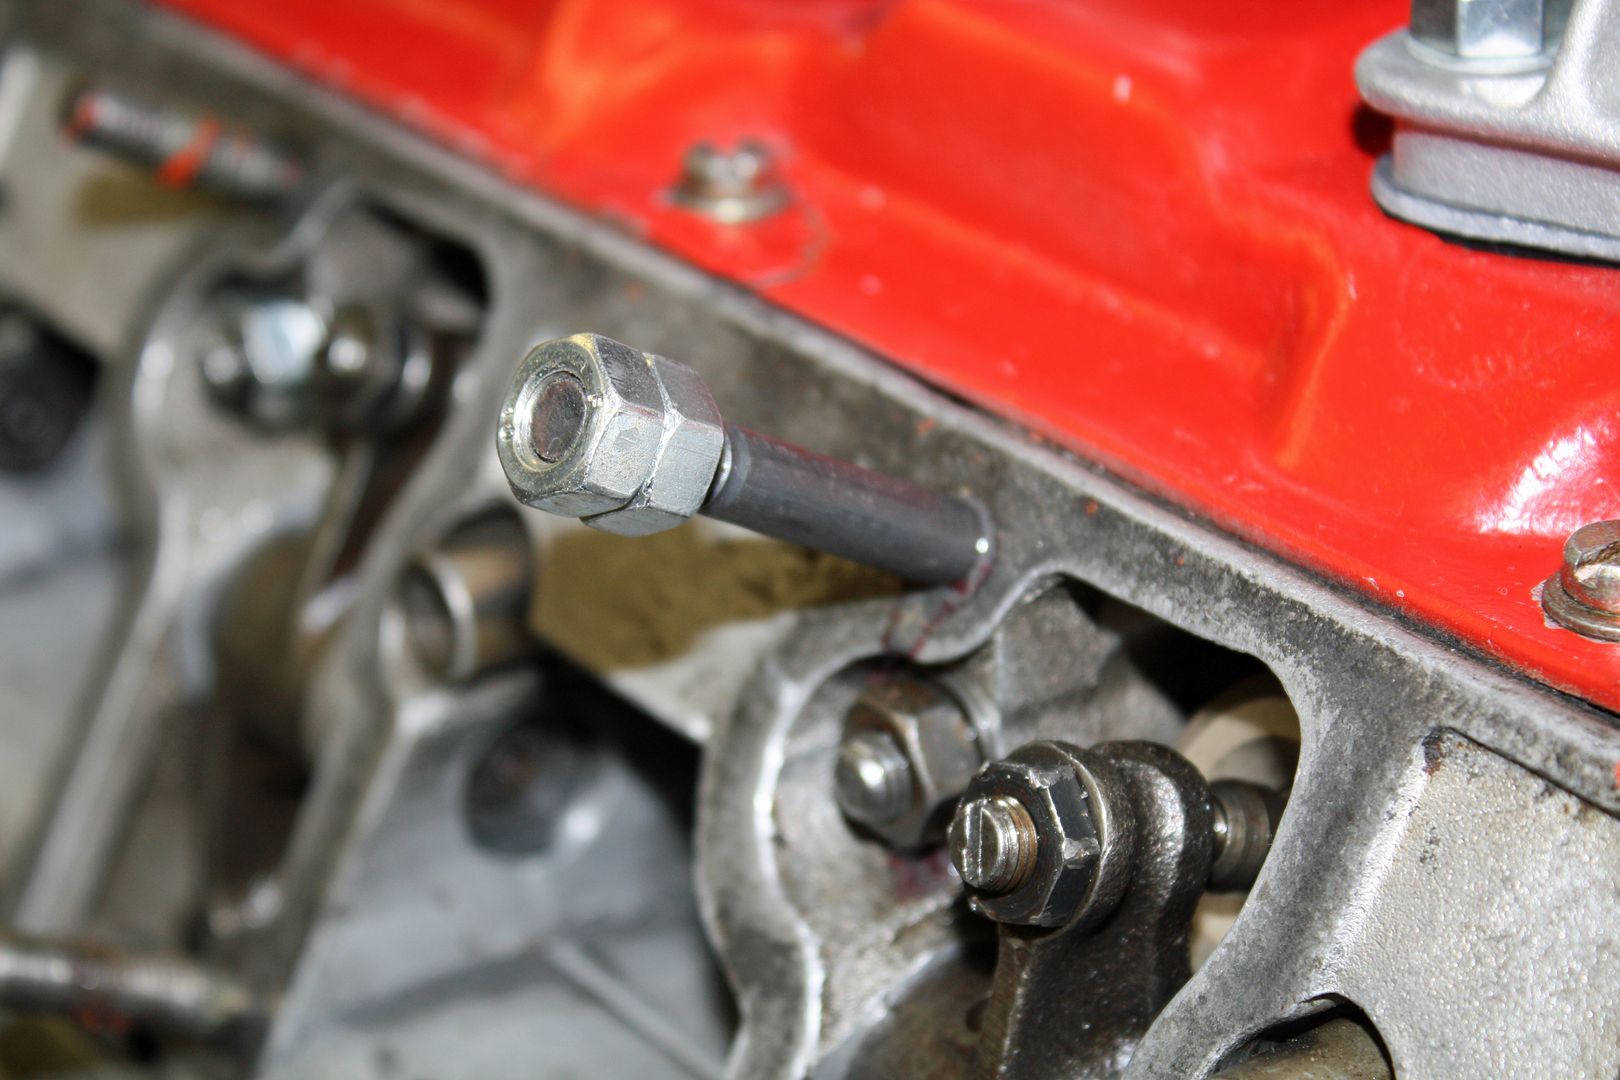
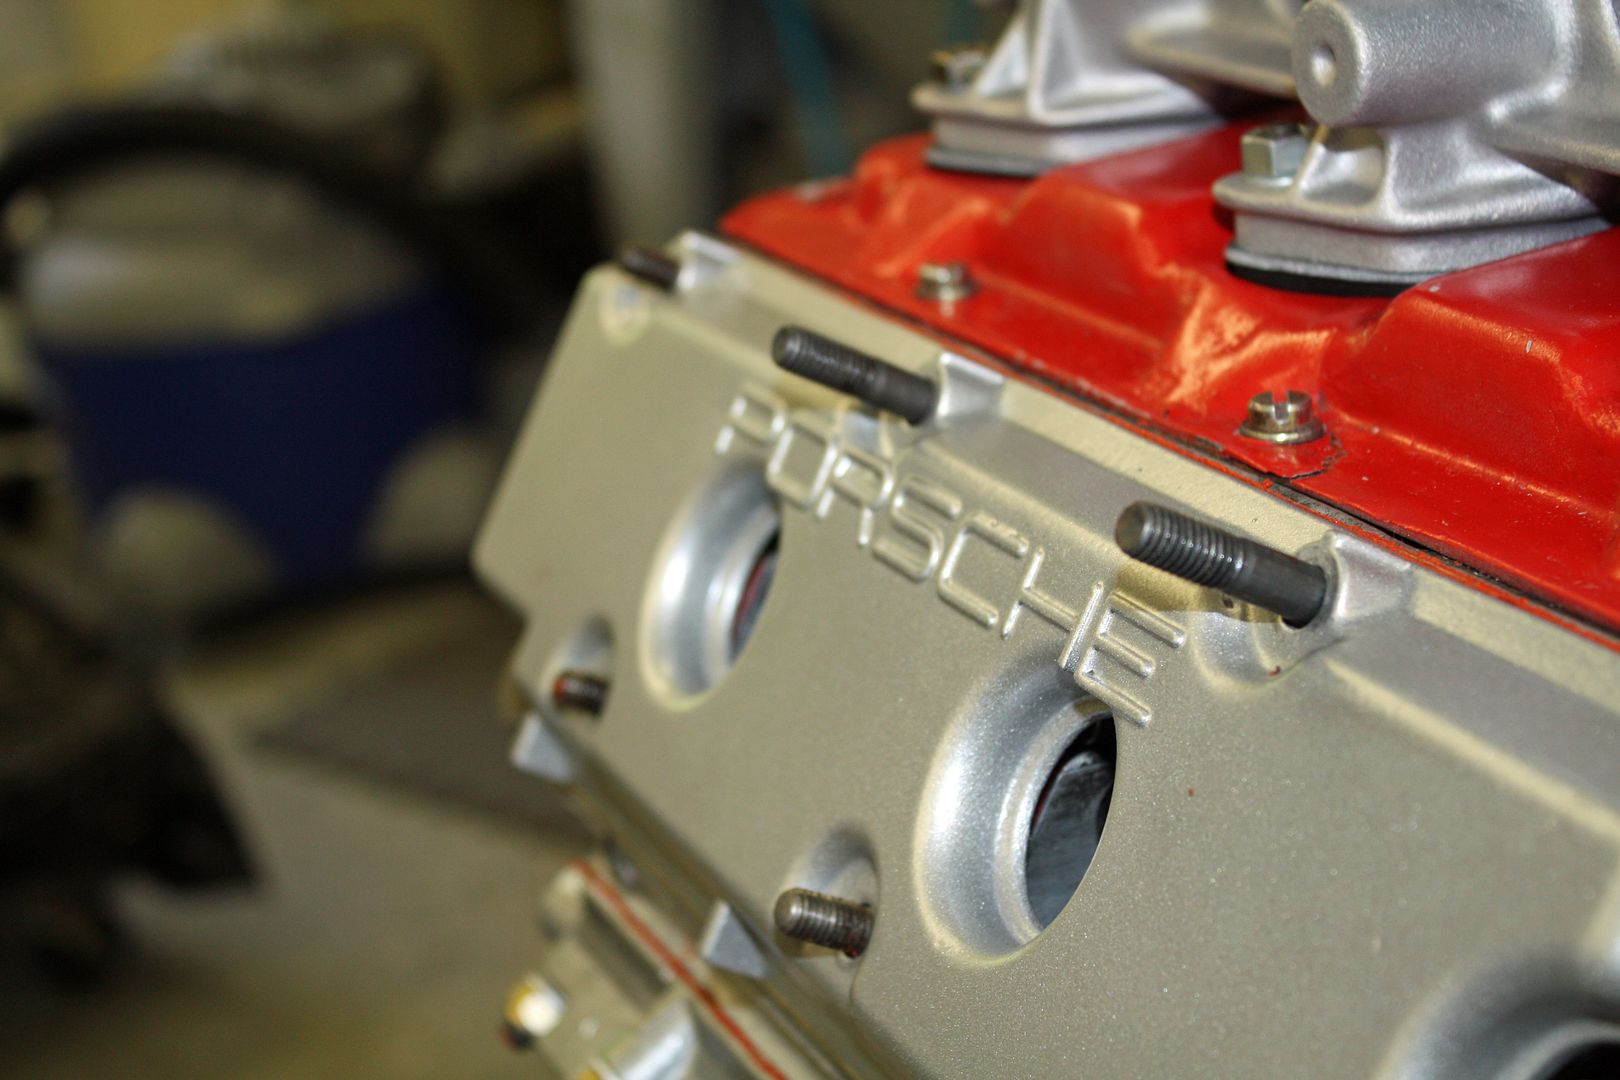
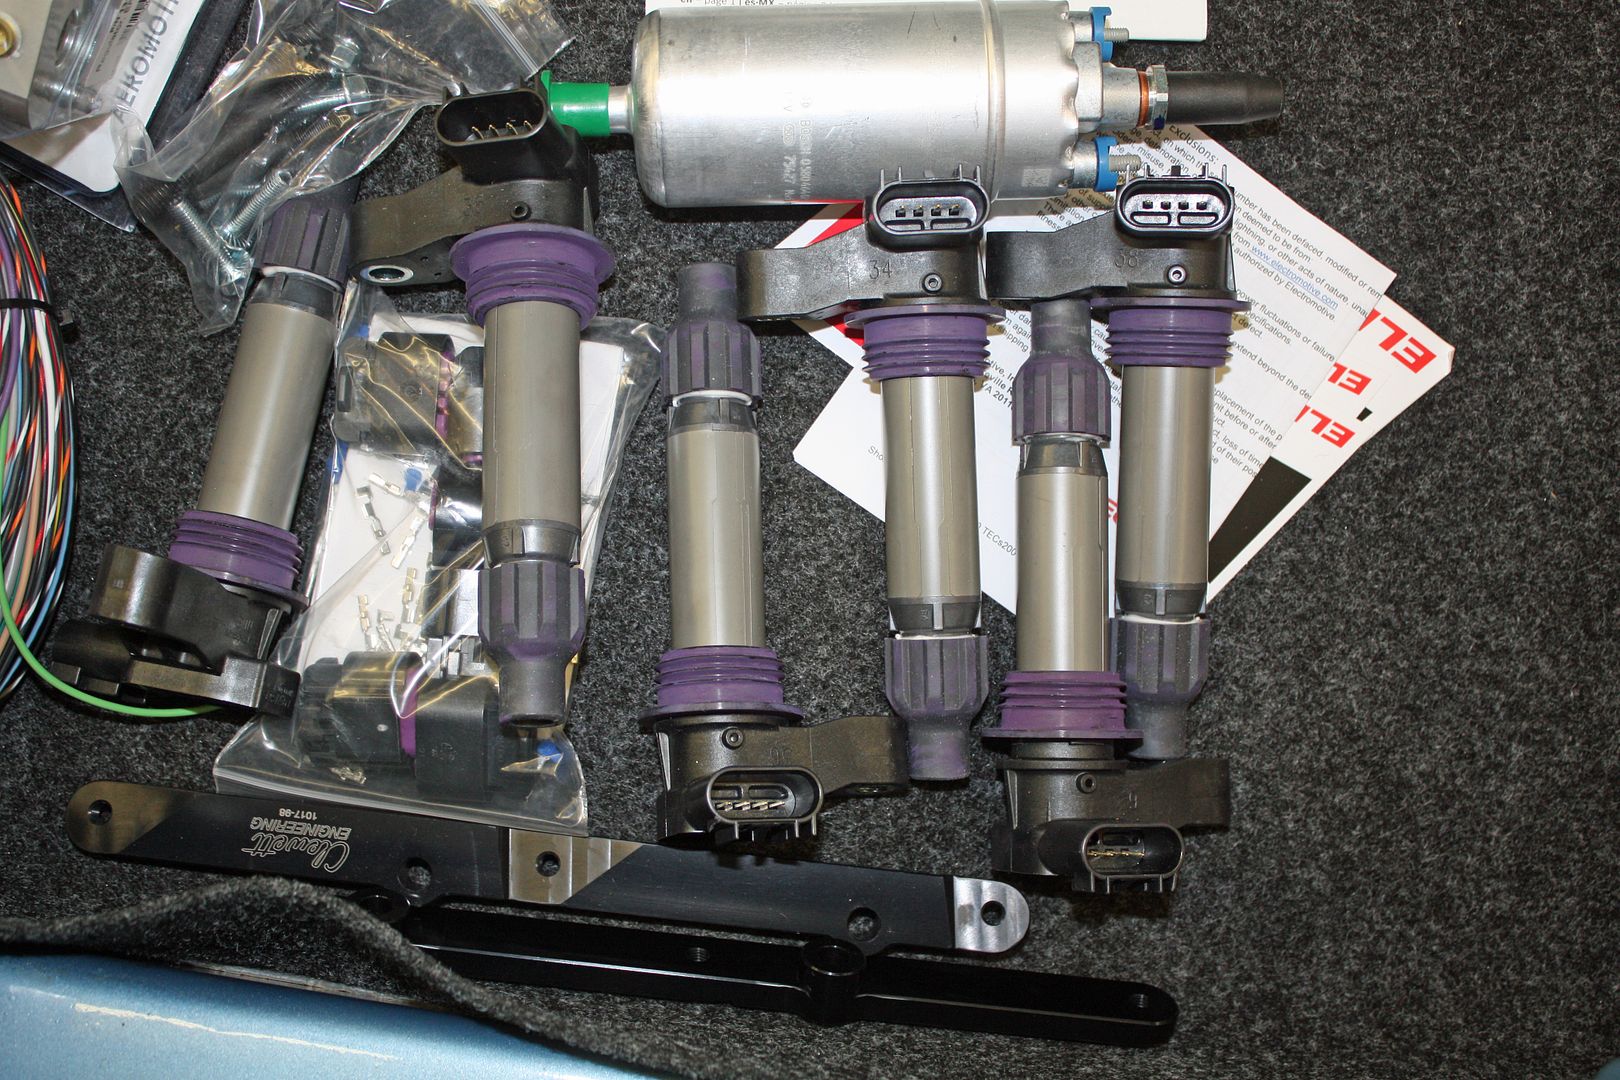
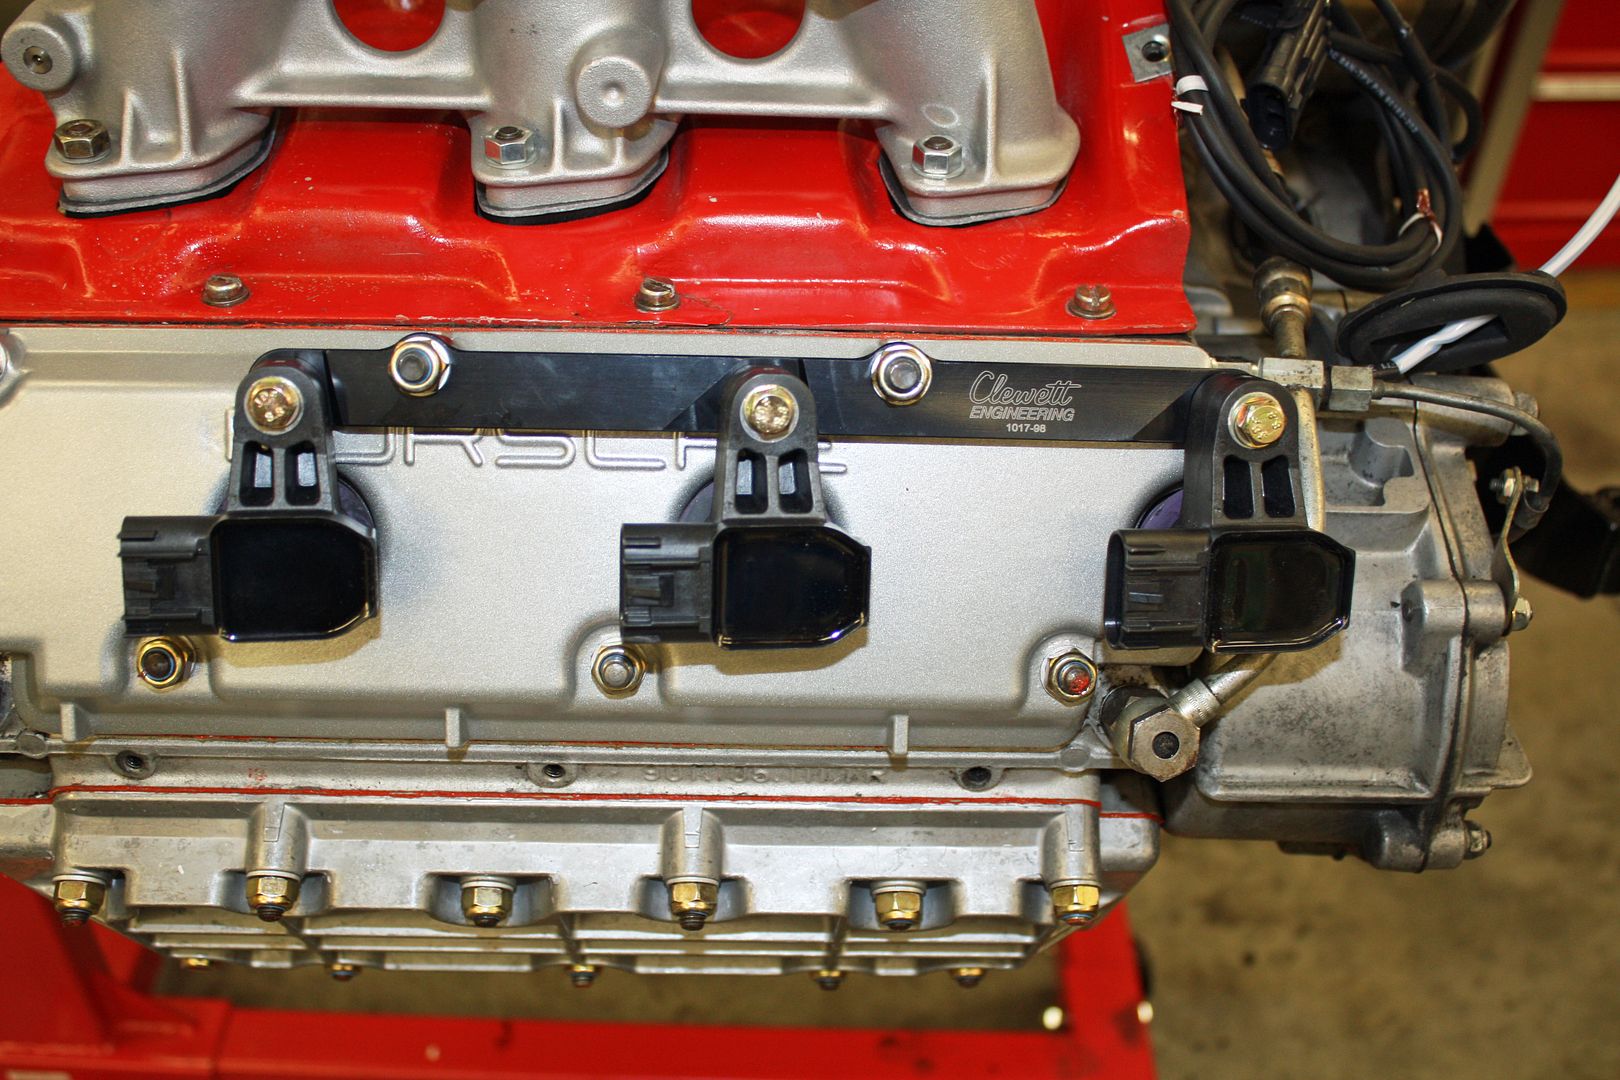
The powder coater had my upper valve covers ready. Now I could set about installing them. Since I am using coil on plugs, I have retaining rails that needed to be installed. They use two of the valve cover nuts. Because of the depth of the retainer, I had to install longer studs. With that done I now inserted the coil on plug connectors.
I will be using the brass fitting that had been on the old fuel pipe. It looked pretty nasty and a little metal polish went a long way.

Upon looking at the steering rack protective plate, I decided it needed to be re-finished. After blasting it, I took it to the powder coater.


The powder coater had my upper valve covers ready. Now I could set about installing them. Since I am using coil on plugs, I have retaining rails that needed to be installed. They use two of the valve cover nuts. Because of the depth of the retainer, I had to install longer studs. With that done I now inserted the coil on plug connectors.


 09-13-2018, 10:31 PM
#51
Racer
Thread Starter
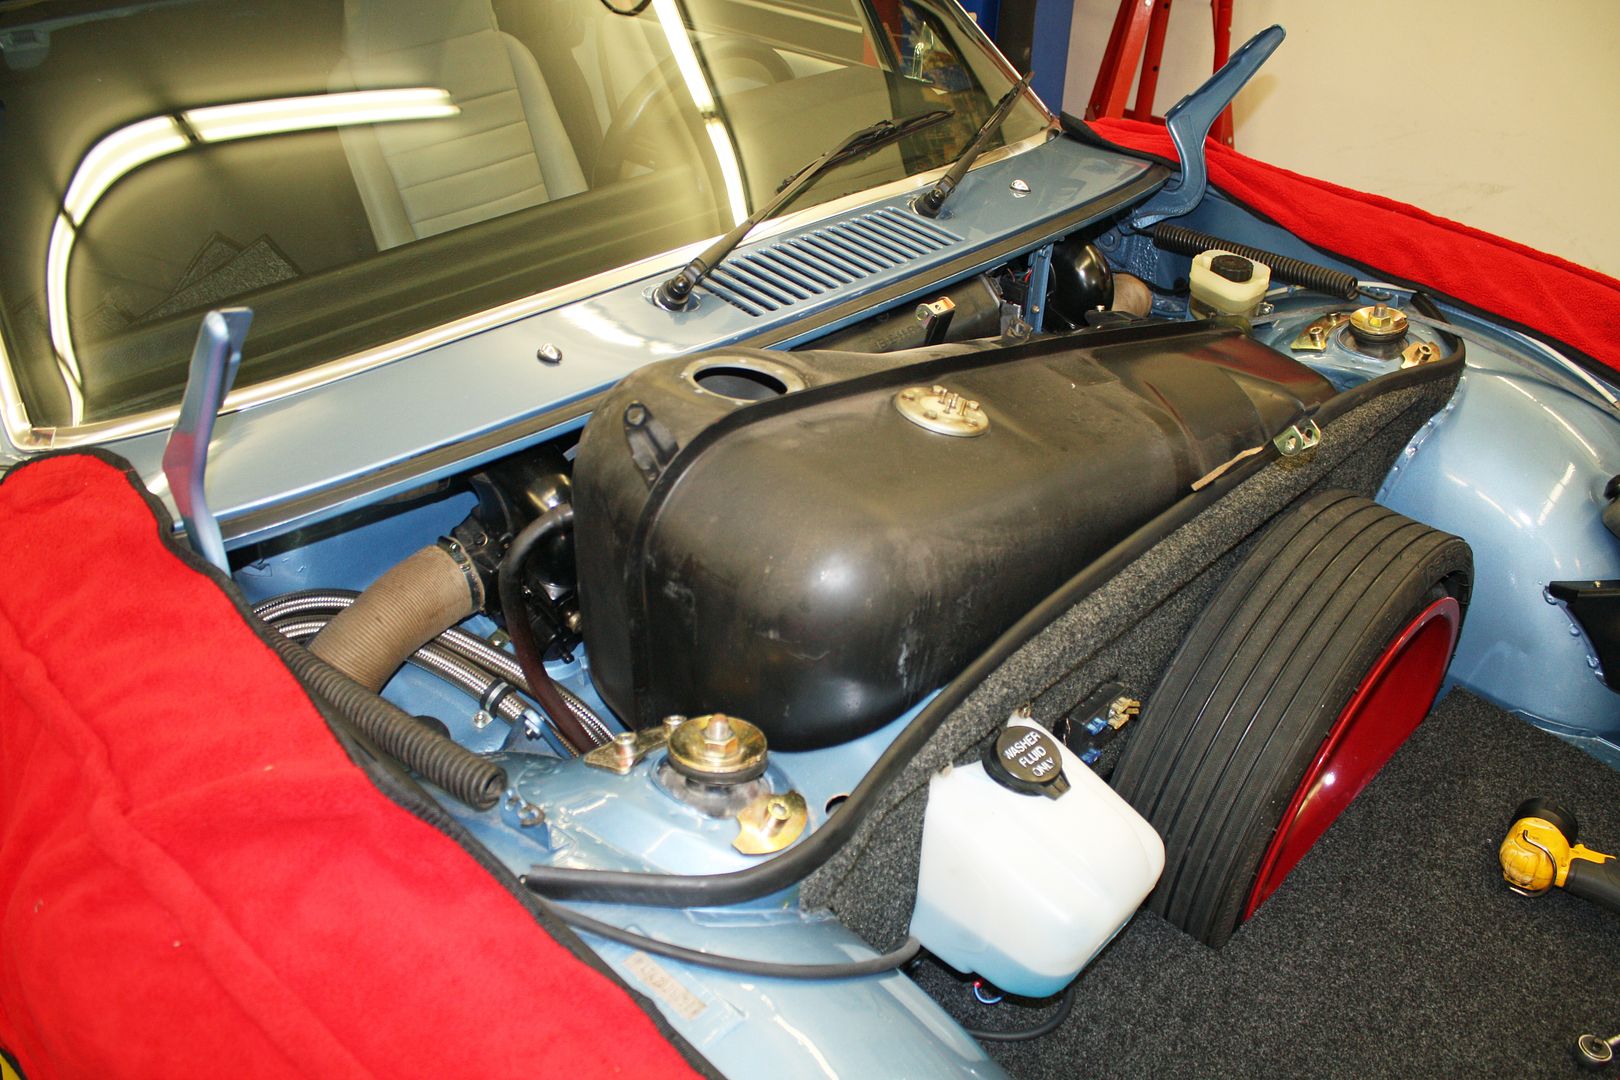
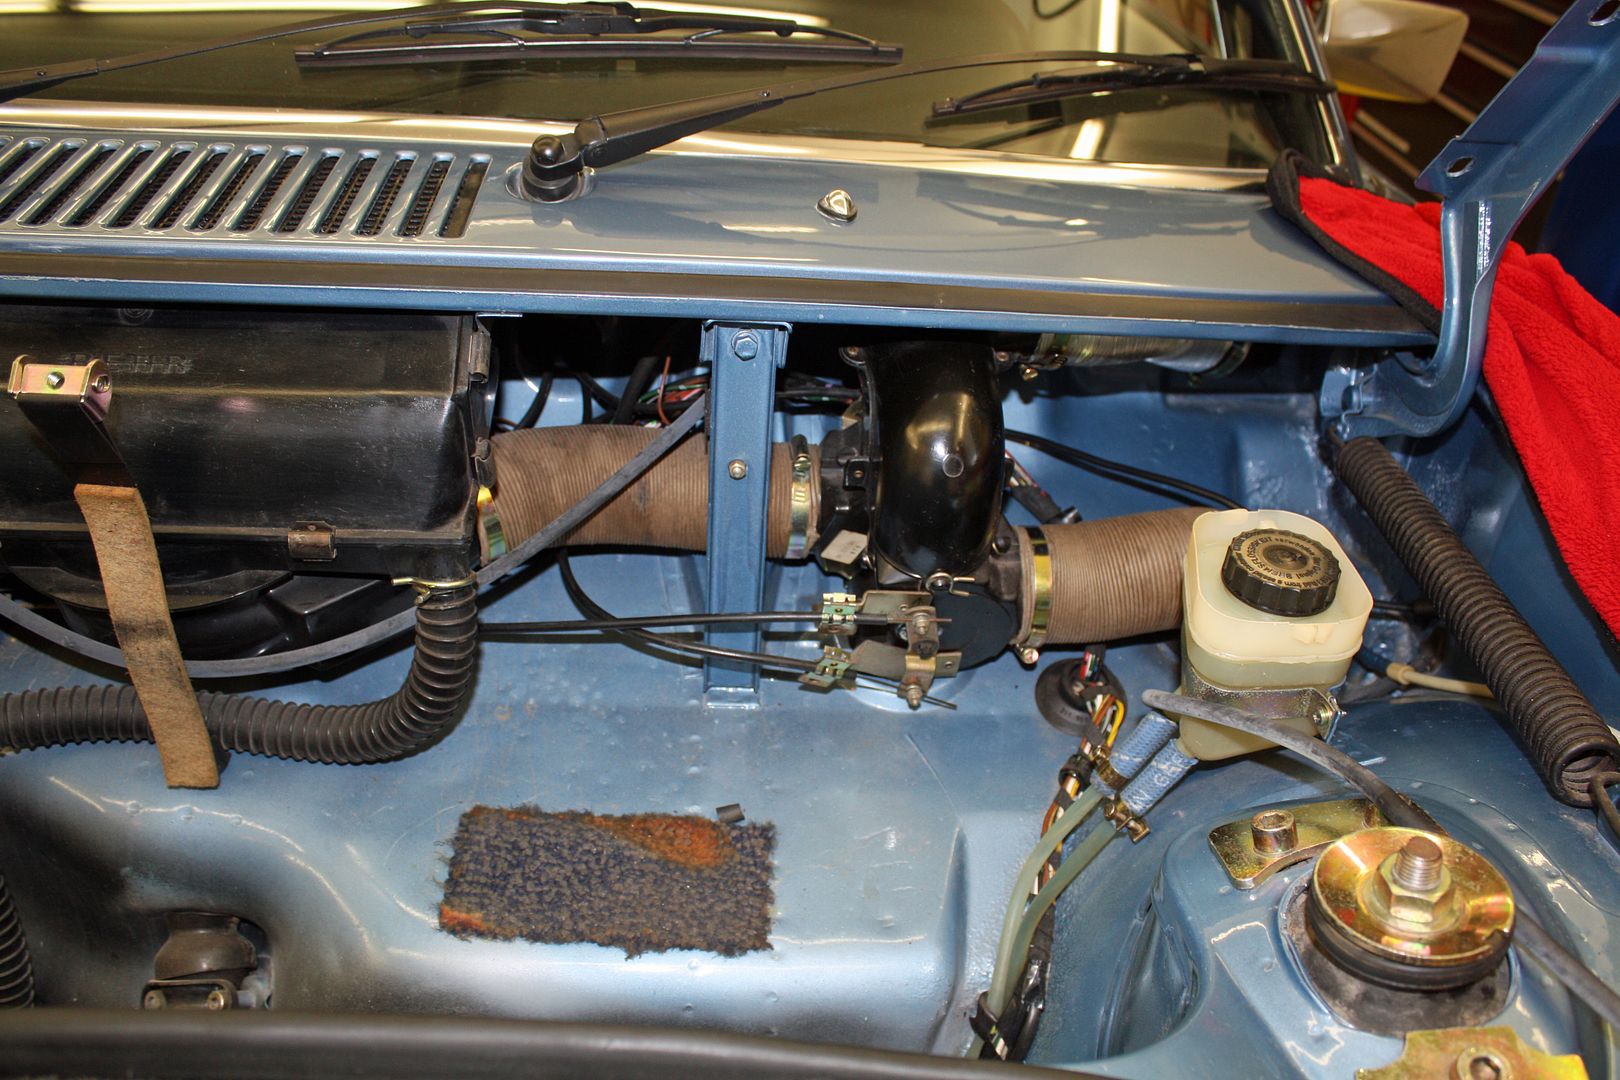
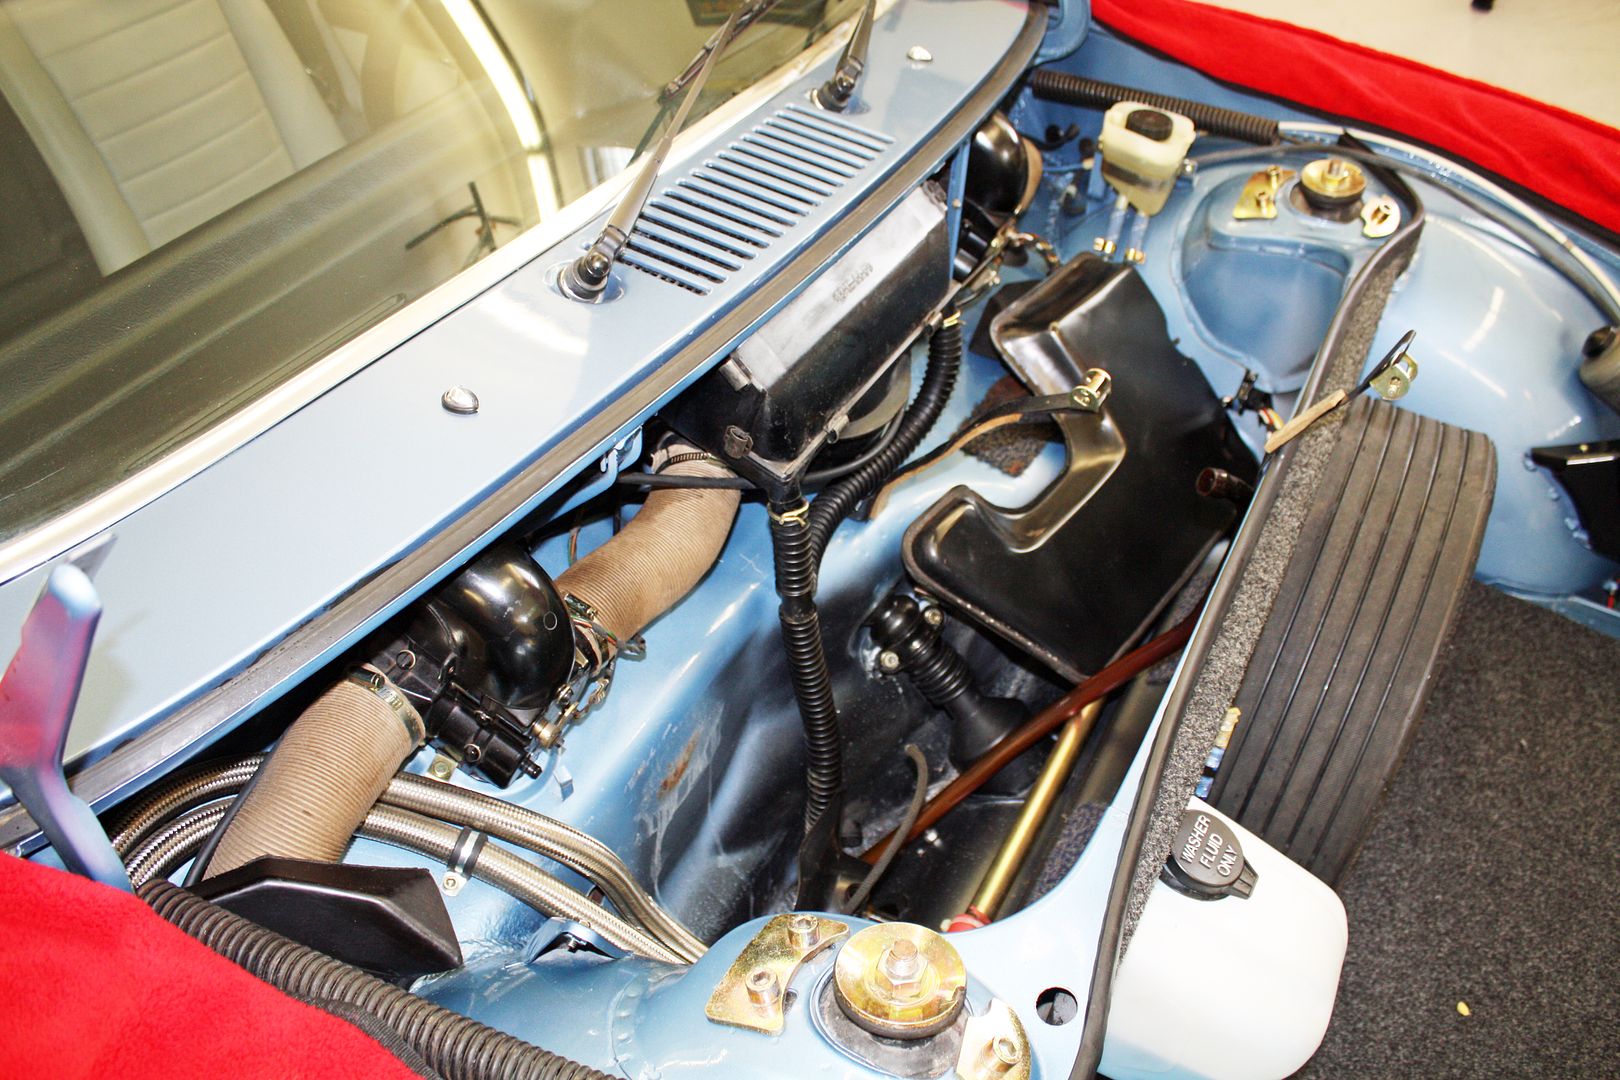
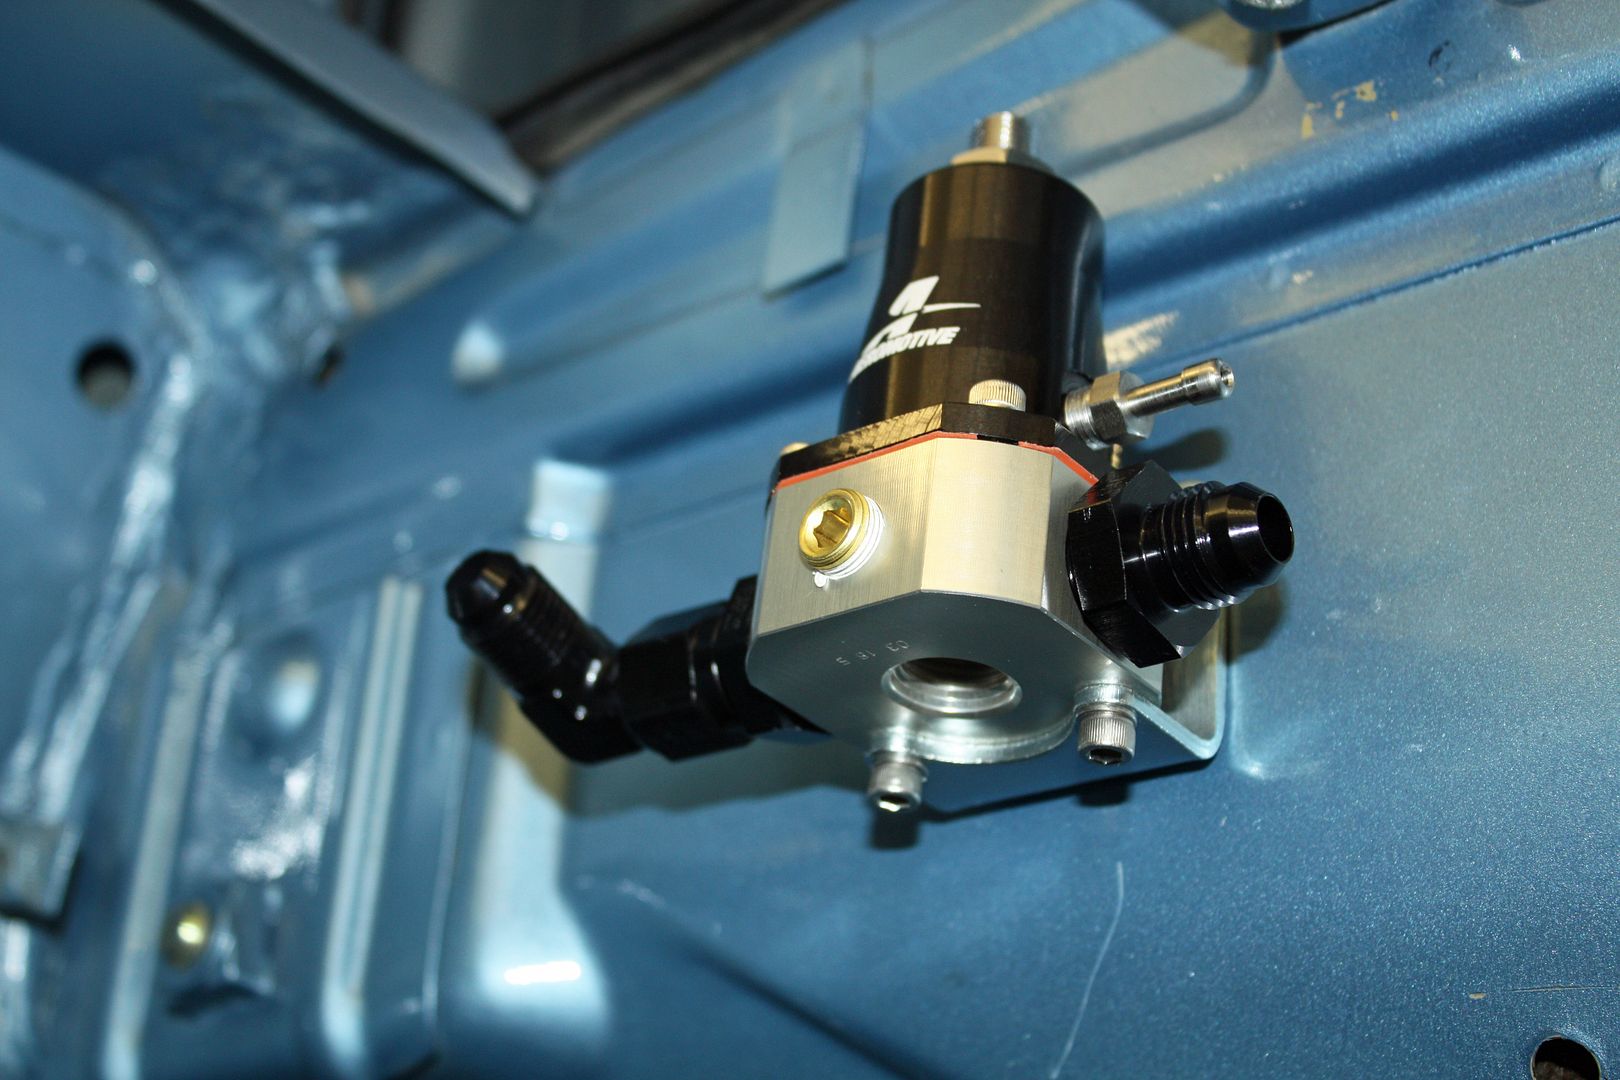
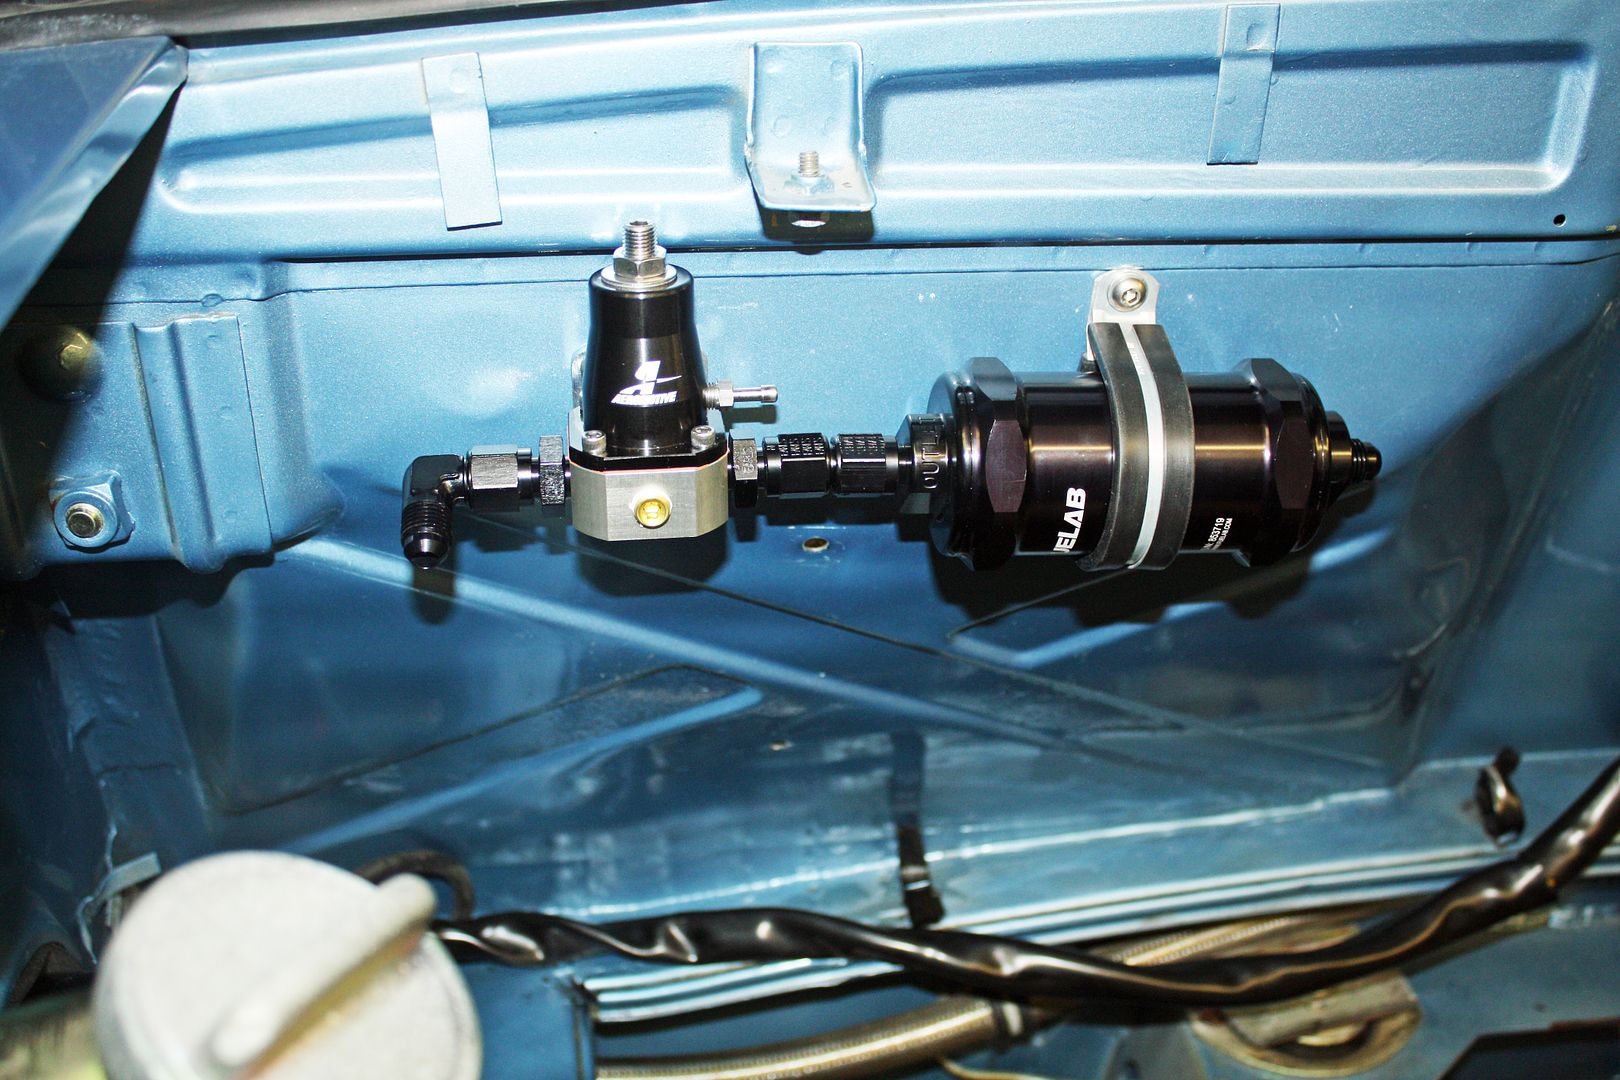
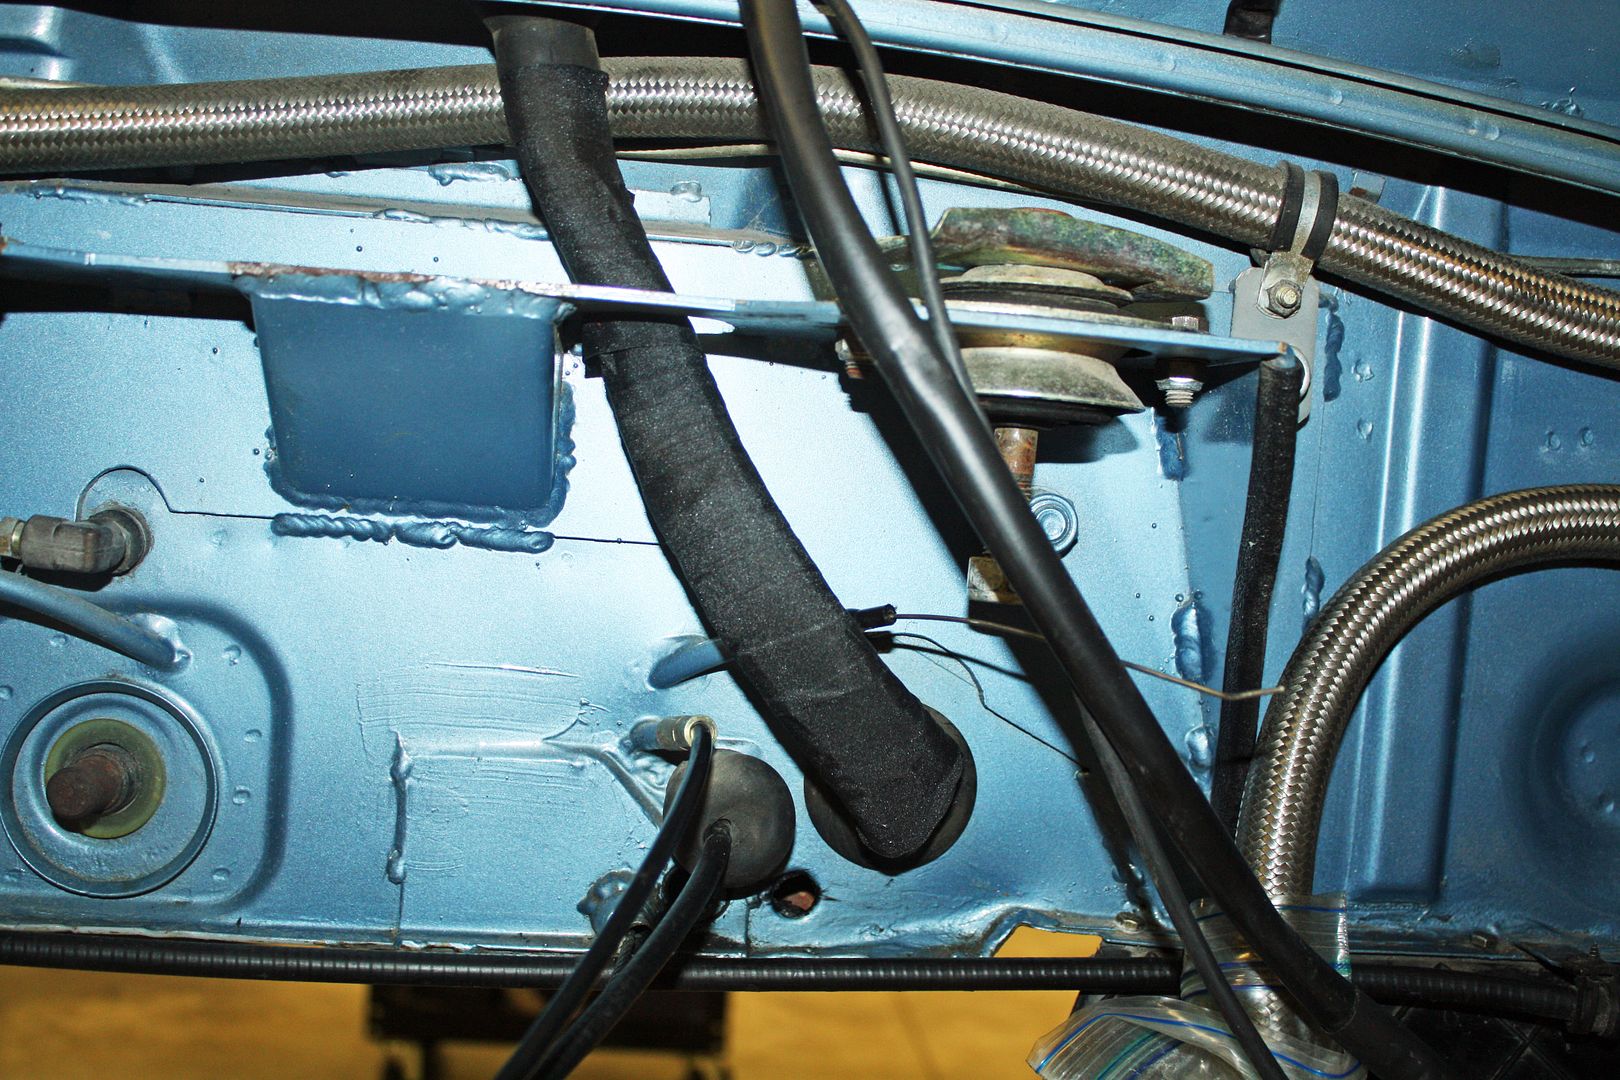
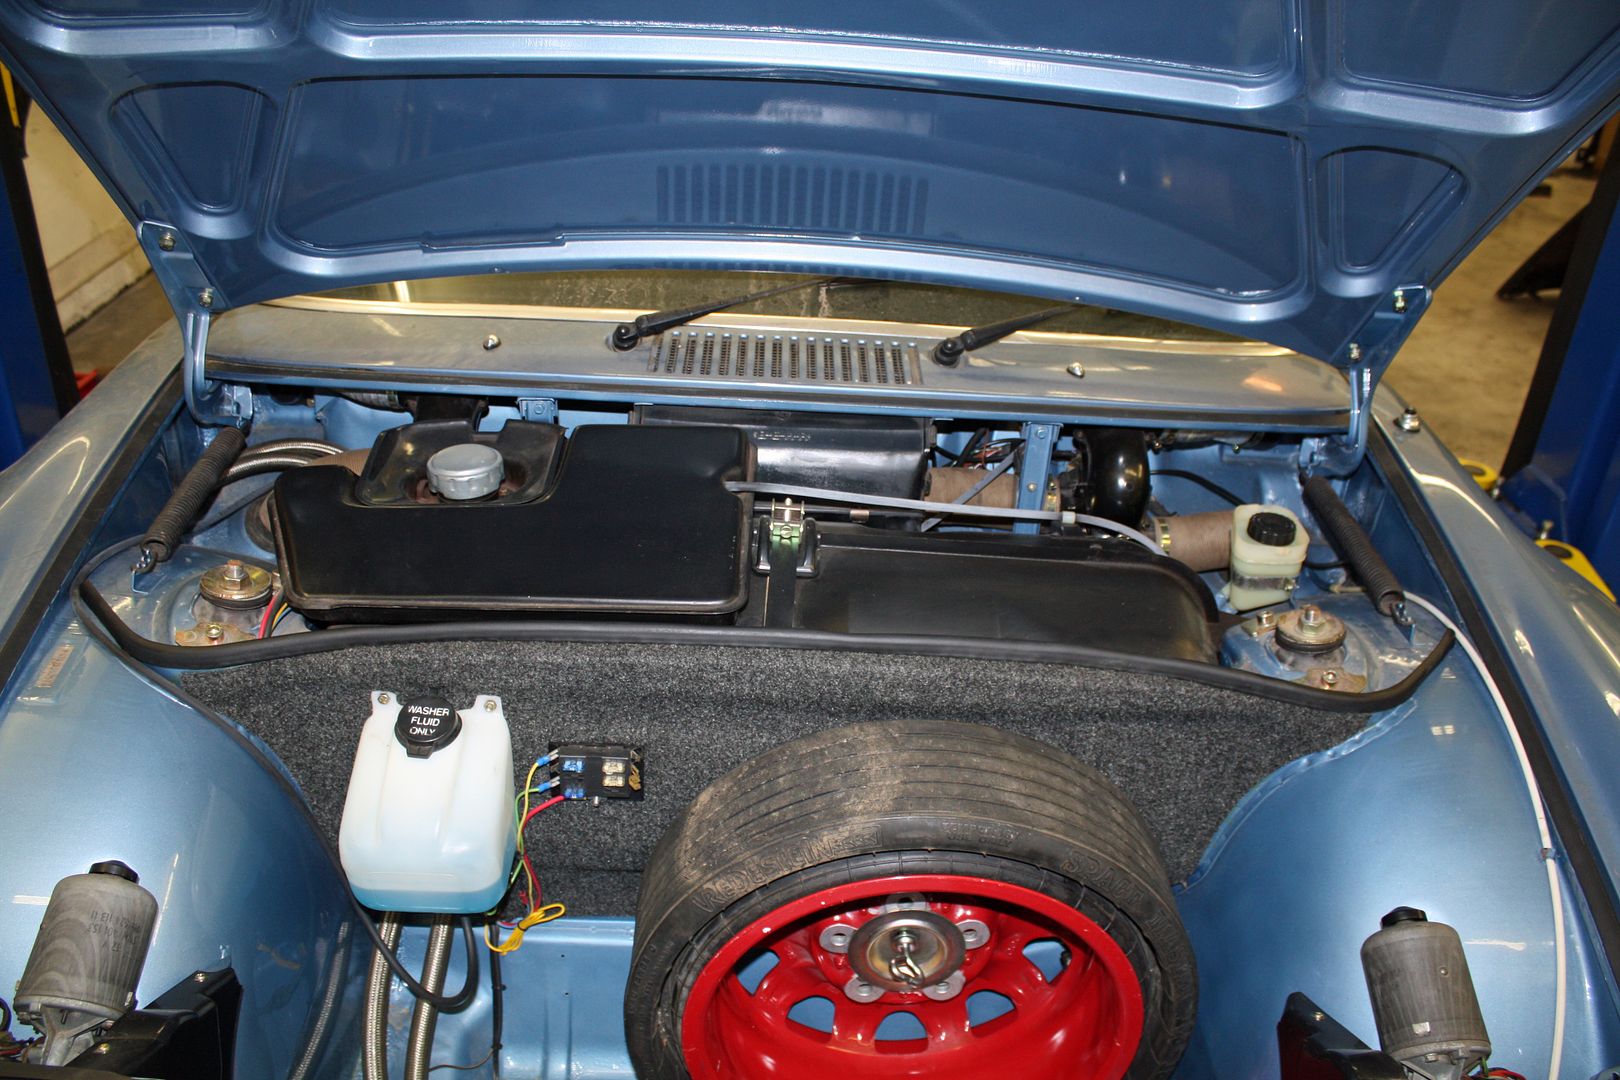
While I cannot finish the plumbing for the fuel line, I was able to mount the fuel regulator and the filter today. I wanted to place them where they will be easily accessible. I chose to mount them on the firewall on the upper left side. I brought out the engine lid and it appears they should both work here. I fastened the fuel filter directly to the regulator to save room.

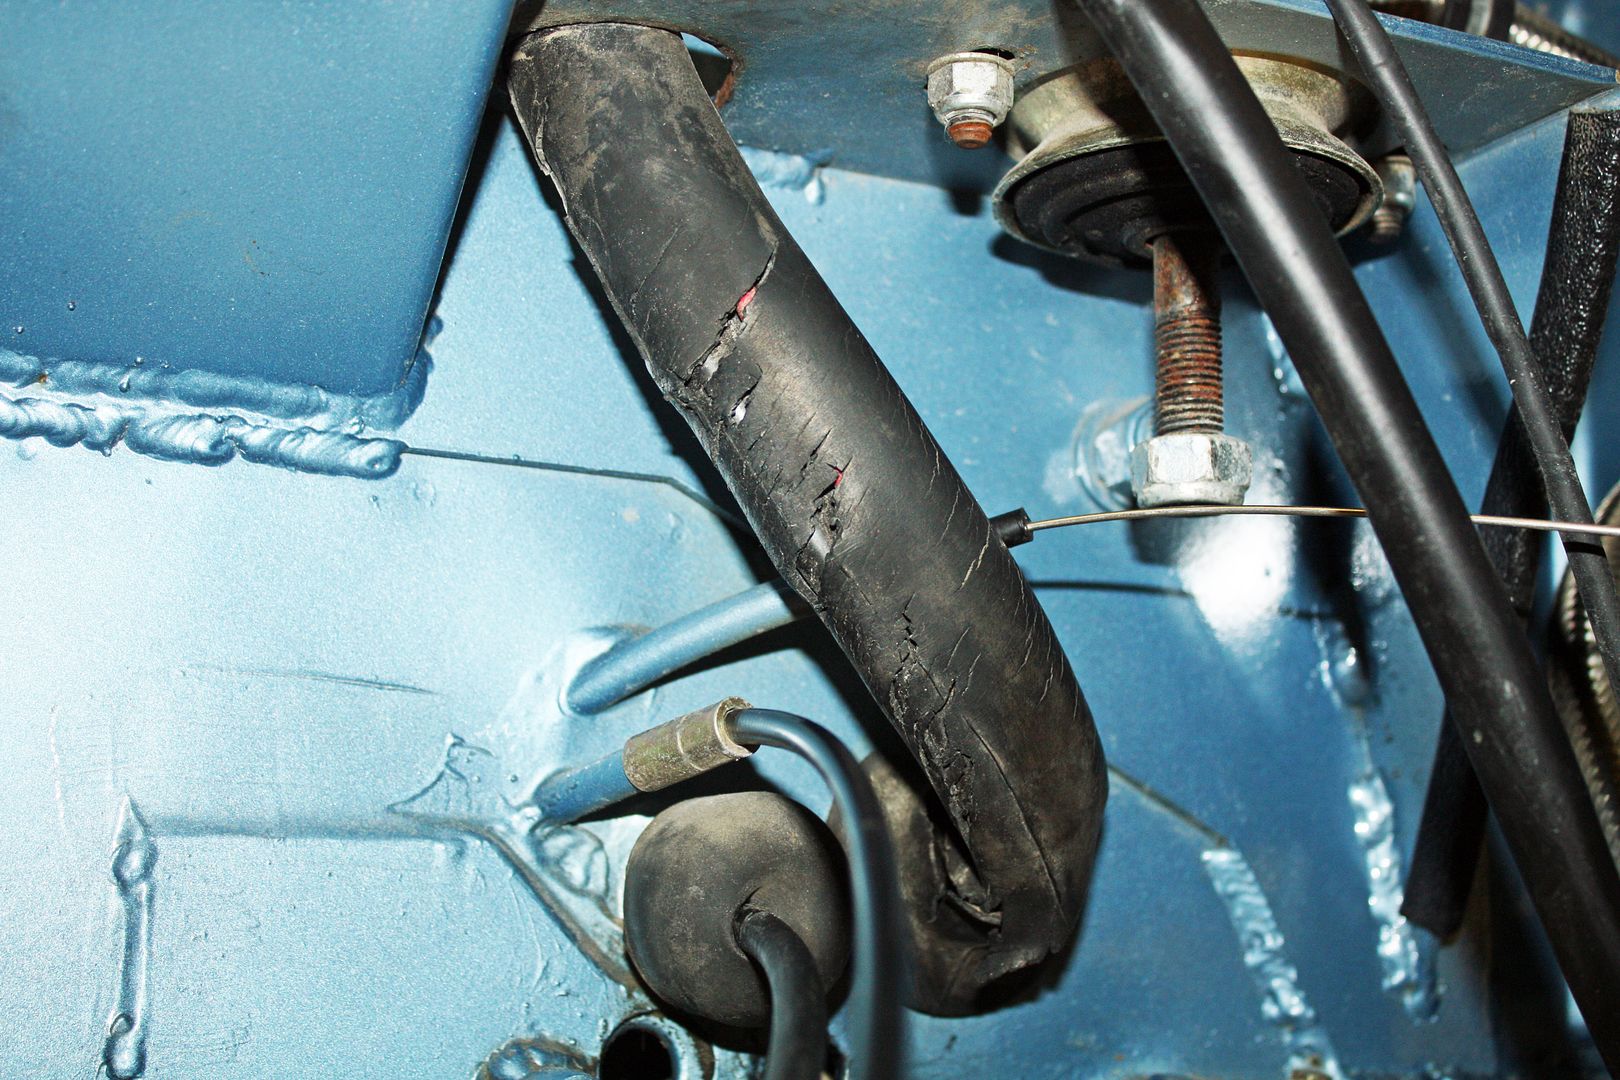
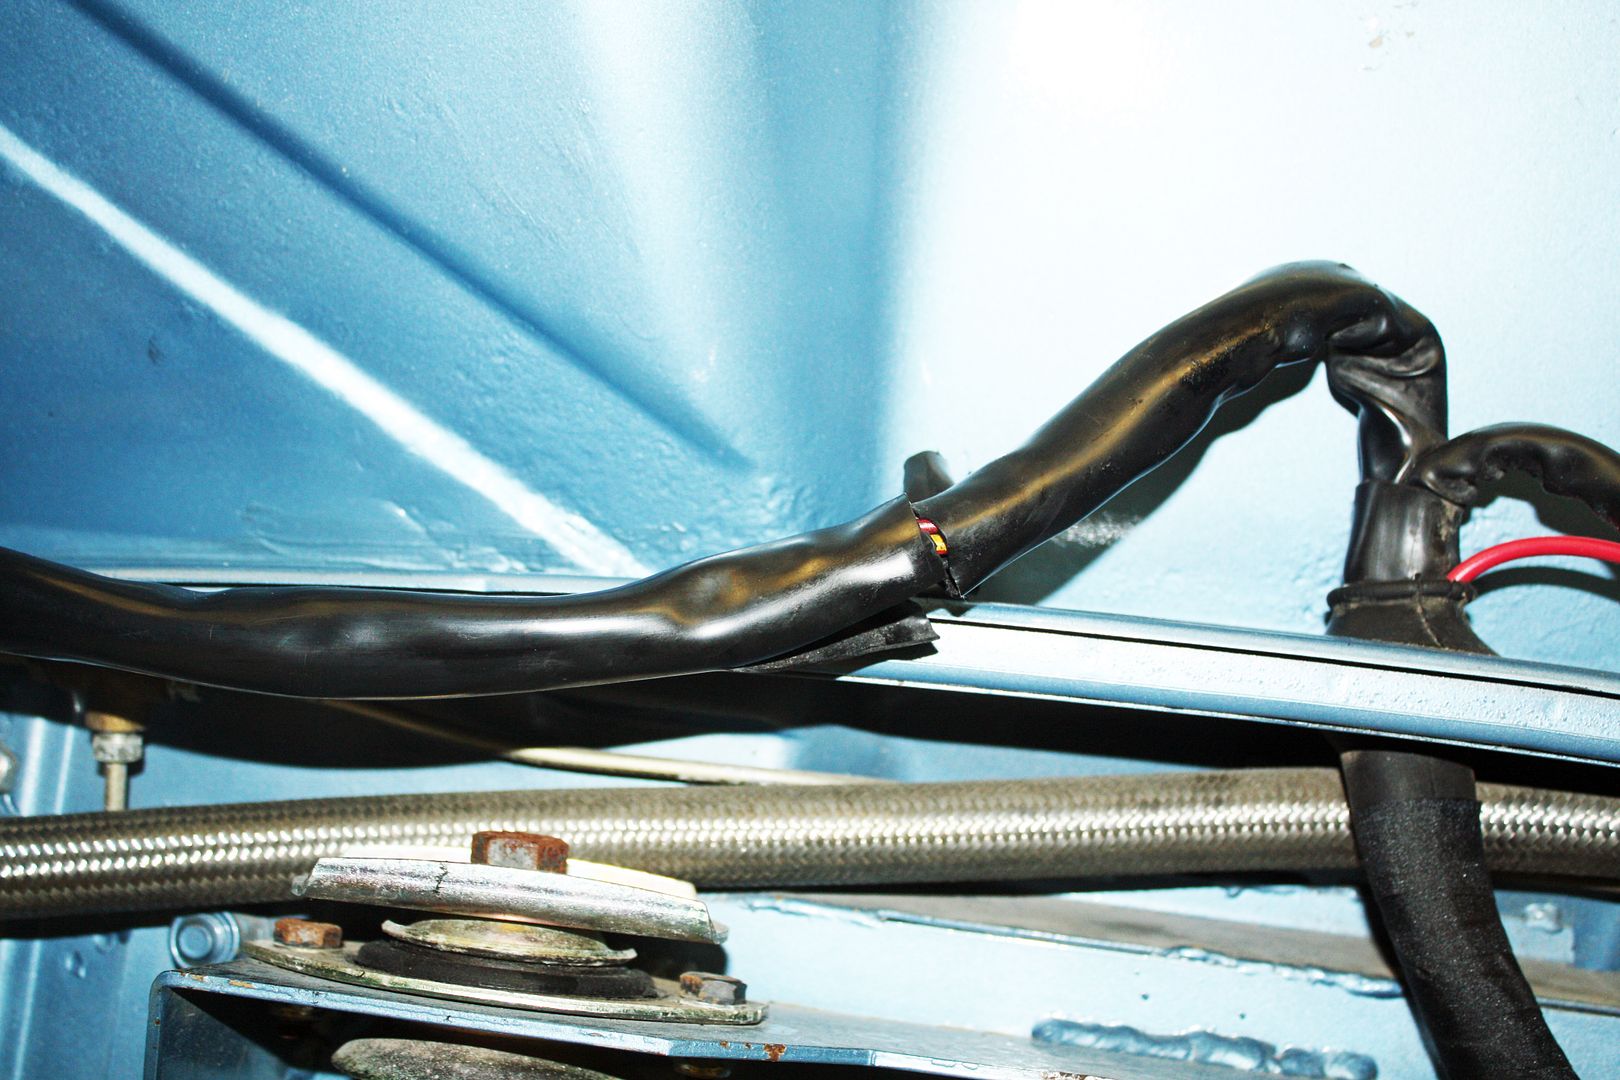
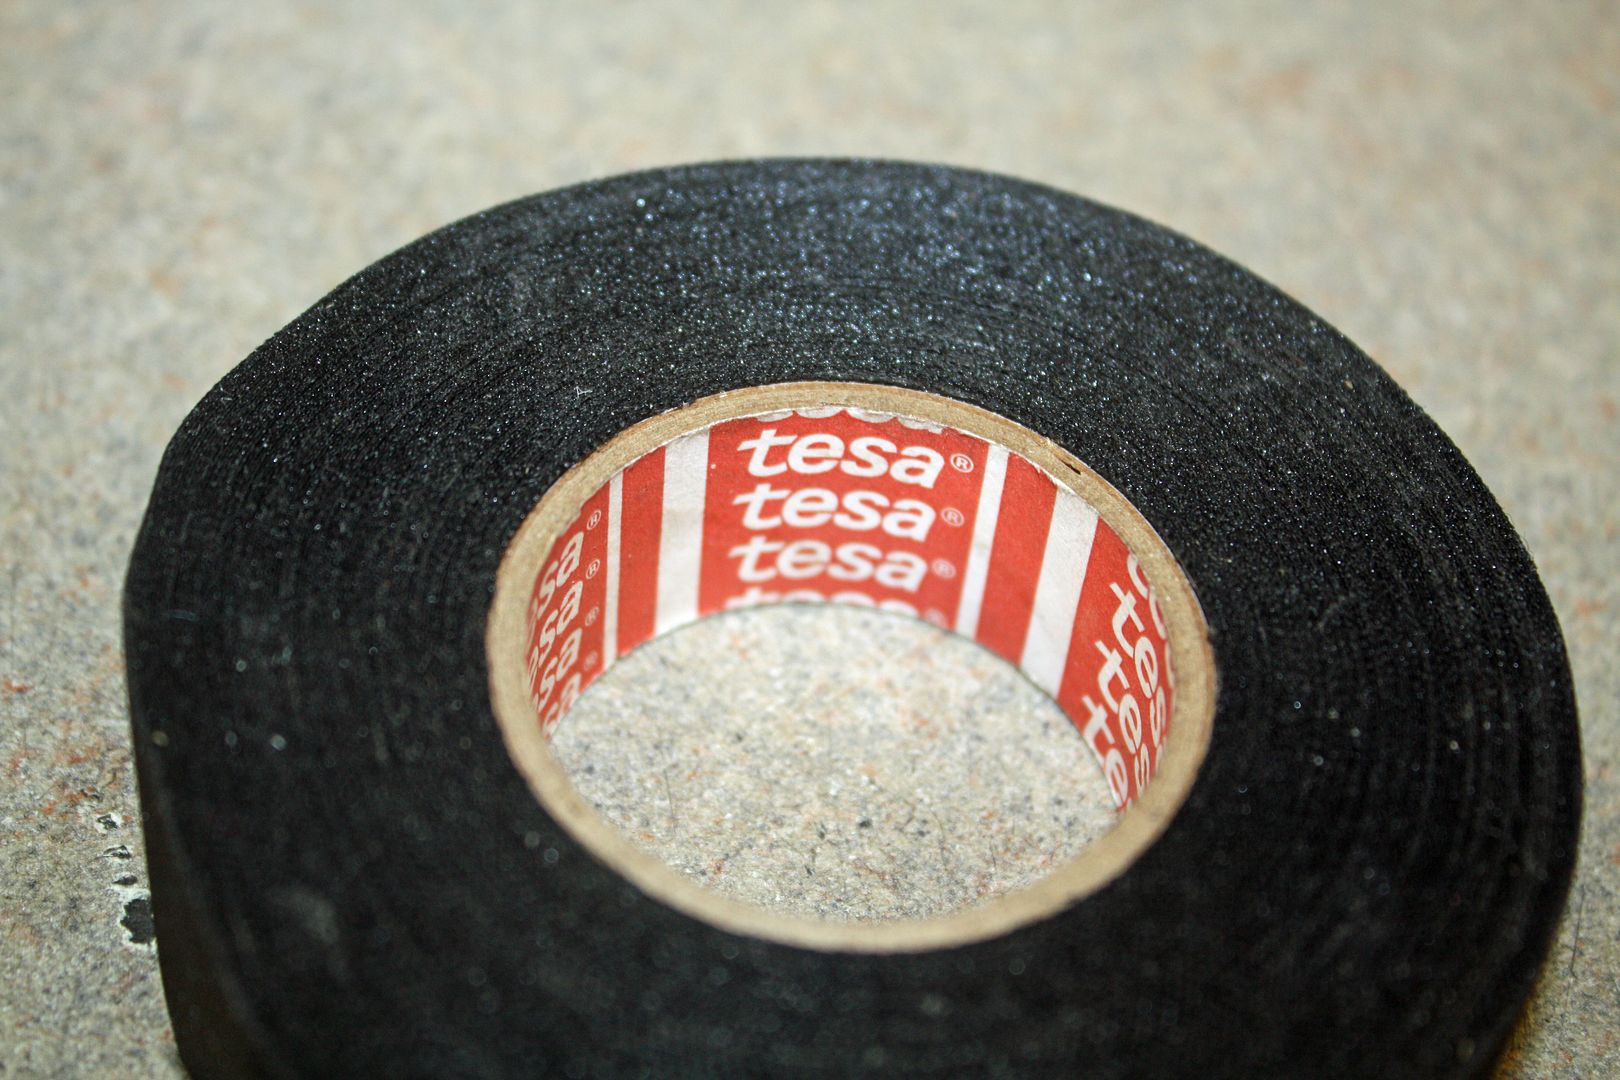
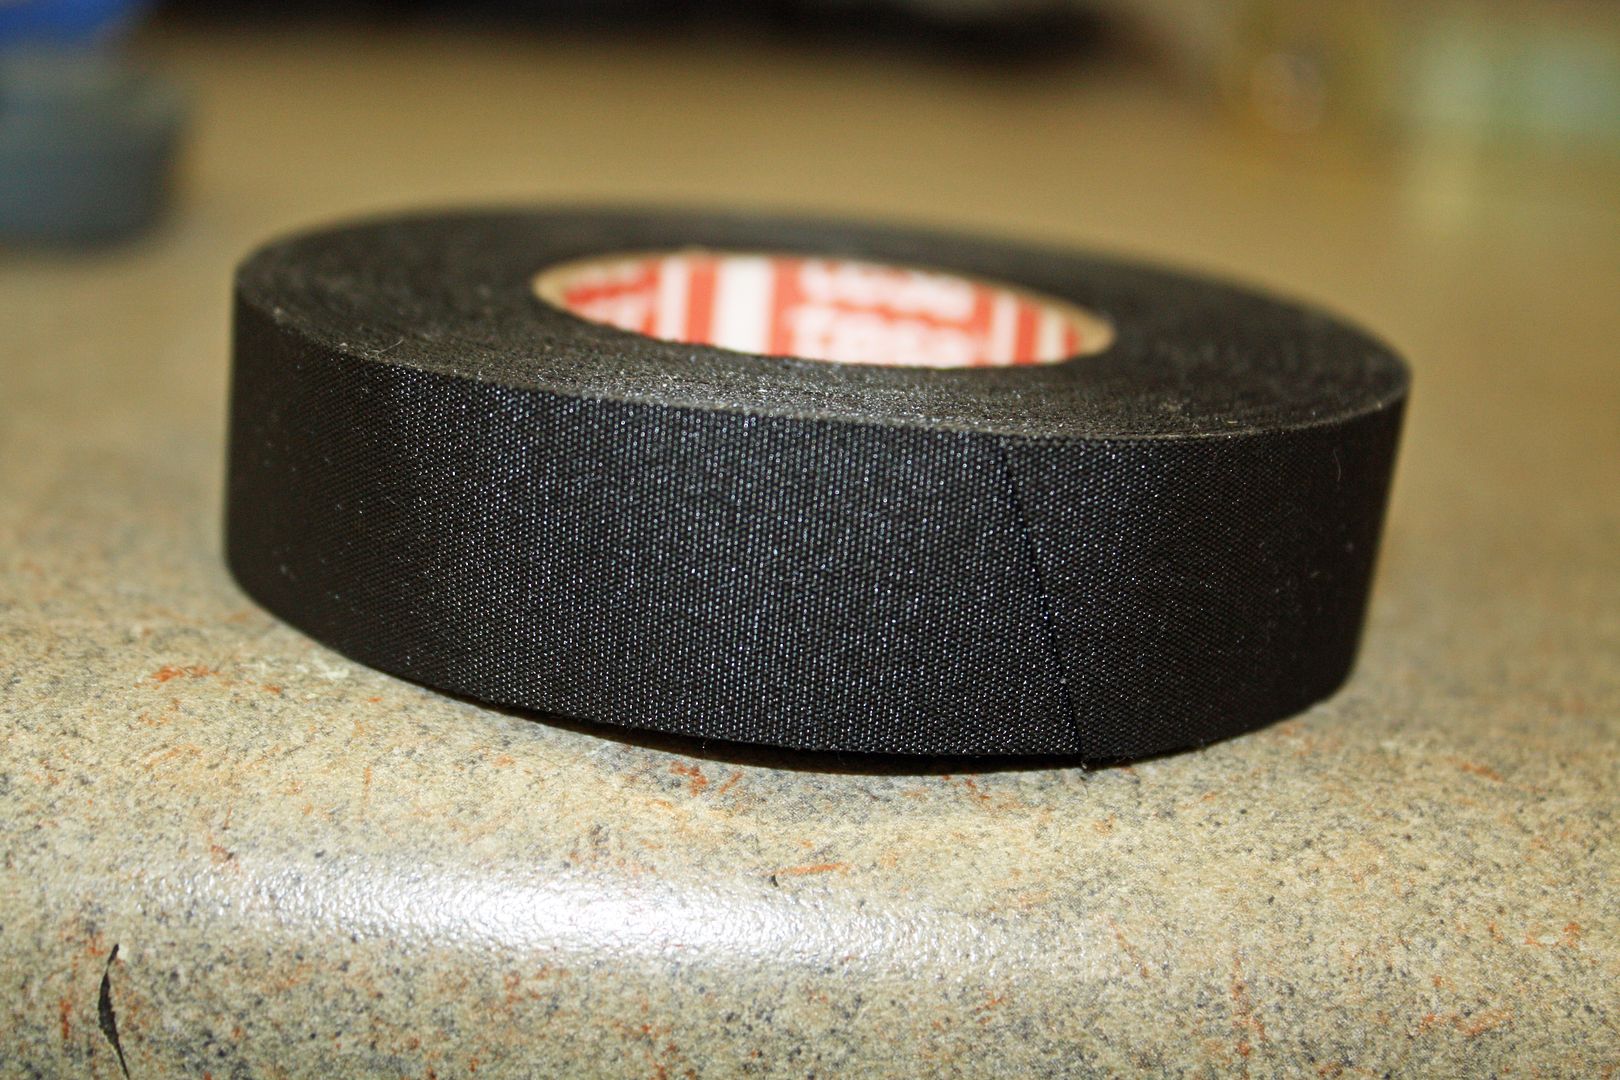
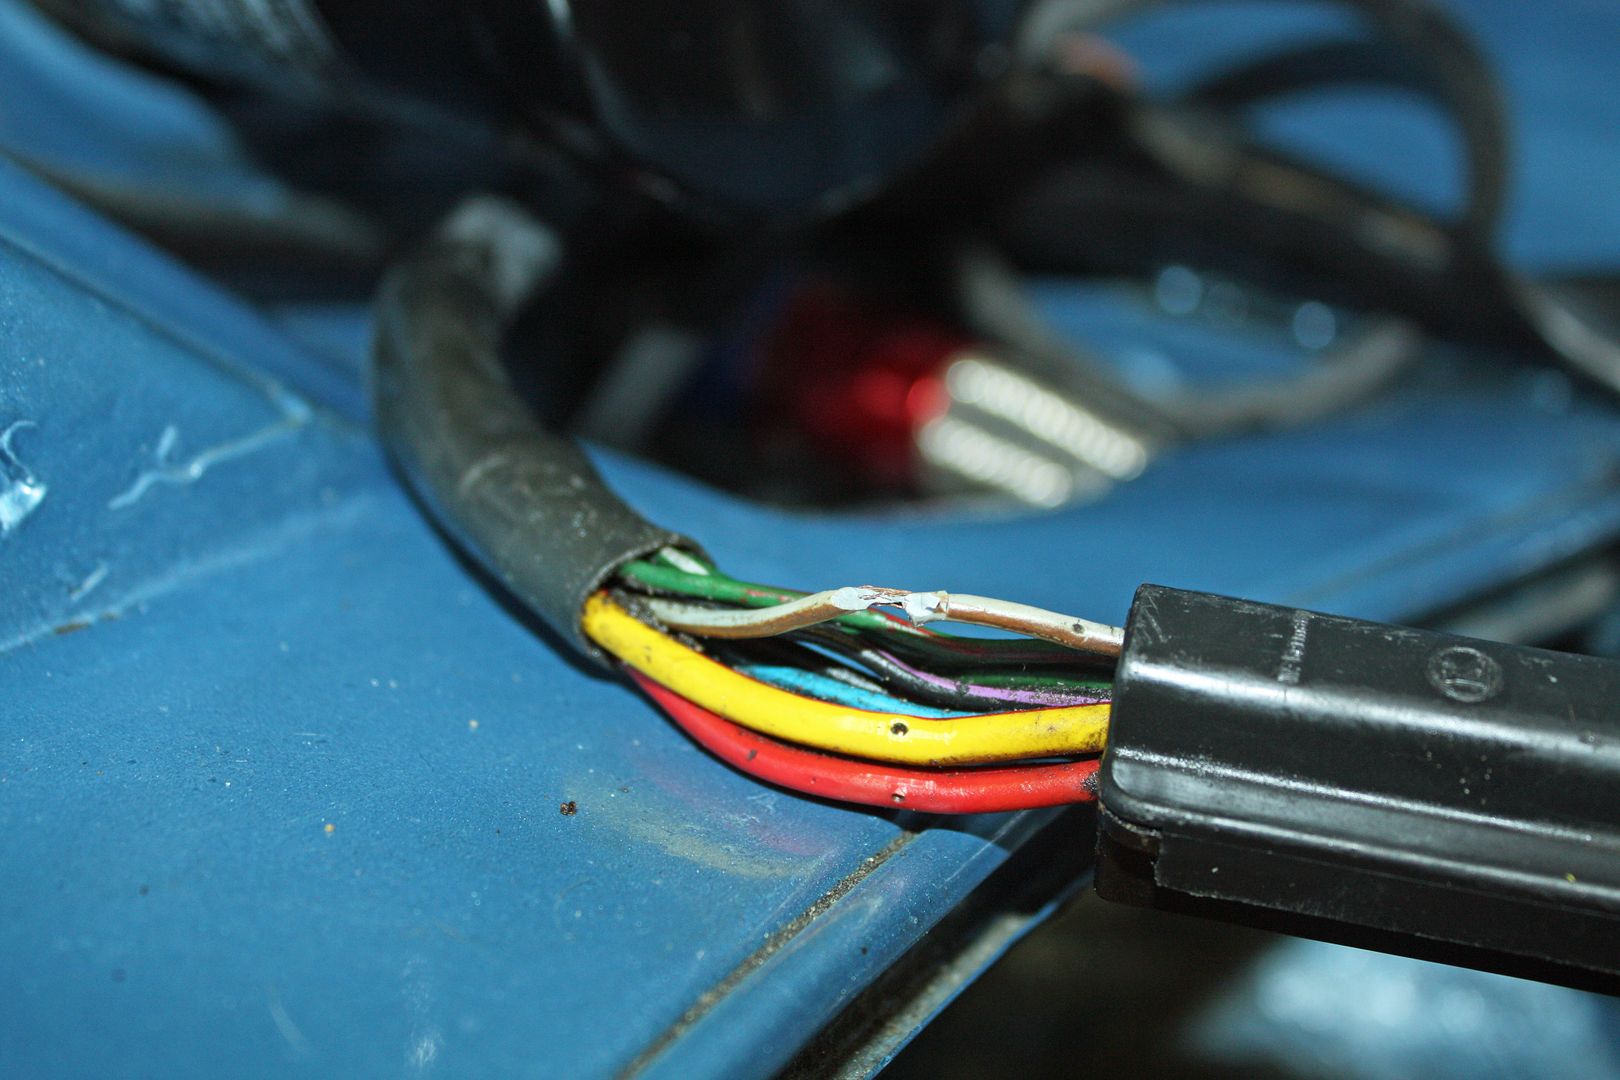
The wiring sheath on the firewall is in poor condition. In preparation for wrapping my wiring harness, I bought some Tesa fabric tape specifically made for engine compartments. According to their website, German car manufacturers use this tape. It worked well and was plenty sticky. I liked the appearance it gave. It should make my wiring EFI harness look good.
Speaking of the EFI harness, I printed the ECU installation instructions. This should keep me busy for a bit.


The wiring sheath on the firewall is in poor condition. In preparation for wrapping my wiring harness, I bought some Tesa fabric tape specifically made for engine compartments. According to their website, German car manufacturers use this tape. It worked well and was plenty sticky. I liked the appearance it gave. It should make my wiring EFI harness look good.


Speaking of the EFI harness, I printed the ECU installation instructions. This should keep me busy for a bit.
 09-14-2018, 05:56 PM
#52
Racer
Thread Starter
House cleaning day!! Just now beginning to rain. Winds are moderate so far. The heavy rain is to begin around midnight. We could get 10+ inches. Fortunately, we are not in a flood zone but I do have lots of trees around the house. That is my biggest concern.
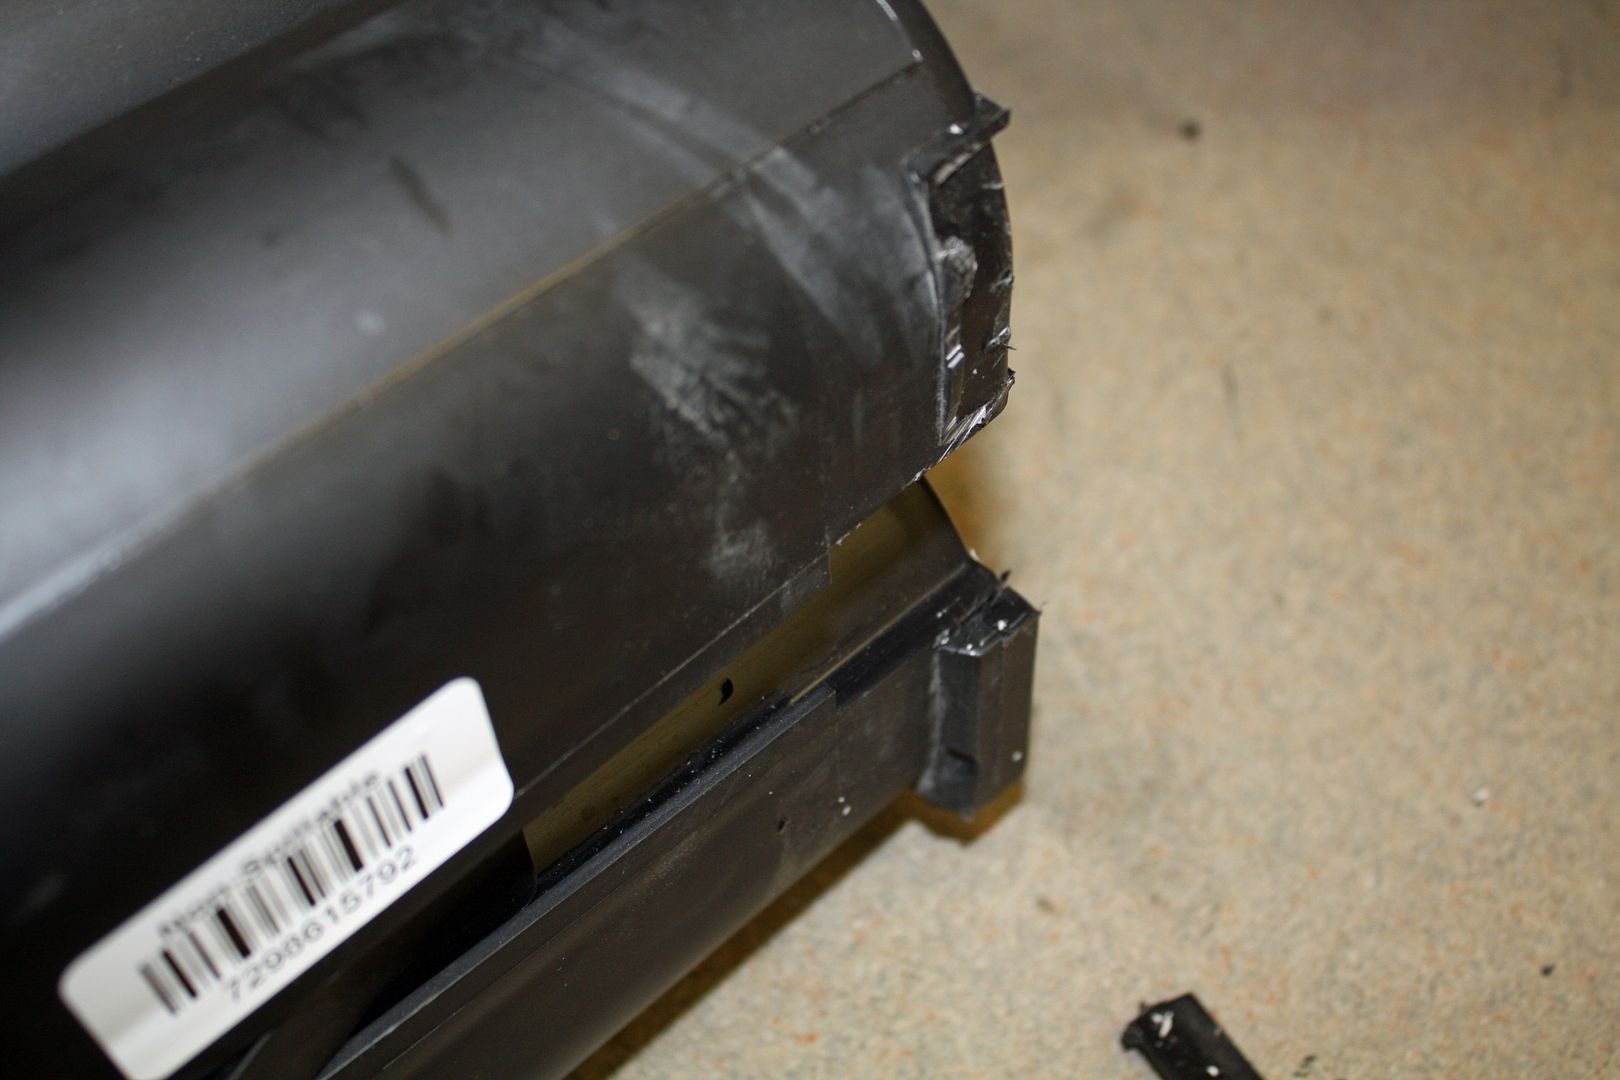
While having the paint work on the rear quarters done, the body shop installed new bumper pads. When I picked up the car, they told me that the holes did not line up for remounting the license plate lights and had placed the lights in a baggie. I came across them today and decided to mount them.
They were very dirty so I took them apart for cleaning and to clean up the spades as well. While I have them apart, I hooked them up to 12V to make sure the light bulbs worked. After drilling a couple holes I was able to mount them.
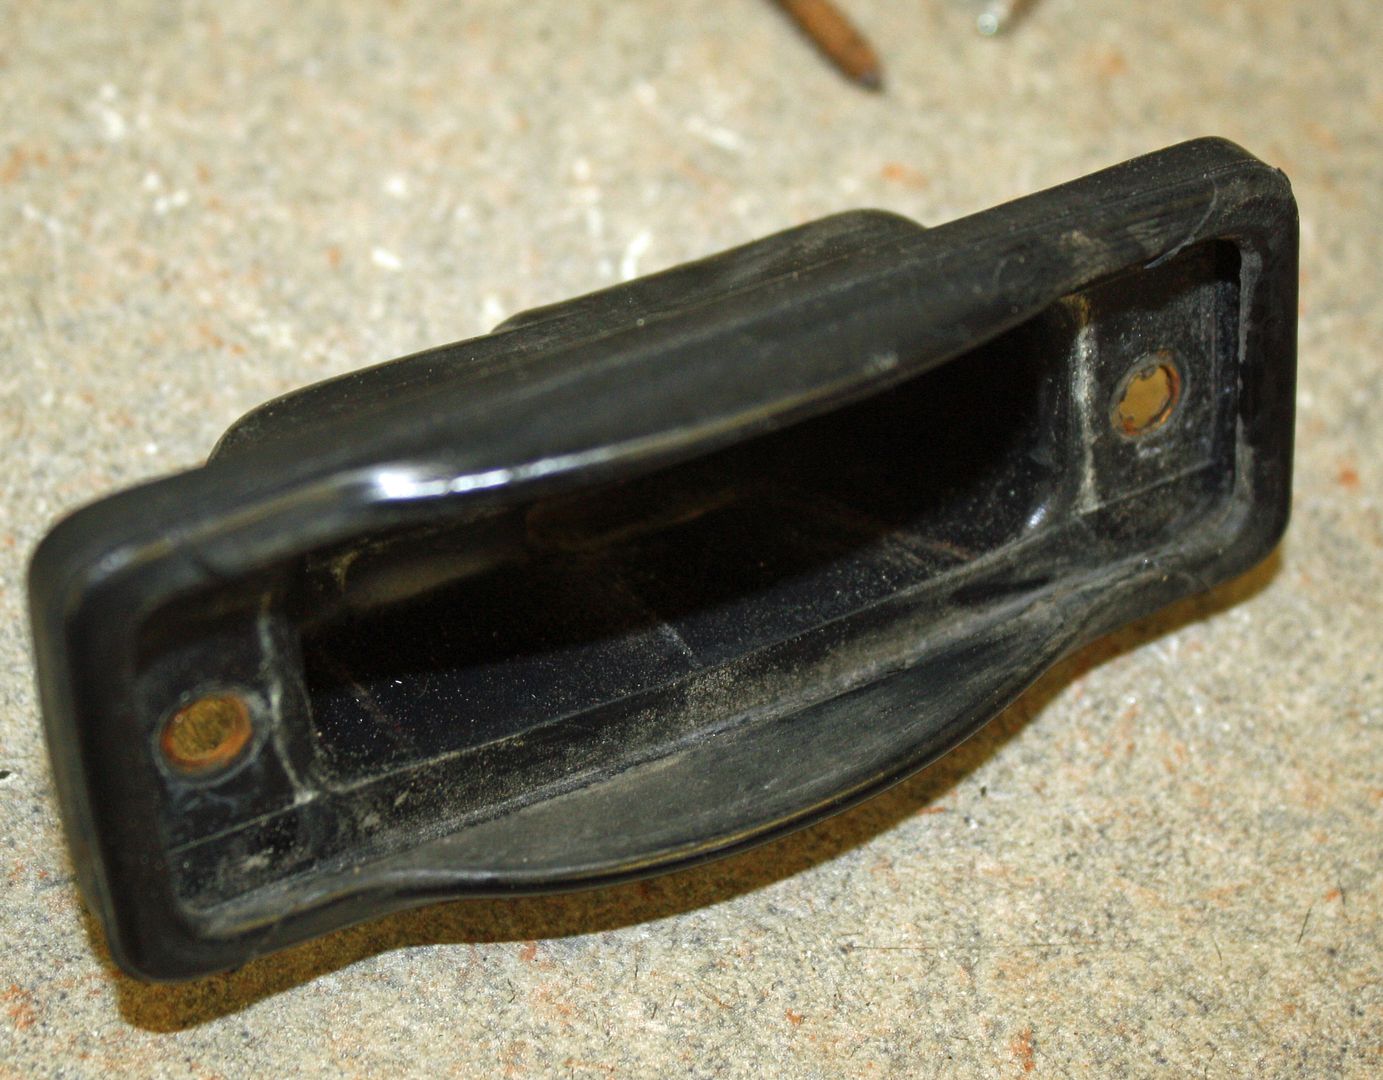
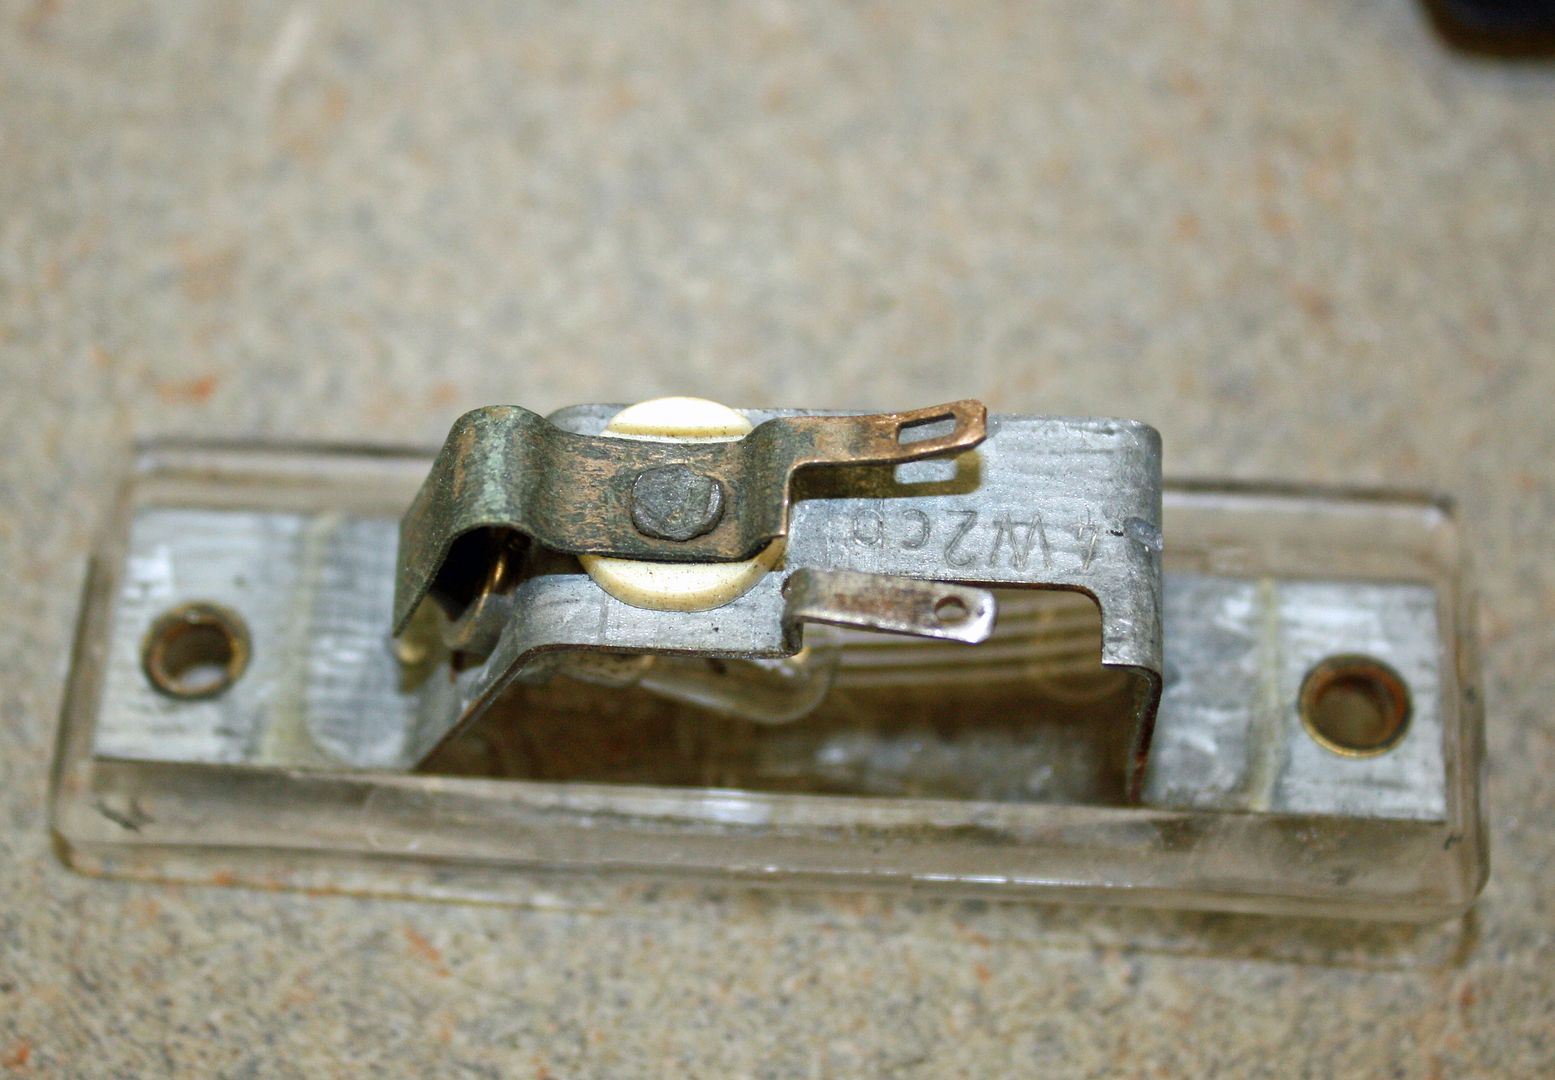
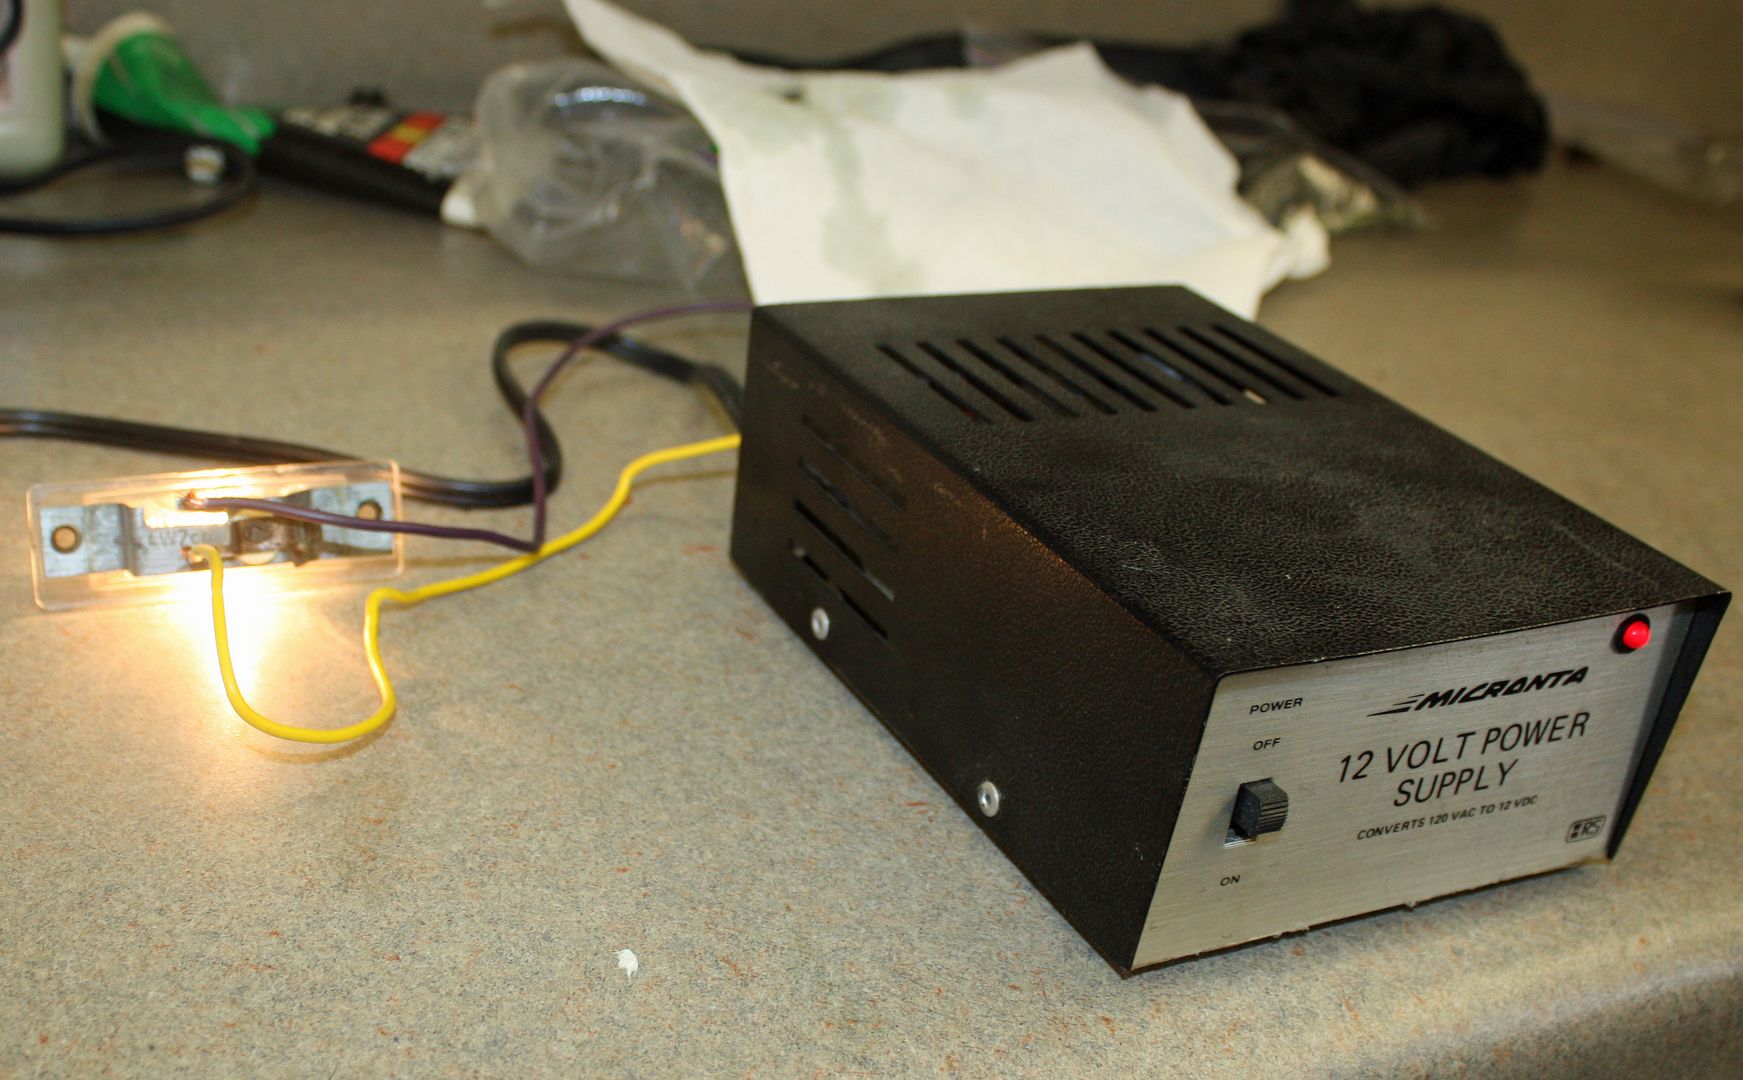
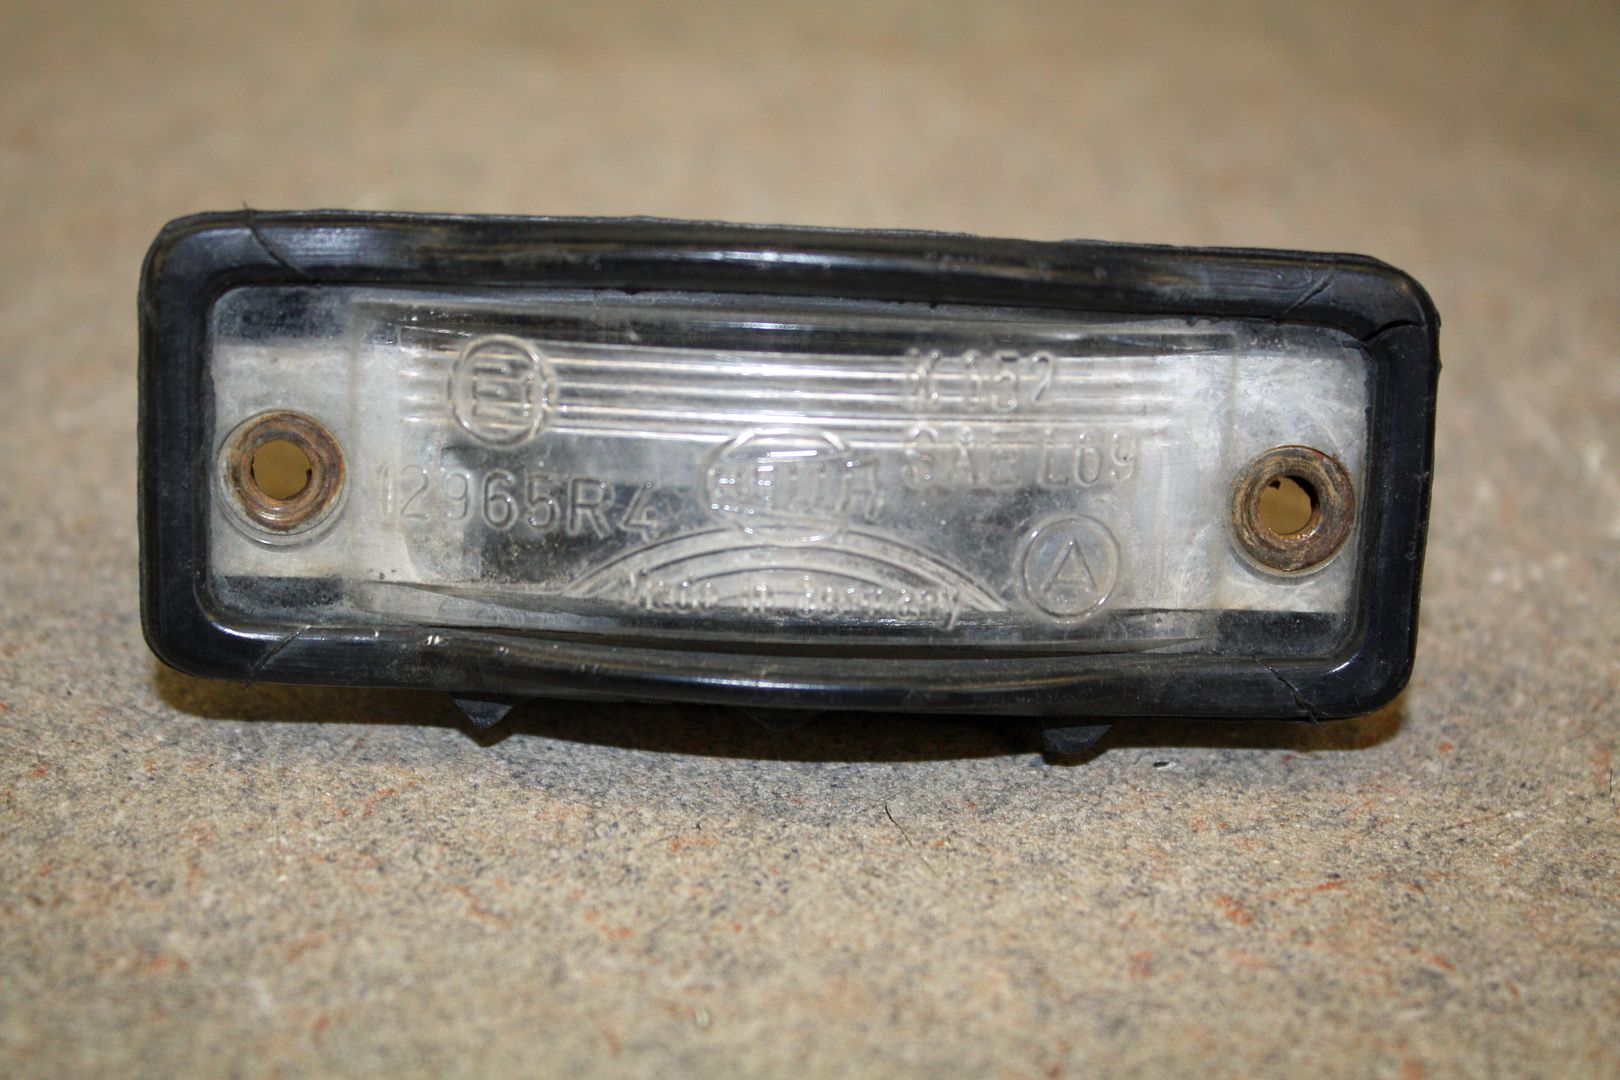
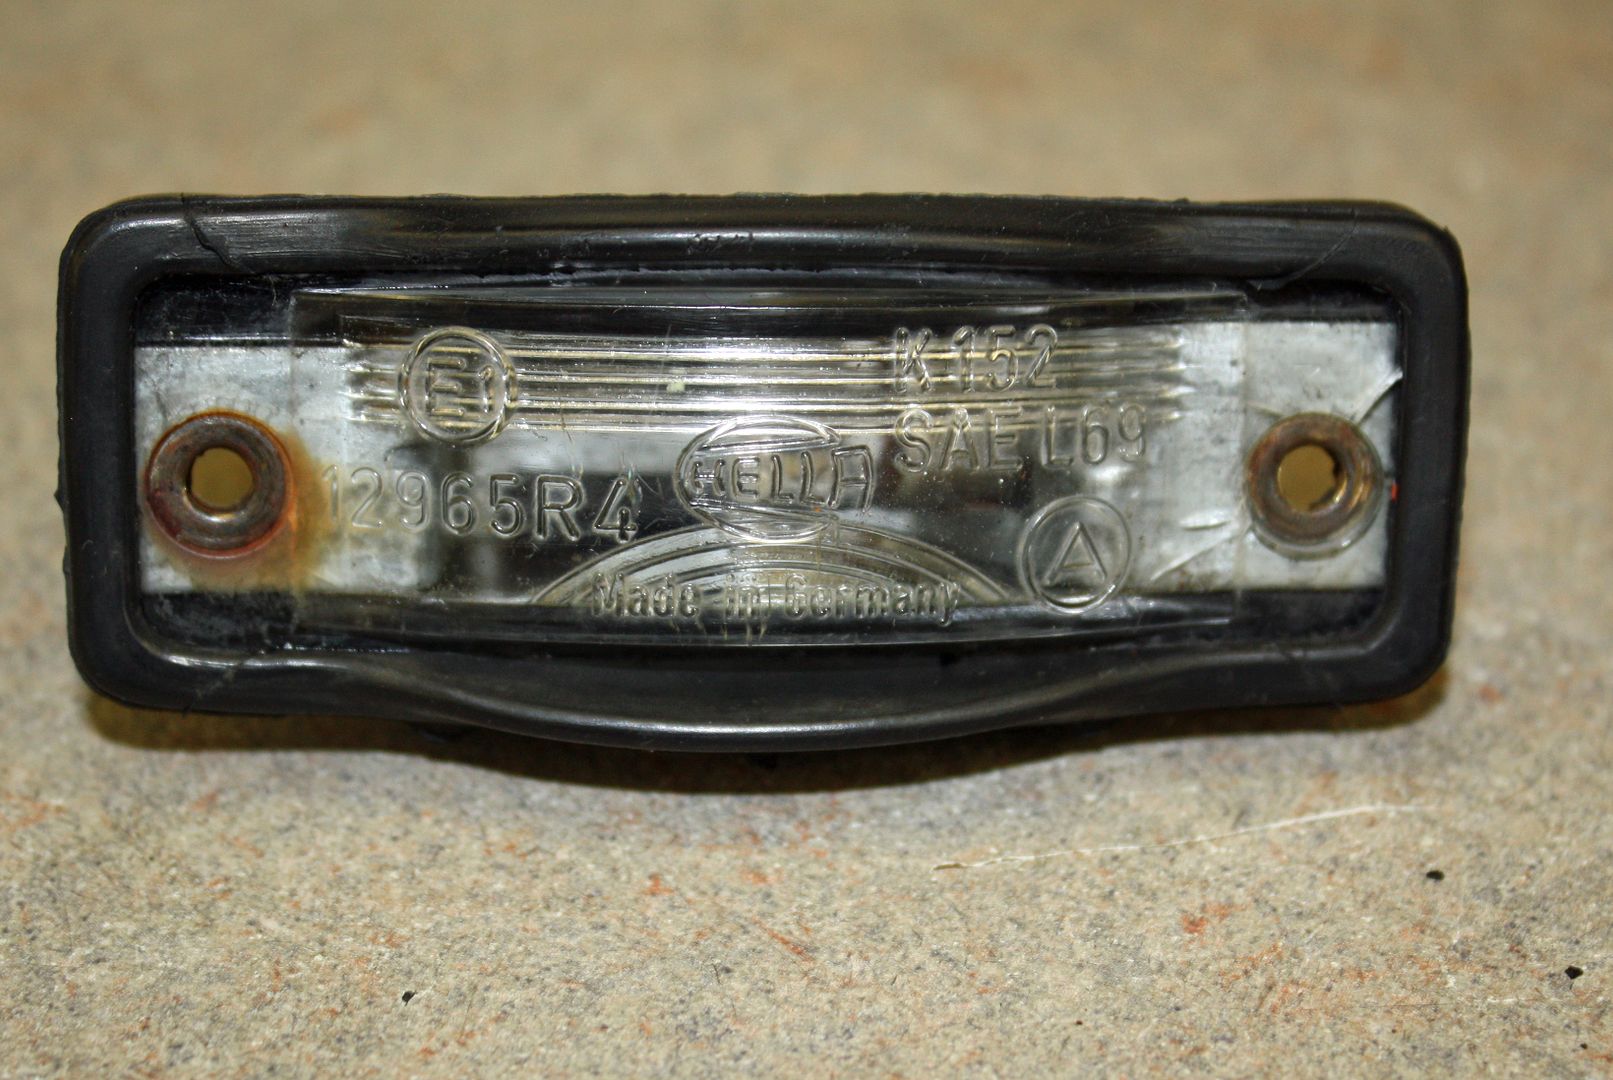
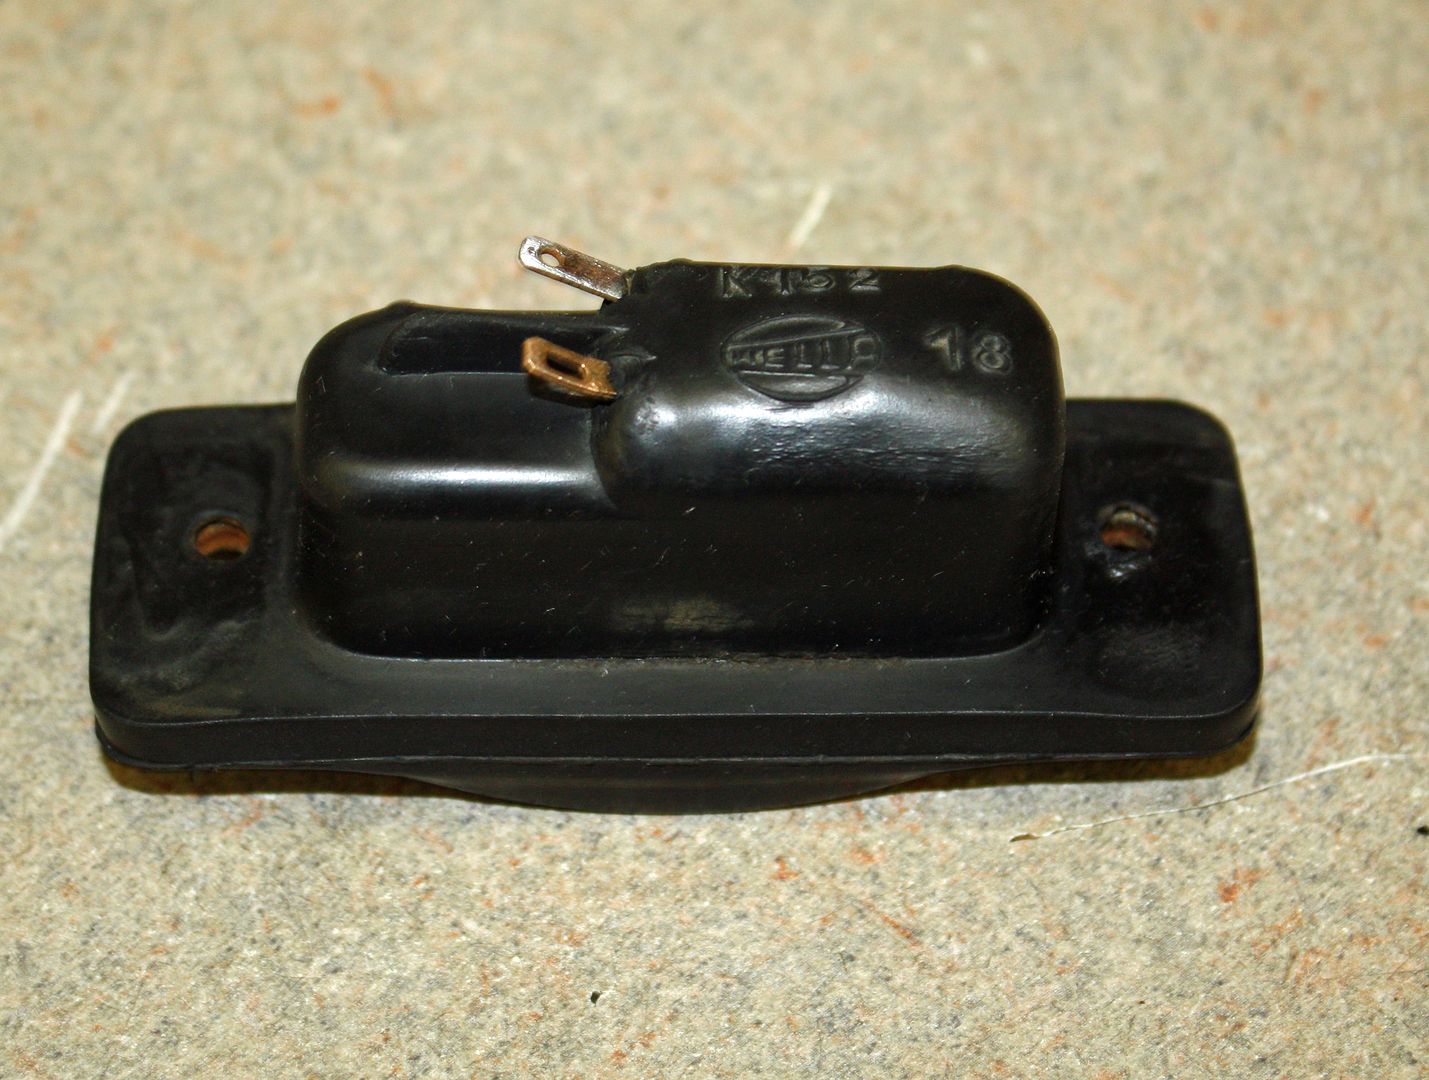
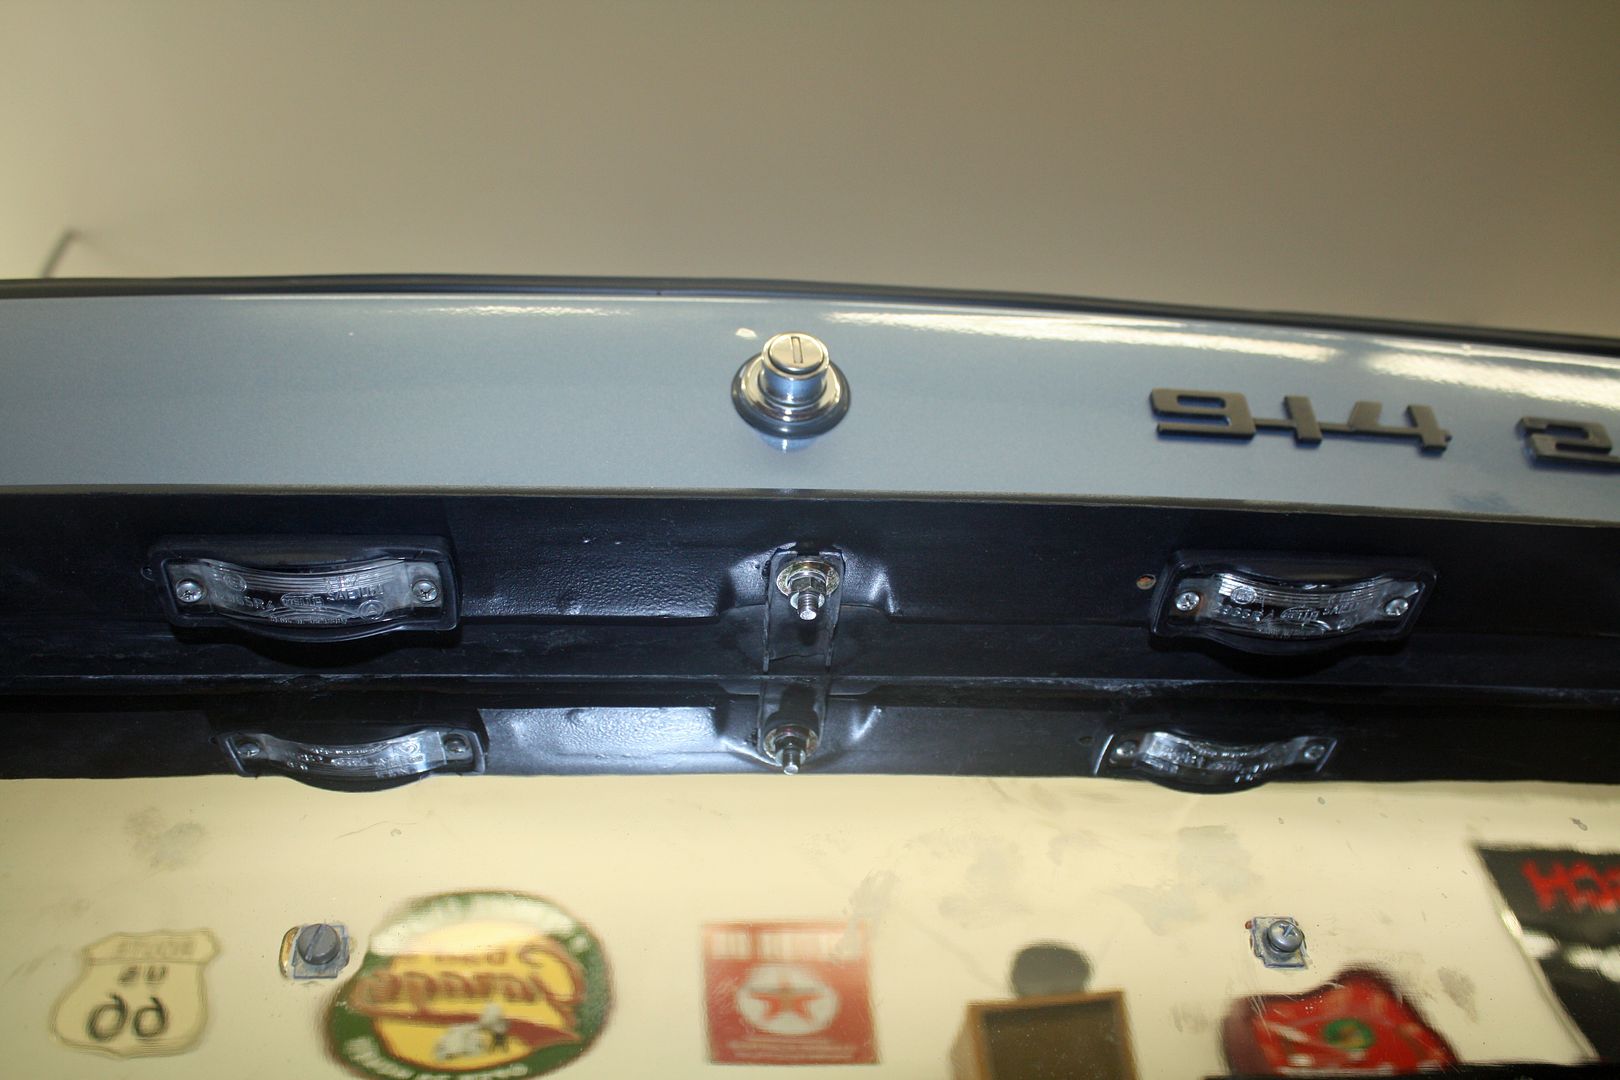


 09-14-2018, 10:49 PM
#54
Racer
Thread Starter
I mounted it there because those were the holes that lined up with the vacuum manifold that came with the kit.
09-15-2018, 05:13 PM
#55
Racer
Thread Starter
Very light rain and winds so far today. The heavy rain and higher winds are supposed to start this evening.
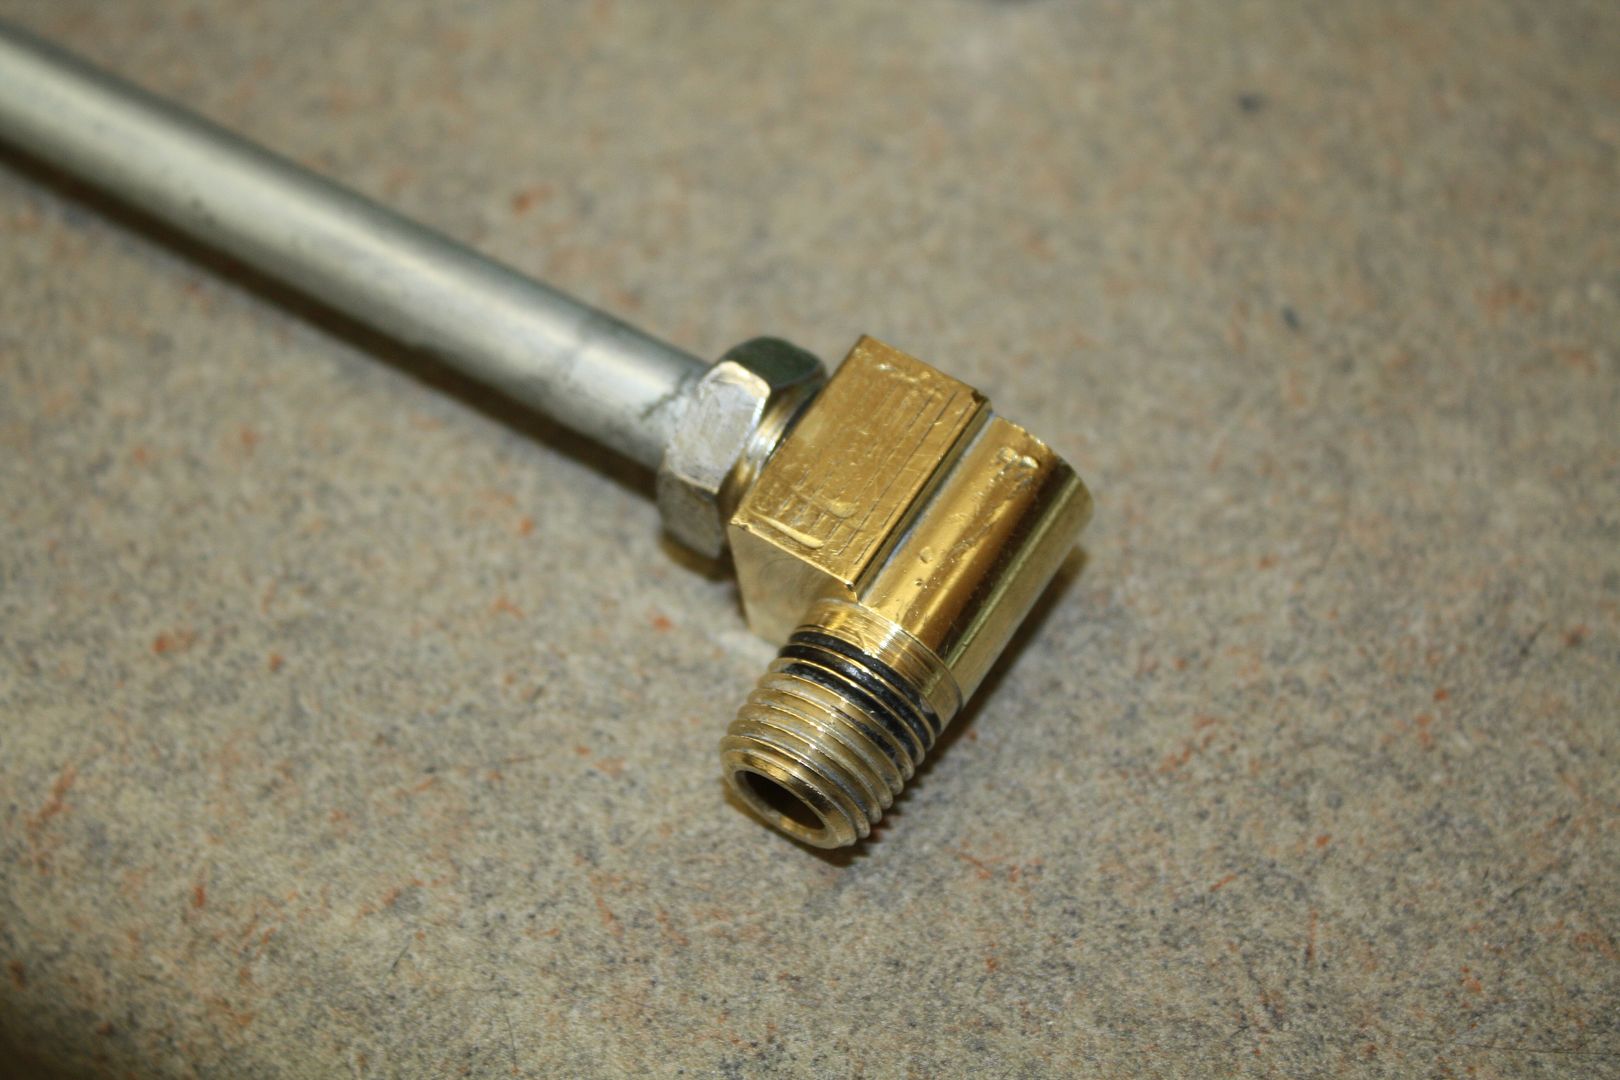
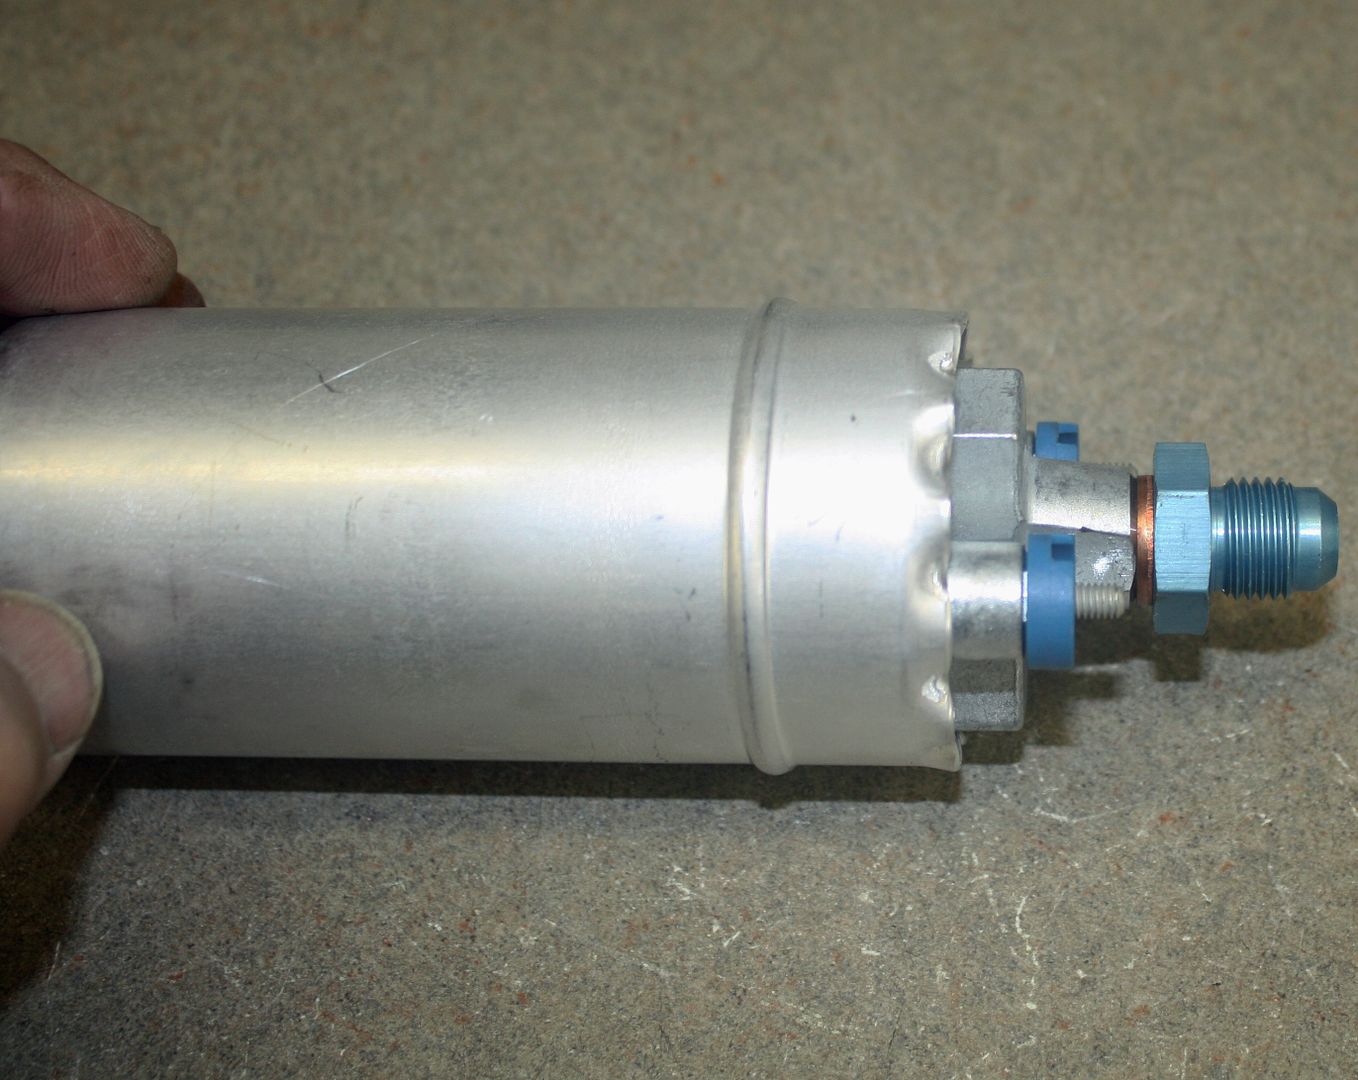
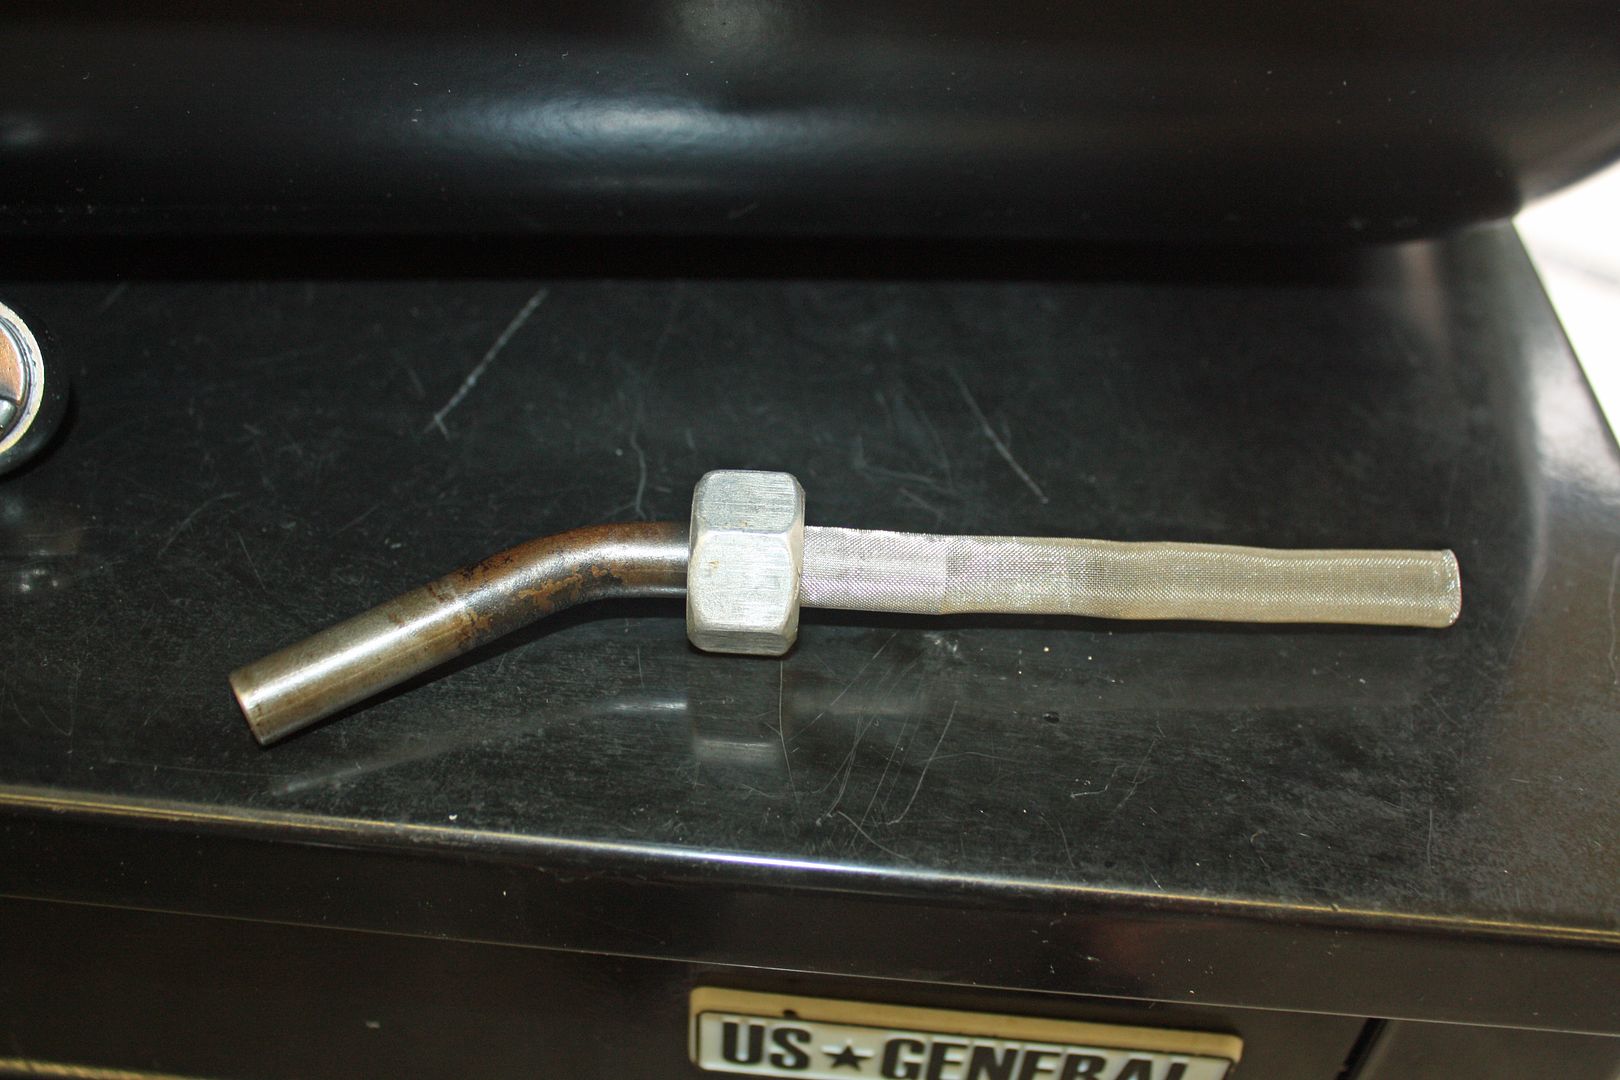
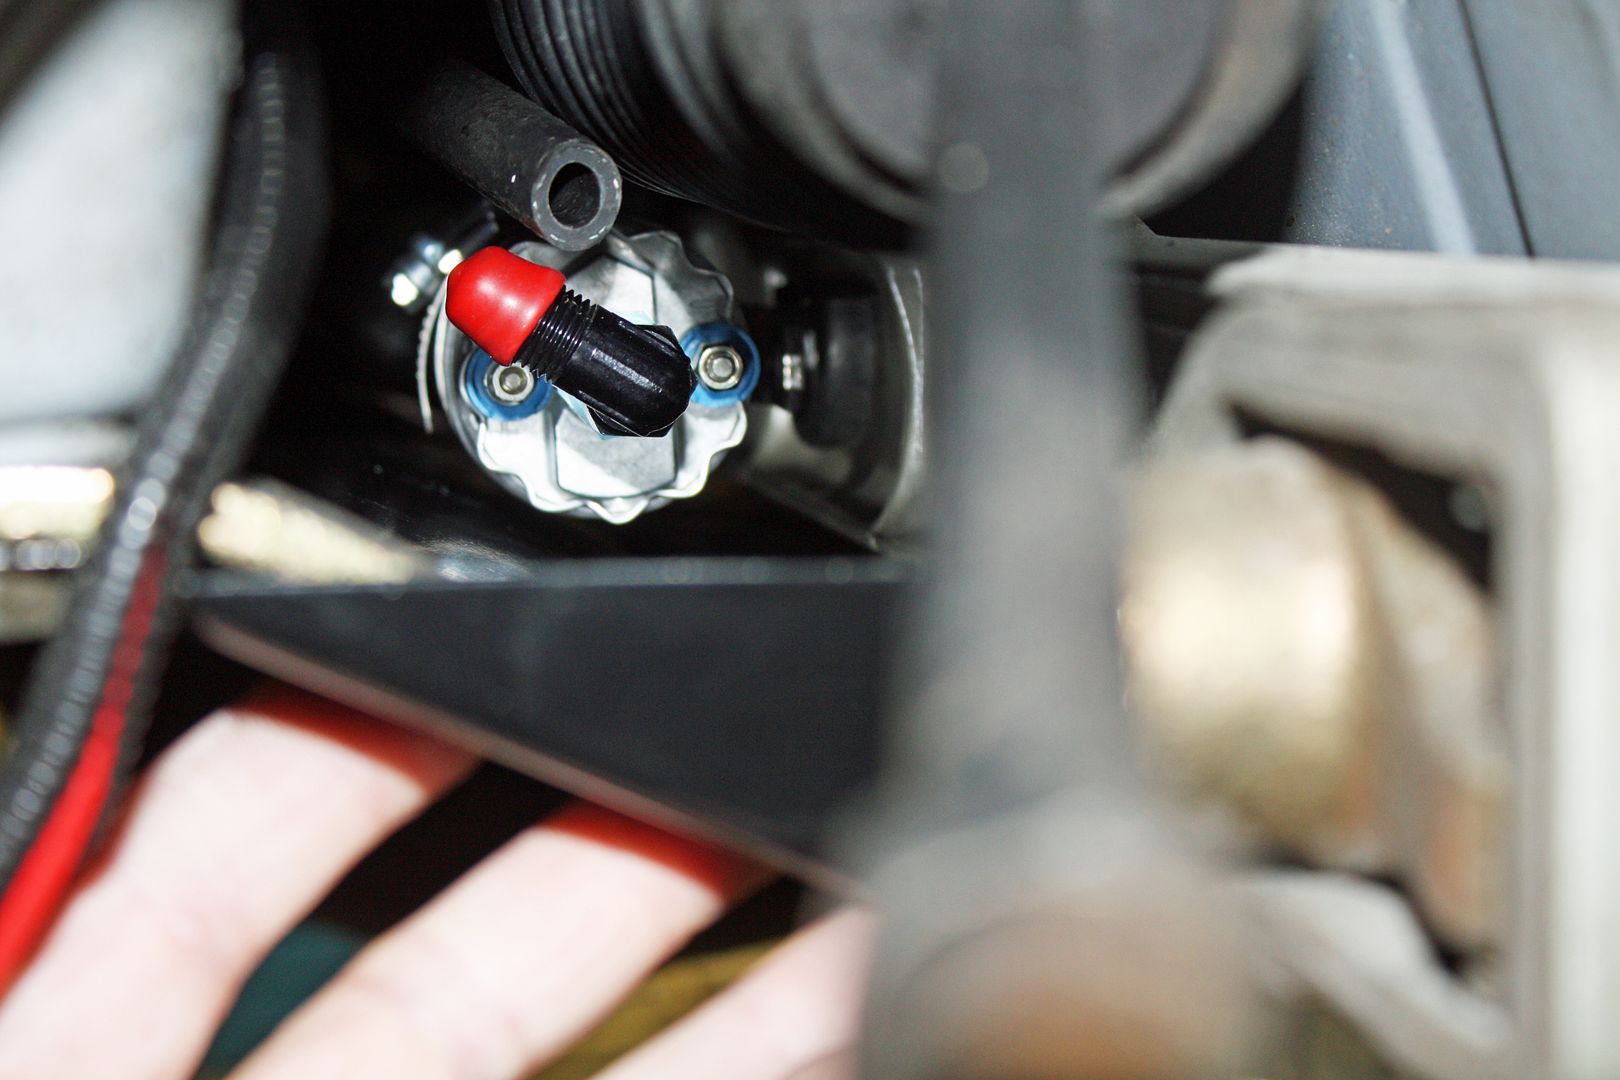
I worked on installing the fuel pump today. The pump came standard with a check valve fitting. Richard Clewett says he replaces that fitting with a -6 AN male threads to 10mm x 1.0 Male as shown in the photo below. I could not find this one in black.
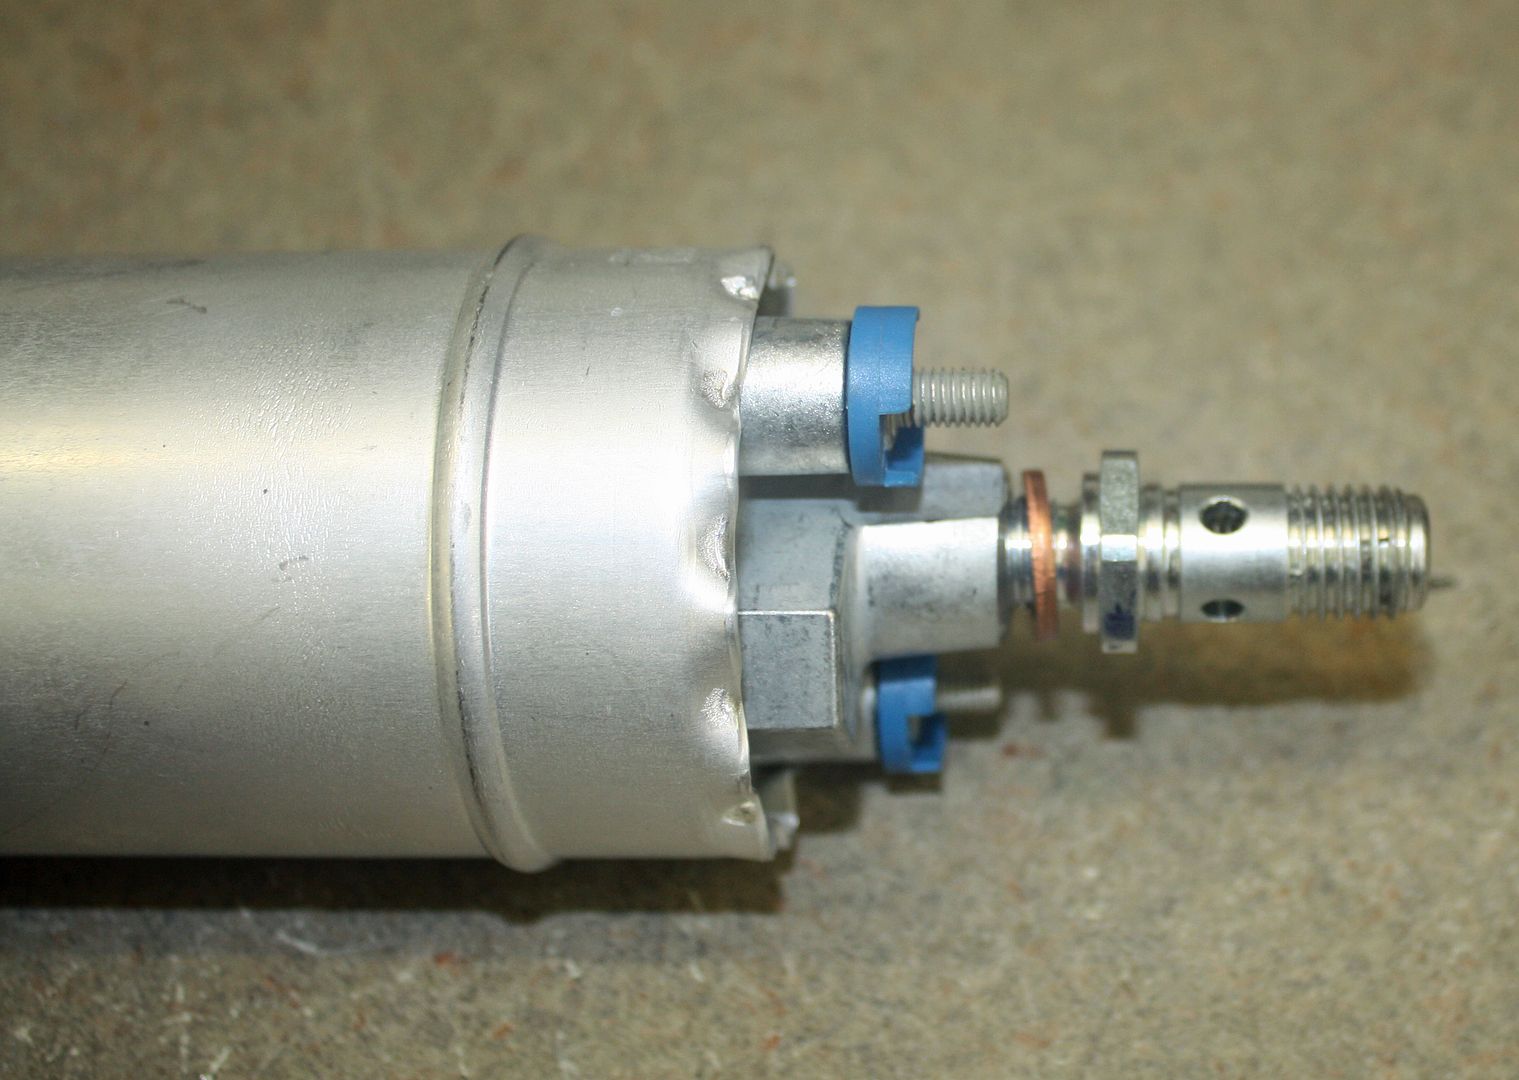
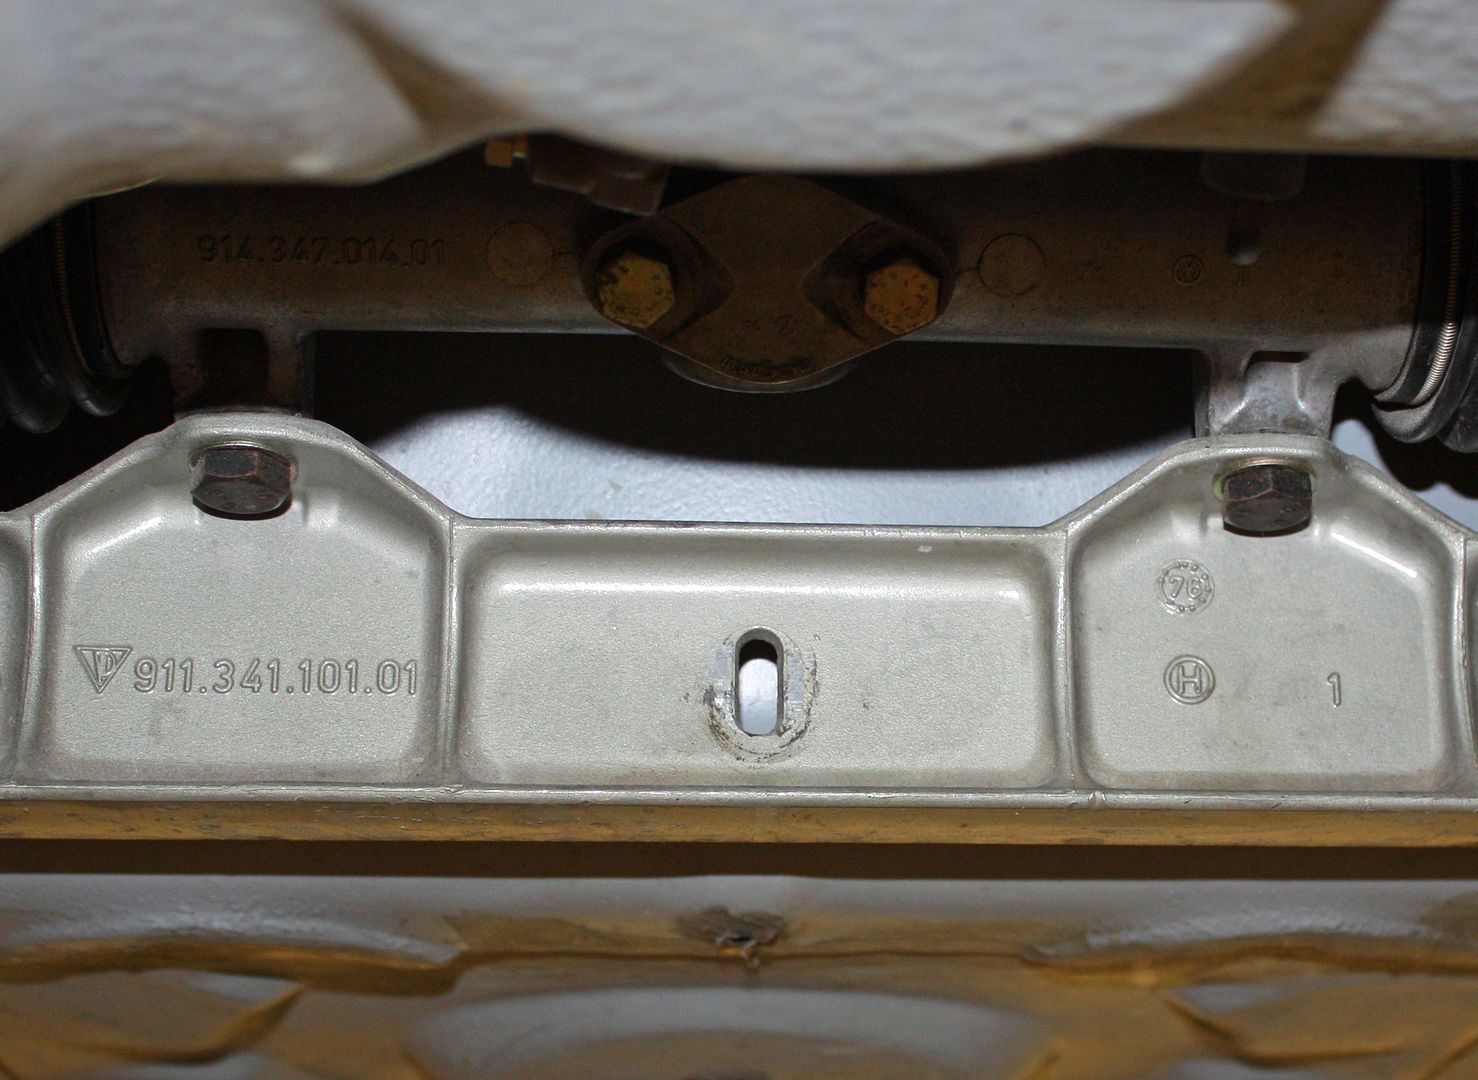
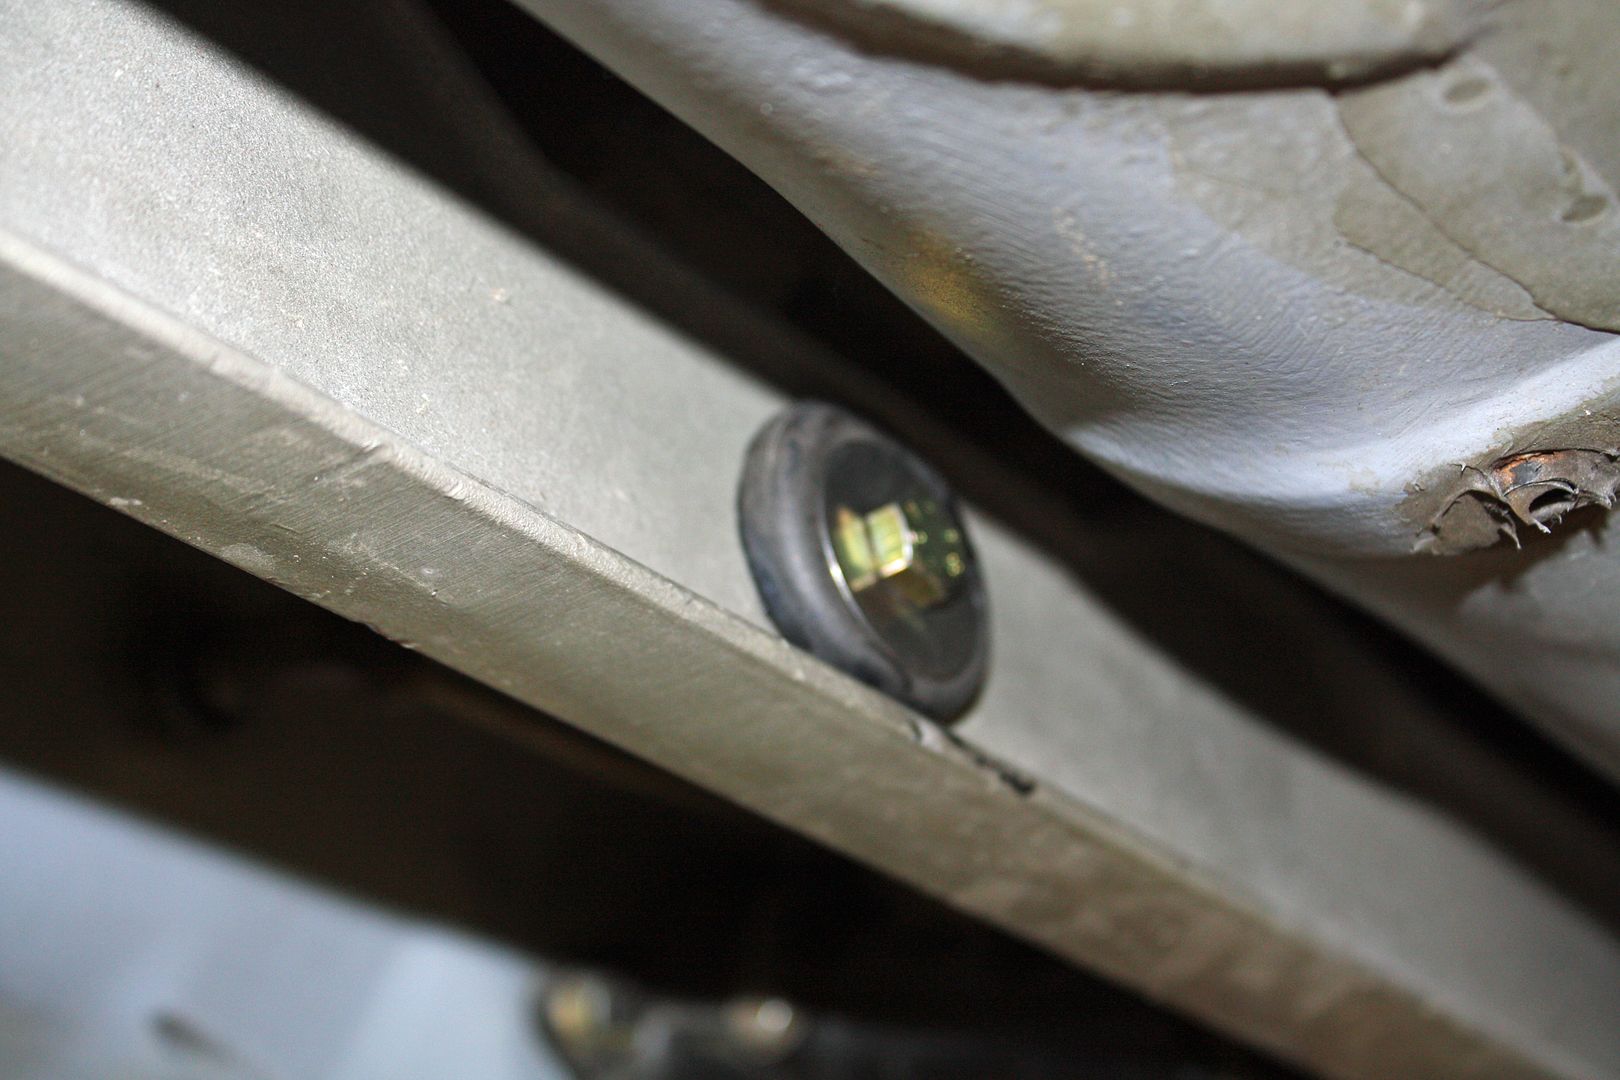
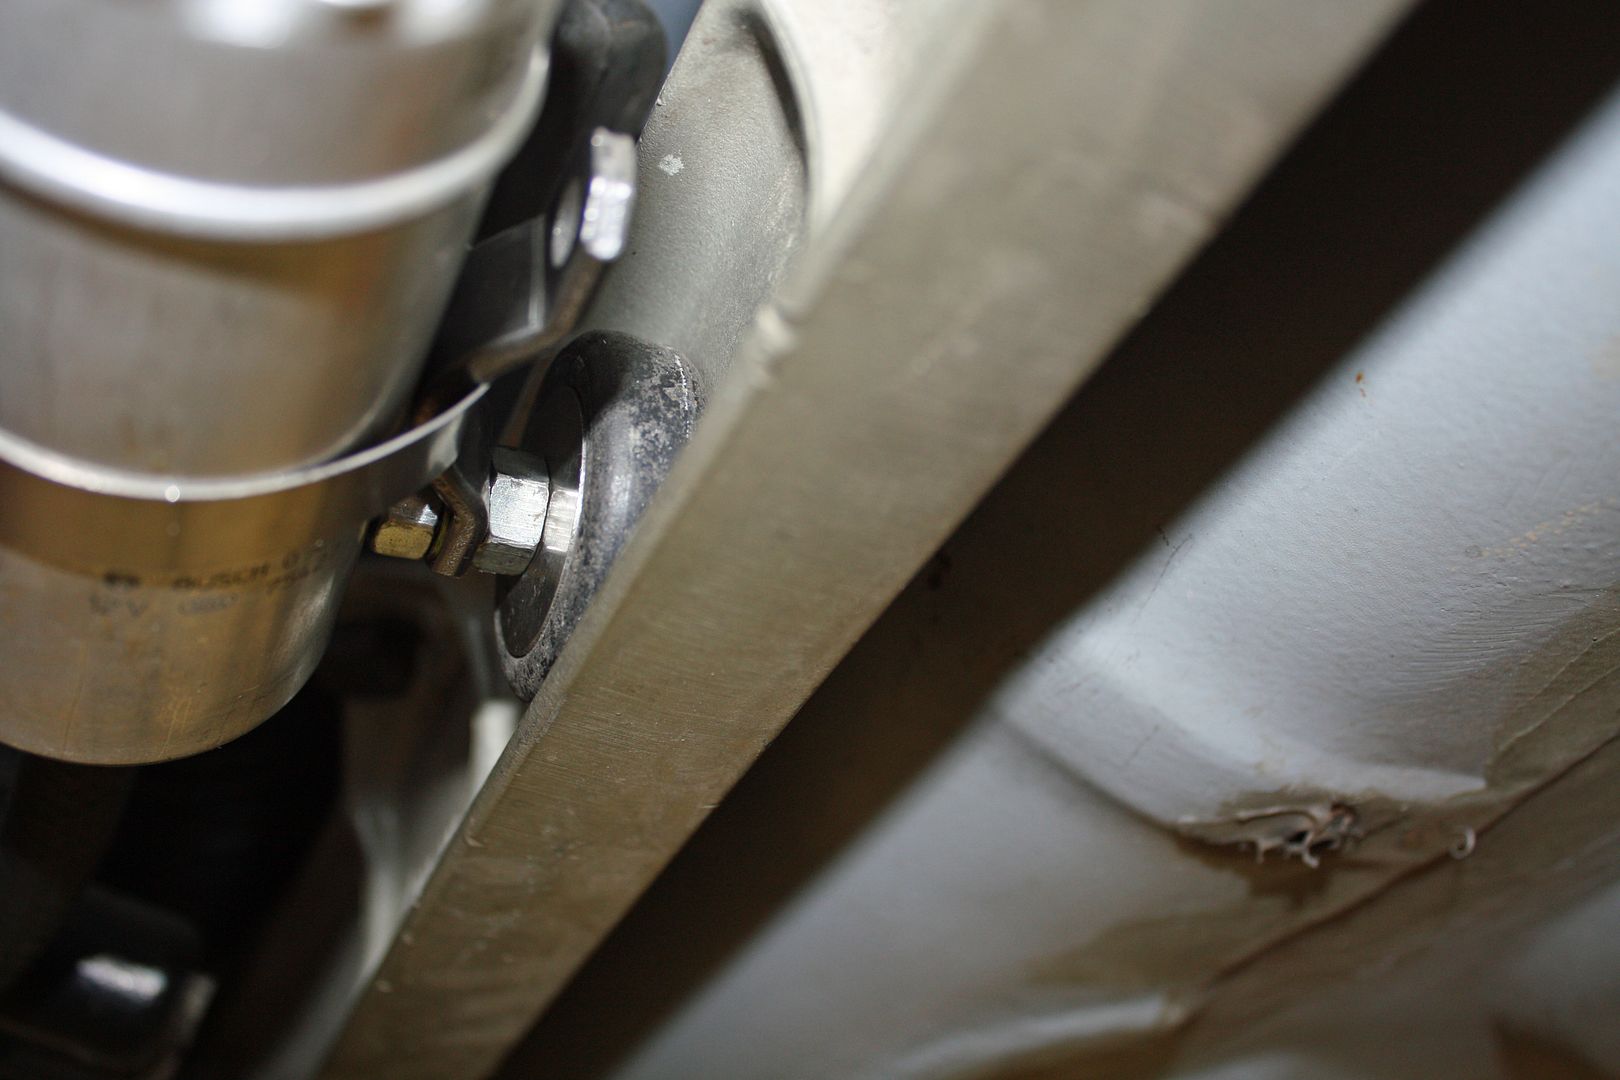
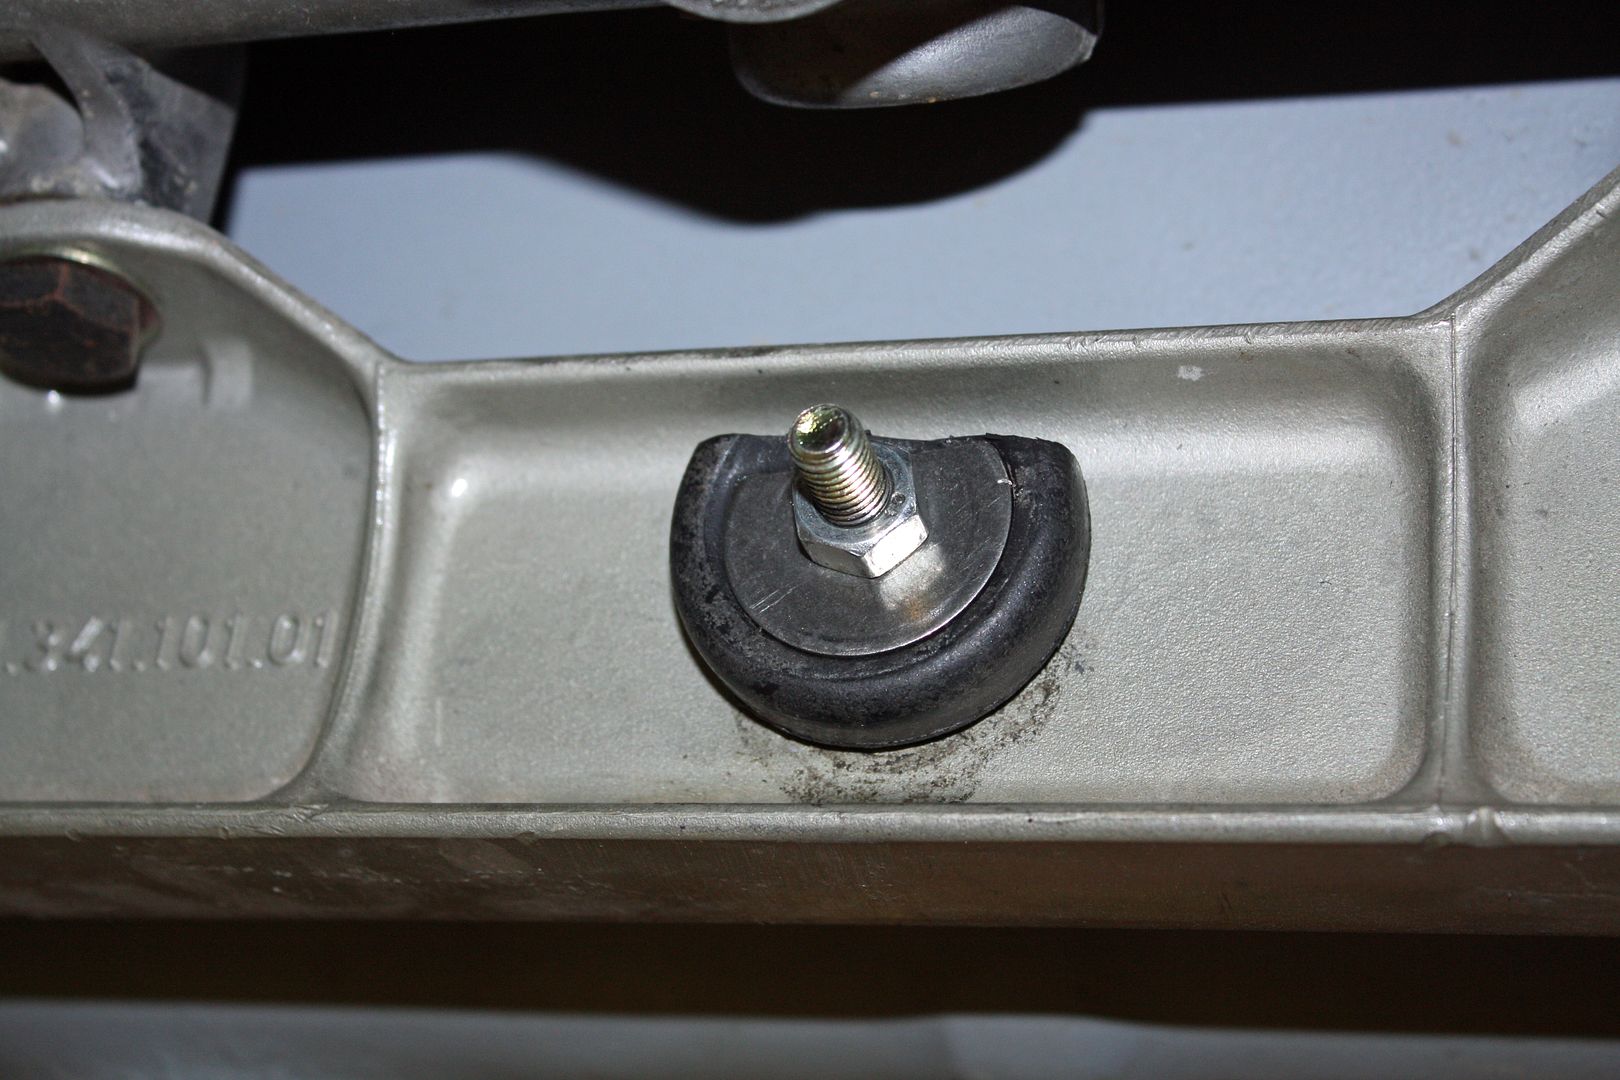
The old fuel pump had been installed across from the steering rack support but my new one is too long to fit there. I used the existing slot in the steering rack support. I widened the slot a bit, using my Dremel tool, so a bolt would fit through it. To reduce fuel pump noise I used some old bushings from one of my parts bins. To make the bolt length work, I had to cut the front side bushing in half to reduce its thickness. Looking in another parts bin, I found a curved piece of steel that would work to attach the hose clamp for mounting the fuel pump. As with most projects like this, much time was spent on finding and fiddling with various parts. I re-did the fuel pump wiring harness to make it both cleaner and more efficient. Since the steering rack cover is still at the powder coater, I won't know for sure if I have an clearance issues. If so, since I am using a slot, I can move everything up if necessary.
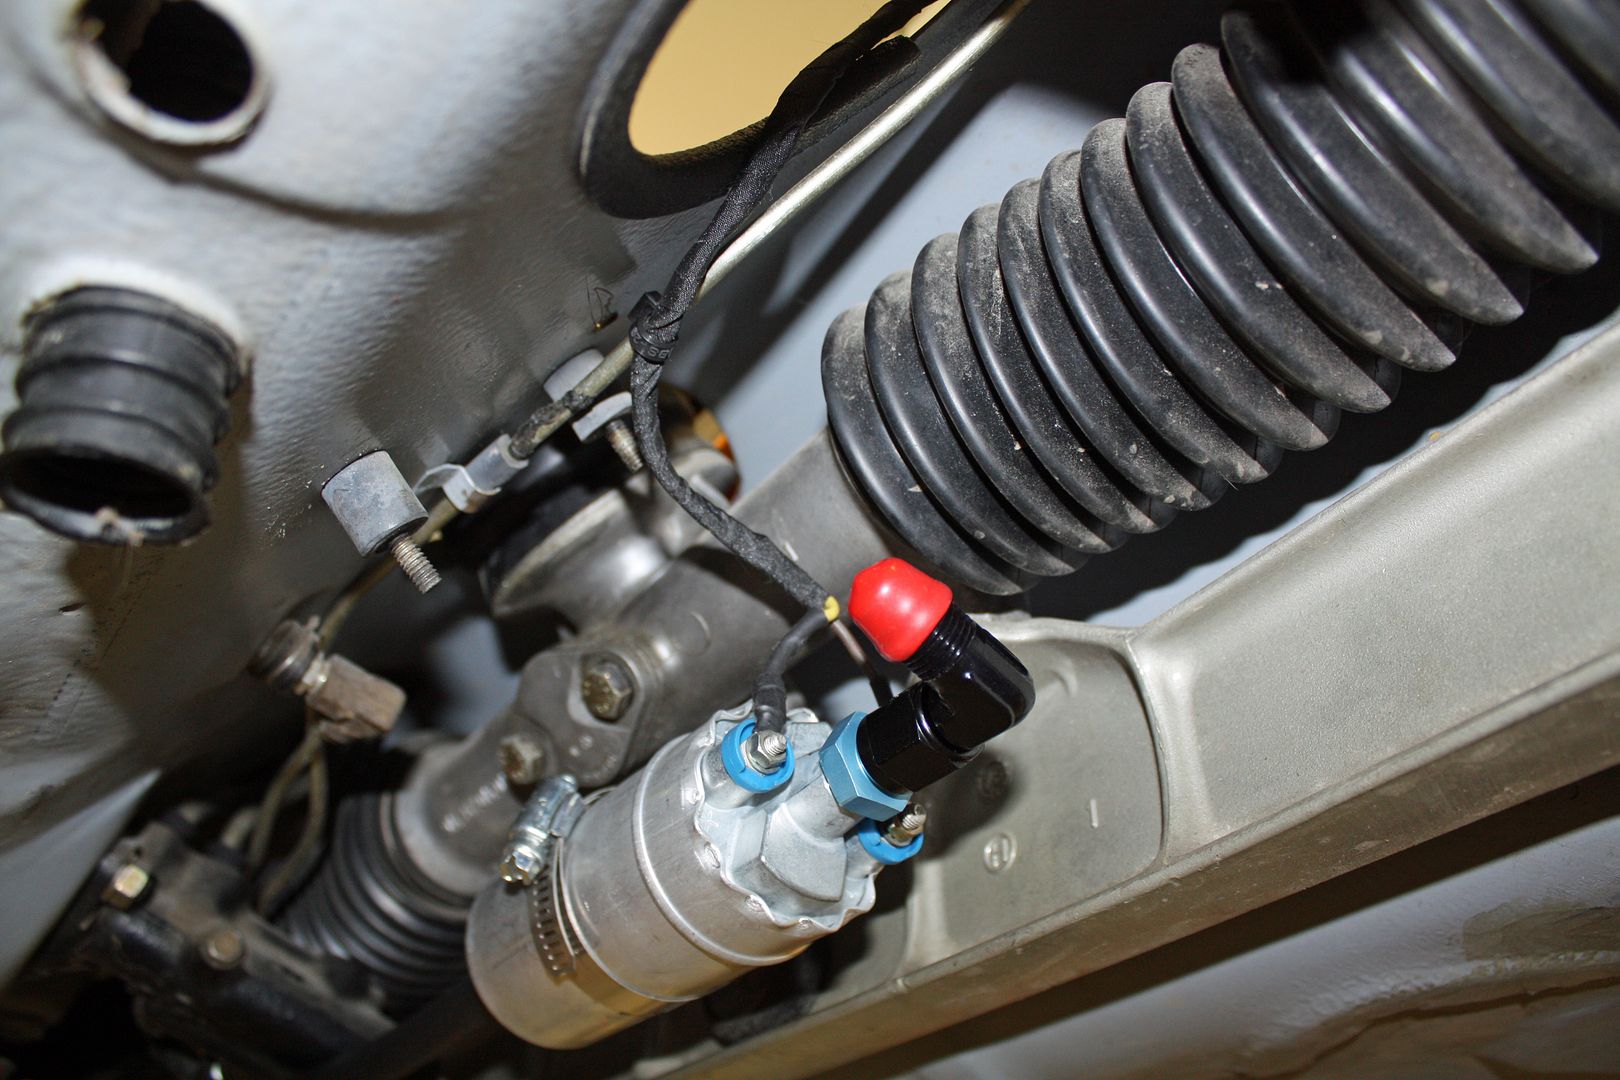
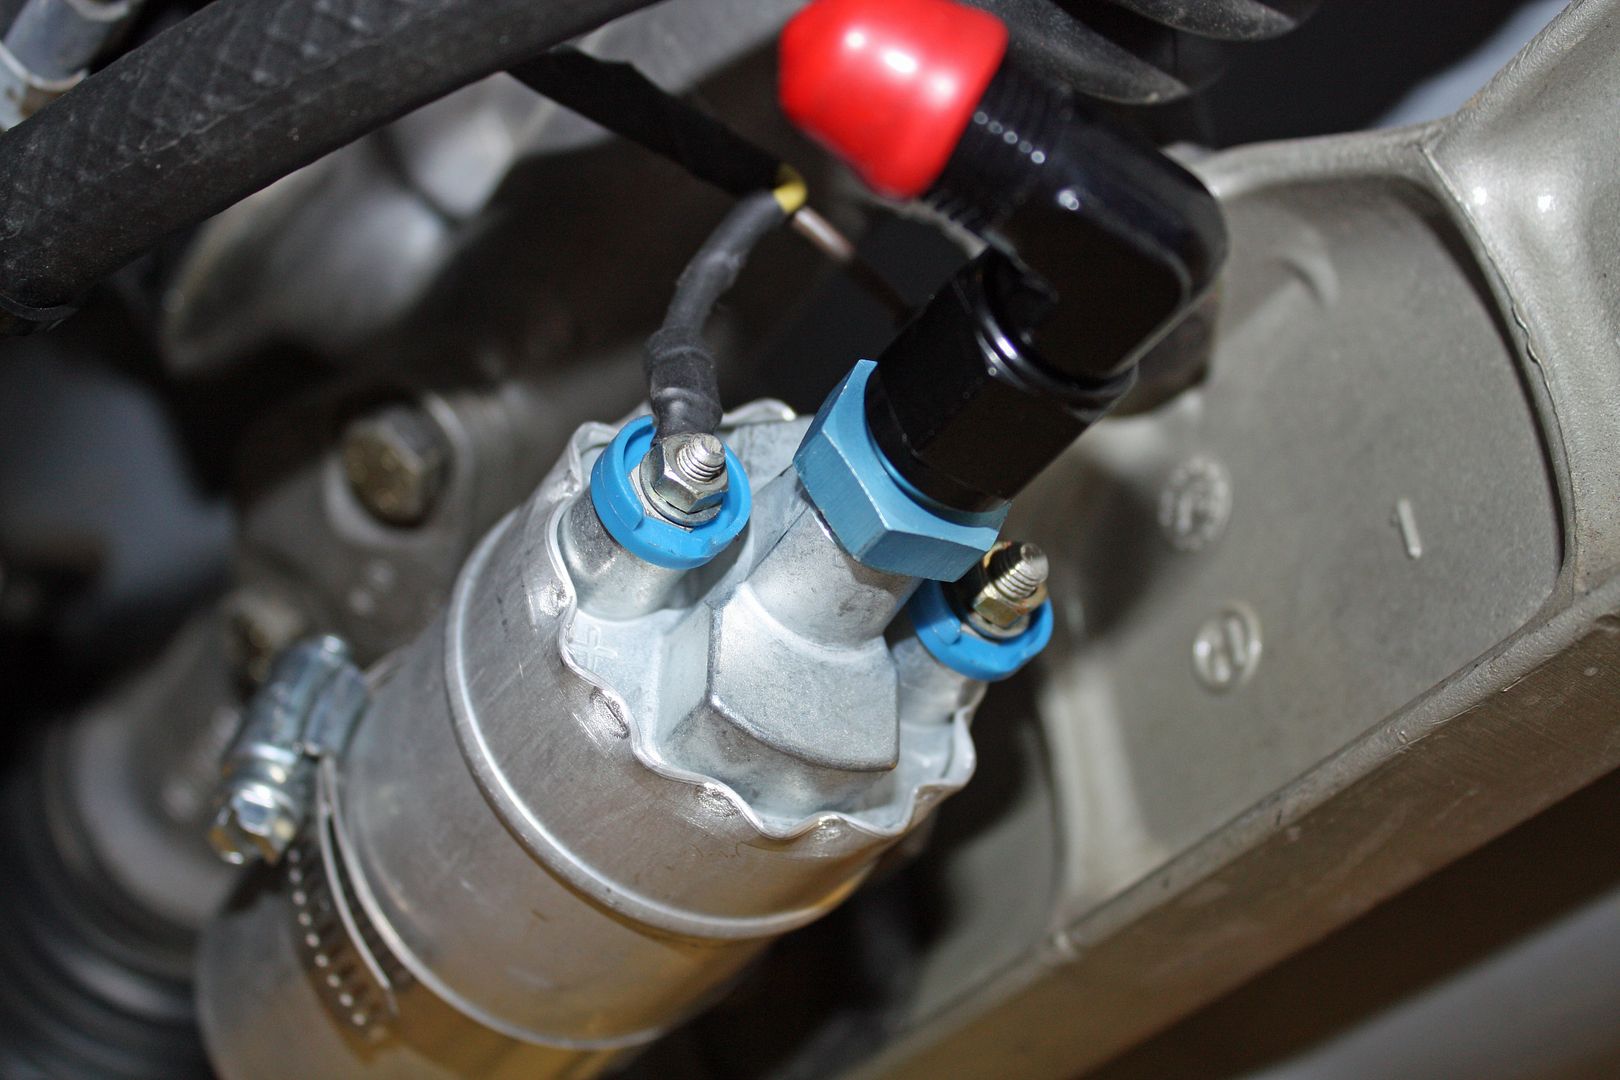
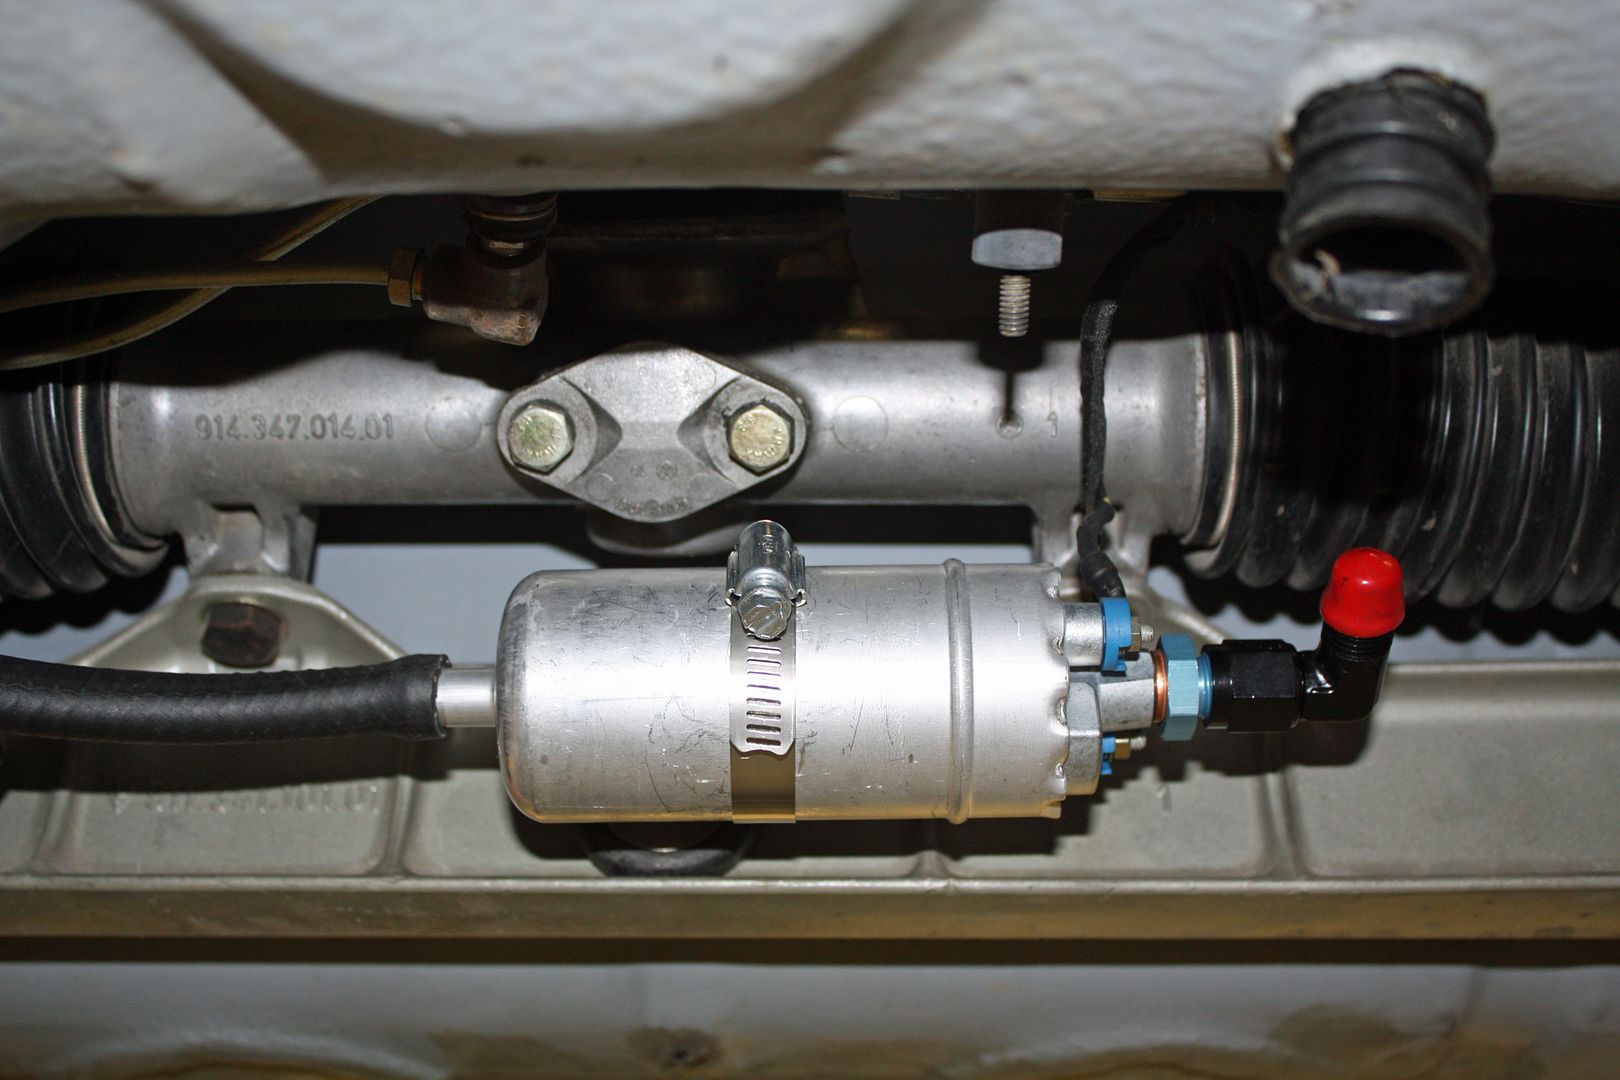
I worked on installing the fuel pump today. The pump came standard with a check valve fitting. Richard Clewett says he replaces that fitting with a -6 AN male threads to 10mm x 1.0 Male as shown in the photo below. I could not find this one in black.


The old fuel pump had been installed across from the steering rack support but my new one is too long to fit there. I used the existing slot in the steering rack support. I widened the slot a bit, using my Dremel tool, so a bolt would fit through it. To reduce fuel pump noise I used some old bushings from one of my parts bins. To make the bolt length work, I had to cut the front side bushing in half to reduce its thickness. Looking in another parts bin, I found a curved piece of steel that would work to attach the hose clamp for mounting the fuel pump. As with most projects like this, much time was spent on finding and fiddling with various parts. I re-did the fuel pump wiring harness to make it both cleaner and more efficient. Since the steering rack cover is still at the powder coater, I won't know for sure if I have an clearance issues. If so, since I am using a slot, I can move everything up if necessary.


 09-16-2018, 04:32 PM
#56
Racer
Thread Starter
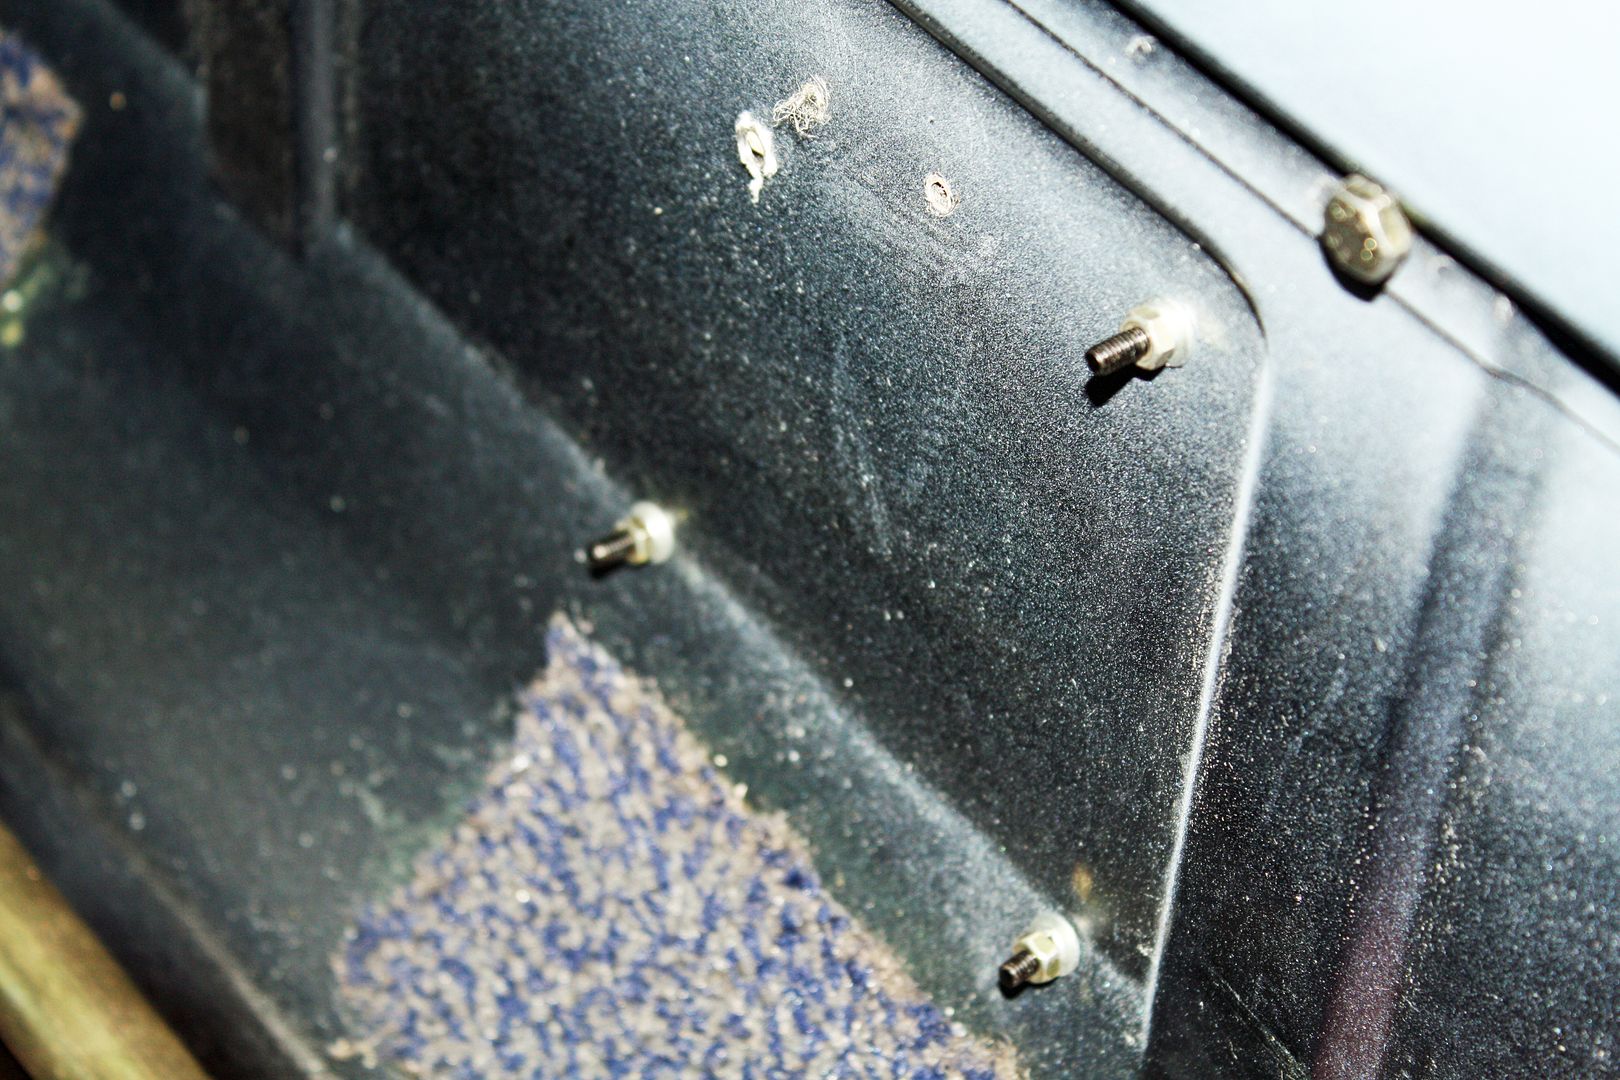
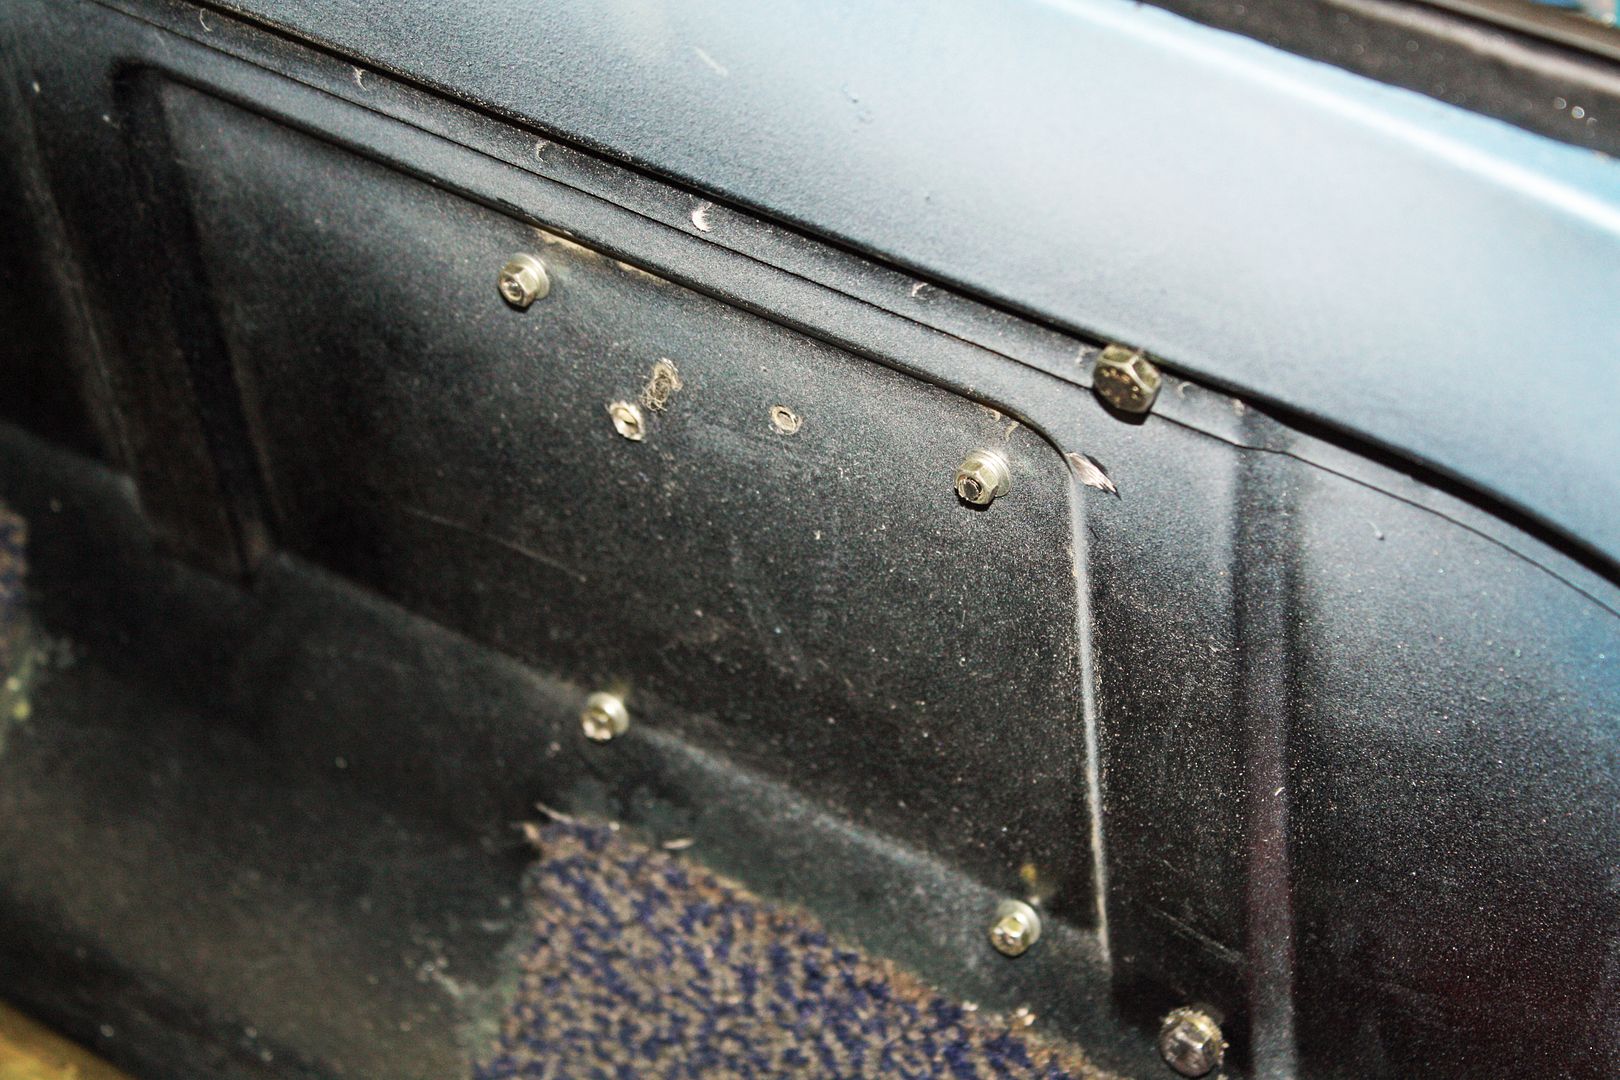
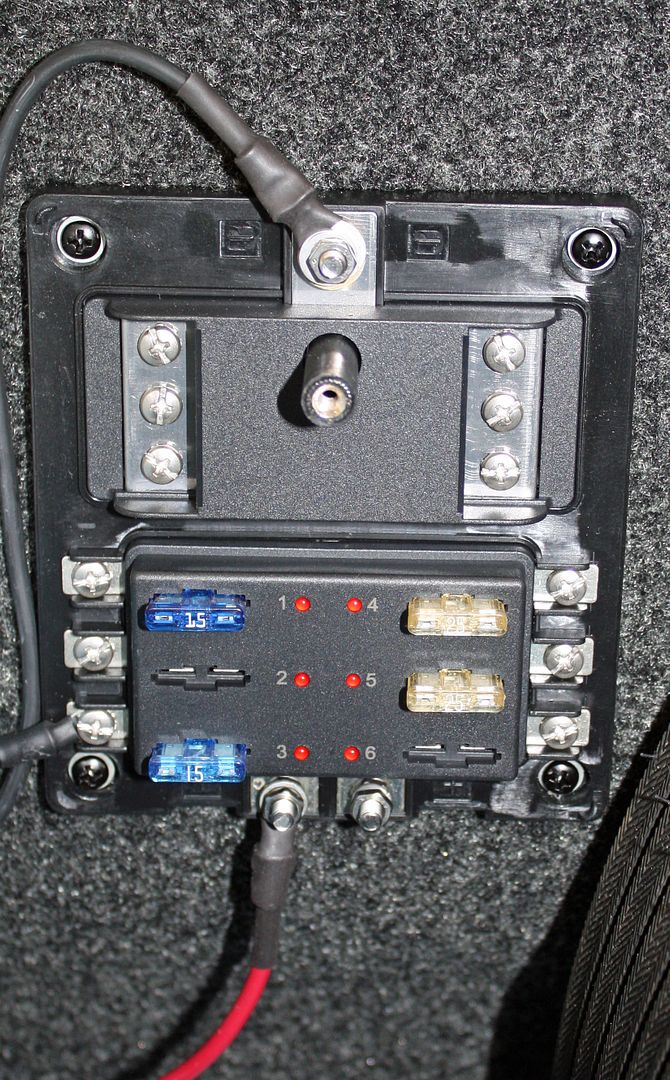
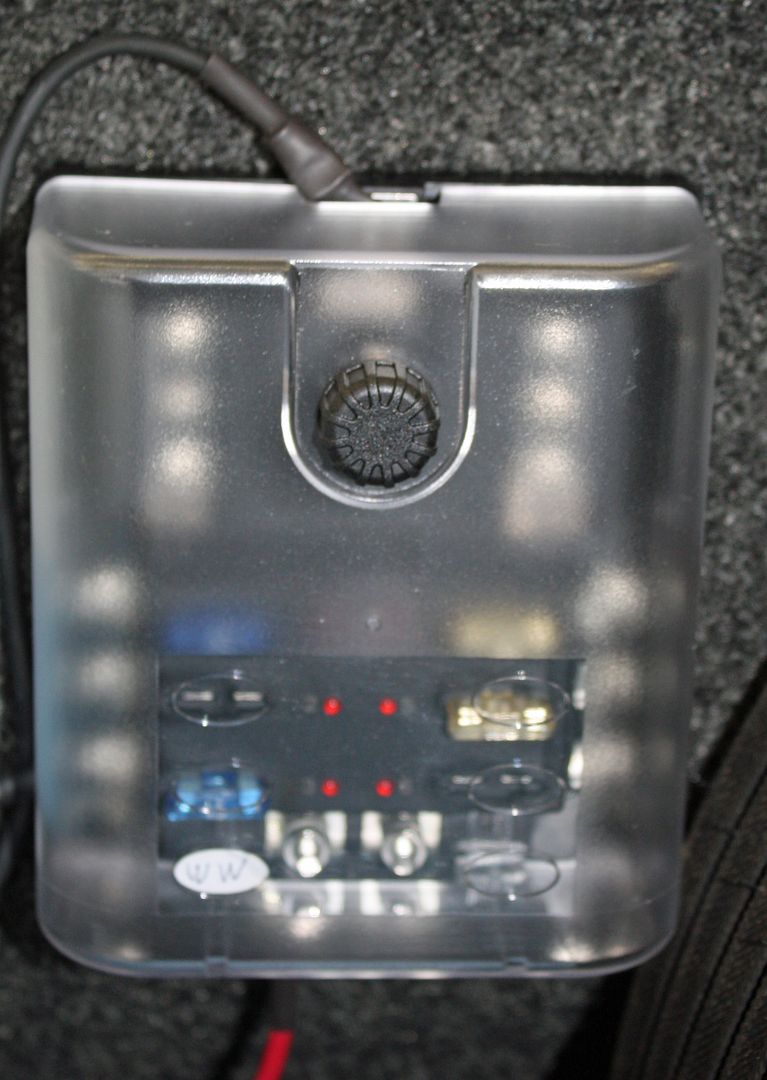
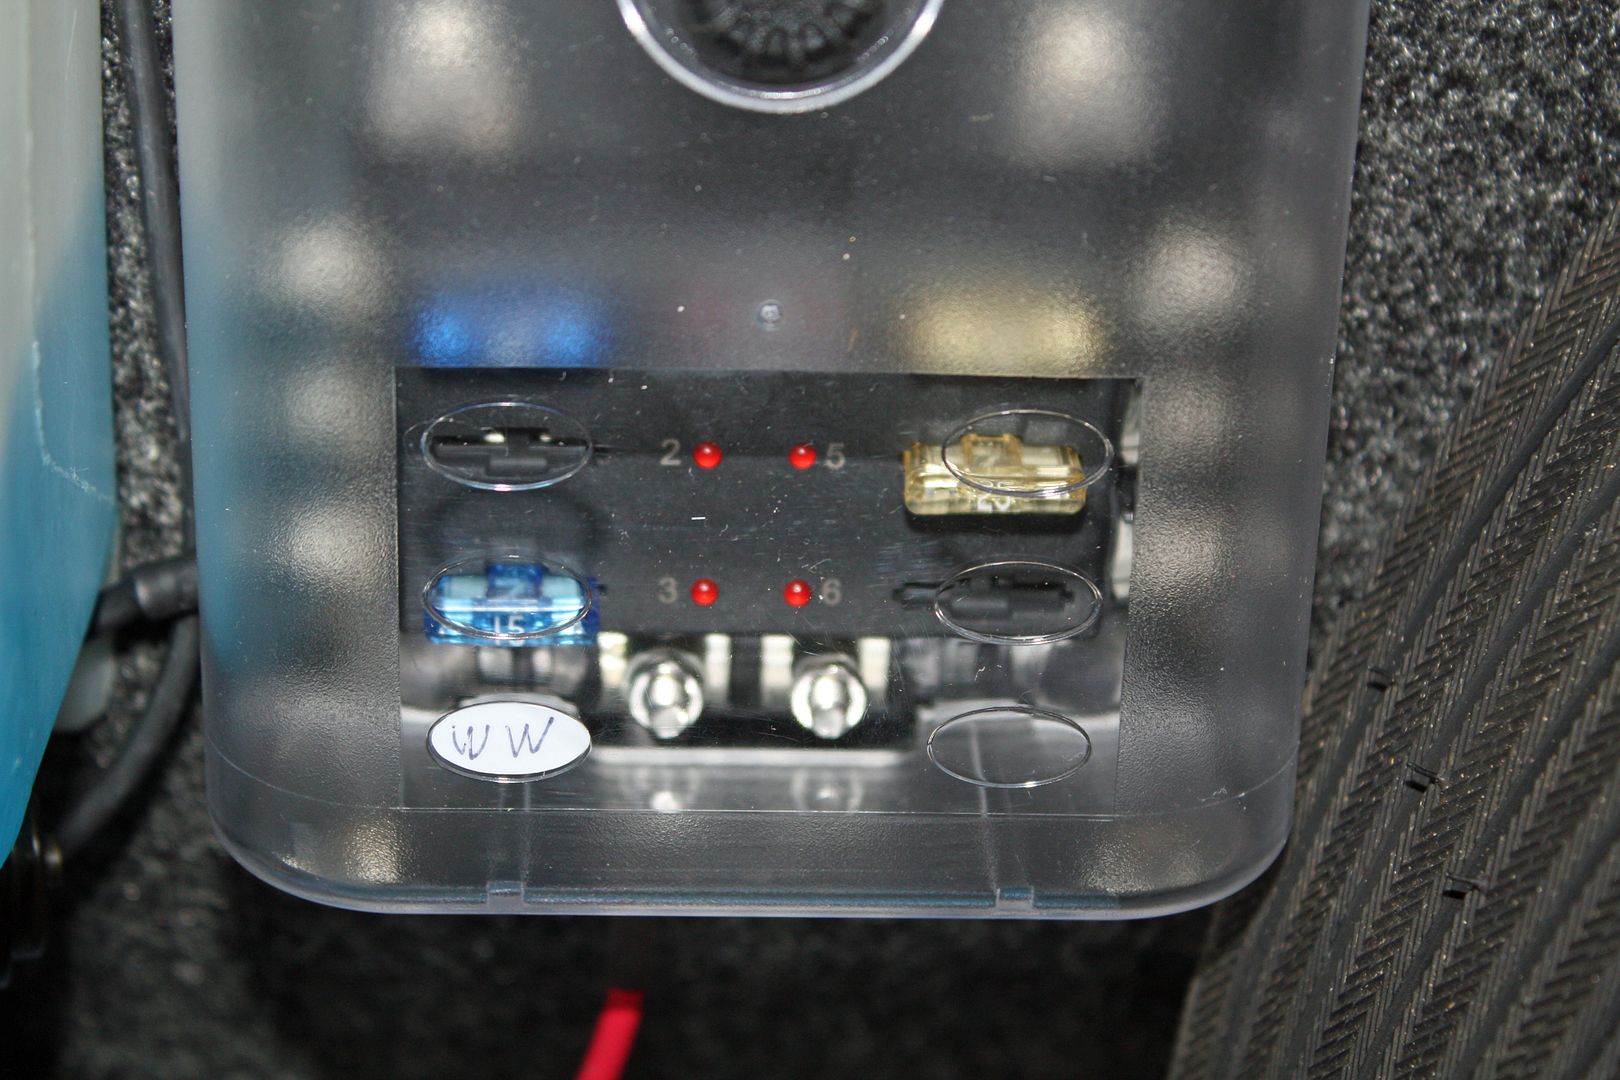
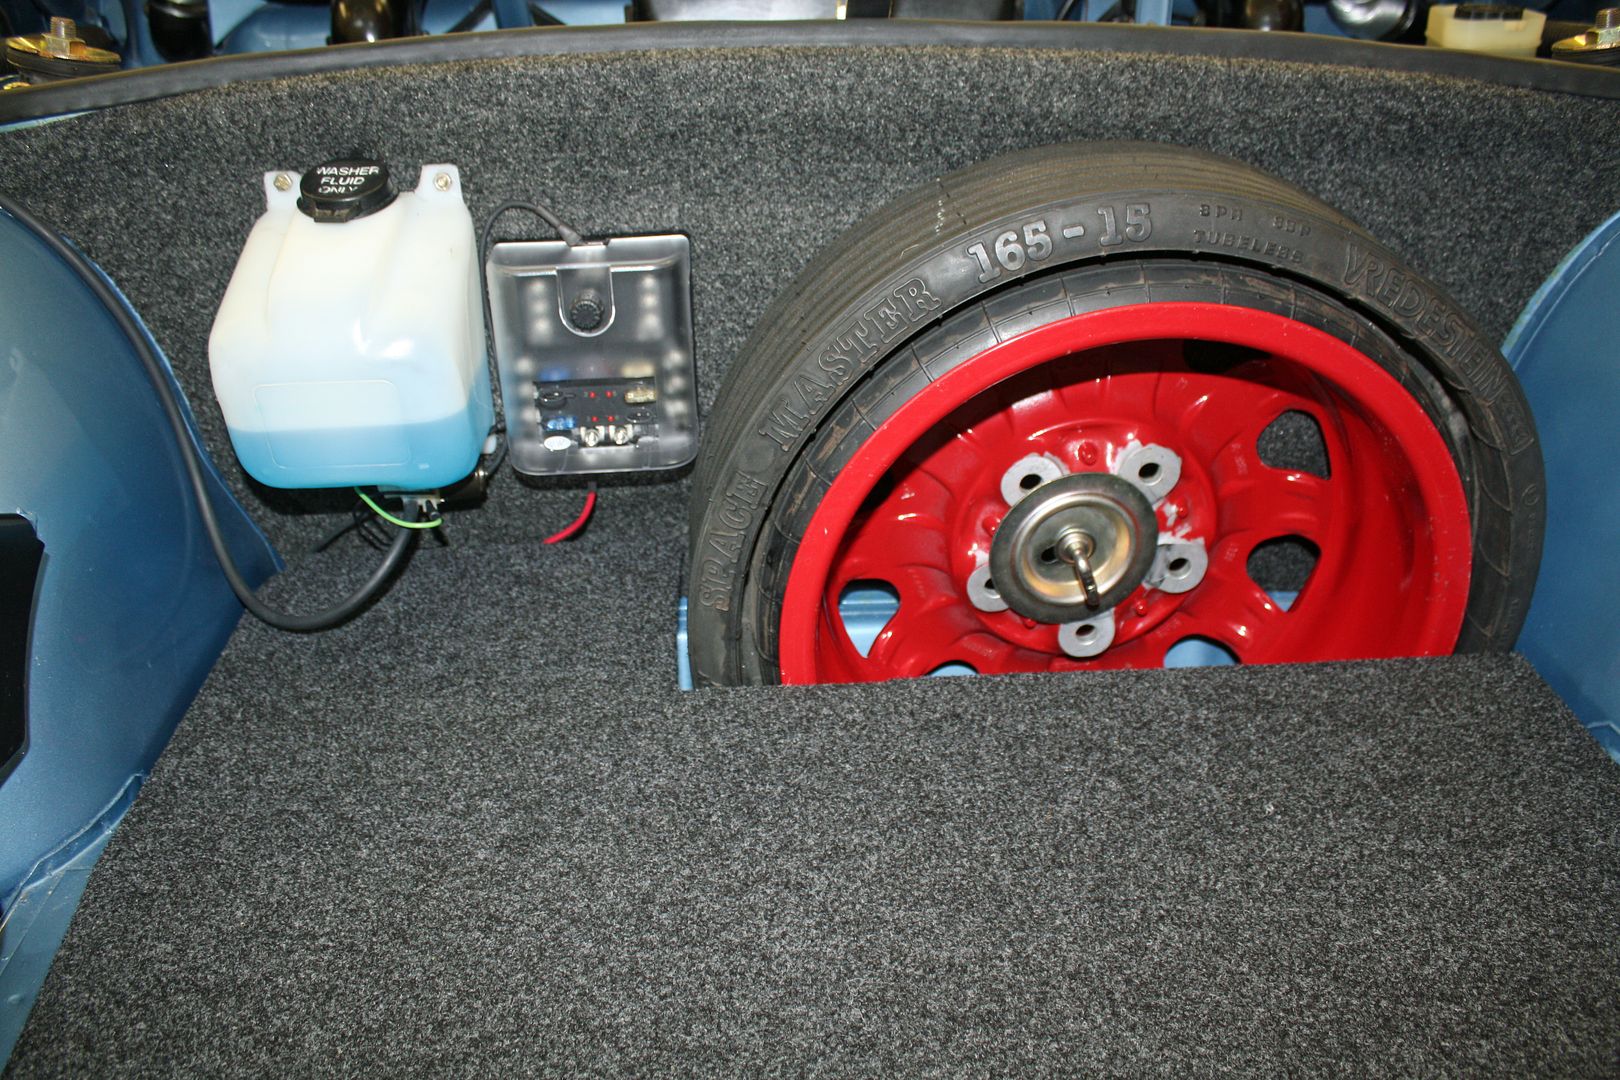
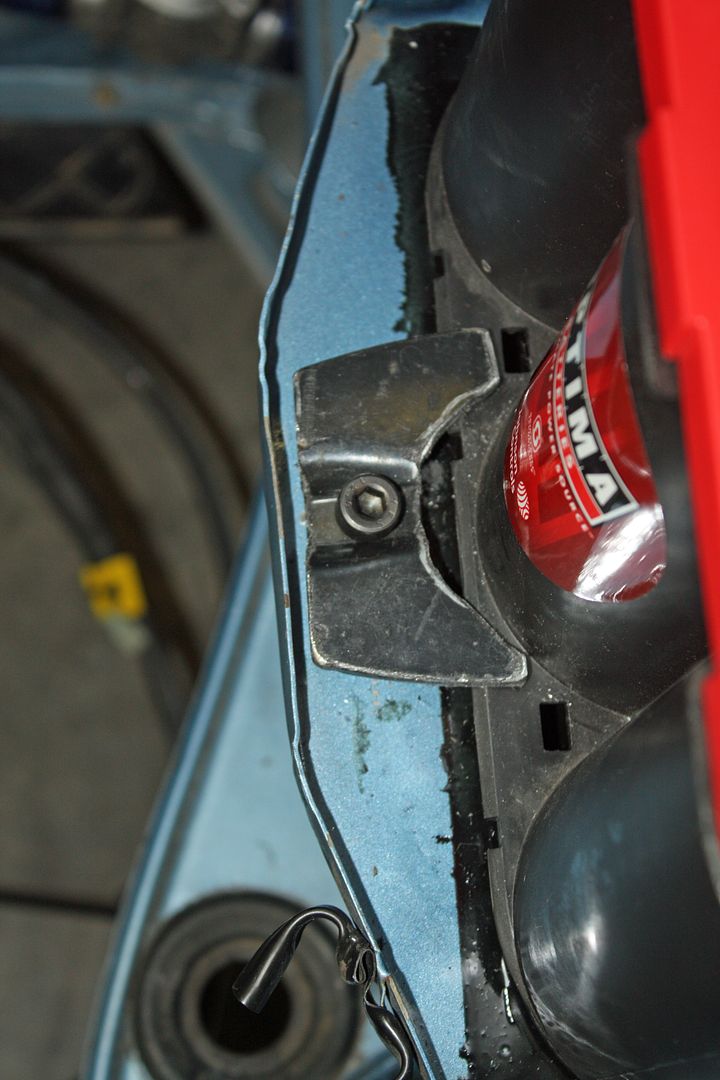
I wasn't happy with the front trunk junction box that was in the car when I got it. There was no cover for it and all of the leads were exposed. It would be easy to short it out.
I found a unit at Summit Racing that had a cover and looked like it was a quality piece.
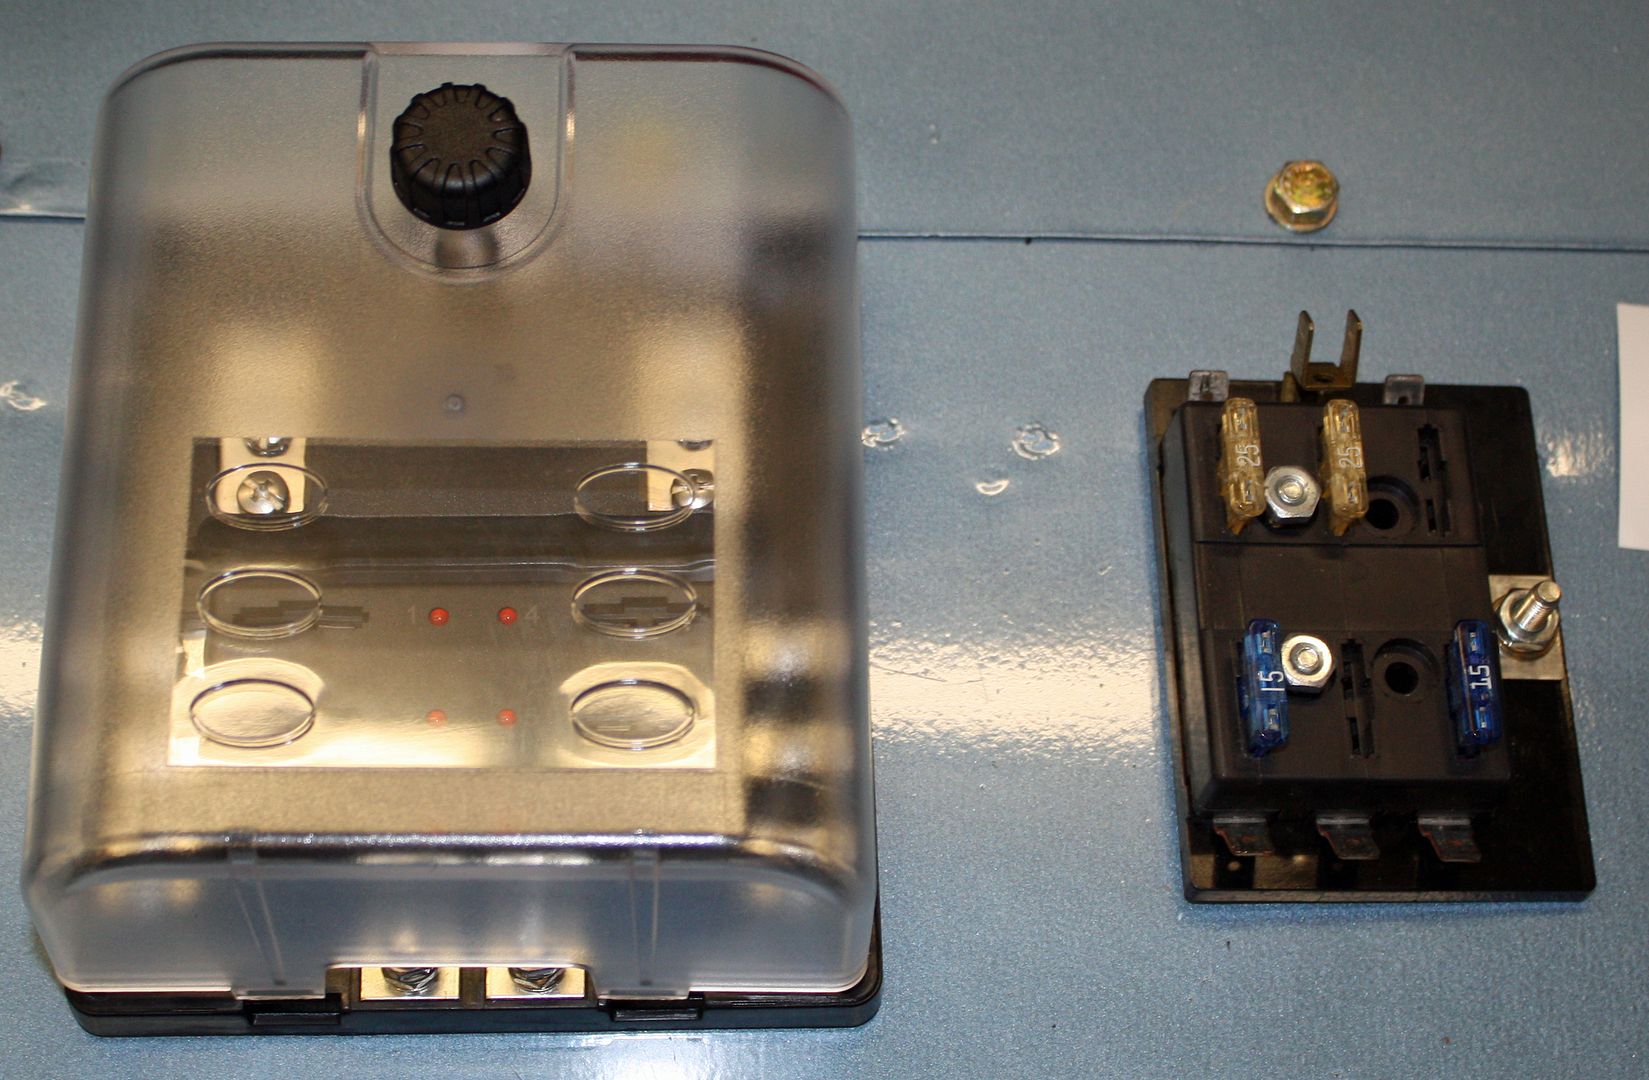
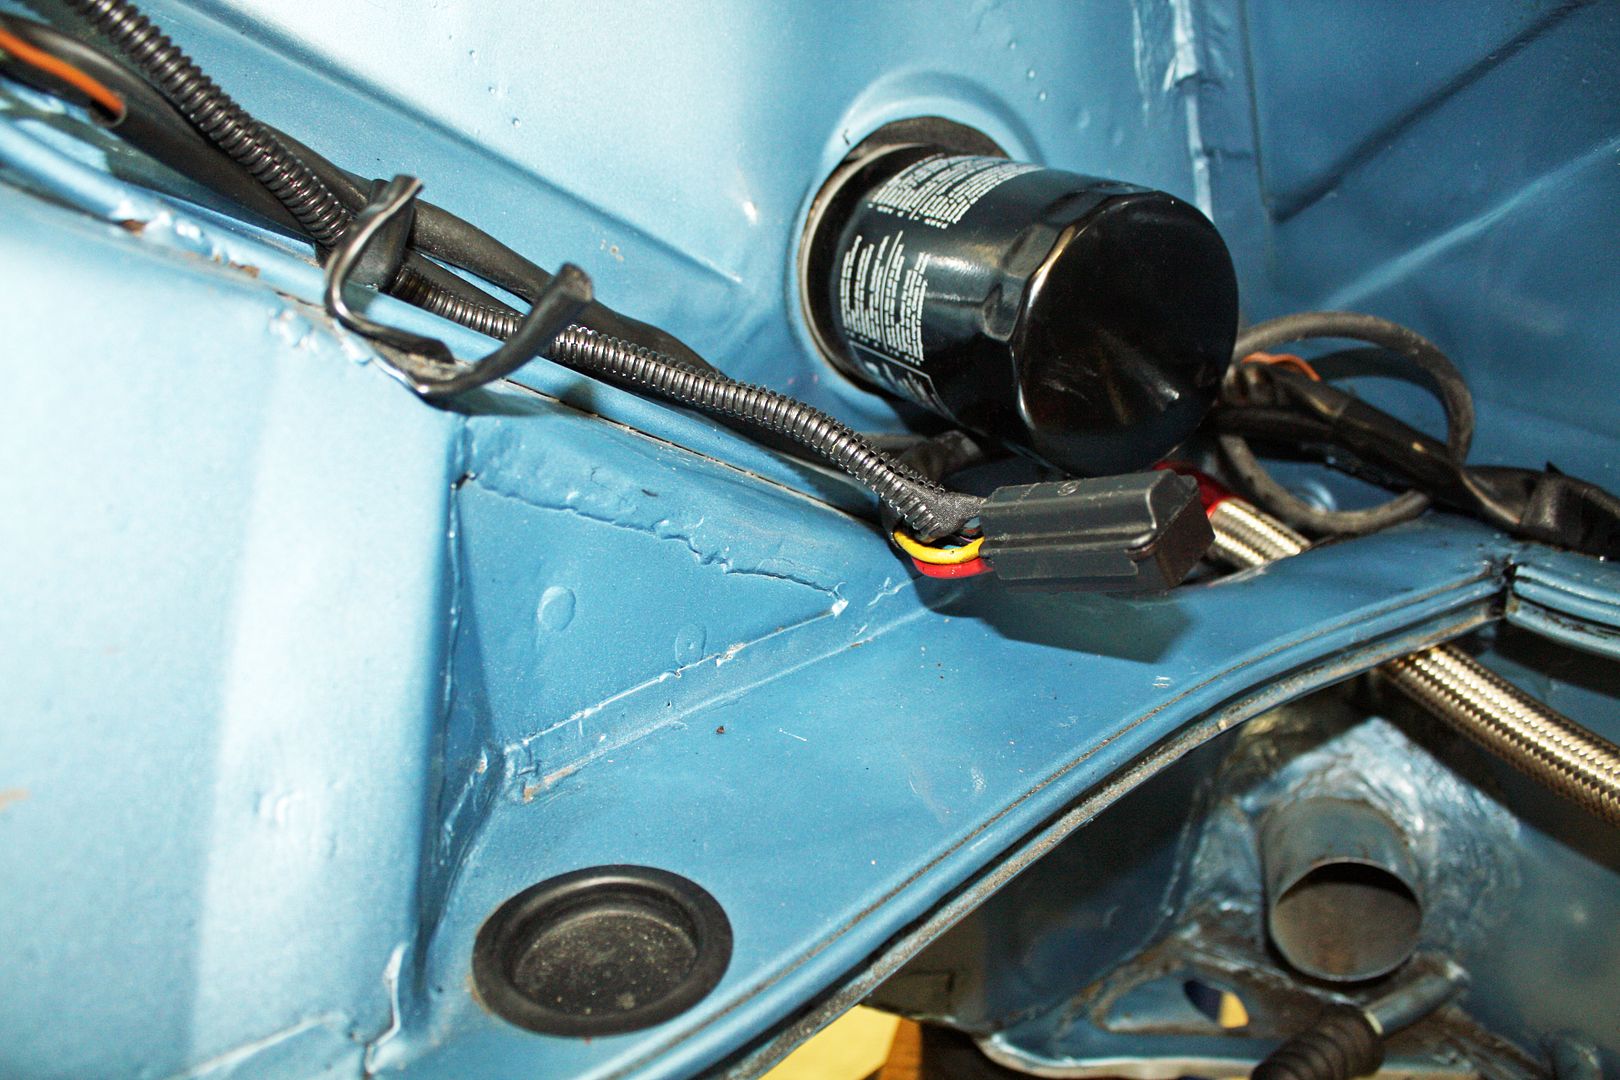
When I installed the fuel pump yesterday, I wasted my time hooking up the wiring as it had been for the old fuel pump. Turns out there is a wiring harness that came with the ECU that has a built in fuse block and relays. This fuel pump draws a lot more amps than the old pump.
After installing the box, I used my Dremel to cut off the extra bolt length inside the fuel tank bay. Perry Kiehl had installed a windshield washer in the trunk. I wired it, and ran a ground and a power lead for the junction box. When I install the radio, I will use this box for power and fusing.

I found a unit at Summit Racing that had a cover and looked like it was a quality piece.

When I installed the fuel pump yesterday, I wasted my time hooking up the wiring as it had been for the old fuel pump. Turns out there is a wiring harness that came with the ECU that has a built in fuse block and relays. This fuel pump draws a lot more amps than the old pump.
After installing the box, I used my Dremel to cut off the extra bolt length inside the fuel tank bay. Perry Kiehl had installed a windshield washer in the trunk. I wired it, and ran a ground and a power lead for the junction box. When I install the radio, I will use this box for power and fusing.


 09-24-2018, 05:32 PM
#57
Racer
Thread Starter
I didn't get much done on the car last week. After the storm there were lots of branches down in the yard. I have been waiting for the temperatures to moderate before I cleaned up the motorhome after our last trip. I finally gave up waiting for cooler temps. I spent a couple days preparing it for our next trip.
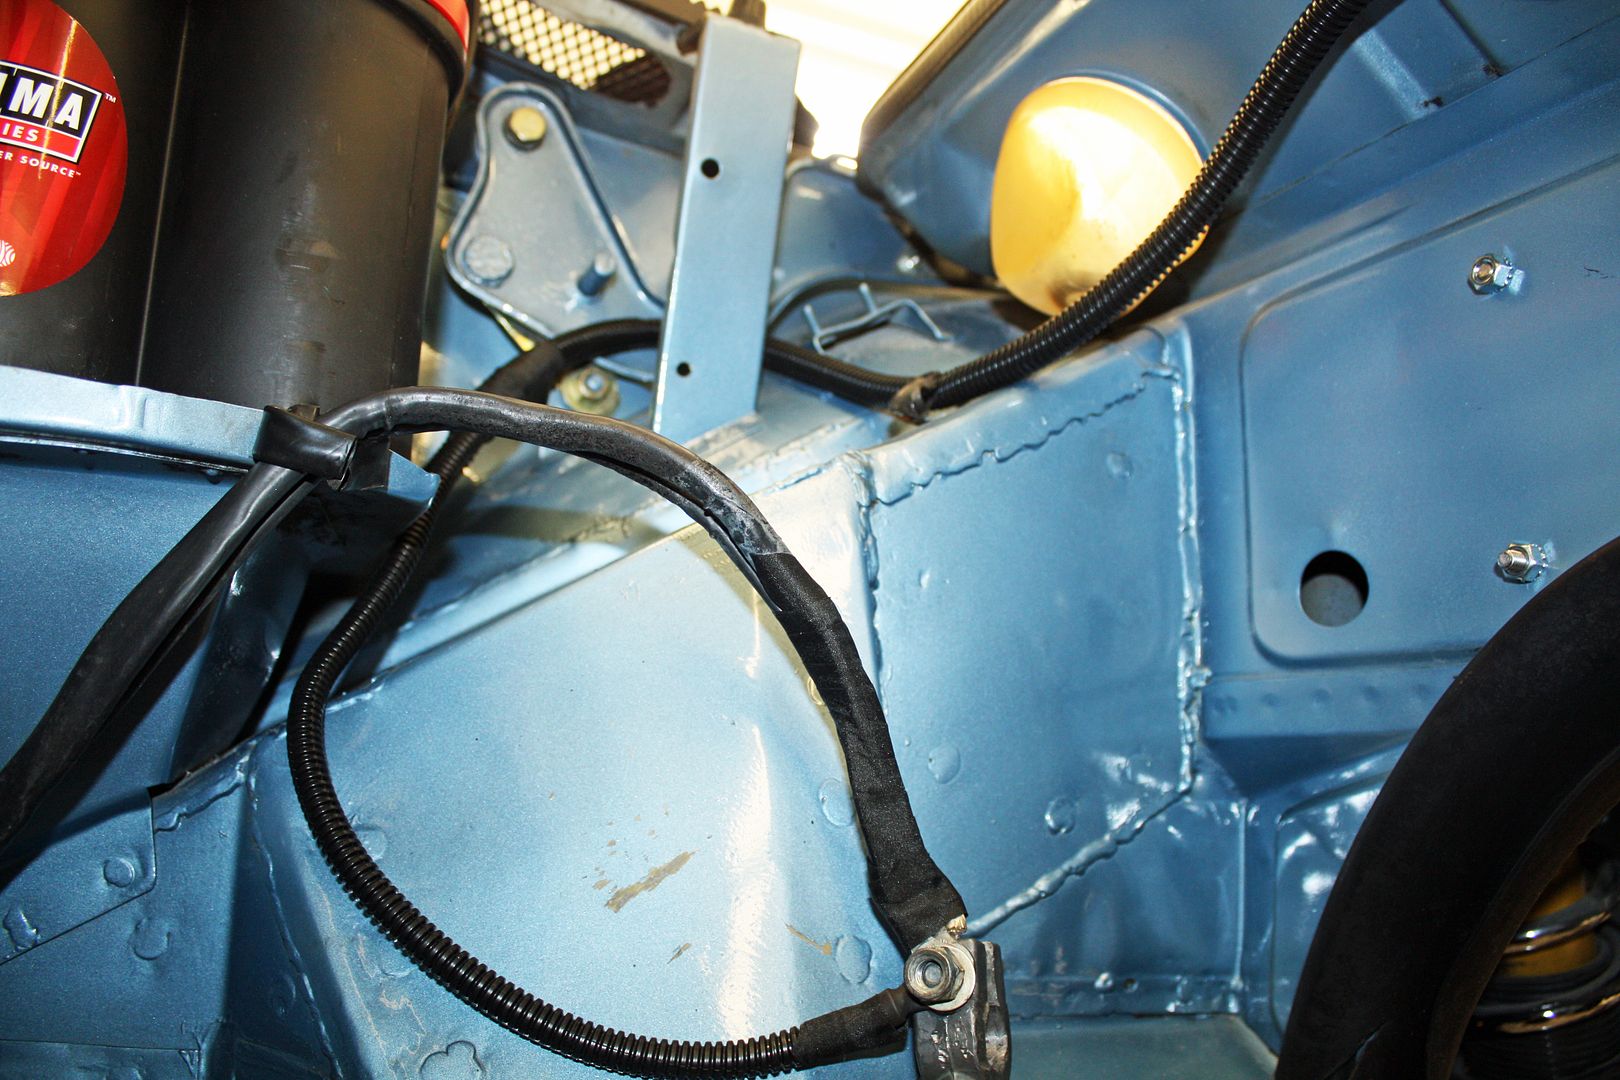
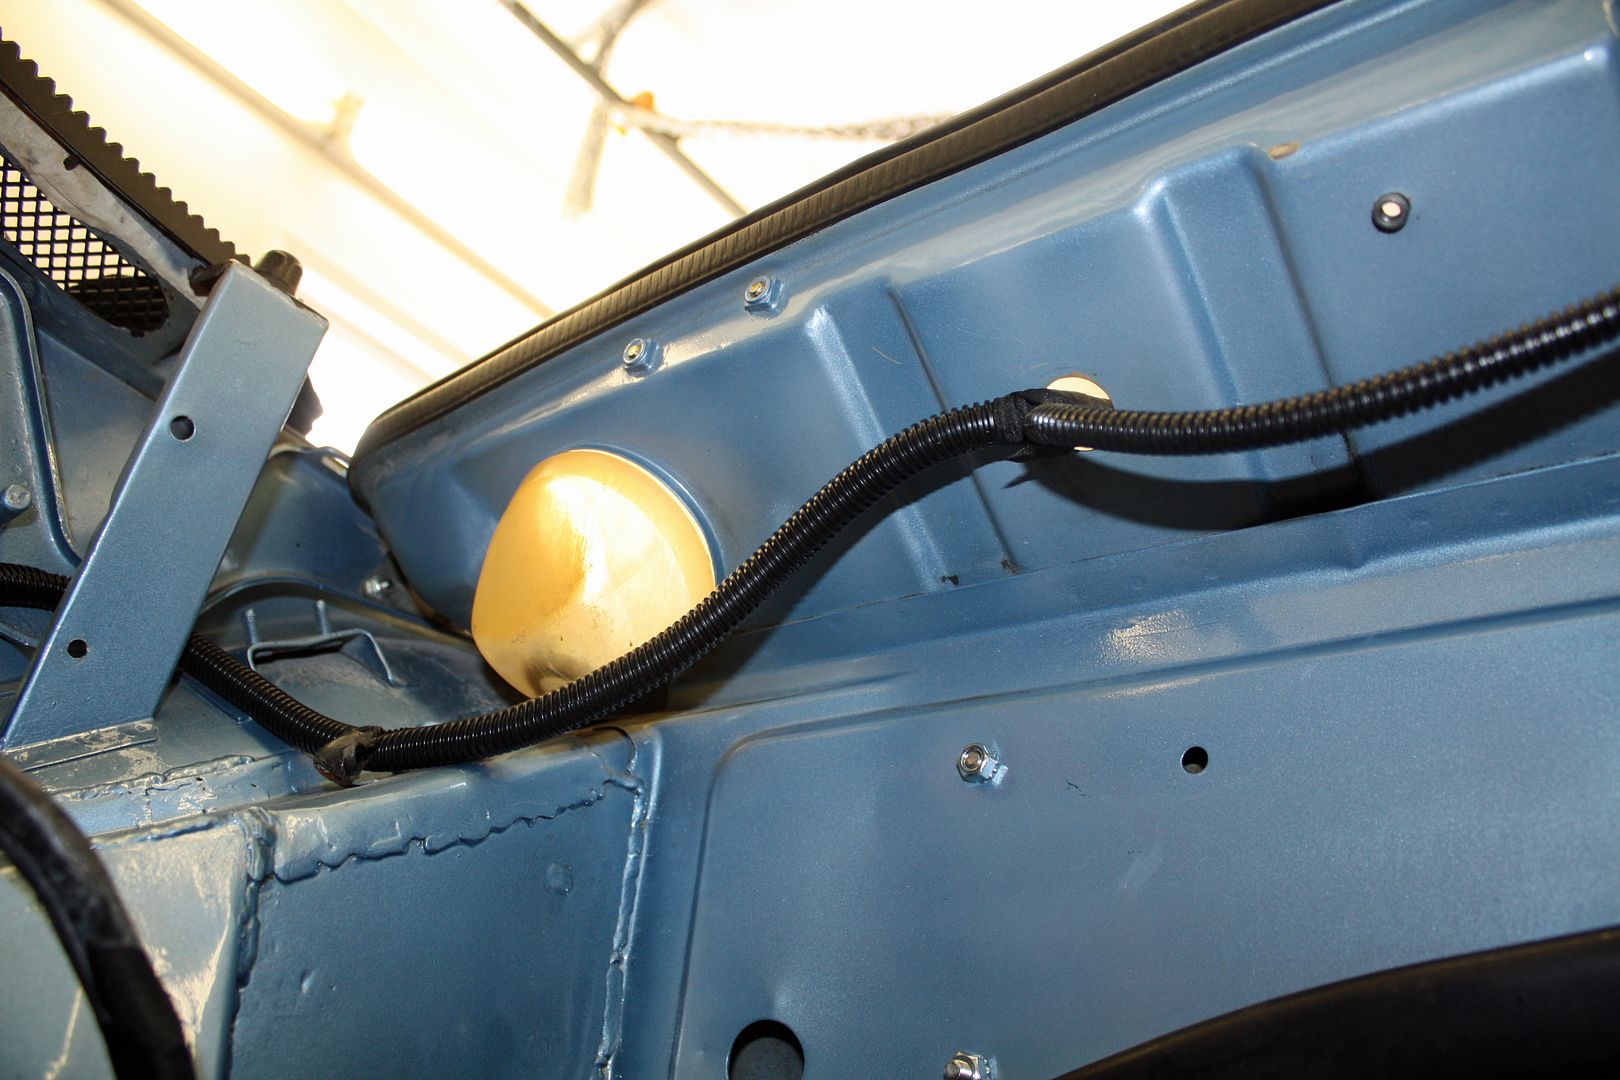
I cleaned up the wiring to the junction box in the front trunk. The wires had previously been run near the shock towers which made them visible. I decided to run them along the oil cooler lines. Since these lines become very warm, I cut up some old spark plug insulators and wrapped them around the oil lines to provide insulation for them wiring. I also ran two extra wires inside the harness for possible future use.
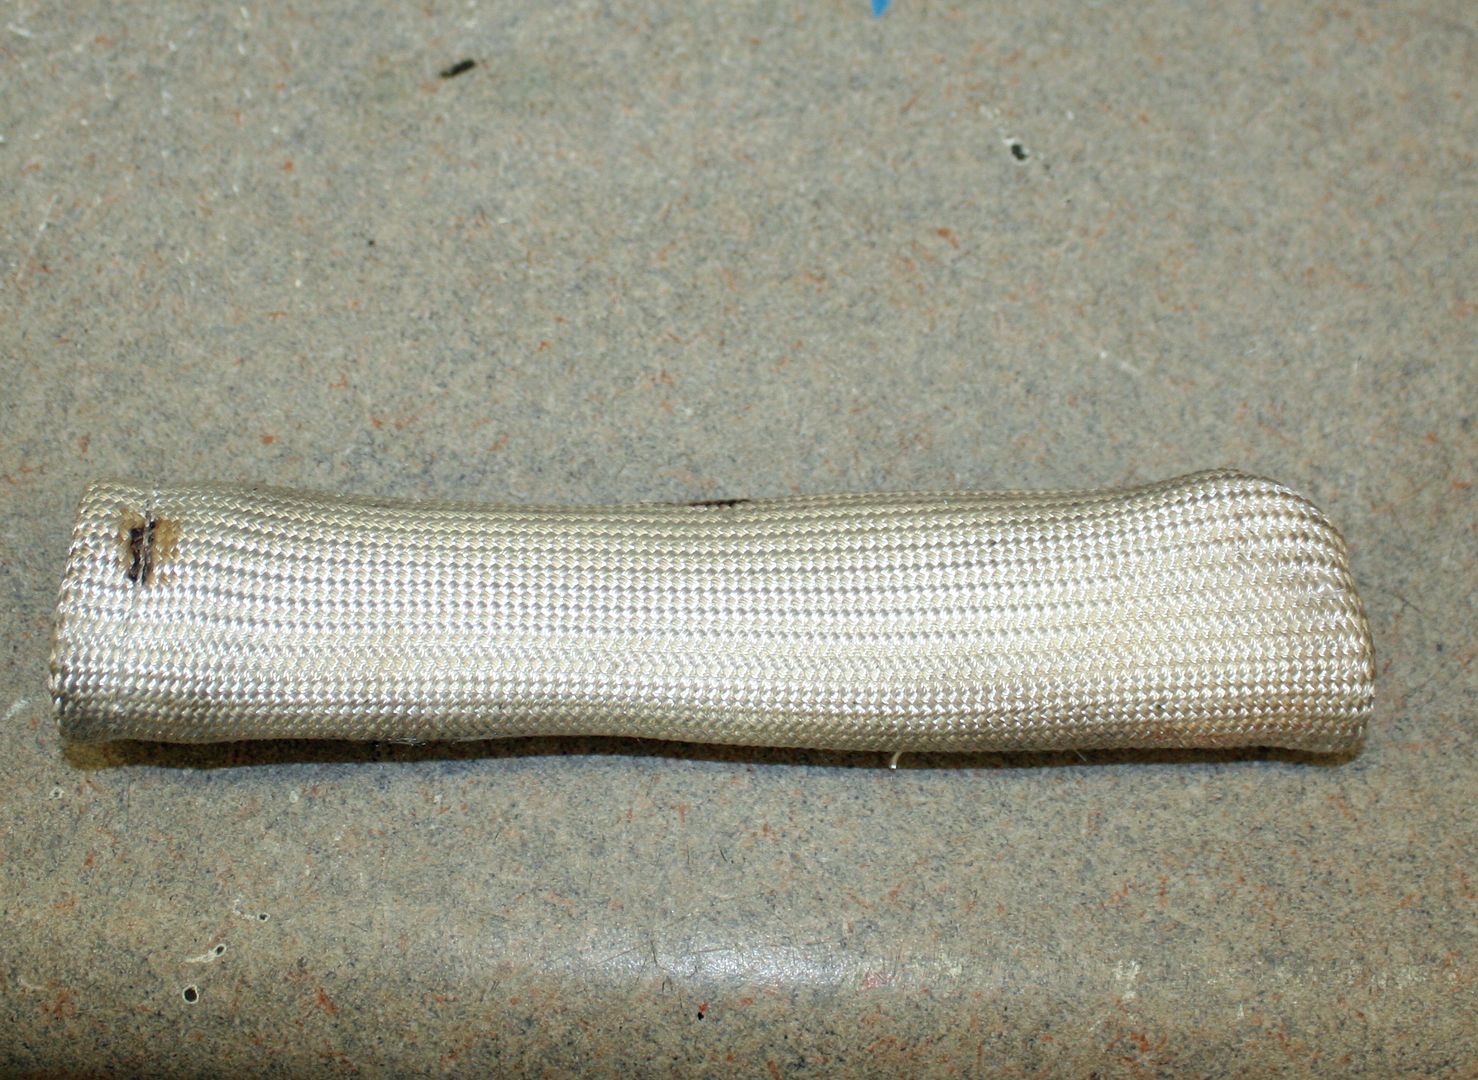
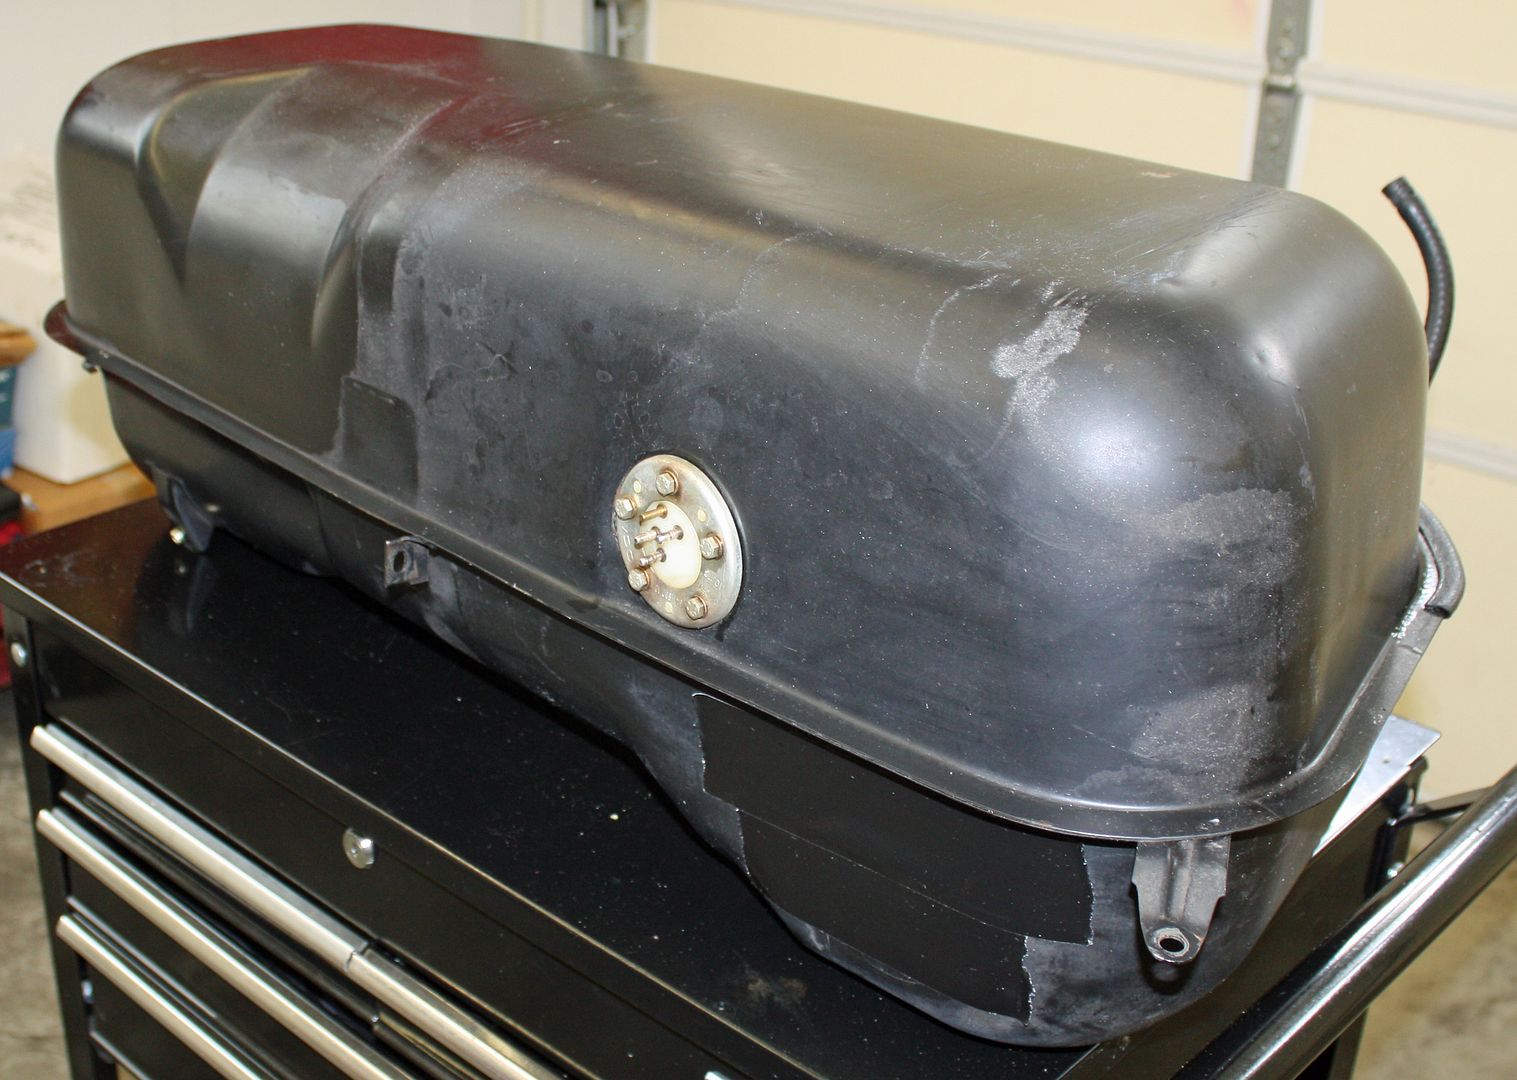
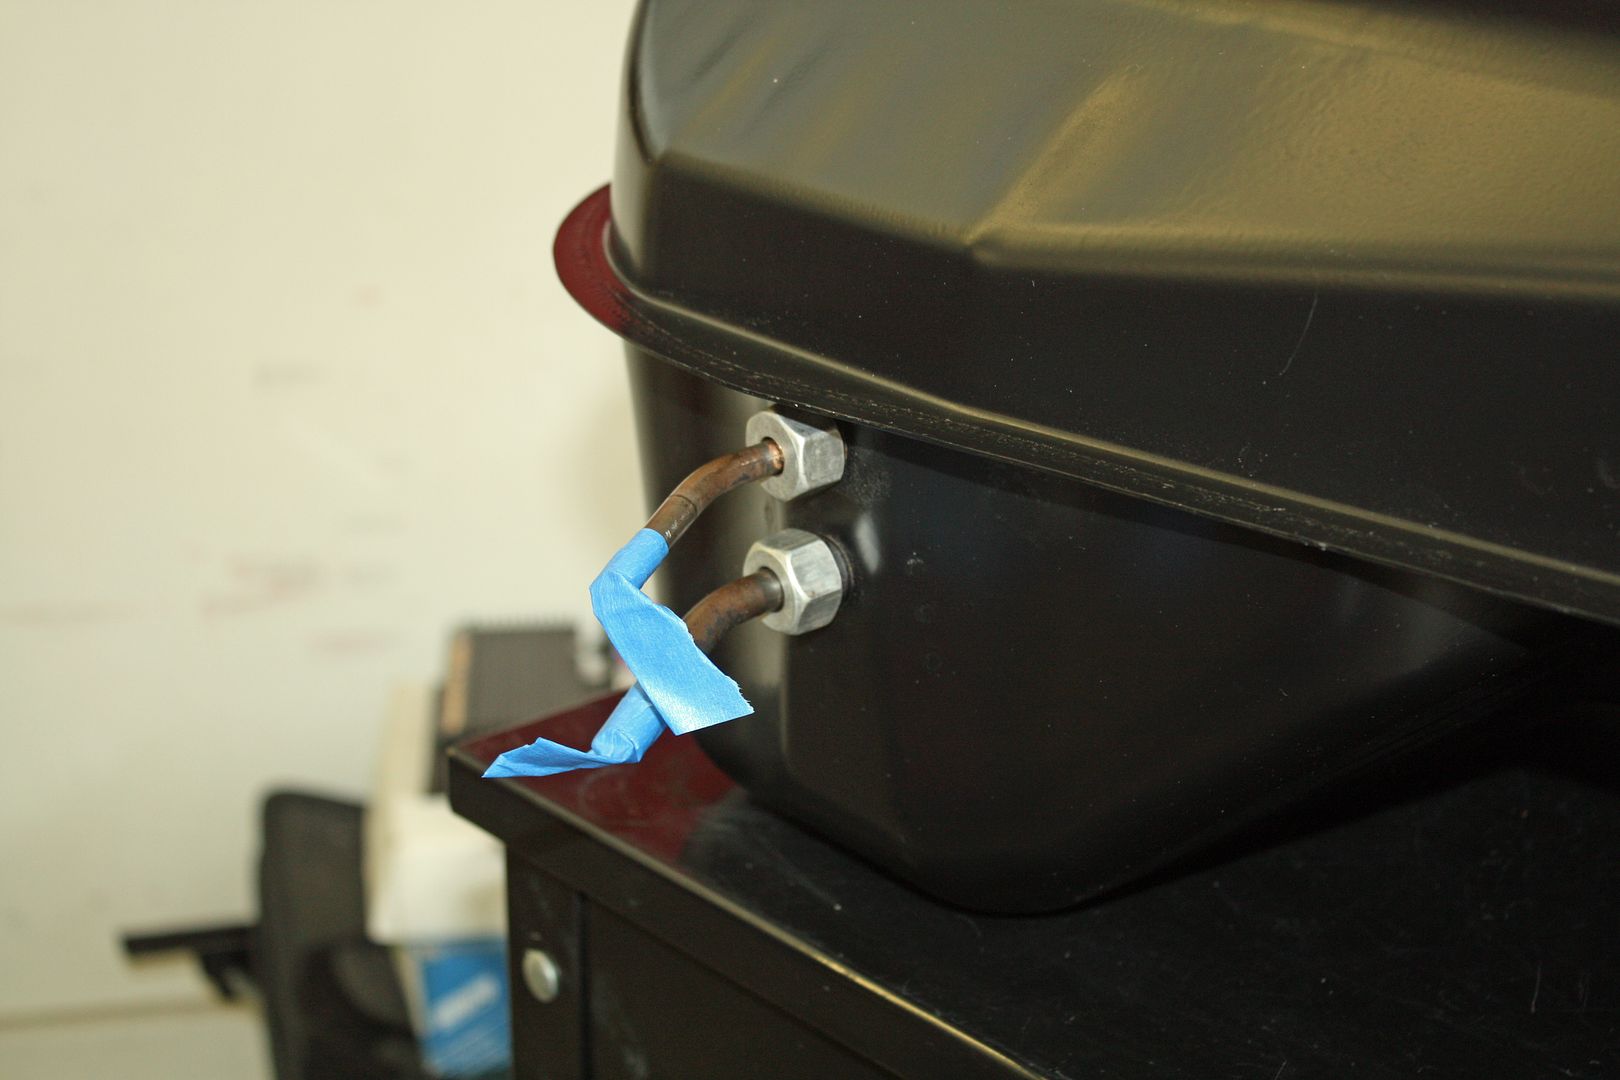
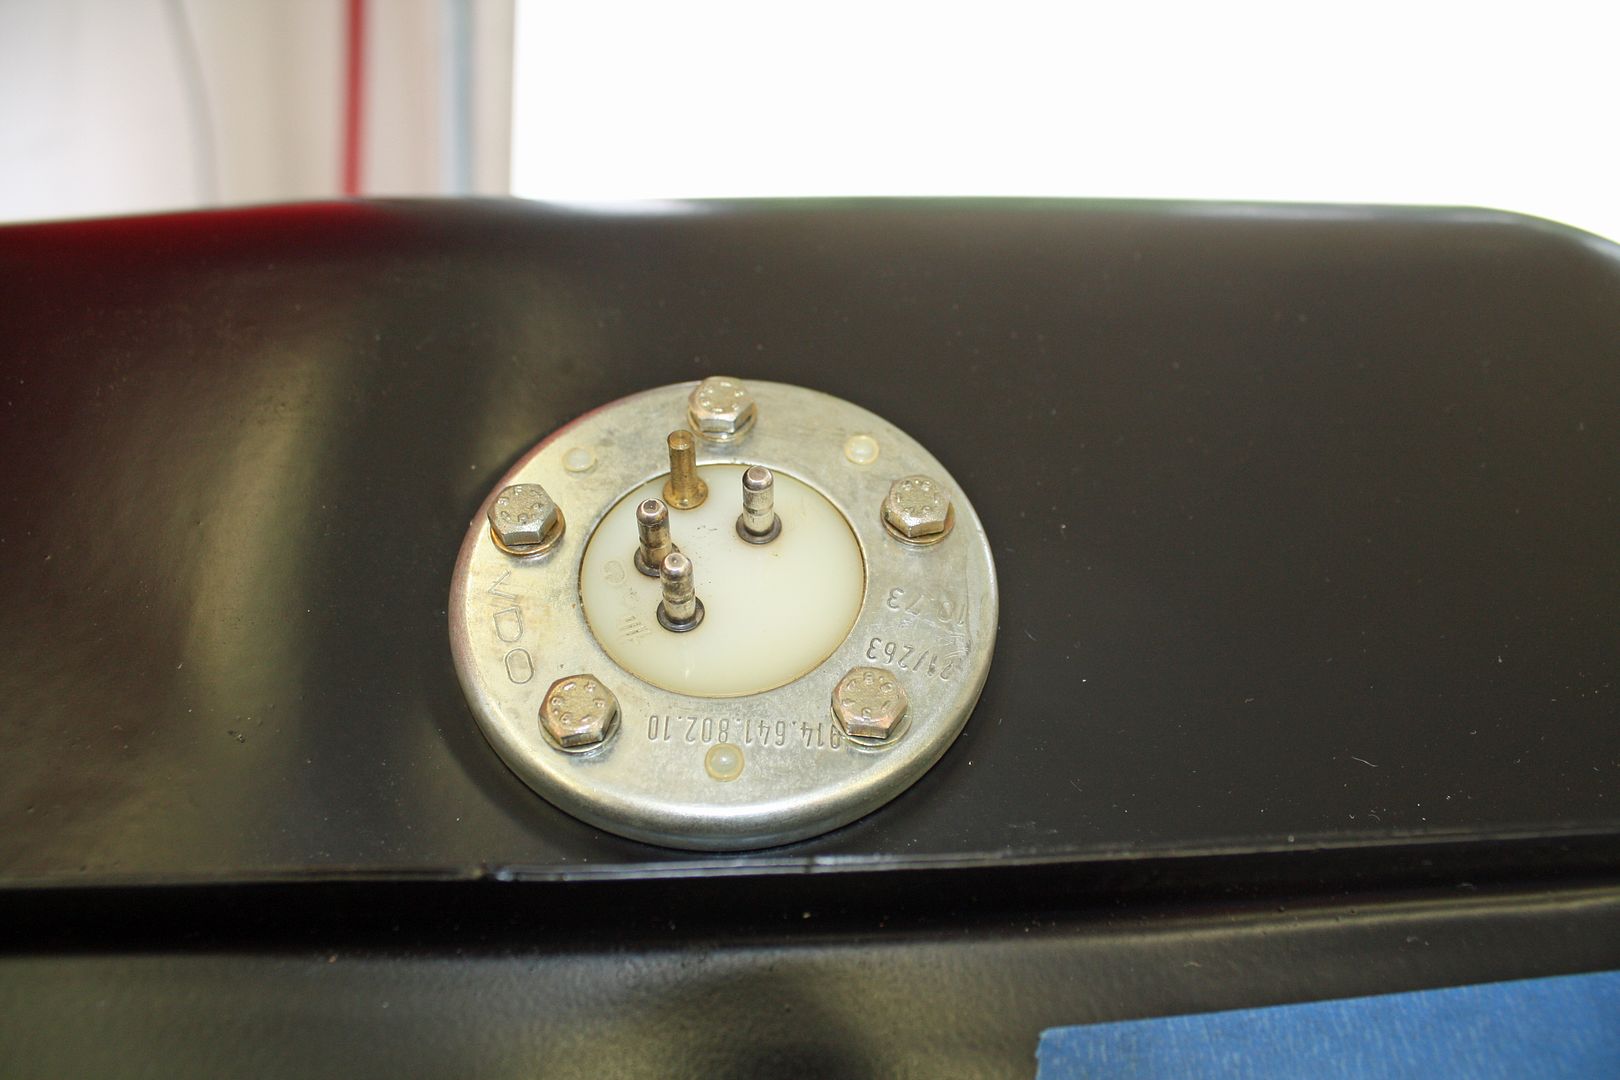
Upon closer inspection, I found some rust inside the fuel tank. I took it to a local guy to get an estimate for getting rid of the rust and sealing the tank. The cost was $325. Automobile Atlanta had a new tank for $335 shipped. The new tank arrived in a day. I removed the old hose line fittings a week ago. The screen and the crush washers were fused with the fittings. I have had them soaking in a solvent for the past week. Even after all that time, I had to do some friendly persuasion to get the old pieces off. Today I installed the fittings with the new screen and washers. I also transferred the fuel tank sender from the old tank to the new one.
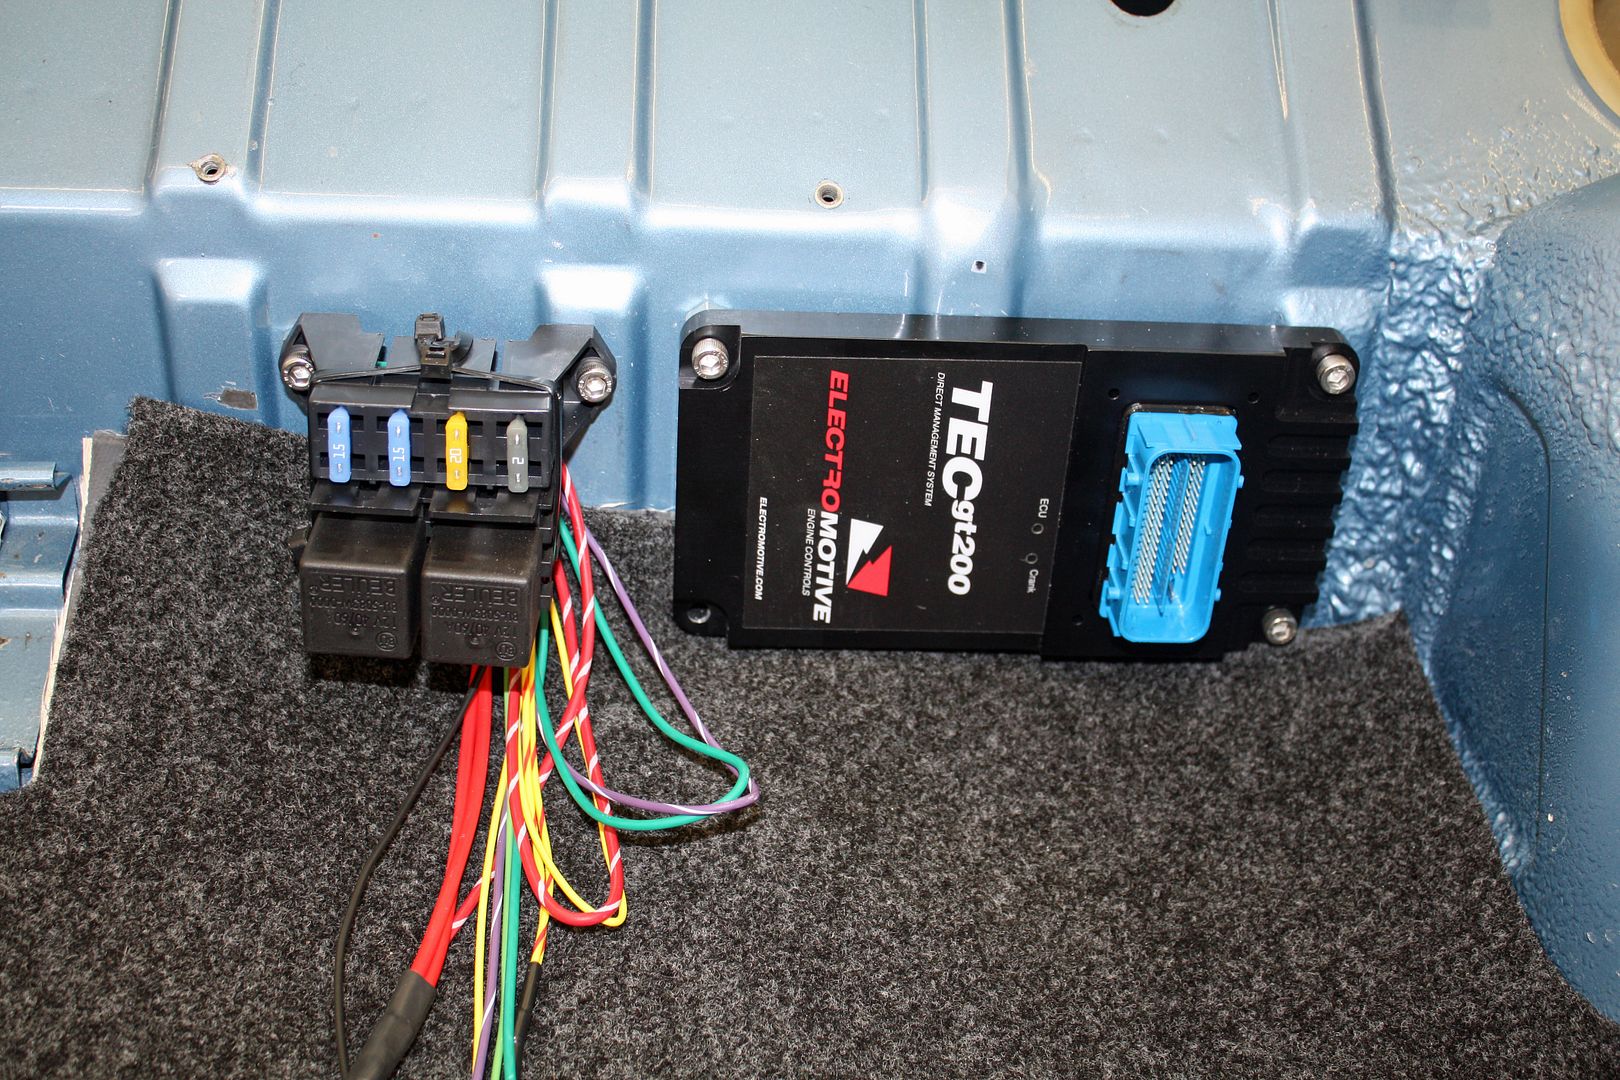
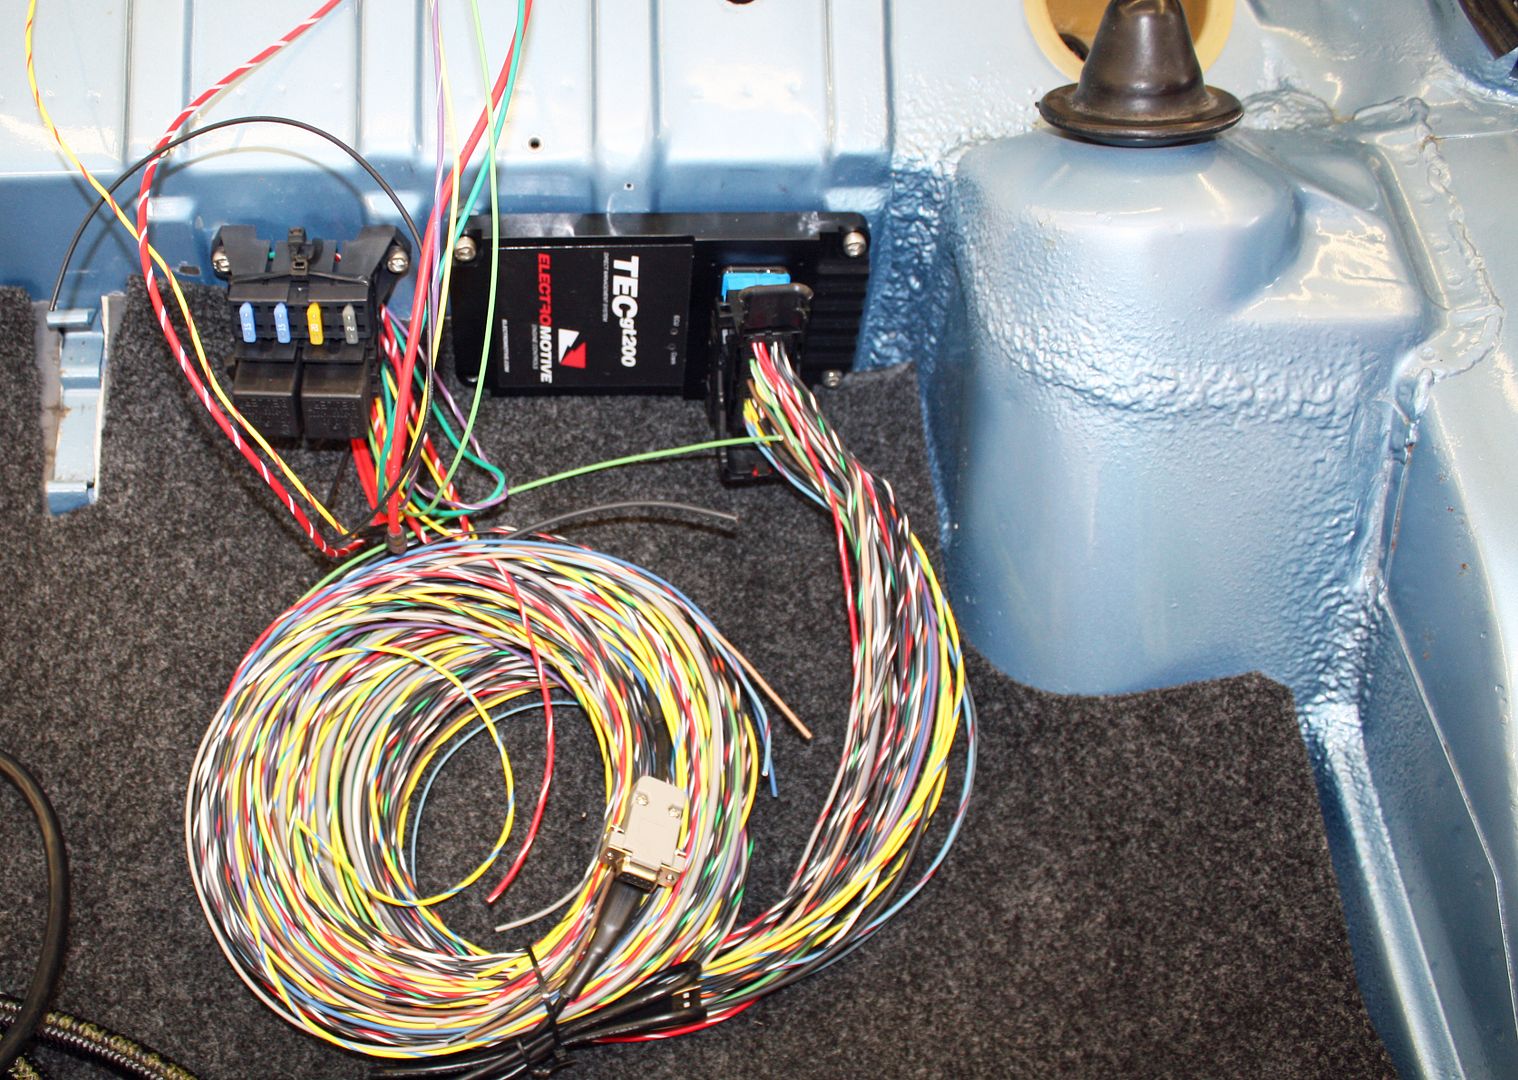
The EFI ECU was installed in the rear trunk along with the power module containing four fuses and a couple relays. Besides proving power to the ECU, this harness lets the ECU control turning on the fuel pump. Lots of wires to hook up!!!
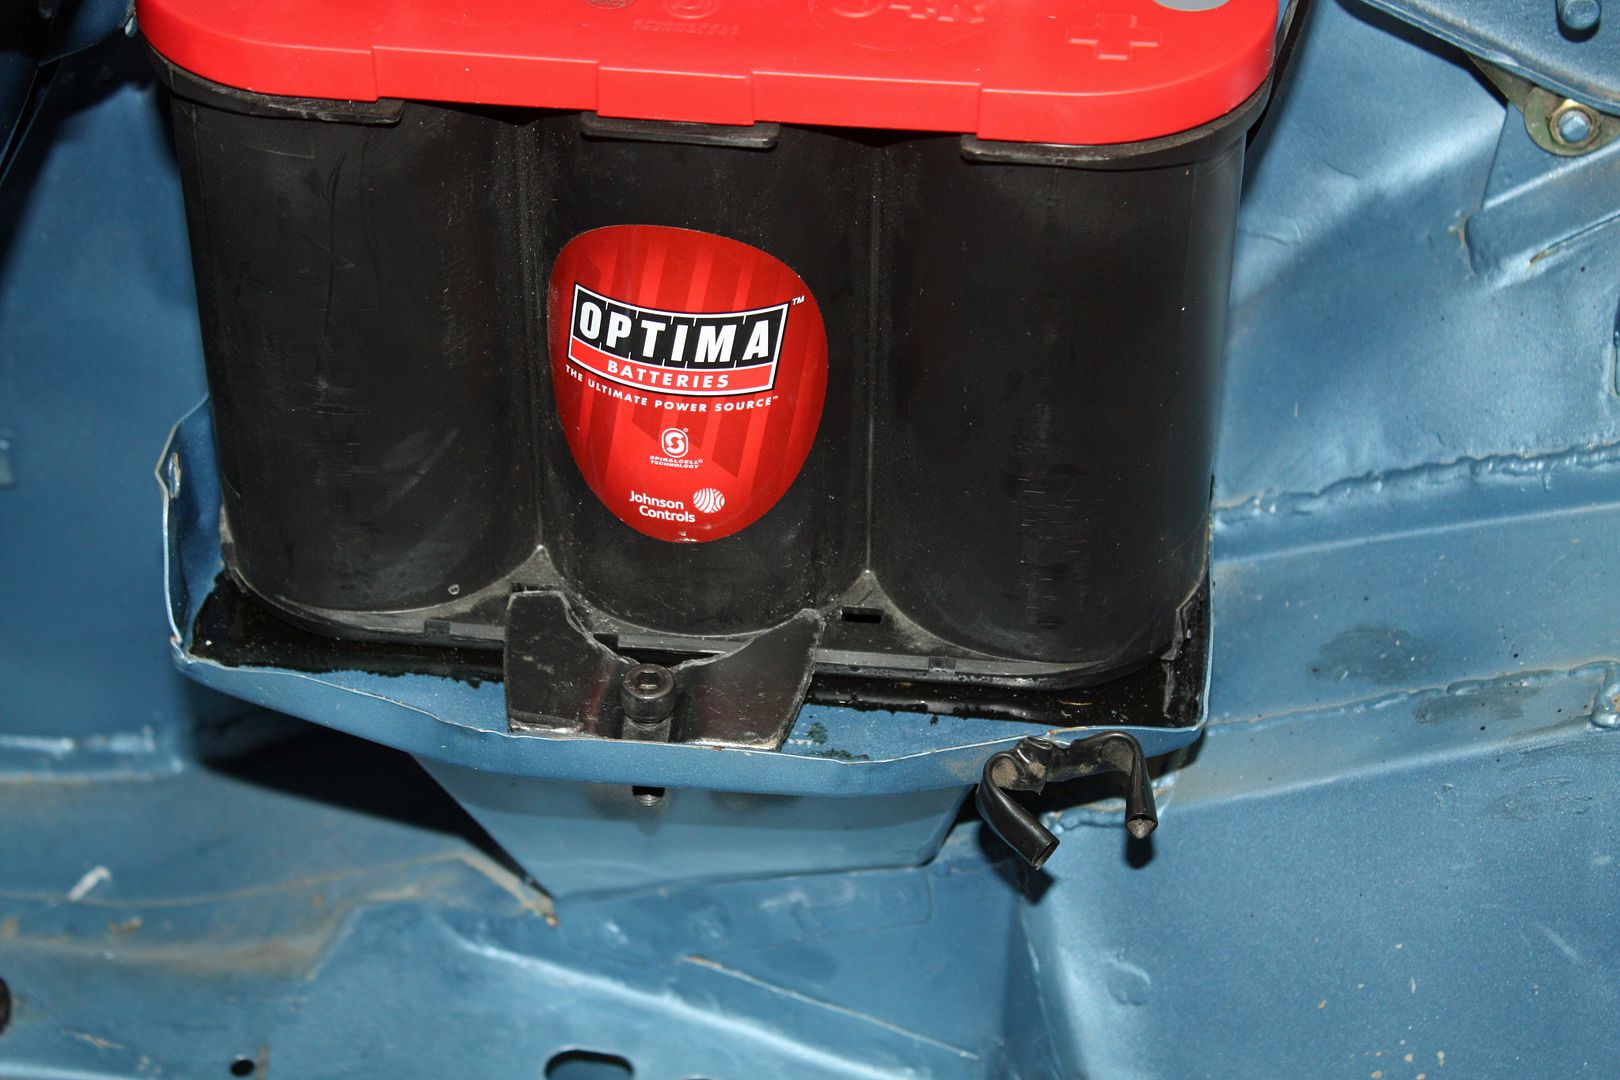
My Optima battery arrived. I temporarily set it into place as I will need to hook it up to find my power sources. To make it fit, I had to cut off the extra pieces on each end.

I cleaned up the wiring to the junction box in the front trunk. The wires had previously been run near the shock towers which made them visible. I decided to run them along the oil cooler lines. Since these lines become very warm, I cut up some old spark plug insulators and wrapped them around the oil lines to provide insulation for them wiring. I also ran two extra wires inside the harness for possible future use.


Upon closer inspection, I found some rust inside the fuel tank. I took it to a local guy to get an estimate for getting rid of the rust and sealing the tank. The cost was $325. Automobile Atlanta had a new tank for $335 shipped. The new tank arrived in a day. I removed the old hose line fittings a week ago. The screen and the crush washers were fused with the fittings. I have had them soaking in a solvent for the past week. Even after all that time, I had to do some friendly persuasion to get the old pieces off. Today I installed the fittings with the new screen and washers. I also transferred the fuel tank sender from the old tank to the new one.


The EFI ECU was installed in the rear trunk along with the power module containing four fuses and a couple relays. Besides proving power to the ECU, this harness lets the ECU control turning on the fuel pump. Lots of wires to hook up!!!


My Optima battery arrived. I temporarily set it into place as I will need to hook it up to find my power sources. To make it fit, I had to cut off the extra pieces on each end.

 09-25-2018, 05:22 PM
#58
Racer
Thread Starter
One should never aerate your lawn and add fertilizer, lime and grass seed a week before a hurricane dumps over 8" of rain on your lawn. Mowing must ensue!! Since formal exercising is not natural for me, I use a walk behind mower to make up for my lack of ambition. I also happen to like how the lawn looks when mowed in this manner. A beer never tastes better than drank when one is hot and sweaty after mowing a lawn!! A case could be made that the beer justifies the entire operation!!!
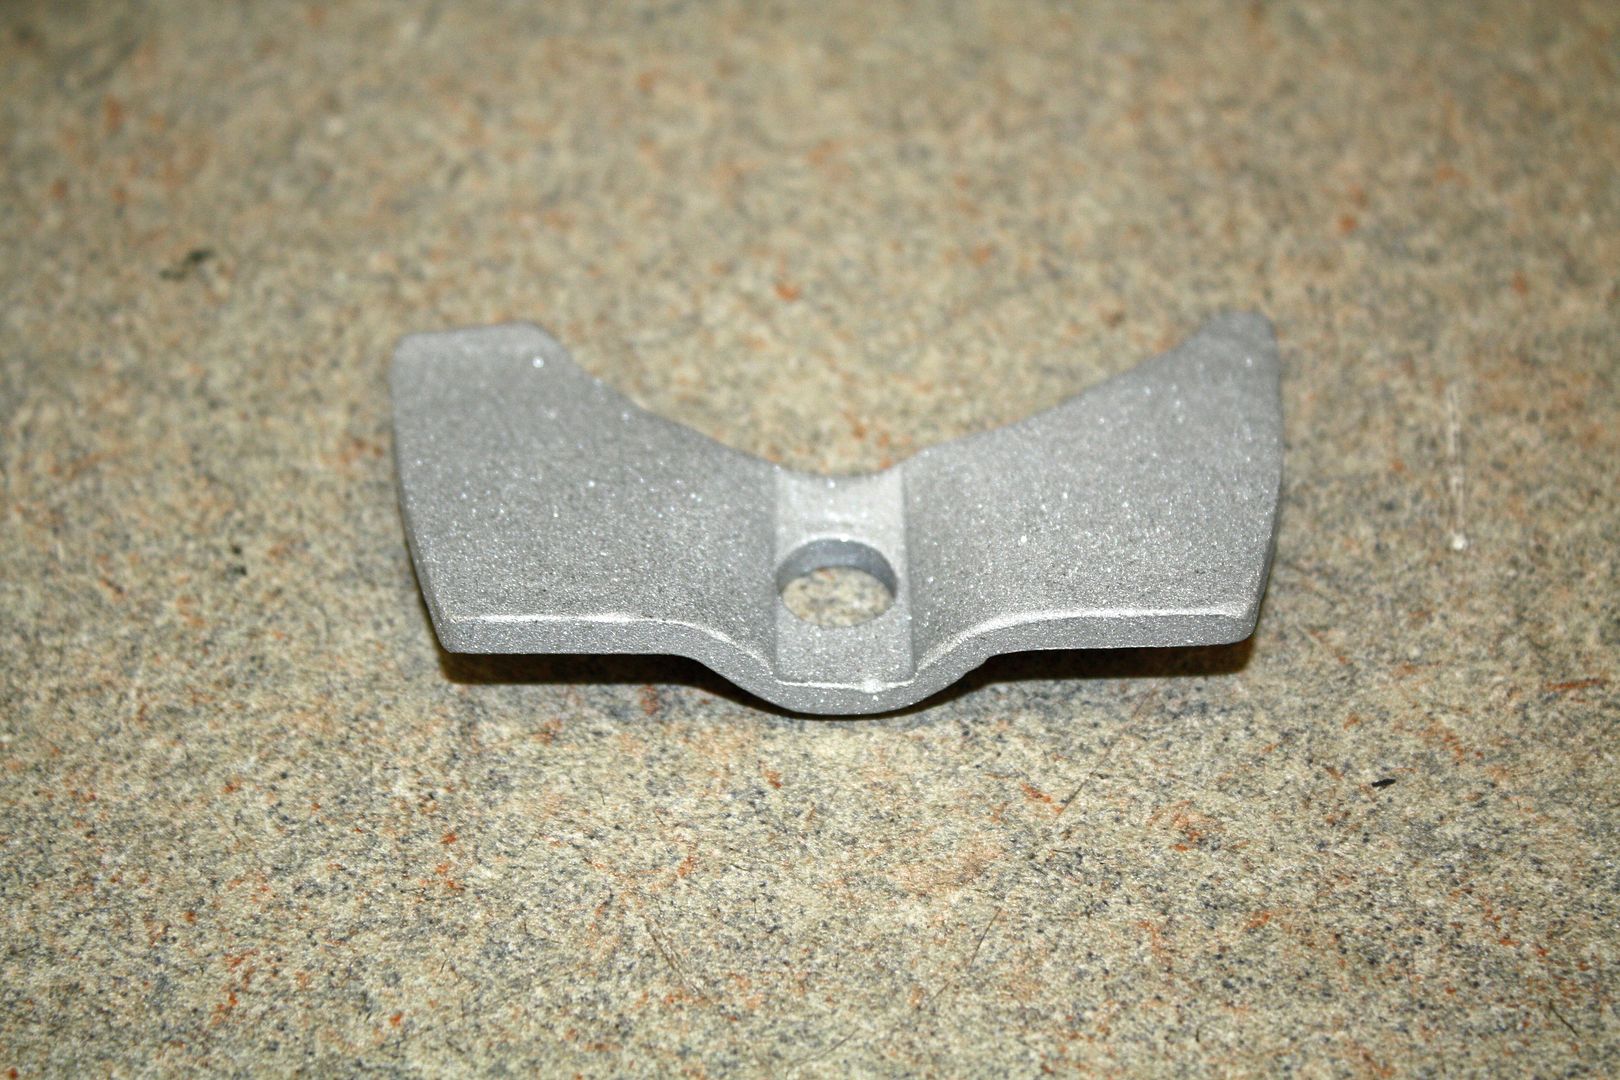
After sorting through my boxes of miscellaneous metal, I found a piece that I could modify to make a battery hold down bracket for the Optima battery. After much fiddling, I had a piece that would work. I couldn't make it symmetrical as the fastener is not centered in the battery tray. With the hold down in place, the battery is very secure. After cleaning it up, I blasted and painted it.
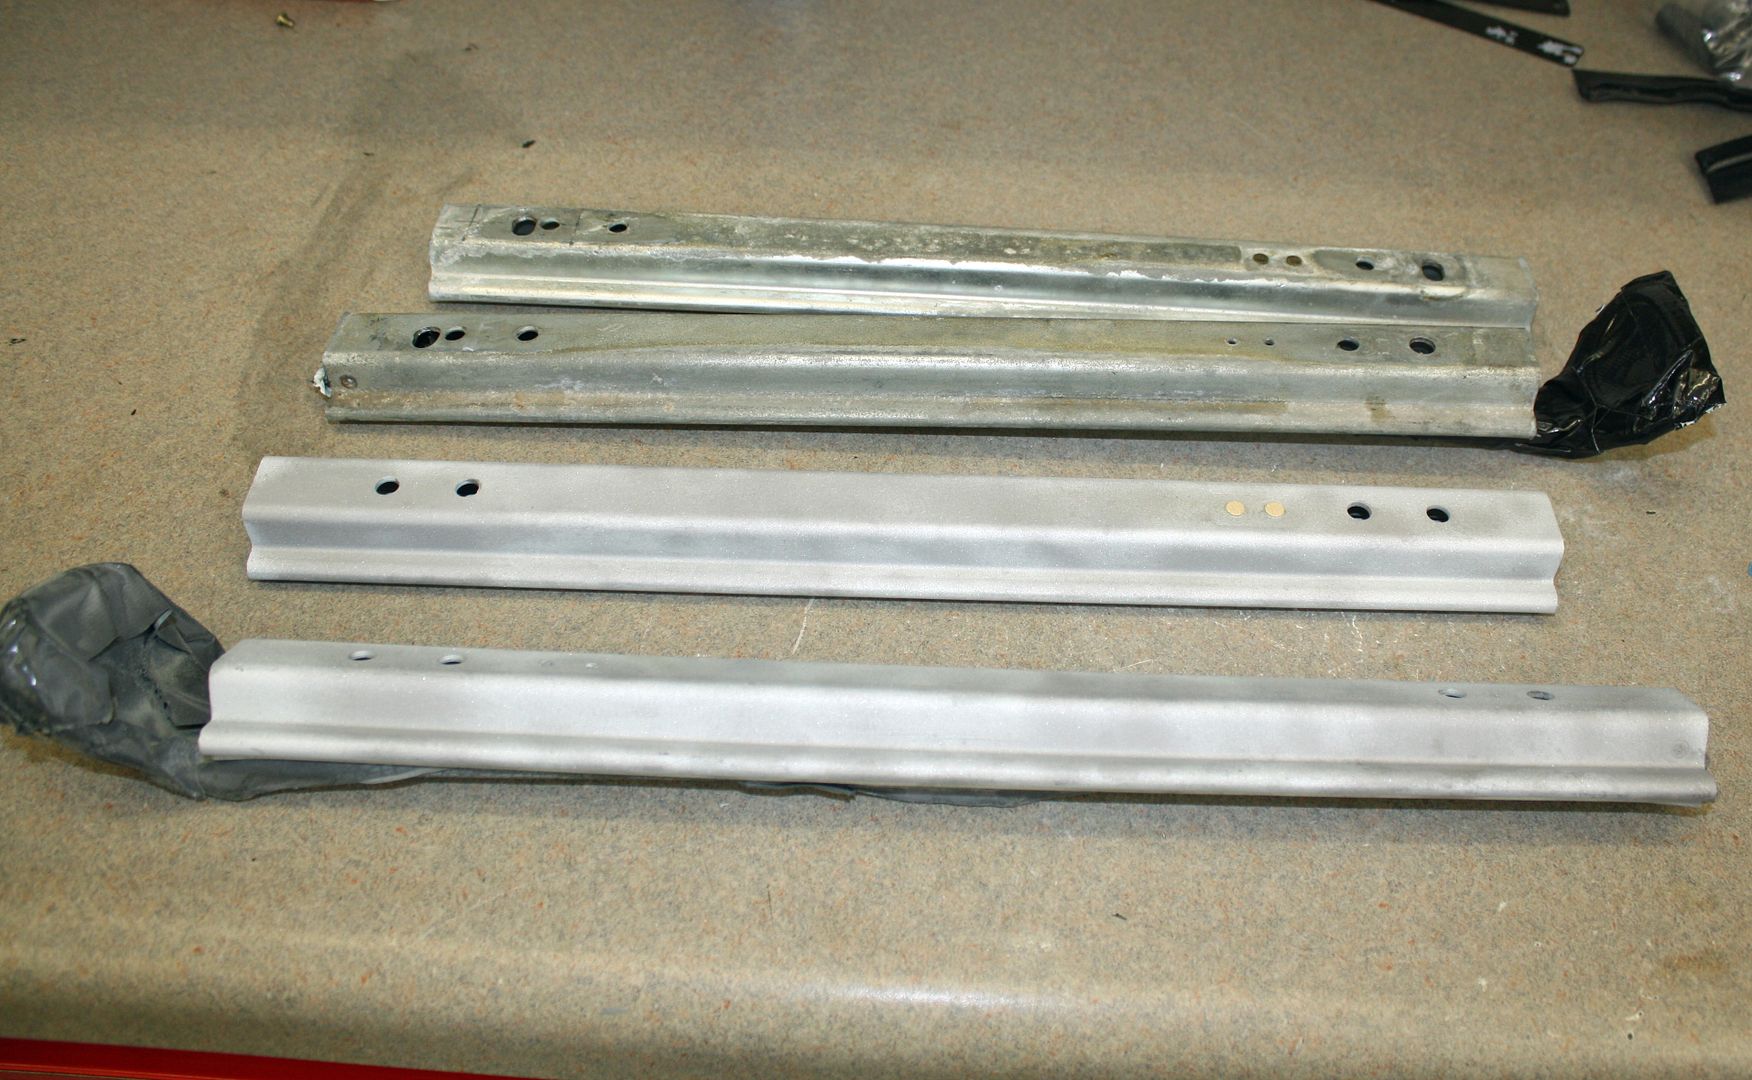
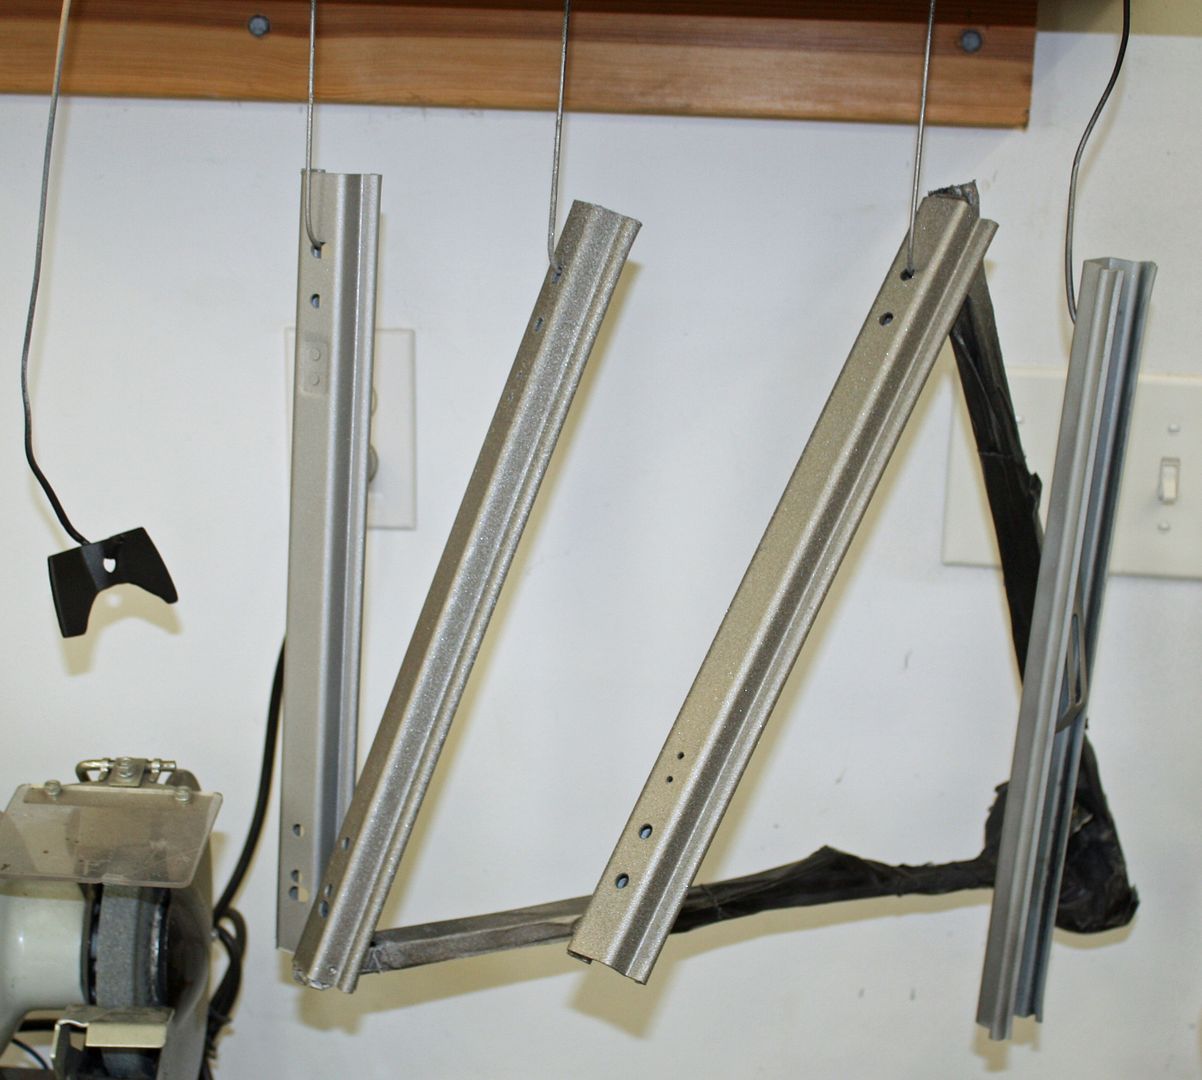
The seat tracks needed some attention as well. Blasting and painting them made them look better.

 09-26-2018, 09:41 PM
#59
Racer
Thread Starter
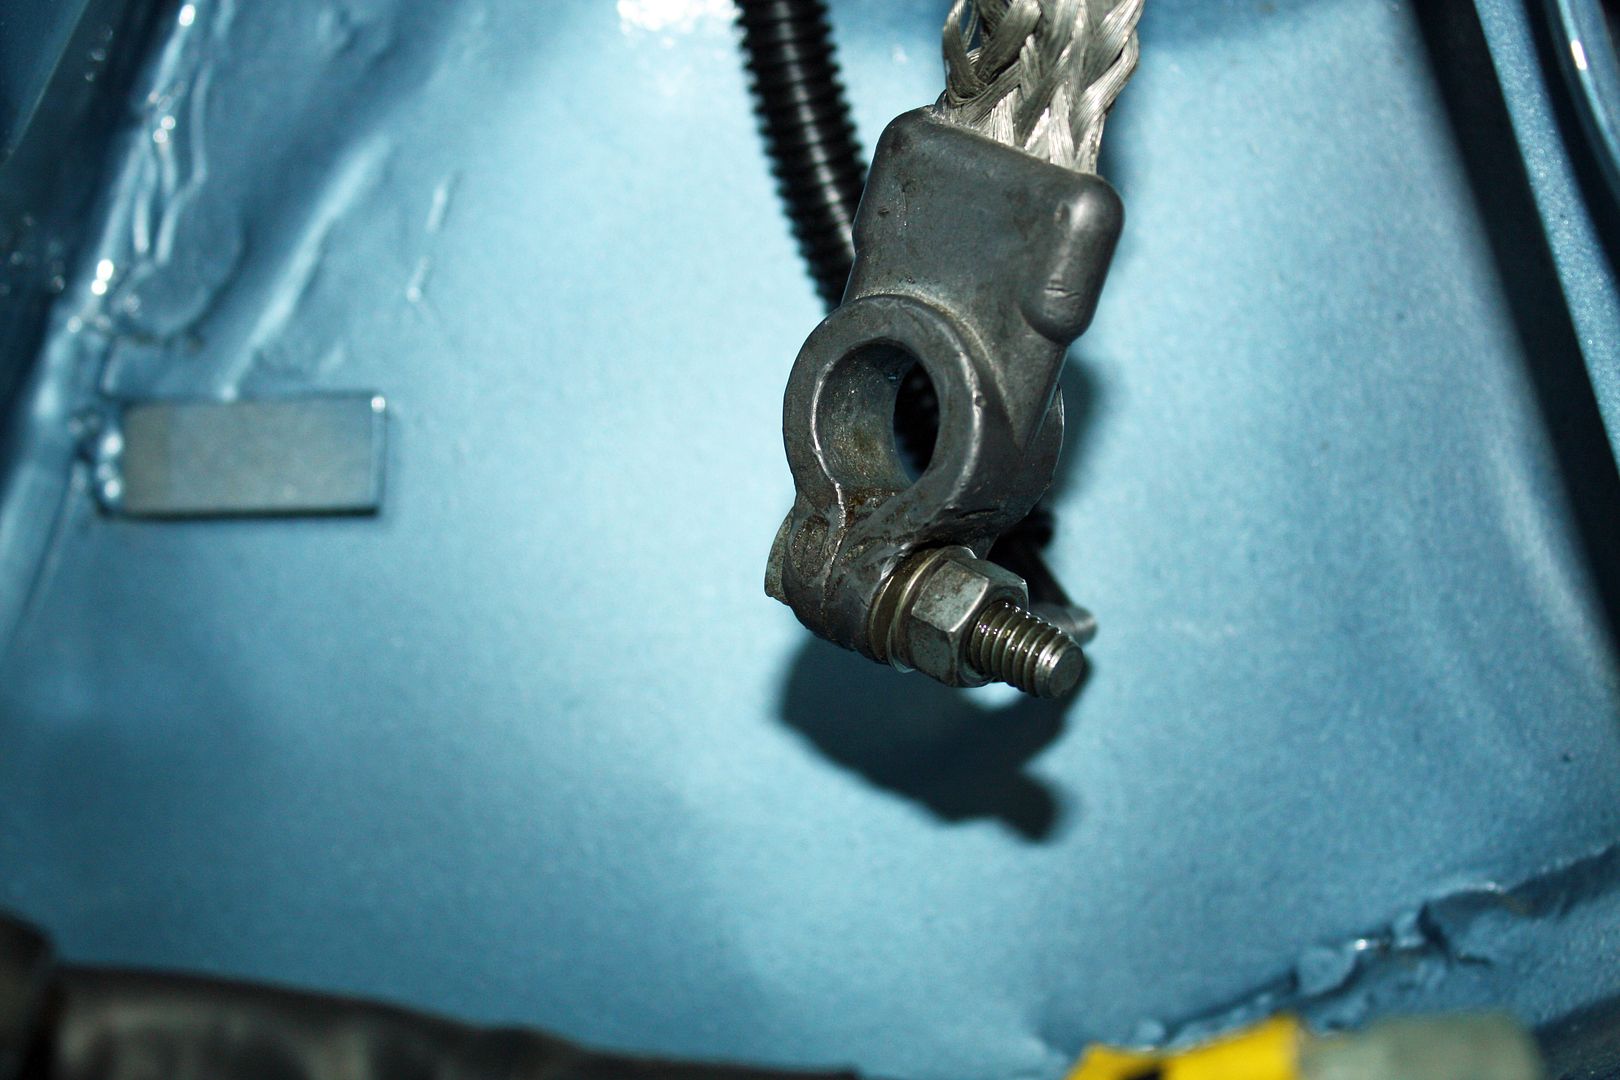
I worked on the power harness wiring for the EFI today. I found 12V ignition at the main engine plug. Since the battery is near, running the constant 12V and the ground was relatively easy.
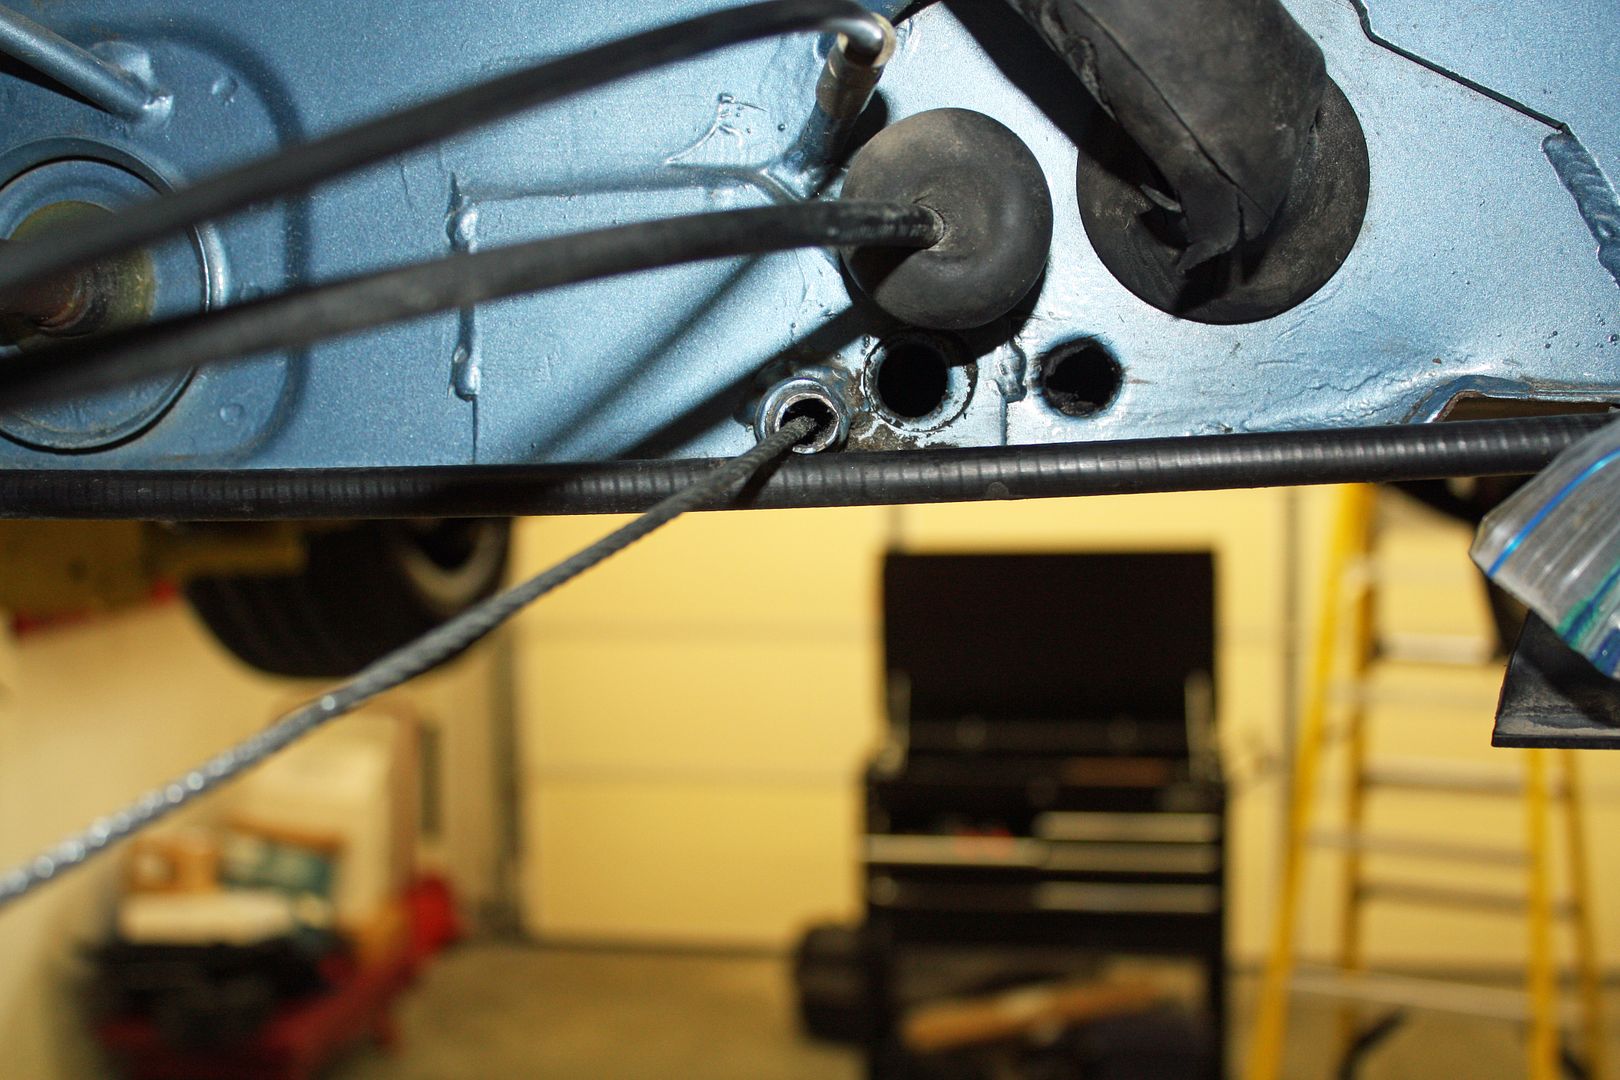
Since the power harness turns on the fuel pump, I had to run a line to the positive side of the fuel pump. To get into the tunnel, I pulled the main grommet out of the tunnel and drilled a small hole in it for the wire to run through. After feeding the wire through th grommet, I fed the wire forward through the tunnel and then out into the fuel tank bay. I ran out of time to finish it up so that will be first on tomorrow's agenda.
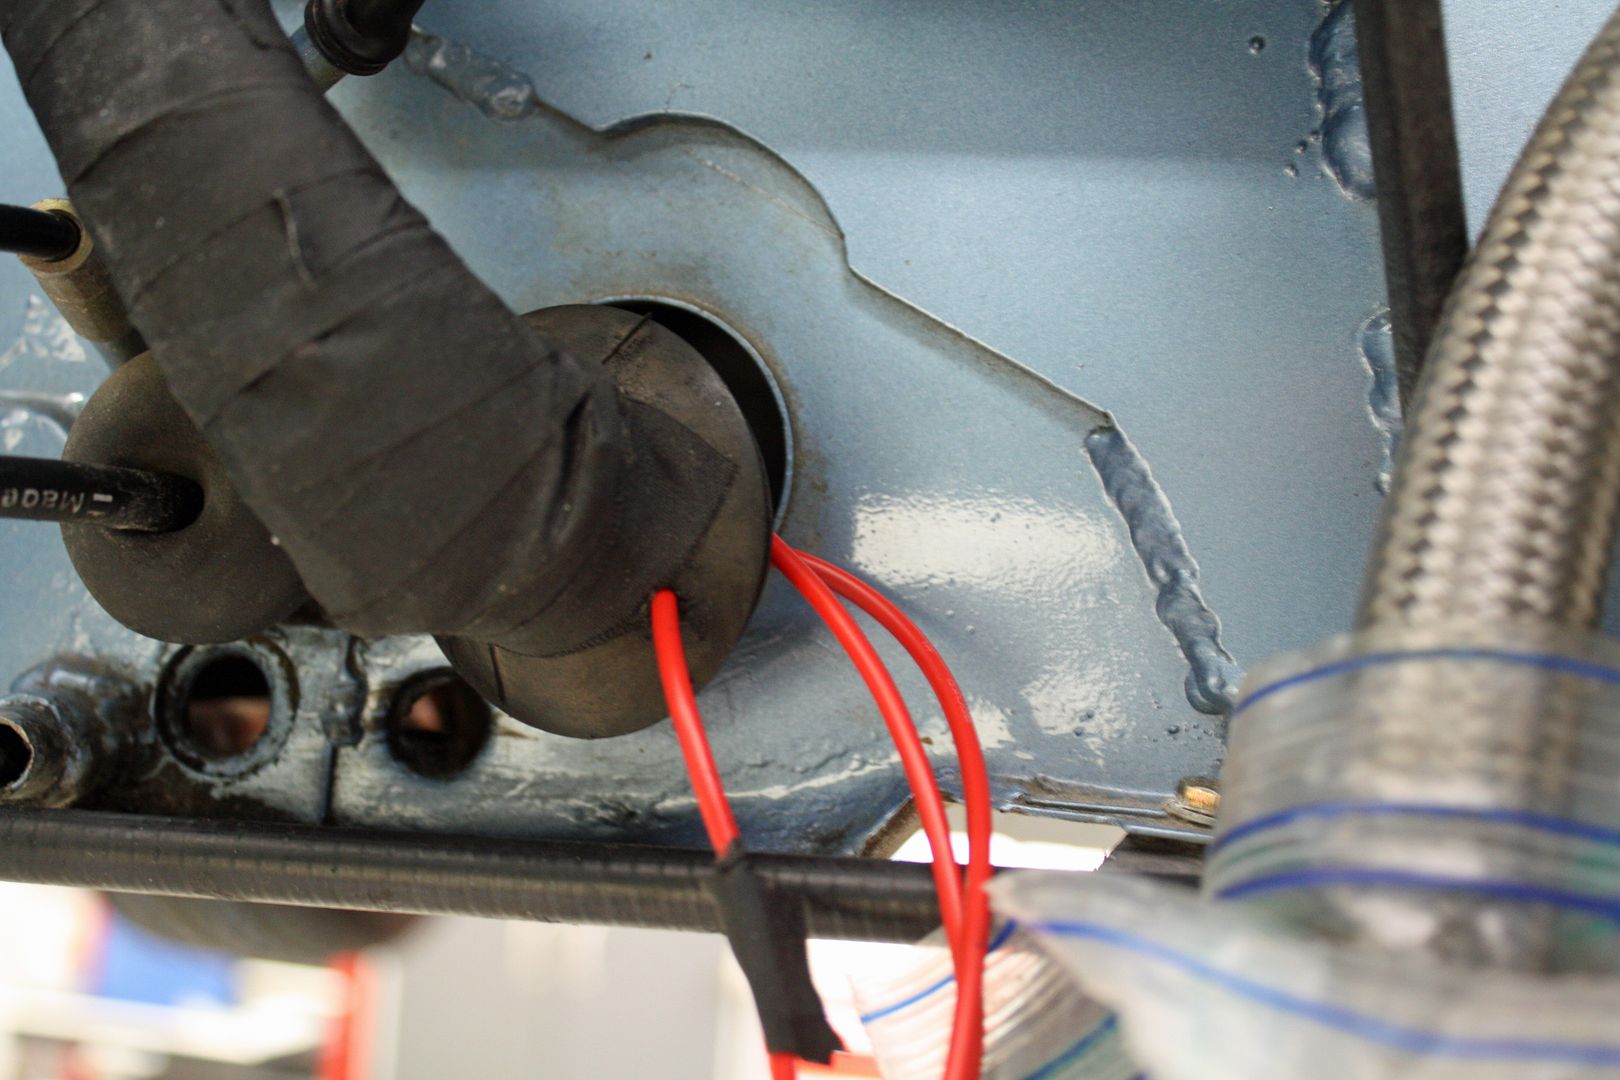
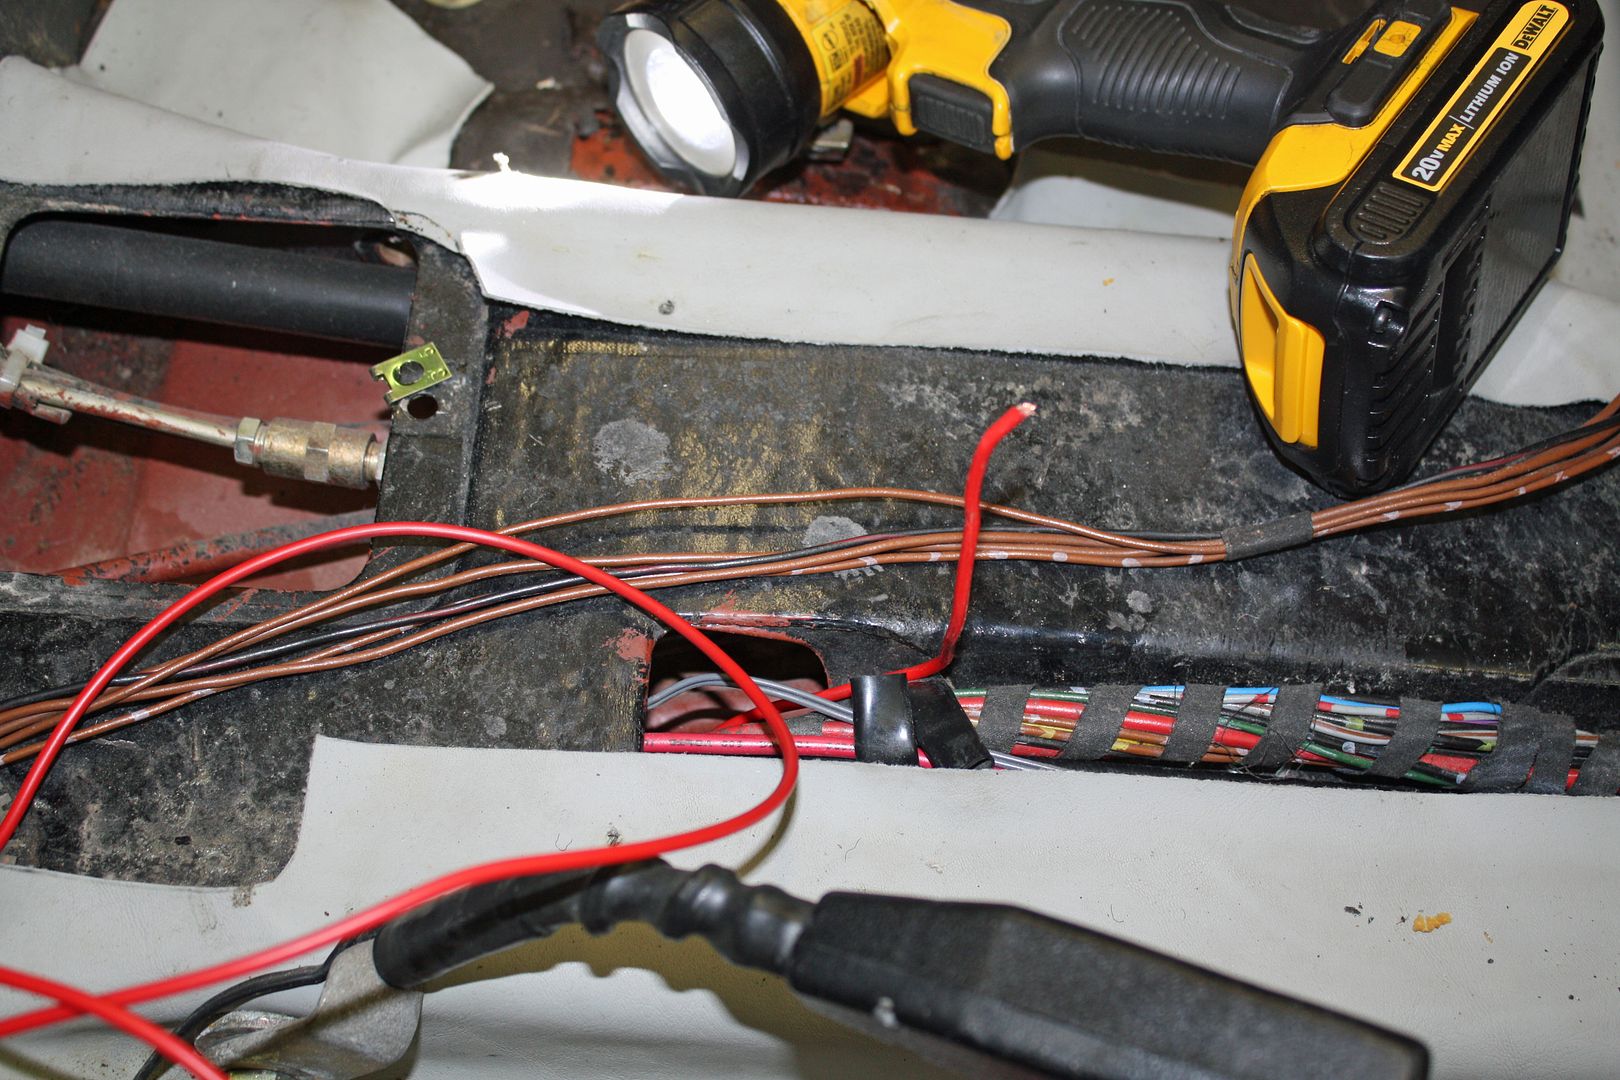
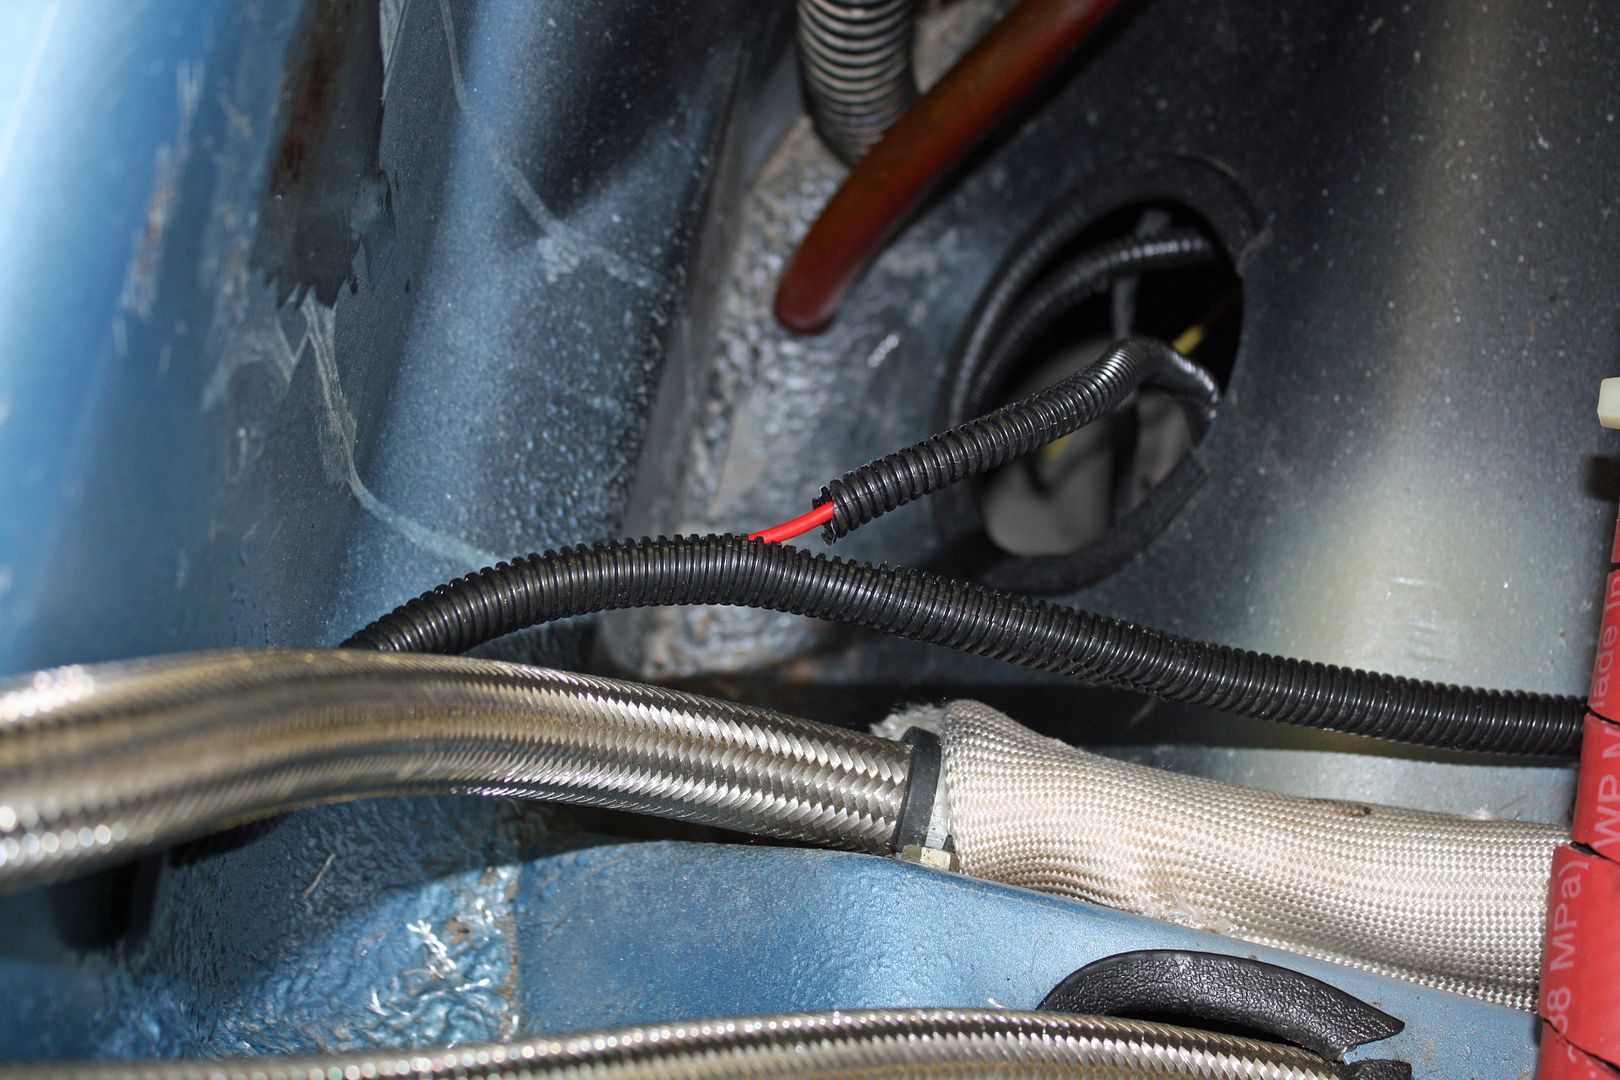


Since the power harness turns on the fuel pump, I had to run a line to the positive side of the fuel pump. To get into the tunnel, I pulled the main grommet out of the tunnel and drilled a small hole in it for the wire to run through. After feeding the wire through th grommet, I fed the wire forward through the tunnel and then out into the fuel tank bay. I ran out of time to finish it up so that will be first on tomorrow's agenda.


 09-27-2018, 08:03 PM
#60
Racer
Thread Starter
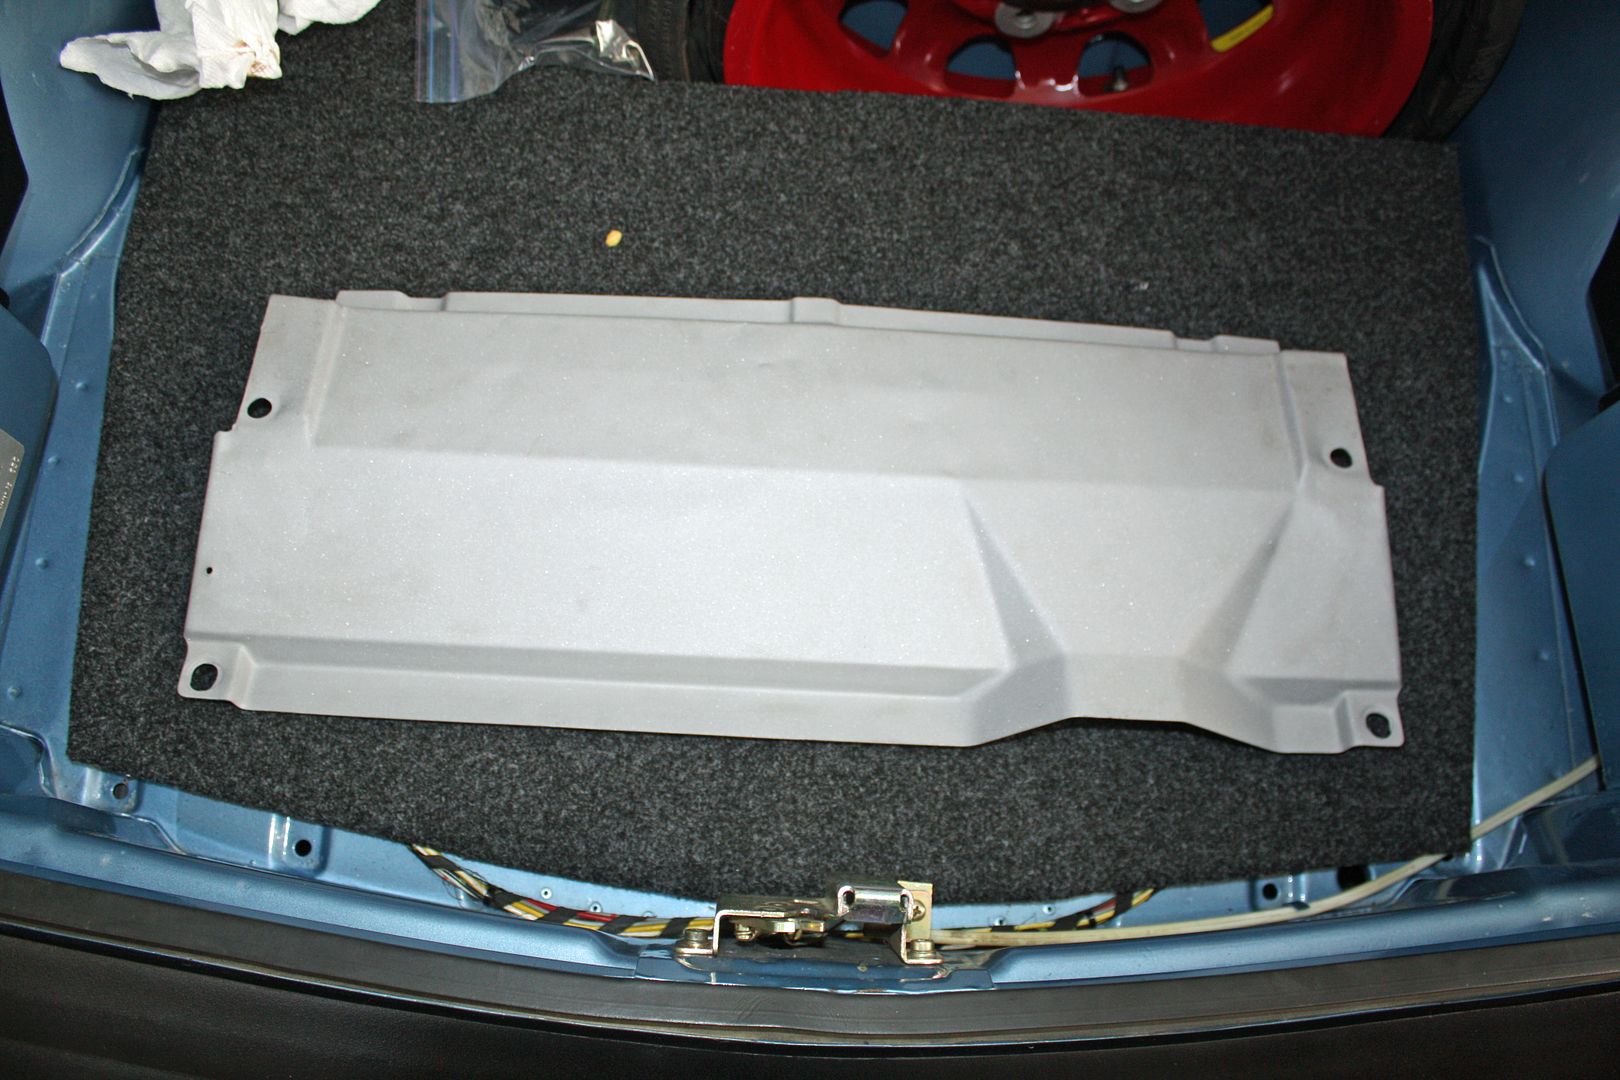
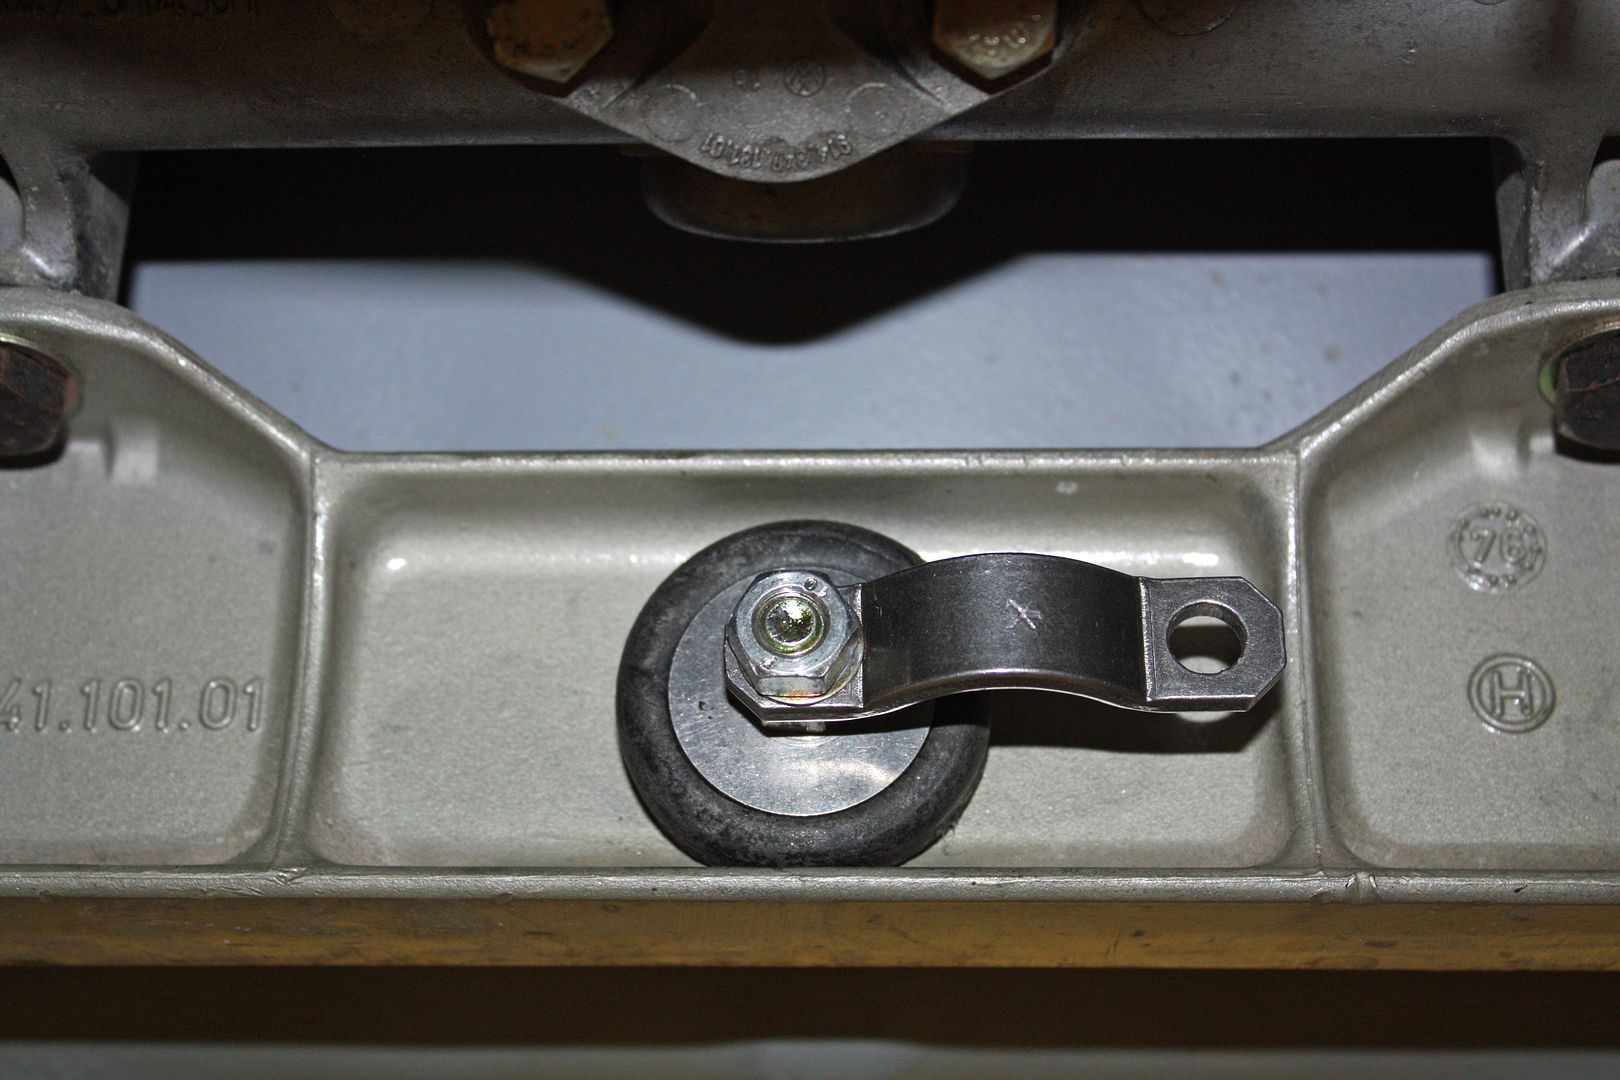
First thing this morning I received a text message from my powder coater saying the steering rack shield was finished. I am $10 poorer but it looks great.

Now it was time to see if the fuel pump cleared it. It didn't. So I removed the pump and cut the rubber insulators and washers to allow for room to raise the pump in the slot on the steering rack. This worked and all was good.
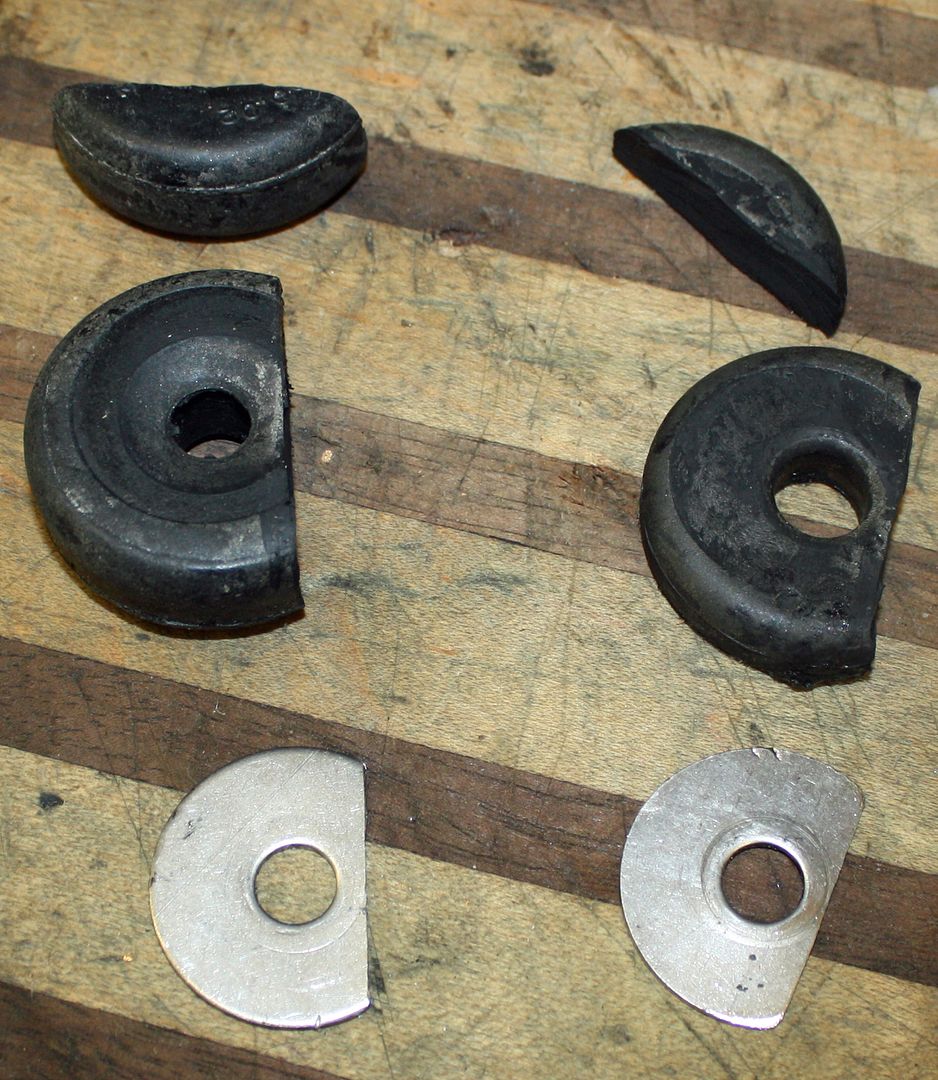

Now it was time to see if the fuel pump cleared it. It didn't. So I removed the pump and cut the rubber insulators and washers to allow for room to raise the pump in the slot on the steering rack. This worked and all was good.


